In “The First Berserker: Khazan“, The Forgotten Temple serves as the initial expansive location you’ll delve into. However, it’s not just a single area; it’s more like three interconnected sections. Initially, you’ll commence at The Ember, battle hordes of undead, penetrate the Forgotten Temple, engage in combat with numerous dragonkin until you reach a location beneath the temple, and then you’ll have to climb back up from there, re-traversing the entire area.
Instead of numerous mini-boss style battles, various statue-aligned puzzles, and treasure searches in every nook and cranny, this walkthrough covers all aspects and guarantees you won’t overlook any details during your adventure.
The Ember
| Enemies | Undead Archer, Undead Ice Archer, Undead Swordsman, Undead Vagrant |
|---|---|
| Notable Items | Fire Enhancer, Vitality Tome, Water Spirit Fuel |
| Soulstone? | 1 |
Straight ahead, engage the Blade Nexus on your left side. Follow the path as it expands into an open field. This is where you’ll face your initial group of undead soldiers. Important: Once defeated, their bodies can revive if you don’t destroy them afterwards. After the path, you have three options: continue straight, turn left, or turn right.
Should you go directly ahead, the route takes a turn to the left and ends at a dead-end with a Fire Enhancer. Instead, veering right will lead you into an ambush by undead archers, but it rewards you with a Vitality Tome.
In this location, there is a trail to your left and an archer stationed on your right. From afar, aim a spear at the archer to eliminate them, and then impale them again to prevent any potential revival. After overcoming a series of skeletons, you’ll find a Water Spirit Fuel item in the spot where the archer was positioned.
Heading back on that trail, ascend higher. A horde of undead warriors awaits you in an open field, and here, you’ll encounter a skeleton wielding a colossal club as well. Dispatch them, then advance up the stone steps. As you progress, you’ll find another junction. To your left, you’ll discover a Willpower Orb along with another undead warrior brandishing a massive club. Choosing right will lead to an encounter with a mini-boss.
This character wields a colossal two-handed blade. With an unstoppable burst move, they drive the giant sword forward. Mainly, they depend on a sequence of three strikes. The final strike is a powerful overhead slash that exposes them to danger.
Time your combos correctly and strive to block the attacks with a perfect guard. He discards Volk Warrior equipment, Spirit Orbs, and Transmutation Shards. The chest next to them contains Reforged Dual Wield items, Hunter’s Shoes, Necklace of Good Fortune, and a Concentrated Fire Essence.
This version maintains the original information but is rephrased in a more natural and easy-to-read manner for better comprehension.
Twice, you’ll have the chance to throw your javelin at him before he reaches you. It’s a smart strategy for dealing significant harm without putting yourself in any danger.
The First Soulstone

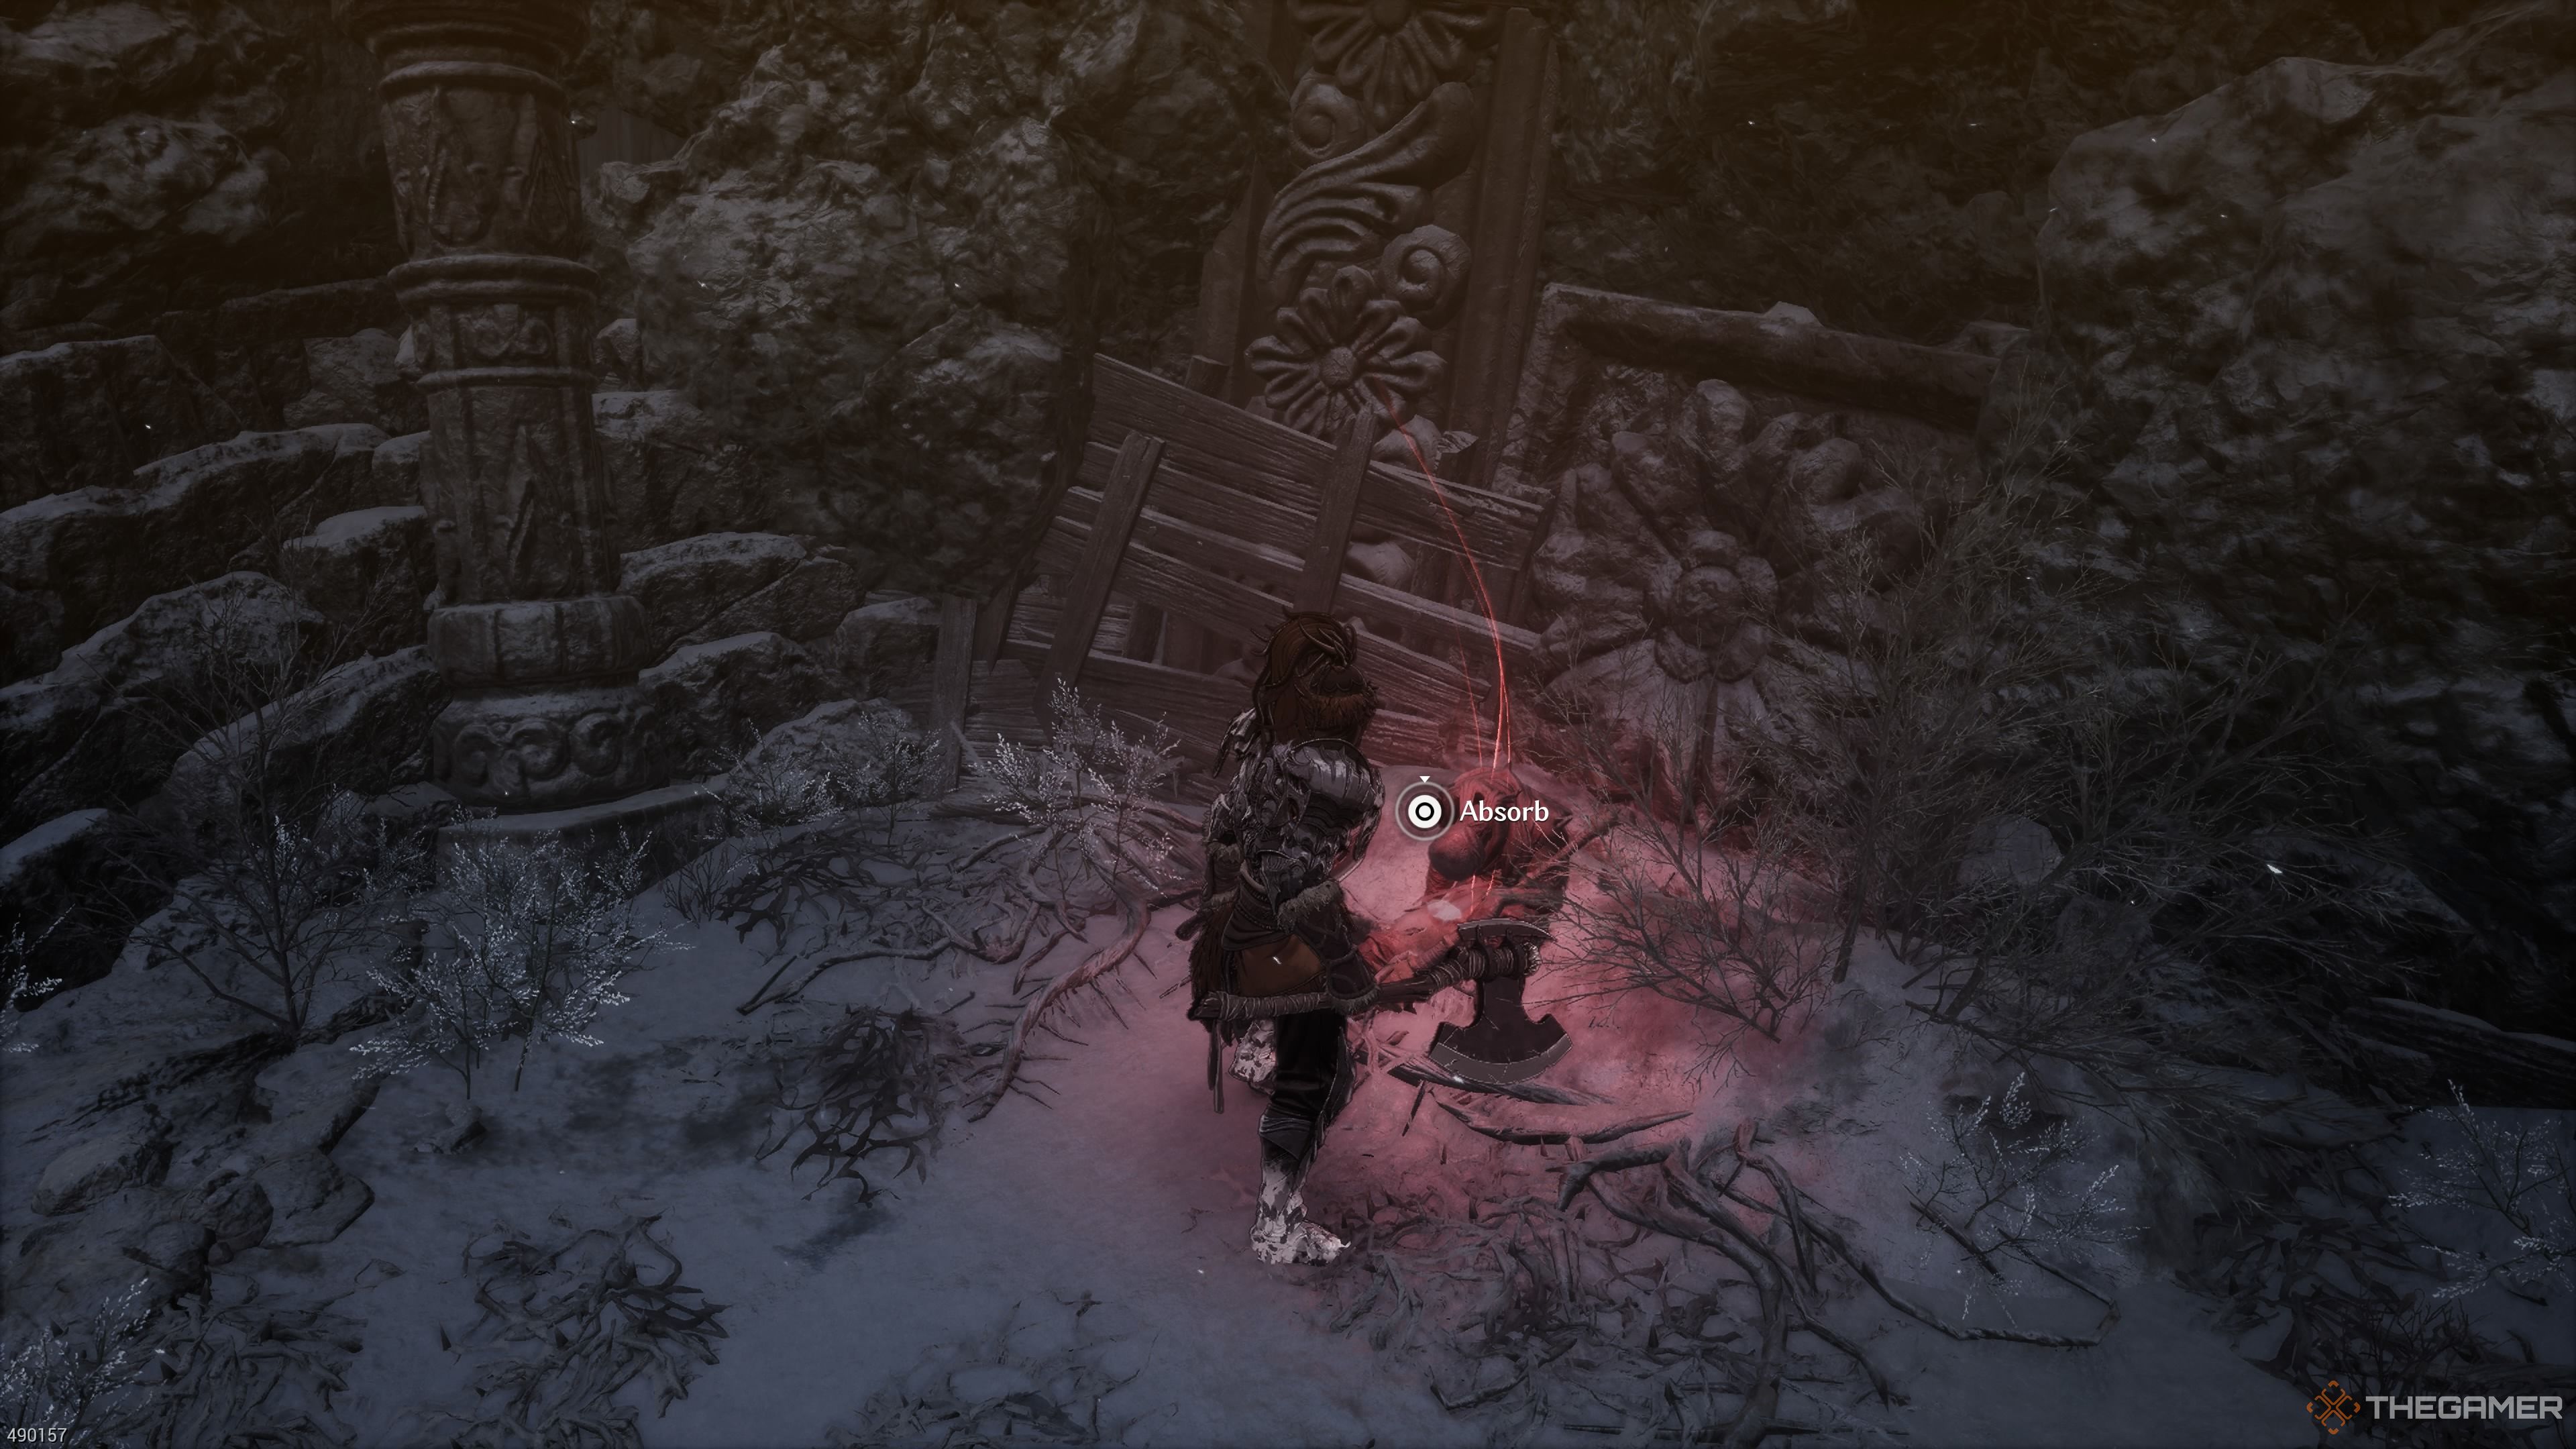
After defeating the mini-boss, make your way back to the steps, then look to their left side. You should spot a path that is currently obstructed by some wooden debris. Clear it away, follow the path, and you’ll encounter this stage’s first Soulstone (1/3).
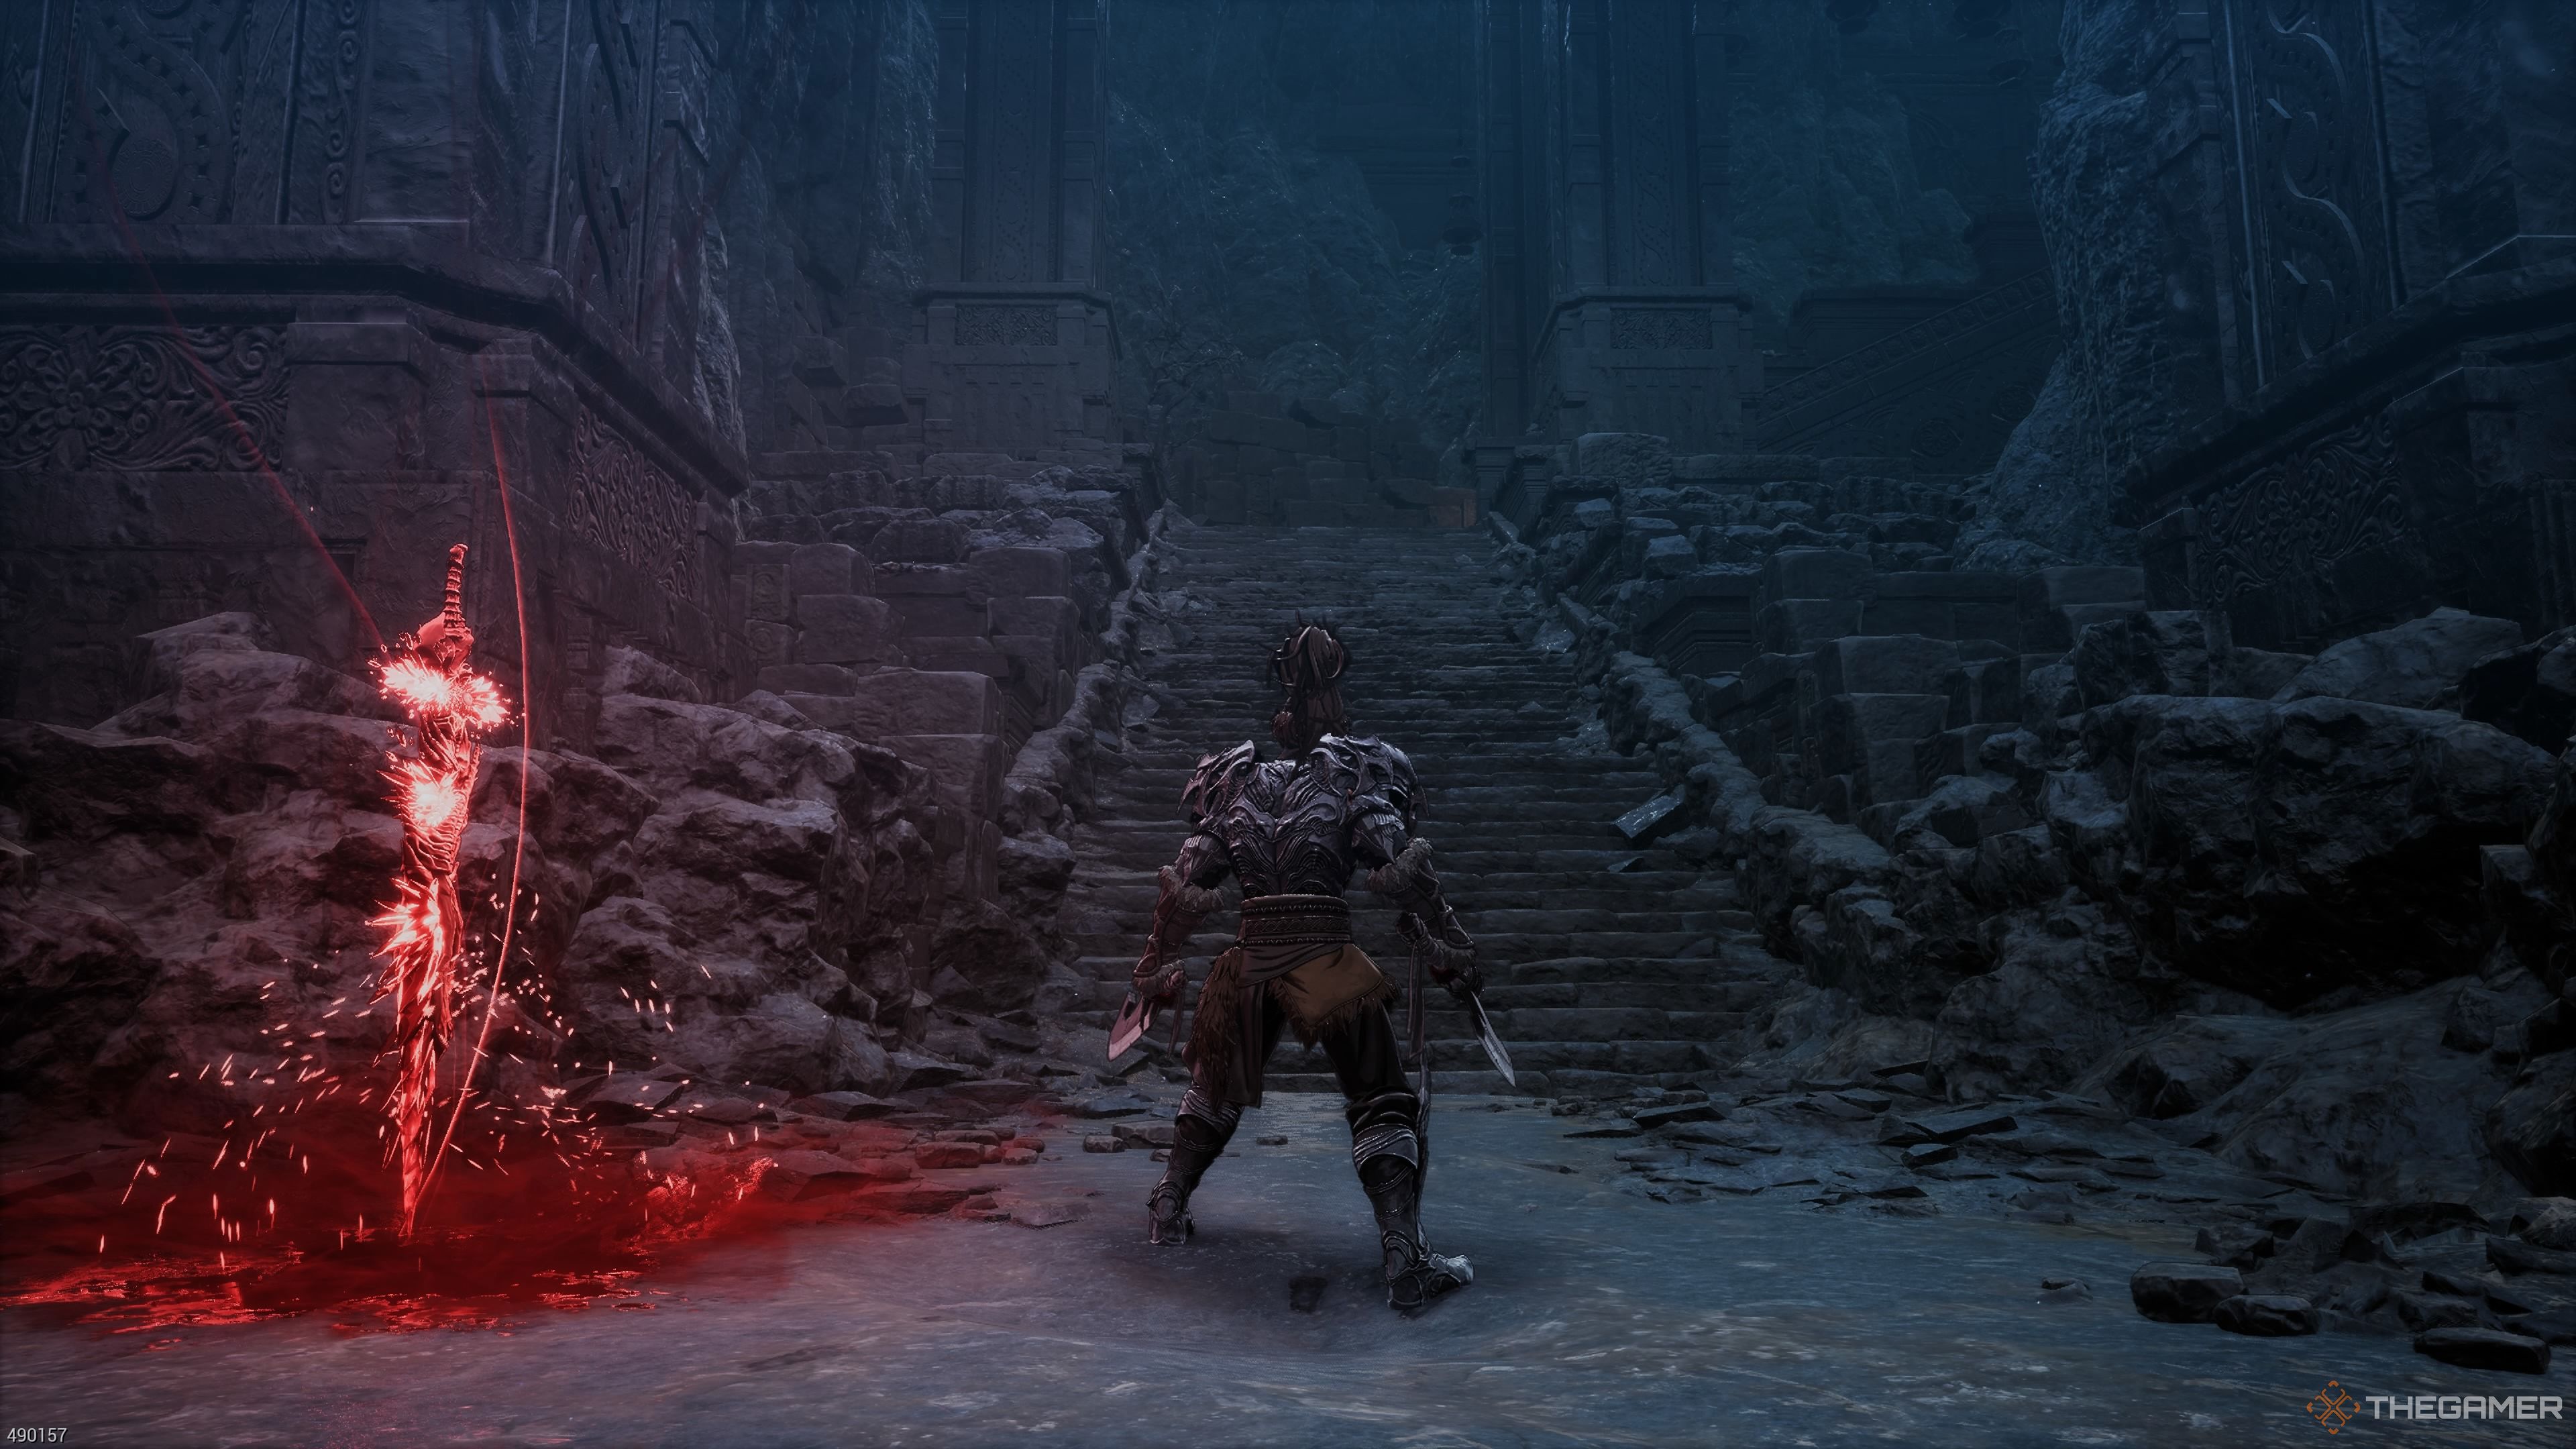
1. Ascend the stone steps ahead.
2. A “Grave-Robber’s Journal” lies before a body leaning against a pillar.
3. The vicinity features grand doors, a path branching to the right, and to the north of this path’s entrance, there’s a wall with a hole and it is obstructed by wooden stakes.
As a gamer, I’d suggest starting by passing through the doors ahead to secure the next Blade Nexus. Near the Blade Nexus, you’ll discover an Assassin’s Elixer and some stones. Once you’ve activated that nexus, retrace your steps to where you found the corpse earlier, then veer right at the door. You’ll notice a wall with a hole in it, but it’s currently blocked by some wooden spikes.
1. Break down the barriers with spikes and move through the gap in the wall, which will carry you upward and around to an open area where you’ll encounter an undead ice archer. Eliminate it.
2. Proceed along the path that veers to the right, eliminate any skeletons you come across (unless you’ve already dispatched them with your javelins).
3. Collect the Soul Tears left behind by a bandit in the area.
The Forgotten Temple
| Enemies | Dragonkin Warrior (sword), Dragonkin Warrior (claws), Dragonkin Archer |
|---|---|
| Items | Soul Tears x2, Nethreal Energy |
| Soulstone? | 1 |
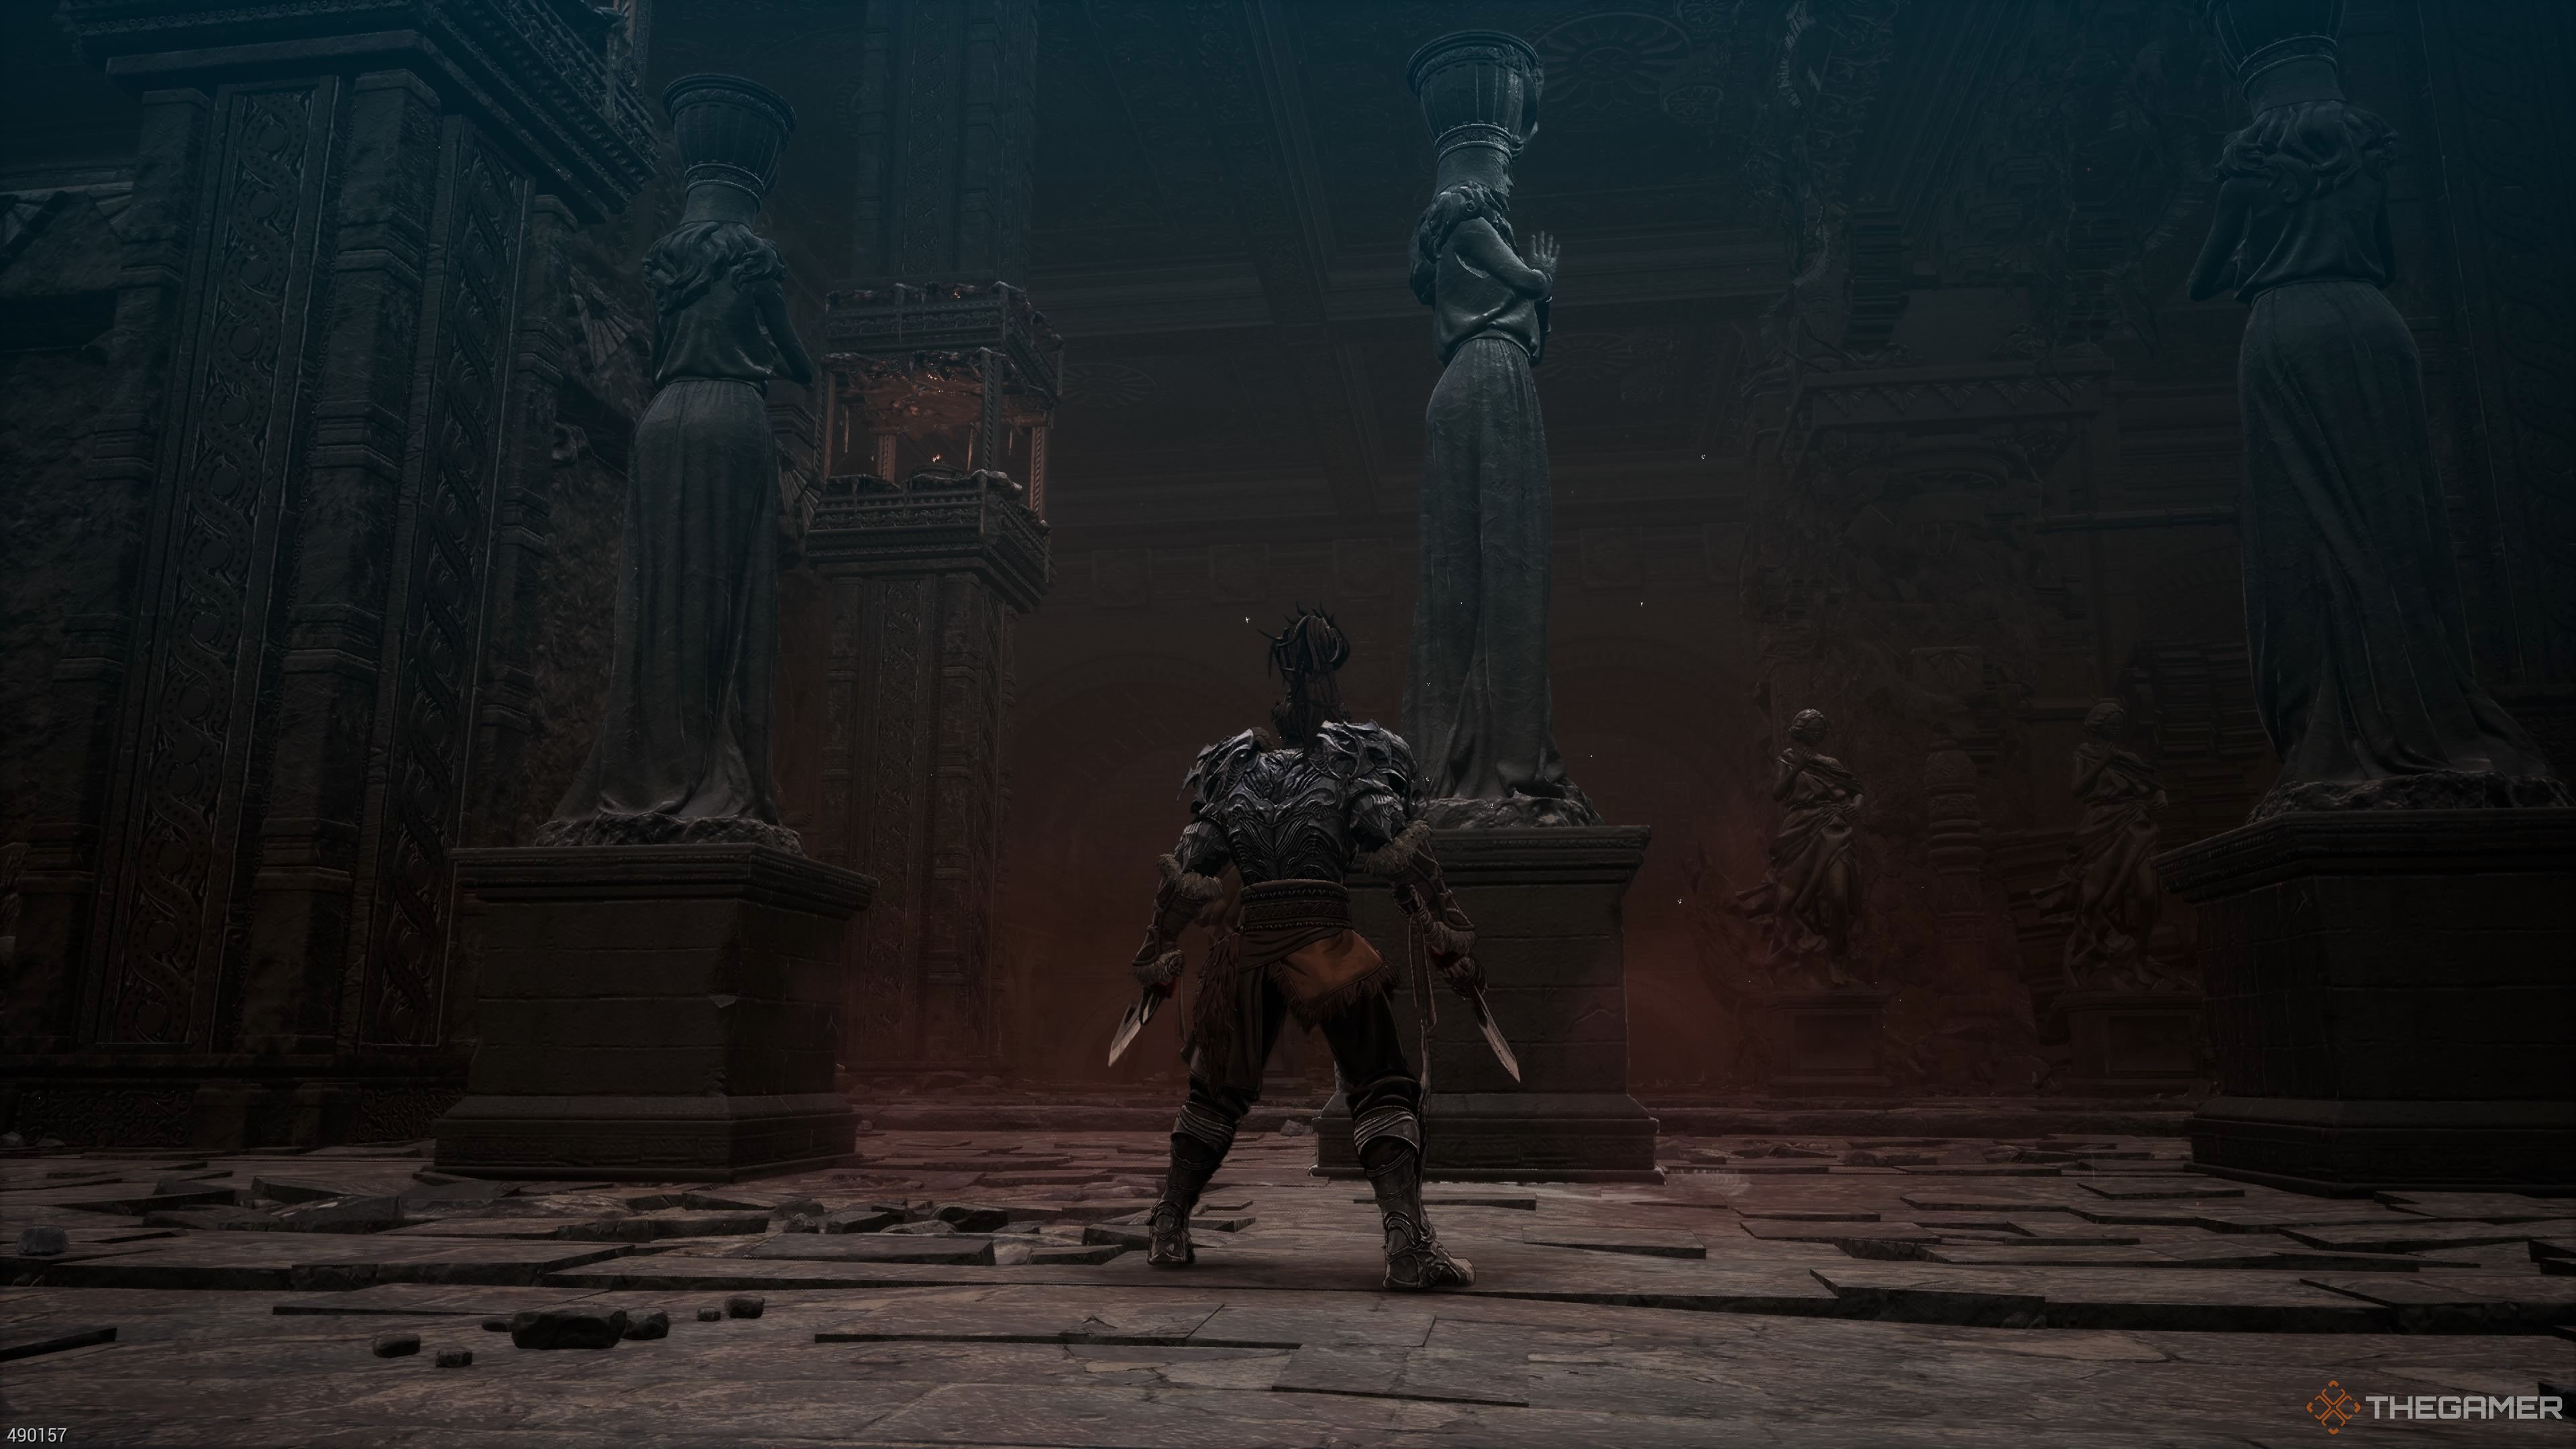
Currently, retrace your steps through the doors, ascend the stairs, and you’ll arrive at a colossal church housing three lizard figures engaged in devotion at an icon. Eliminate the largest one using spears. Gather the Archeologist’s Tears of the Soul located centrally within the room.
The Second Soulstone

To your stair’s right side, you’ll find two more lizard-like beings, one of them is an archer. Once you’ve dealt with them, search for the “Soulstone (2/3)” concealed among a cluster of pots. Then, ascend the stairs. If you veer to the left, you’ll encounter some Dragonkin to battle. Defeating them will reward you with a “Fire Resistance Elixir” and a “Concentrated Earth Essence” hidden behind some crates.
Heading rightward and venturing forward, you’ll find yourself facing off against a Dragonkin warrior and an archer just outside a door leading to the third floor. Inside this very room, you’ll discover two tiny Spirit Orbs. Be cautious though, as there’s a trap in the center of the room that releases arrows!
On your right, there are two archers. After neutralizing them, lower yourself through the gap in the railing. You’ll notice a musician below who seems to be playing music. Collect the Soul Tears from the Bandit’s corpse. Pick up the shining, golden-radiant orb to gather additional Nethrealm Energy. Now, converse with the bard.
The Bard’s Shop
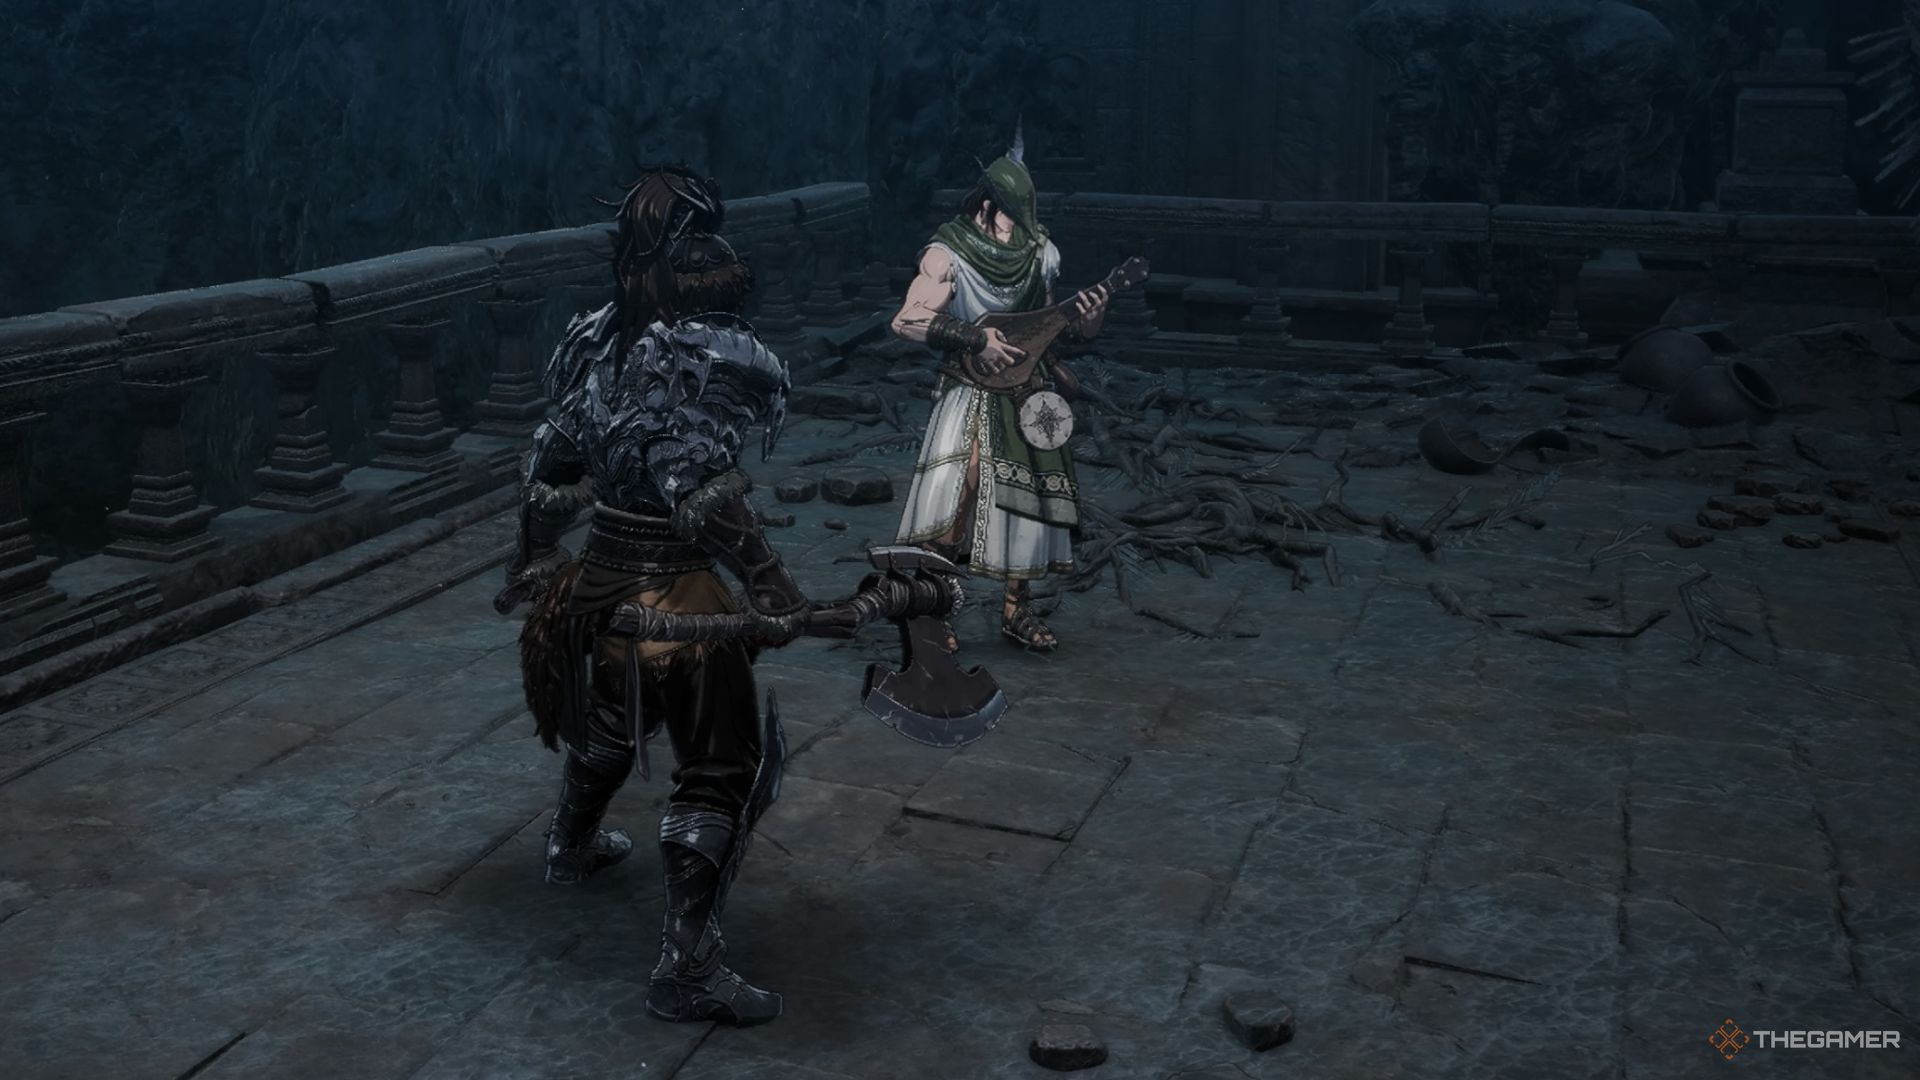
You can chat with the vendor and exchange some friendly banter, but his main role is to offer you merchandise. The most captivating items he has are three Primeval Regression Orbs, which enable you to reconfigure a statistic. Here’s what we have available for purchase:
1. Three Primeval Regression Orbs (Allows stat reset)
2. [Other items]
3. [More Items]
4. [Additional Items]
| Item | Amount | Cost |
|---|---|---|
| Poison Cleanse Potion | 2 | 3,000 |
| Plague Cleanse Potion | 2 | 3,000 |
| Assassin’s Elixir | 20 | 1,500 |
| Vitality Sphere | 20 | 1,500 |
| Primeval Regression Orb | 3 | 10,000 |
| Concentrated Water Essence | 5 | 2,100 |
| Fire Cleanse Potion | 2 | 3,000 |
As you ascend to the third level, you’ll meet two dragonkin warriors and a pair of archers first. Later on, you’ll face off against a tough mid-level boss – a formidable dragonkin warrior armed with a large mace. This monster has a special move called Burst Attack, which involves spinning rapidly. Once you notice the symbol for this move, it’s best to quickly retreat and maintain some distance. Whenever the boss misses an attack, take advantage by launching combos. The boss’s attacks are relatively slow, so it should be fairly straightforward to dodge between them as you attack.
After ascending three flights of stairs, you’ll encounter imposing doors that are too solid to open. On your right, there’s a cell housing a lever, but it remains inaccessible. To your left (though concealed by large stone debris), there’s a room where a dragonkin warrior and archer reside. Here, you’ll find some Reports about the Dragonkin. Activate the lever in that hidden room, which will illuminate the left side of those massive doors. Unfortunately, you can’t gain access to the cell just yet, so proceed along the hallway towards the elevator instead.
Beneath the Forgotten Temple
| Enemies | Dragonkin Warrior (sword), Dragonkin Warrior (claws), Dragonkin Archer, Undead Archer, Undead Ice Archer, Undead Swordsman, Undead Vagrant |
|---|---|
| Treasures | 2x Soul Tear Dust, Lacrima of Circulation, Necklace of Avarice, Ghost Gem |
| Soulstone? | 1 |
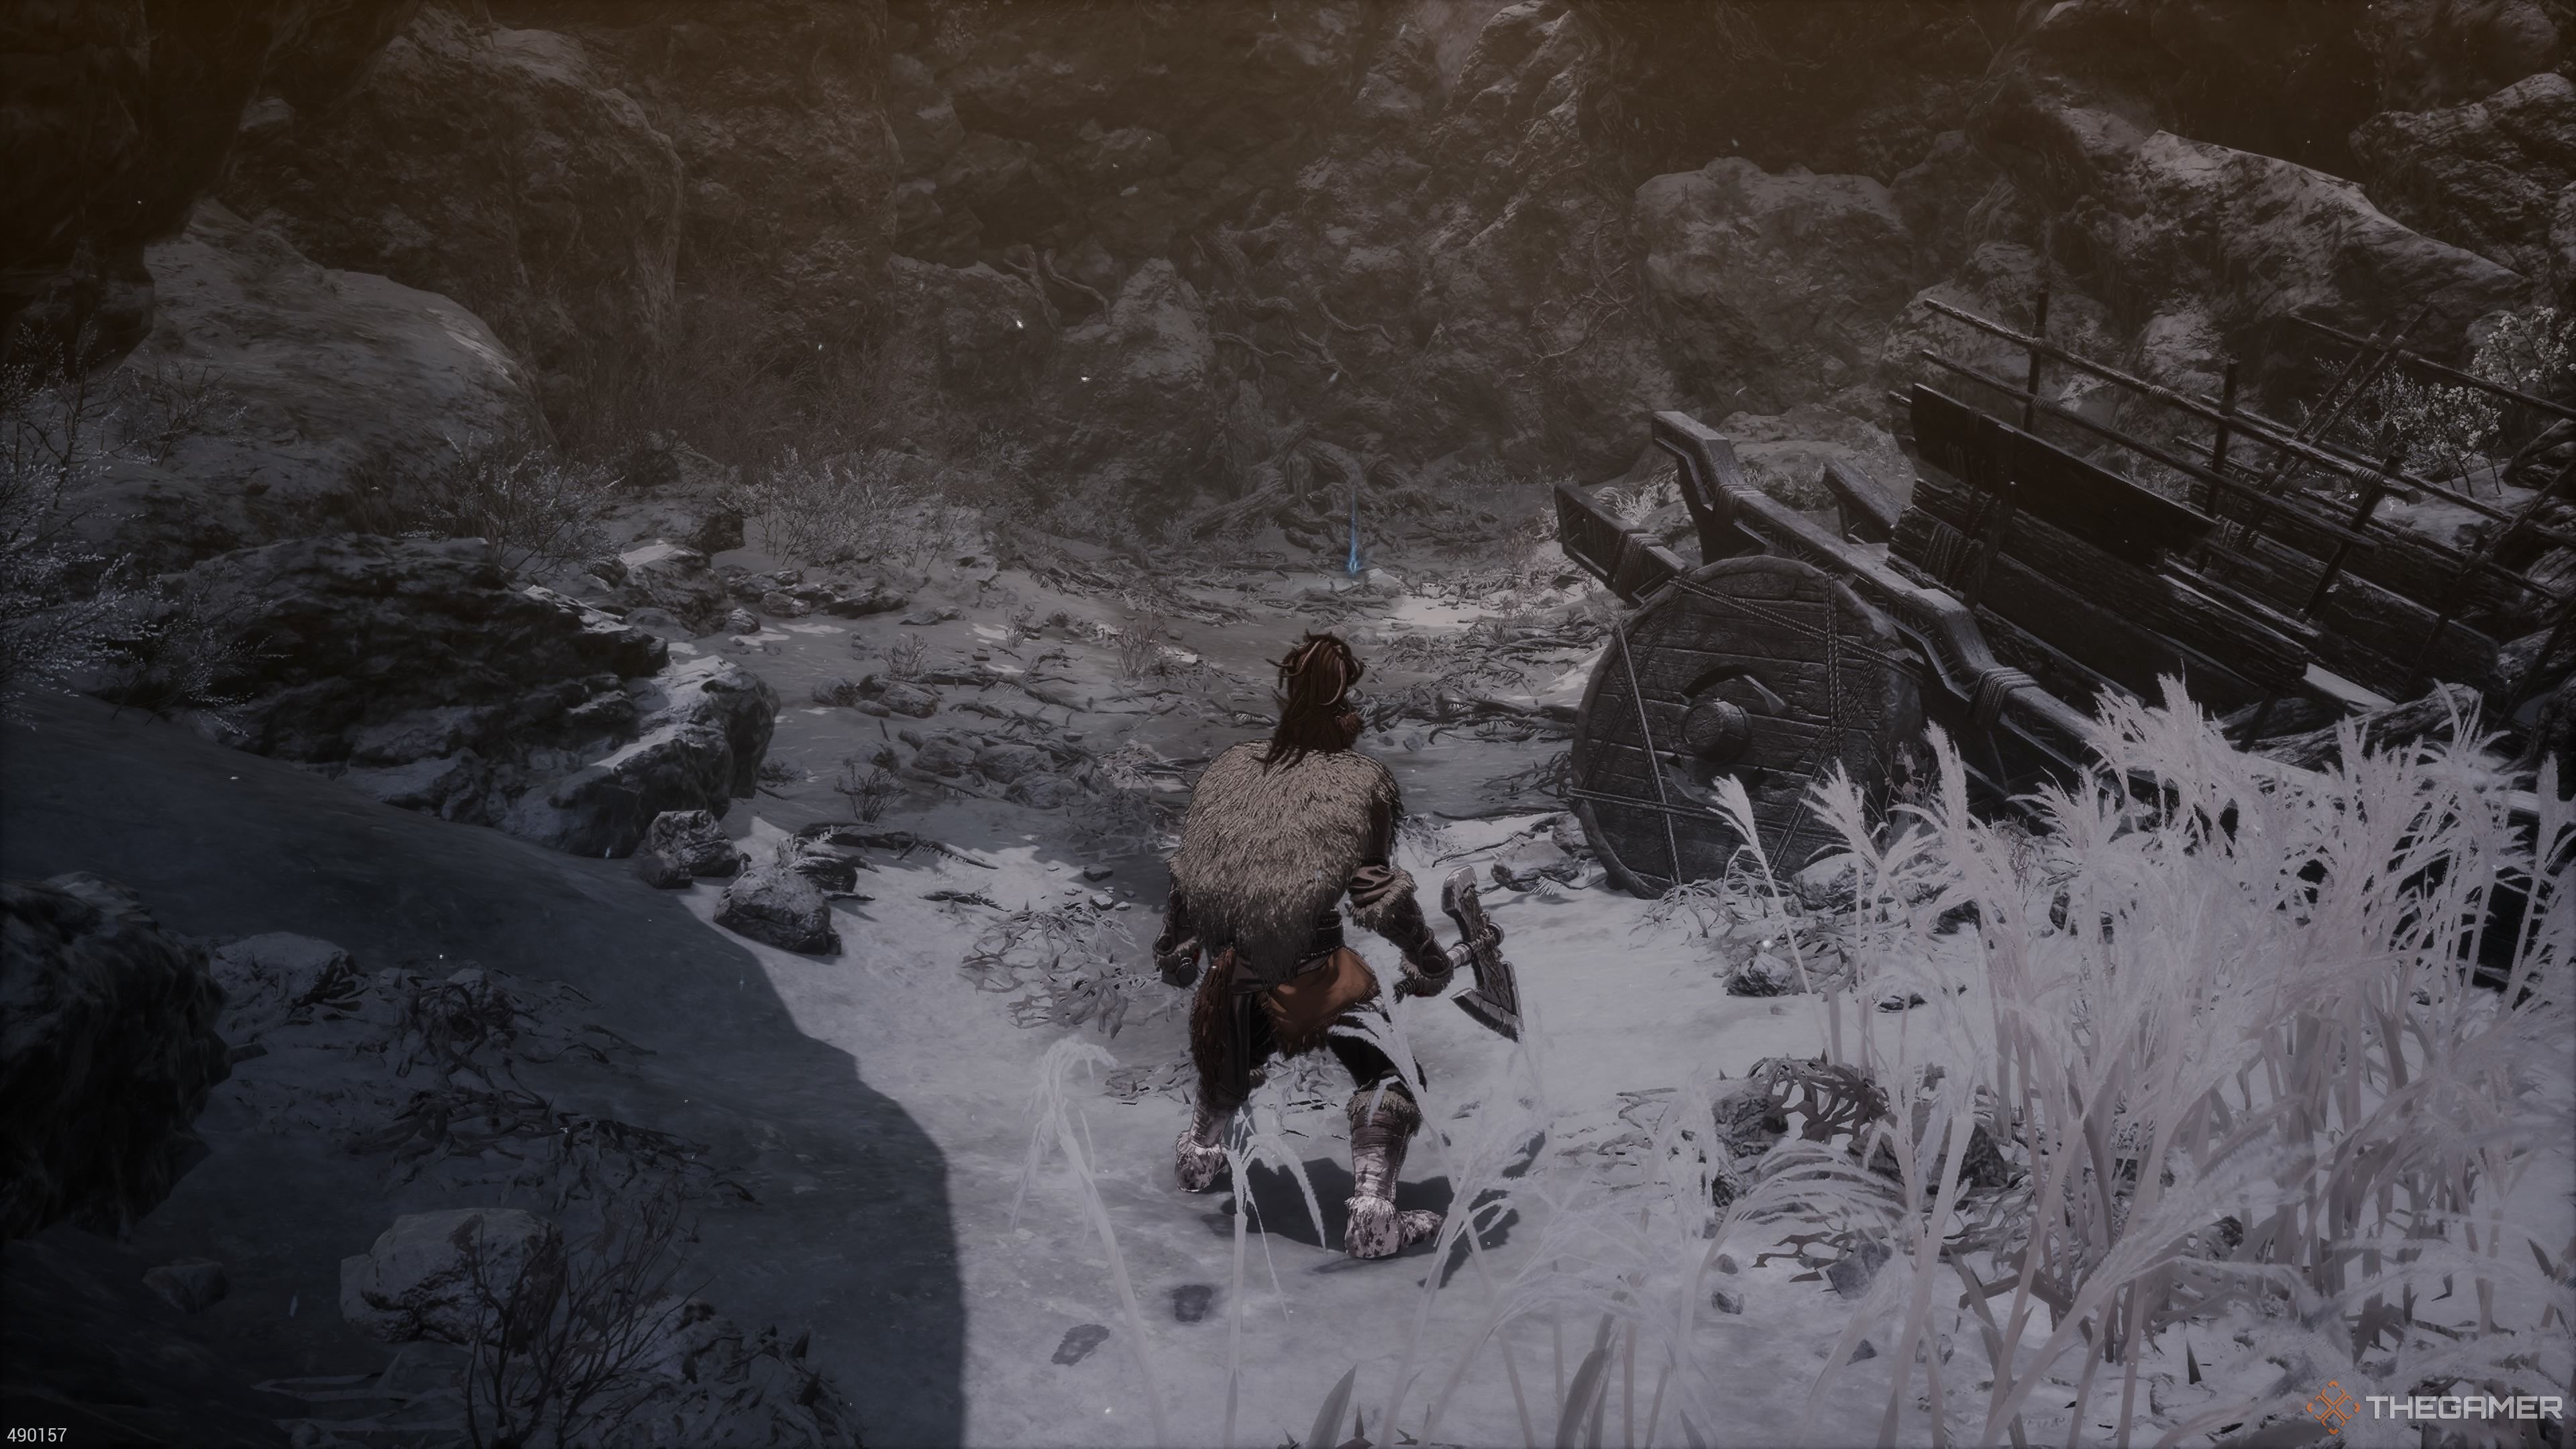
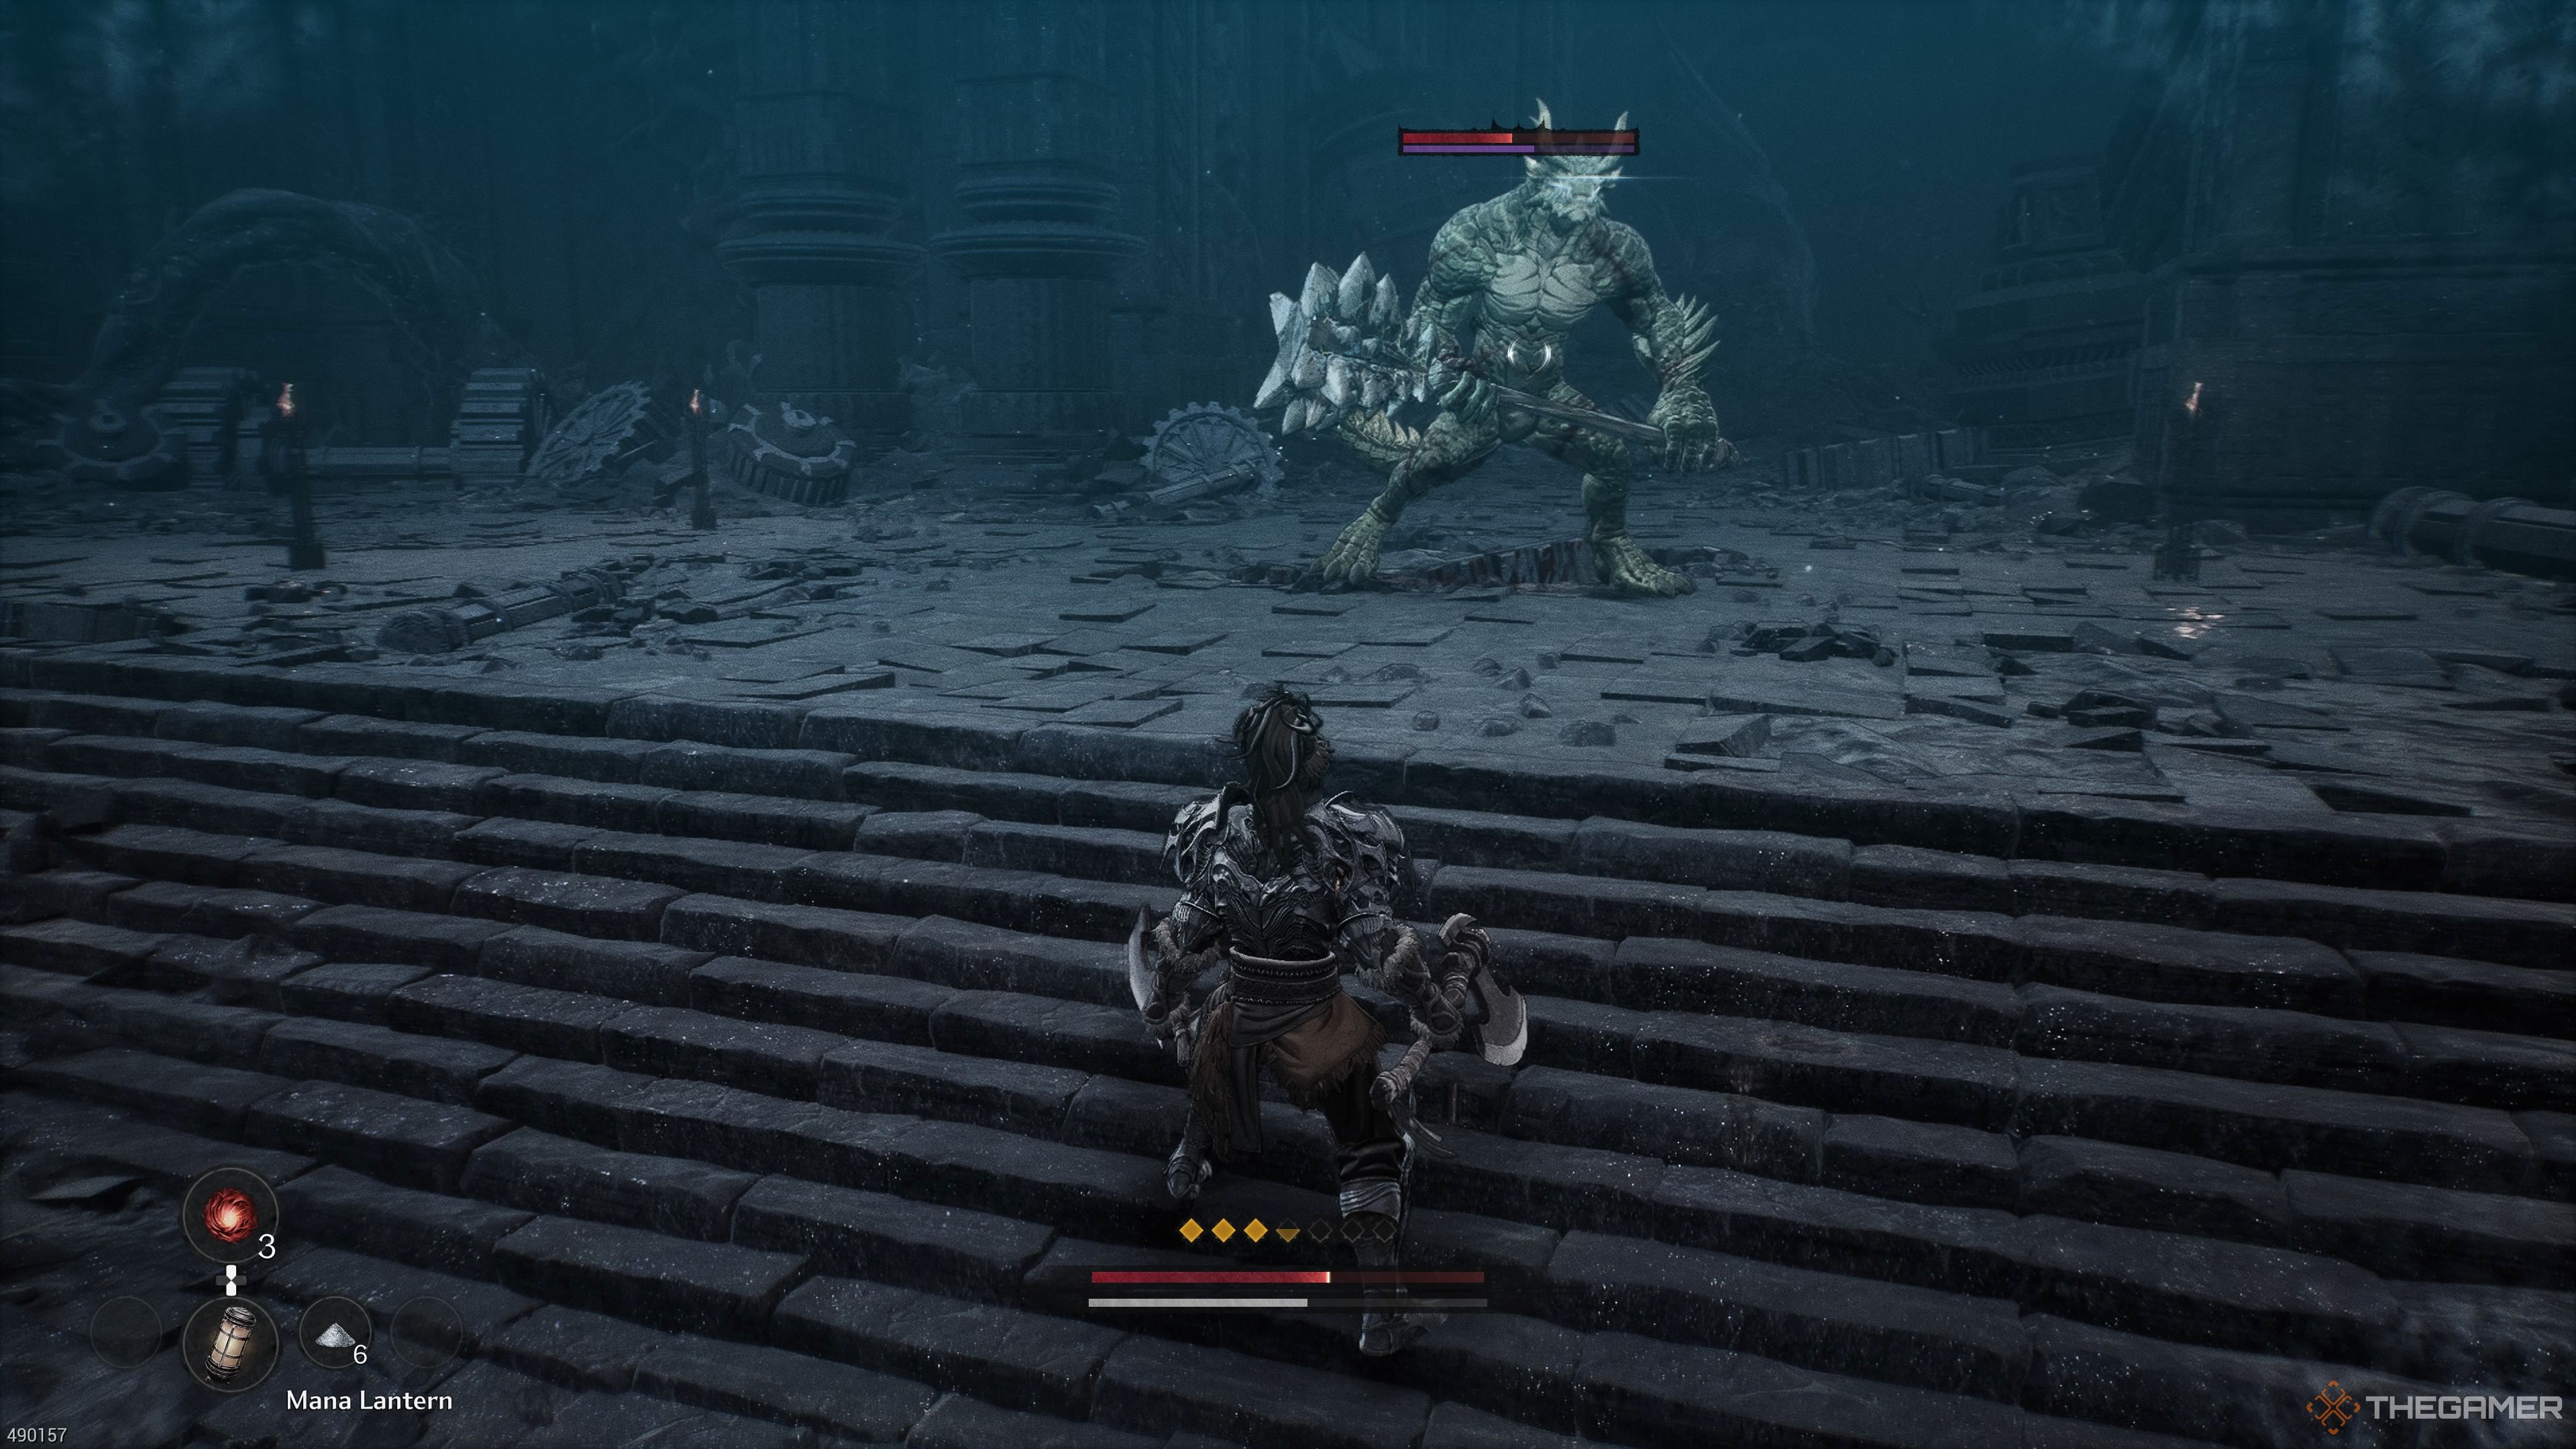
Following this path will take you to the region beneath the Forgotten Temple, where you’ll find a Blade Nexus too. Keep moving forward and you’ll come across Daphrona. Speak with her to summon Soulstones. To your right, you’ll face two dragonkin enemies. Defeat them and proceed. Further along this path, you’ll encounter the Dragonkin Lancer as a mid-boss.
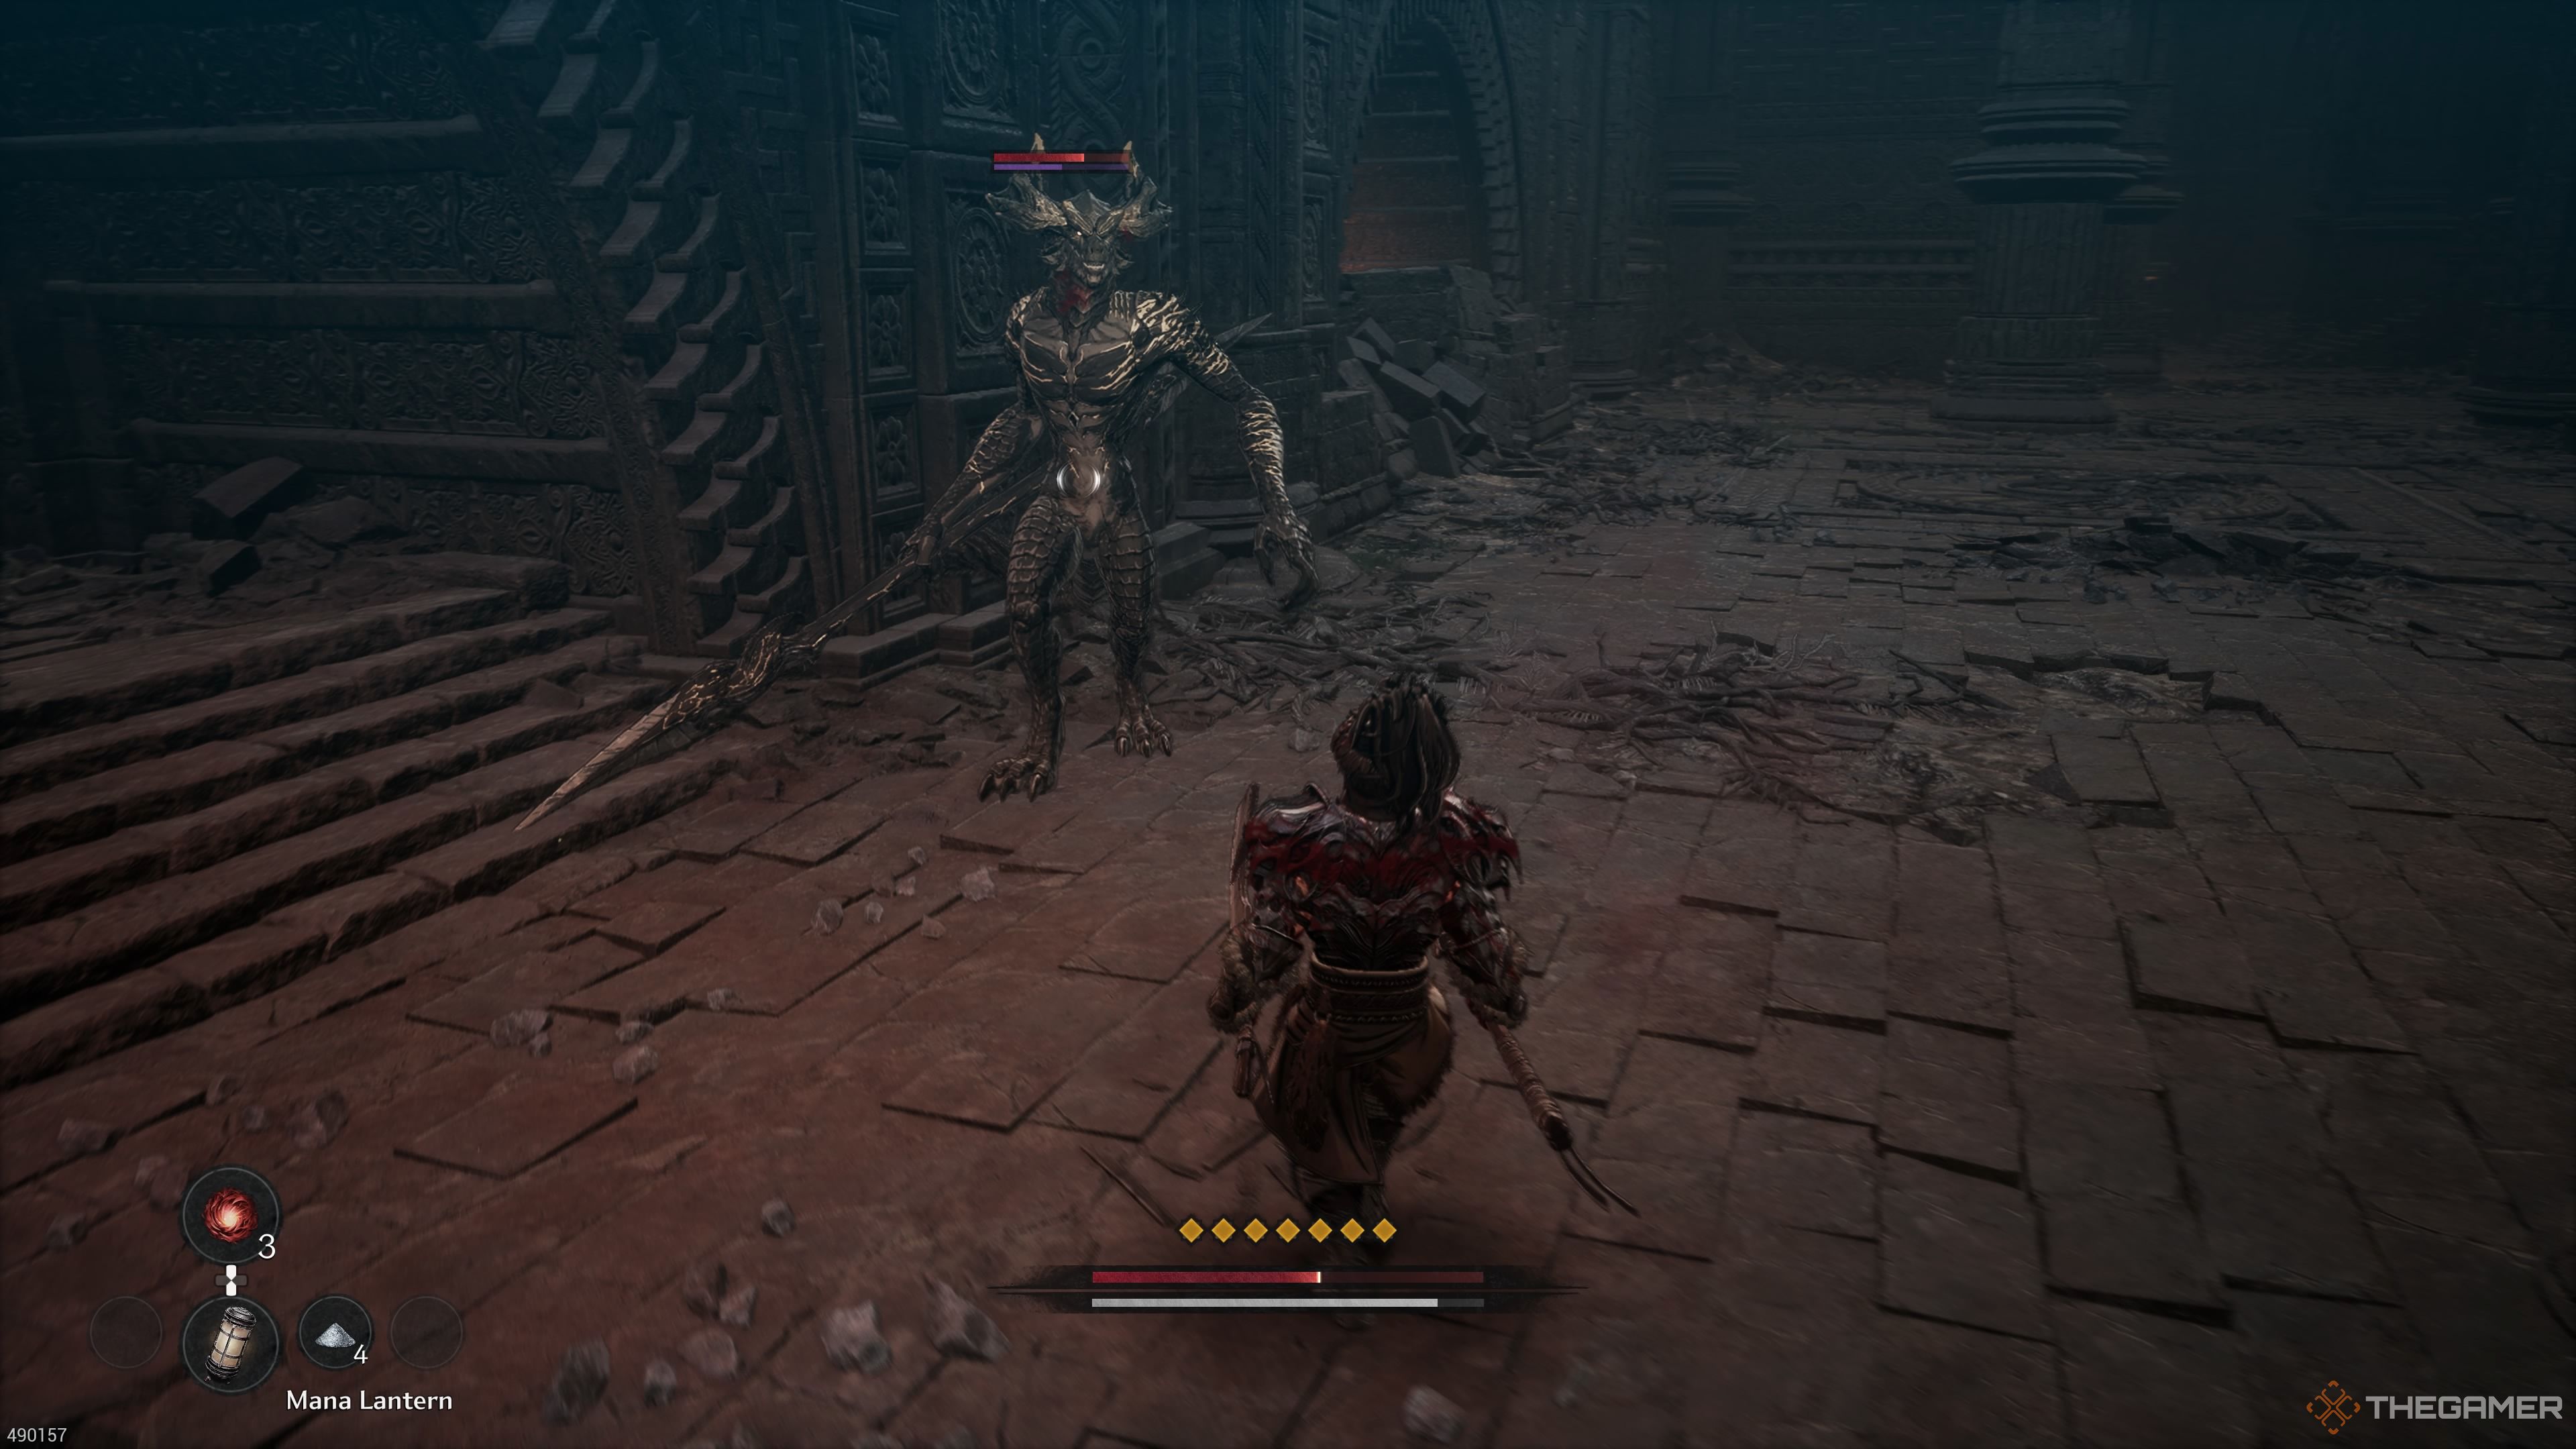
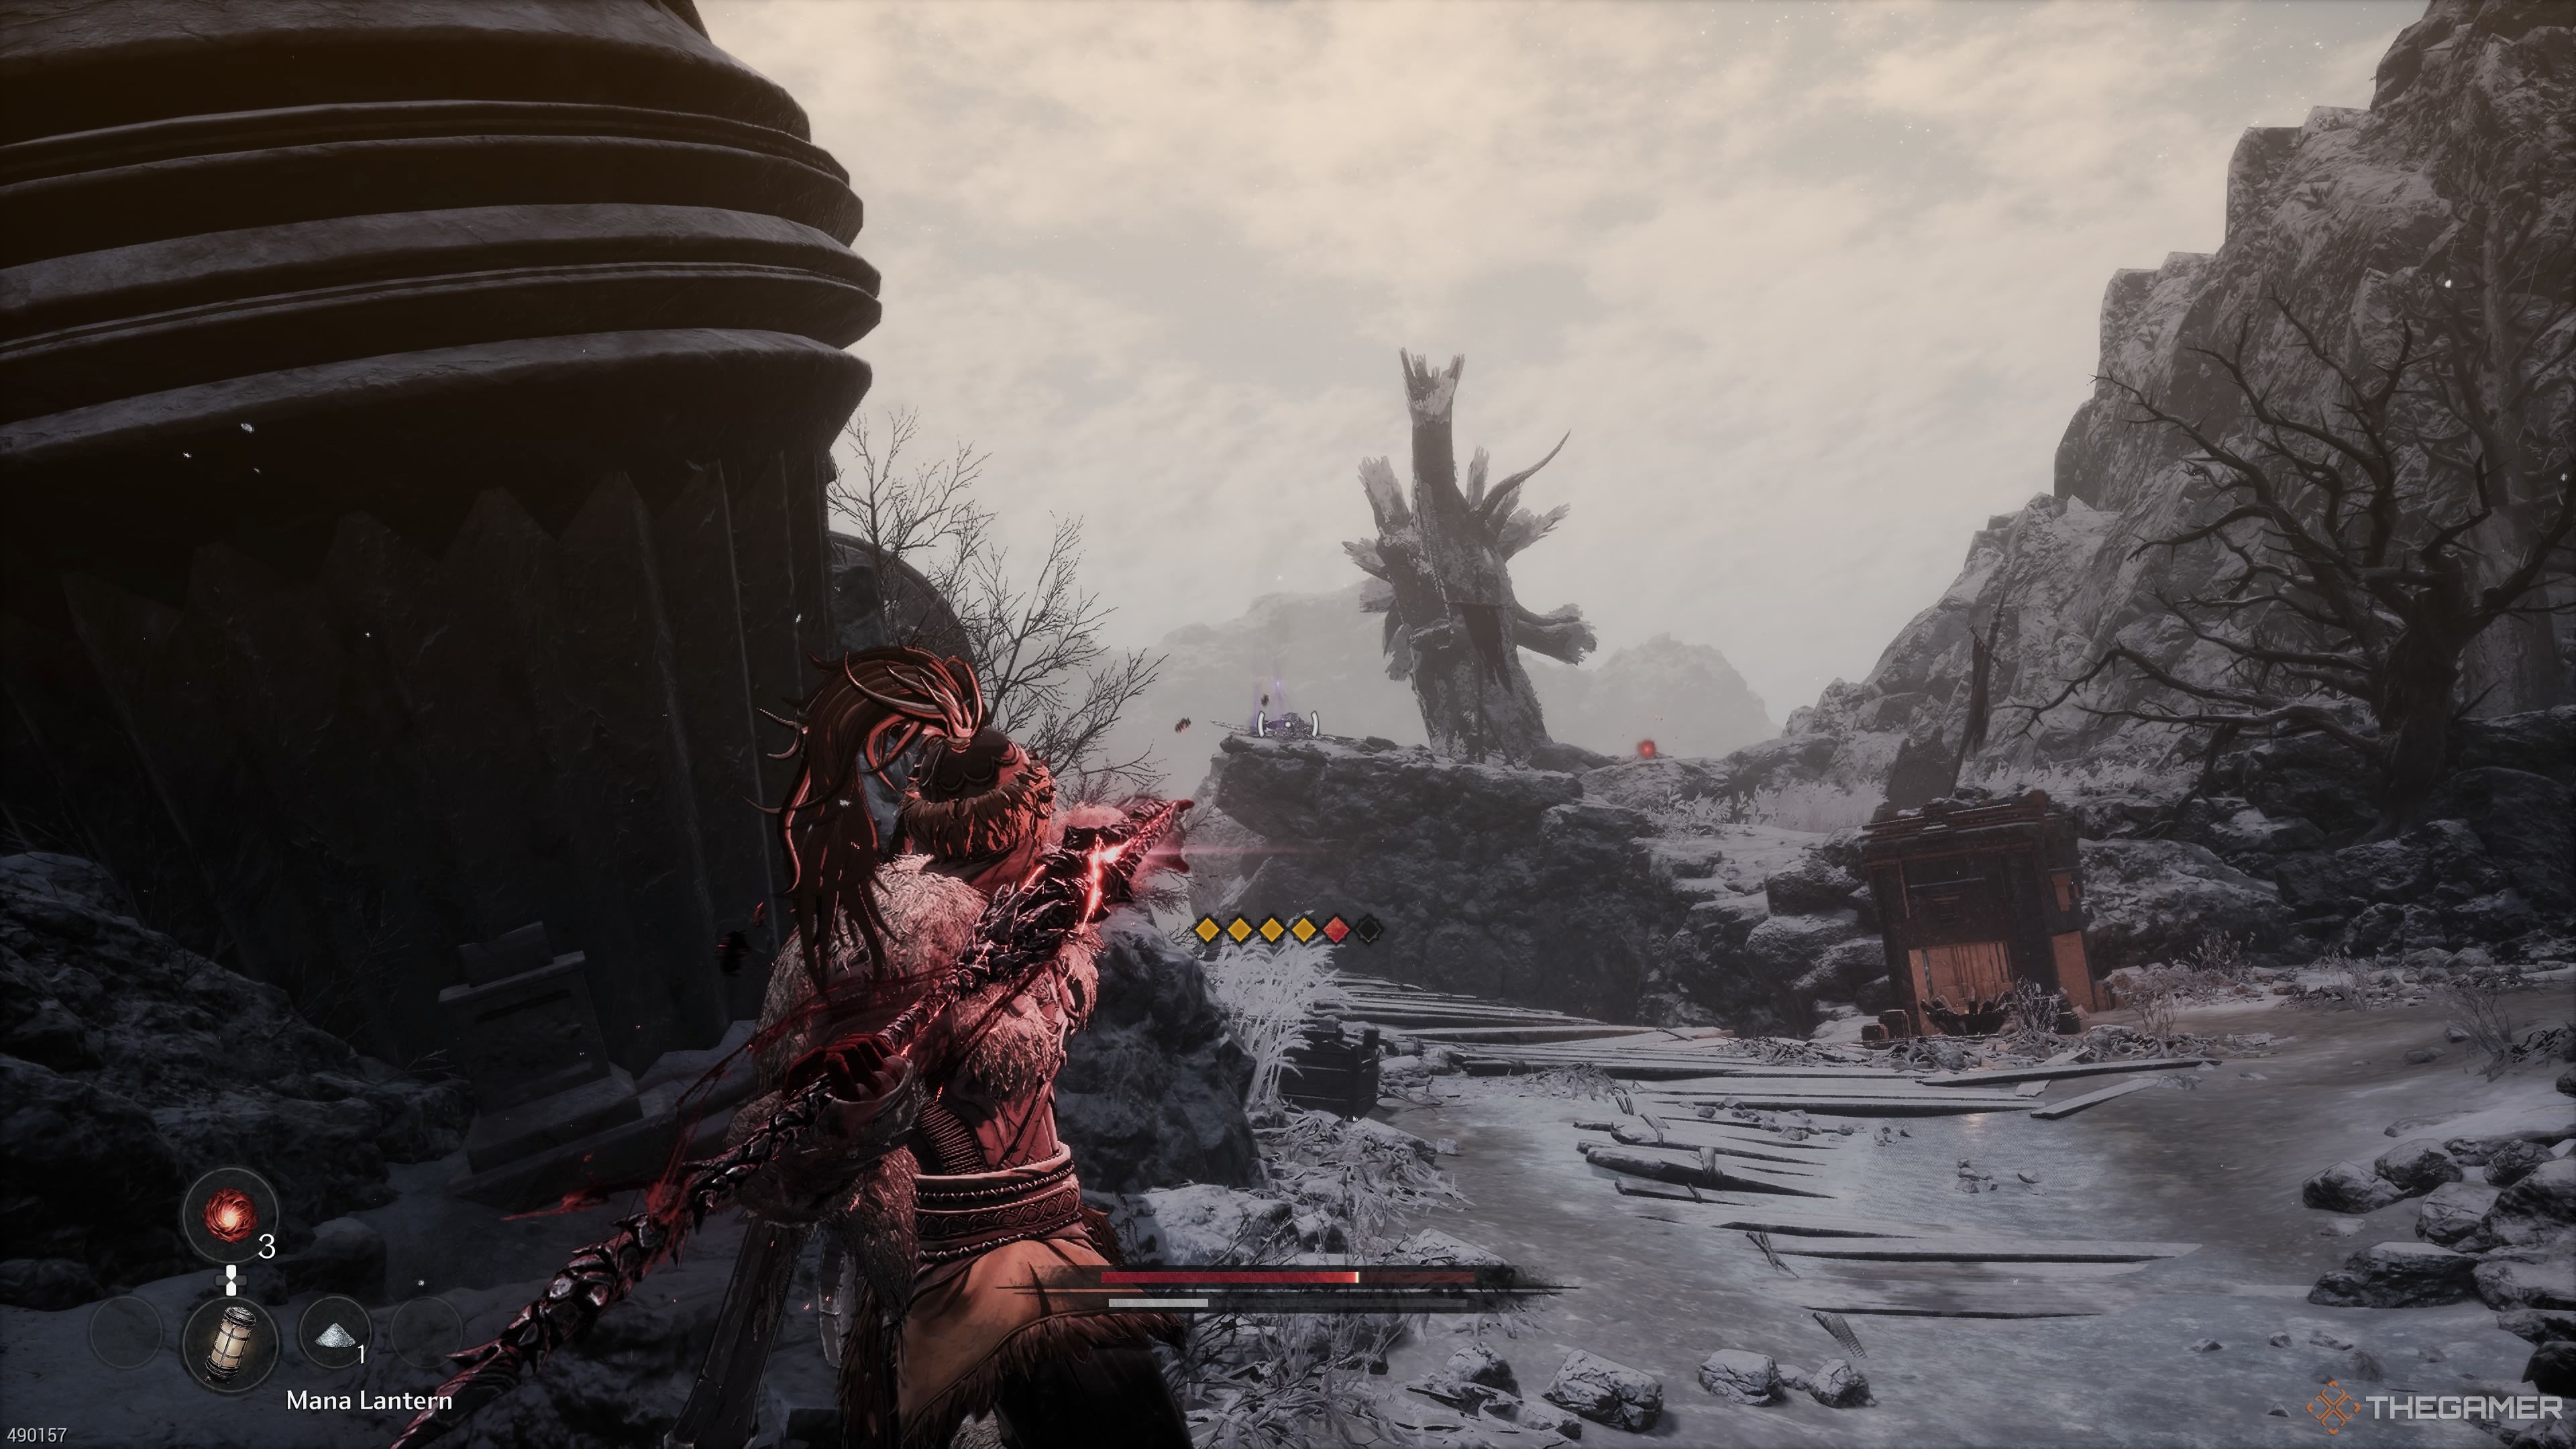
This one sports a large javelin and enjoys soaring to great heights before diving towards its target. Besides these acrobatic moves, it has two combos at its disposal: a three-part sequence consisting of two stabbing attacks followed by a wide swing, and another three-part sequence made up of three broad sweeping attacks. If you see it twirling its javelin overhead, be prepared for the horizontal slashing combo that follows. It becomes vulnerable after performing its jumping attack.
In the Dual Wield skillset, the Whirlwind attack does a great job of dodging most of the dragonkin’s combo sequences.
To your right lies a room containing three dragonkin combatants: one sword-wielding, another with claws, and the third an archer. If these two melee fighters spot you, it’s safer to exit through the door and tackle them in the hallway first, then re-enter the room to eliminate the archer. Be wary, there’s a trap at the back of the room! It would be wise to eliminate any dragonkin lurking around the corner before approaching it. The items you’ll find here are three Elixers for Poison Resistance, and some valuable Soul Tear Dust as well.
Return to the location where you encountered the dragonkin lancer, and ascend the stairs. In this large room, you’ll face several dragonkin slashers and warriors. An archer can be found on the opposite side of the row of statues. Near the archer, you’ll discover a Scout’s Worn Journal from Times Past. For now, disregard the side-room.
The First Statue Puzzle
You’ll observe that there are two sets of statues, and within each set, one statue faces opposite to the rest. You’ll want to rotate these statues so they all face the same direction. Doing so will cause a bridge to rise. Now, you should proceed into the adjacent room.
In this region, you’ll find two stationary, icy archers resembling the undead. Eliminate one using your javelin, and make sure to follow up with another javelin strike at its frozen form. After that, ascend the stairs and neutralize the second archer. Be cautious as there’s a hidden undead warrior armed with a club upstairs. Keep an eye out for more undead warriors emerging from the ground near the corner cell in this room. There’s an Earth Enhancer stored within the cell.
In an adjacent chamber lies a box. Be aware, it is a trap! The moment you unlock it, it will explode, so open it and move away quickly. Inside, you’ll discover a Frozen Mountain Spear. After dealing with this area, ascend and notice the bridge you recently raised. Interact with the peculiar gadget to lower the gate that leads to the colossal machinery. Follow the ladder downwards.
Upon stepping into the room carrying your device, turn to your left. This will lead you to the opposite end of the space where Daphrona is usually found relaxing. In this area, you can pick up a Fire Enhancer. Then, make your way back, towards the entrance but on its right side, and you’ll come across a room housing a Blade Nexus.

From the Blade Nexus, ascend the winding staircase and eliminate the pair of archers there. Atop the following set of steps, encounter two Dragonkin slashers and an additional archer, all resting. Awaken them by dispatching one with a javelin. Be cautious, any pots that are releasing smoke could potentially detonate if struck. Traverse down the ladder to obtain two Willpower Orbs (and then climb back up).
In an adjacent chamber, you’ll find an archer stationed on a bridge. Eliminate him using a spear. Be wary, there are dragonkin warriors feigning sleep around a colossal structure in the room’s center. Once they’re neutralized, retrieve the Soul Tear Dust from their remains.
On the bridge where the archer previously stood, you’ll find a Water Booster. Additionally, t
1. There’s a Water Booster on the bridge near where the archer was. A chest there contains a Neglected Greatsword, Ashen Wolf Helmet, Ashen Wolf Pants, and another Water Booster.
2. Once you clear this area, head up the stairs to find your first Elite Enemy. This is a stronger version of the church’s top staircase foe. Defeating him will give you a Hunter’s Scroll, Neglected Greatsword, Butchers Shoulder Armor, Soul Eater’s Leg Armor, and Concentrated Water Essence.
3. Additionally, in this area, you’ll find a Ghost Gem.
The Second Statue Puzzle And The Final Soulstone
In this chamber, there’s another intriguing statue riddle at hand. This time, you encounter three statues to rearrange. Your goal is to align them so they face the trio of statues that are nestled against the wall. By doing so, it elevates the stone pedestal, facilitating your progression. Remember to obliterate the Soulstone (3/3) using a javelin before departing this room. It is situated at the location where the three statues that recently lowered previously stood.
The ground just beyond the line of statues, which takes you towards the steps, is dangerous – if you dash across it, you risk plummeting to your doom.
Make your way up the staircase, then find the lever on the machinery there. This action will lower a gate in the peculiar gadget-filled room below. Descend the stairs, engage in combat with two skeletons wielding enormous clubs, and seize the Fire Resistance Potion as a reward. You’ll return to the peculiar device-laden room afterward. To your left, you’ll discover three Assassin’s Elixirs and a set of stairs leading downward. Proceed down those stairs. On the bridge ahead, there are two undead soldiers and an archer undead waiting for you.
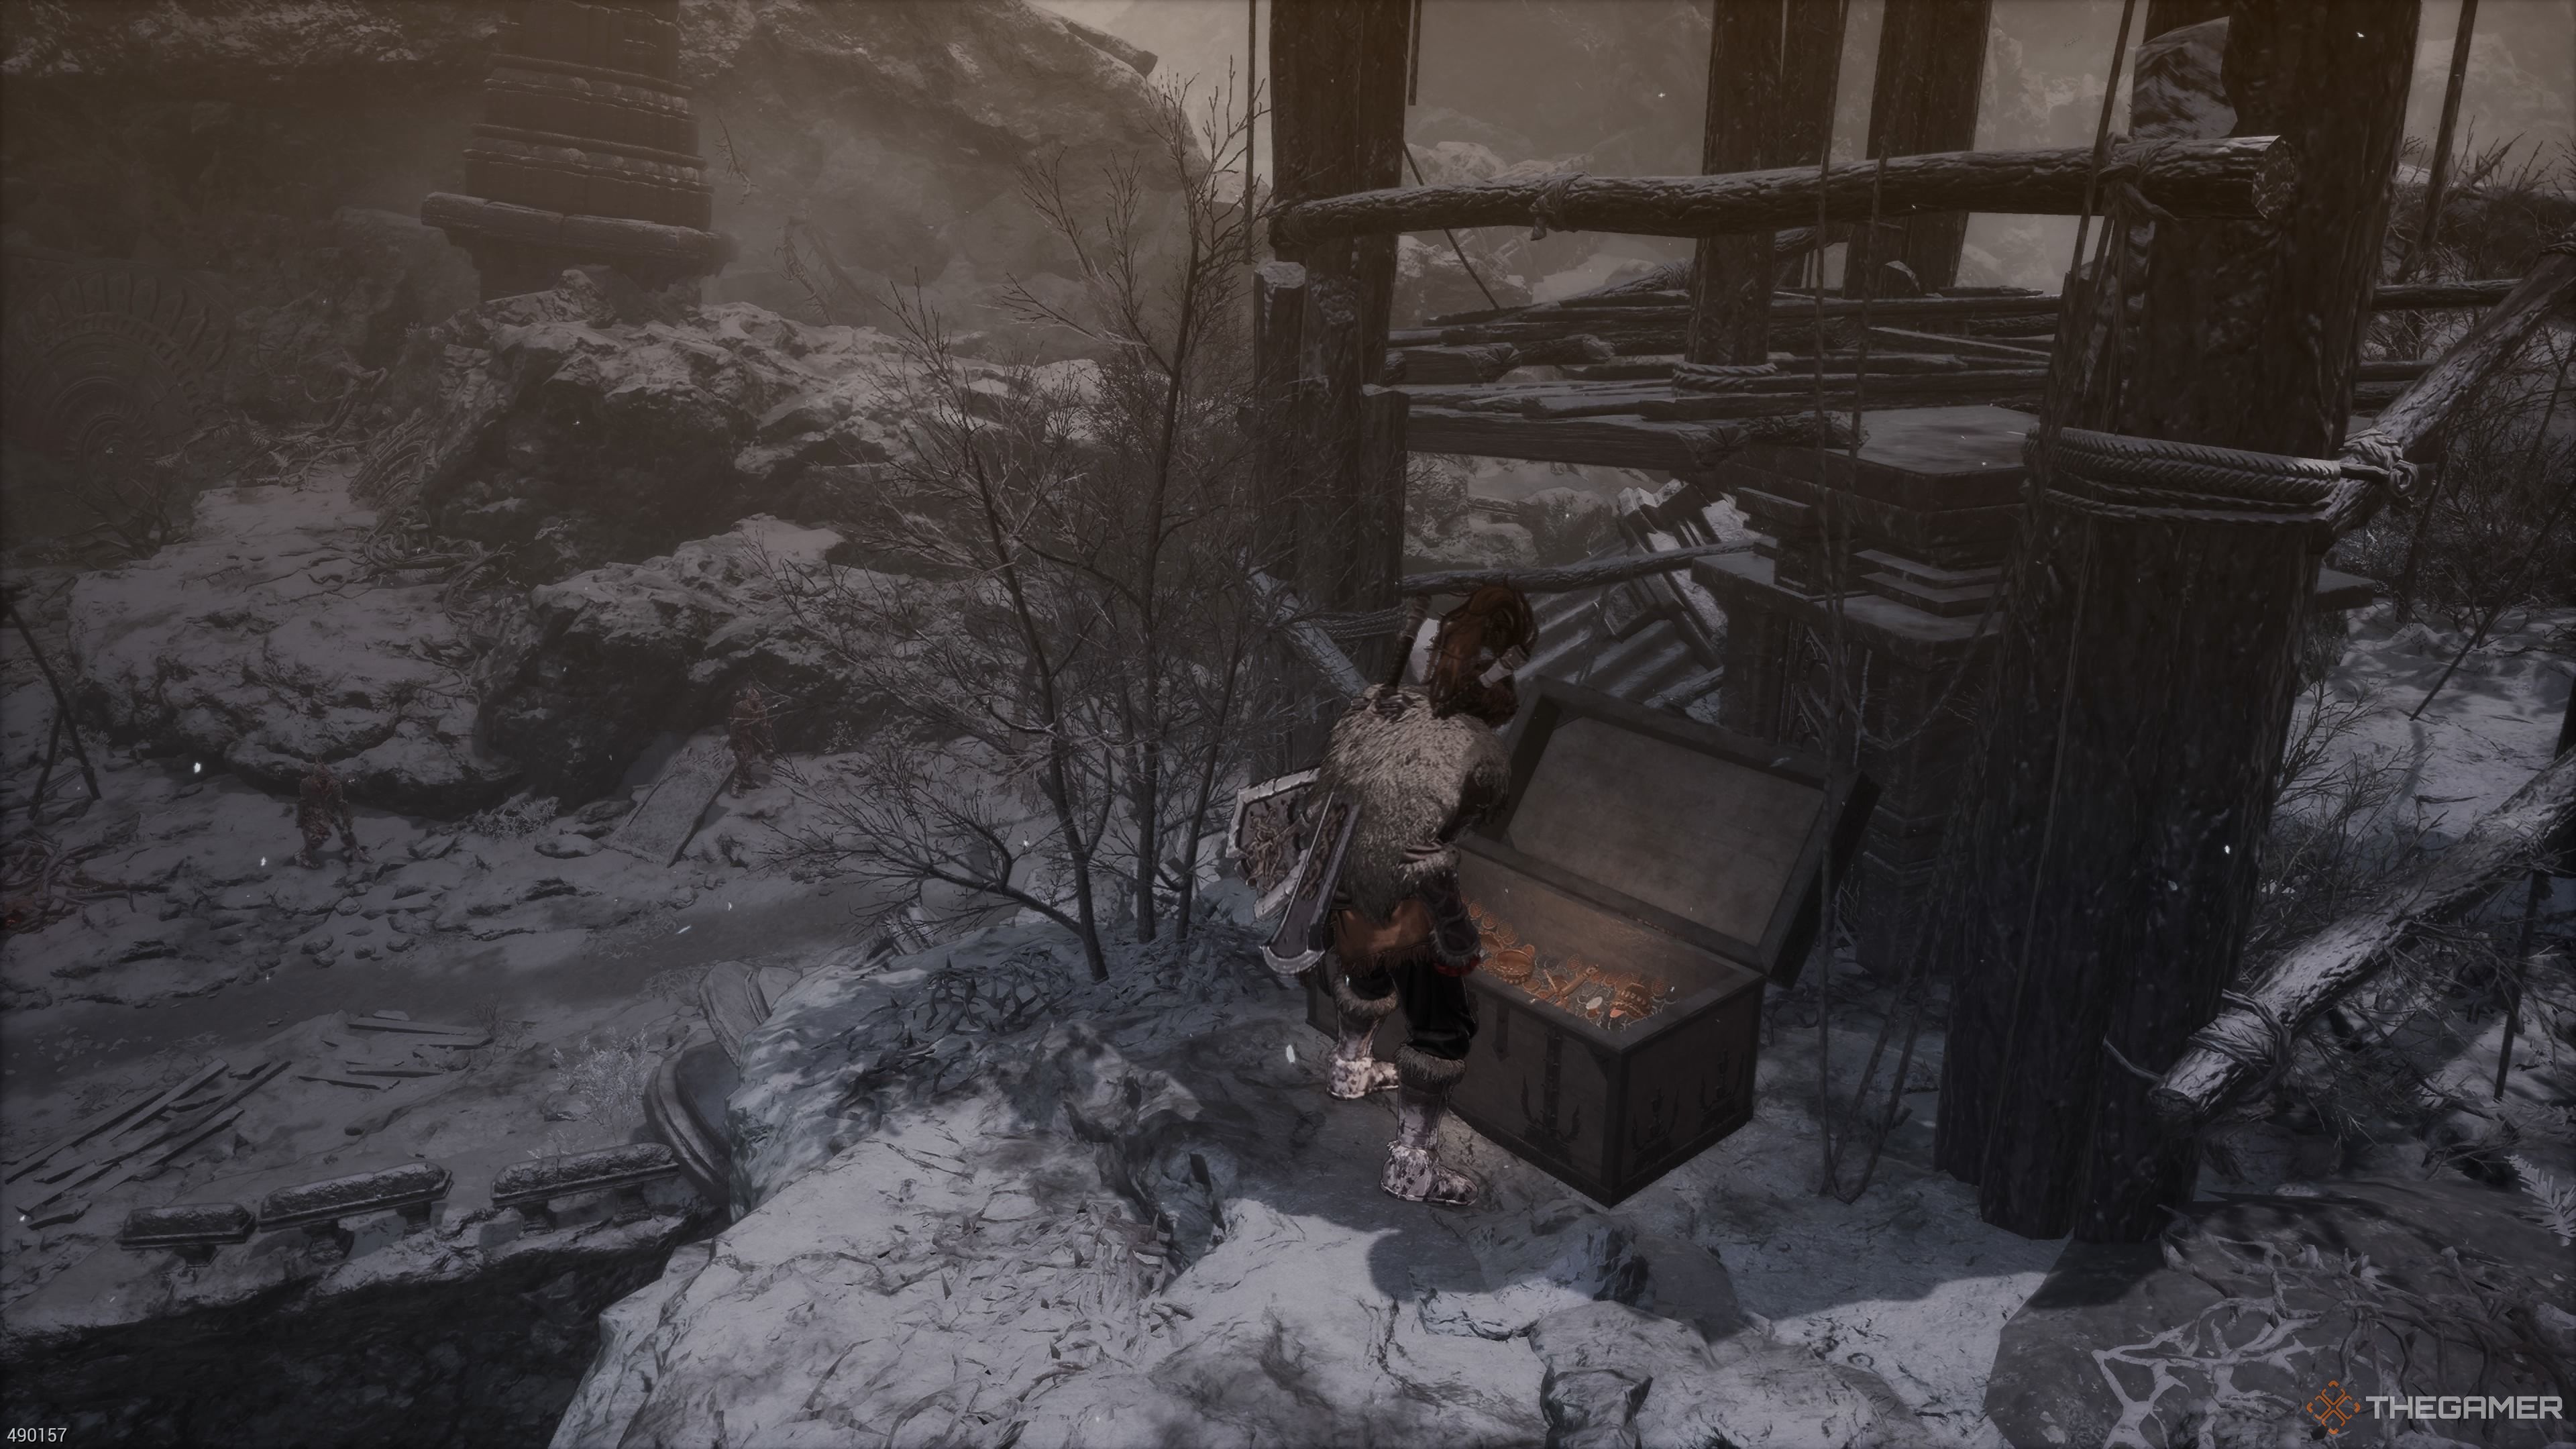
On the opposite side of the bridge, there stands the same colossal skeleton wielding a large sword – it’s the same miniboss you defeated earlier. Proceed along the path, ascend the ladder, and you’ll discover a treasure chest. The contents include an Imperial Soldier’s Greatsword, Hunter’s Vest, Necklace of Avarice, and Fire Spirits Fuel. To progress further, simply jump onto the stone platform and activate the next lever.
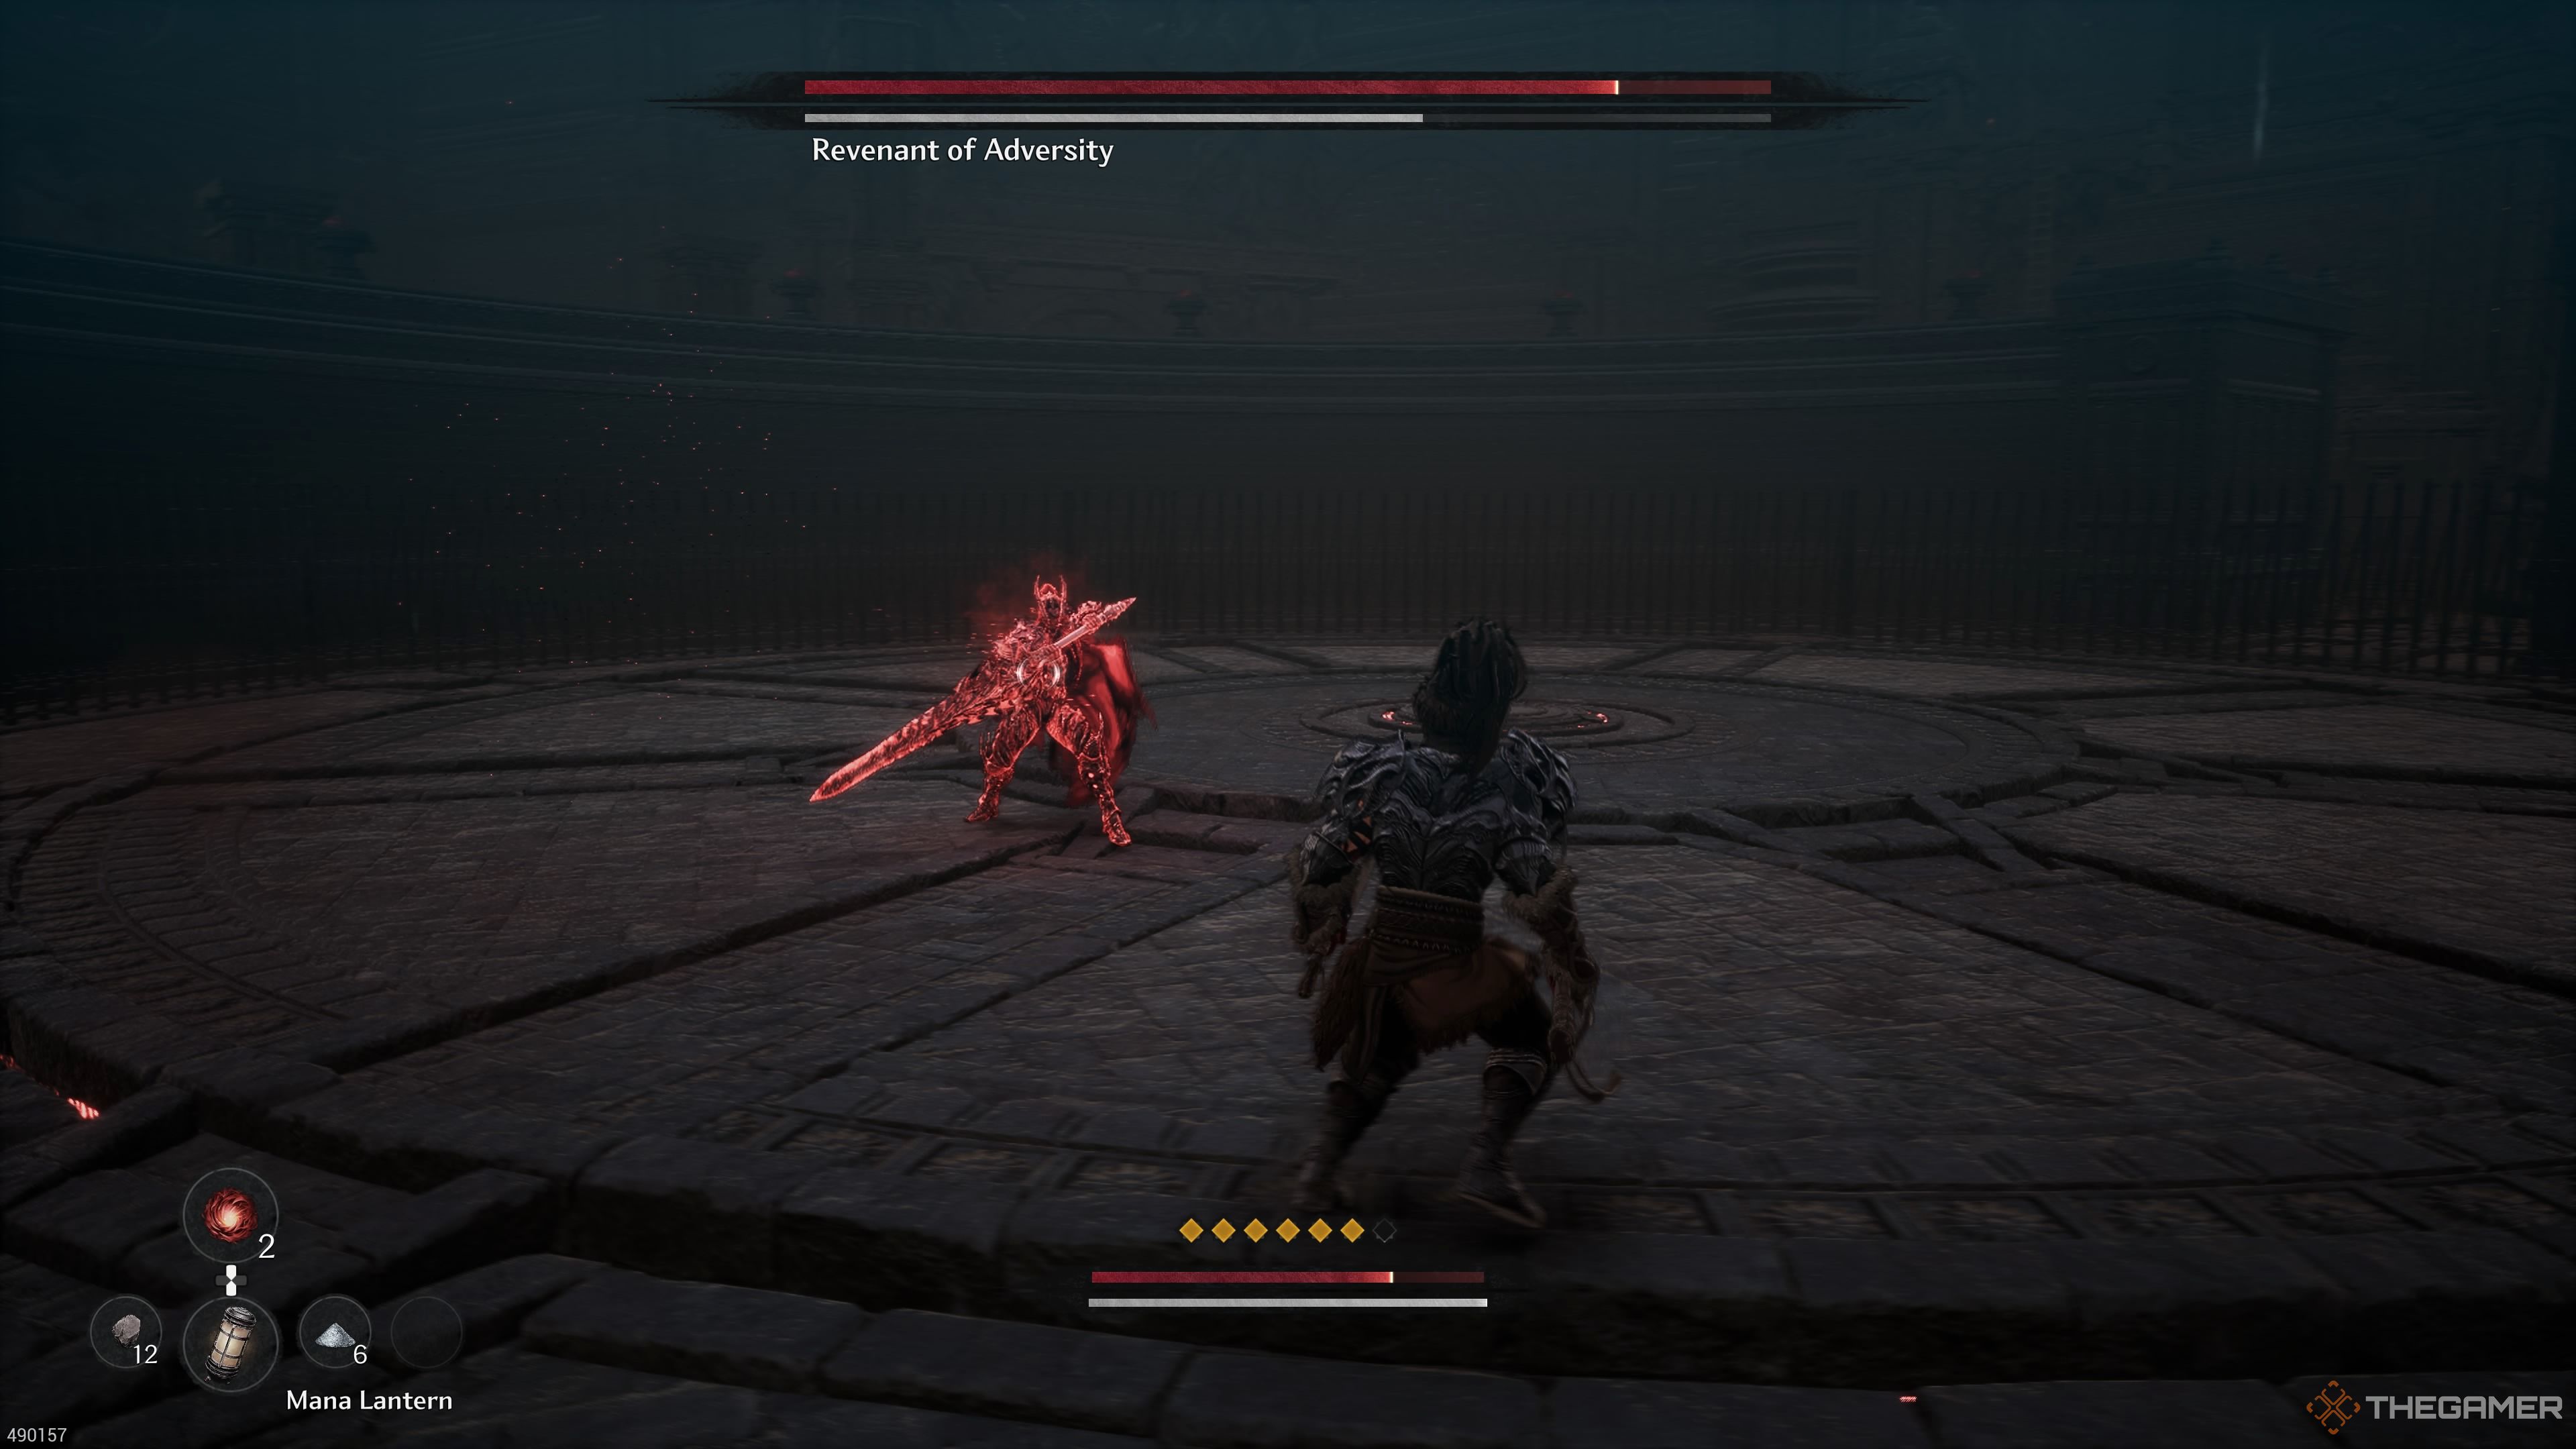
Step into the circular combat arena, squaring off against the Spirit of Adversity – a replica of Khazan. Wielding a massive sword and skilled at deflection, this foe promises a formidable challenge. Overcome them, and the rewards will be yours: the Butcher’s Helm, Hunter’s Shoes, Inner Essence, Spirit Orb, and Lacrima of Circulation. Once victorious, approach the colossal button in the chamber’s heart. Pushing it will unveil the room’s hidden secret – an elevator, whisking you back up to the church, where you can find the familiar cell with the lever once more.
To move the lever, and exit this chamber, you’ll find yourself in the Inner Sanctum of the Overlooked Shrine. Trigger the Nexus of Edges. Upon passing through those massive doors, prepare for battle against the third game opponent: Serpentina, also known as Viper.
Read More
- Best Heavy Tanks in World of Tanks Blitz (2025)
- Death Stranding 2 smashes first game’s Metacritic score as one of 2025’s best games
- [FARM COSMETICS] Roblox Grow a Garden Codes (May 2025)
- Delta Force Redeem Codes (January 2025)
- Here Are All of Taylor Swift’s Albums in Order of Release Date (2025 Update)
- CNY RUB PREDICTION
- Gold Rate Forecast
- Overwatch 2 Season 17 start date and time
- Best Japanese BL Dramas to Watch
- [Guild War V32] Cultivation: Mortal to Immortal Codes (June 2025)
2025-03-24 20:13