As a devoted fan, I must say that the questline of the Thieves Guild stands out as one of the most unforgettable adventures in my Oblivion Remastered experience. However, let me tell you, being a thief isn’t going to be a walk in the park. Whether you’re planning to join the Thieves Guild or aim to master all the Thieves Guild jobs within Oblivion Remastered, here’s a guide on how you can hone your skills to rival the Gray Fox himself.
In this comprehensive tutorial, you’ll learn every step required to finish all the quests in the Thieves Guild and reap the benefits and treasures that come with being a top-notch thief. Dive into the guide below for the complete lowdown on the Thieves Guild specifically designed for Oblivion Remastered.
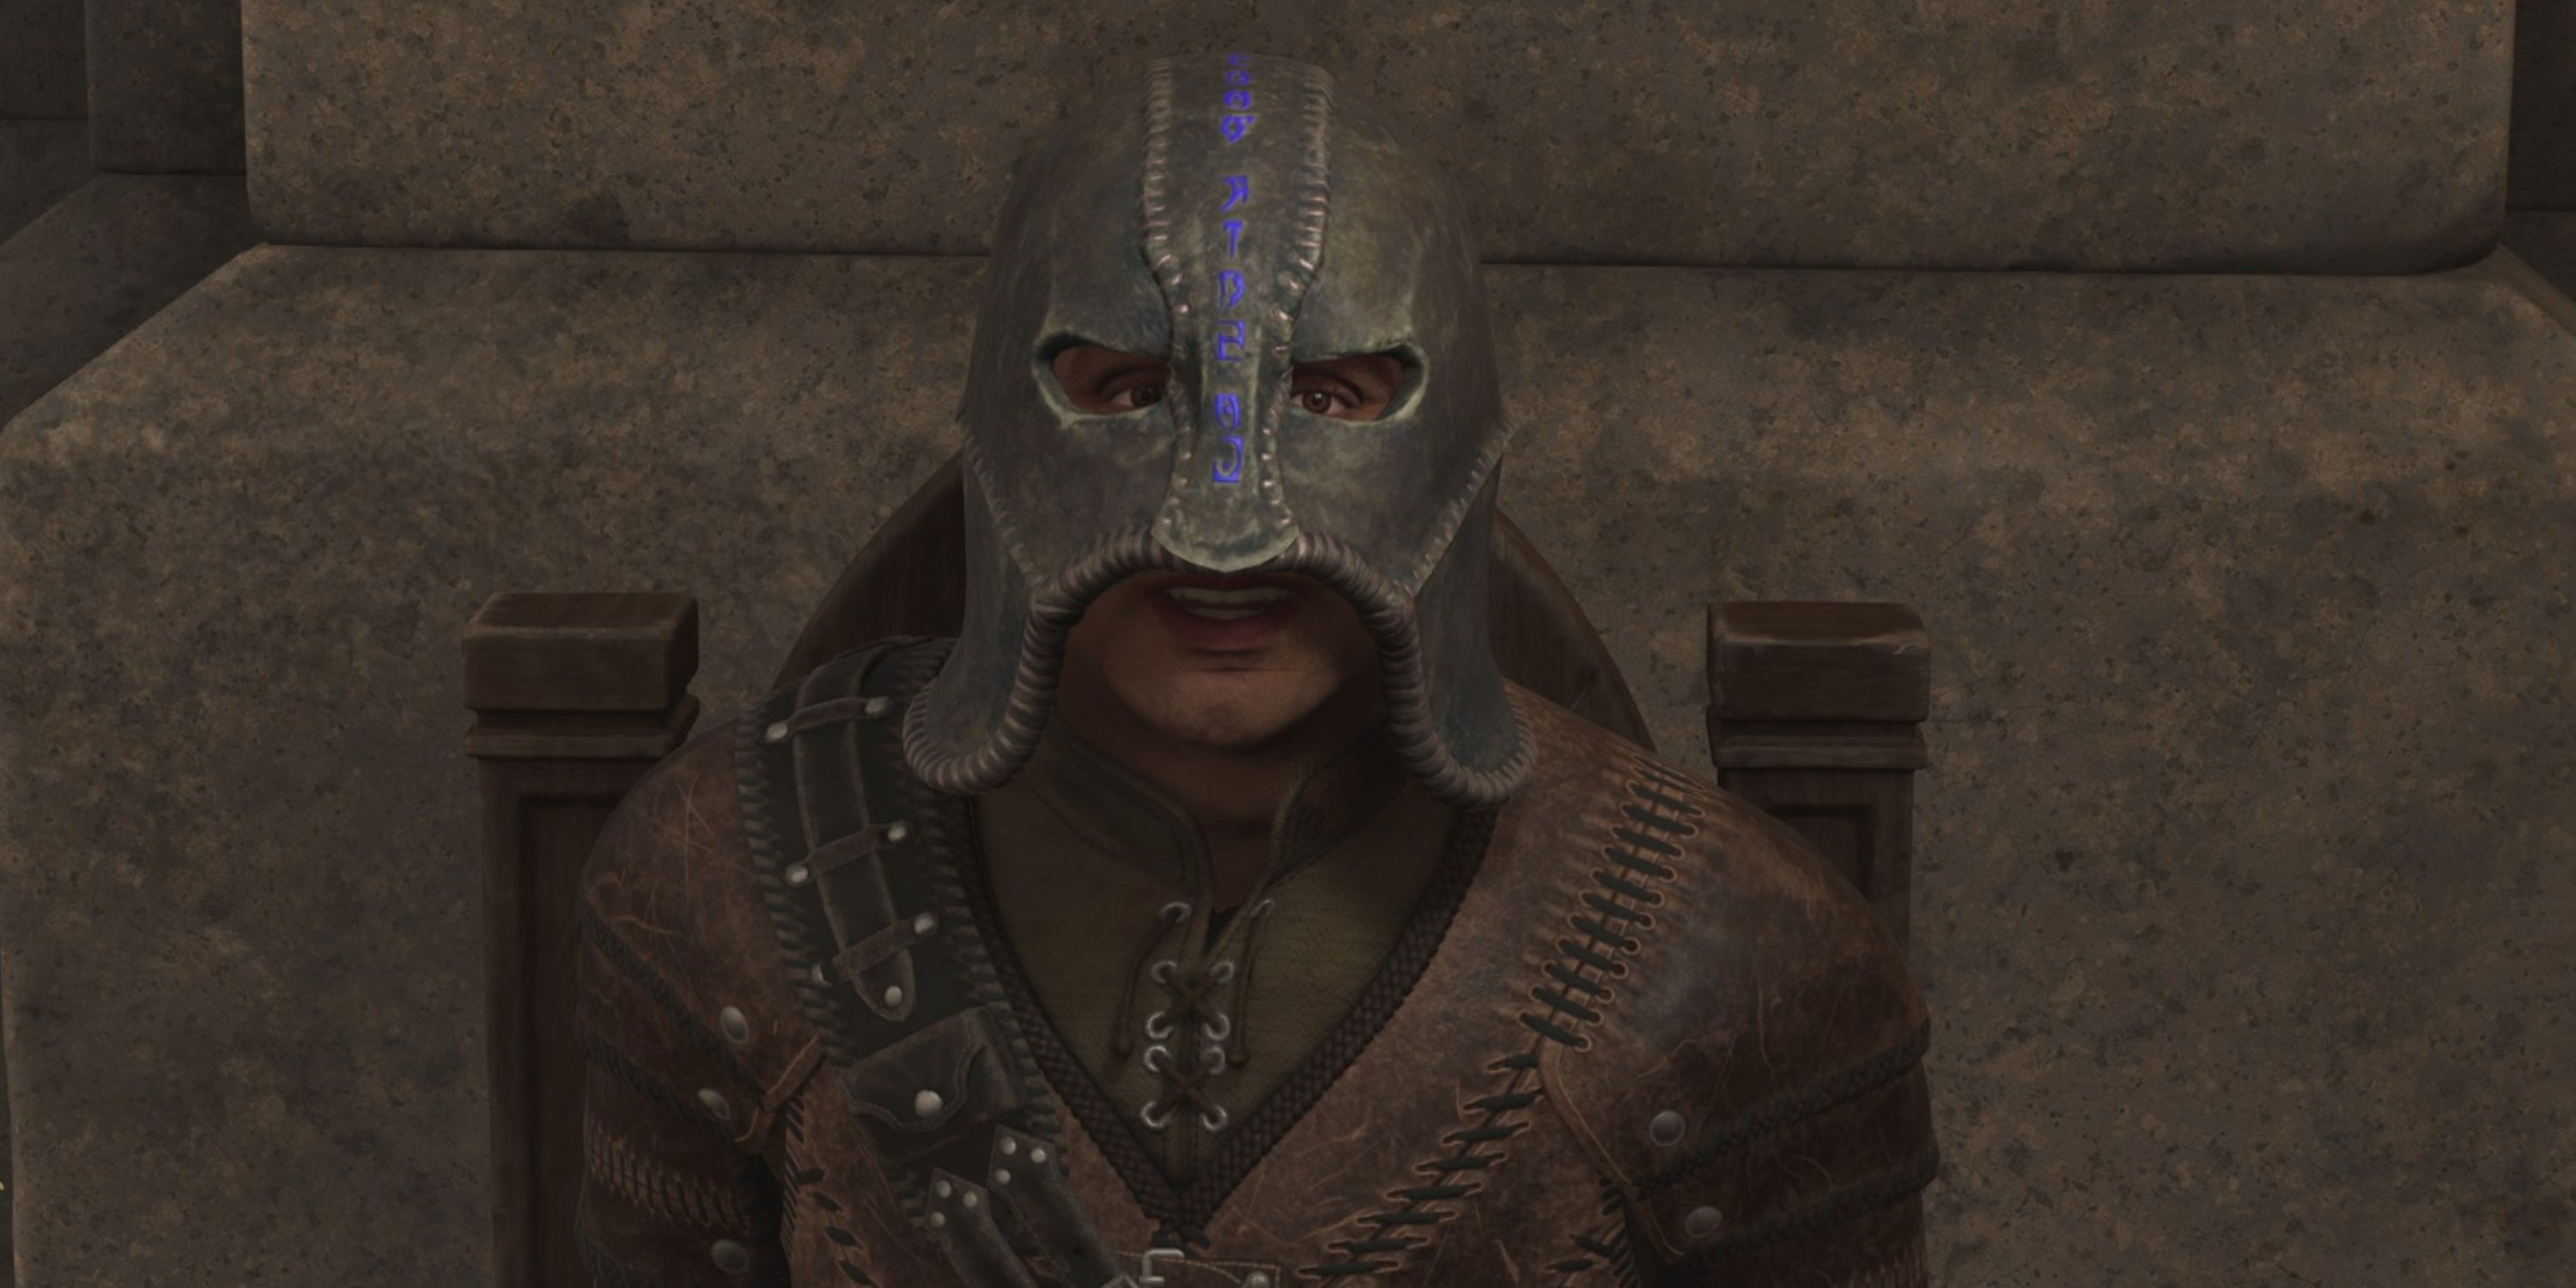
It’s a great idea to reach Level 10 and obtain the Skeleton Key for the Thieves Guild questline.
How to Join the Thieves Guild
As an enthusiast, here’s how I’d rephrase it:
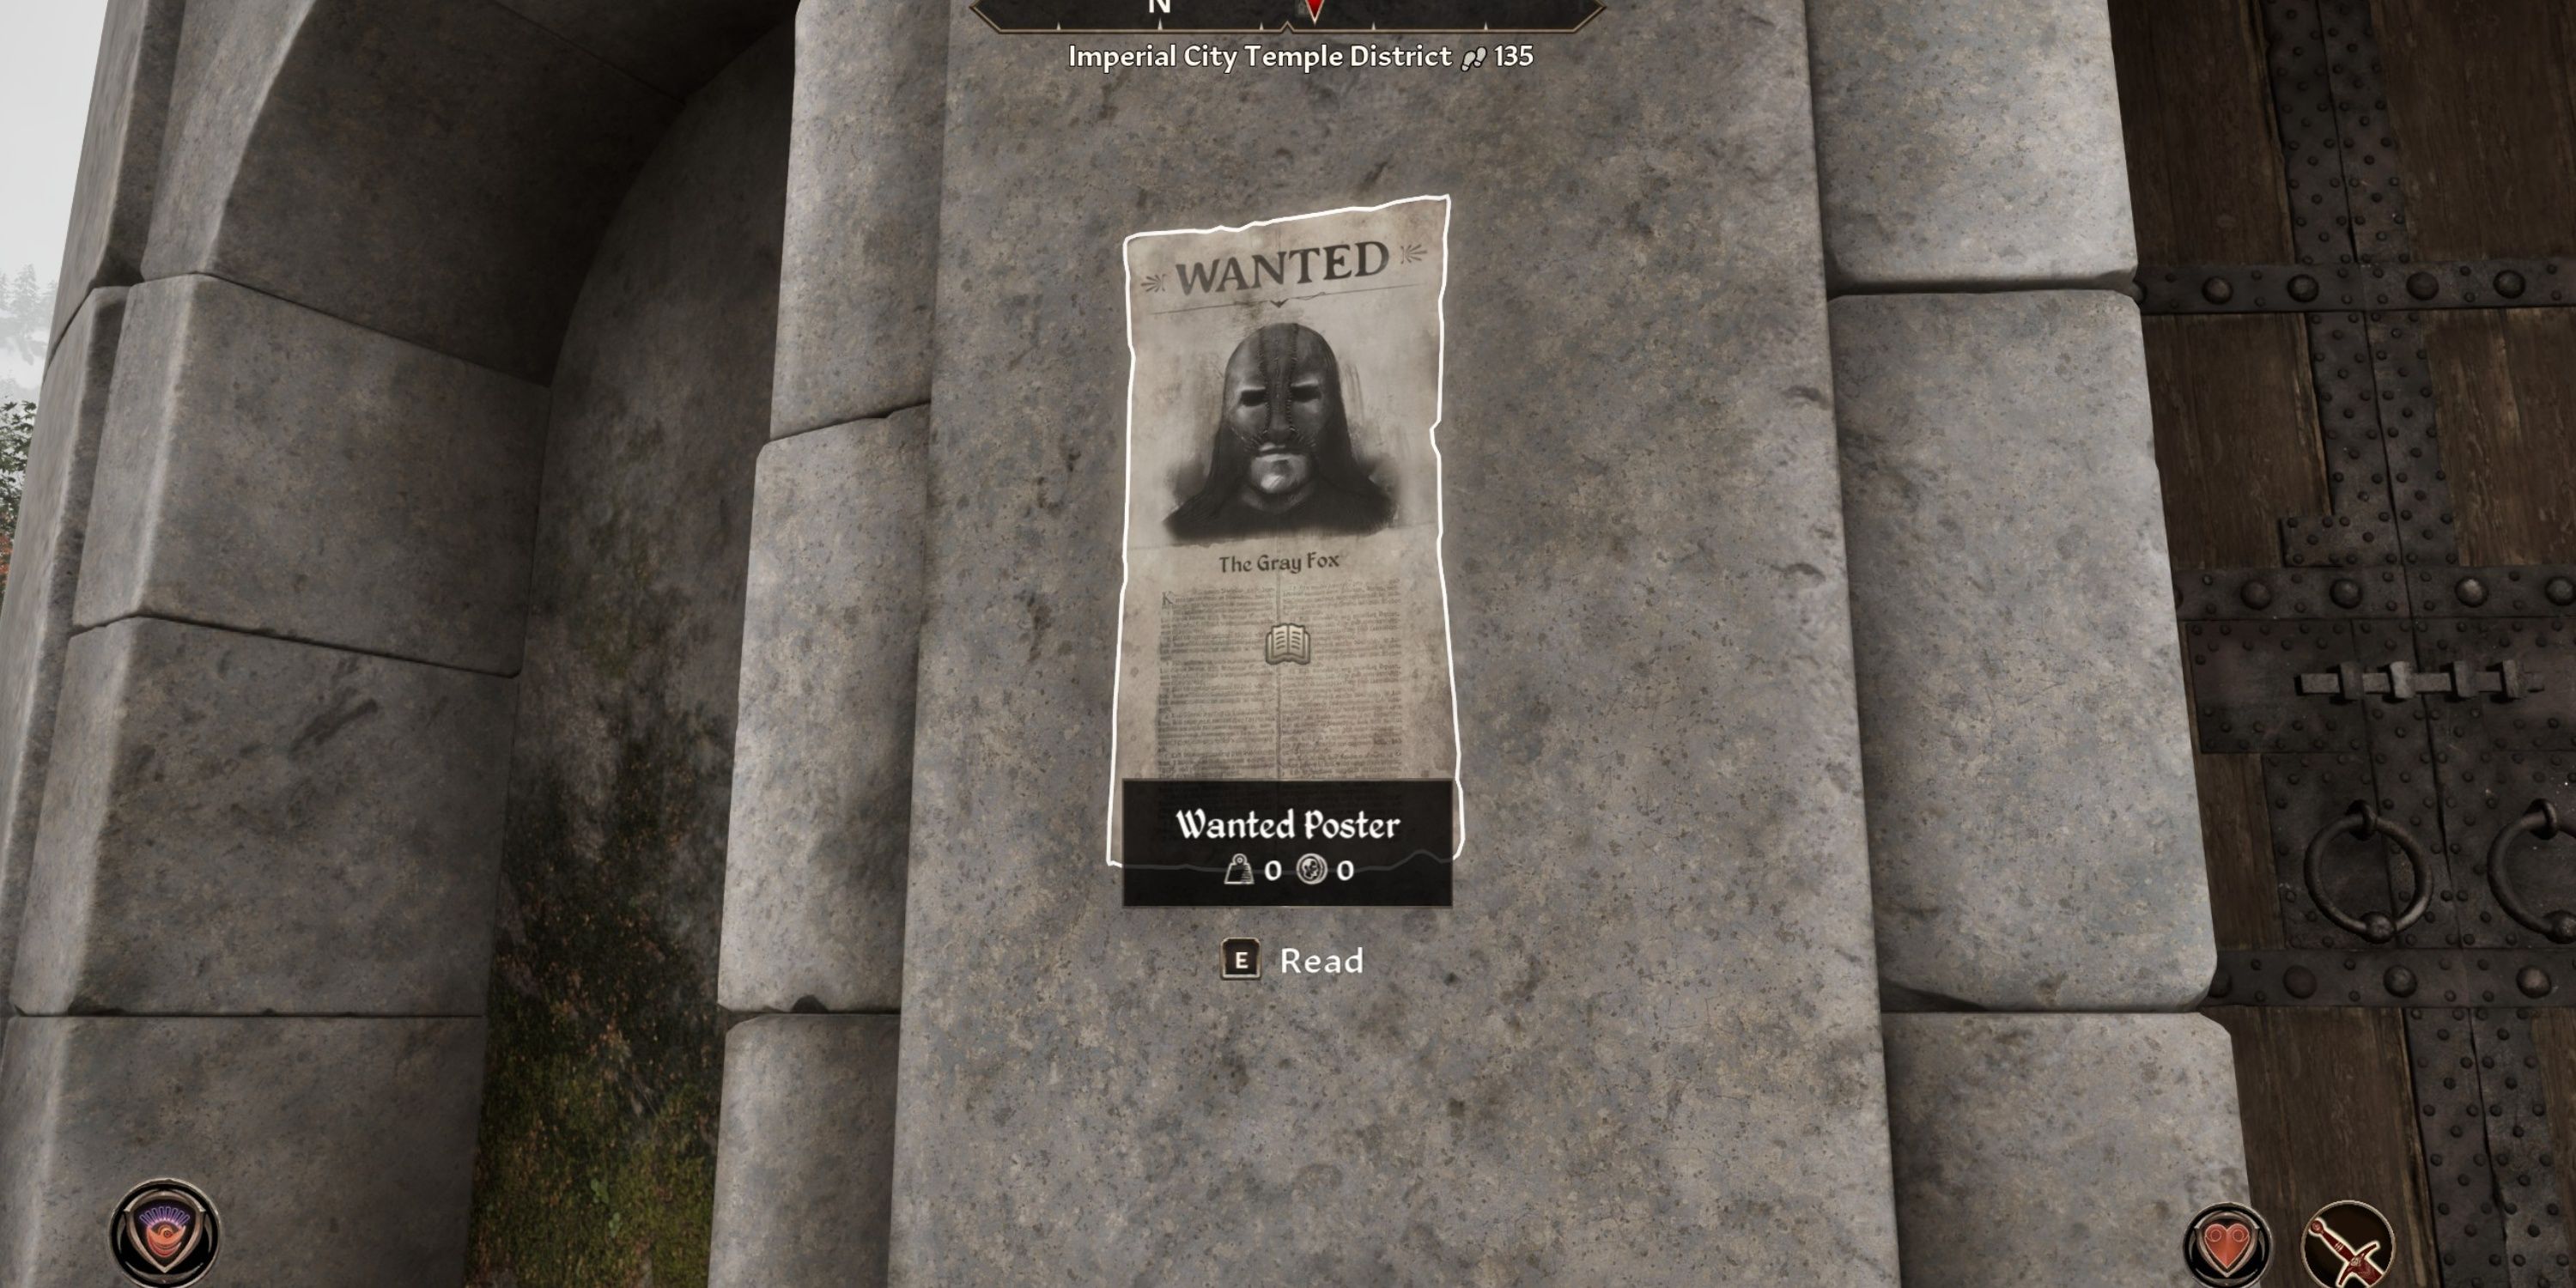
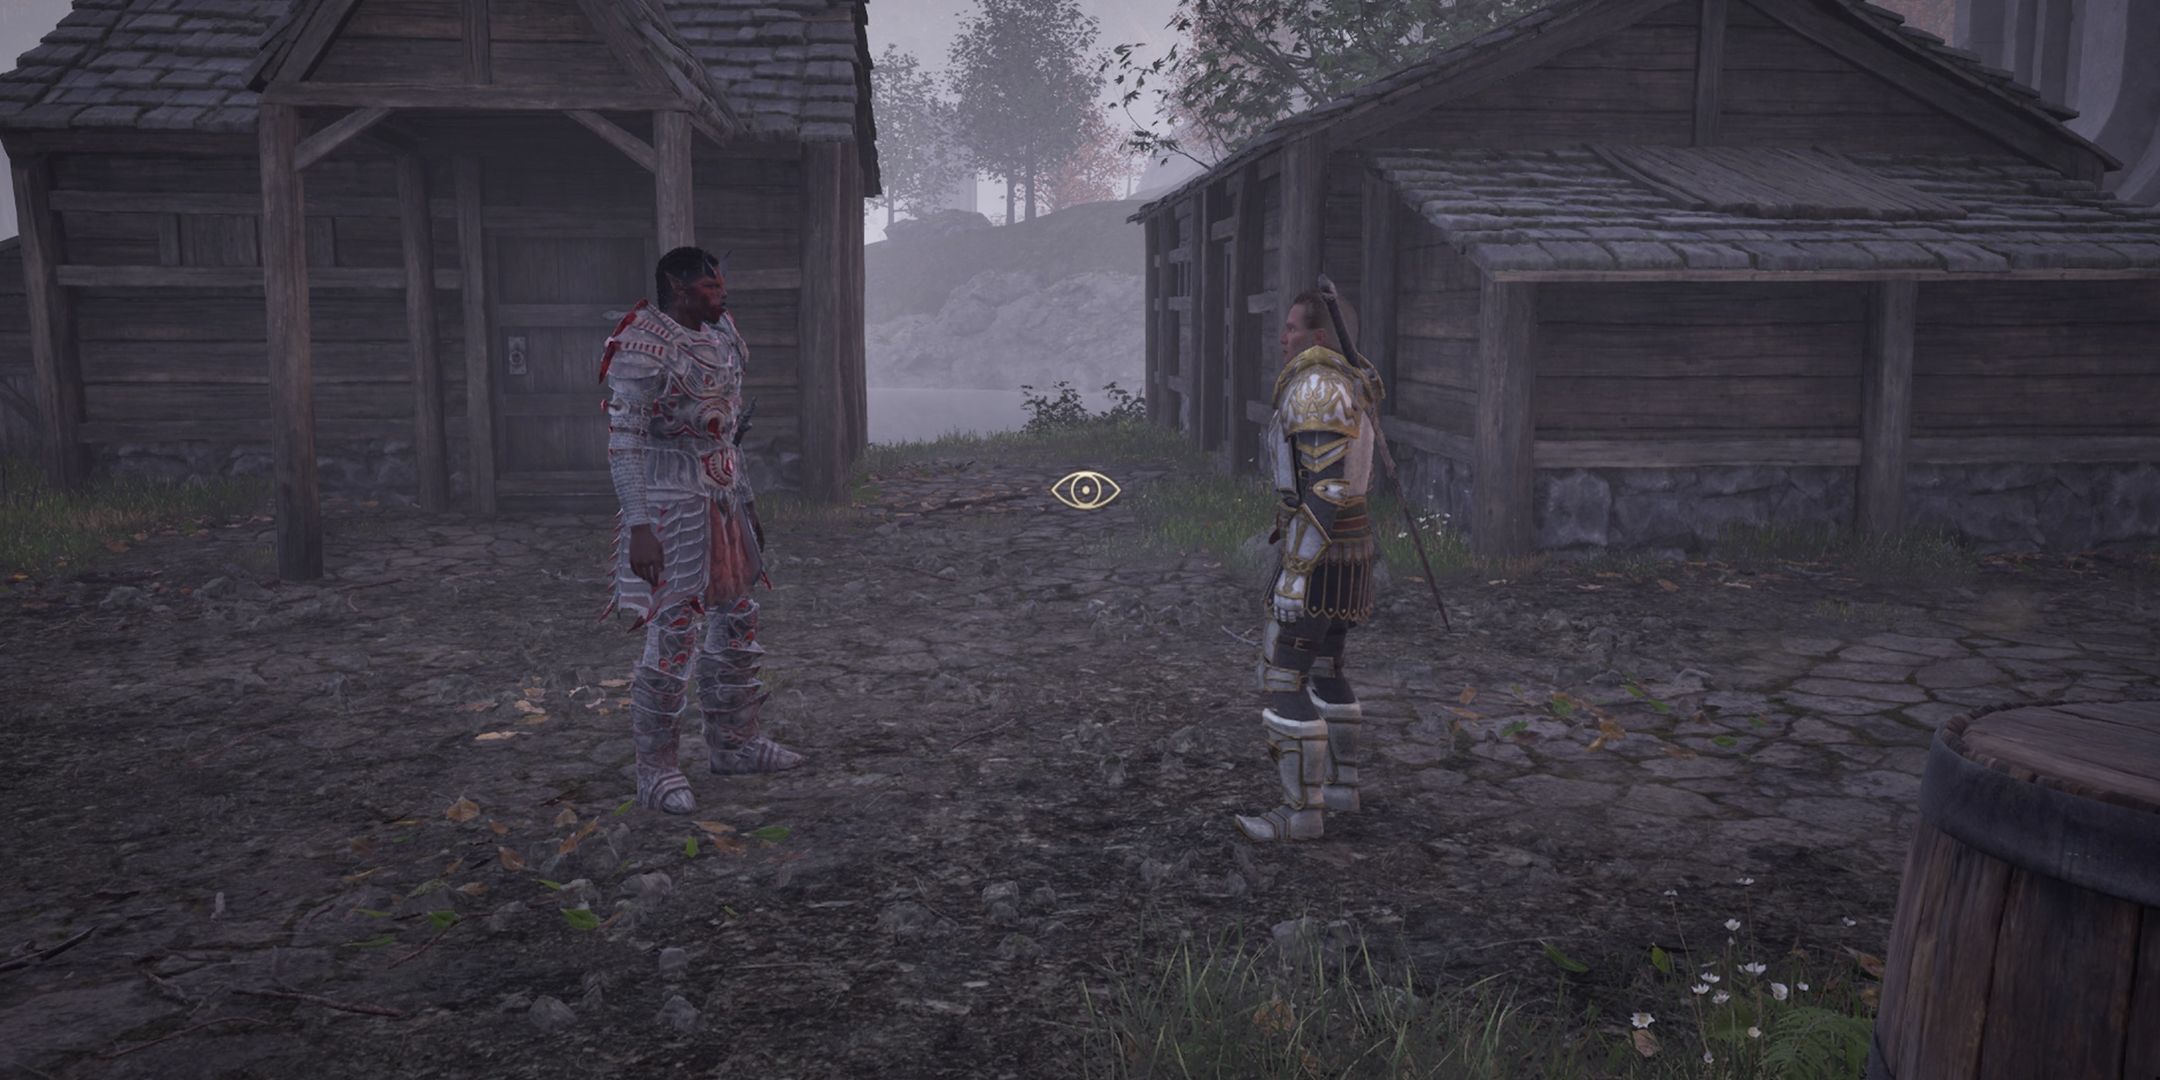
To become a member of the Thieves Guild, I need to embark on the quest called ‘Finding the Thieves Guild’. This mission kicks off once I scrutinize the bounty notice for the Gray Fox, situated in the Waterfront district of the Imperial City. After that, I should approach any Imperial City Guard and inquire about the Gray Fox. Later, I must win over a Beggar using the Disposition wheel and some coins. This interaction will guide me to the slums area of the Waterfront District, where at midnight, Armand Christophe can be found in the Garden of Dareloth.
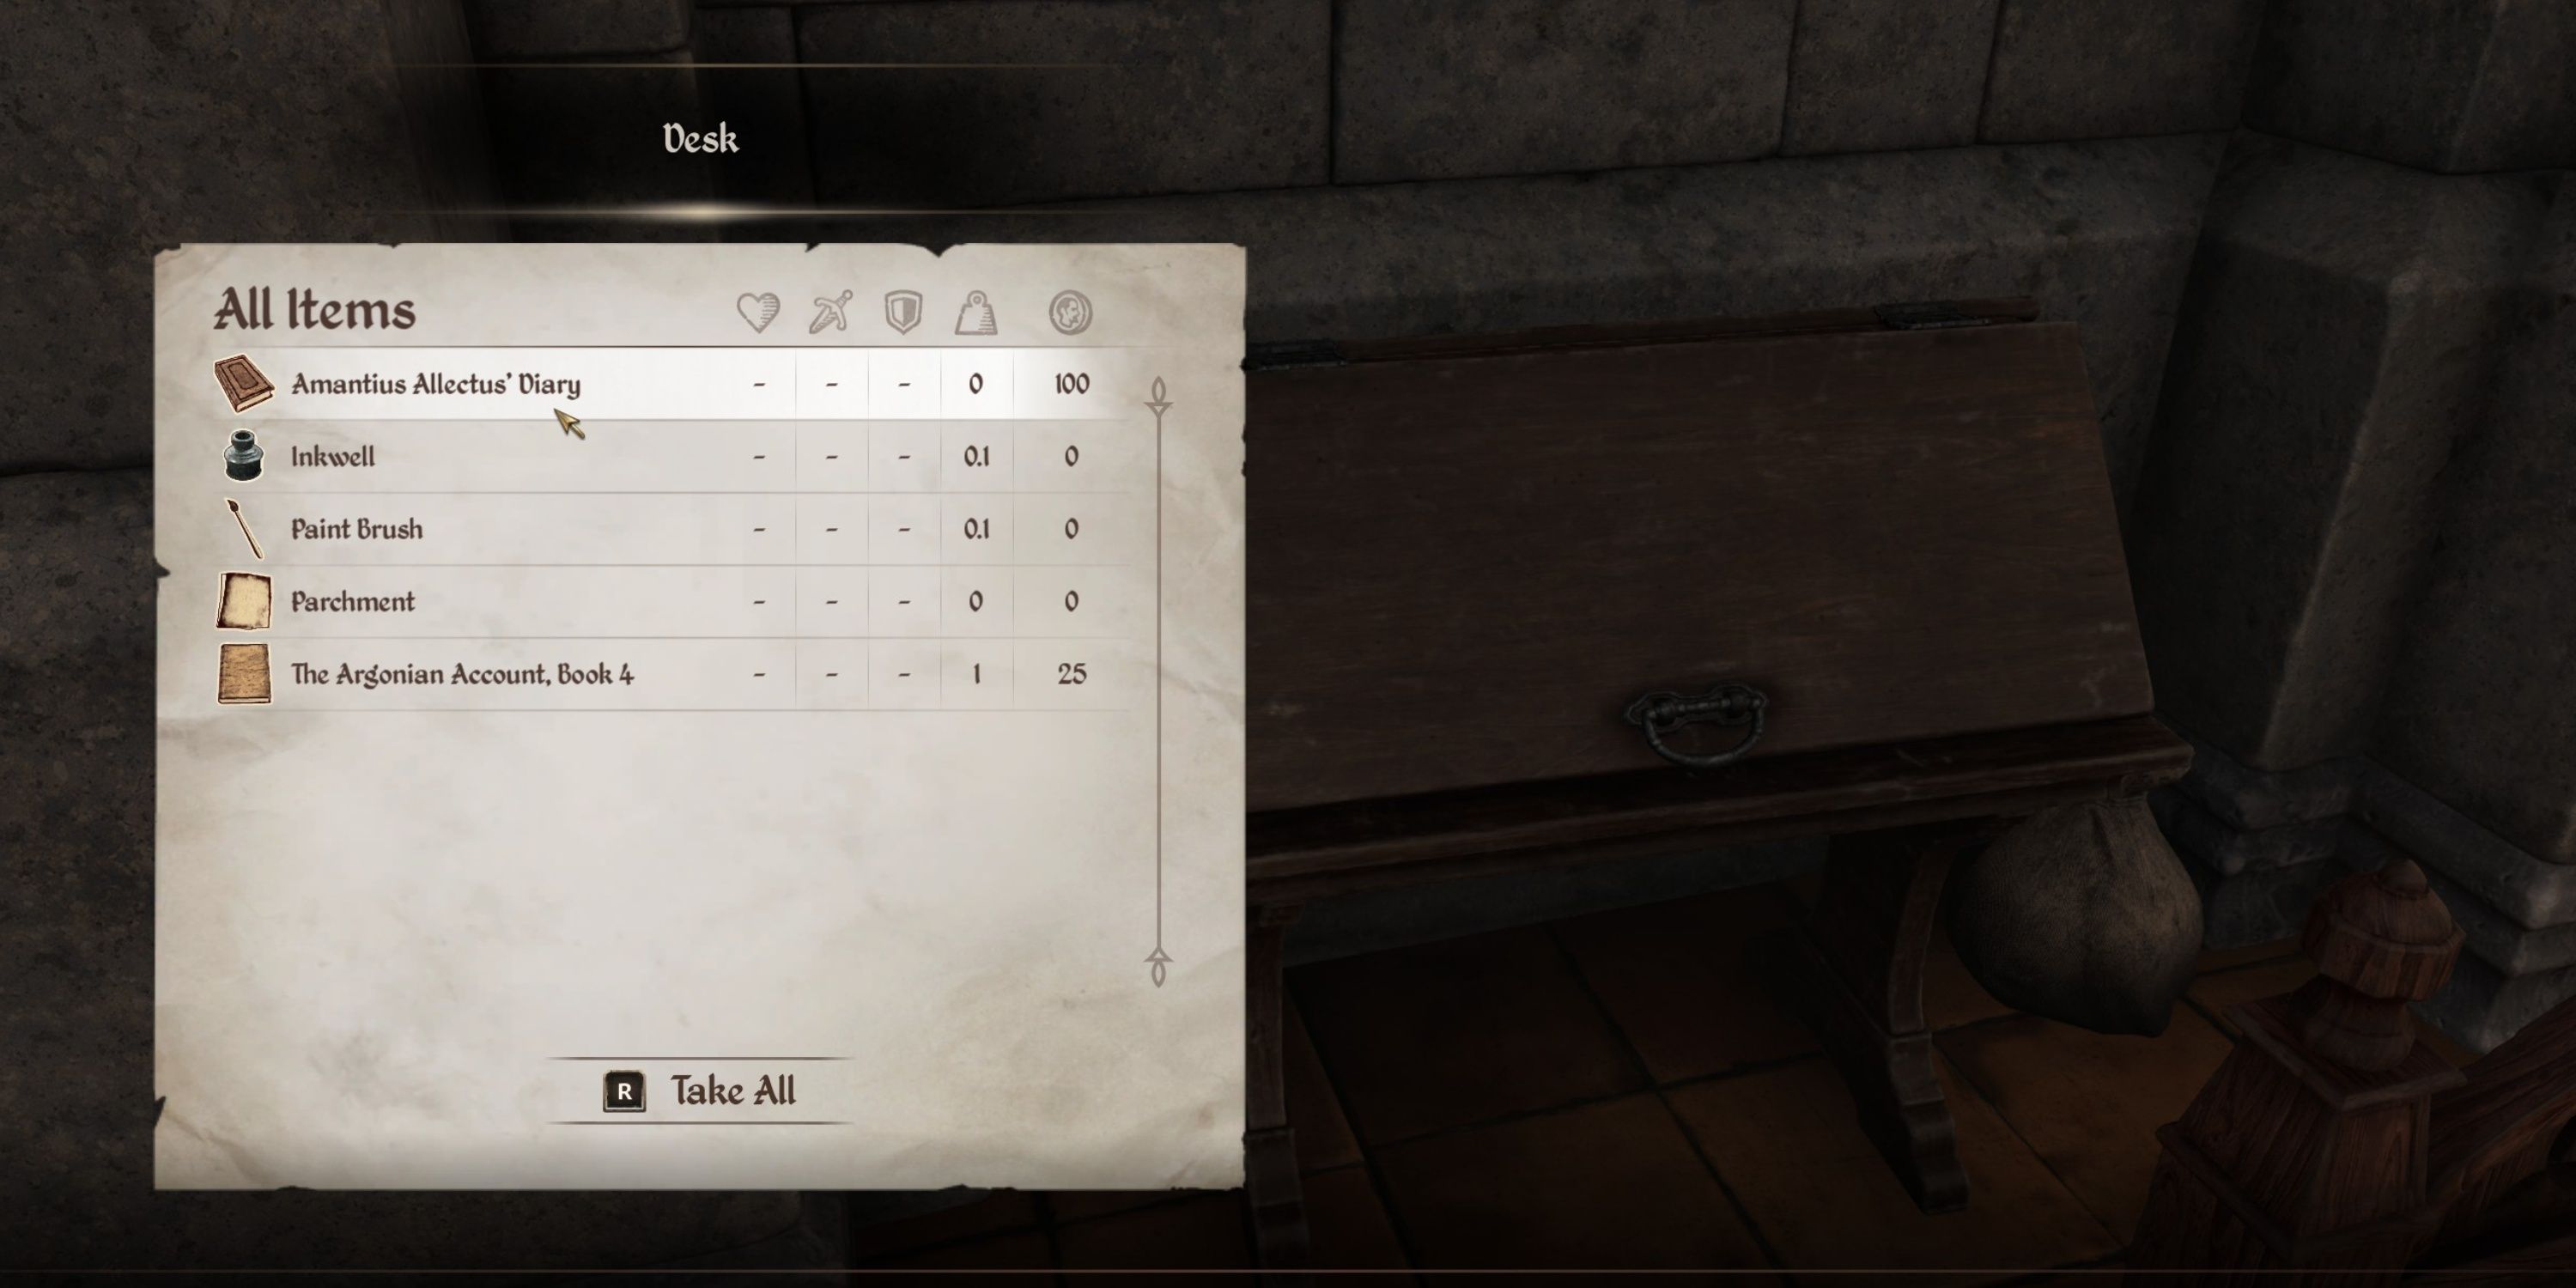
Engaging in conversation with Armand Christophe sets the stage for players as they embark on a mission: to prove themselves worthy of joining the Thieves Guild. This can be accomplished by navigating to Amantius Allectus’ residence, which is situated close to the Arboretum entrance within the Temple District. The objective is to discreetly lift his diary from the desk on the ground floor without detection, and then deliver it back to Armand Christophe before any of the competing thieves can do so. Successfully completing this task will result in the players being inducted into the Thieves Guild.
Part One: Armand Christophe’s Special Jobs

In your game, you’ll find the initial Thieves Guild tasks with Armand Christophe, the first Doyen you’ll encounter. You can locate him in the Waterfront district of the Imperial City and he usually appears in the slum garden after midnight every day. To take on his missions, ensure you’ve sold enough stolen goods to Ongar the World-Weary. This can be done by burglarizing the Red Diamond Jewelry and offloading all its valuable items. Here are the minimum amounts of gold you need to fence for each of Armand Christophe’s quests to advance:
This version maintains the original information but is more conversational in tone, making it easier for a casual reader to understand.
| Quest | Gold Fenced |
|---|---|
| Untaxing the Poor | 50 Gold |
| The Elven Maiden | 100 Gold |
Untaxing the Poor
- Untaxking the Poor Walkthrough
| Reward |
|---|
|
In the Thieves Guild quest assigned by Armand Christophe, you’ll be tasked with infiltrating the South Watchtower in the Imperial City. Your objective is to reach Hieronymus Lex’s private quarters on the upper floors and make off with the tax records. Since the guards won’t pose a problem during specific hours, you can enter the tower between 9 AM and 11 AM or 9 PM and 11 PM. During these times, the guards will either be absent from the ground floor or asleep on the upper floors. Once you secure the tax records, bring them back to Armand Christophe.
The Elven Maiden

- The Elven Maiden Walkthrough
| Reward |
|---|
|
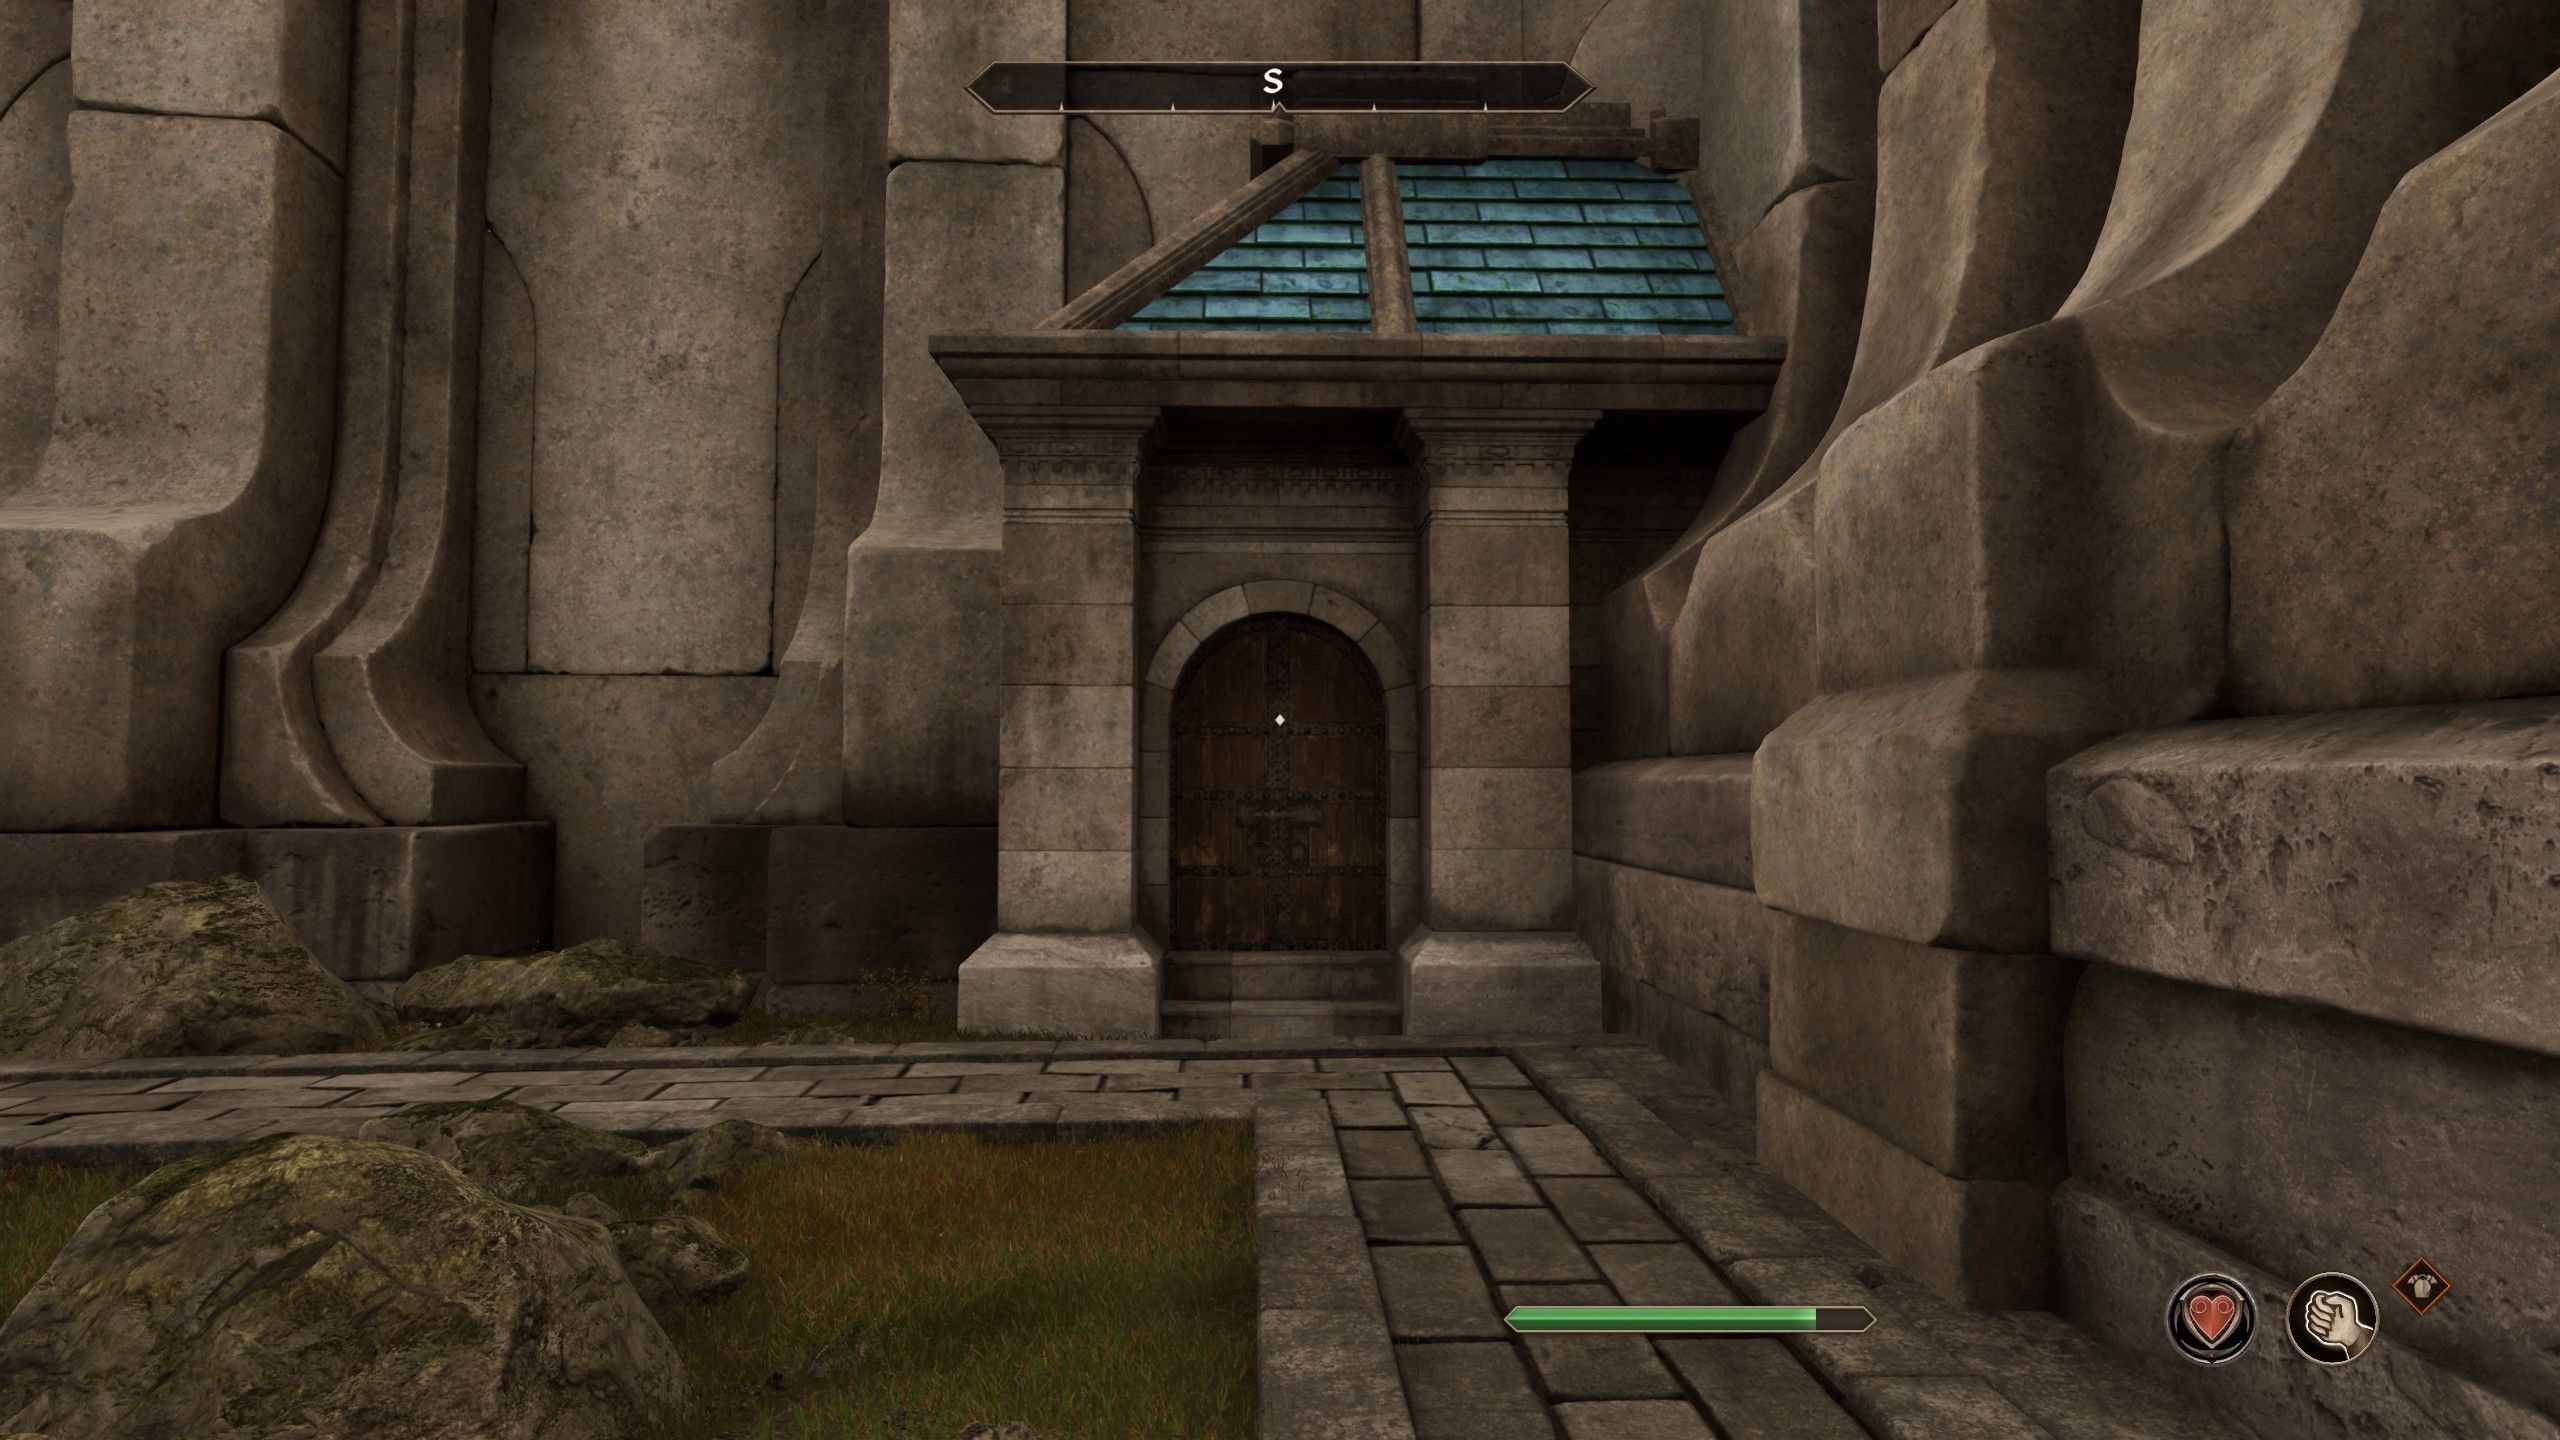
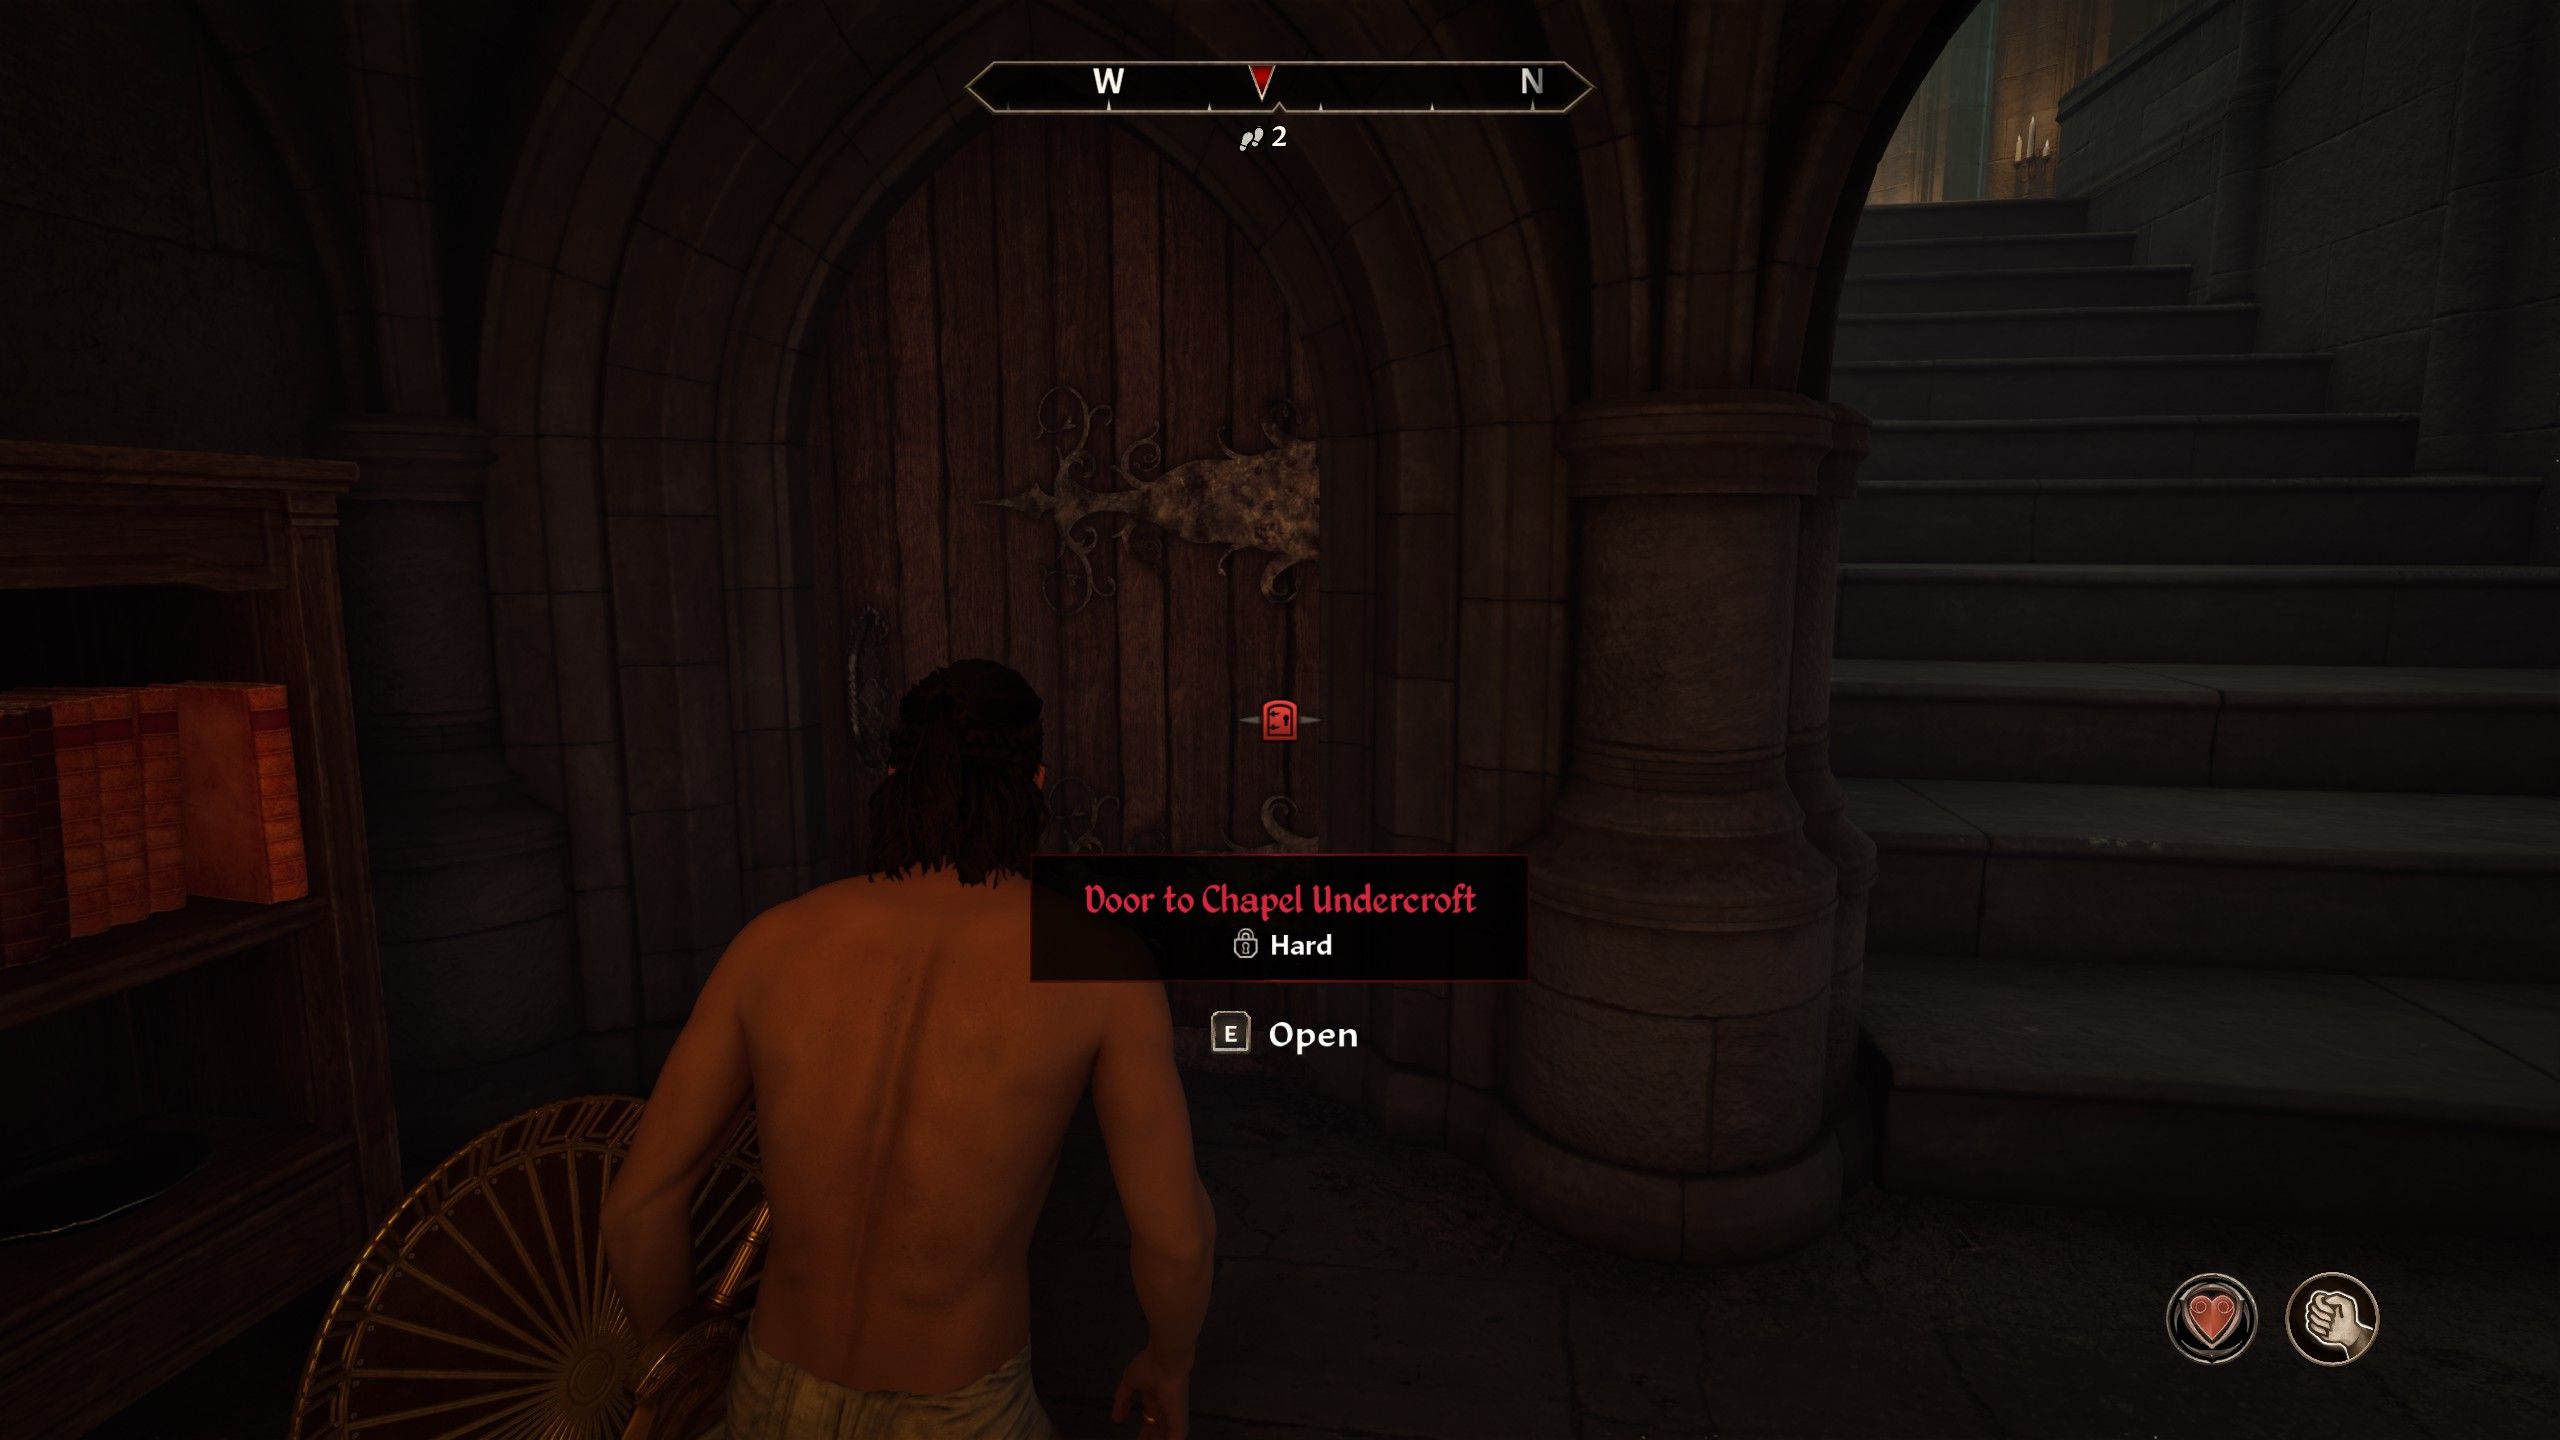
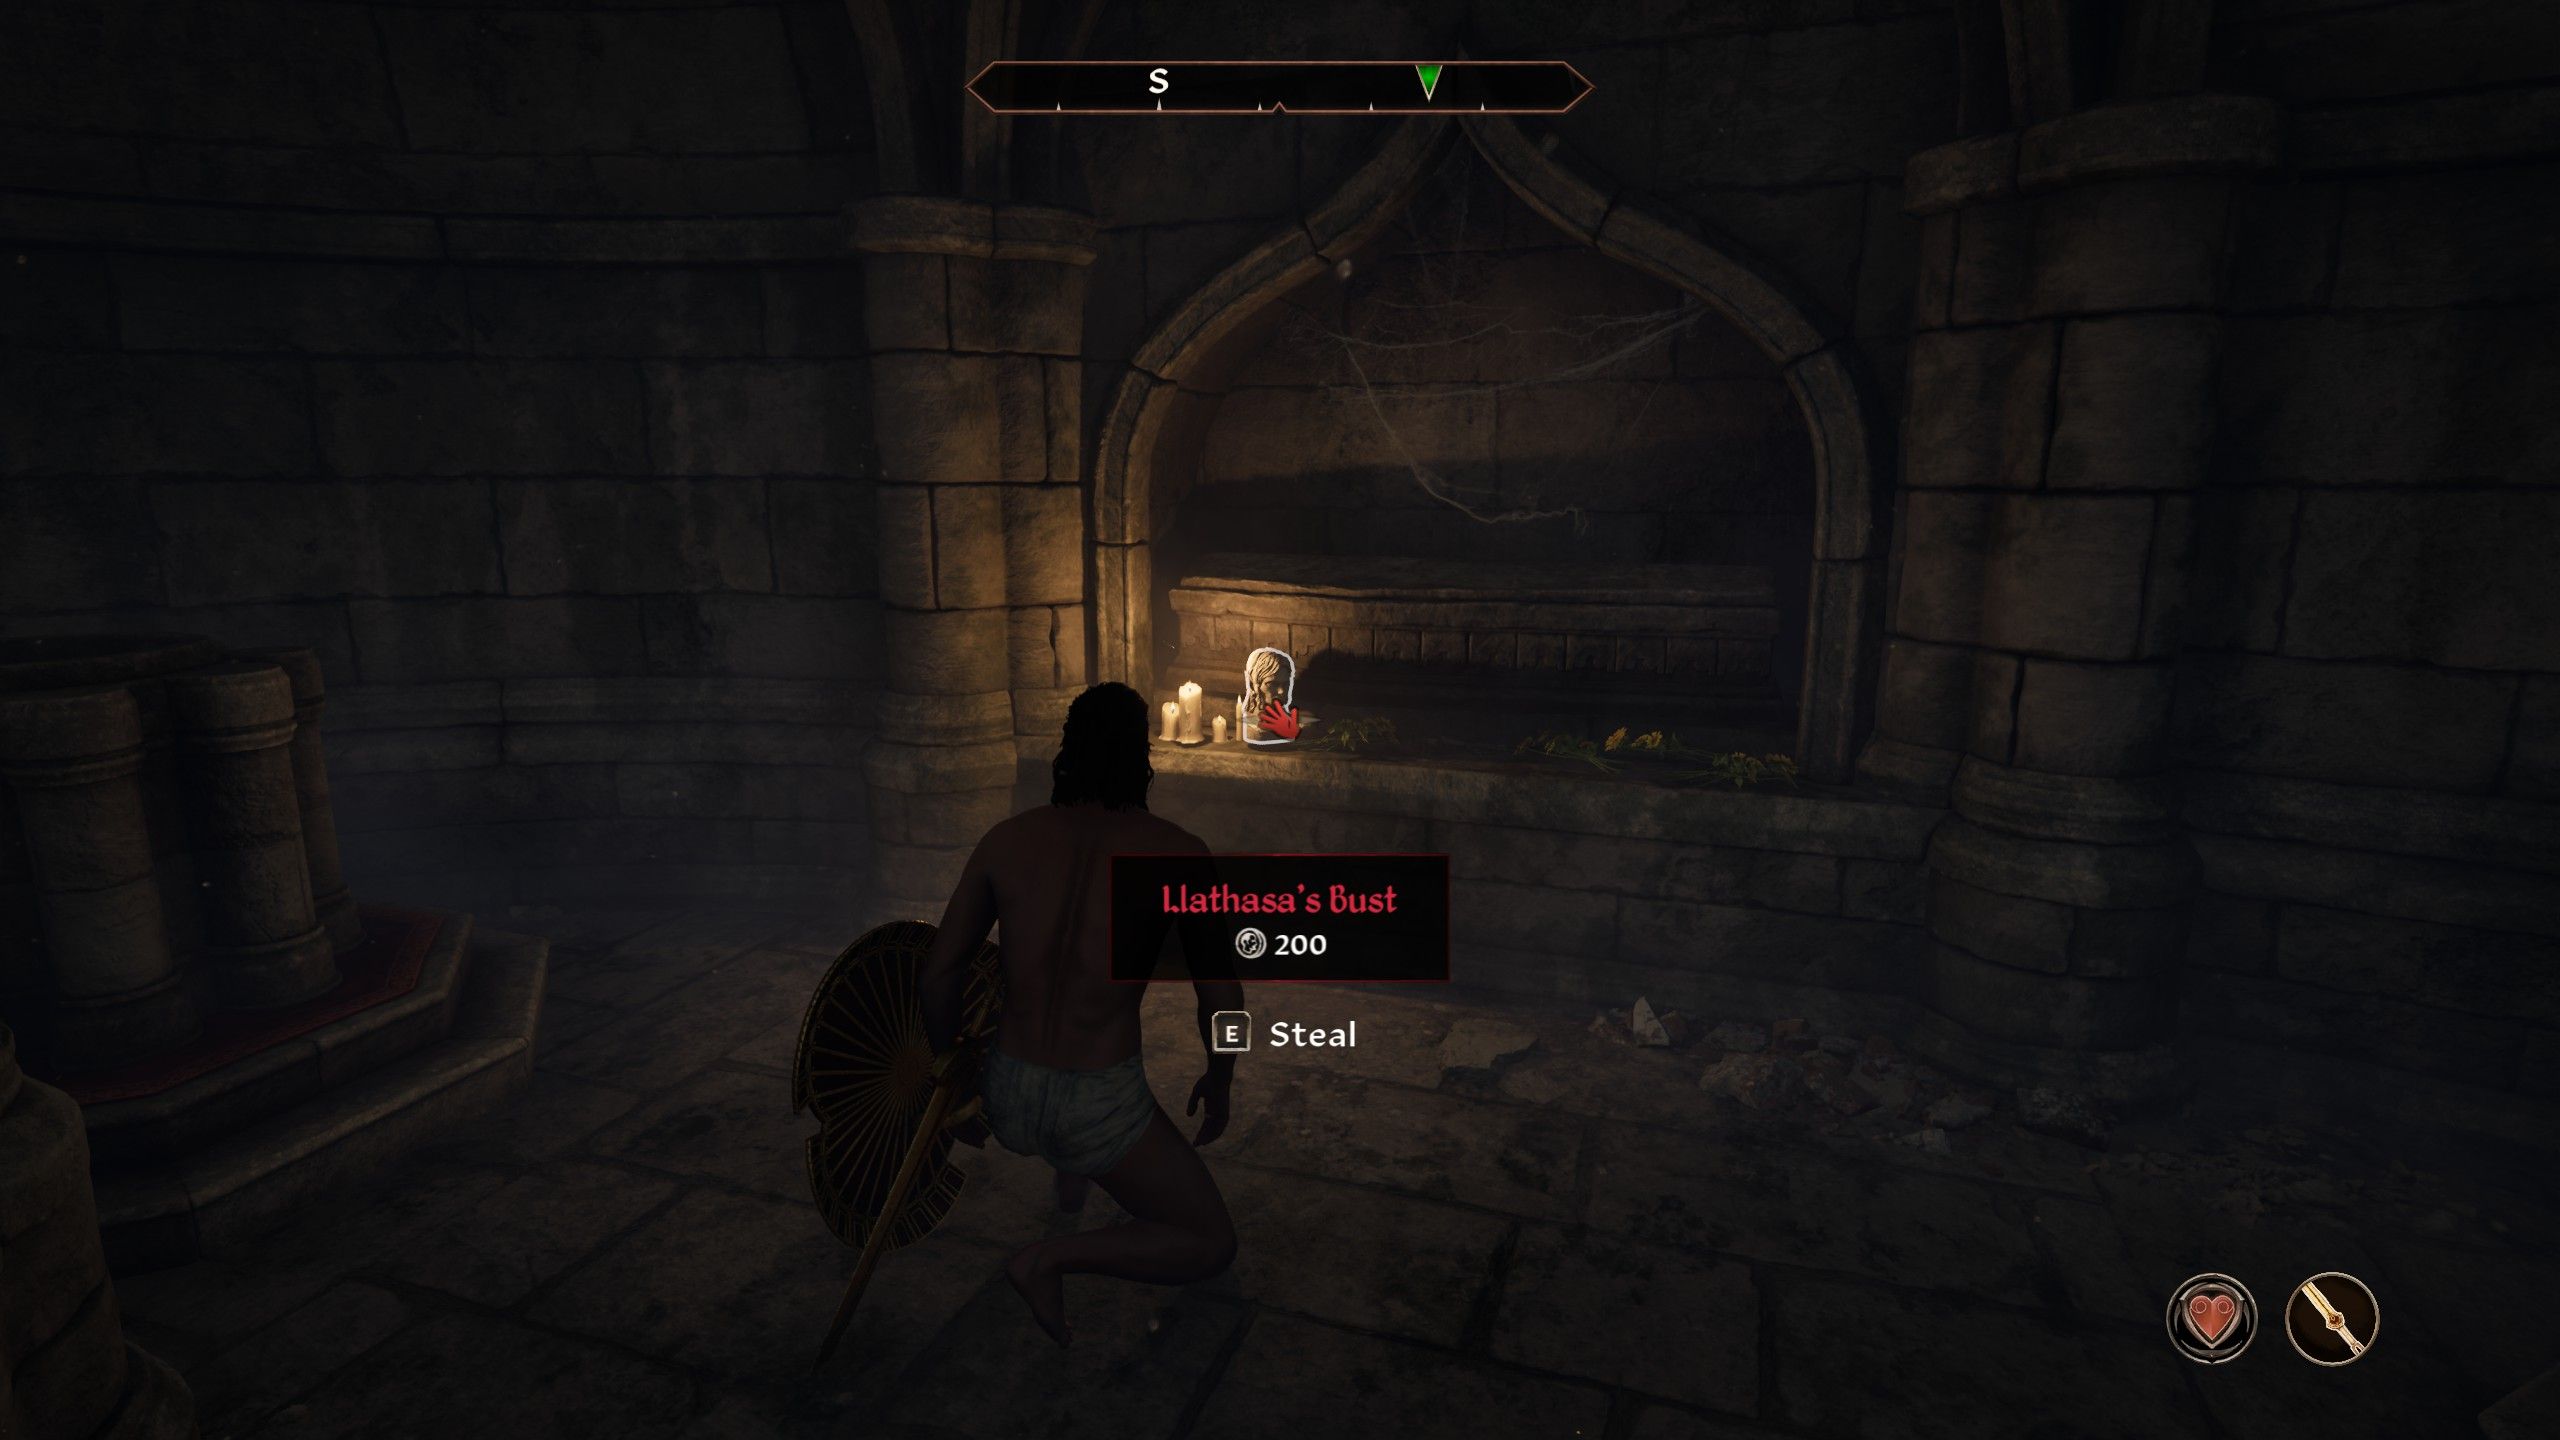
In Armand Christoph’s last mission, you’ll find yourself making your way to Cheydinhal’s Chapel to access the restricted areas of the Undercroft. Your objective is to snatch Llathasa’s Statue, but beware! The Undercroft has two guards on patrol, so tread carefully.
To get the statue, head into the first room on the left. However, avoid rummaging through the coffin, as it will stir up a ghostly adversary that will alert the guards. Instead, concentrate on grabbing the statue and then making a swift exit.
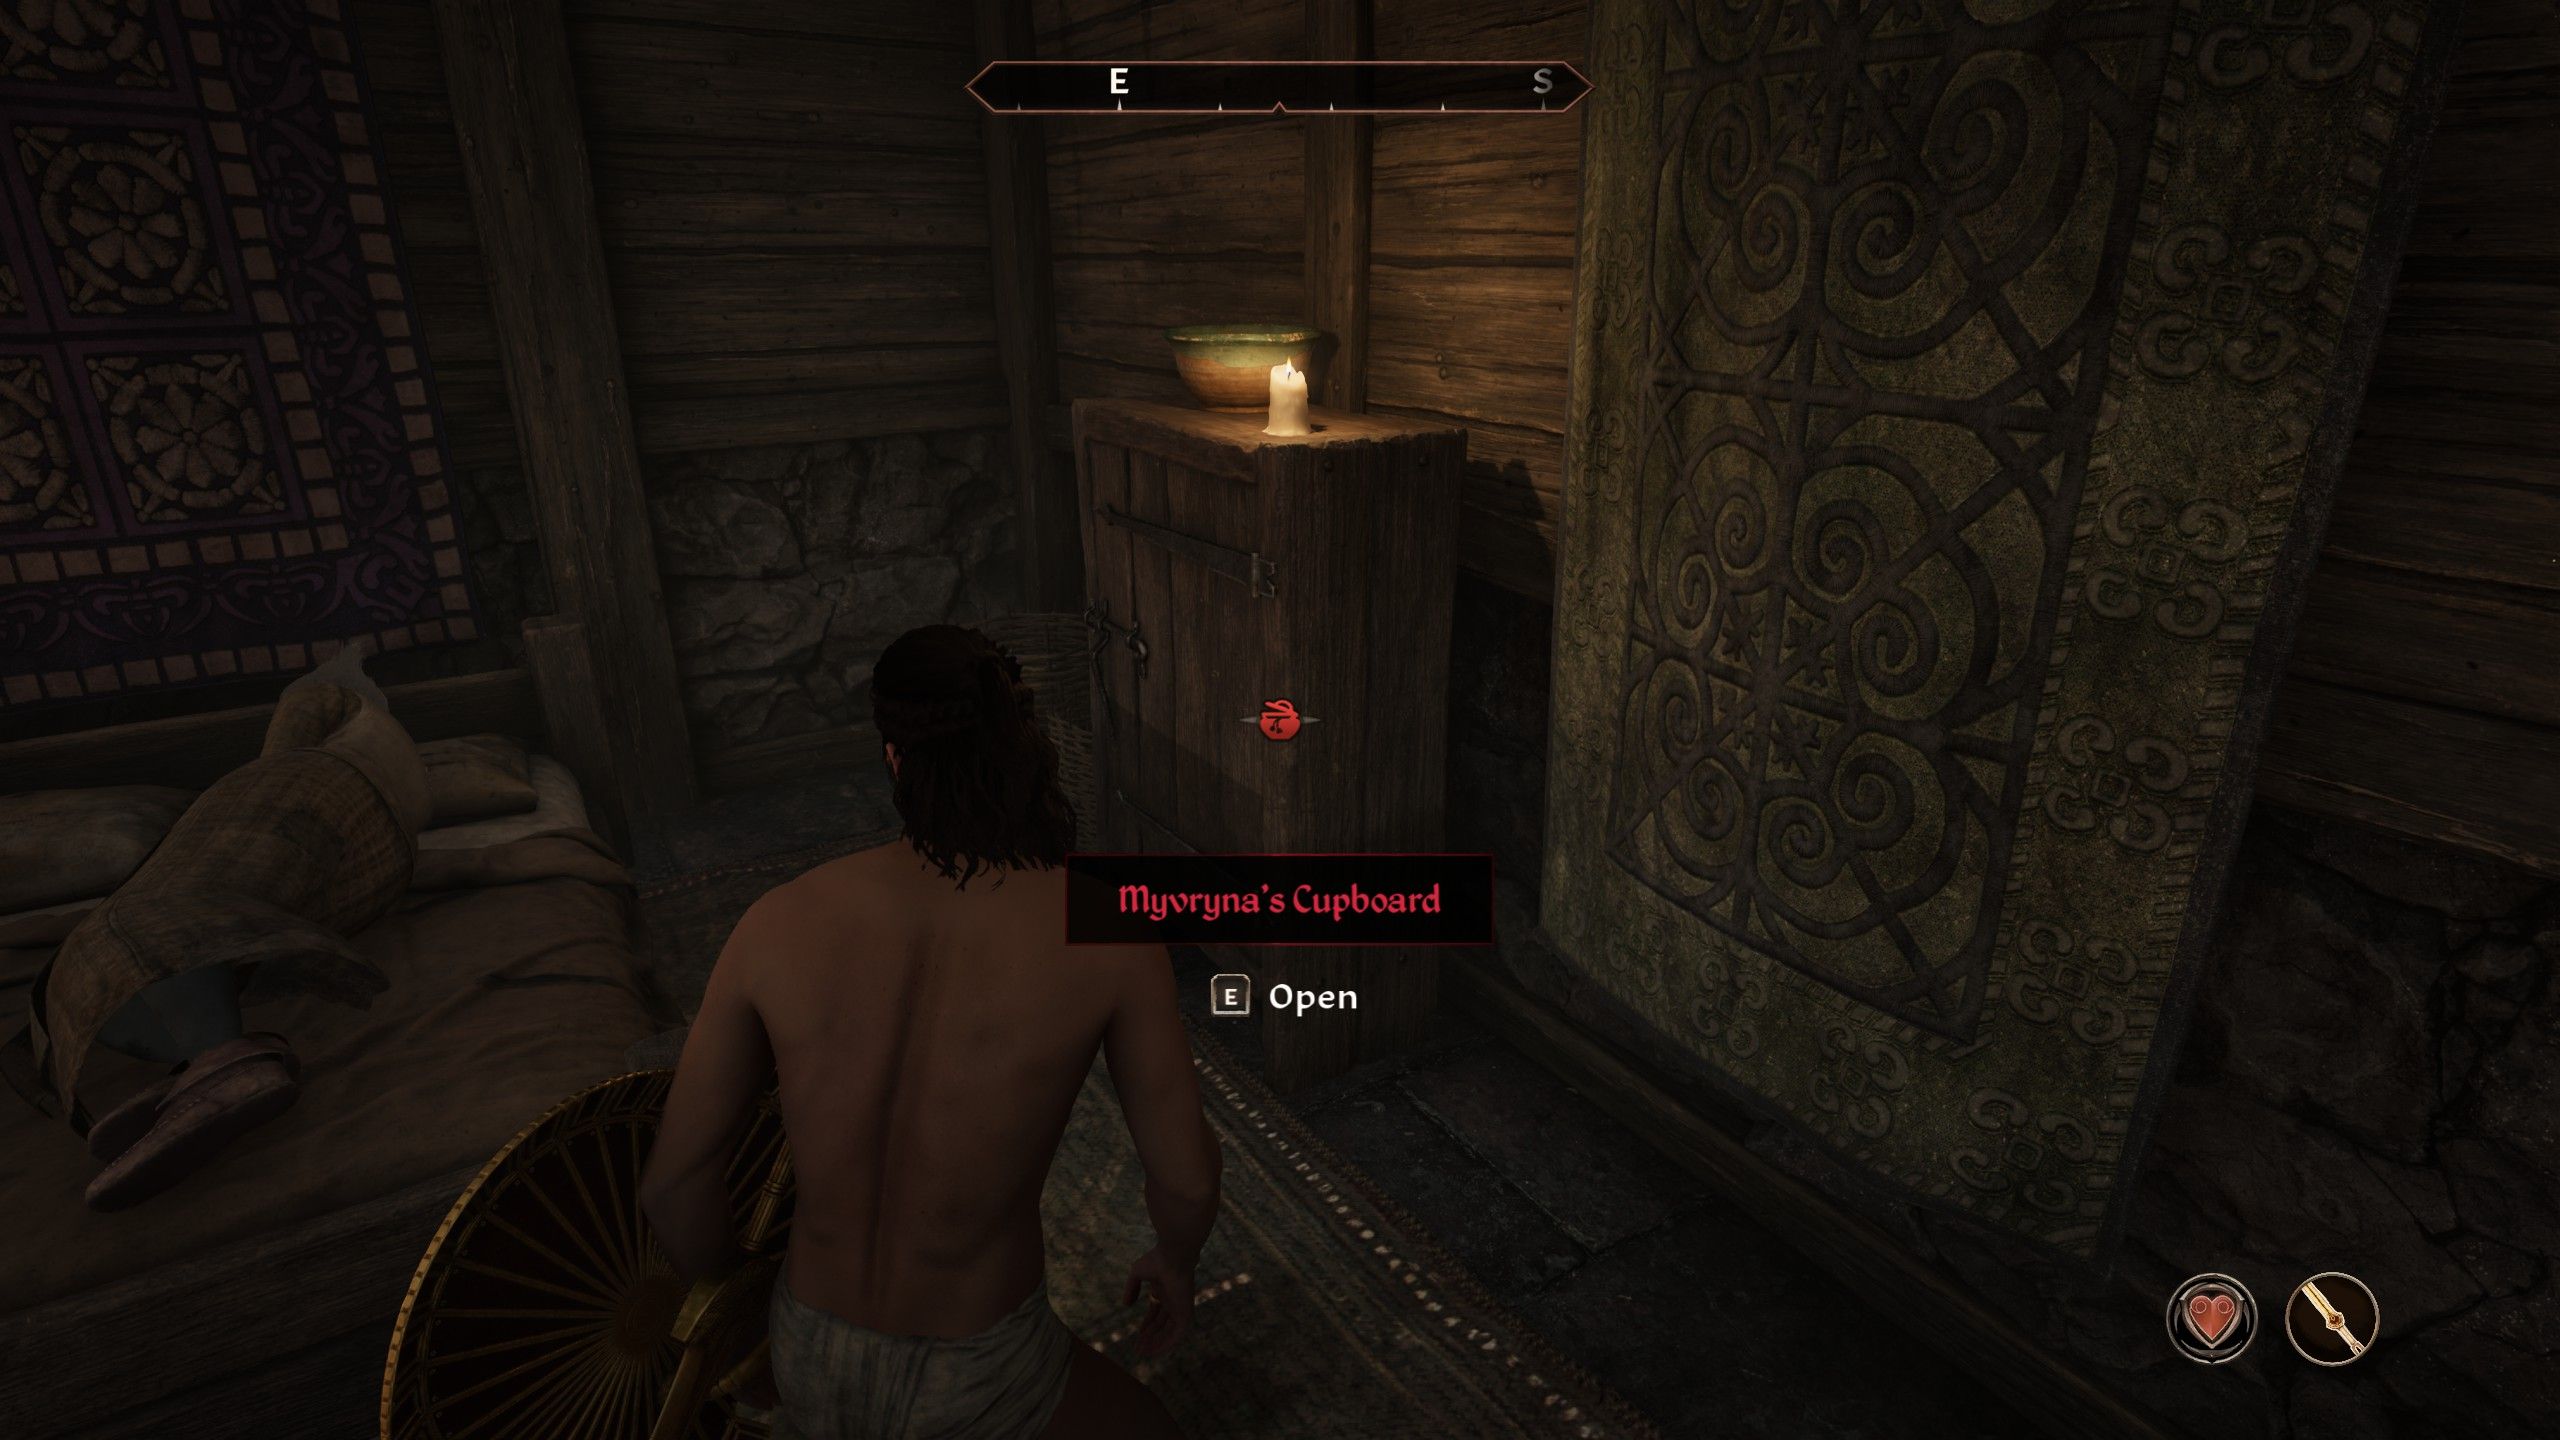
After players get back to the Waterfront District, they’ll find it packed with guards, and Armand Christophe is nowhere to be found. To bring Armand Christophe back, infiltrate Myvryna Arano’s residence, put Llathasa’s statue in the cupboard to the right of her bed, and then locate Hieronymus Lex (close to Myvryna’s house in the Waterfront). Convince him if his Disposition is 70 or higher. Once Hieronymus Lex apprehends Myvryna, return to Christoph’s regular hangout spot around midnight to finish the quest.
Part Two: S’Krivva’s Special Jobs

Upon finishing all of Armand Christoph’s unique tasks, players will then serve under the second Doyen, S’Krivva. You can locate S’Krivva within her residence in Bravil. She offers quests throughout the day as long as the required amount of gold has been sold:
After completing Armand Christoph’s special jobs, players will work for the second Doyen, S’Krivva, who resides in Bravil and provides daily quests when the necessary gold is sold.
| Quest | Gold Fenced |
|---|---|
| Ahdarji’s Heirloom | 200 Gold |
| Misdirection | 300 Gold |
| Lost Histories | 400 Gold |
| Taking Care of Lex | 500 Gold |
Ahdarji’s Heirloom
- Ahdarji’s Heirloom Walkthrough
| Reward |
|---|
|
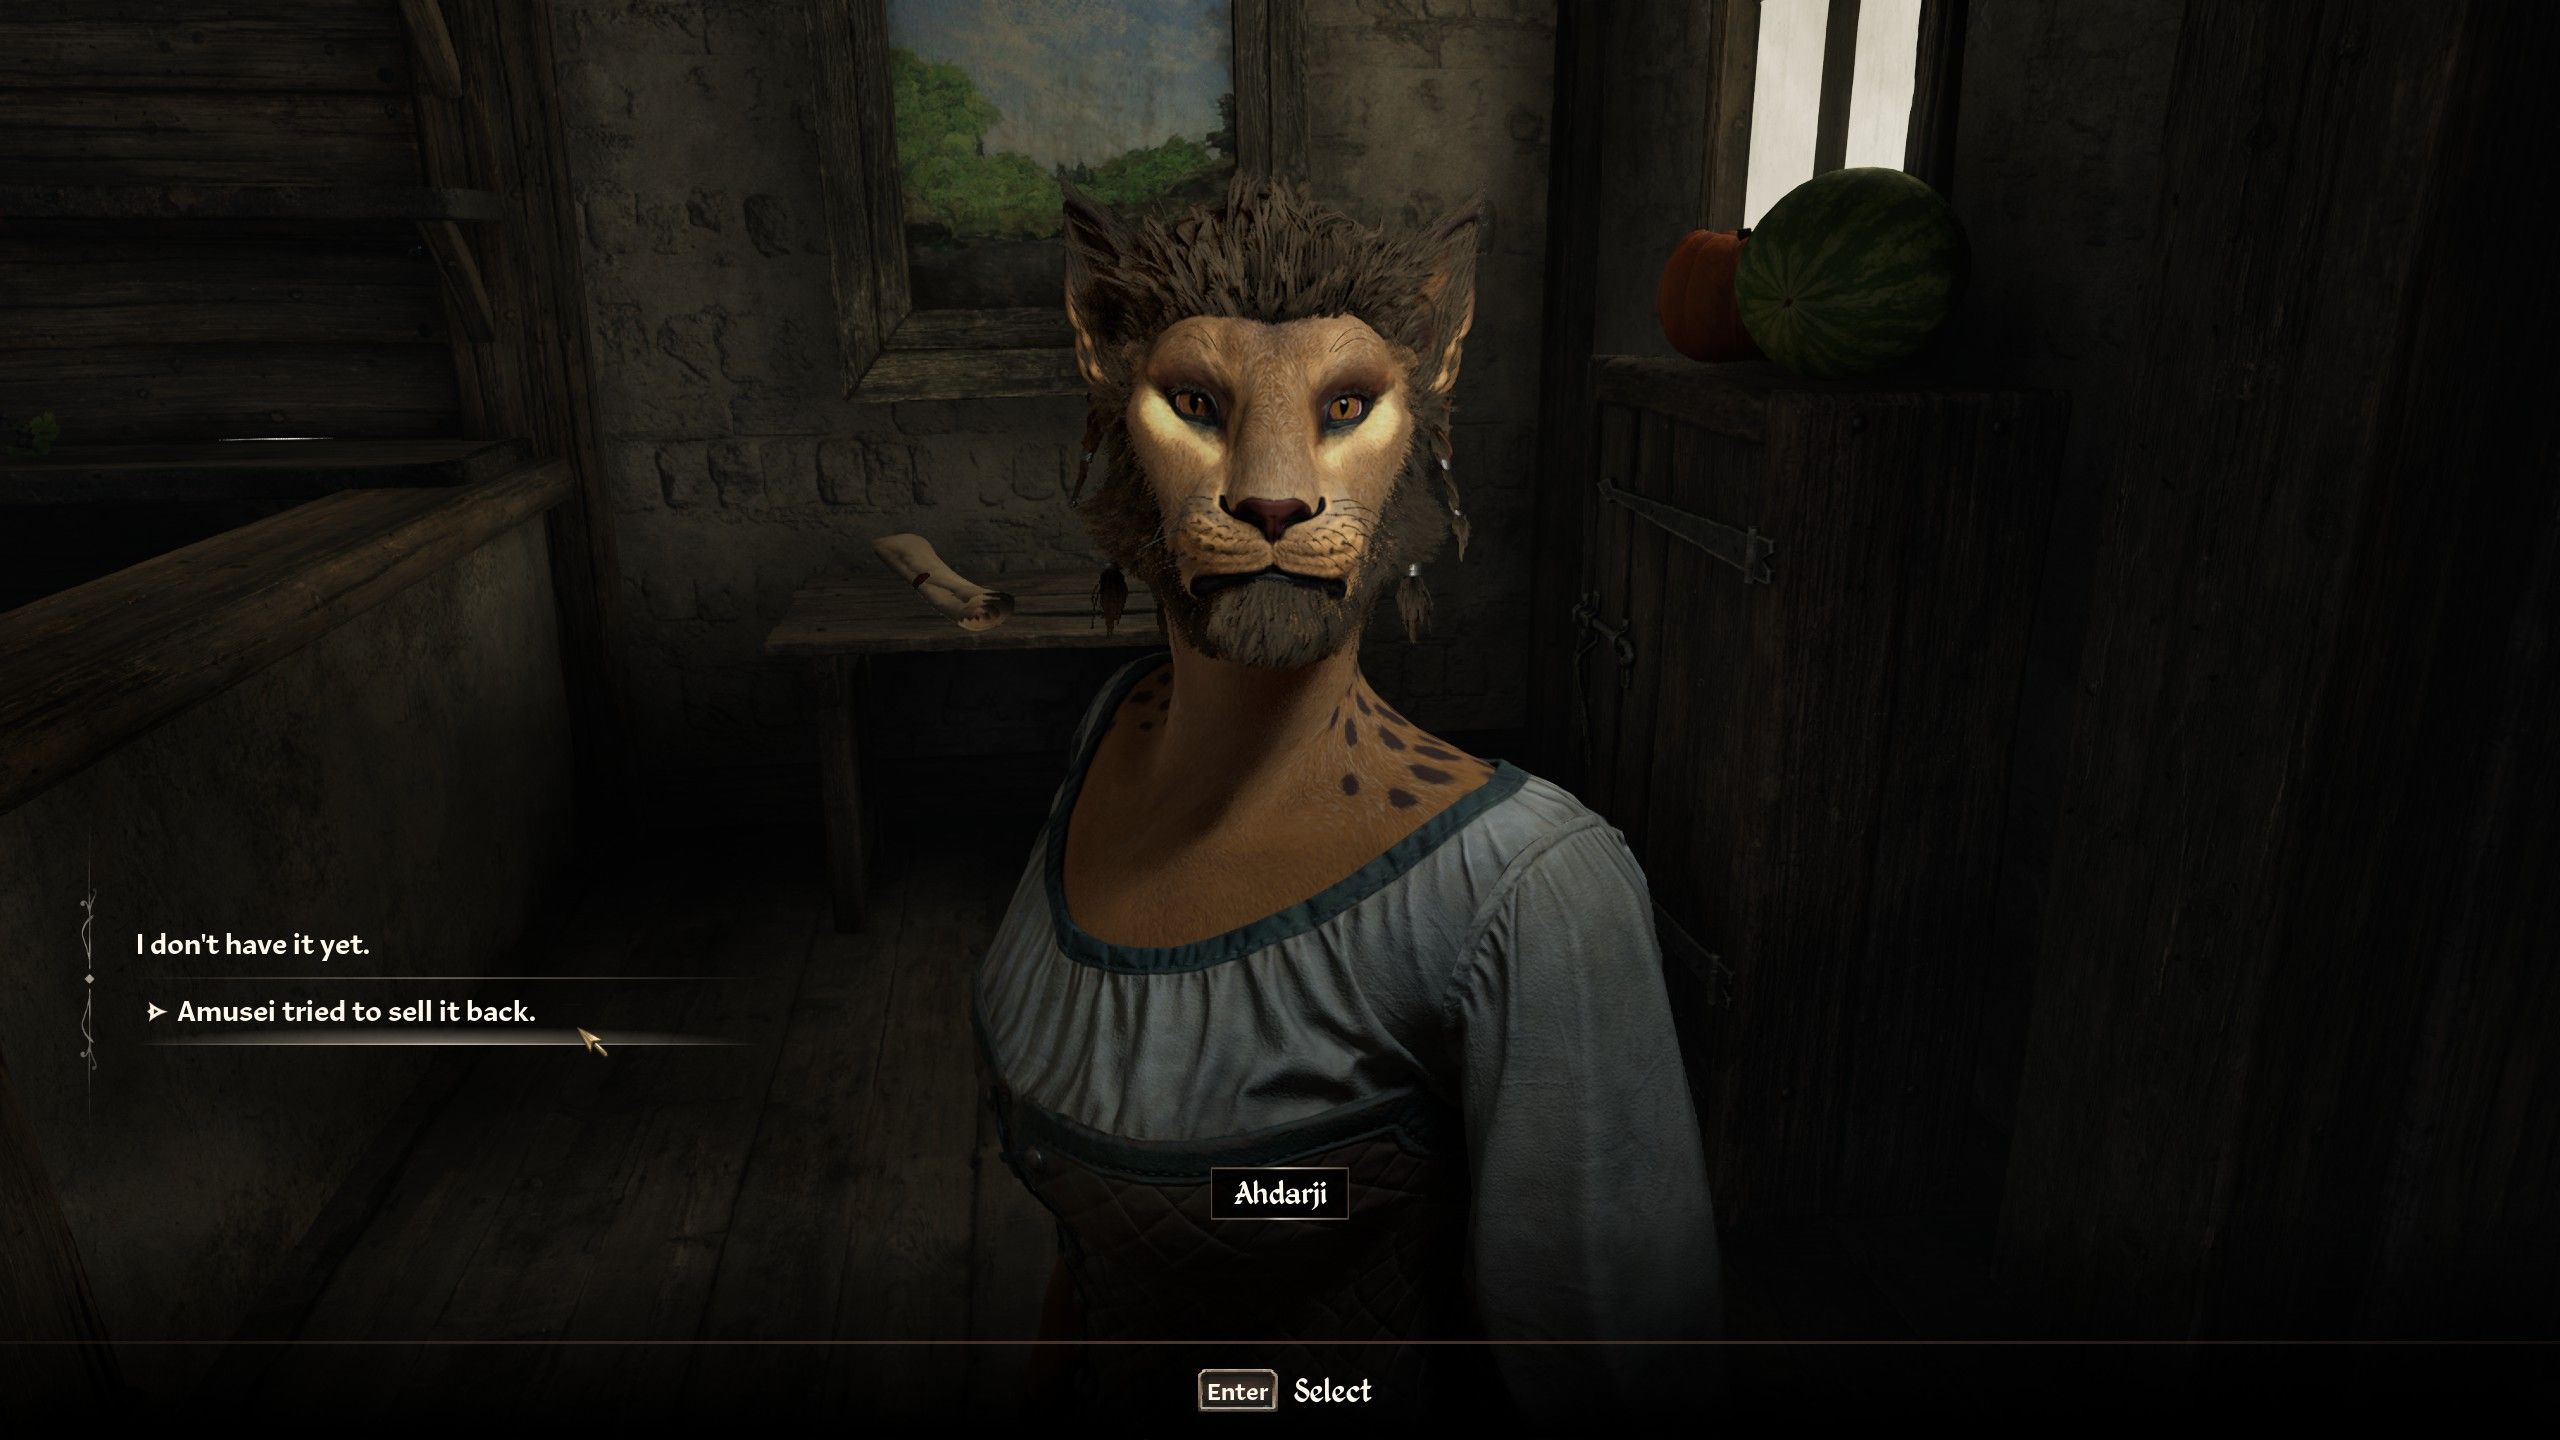
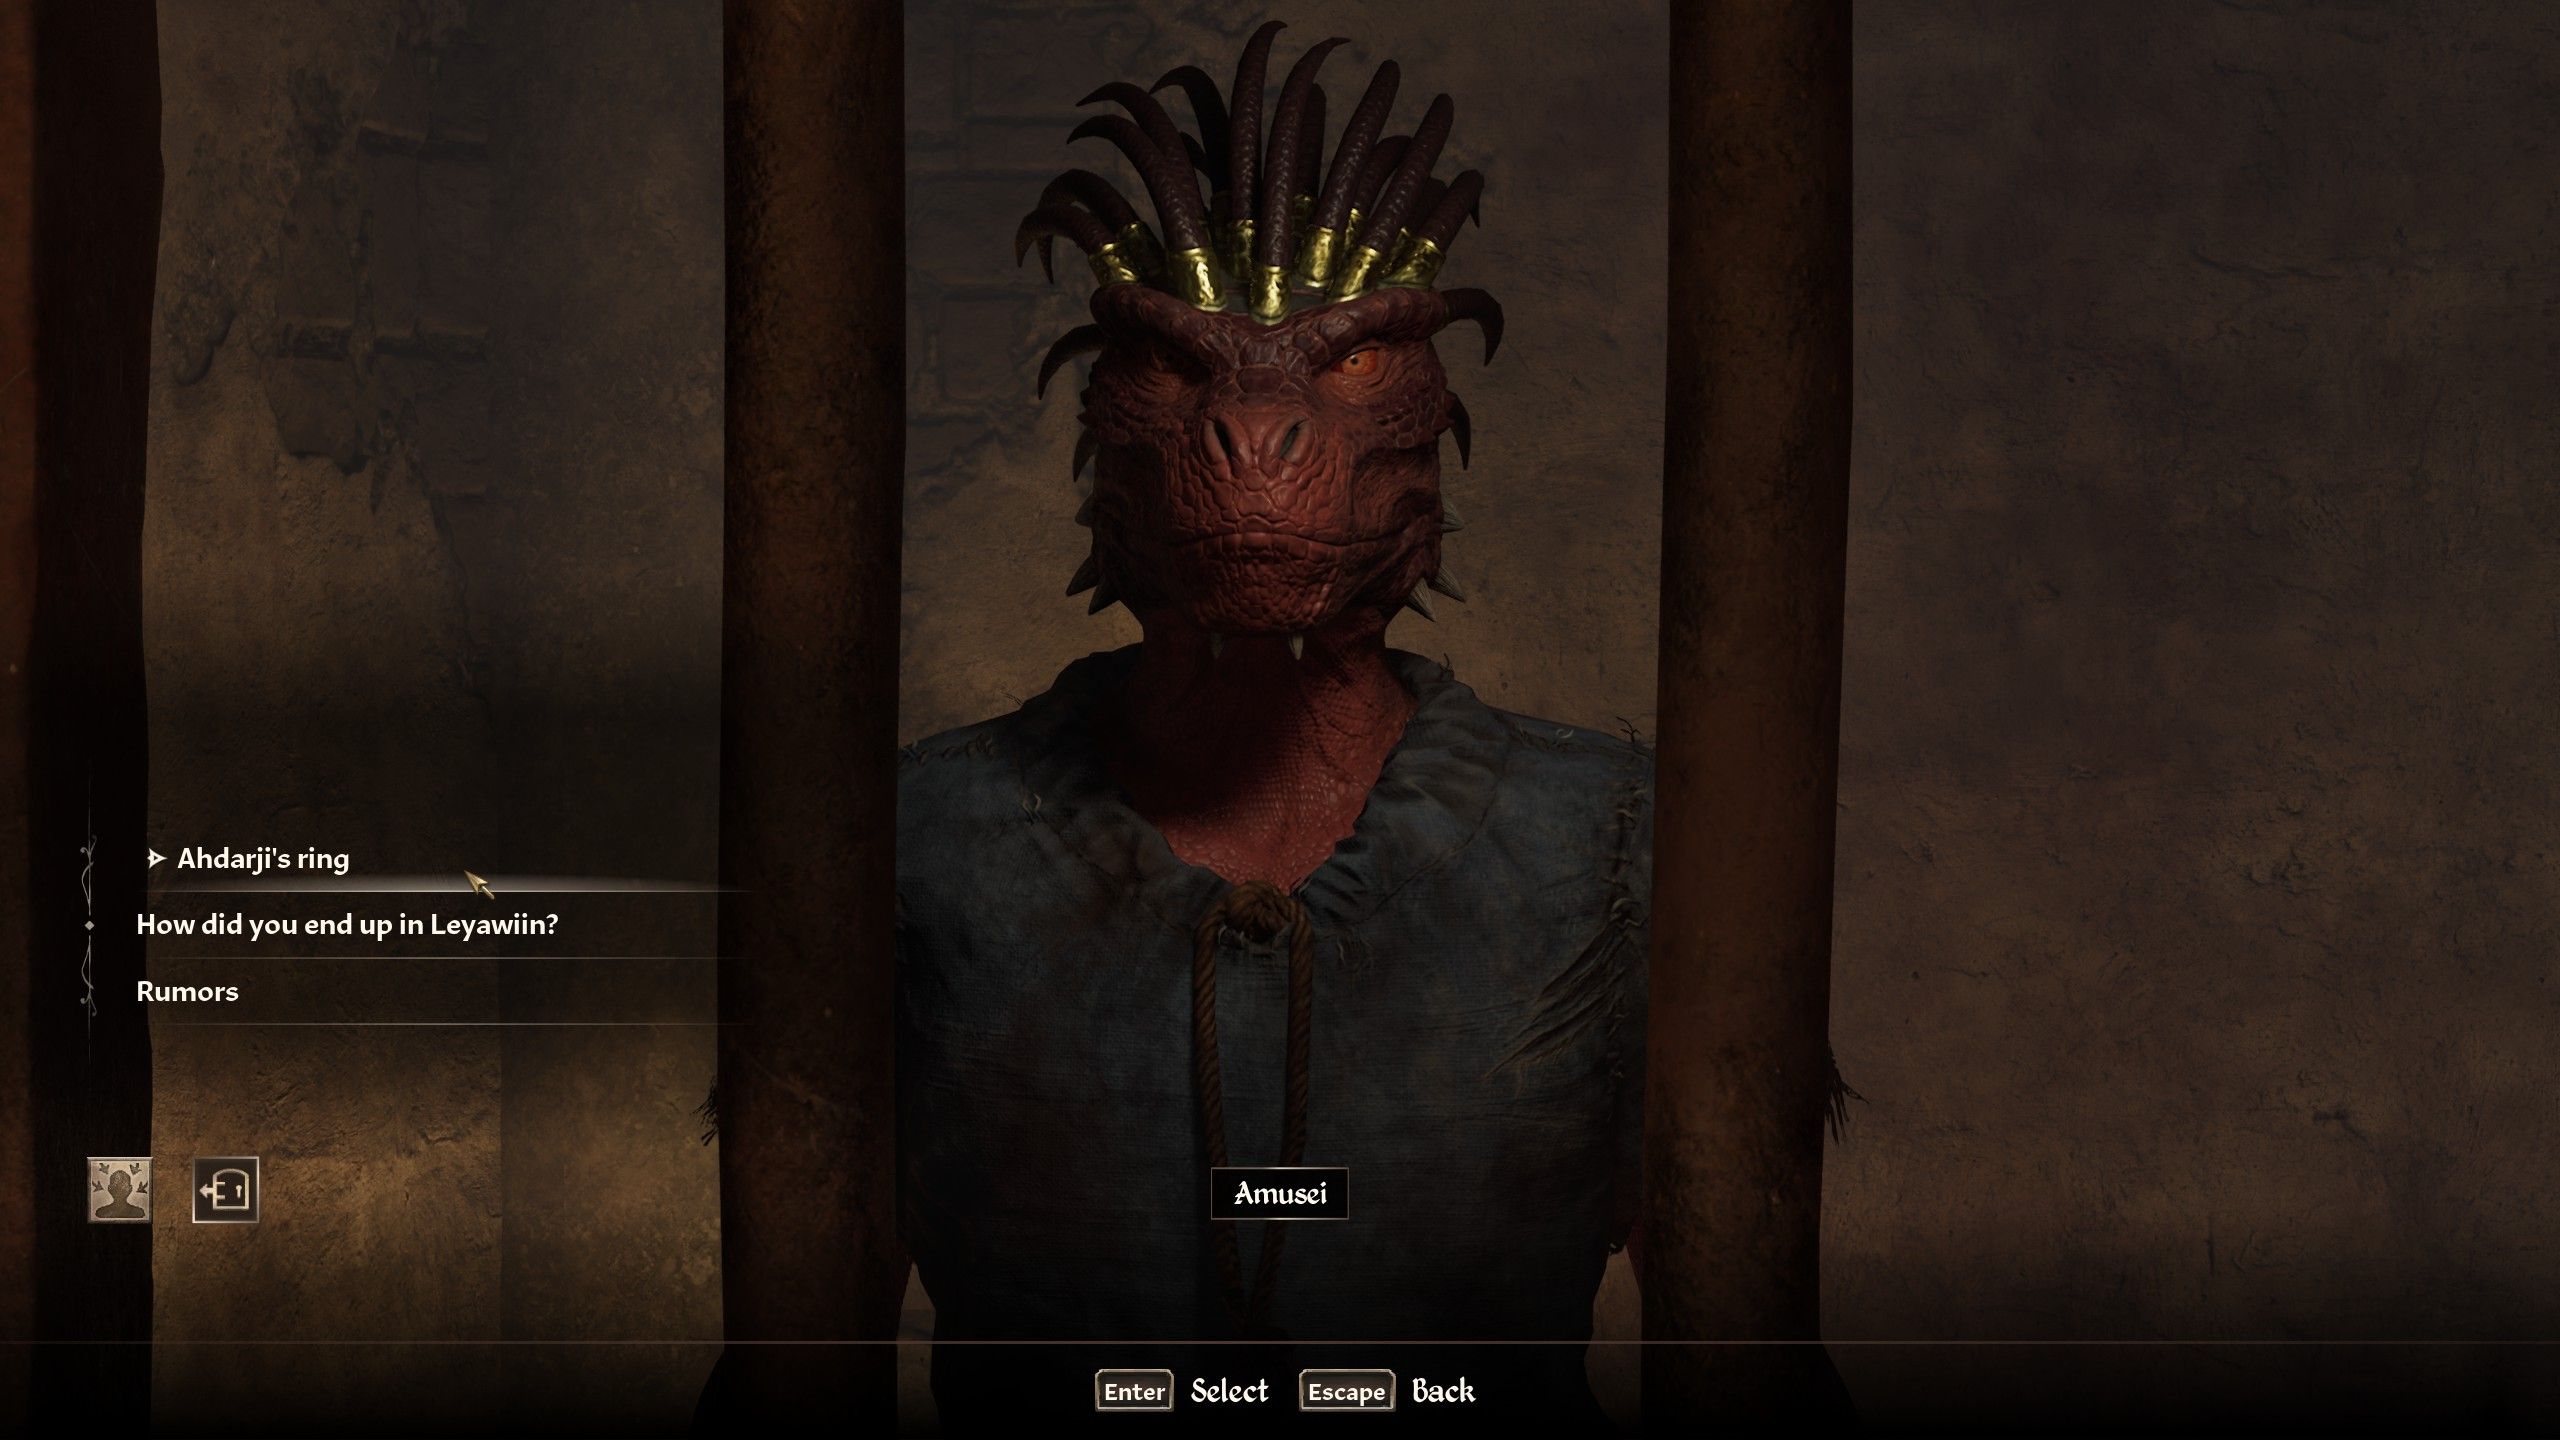
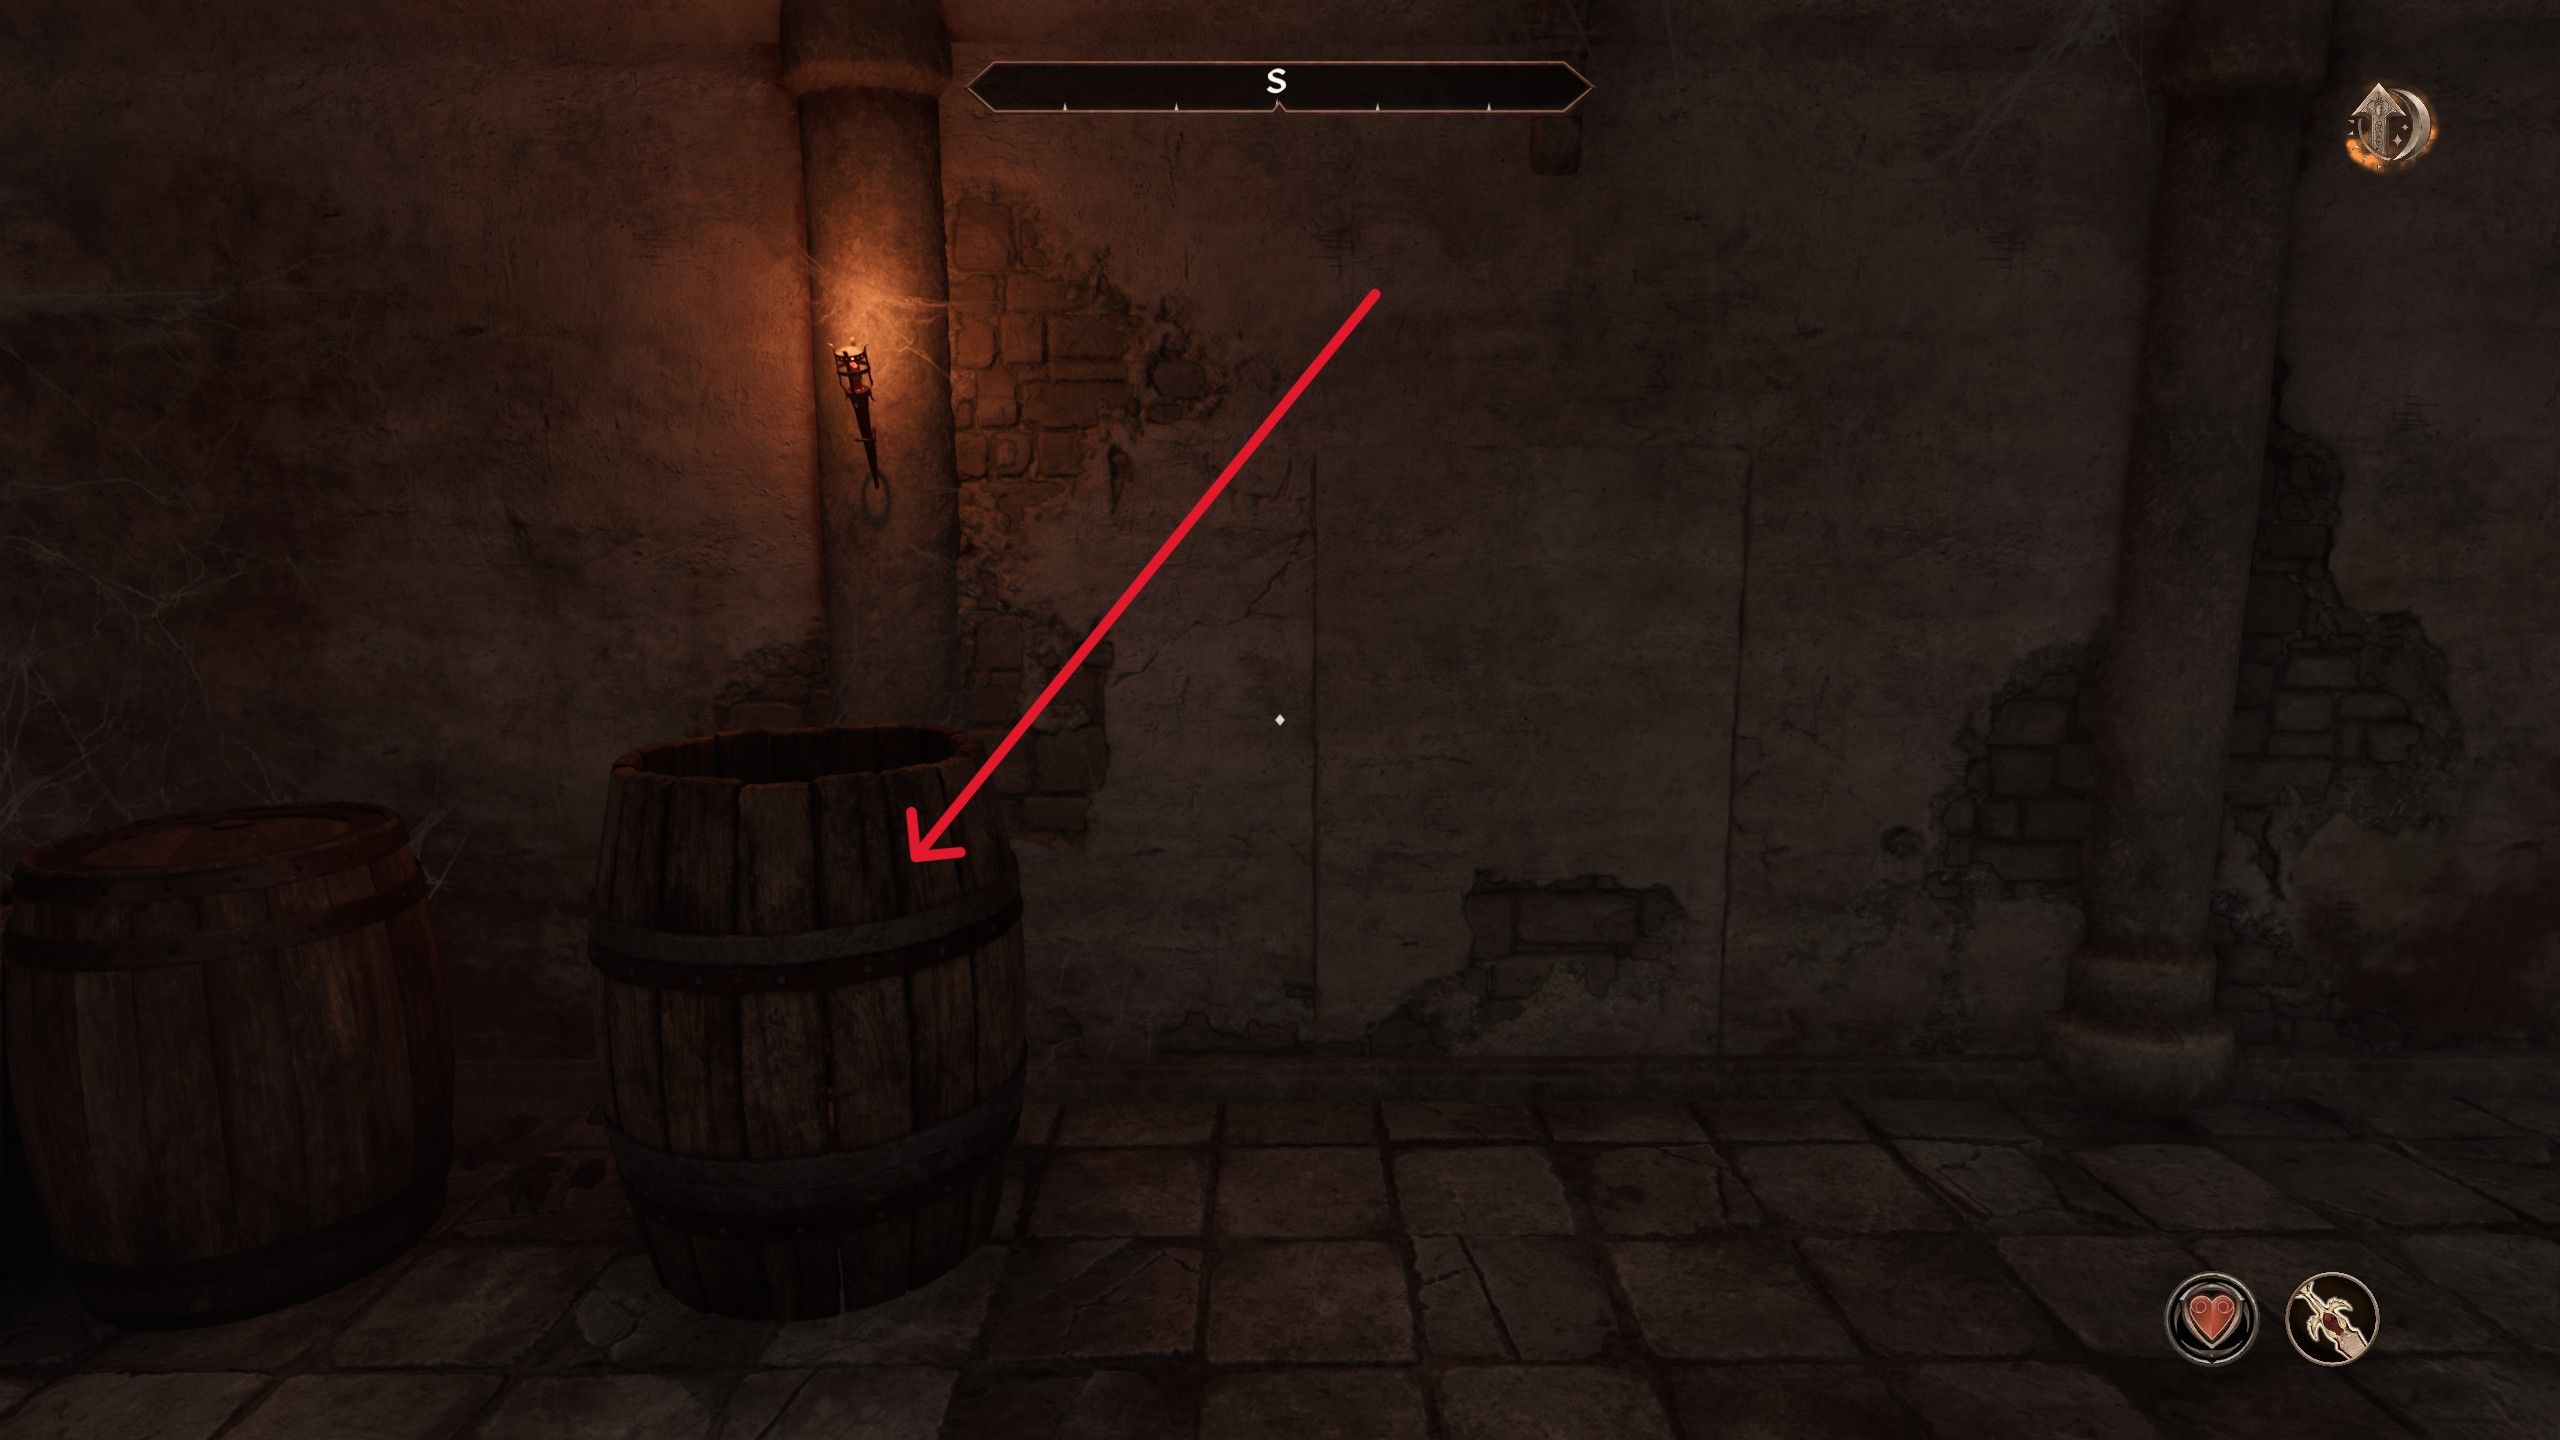
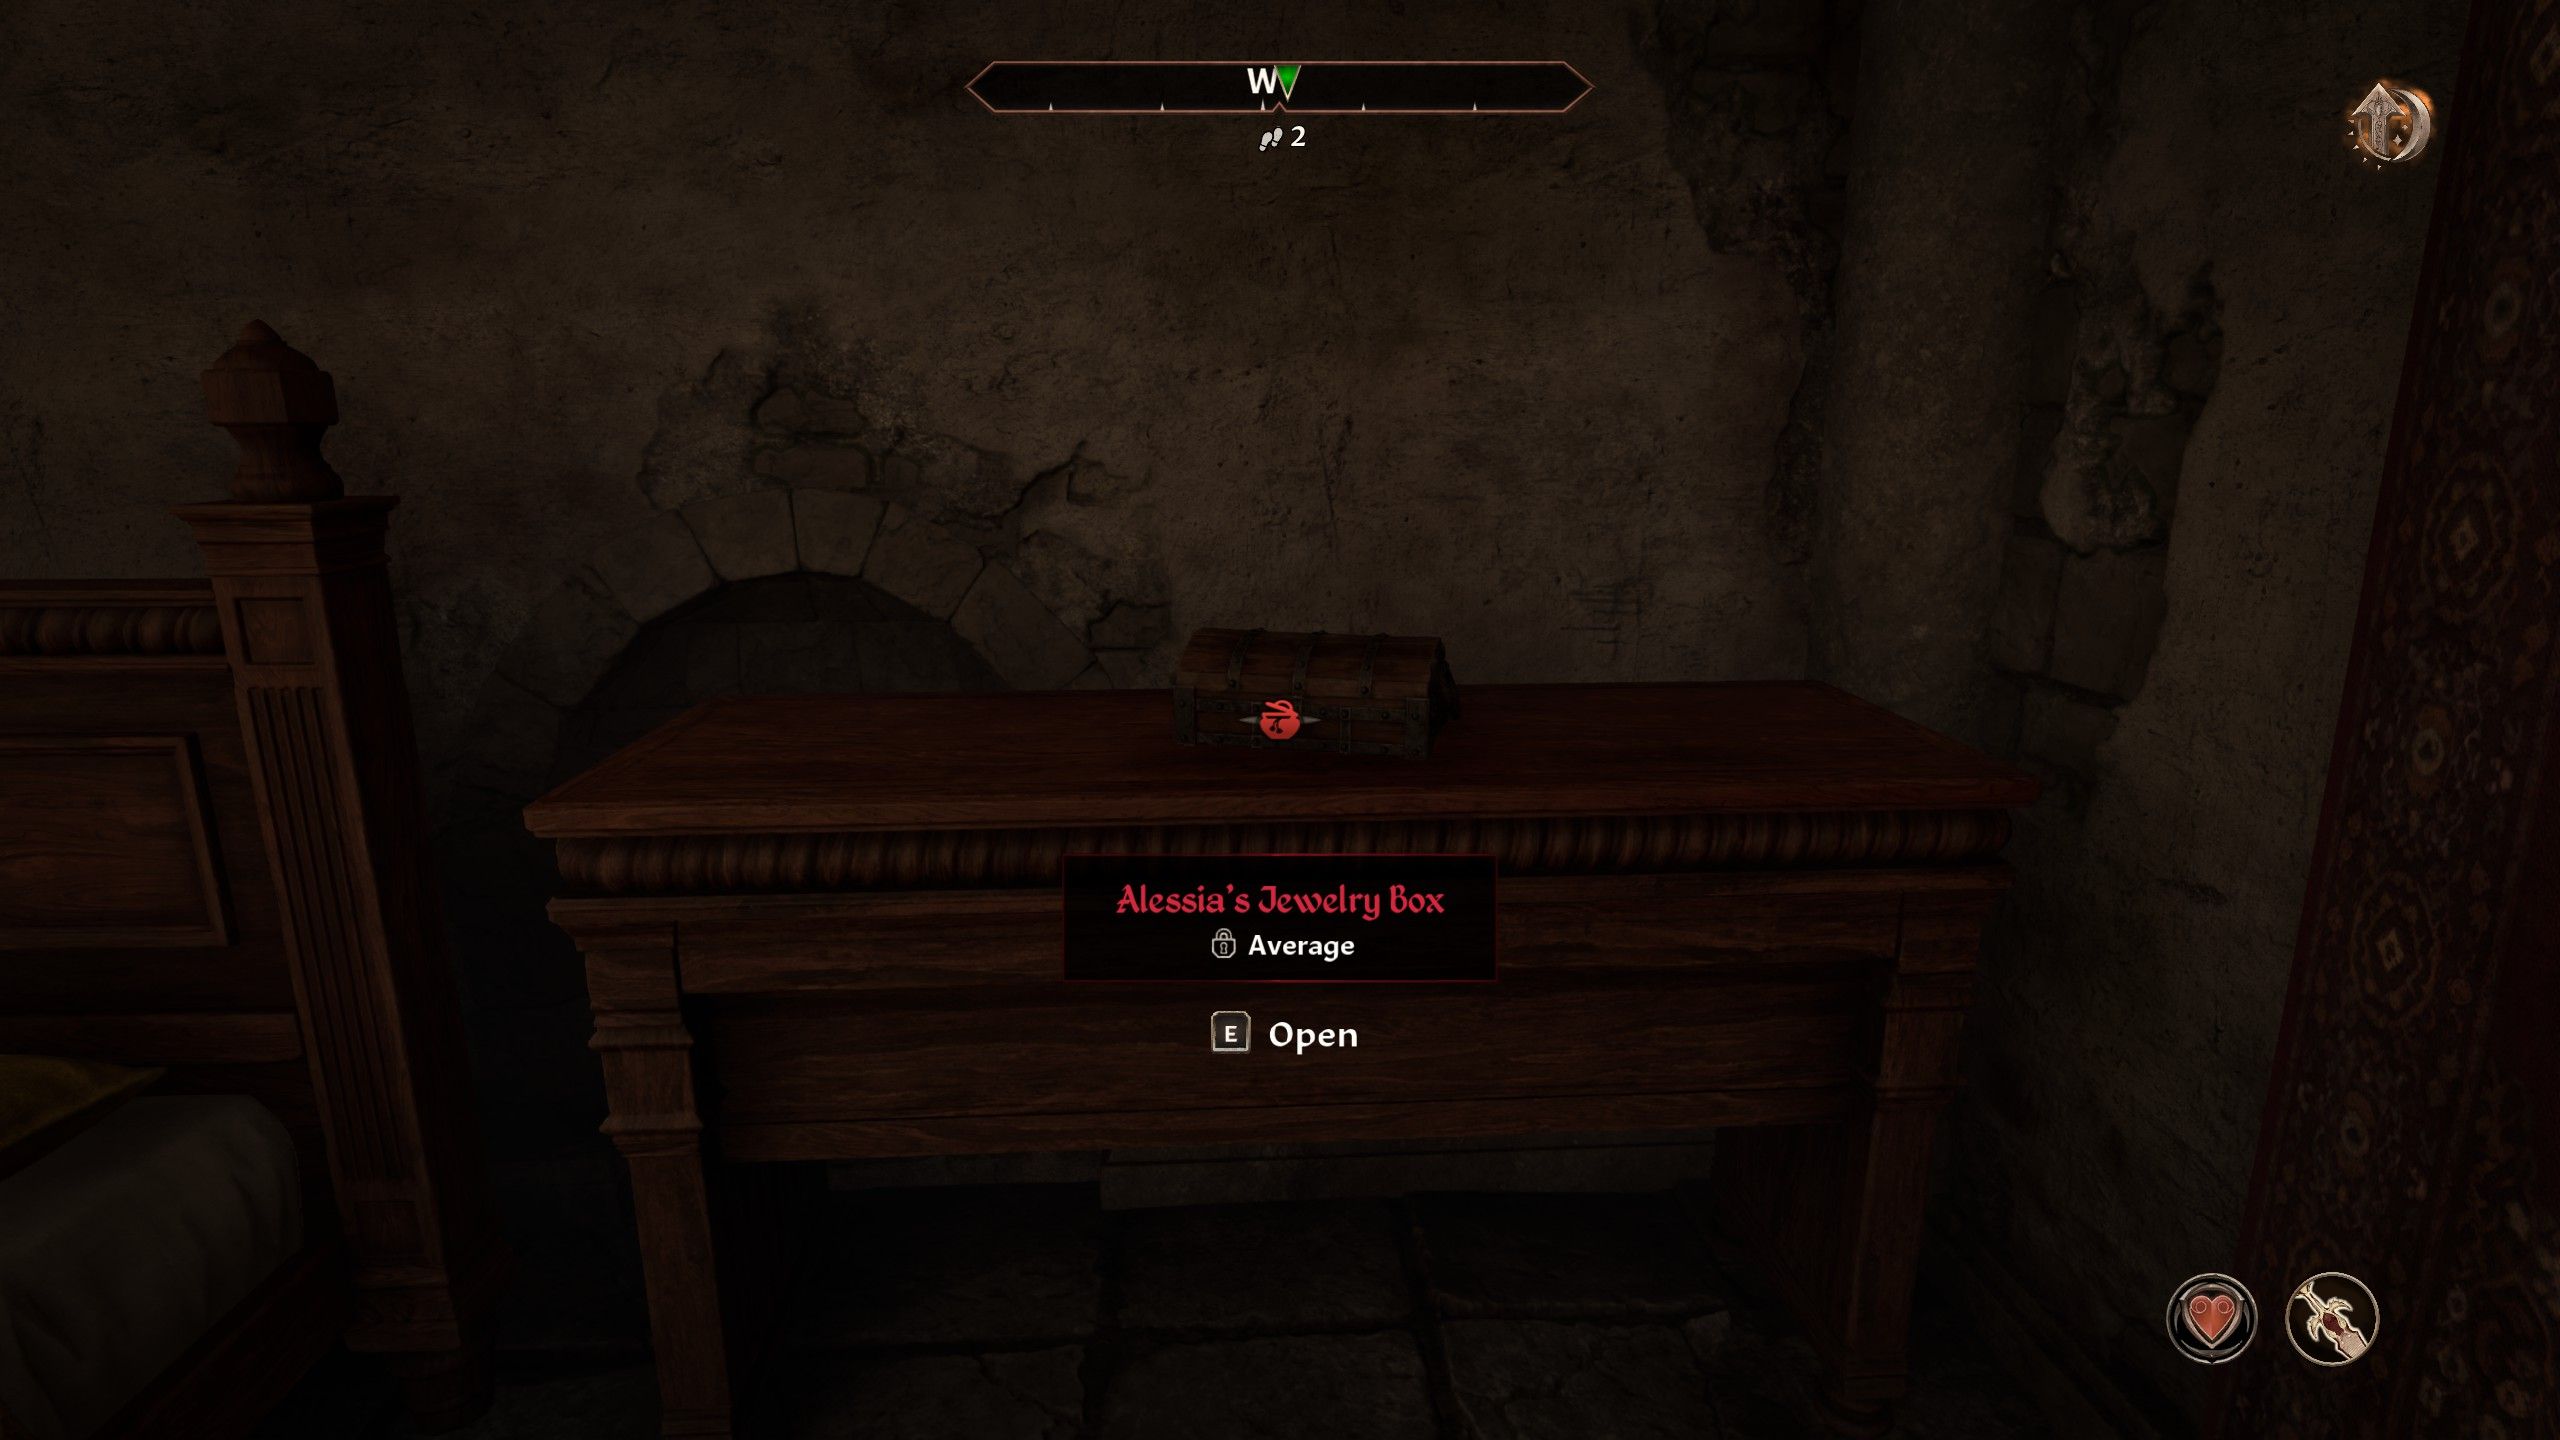
In Ahdarji’s Heirloom, you’ll be sent to Leyawiin, where you’ll meet Ahdarji at the Three Sisters’ Inn during the night. Your objective is to recover a stolen ring. The storyline begins when you visit Amusei in the prison cells of Leyawiin Castle, who can be persuaded with a Lockpick to disclose additional details. To actually snatch the ring, wait until the Countess goes to sleep (typically around 1 AM, but not on the 15th, 16th, or 17th of any month). Then, navigate through hidden passages in the basement of Castle Leyawiin by pulling a secret lever concealed within a barrel at the southern wall.
As a gamer, I’ll navigate through hidden passages within Castle Leaywiin to uncover the secluded quarters of the Countess. With stealth being key, I’ll need to sneak past a patrolling guard and make a beeline for the first room on my left. In this chamber lies the Countess’ bedside lockbox, containing Ahdarji’s Ring – my mission objective. Once I’ve returned the ring to its rightful owner, I can then chat with S’Krivva to wrap up this quest.
In some cases, the treasure known as Ahdarji’s Heirloom may fail to appear due to a well-known bug. If this happens, try restarting the quest and make certain you converse with Ahdarji after your initial conversation with Amusei.
Misdirection
- Misdirection Walkthrough
| Reward |
|---|
|
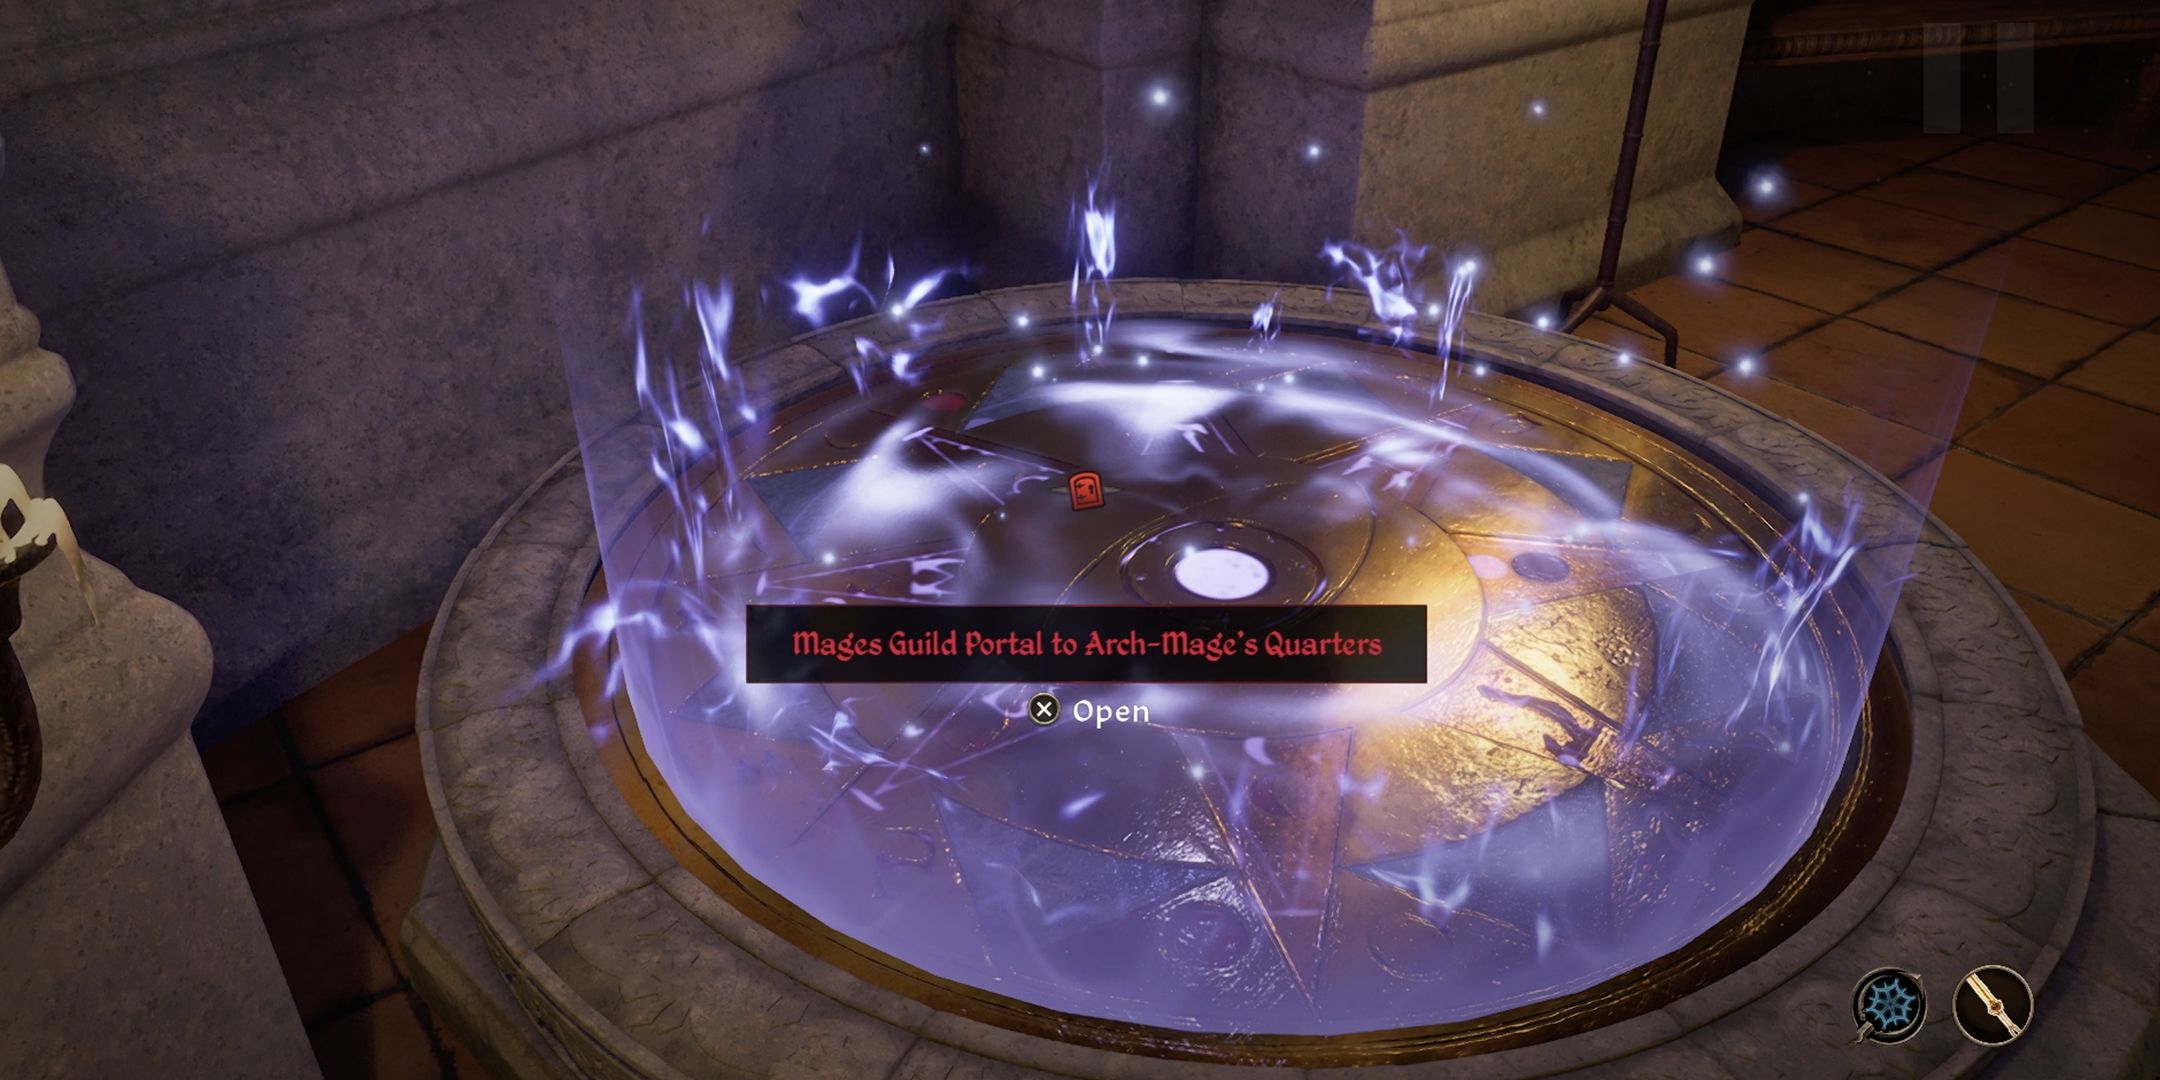
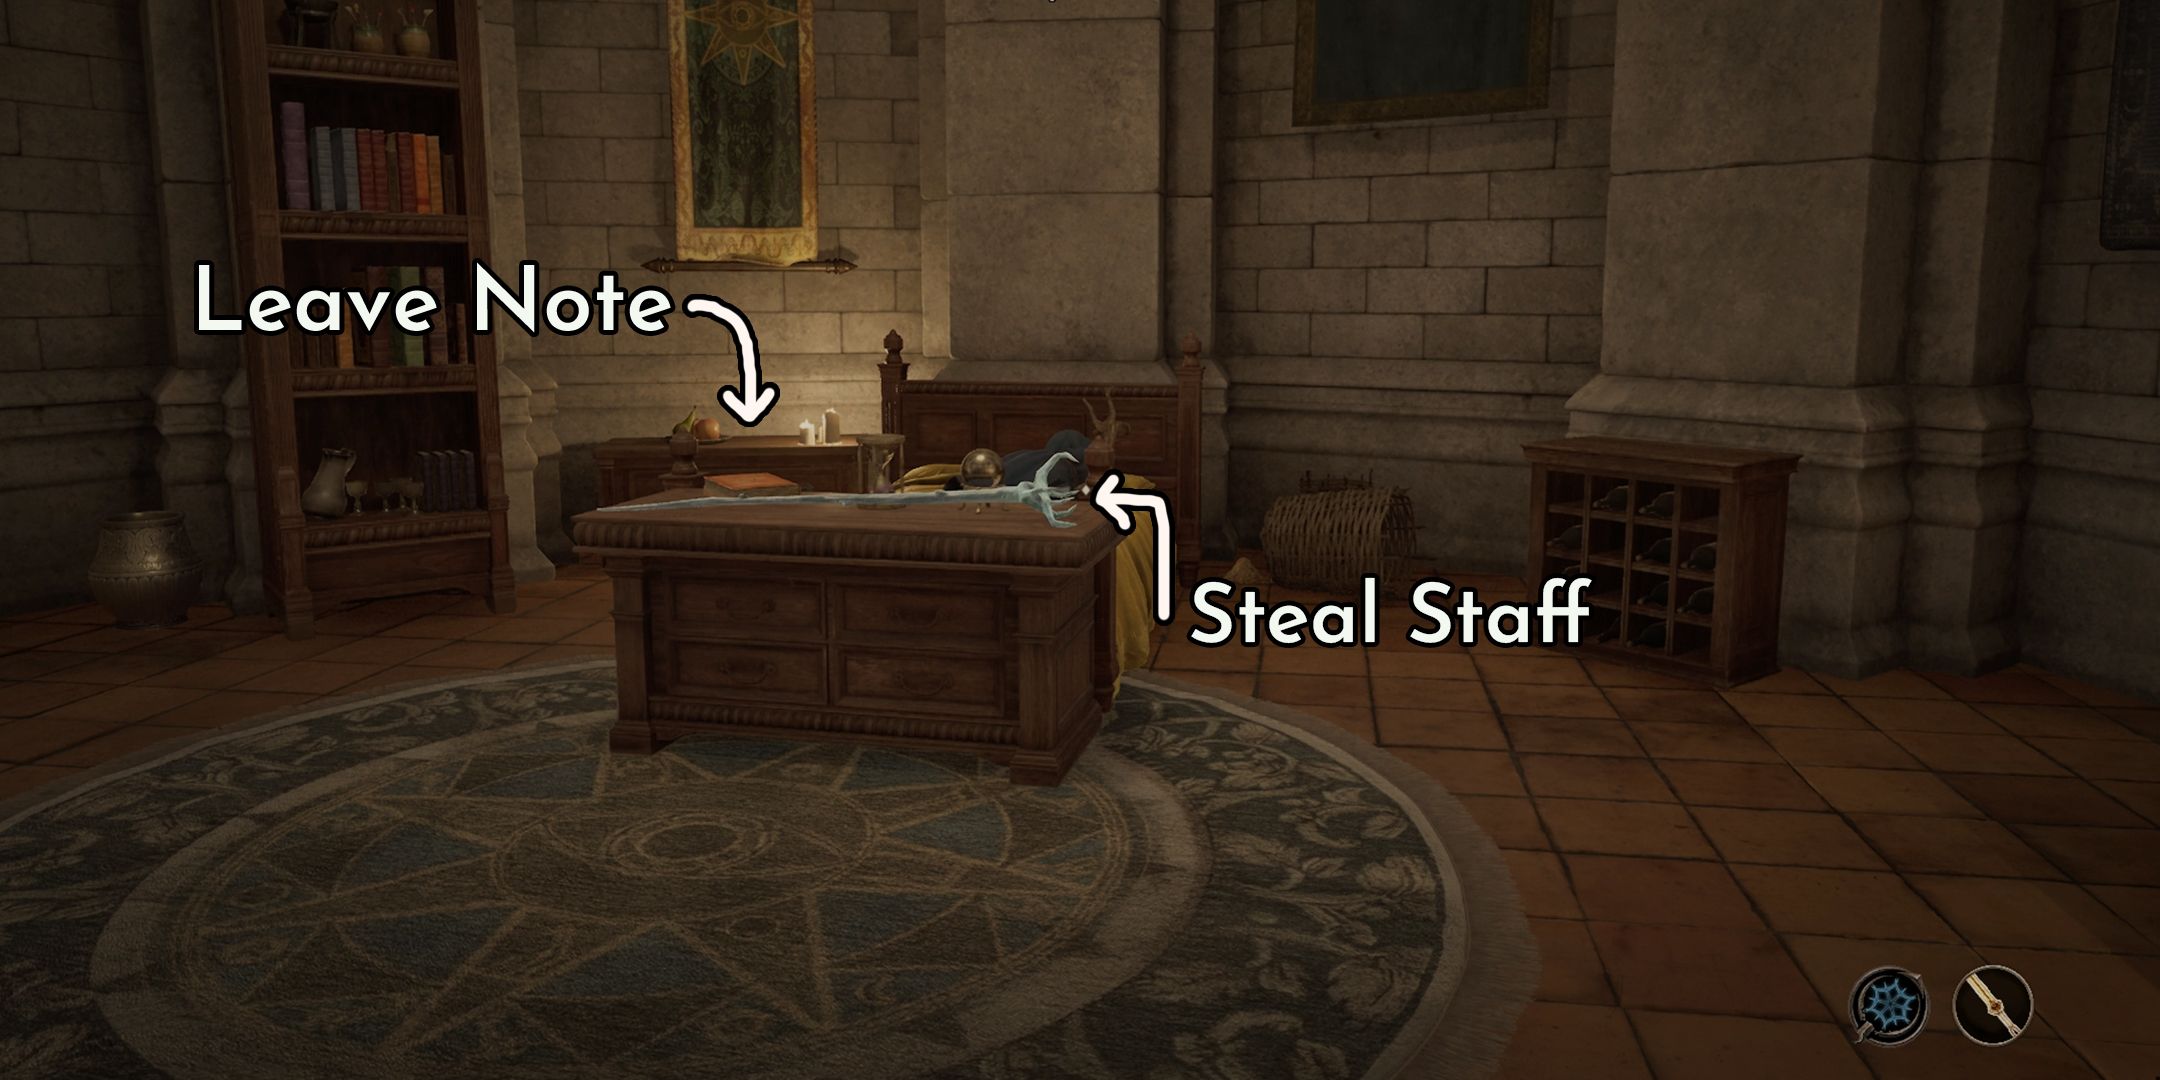
In this mission, gamers must track down Methredhel, who resides within Dynari Amnis’ House in the Talos Plaza District of the Imperial City. Upon finding her, she offers players a quest that involves stealing Hromir’s Icestaff from the Arch-Mage’s private quarters in the Arcane University. To execute this covert operation successfully, enter the Arcane University between 1 AM and 7 AM as there are no guards present to hinder entry into the private chambers. Once you secure Hromir’s Icestaff, interact with the bedside table to leave a note from the Gray Fox.
In the last stage of this journey, make your way to the Waterfront district to observe Hieronymus Lex from the rooftops of the poorer districts. A brief scene will unfold. Following that, go back to Methredel and return Hromir’s Icestaff by putting it in Ontus Vanin’s chest located within his home.
Lost Histories

- Lost Histories Walkthrough
| Reward |
|---|
|
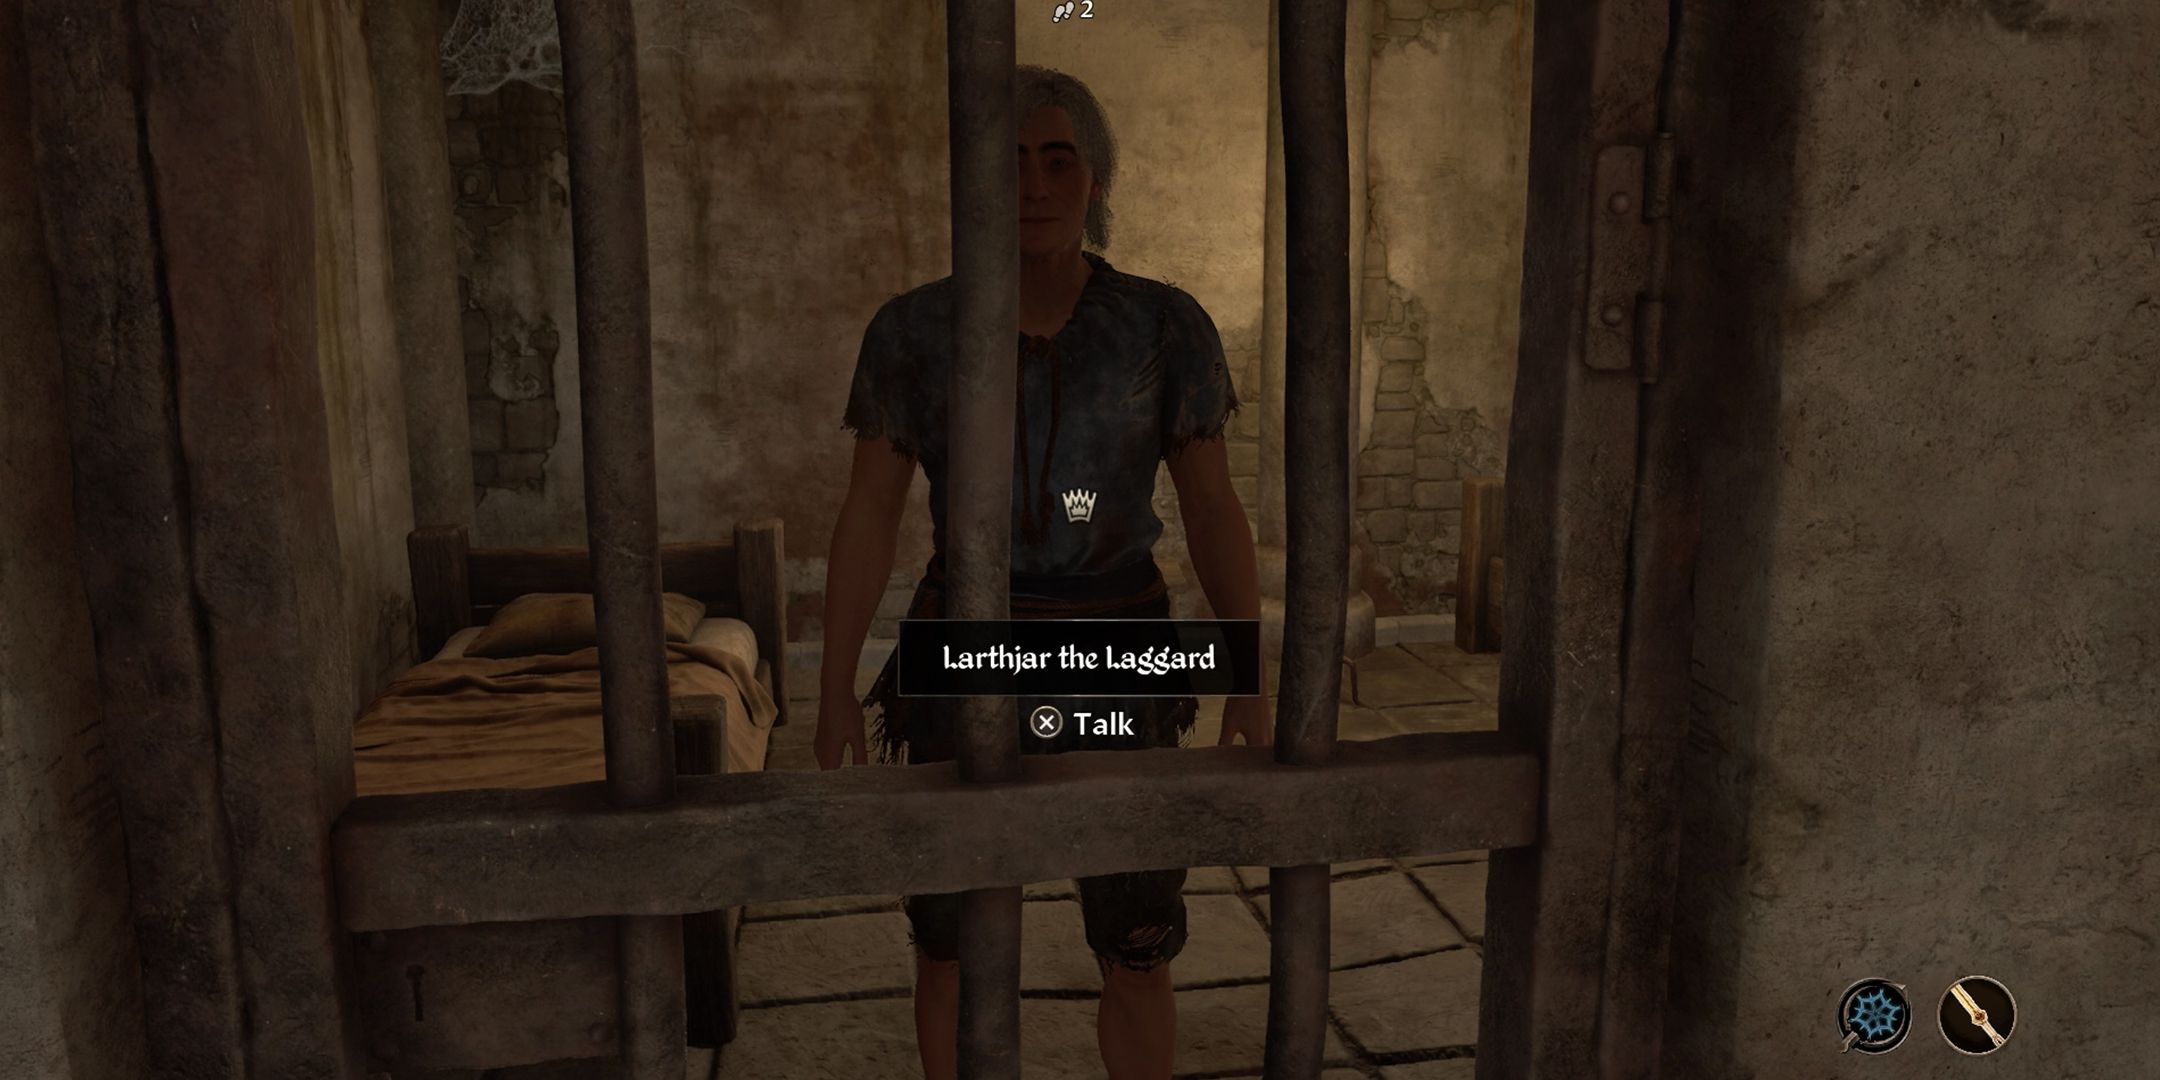
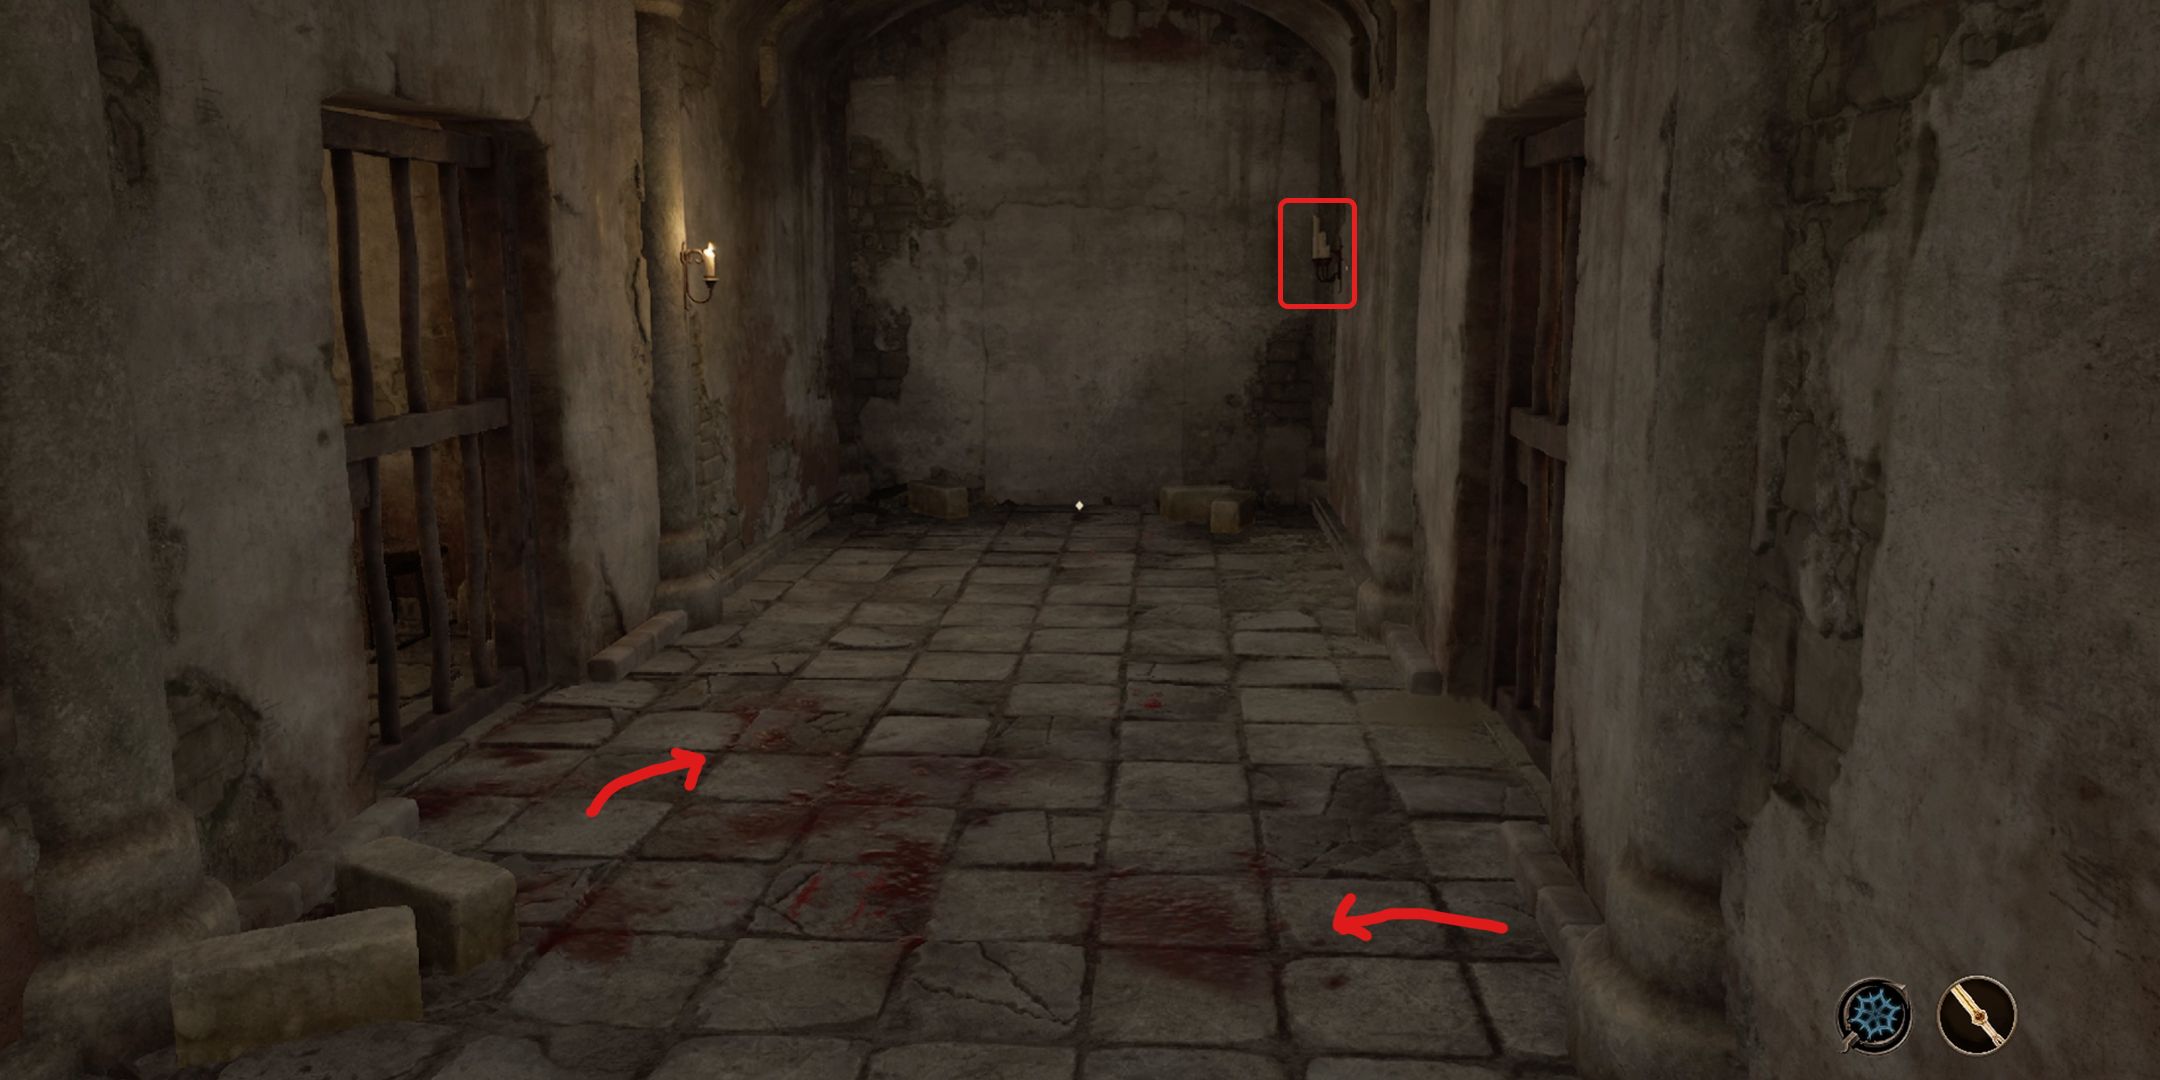
Following the launch of Lost Histories from S’Krivva, players need to navigate towards Skingrad dungeon within Castle Skingrad in search of Theranis, a thief who was assigned the job of pilfering the Lost Histories of Tamriel. To gain access to the prison area, players must be stealthy and bypass the guard. Once they manage to do so, they’ll encounter Larthjar the Laggard. By conversing with Larthjar, players will learn that Theranis was captured by the Pale Lady. This sets off a trail of blood leading between the two cells, where an interactive sconce on the right can be found. Activating this sconce will unveil a hidden entrance.
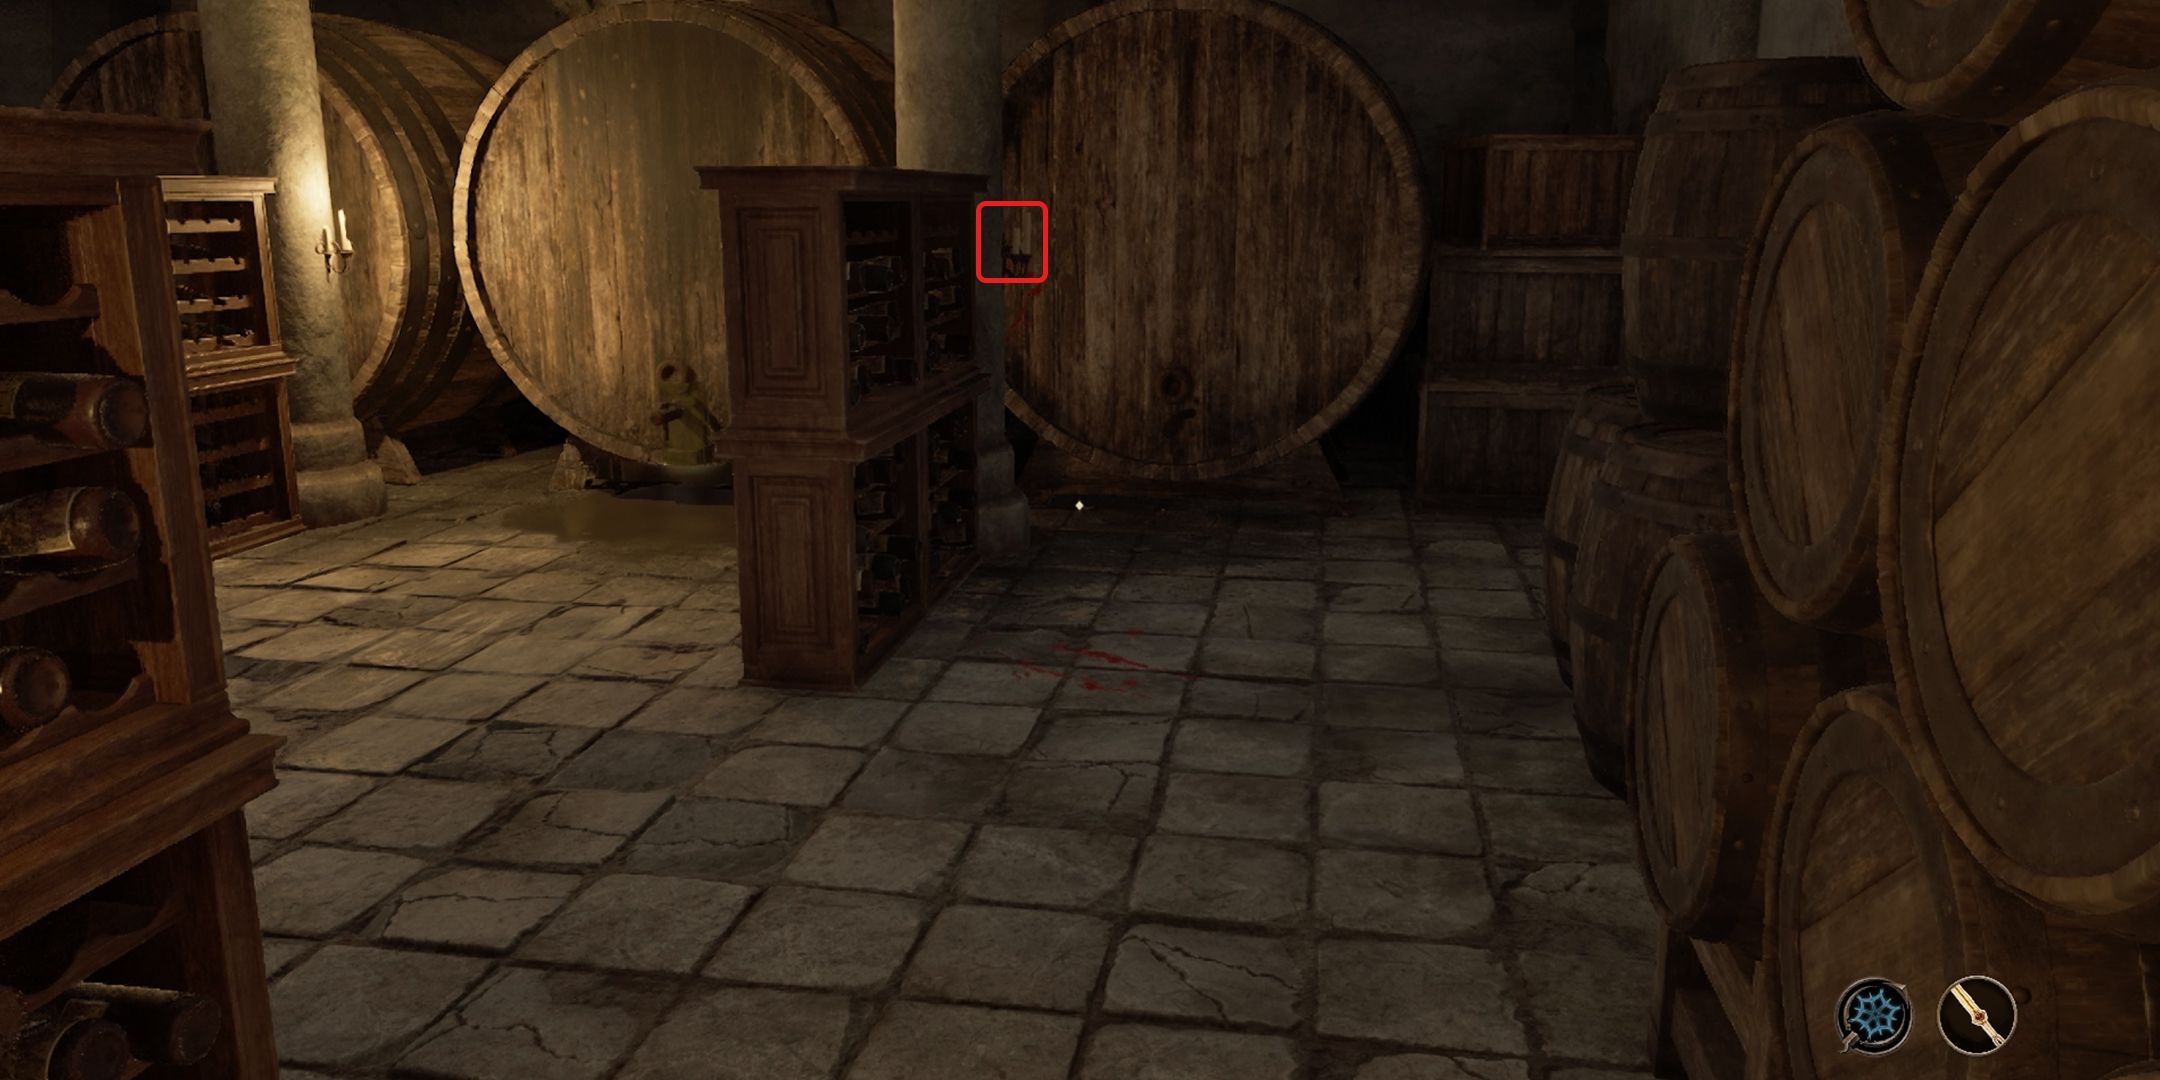
Stepping into the hidden doorway, I quickly made my way towards the dimly-lit wine cellar. Hidden in plain sight, near the farthest right barrel, was another secret switch. Giving it a gentle push, I watched as the middle barrel swung open to reveal the Pale Lady and Amusei.
Engaging her in combat wasn’t an option; instead, I had to defeat the Pale Lady stealthily to free Amusei. With him now at my side, our next objective was to sneak past guards and make a hasty escape with the precious Lost Histories of Tamriel book in tow. But first, we needed to ensure that no one suspected a thing – a task easier said than done with Amusei as a wanted prisoner on our heels.
To escape from the castle unnoticed by most guards, wait until 2 AM when they’re asleep, then make your way through the dining hall and into the county hall. When you reach the west wing of the castle, Amusei will be at liberty. You can find a book called ‘Lost Histories of Tamriel’ hidden near a bush behind Nerastarel’s House. After obtaining it, return to S’Kivva to complete this quest.
Taking Care of Lex
| Reward |
|---|
|
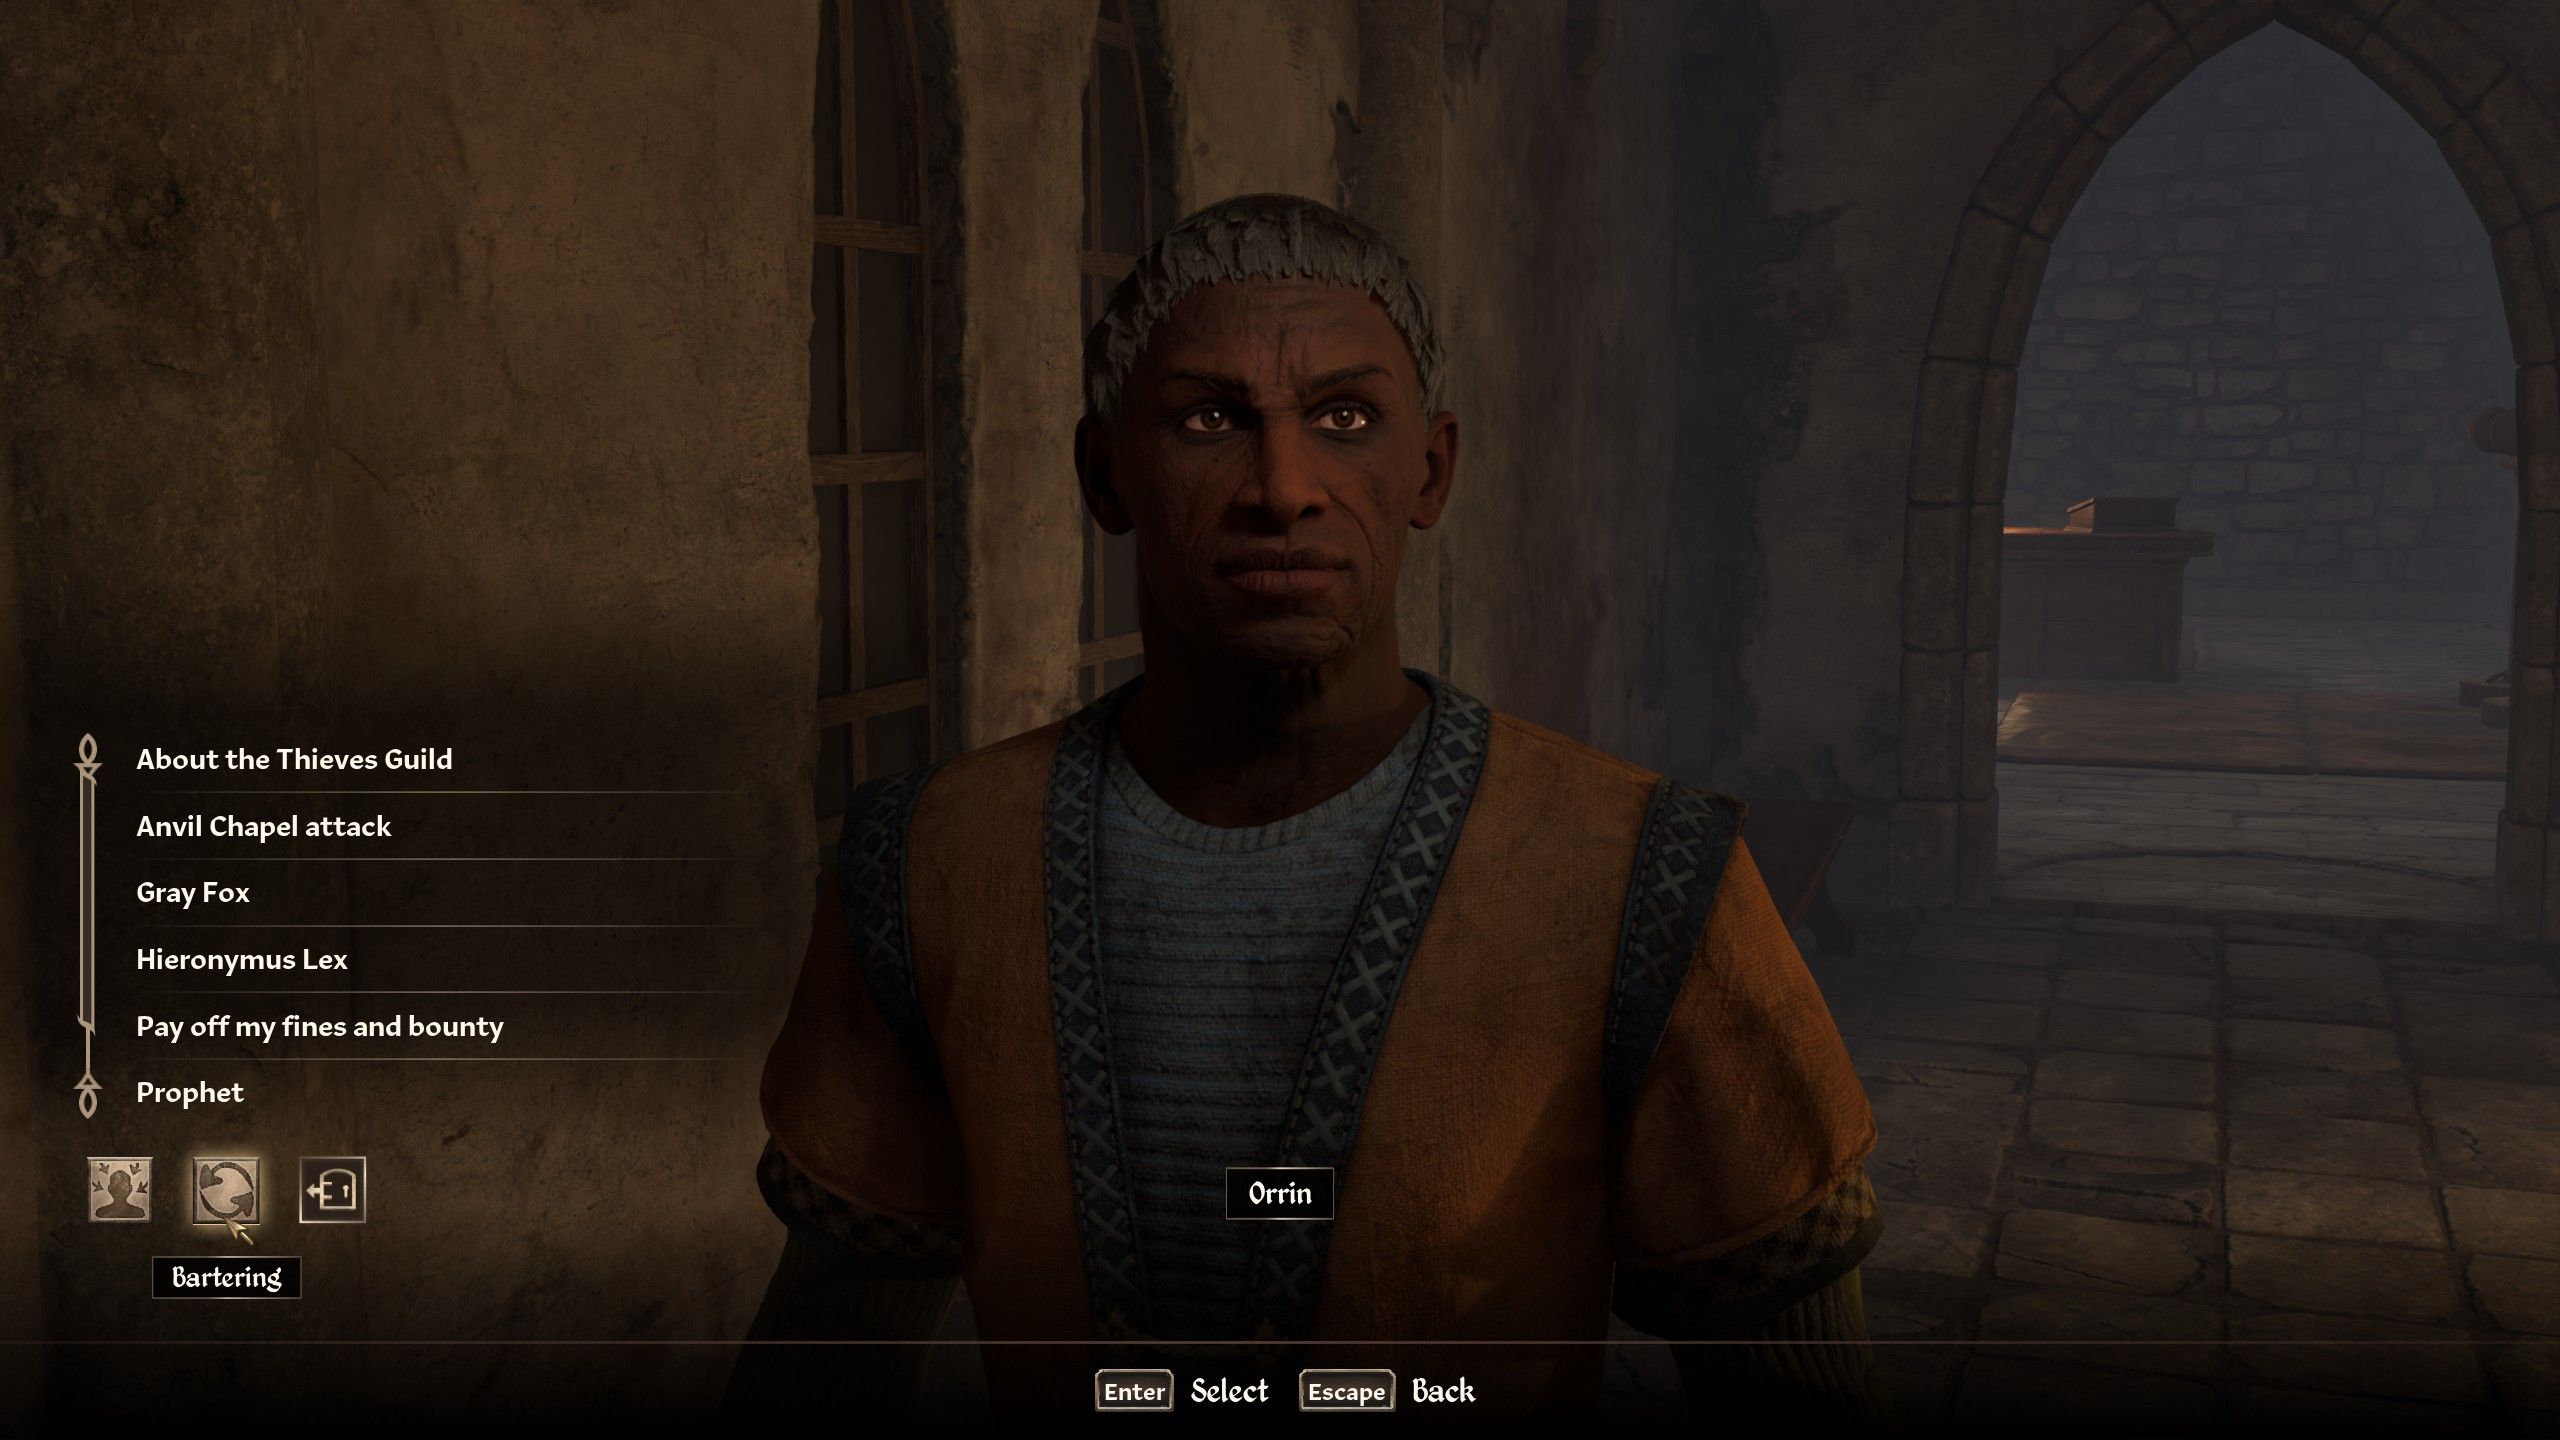
In the concluding stage of S’Kivva’s adventure, you’ll aim to move Hieronymus Lex from the Imperial City. To initiate this process, players should first obtain a recommendation letter hidden in Dairhill’s office at Castle Bravil. To get the letter, interact with Orrin, who resides in the Smithy section of the castle. He will guide you to a concealed passageway. It’s advisable to access this secret tunnel around 1 AM, as there’s only one guard on duty during the patrol, making it easier for players to reach Dairhill’s desk and pilfer the recommendation letter. This letter is stored in a locked room to the left of the desk.
To obtain a forged recommendation letter, approach the stranger near the Abandoned House by the Anvil Mages Guild. This individual is capable of creating the necessary letters if you pay them 500 gold pieces. Once you’ve received the letter after waiting 24 hours, it’s time to secure the Imperial Seal. You can find this seal at the Imperial Legion Offices in the Prison District within the Imperial City.
First, locate Countess Millona Umbranox in Anvil and hand over the letter. Afterward, head back to the Waterfront District of the Imperial City to discuss reassignment with Hieronymus Lex. Finally, find S’Krivva to wrap up her quest series.
This version maintains the original instructions while using a more conversational tone that is easy for a human reader to understand.
Part Three: The Gray Fox’s Special Jobs

In the concluding series of tasks for the Thieves Guild, there are unique assignments designated for the Gray Fox. These missions can be acquired either by exchanging gold as usual or by patiently waiting. After players have accumulated sufficient gold through fencing, they should spend 24 in-game hours lingering around the Imperial City to encounter a member of the Thieves Guild. Once you’ve interacted with them, follow the directions to locate the Gray Fox.
| Quest | Location | Gold Fenced |
|---|---|---|
| Turning a Blind Eye | Helvius Cecia’s House, Bruma | 600 Gold |
| Arrow of Extrication | Malintus Anerus’ House, Chorrol | 700 Gold |
| Boots of Springheel Jak | Gandrehel’s House, Cheydinhal | 800 Gold |
| The Ultimate Heist | Othrelos’ House, Elven Gardens District, Imperial City | 1,000 Gold |
Turning a Blind Eye
- Turning a Blind Eye Walkthrough
| Reward |
|---|
|
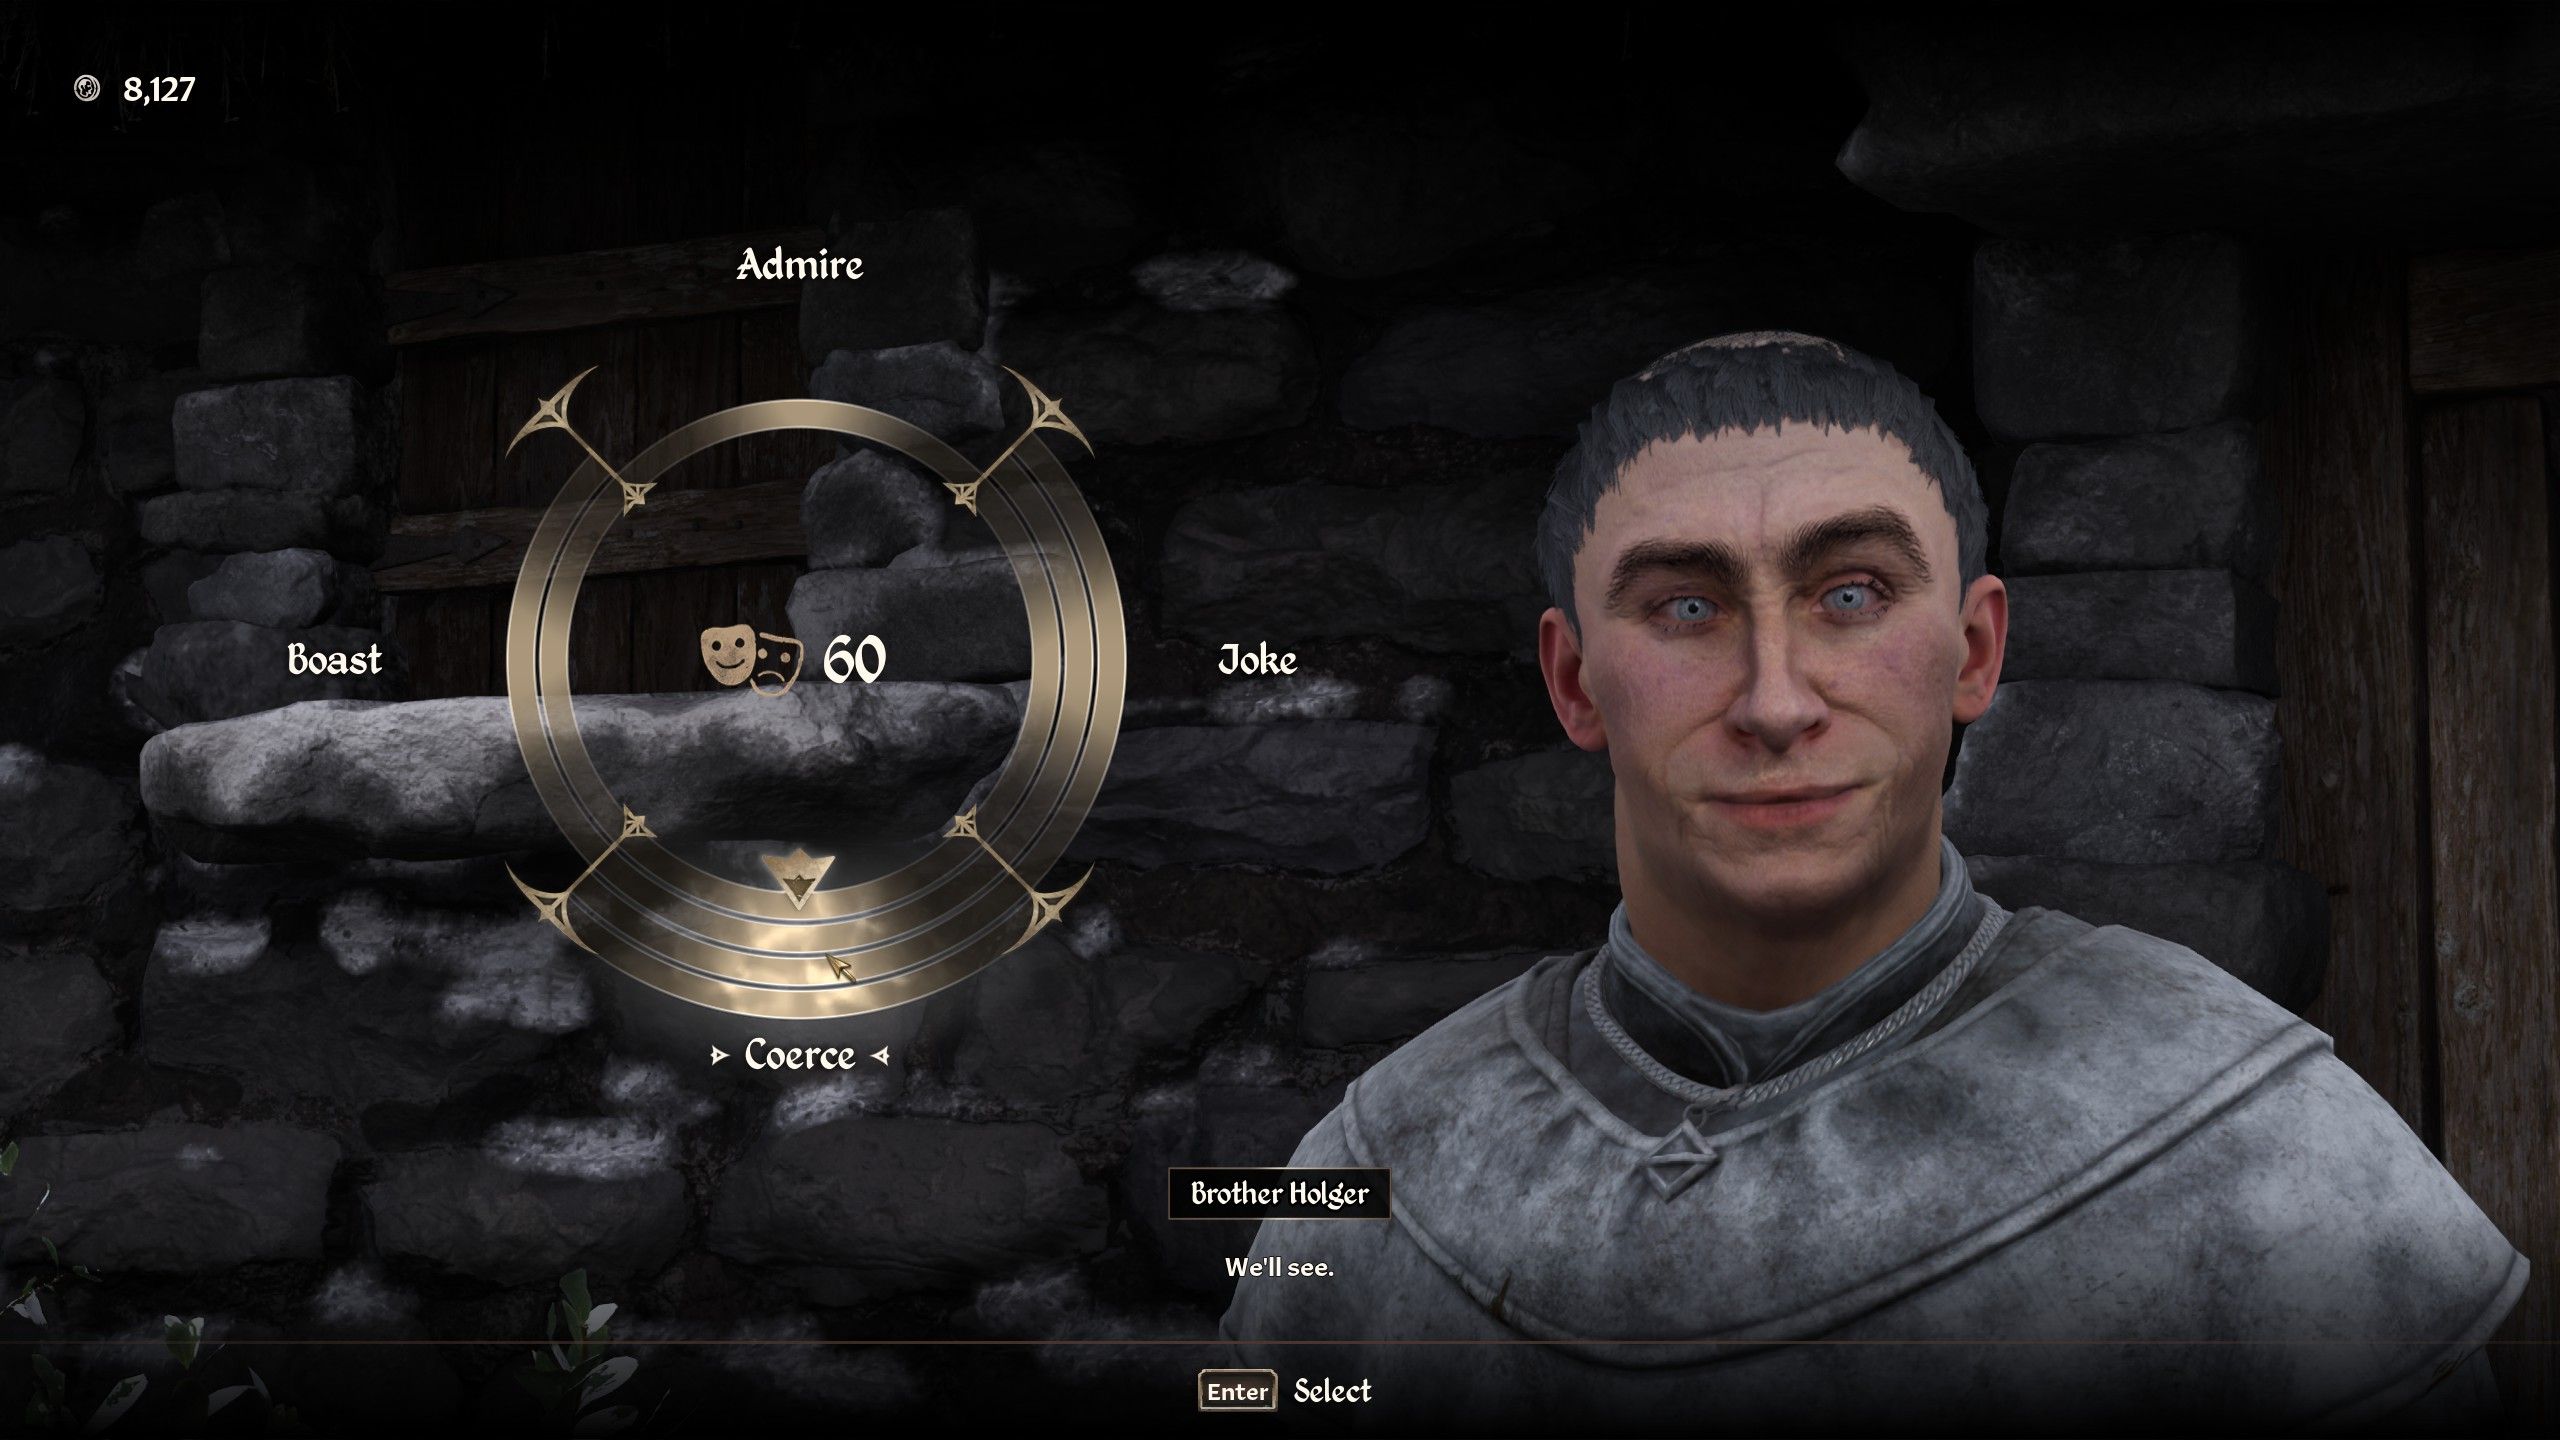
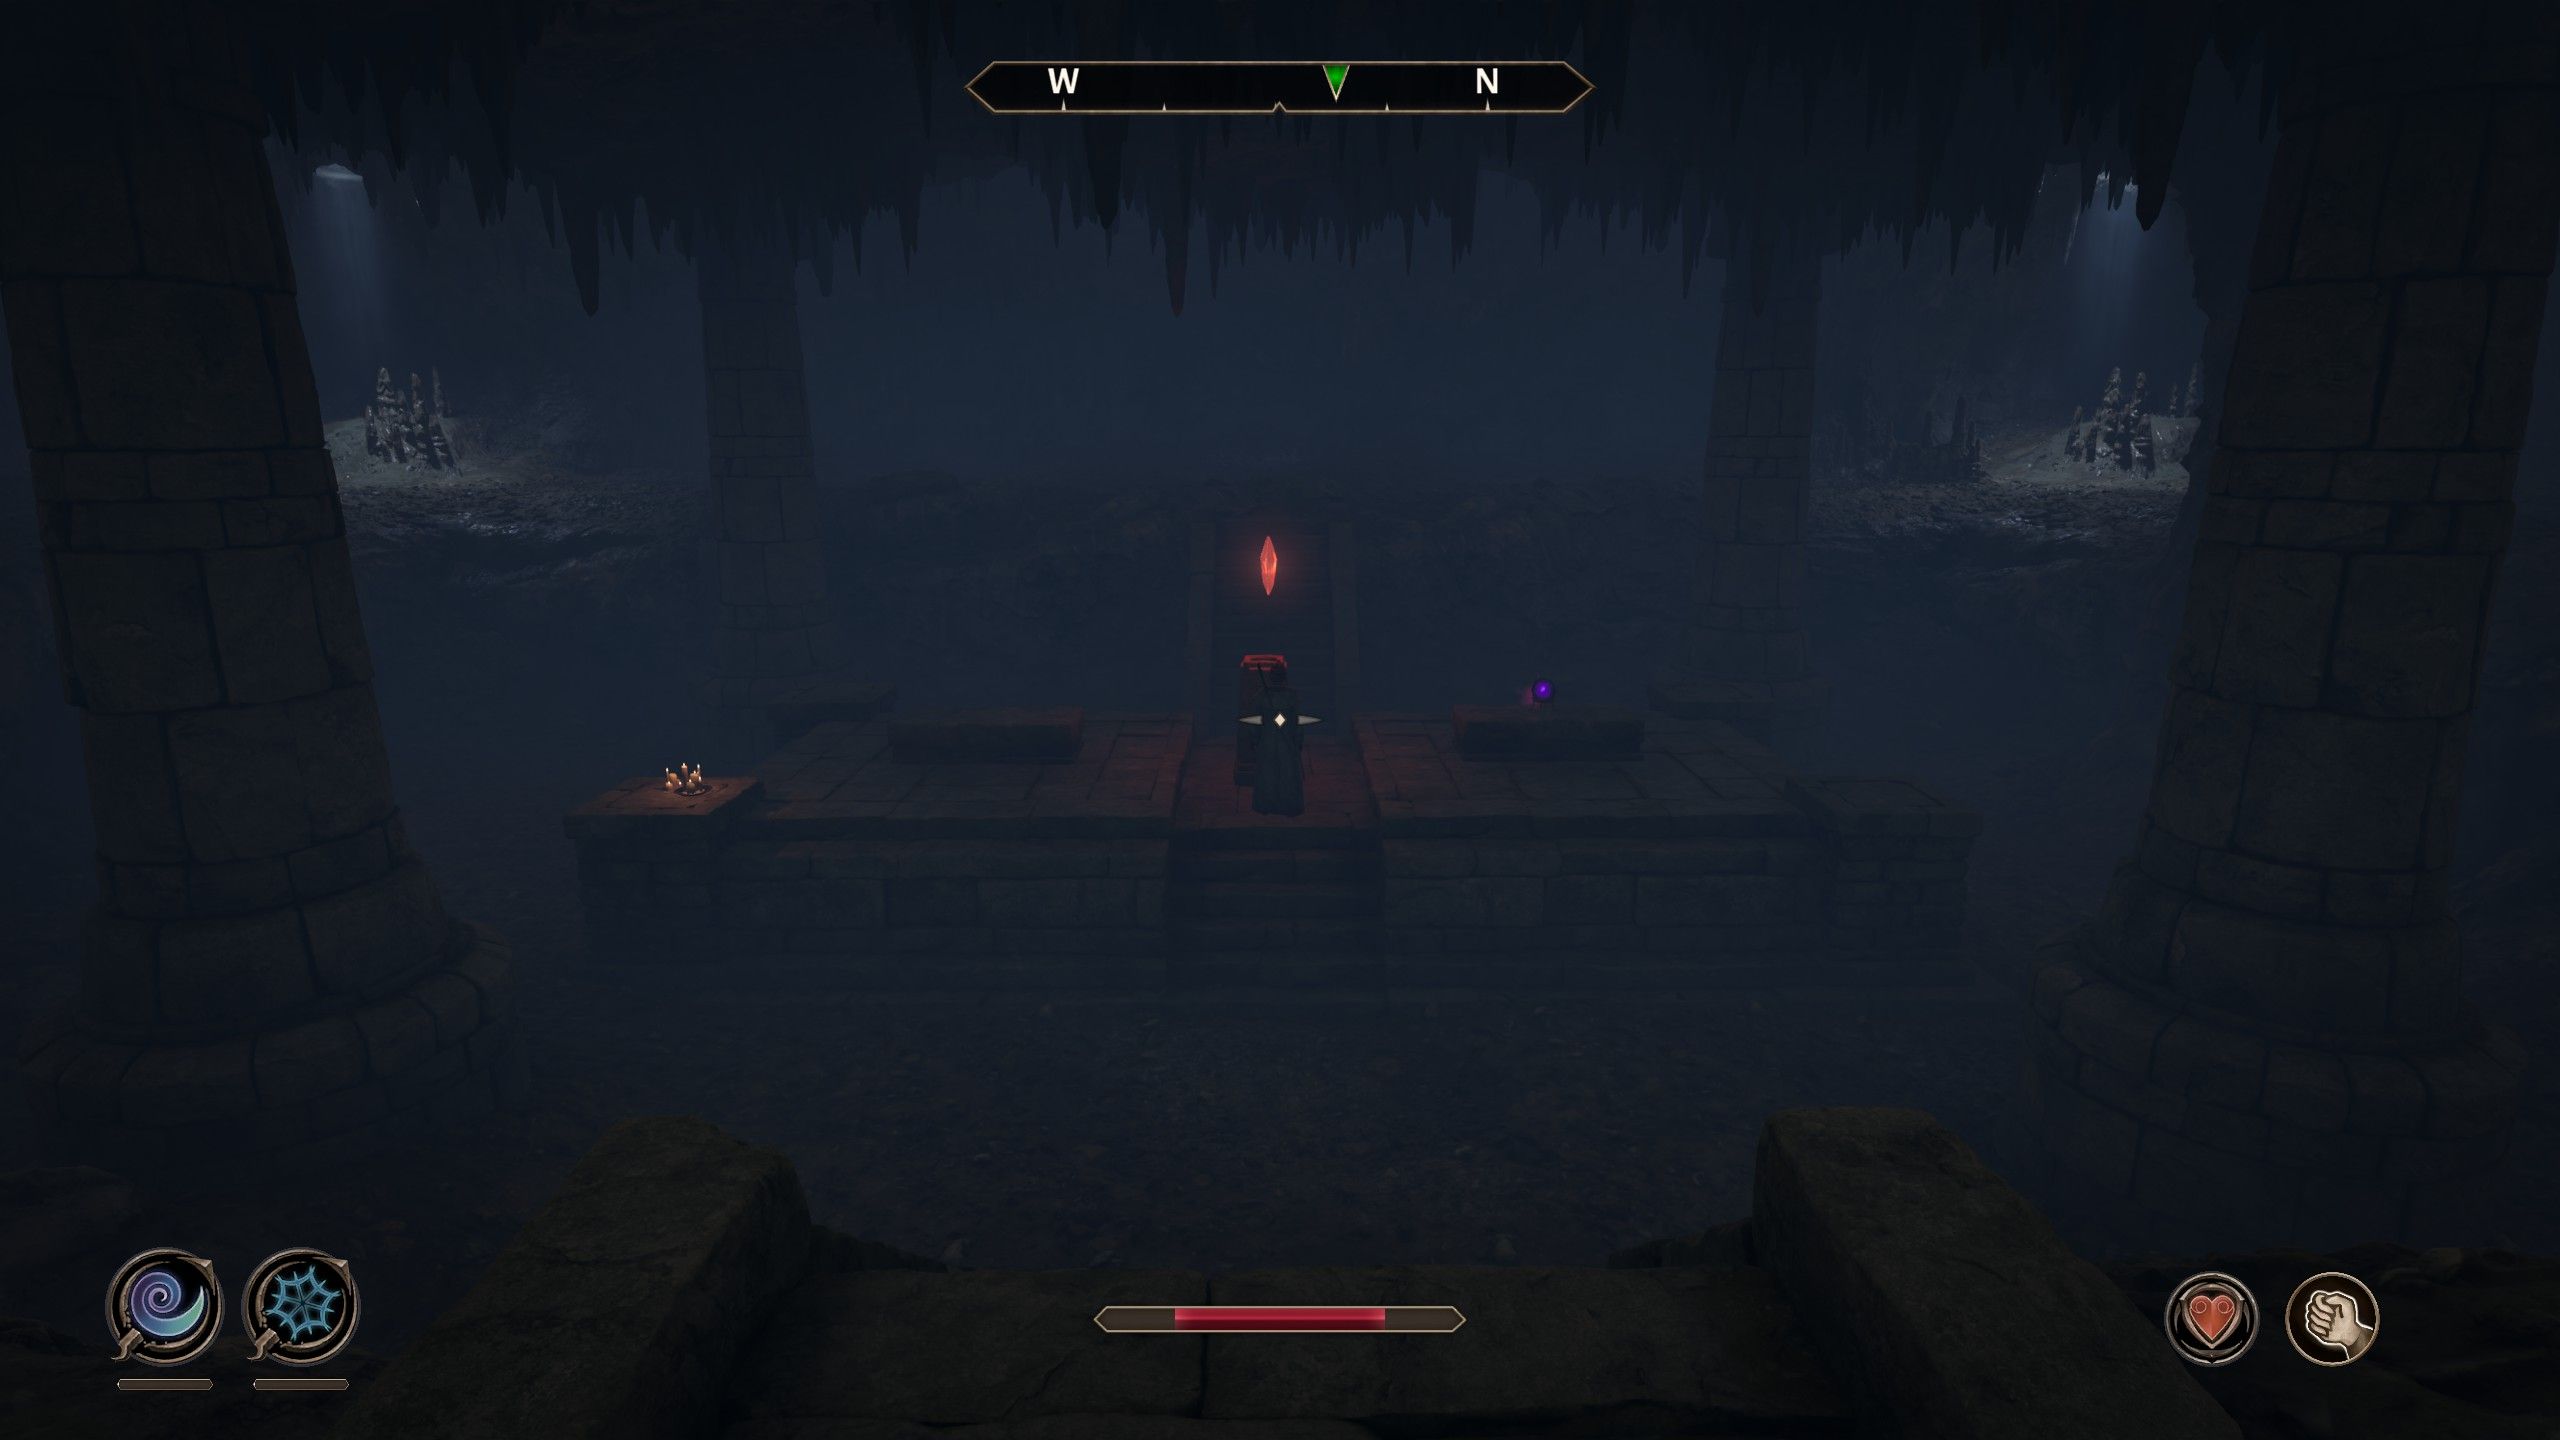
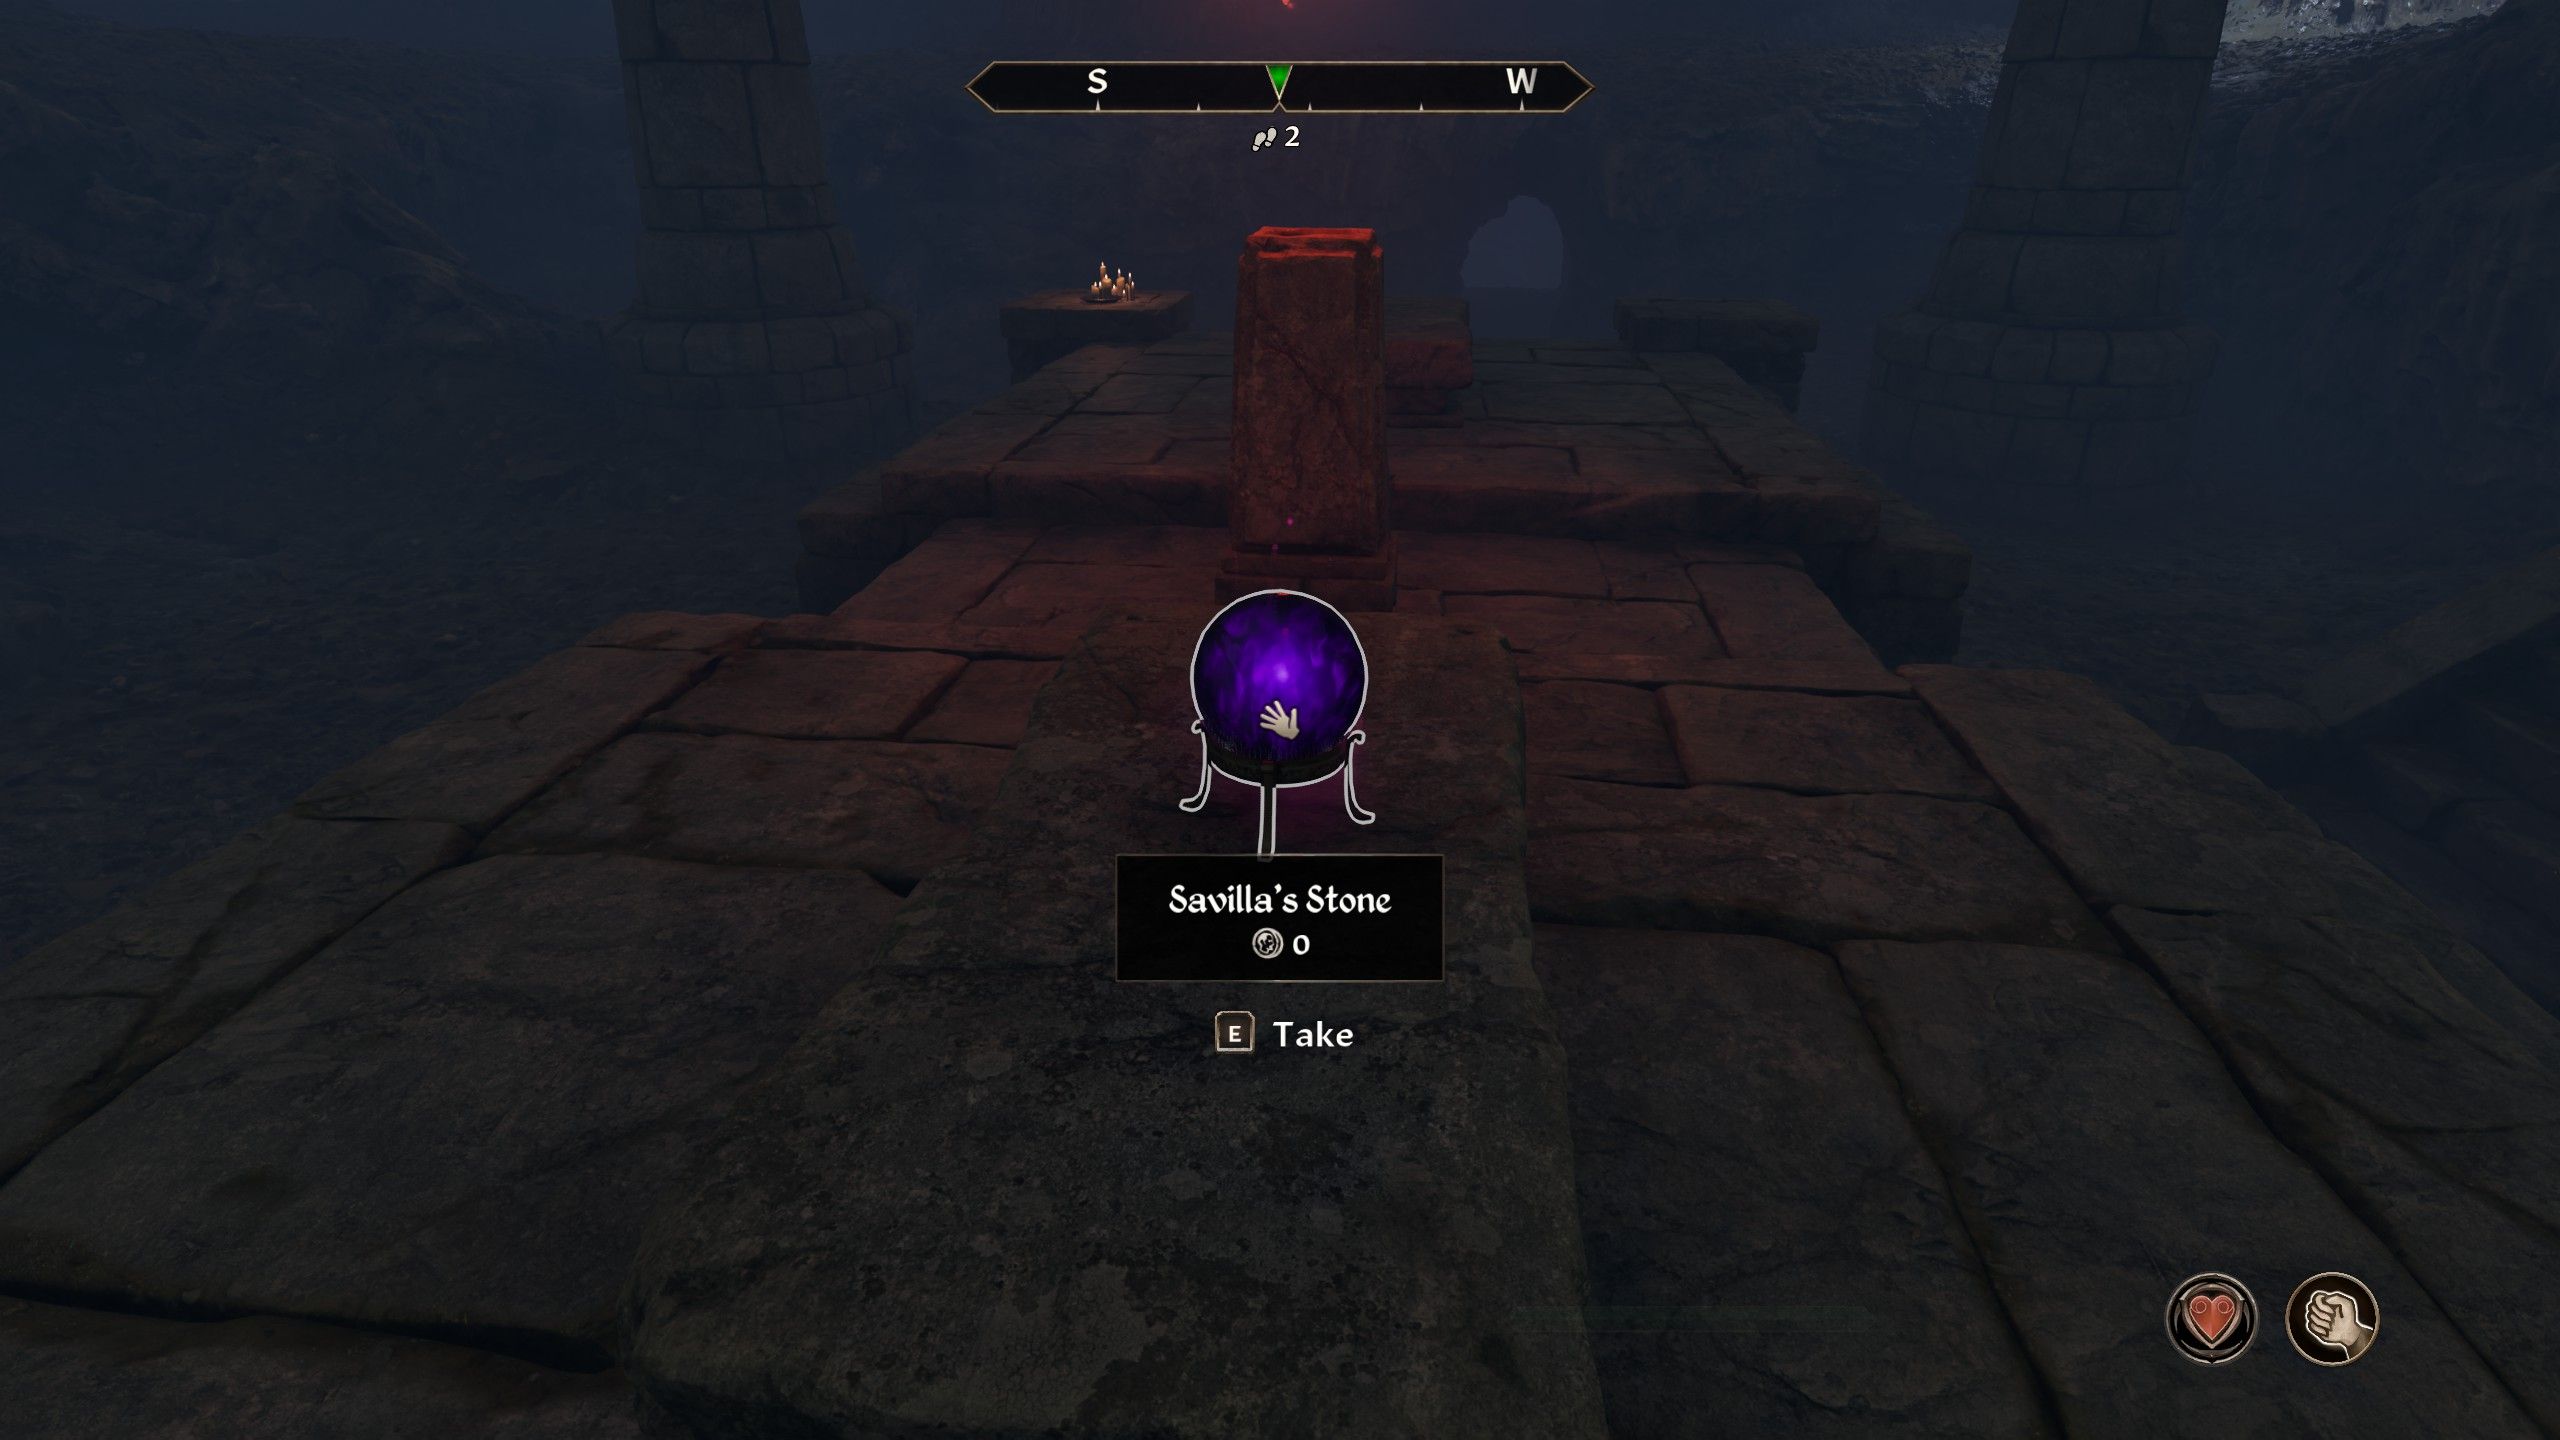
Following a visit to the Gray Fox in Helvius Cecia’s abode within Bruma, gamers must journey towards Cheydinhal’s northern region to pilfer a sacred artifact from the Moth Priests. This task can be accomplished by boosting Brother Holger’s affection level to 80, as he will then guide you inside. The Moth Priests are sightless but aggressive, so stealth is recommended to prevent any violence. Fortunately, there are no Blood Price penalties associated with this mission, meaning killing the Moth Priests won’t result in any negative repercussions. Proceed through the Temple of the Ancestor Moths, and upon reaching the final chamber, you will find a Welkynd Stone and Sivilla’s Stone. Once you have obtained Sivilla’s Stone, follow the cave on the right to locate a ladder that exits the temple, enabling fast travel back to the Gray Fox.
Arrow of Extrication
Arrow of Extrication Walkthrough
| Reward |
|---|
|
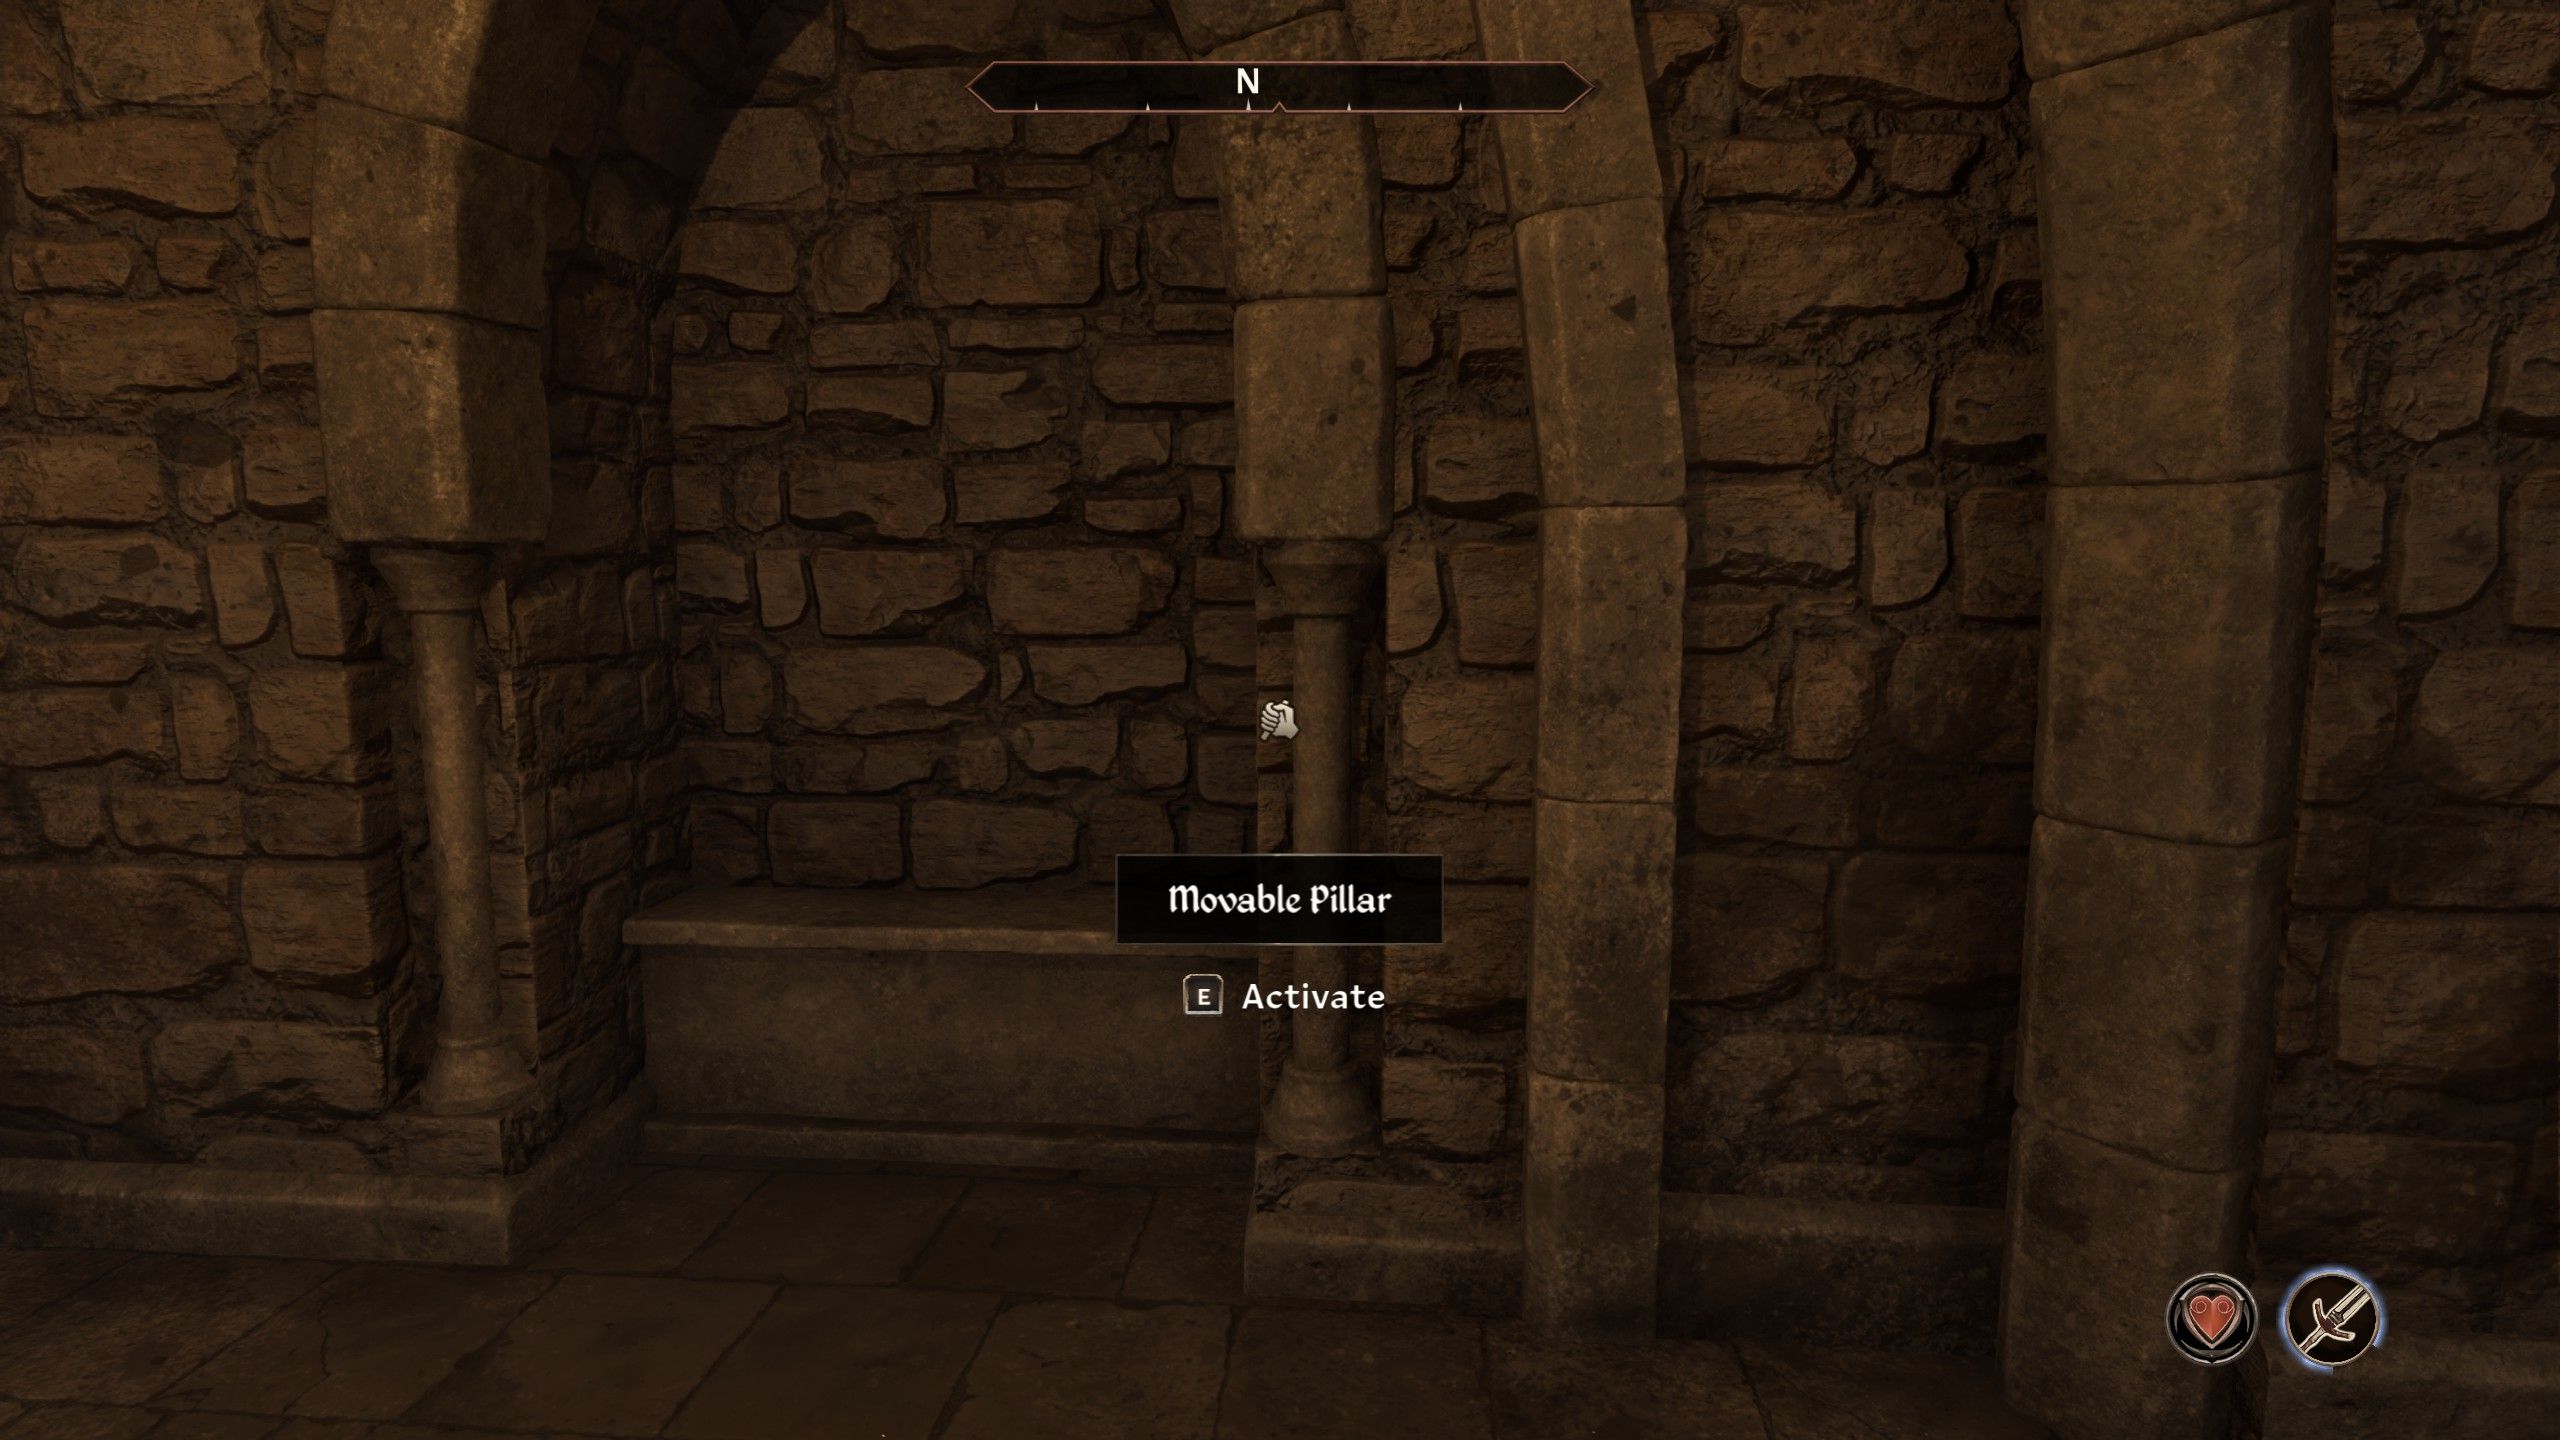
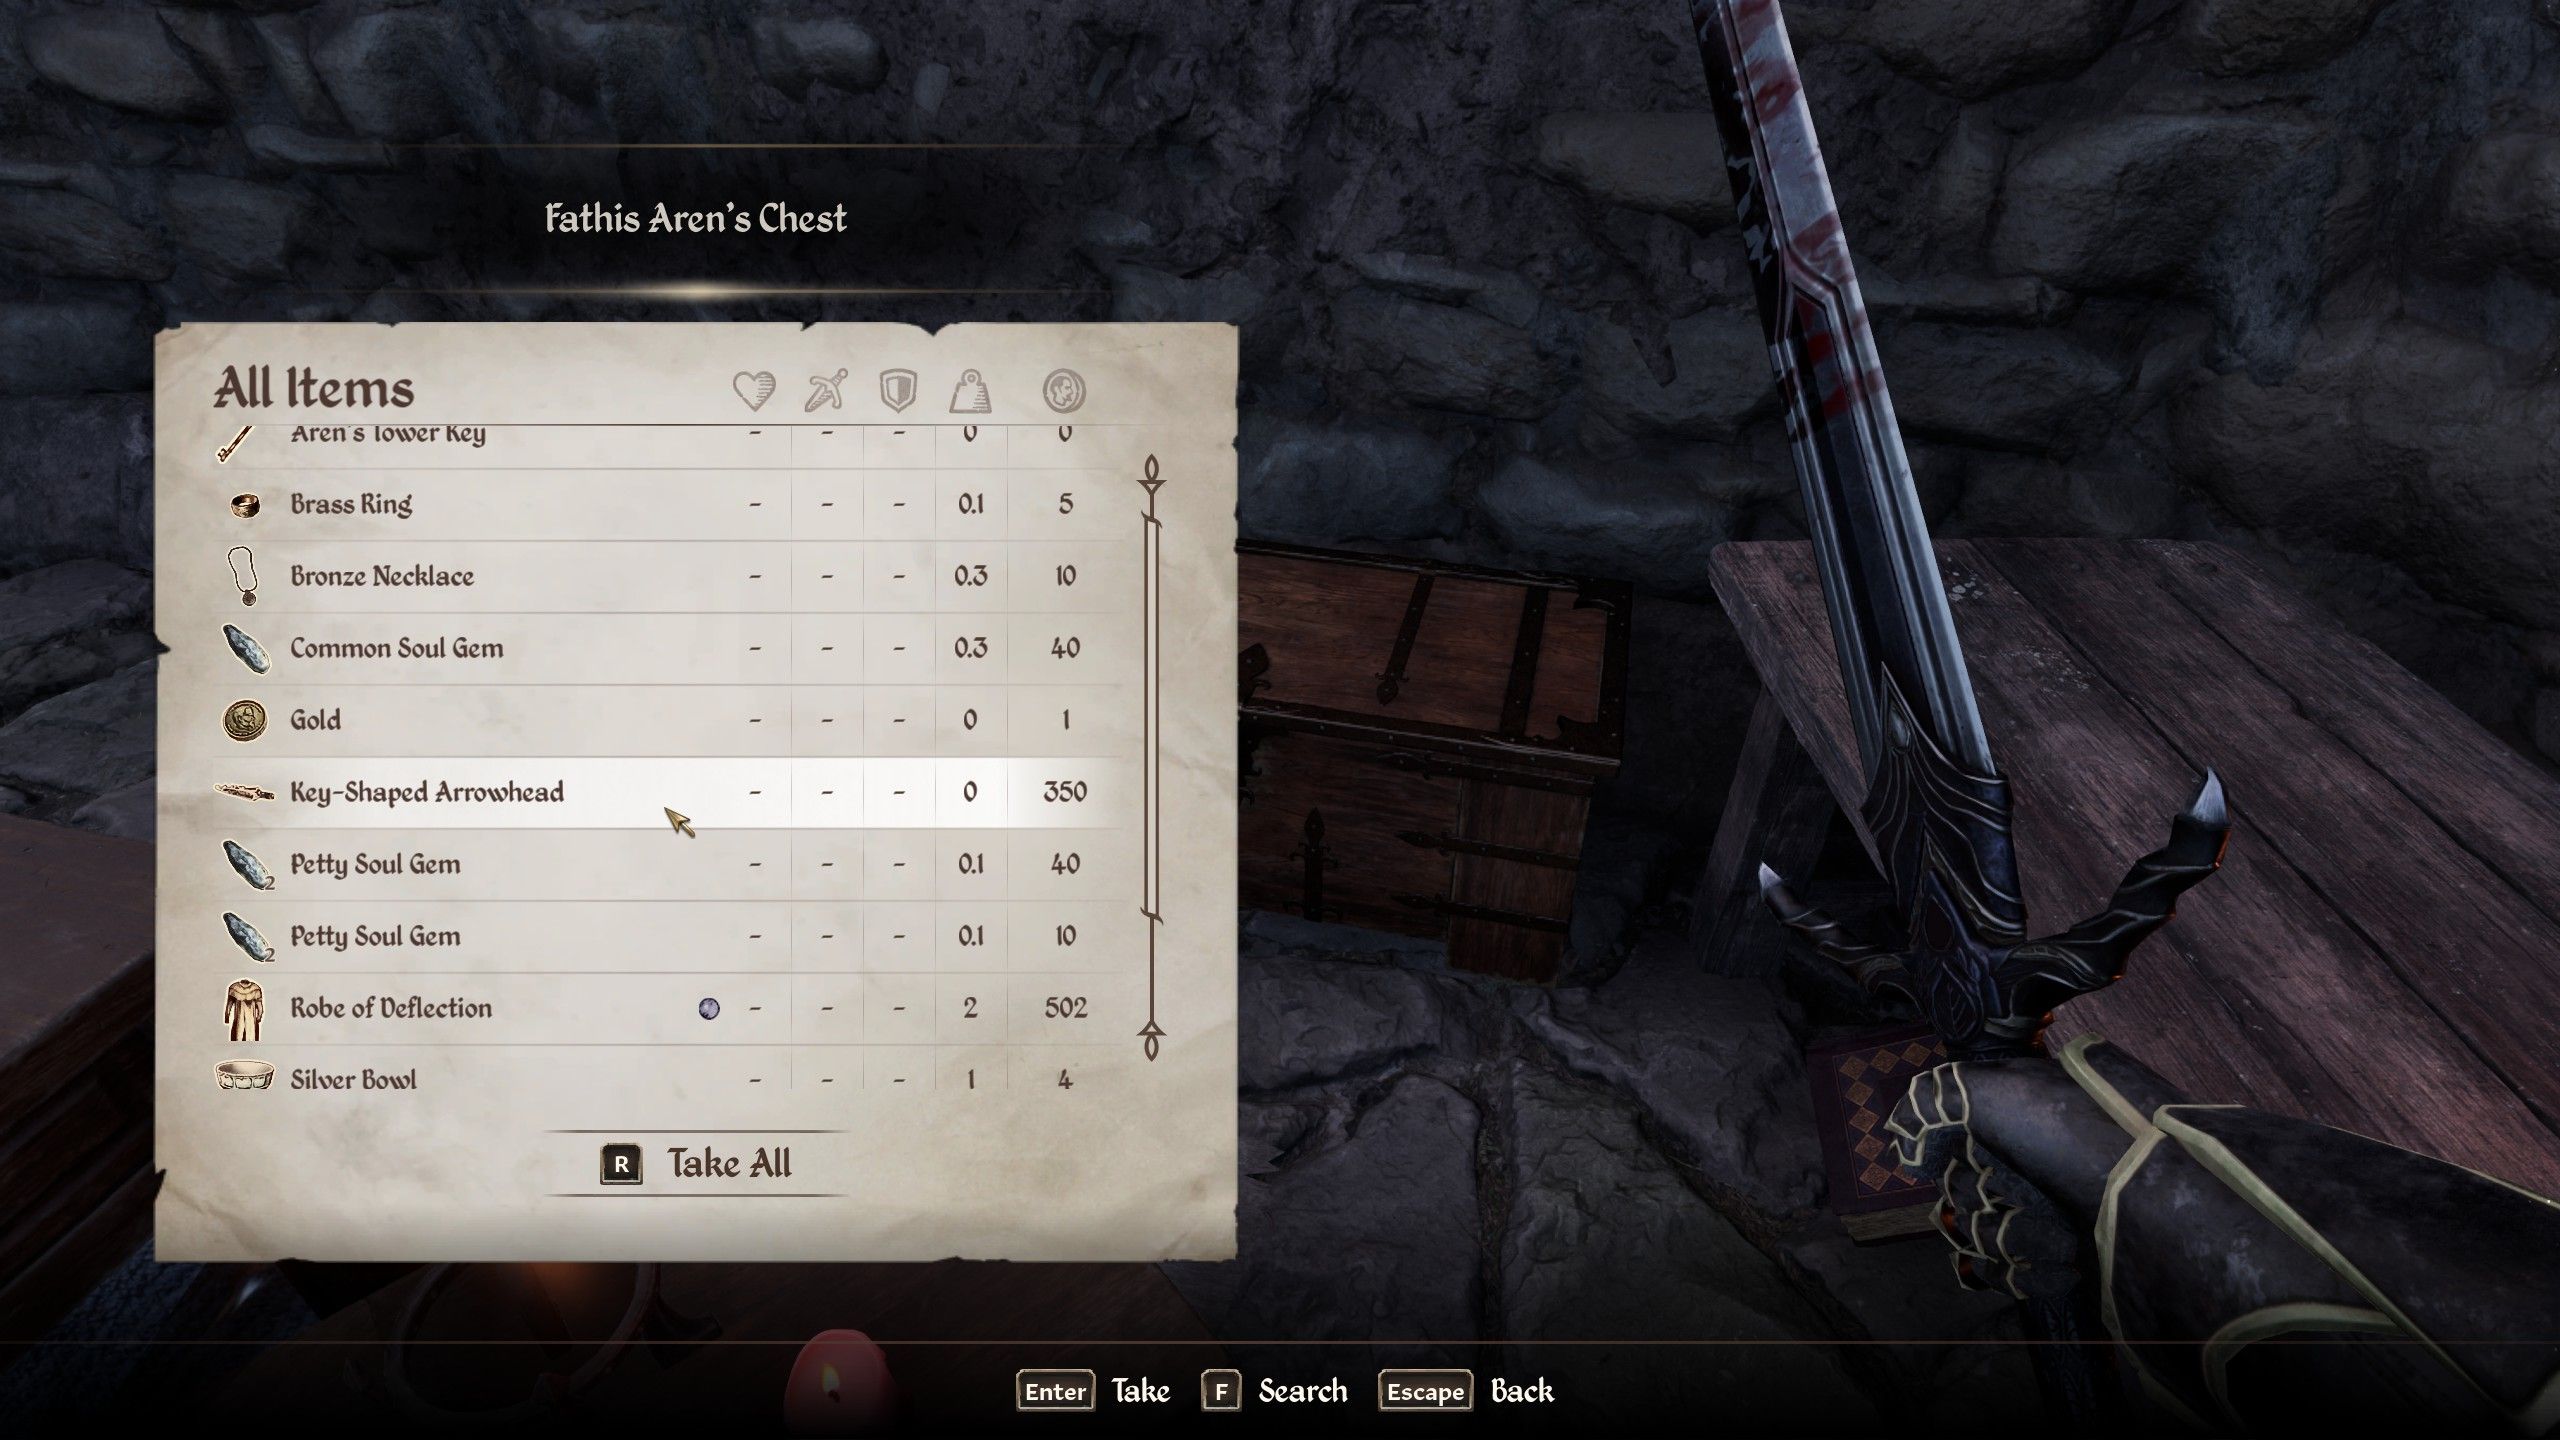
After hearing from Amusei, head to Malintus Anerus’ residence in Chorrol to converse with the Gray Fox. The main goal of this mission is to snatch the Arrow of Extrication, which can be accomplished by visiting Fathis Aren’s chambers within Castle Bravil’s North Wing, at approximately 7:30 AM to dodge the guards. Inside his room, opening the chests will yield no results, so players should interact with a pillar on the right to gain access to a hidden room leading to Bravil Wizard’s Grotto.
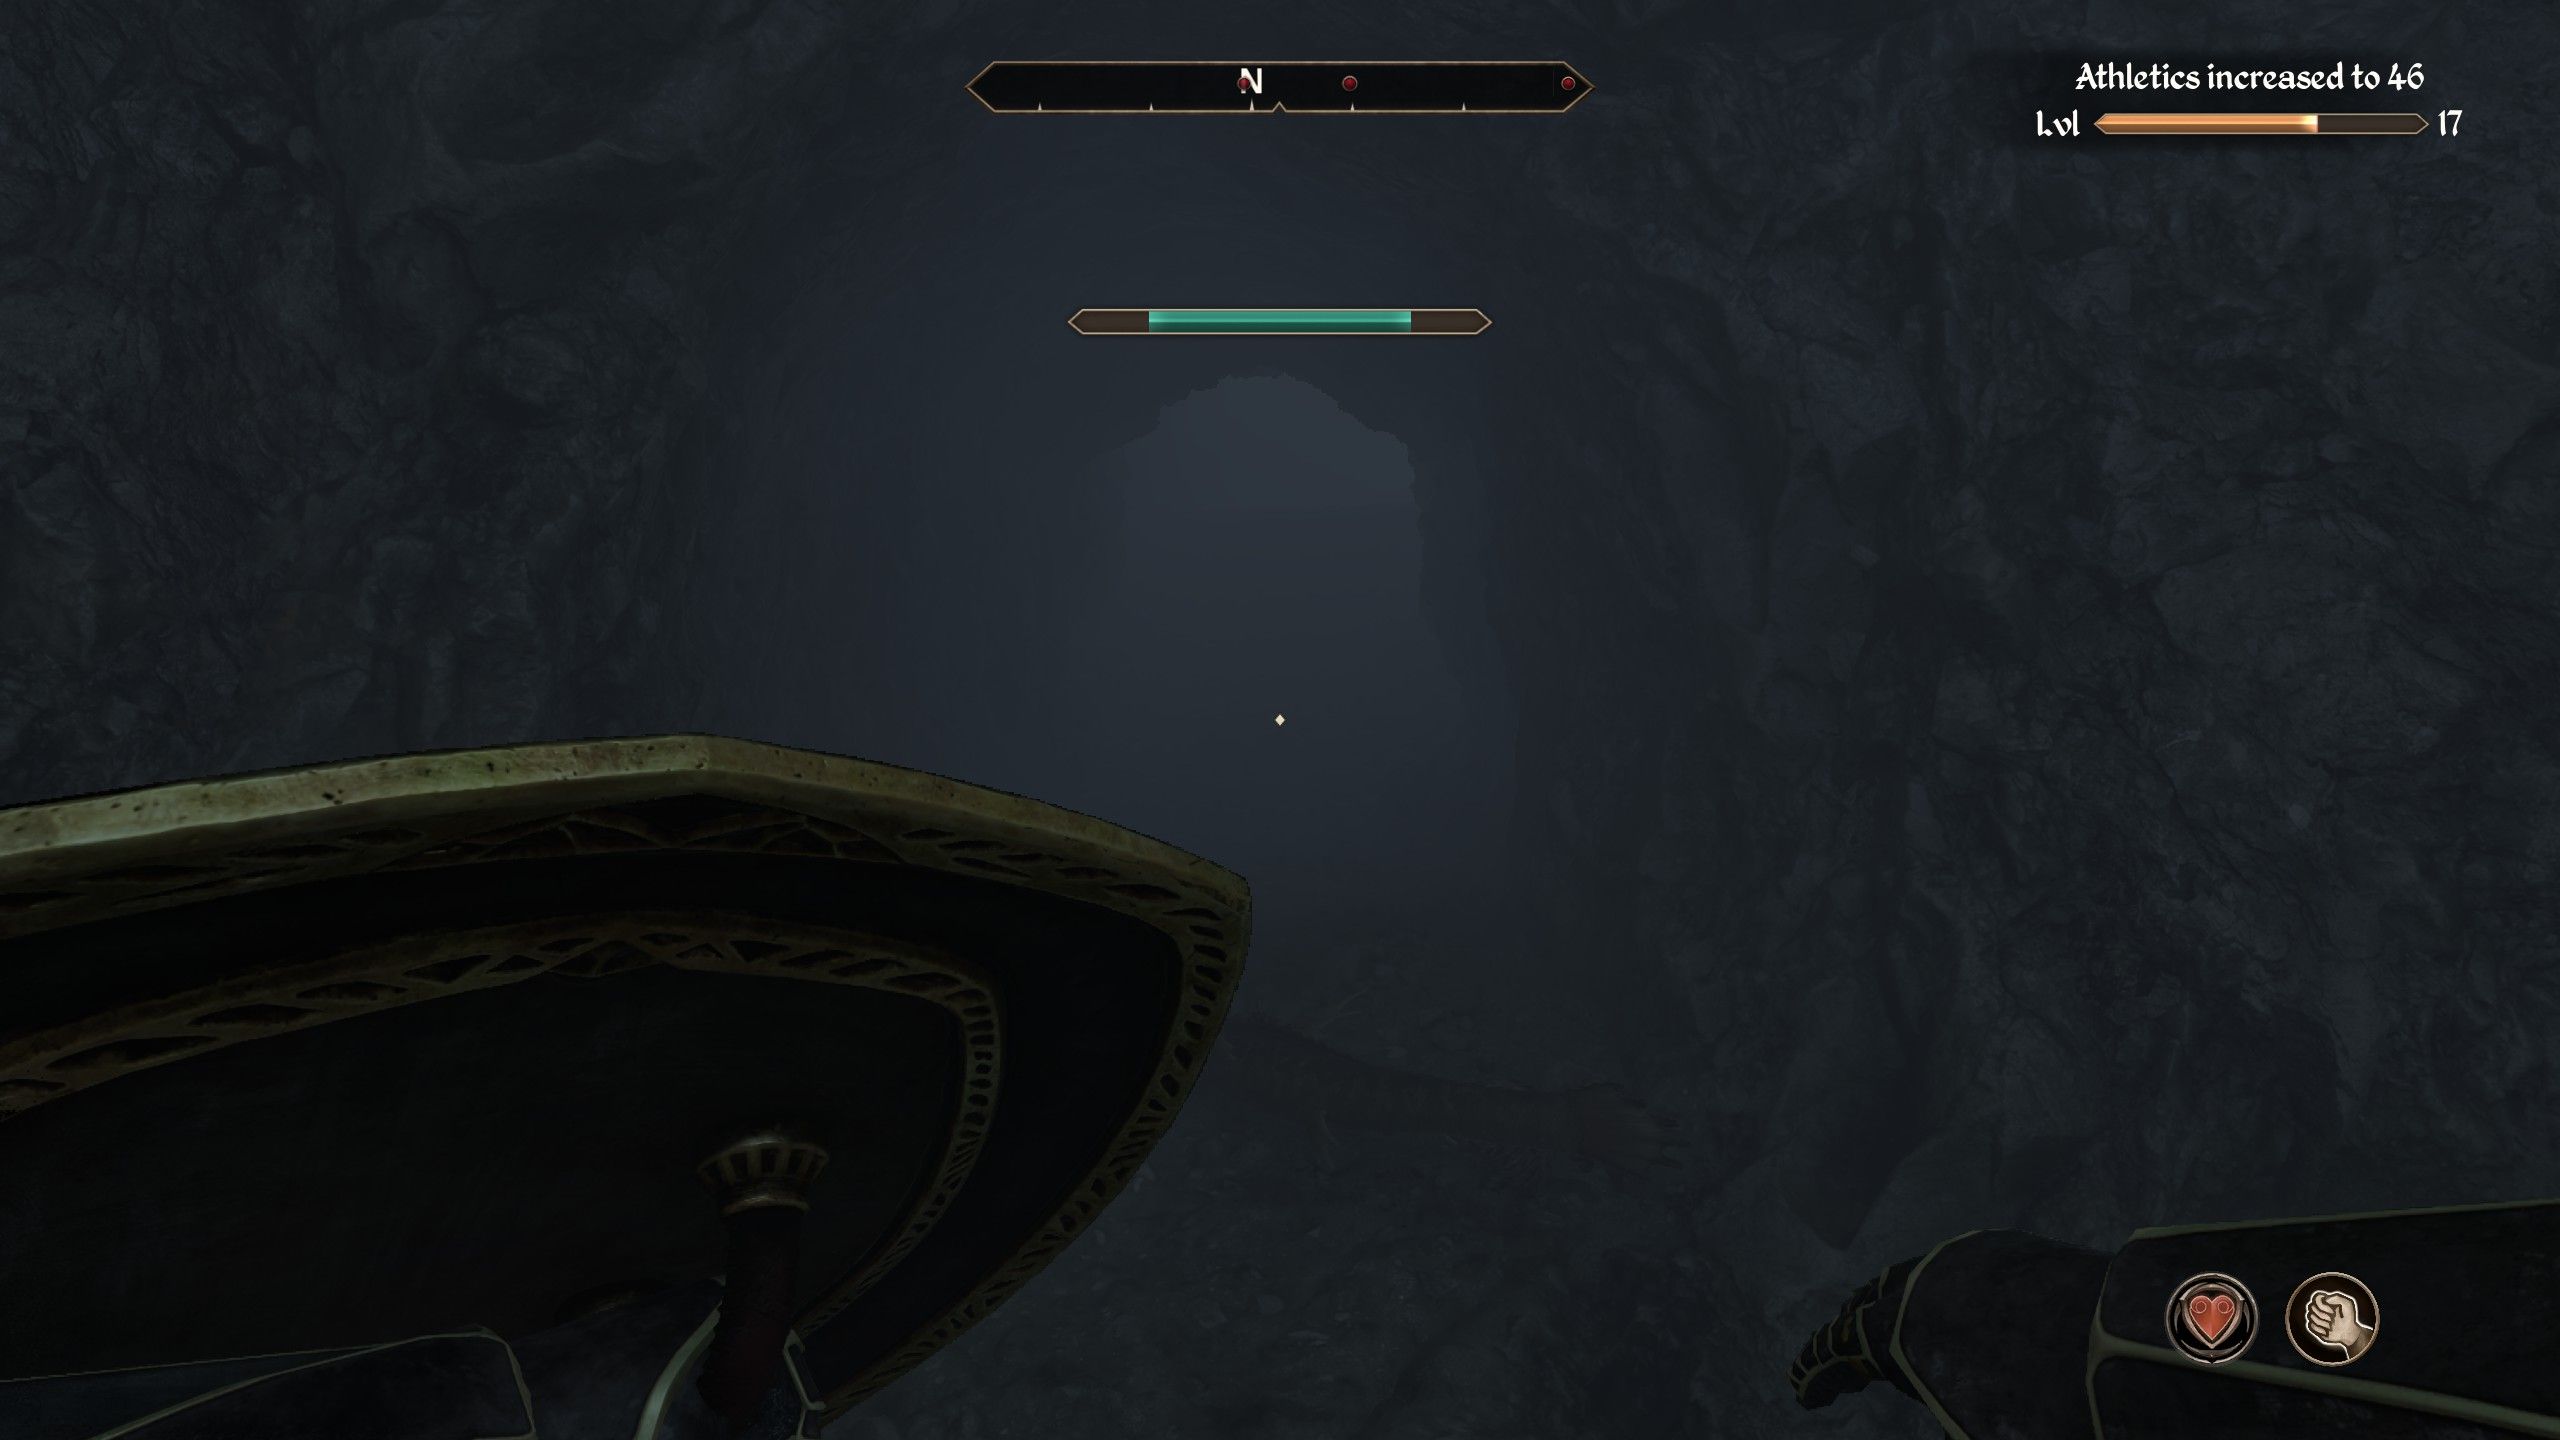
Adventurers must make their way through a subterranean labyrinth. When they come across a door locked with a key, they should proceed through adjacent chambers until they reach a flooded cavern. In this underwater expanse, they are to swim towards the north and then downwards to uncover Fathis Aren’s Tower. Fathis Aren is aggressive, so it’s essential not to eliminate him as it would result in expulsion from the Mages Guild. Instead, make your way to the top of the tower, where you will find an Arrow of Extrication and a key to exit the castle within his chambers. After securing these items, teleport back to Malintus Anerus’ House using fast travel.
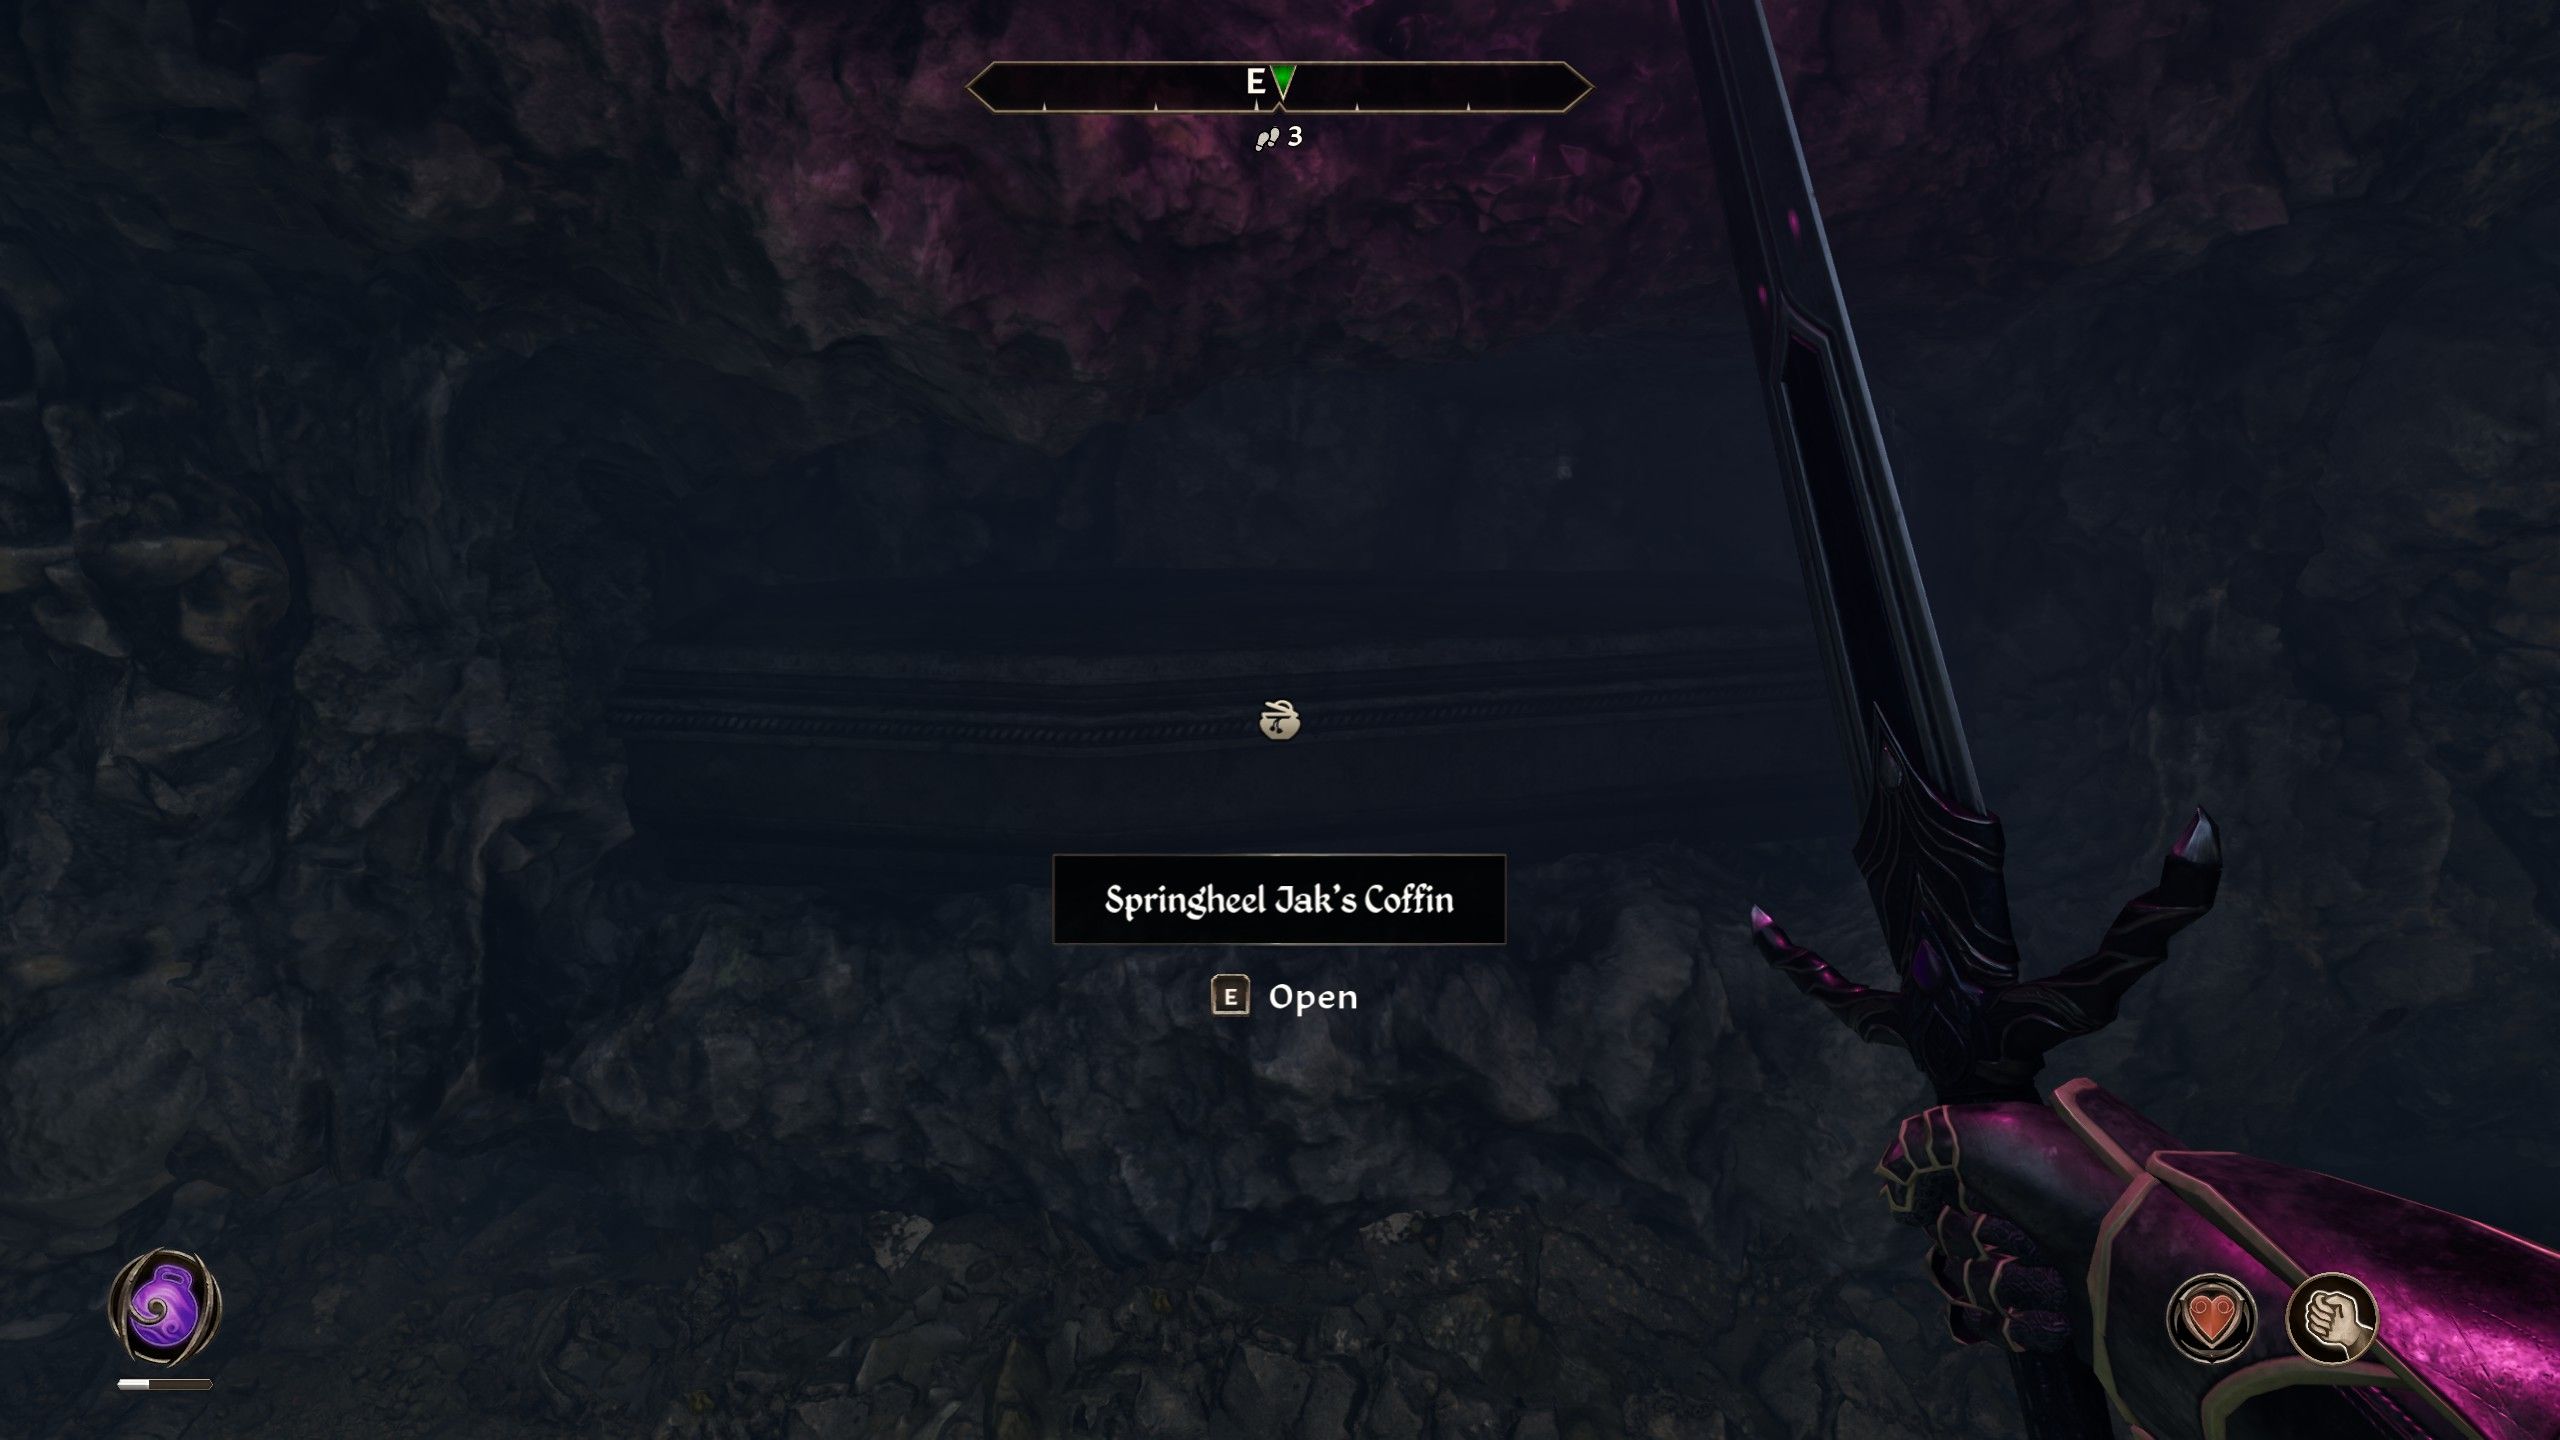
Boots of Springheel Jak

- Boots of Springheel Jak Walkthrough
| Reward |
|---|
|
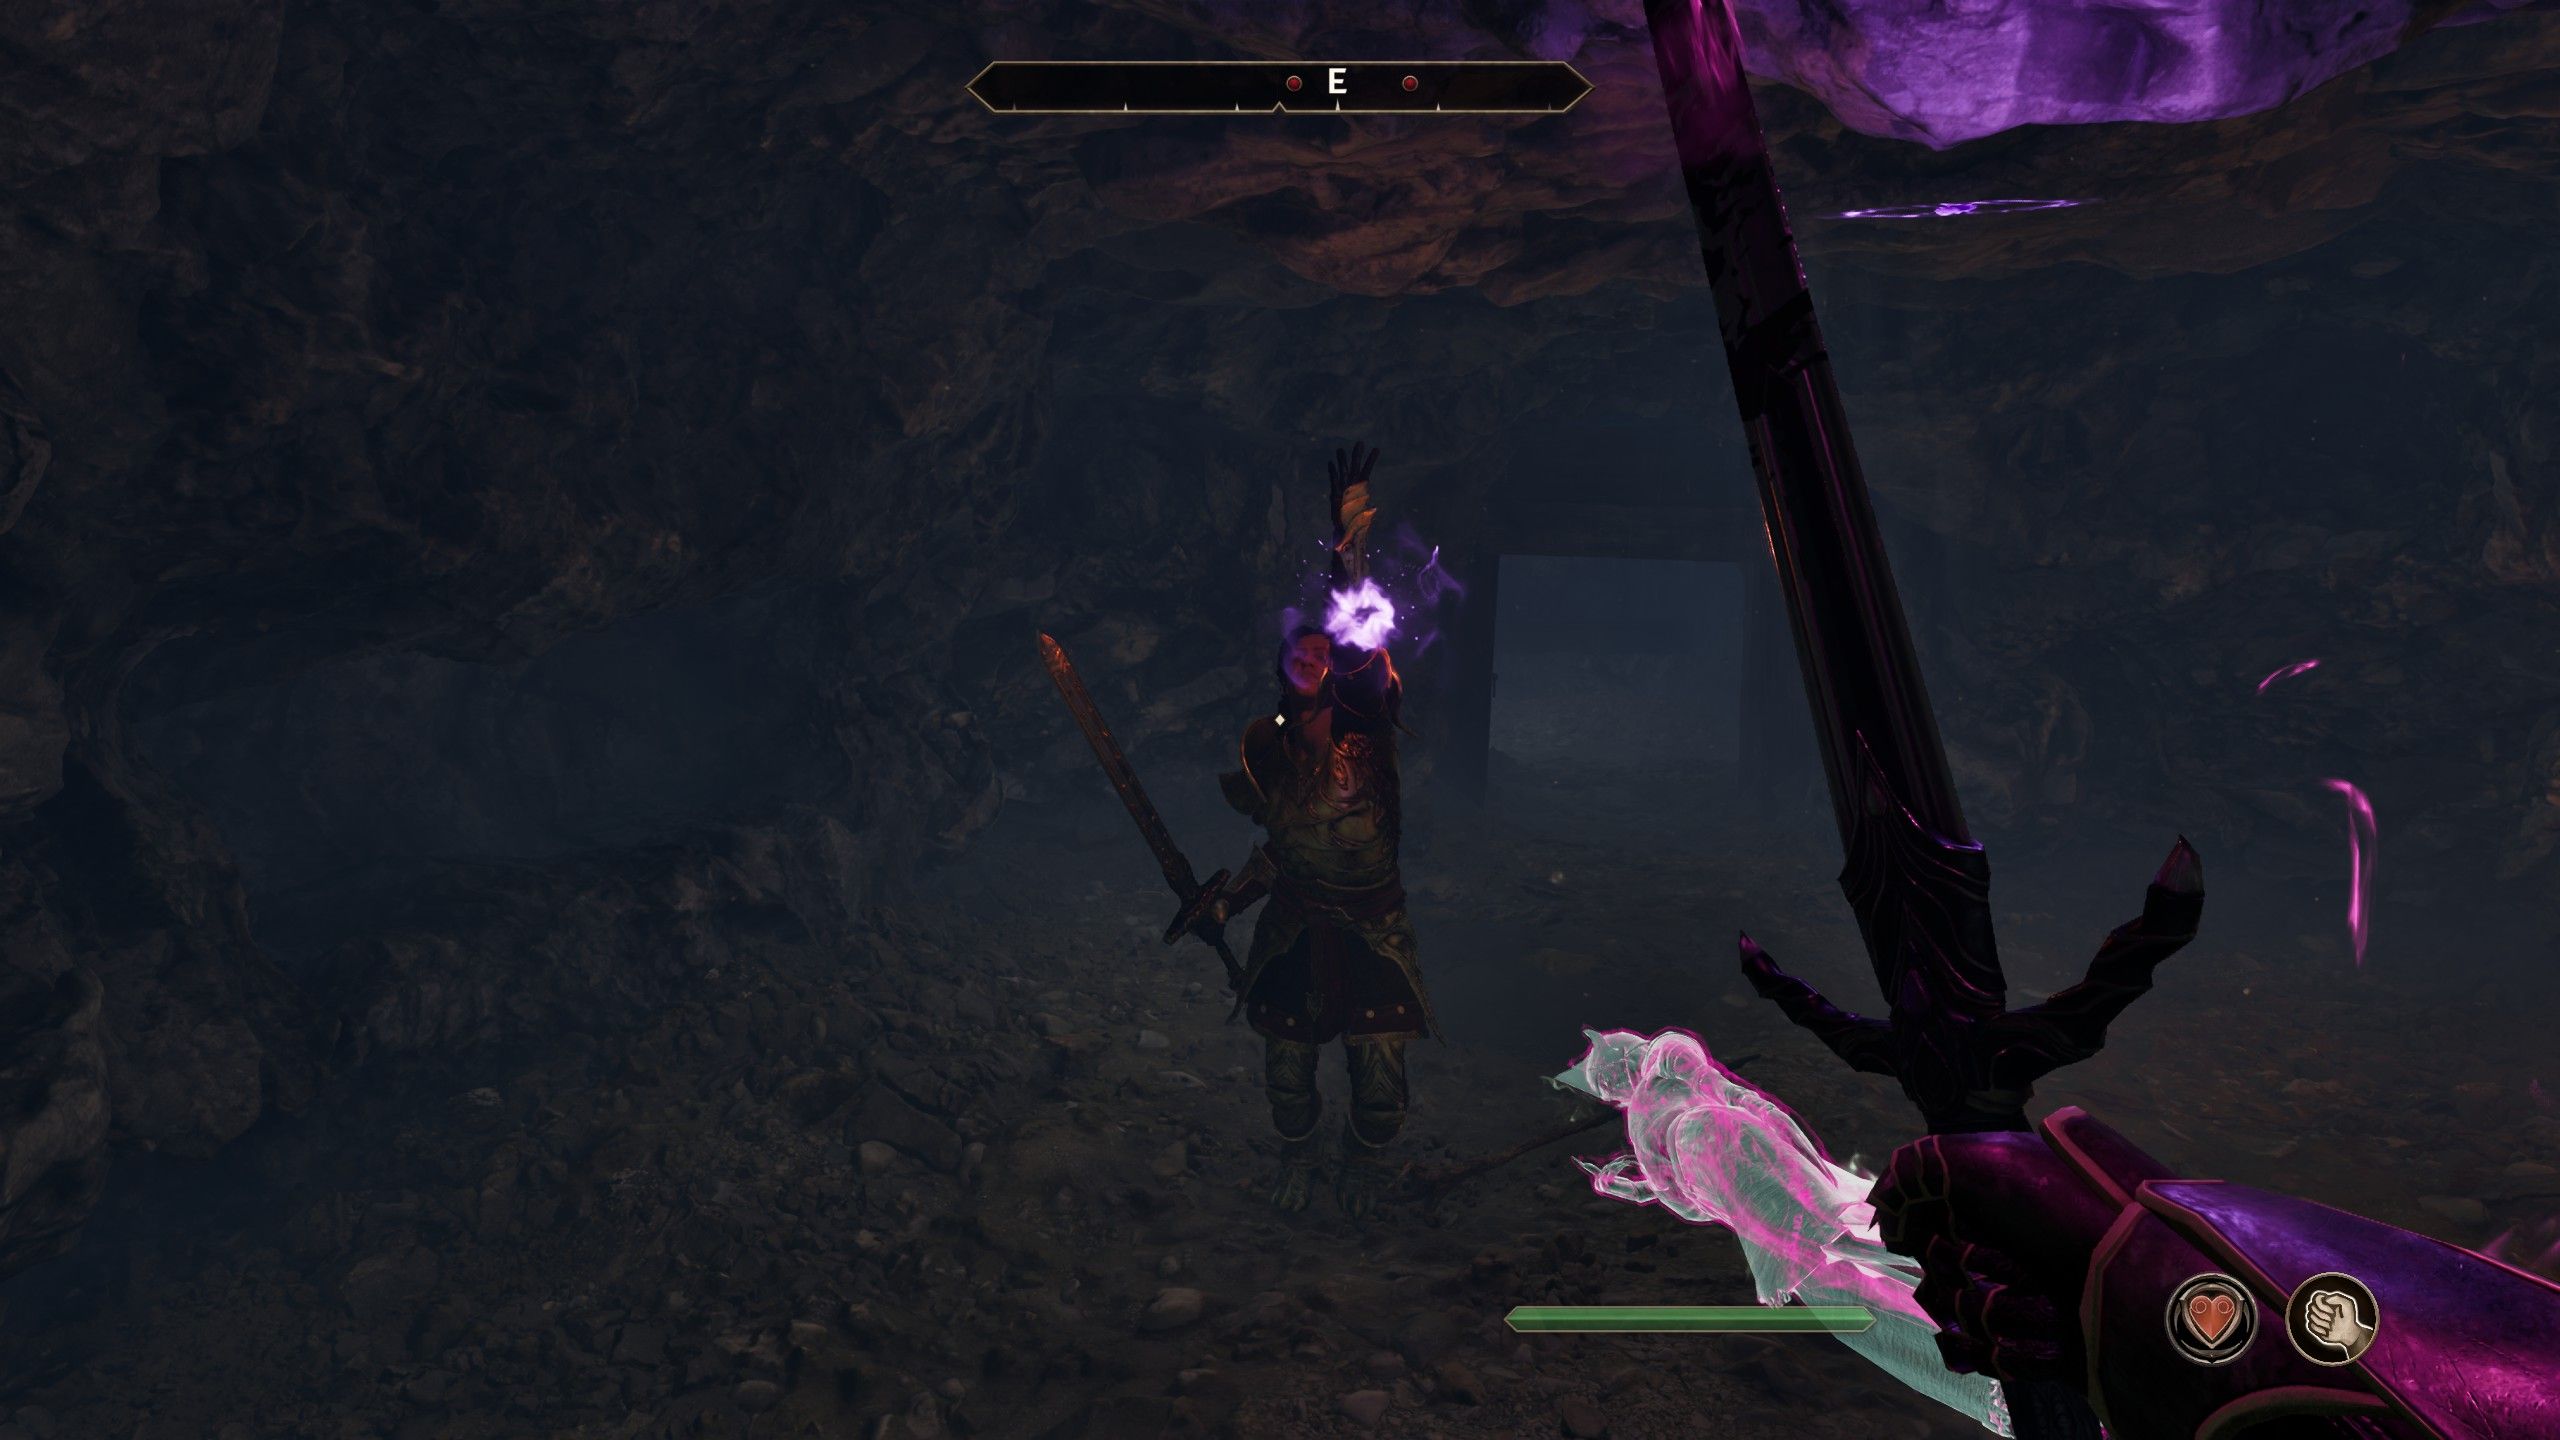
The nearly final mission with the Thieves Guild requires you to encounter the Gray Fox inside Gandrehel’s House in Cheydinhal, followed by probing into a vampire within the Imperial City. To proceed, players must navigate towards Jakben’s residence located in Talos Plaza District. Upstairs, specifically in the dining area, there’s a padlocked hatch on the ceiling that can be plundered for the Imbel Genealogy book. After securing this tome, wait patiently outside of Jakben’s house until 10 PM, at which point you can interrogate him. He will then bestow upon you a key to explore the catacombs hidden in his house’s basement.
In the depths of the cellar, adventurers encounter battles with vampires, search for Springheel Jak’s coffin, and uncover a diary that discloses Springheel Jak is none other than Jakben, a vampire. Upon slaying Jakben, they can retrieve the Boots of Springheel Jak as loot, and by delivering them to the Gray Fox at Gandrehel’s House, the quest comes to an end.
The Ultimate Heist
- The Ultimate Heist Walkthrough
| Reward |
|---|
|
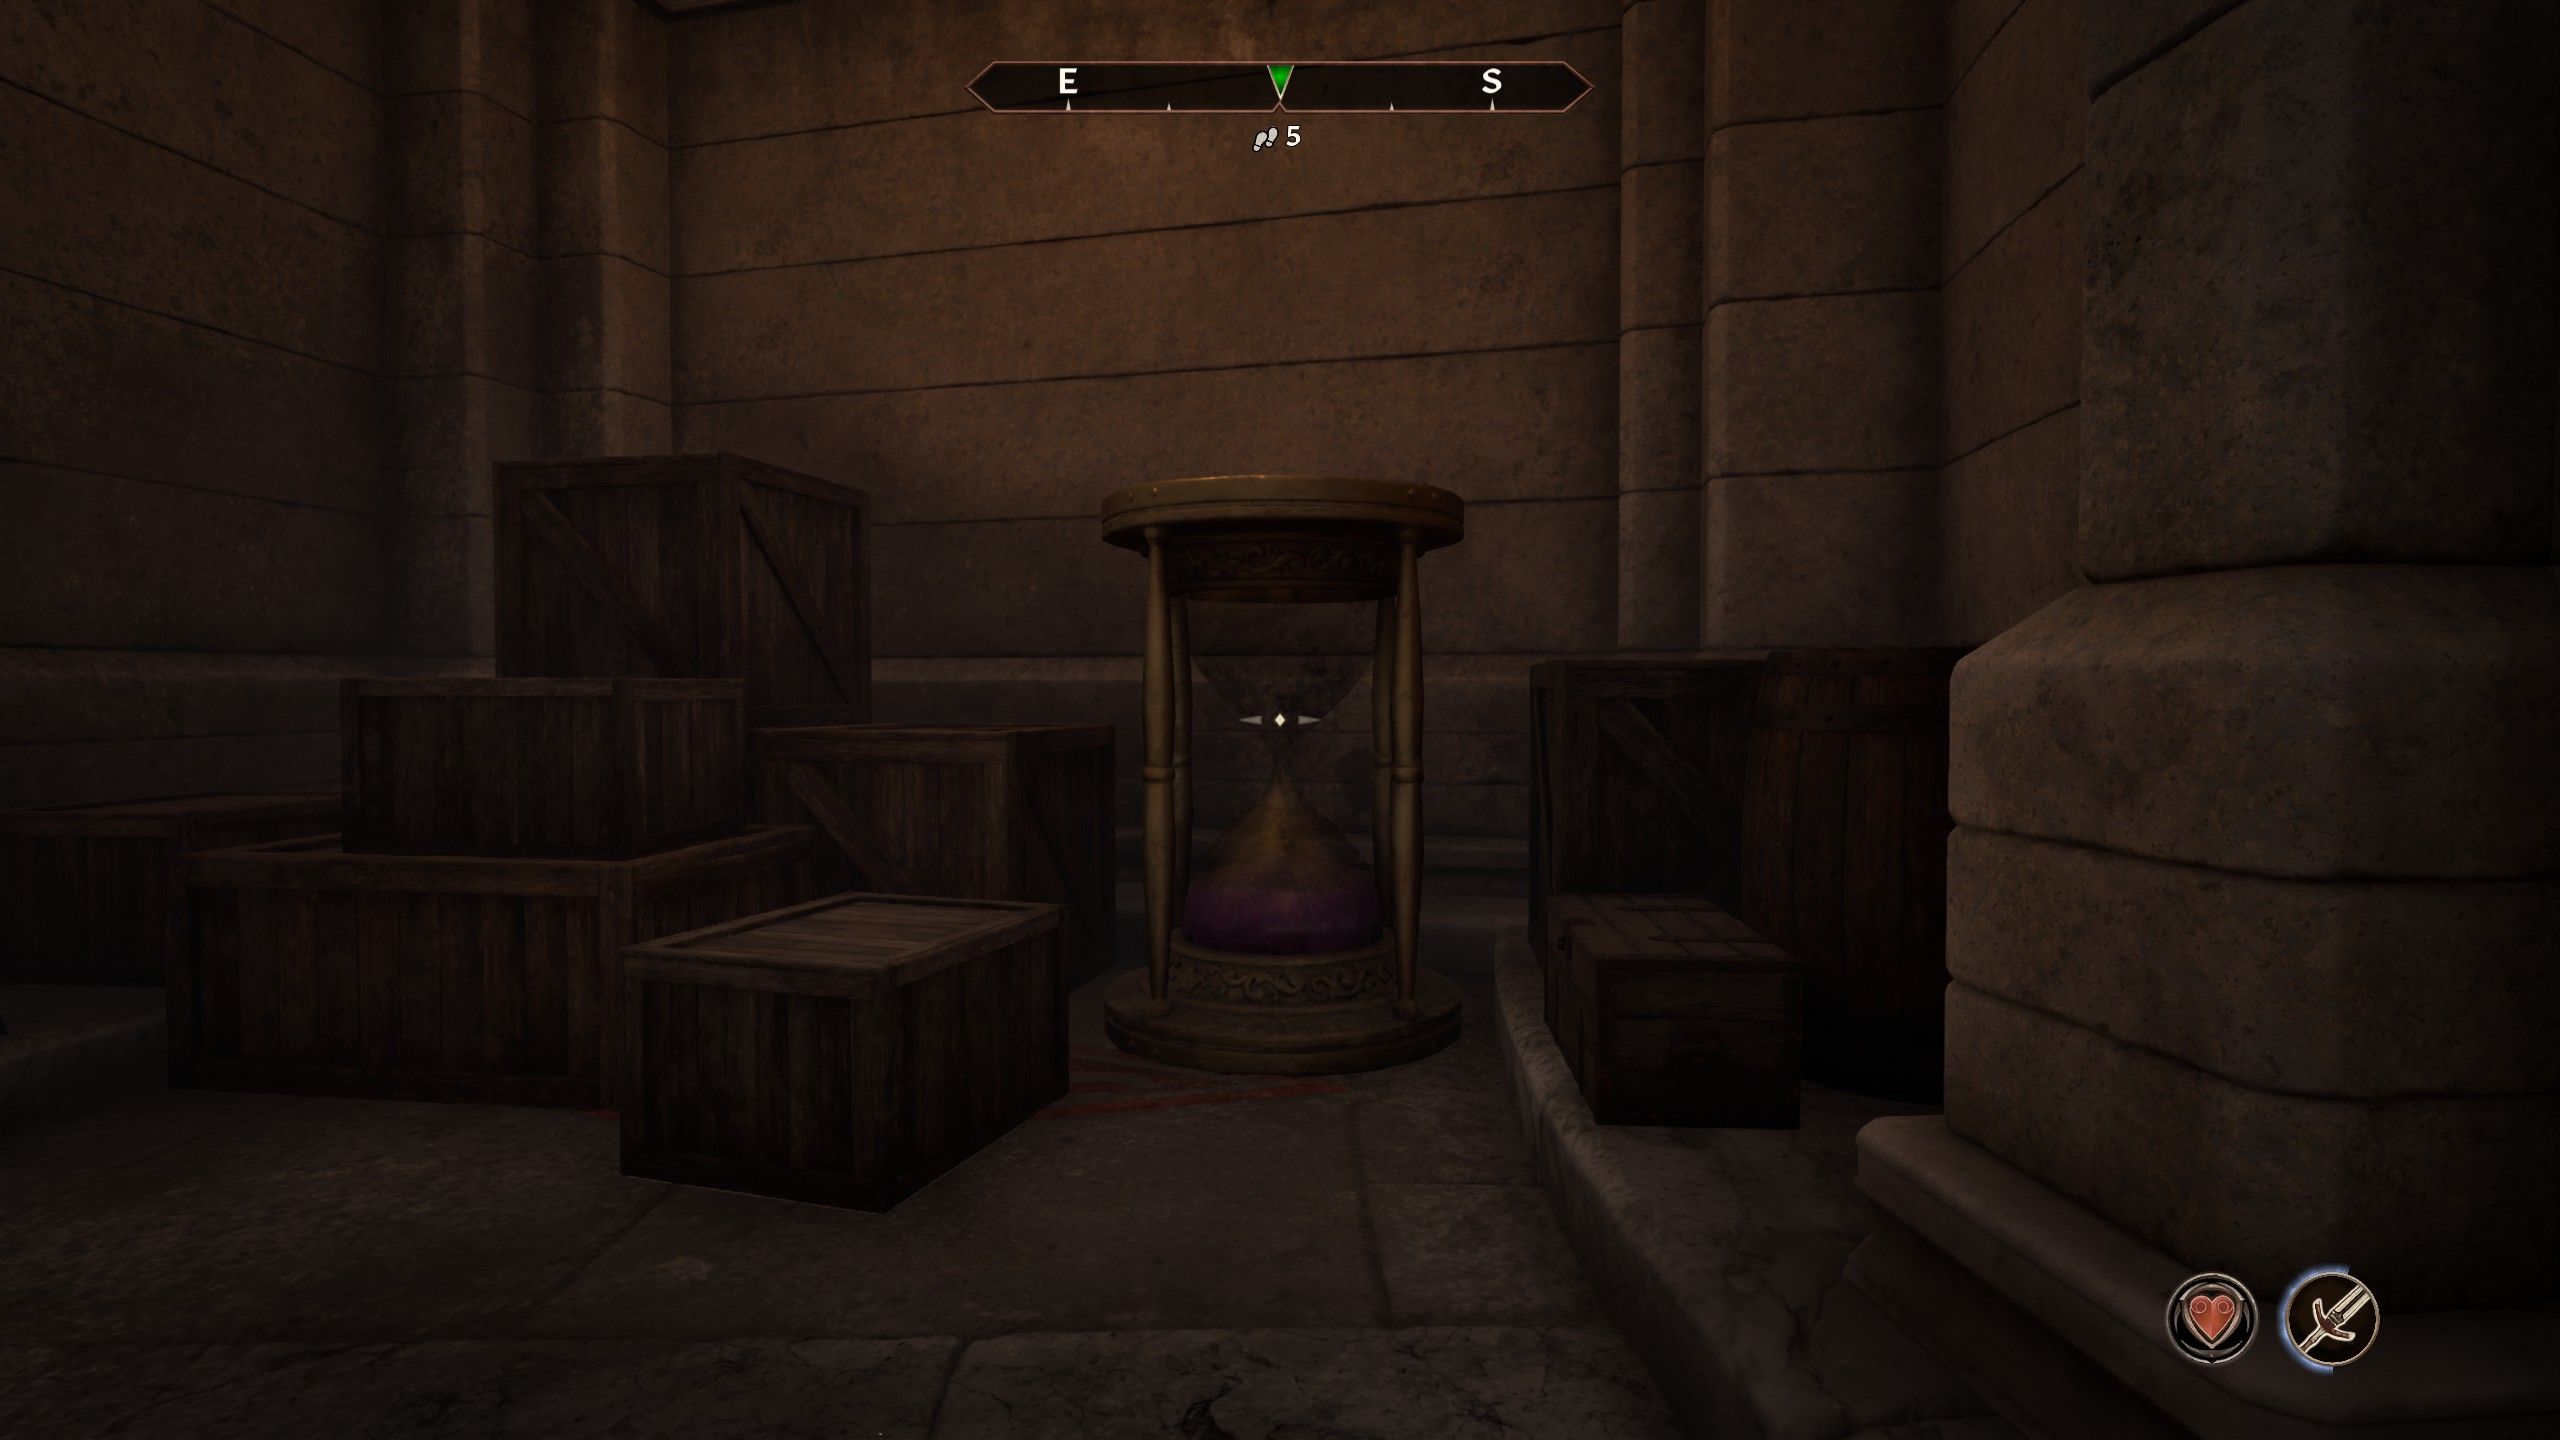
In the concluding mission for the Thieves Guild, gamers will be led to Othrelos’ residence in the Elven Gardens district of the Imperial City. Here, they’ll meet with Gray Fox one last time. The quest entails burglarizing the Imperial Palace’s basement to ignite the Glass of Time. Subsequently, players will traverse the city’s sewers, guided by markers and turning wheels in each room to proceed to the next door. When they reach the Old Way, they’ll need to don Boots of Springheel Jak to leap up a stone pillar and engage with two Push Walls, allowing them entry into the Hall of Epochs.
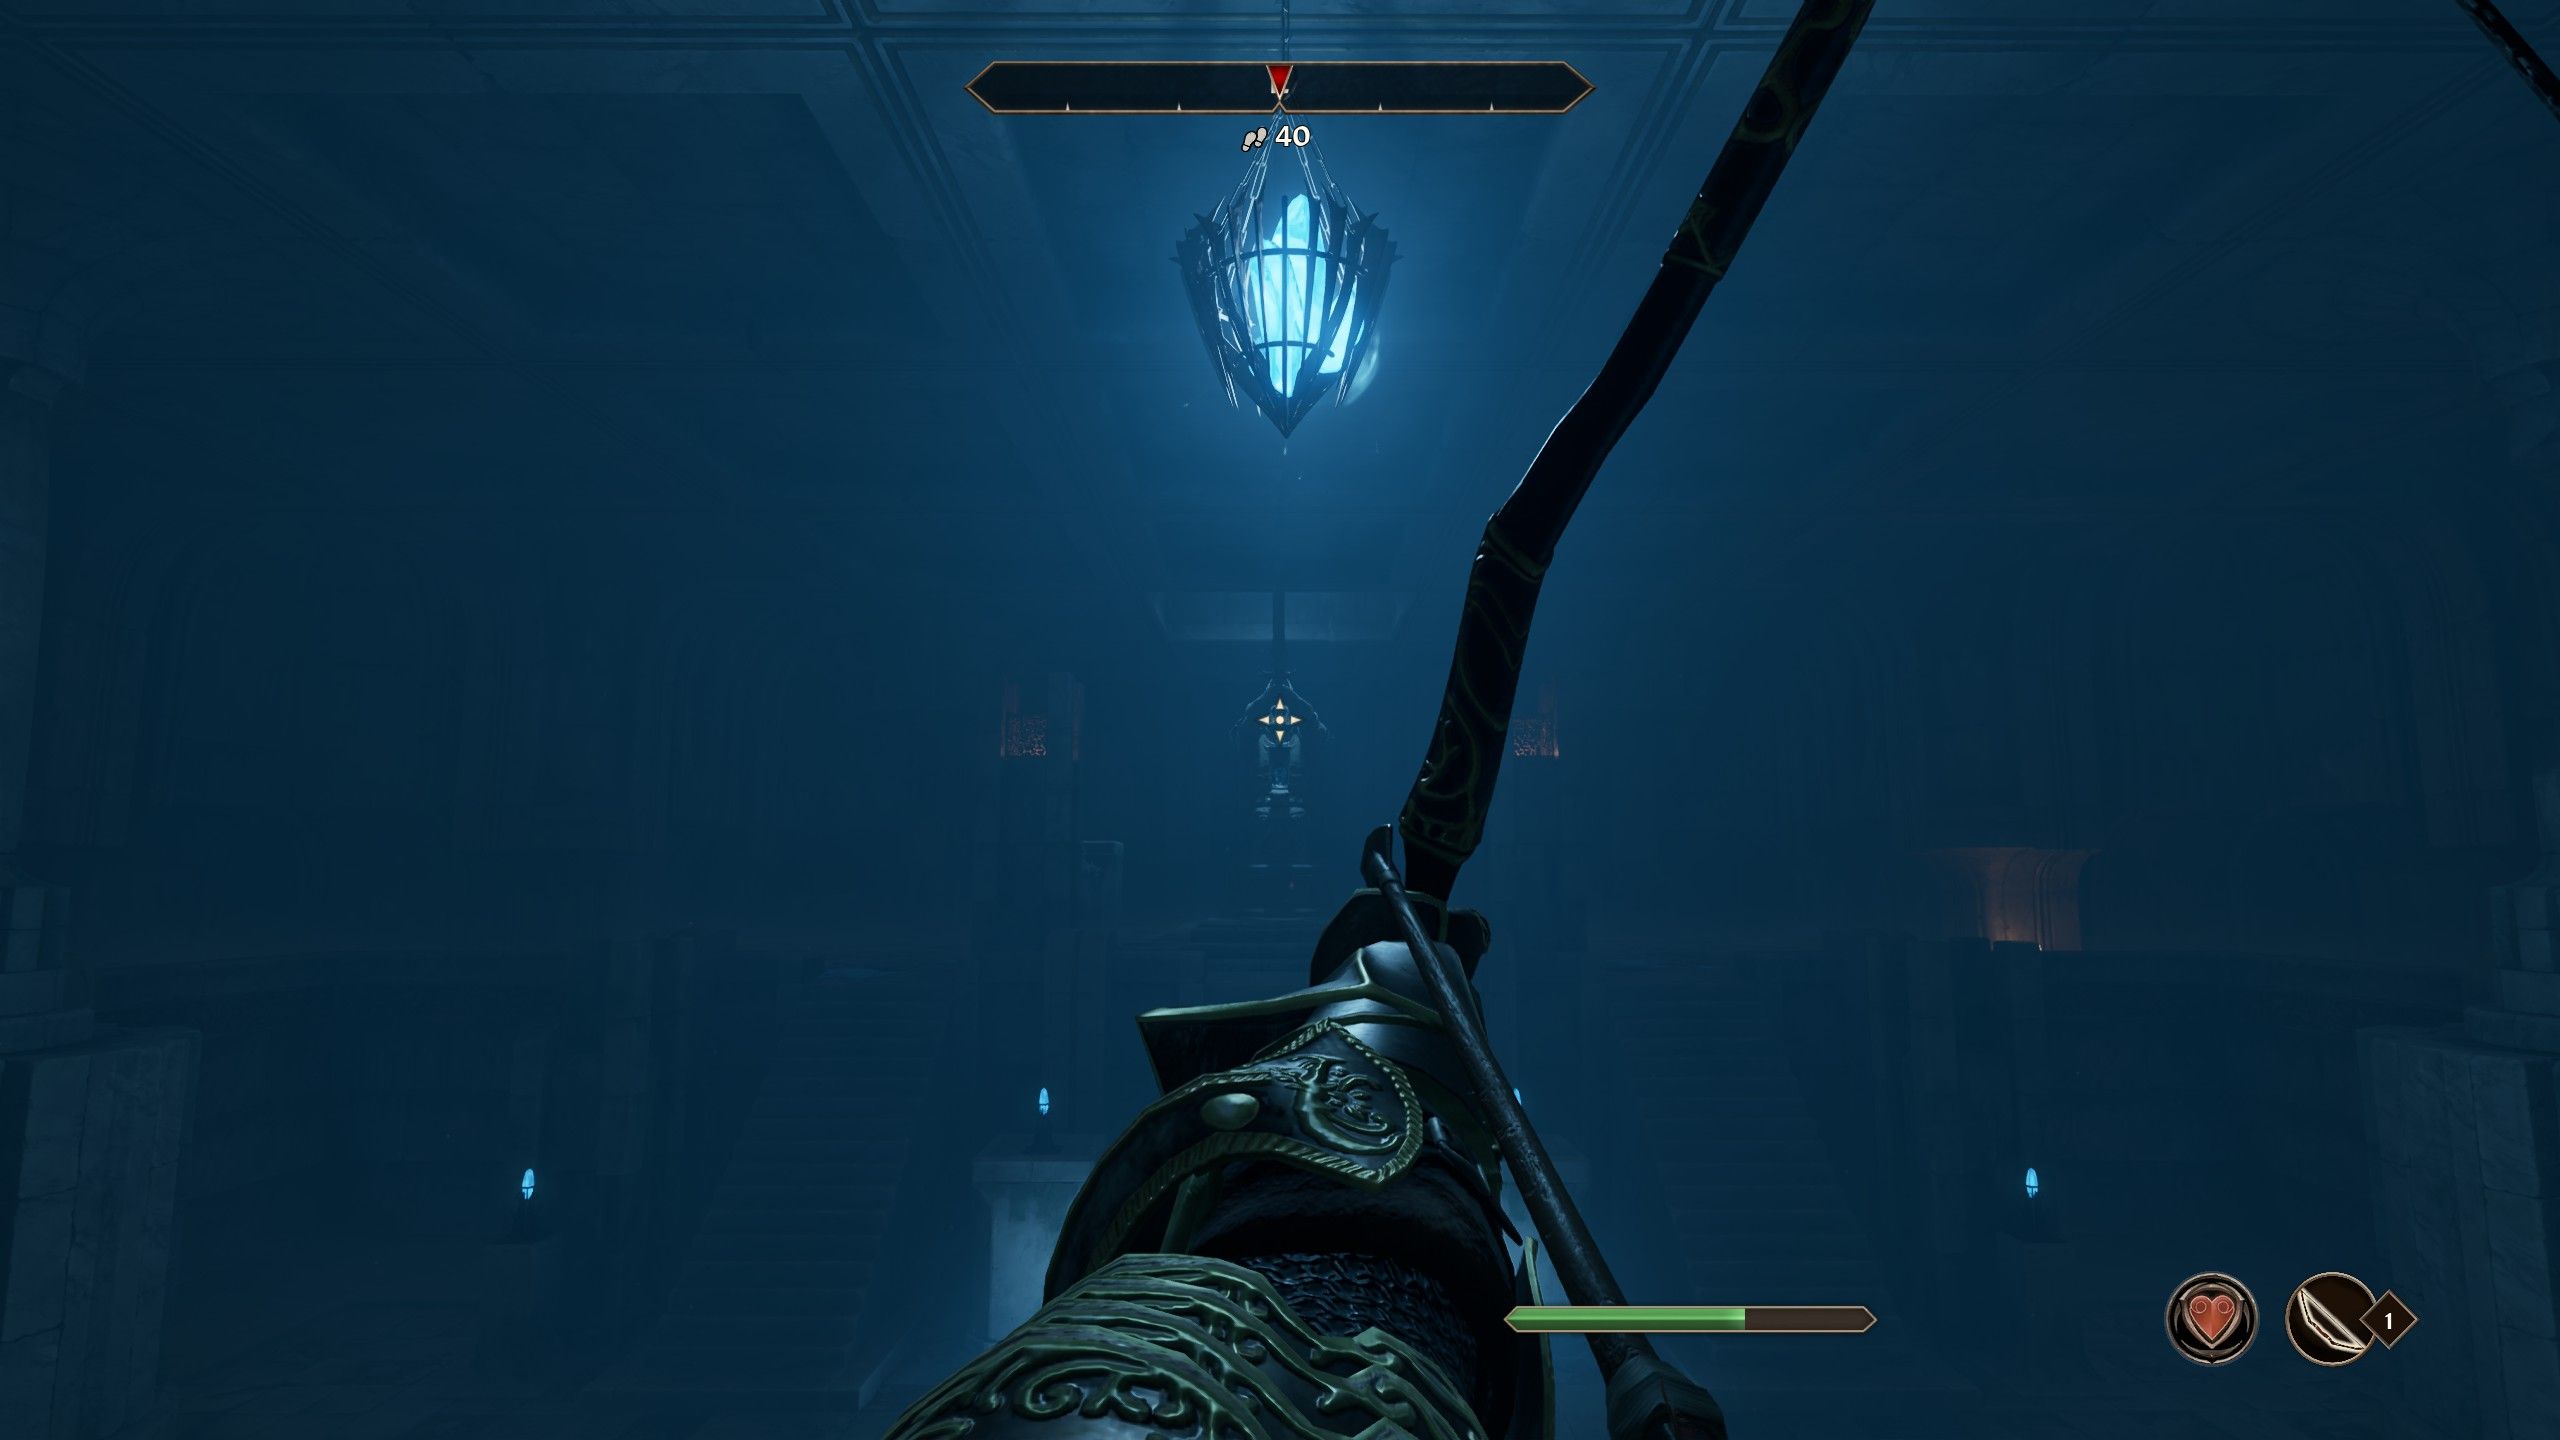
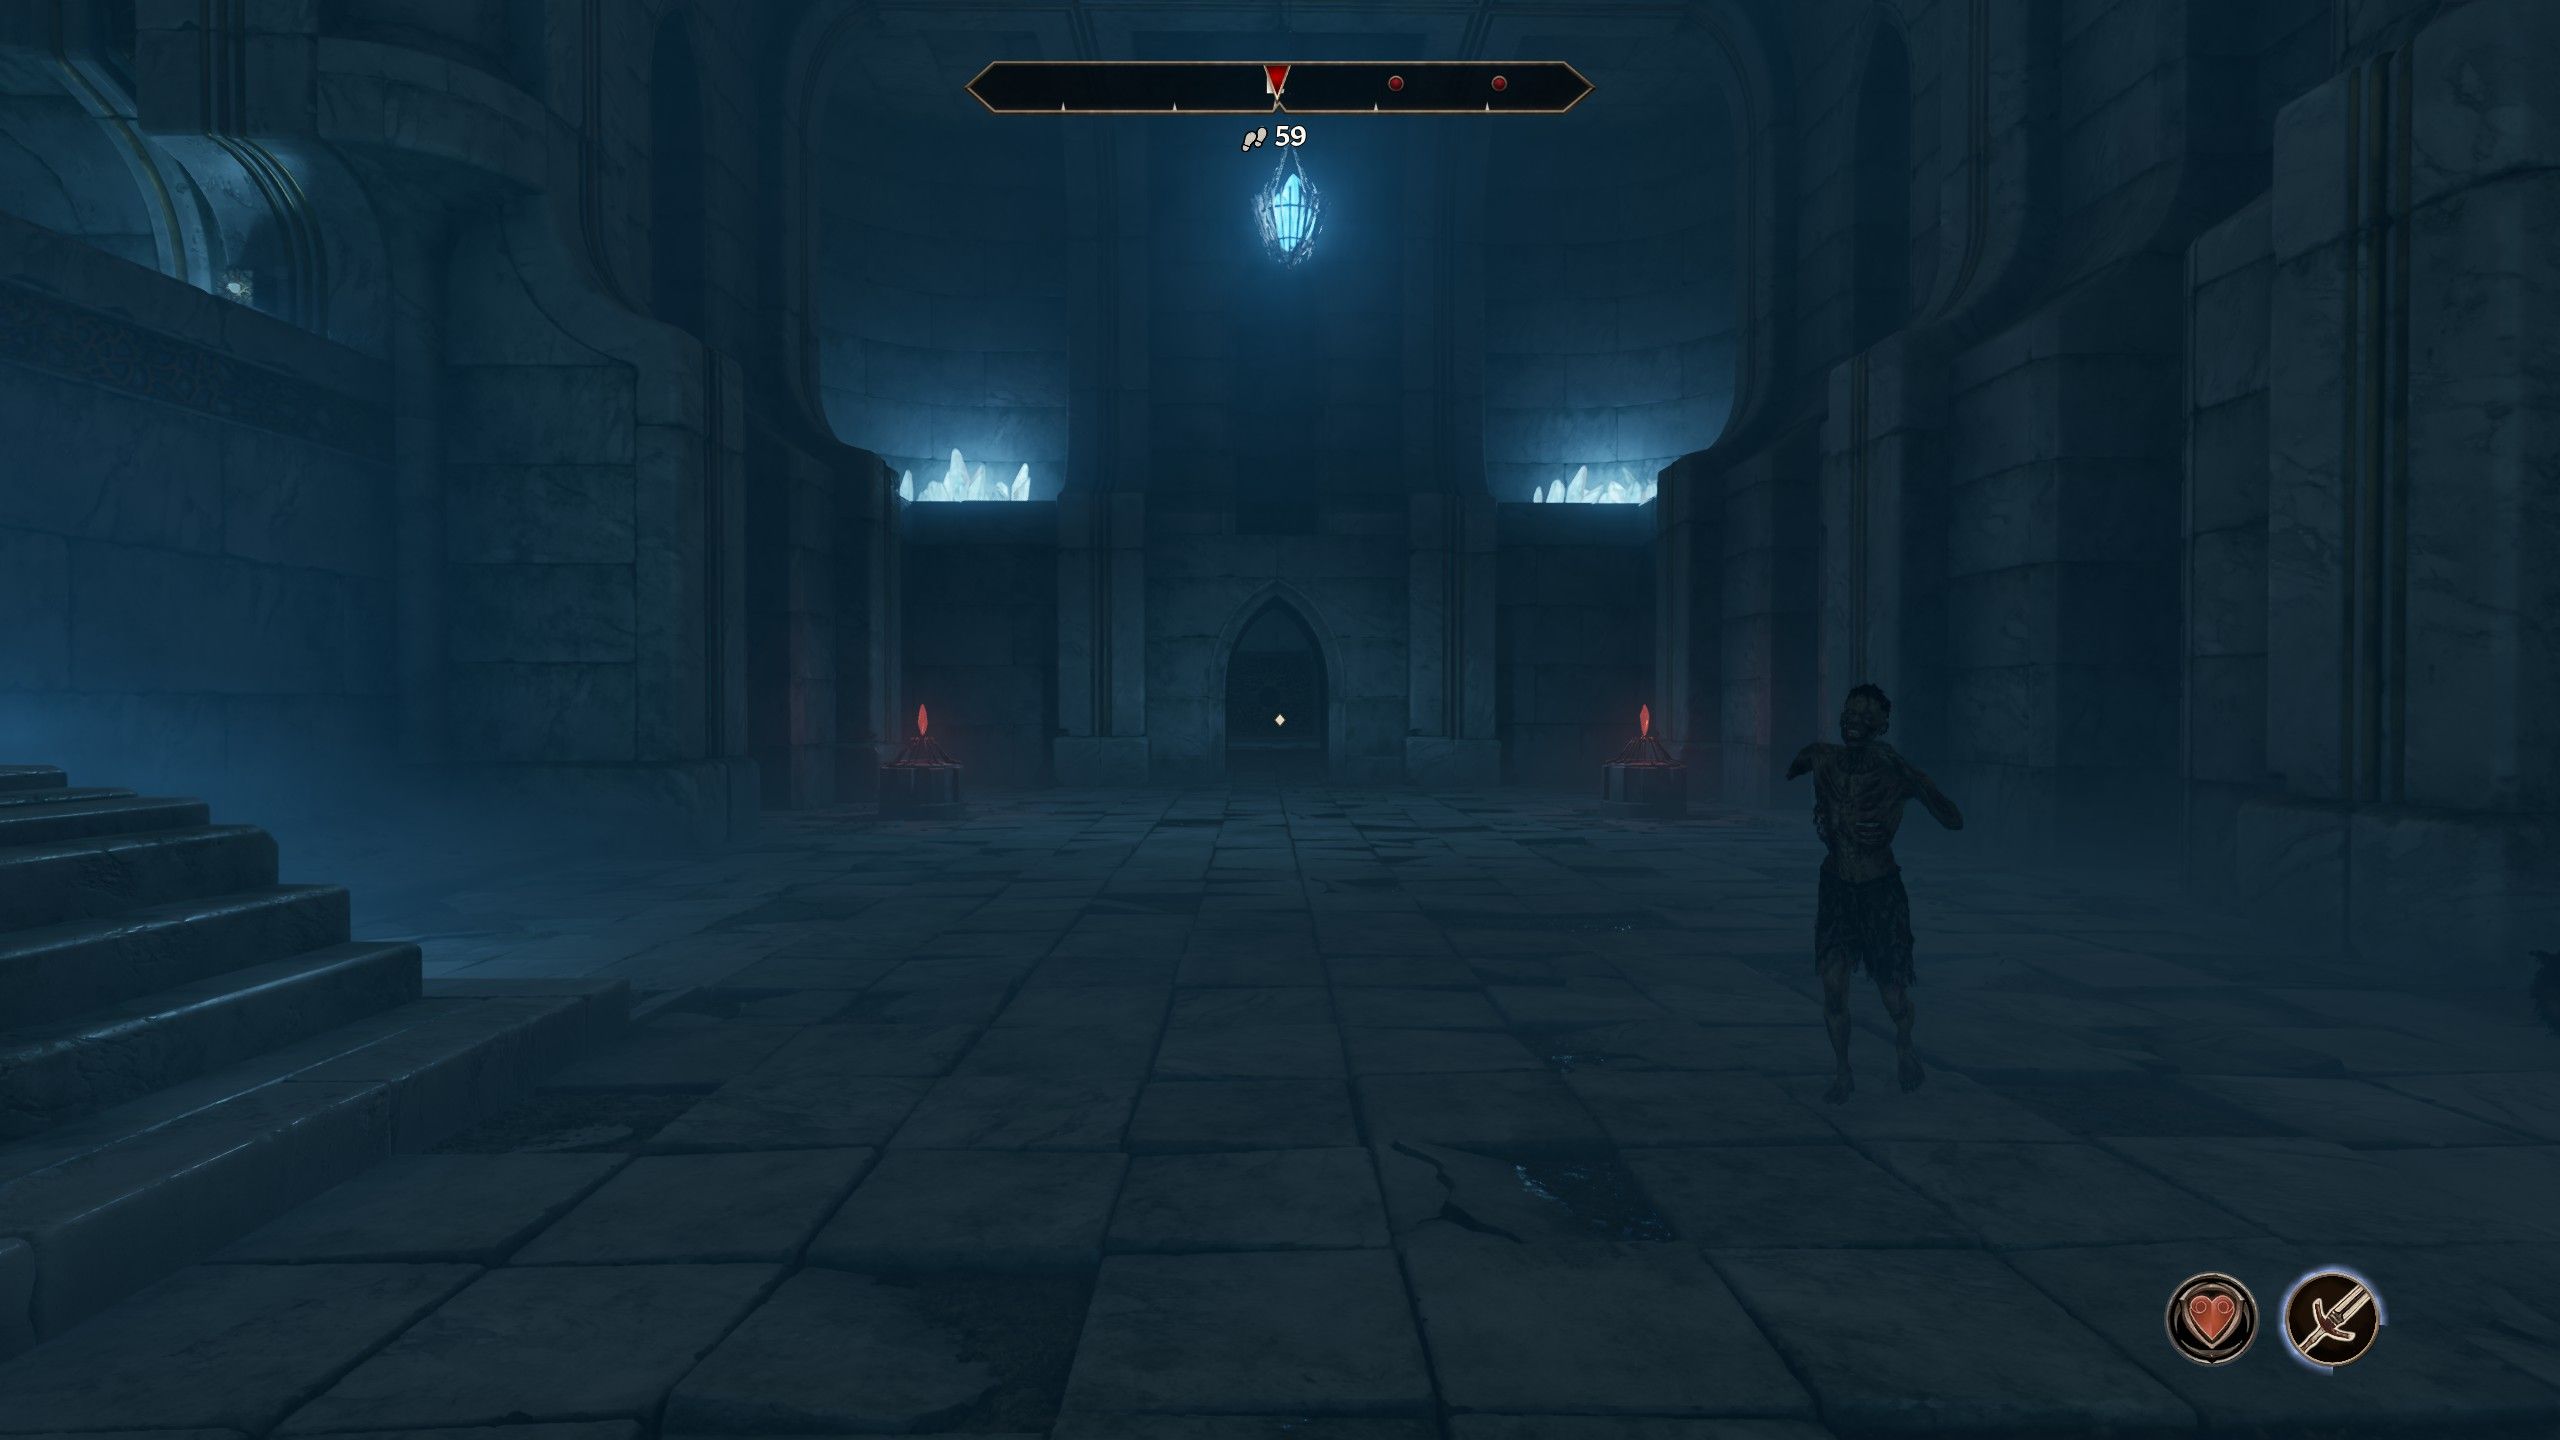
Inside the Hall of Ages, players encounter a riddle before they can move on. To solve this riddle, explore upward by following the walls to your right until you find a door. Once inside, go right to trigger a movable wall, then continue through this room to enter another part of the Hall of Ages. In this area, notice several holes in the walls where you can activate more movable walls. After doing so, return to the initial room. Here, step onto the pressure pad and prepare a Bow and the Arrow of Release. Aim at the statue’s head, ensuring the arrow hits its exposed abdomen instead. This action will open a hidden path forward.
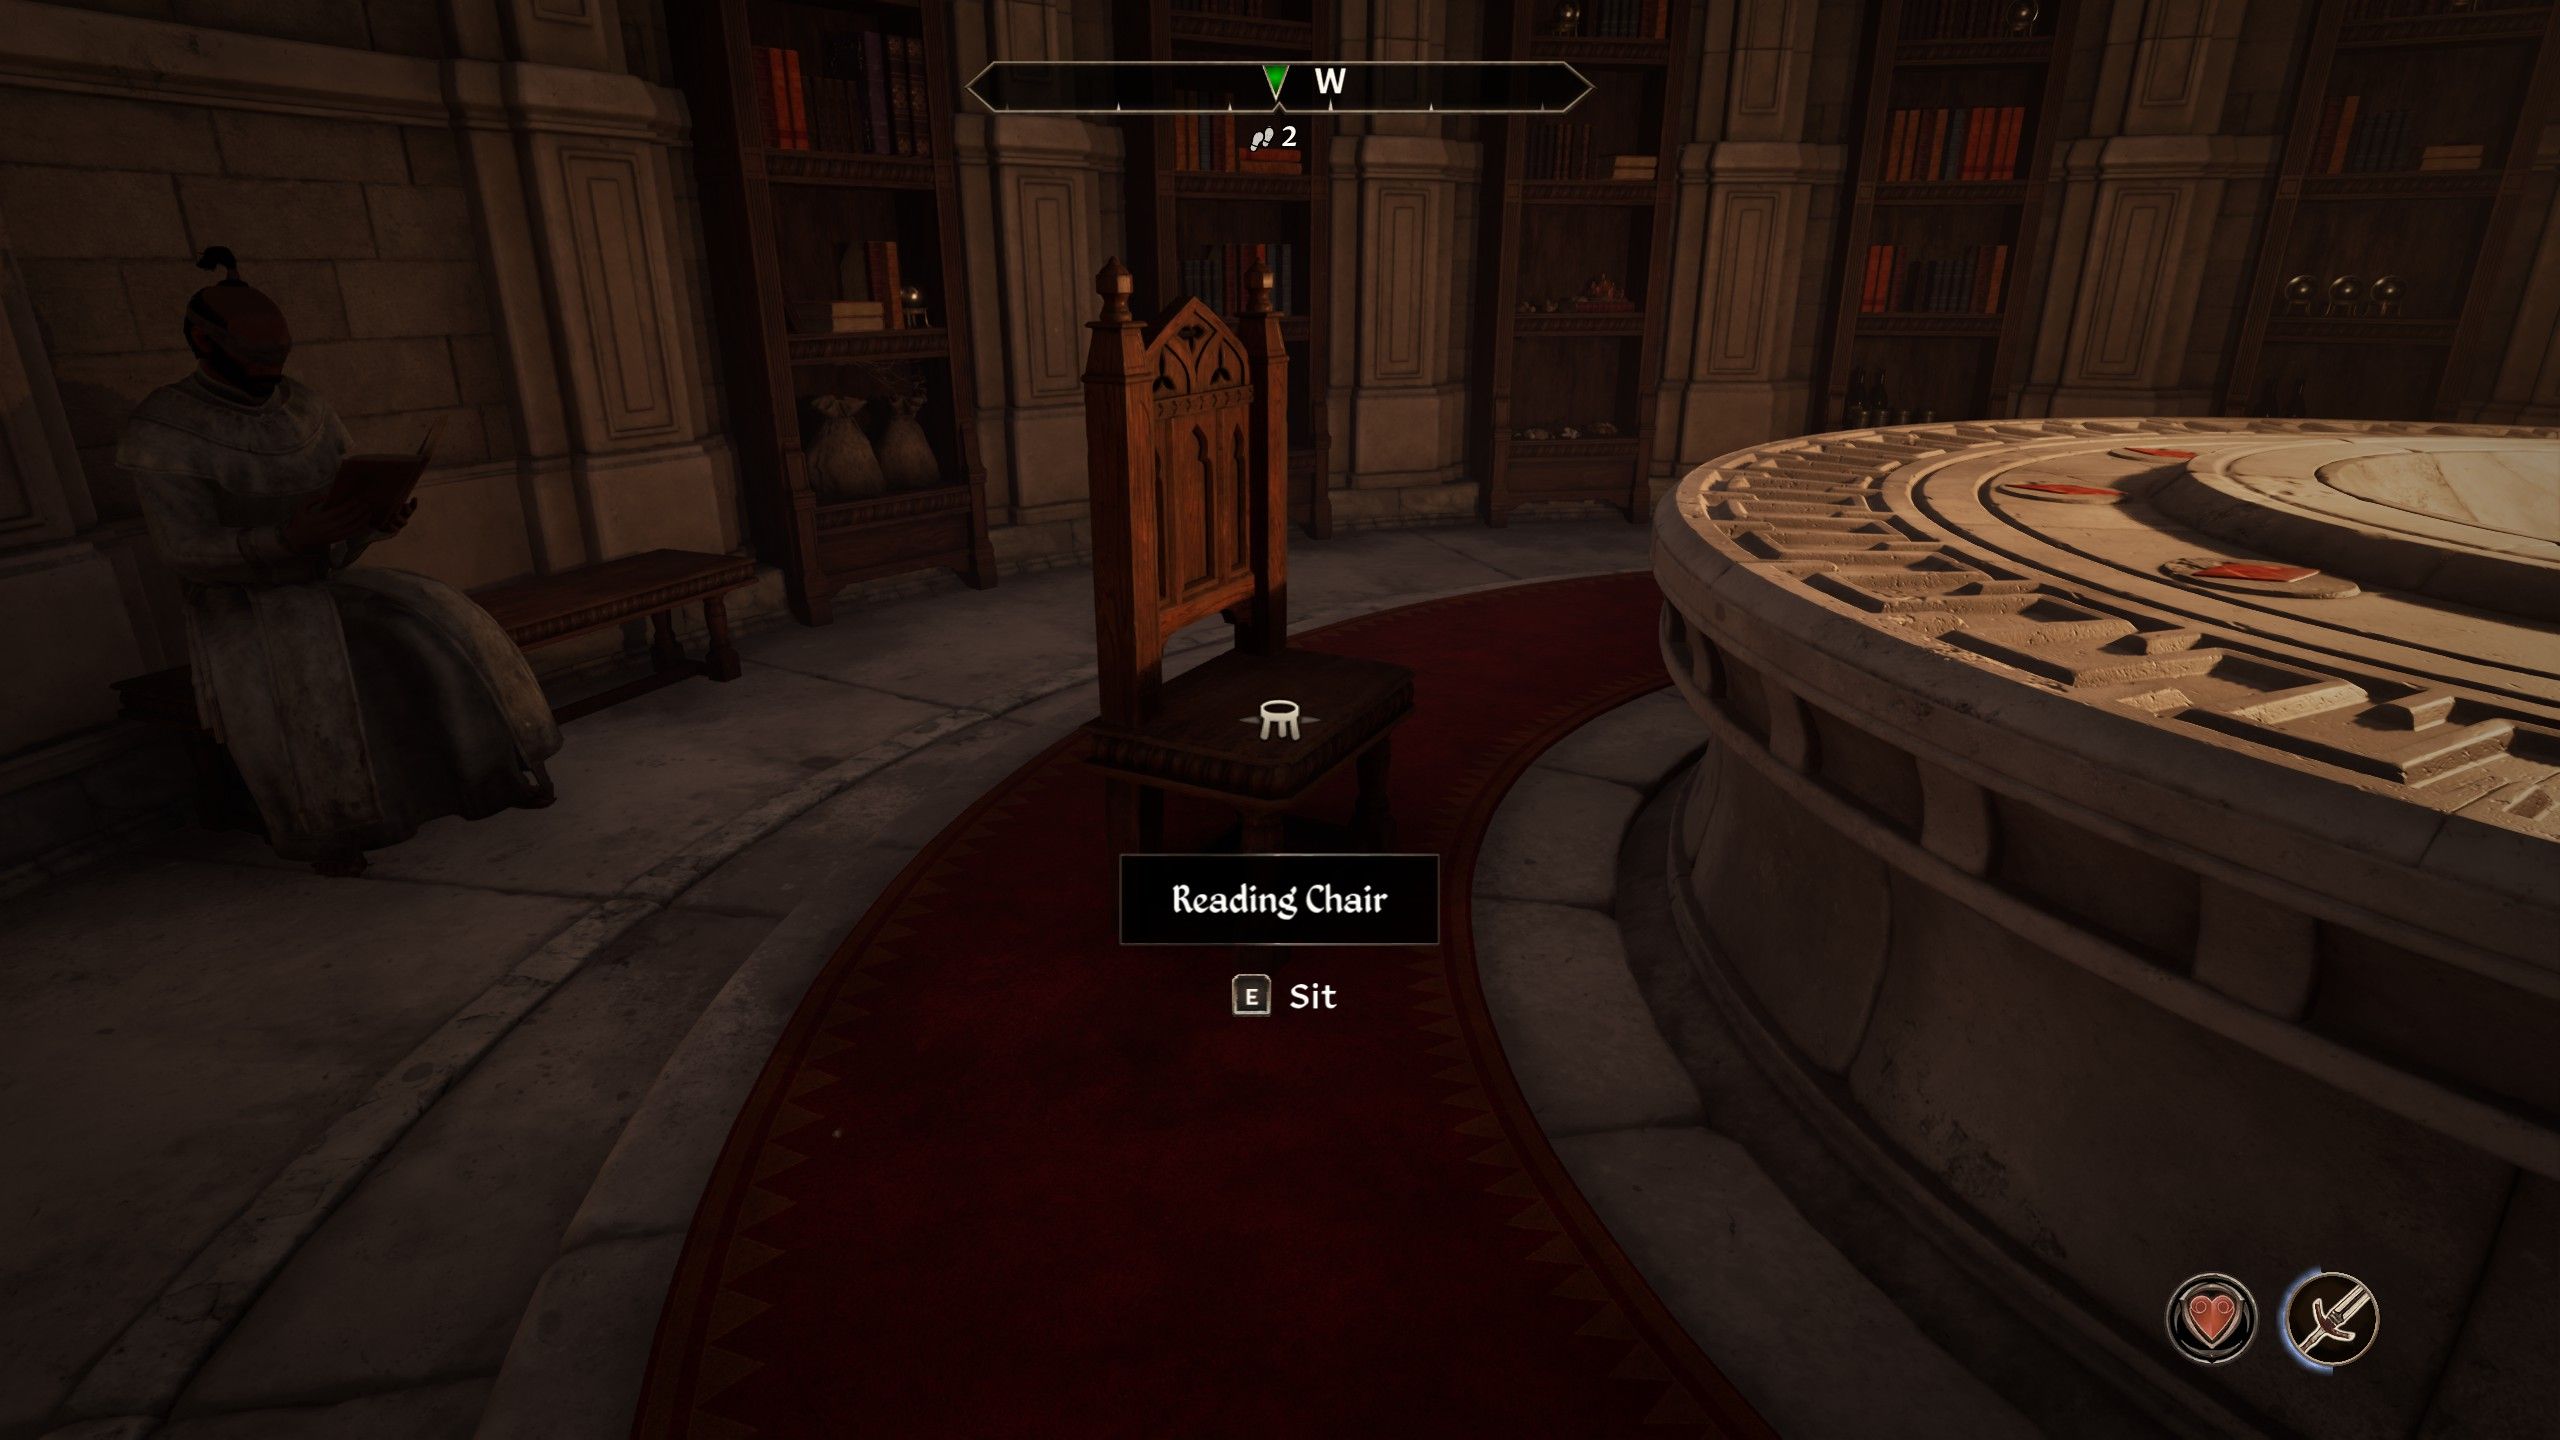
Currently within the Imperial Guard Quarters, it’s now time for players to stealthily move through, making their way upstairs to the Elder Scrolls Library. To accomplish their mission, they must locate the blind Moth Priest and activate the hidden lever behind him. Next, players should sit in the Reading Chair to secretly grab the Elder Scroll. Upon doing so, they must quickly flee the Imperial Palace by continuing their ascent.
Once successfully out of danger, players are instructed to deliver the scroll to the Gray Fox who resides within Othrelos’ House. Following this, they should engage in conversation with the Countess of Anvil at the Anvil Castle to trigger a cutscene and receive the final rewards for completing the Thieves Guild quest.
Read More
- Best Heavy Tanks in World of Tanks Blitz (2025)
- Here Are All of Taylor Swift’s Albums in Order of Release Date (2025 Update)
- Gold Rate Forecast
- Death Stranding 2 smashes first game’s Metacritic score as one of 2025’s best games
- [Guild War V32] Cultivation: Mortal to Immortal Codes (June 2025)
- [FARM COSMETICS] Roblox Grow a Garden Codes (May 2025)
- Stellar Blade New Update 1.012 on PS5 and PC Adds a Free Gift to All Gamers; Makes Hard Mode Easier to Access
- Criminal Justice Season 4 Episode 8 Release Date, Time, Where to Watch
- CNY RUB PREDICTION
- Delta Force Redeem Codes (January 2025)
2025-04-29 18:08