Investigate the quest titled “Kingdom Come Deliverance 2: Argentum,” where character Henry aims to save Lord Capon and expose Vavak’s wrongdoing.

In the seventeenth main quest titled “Via Argentum” of Kingdom Come Deliverance 2, I find myself tasked with gaining Kunziln Ruthard’s support to rescue Lord Capon from his captivity. However, it seems that earning Ruthard’s favor isn’t straightforward; instead, I must first expose the real thief behind the silver theft from the miners – a man named Vavak. As long as this fellow is on the loose, Ruthard remains reluctant to lend a hand in my endeavor. Therefore, it falls upon me to dig deep and uncover the truth about Vavak, so that I can clear the way for his assistance in saving Lord Capon.
After establishing Vavak’s guilt beyond a doubt, he’ll be taken into custody and may later face consequences that could potentially lead to his demise. This journey may take some time, but this guide is here to assist you on the Via Argentum quest within Kingdom Come: Deliverance 2.
How To Complete Via Argentum Quest in Kingdom Come Deliverance 2
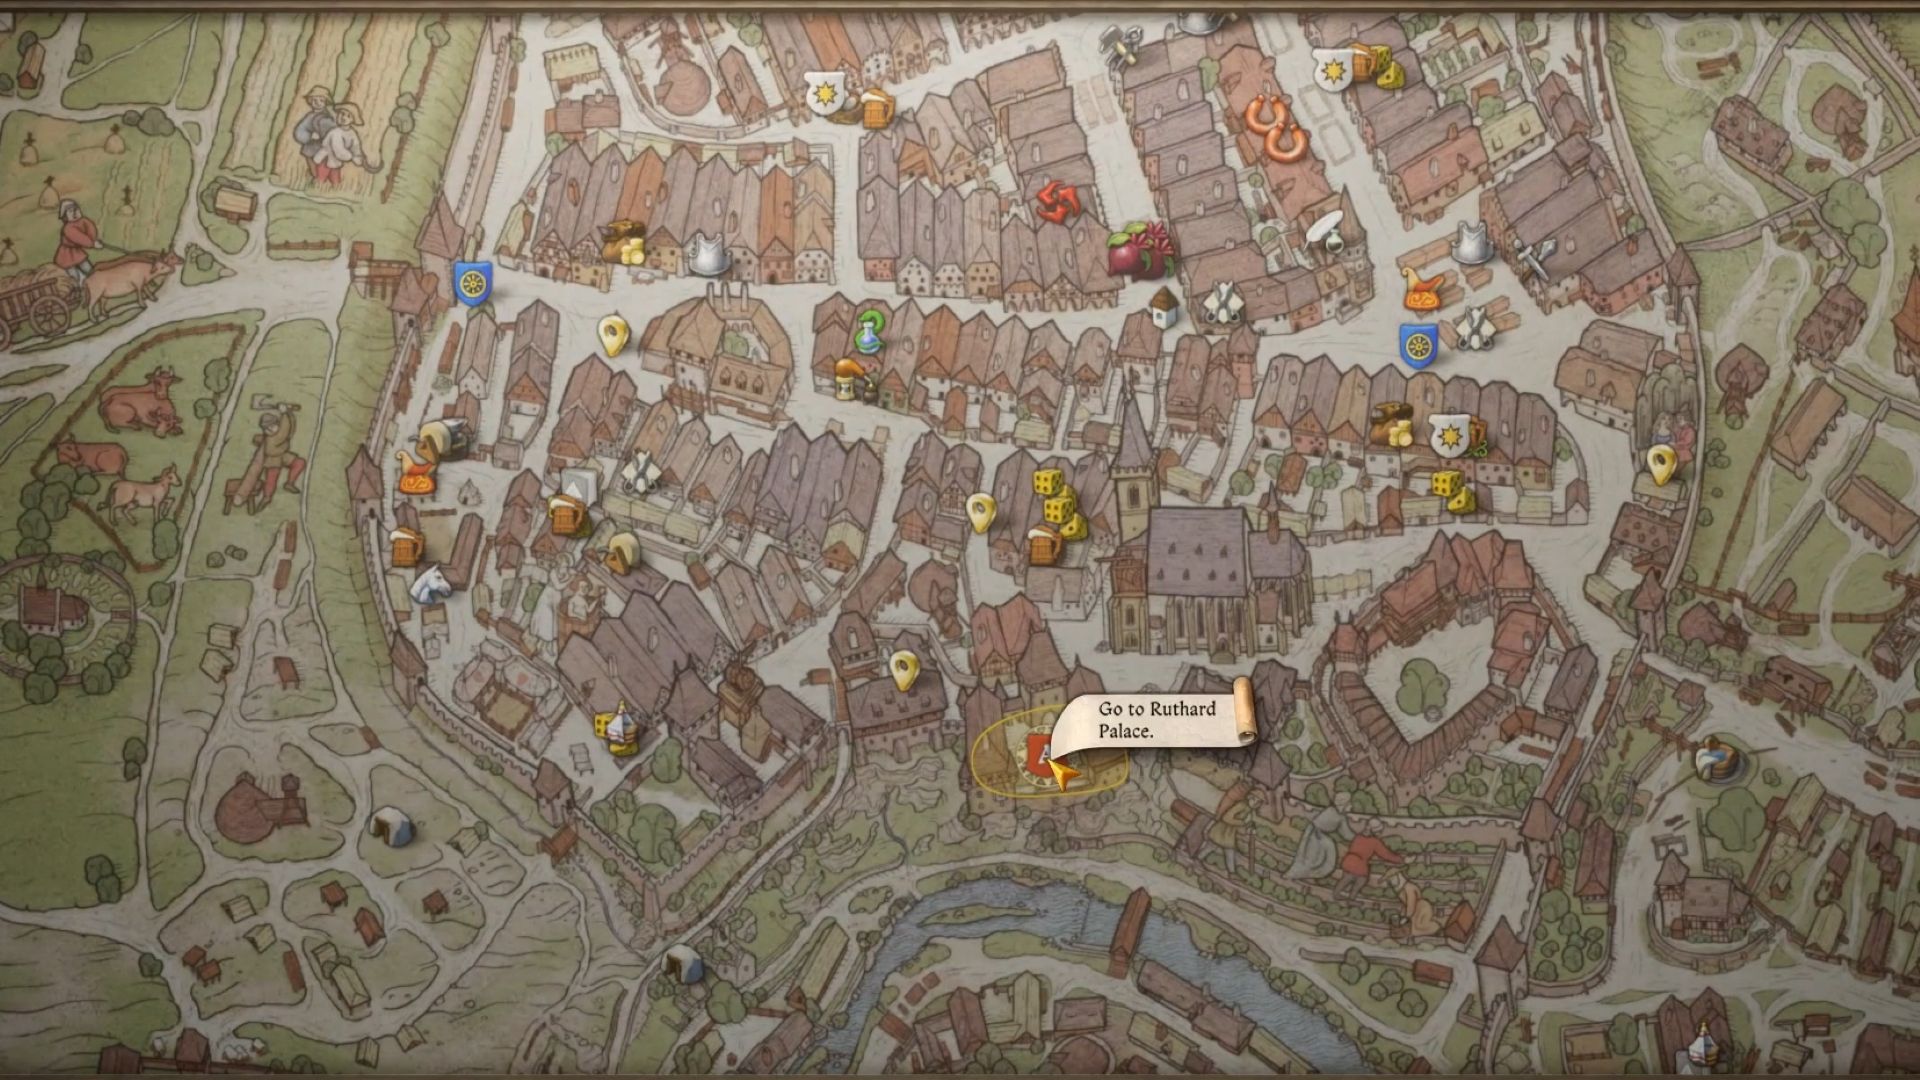
Alright, let’s get this adventure rolling! First stop, head over to Ruthard Palace, located down south in Kuttenberg. Once there, you’ll want to seek out Kunziln himself. When you arrive at the castle courtyard, after a little cinematic magic, brace yourself for a skirmish that’s about to go down!
To ensure your safety, it’s advisable to gear up with your best protective armor and weaponry. You’ll encounter numerous hostile non-player characters (NPCs) in the courtyard, but rest assured, your allies will be there to assist you in taking on these adversaries.
Track Down Christian Pisek
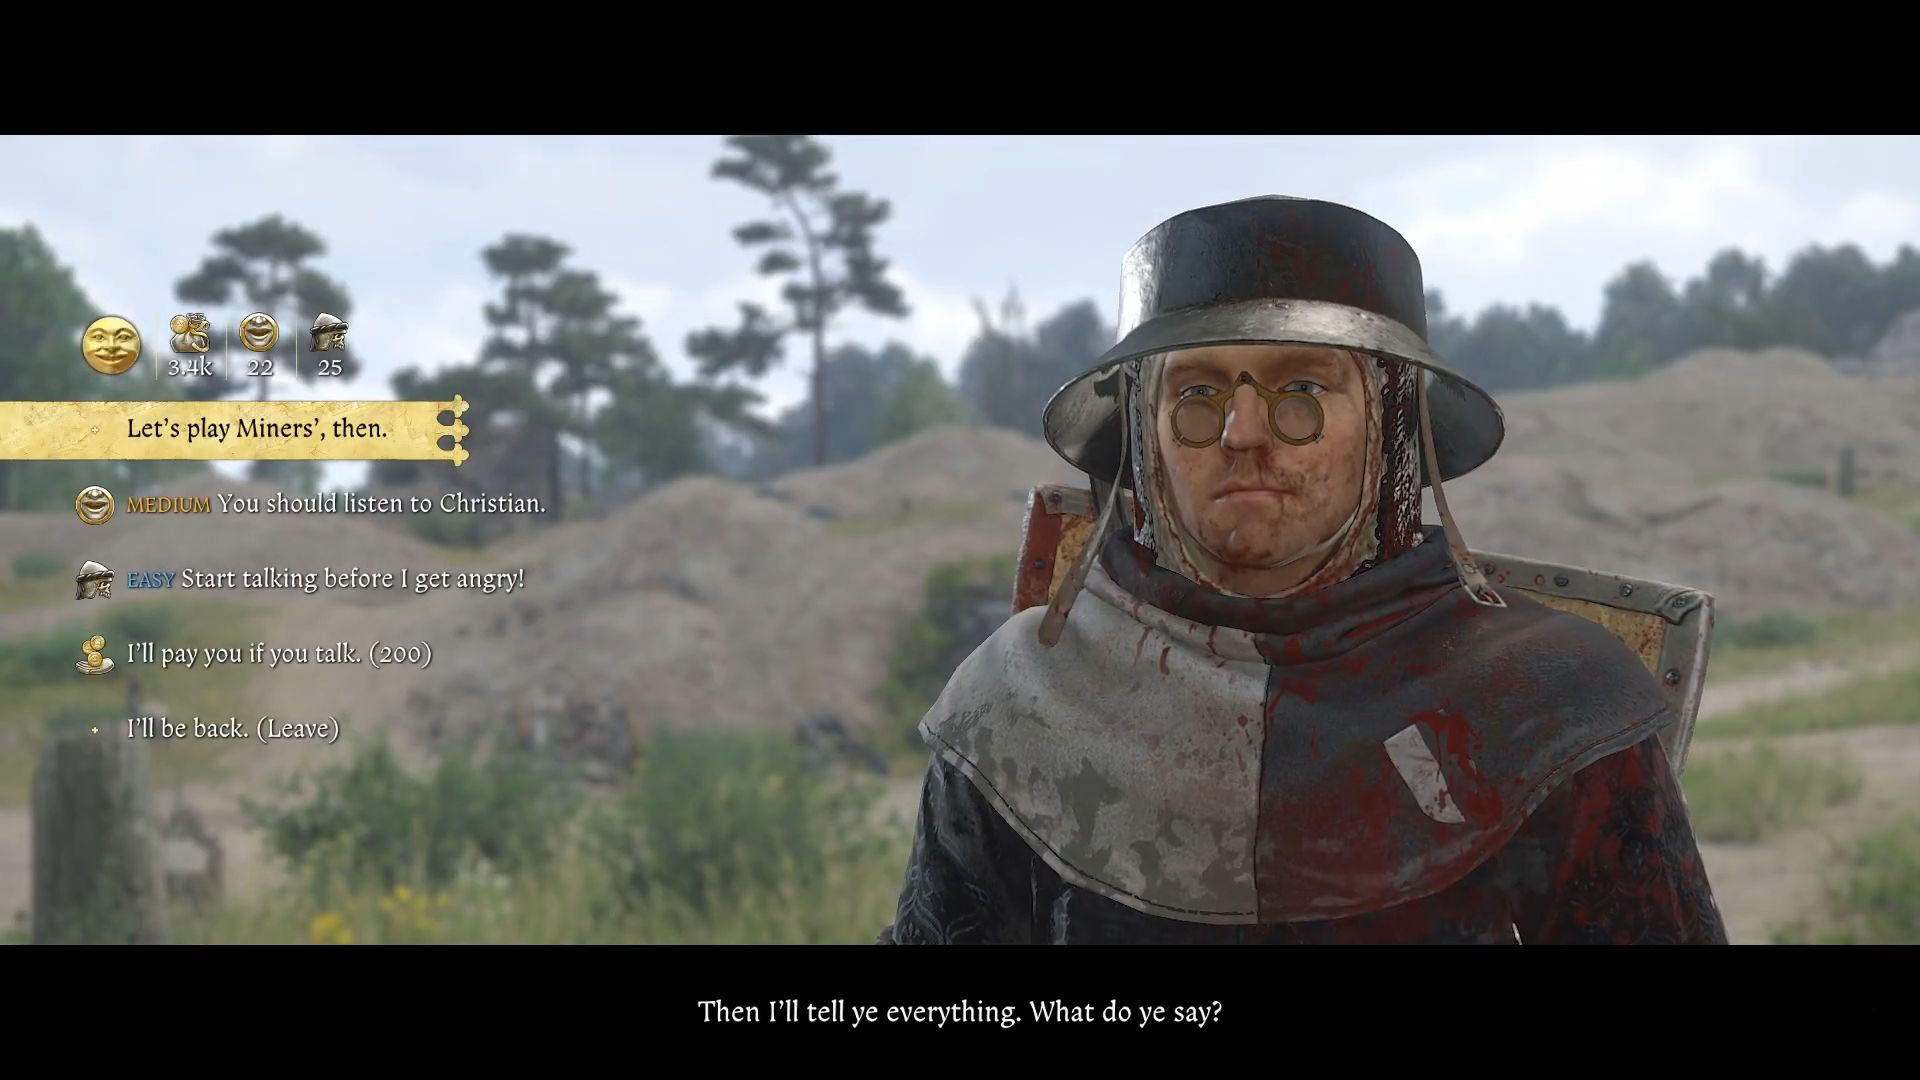
When all your adversaries are vanquished and you approach Ruthard for assistance, he will inform you that initially, you must amass proof of the misdeeds of a man called Vavak. As we previously mentioned, he is suspected of pilfering silver from the miners. Until his authority is dismantled, Ruthard won’t be able to offer aid in your endeavor.
After this conversation, your next point of contact should be Christian Pisek. You can locate him at a mining camp situated northwest of Kuttenberg, specifically in a place called Grund.
As a fellow admirer, I’ll be sporting a striking red hoodie today, making me easily recognizable. Approach me and share that you’re assisting with the probe concerning Vavak. Given our shared disdain for Vavak, he’s likely to engage in conversation and escort you to a secluded spot.
Later, Christian will instruct you to speak with three miners to learn how much they’ve extracted. After gathering this information, your task will be to contrast it with the mine ledger entries to determine if any resources might be missing or being misappropriated.
Speak To The Miners
When interacting with the miners, feel free to identify as a scholar, nobleman, or a relative of a Christian, whichever suits your preference. This choice only influences how you present yourself to the miners. A map will show the locations of all three miners. Approach the first miner and engage in conversation. If you successfully pass the skill check, he will promptly answer your questions.
It would be best to employ the Intimidation skill as it seems the most straightforward method. Yet, should you encounter failure, there are two alternatives – challenging him to a dice game or offering him a bribe. Regardless of the outcome, he will disclose that he has mined thirty-four cartloads of ore.
The next miner is usually found within the mine shafts. Delve into these depths, and you’ll eventually come across Pavel, as it was here where he met his unfortunate end in an accident. Speak with Pavel, and he will disclose that he had mined a total of thirty cartloads of ore.
(This version maintains the original meaning but uses simpler, more conversational language to make it easier for readers to understand.)
Locating the final miner may prove challenging as he’s known to shift locations, sometimes being found within or beyond the mine complexes. Keep an eye on your compass’s marker, and it should lead you straight to him.
Here’s another way of expressing it: Utilize the “intimidation” tactic for your ability check. If you’re successful, he will disclose that he mined thirty-six casks of ore. On the other hand, if the attempt is unsuccessful, offer him ten beers from a labeled chest as compensation.
Once you’ve updated Christian about the discrepancy in the mine records, he’ll inform you that the logbook indicates ten fewer loads of ore were mined than what was actually extracted. To uncover who might be responsible for this theft, you’ll need to discuss it with two individuals named Fett and Hermann.
Get Into The Smelting Area

Locate the two individuals indicated by the markers on your map. Upon talking to them, they’ll confess their role and Hermann will disclose that he’s responsible for overseeing the outgoing ore. However, this isn’t the whole story. They’ll also divulge that some superiors from the smelter are implicated in the theft.
After wrapping up our conversation with them, I’ll head back and share my insights with Christian. He’ll let me know that we should also inspect the smelter, too. Later on, he’ll hand me a crucial letter that I need to keep safe.
As a charismatic enthusiast, I’ve found a unique way to gain access to the smelter – by striking a deal with its owner, Buresh. To approach Buresh successfully, you’ll need to have a Charisma skill of at least level twenty. Additionally, it would be beneficial to dress in noble attire to impress him. To boost your Charisma level, here are some items you might need:
1. A charming trinket or two – these can often be found in antique shops or from fellow nobles.
2. A well-written and persuasive letter – this should clearly outline the benefits of your proposal to Buresh.
3. A friendly demeanor – a smile, kind words, and good manners go a long way in winning people over.
4. Confidence – believe in yourself and your abilities; if you appear uncertain, it may be difficult to convince others.
- Hunting Cap
- Burgher Coat
- Gartered Hose
- Riding Gloves.
As an enthusiast, I understand that delving into such details might seem cumbersome, hence, this part is entirely at your discretion. If you prefer a more direct route, feel free to bypass the investigation process and simply penetrate the smelter, but be aware that the ensuing exploration will prove slightly challenging.
When your Charisma score hits twenty, approach Buresh with the letter that Christian handed to you. He’ll grant you access to the smelter area and leave you in peace after that.
As soon as you step into the smelting yard, look for Shima. He’s located in the southwest sector. Shima will warn you that it’s risky to converse within the smelter premises, so he’ll guide you to a safer spot. Once you chat with him outside the smelter, he’ll advise you to meet a person called Volkmar.
Find The Evidence
Volkmar is stationed in the northeastern part of the town, close to the horse dealer. It’s advisable to ensure your finest equipment is on hand, as when you approach Volkmar, his three associates may take a hostile stance. If you choose to engage them in a duel, be aware that if you don’t pass the skill check, you’ll find yourself facing all of them in combat.
Speak with Volkmar once more following your victory against the foes. He’ll provide you a map that marks a location where the stolen silver is kept in a mint. Moreover, he will disclose Buresh as the culprit behind the theft. Subsequently, you have the option to either eliminate him, grant him freedom, or demand Groschen in exchange for his release.
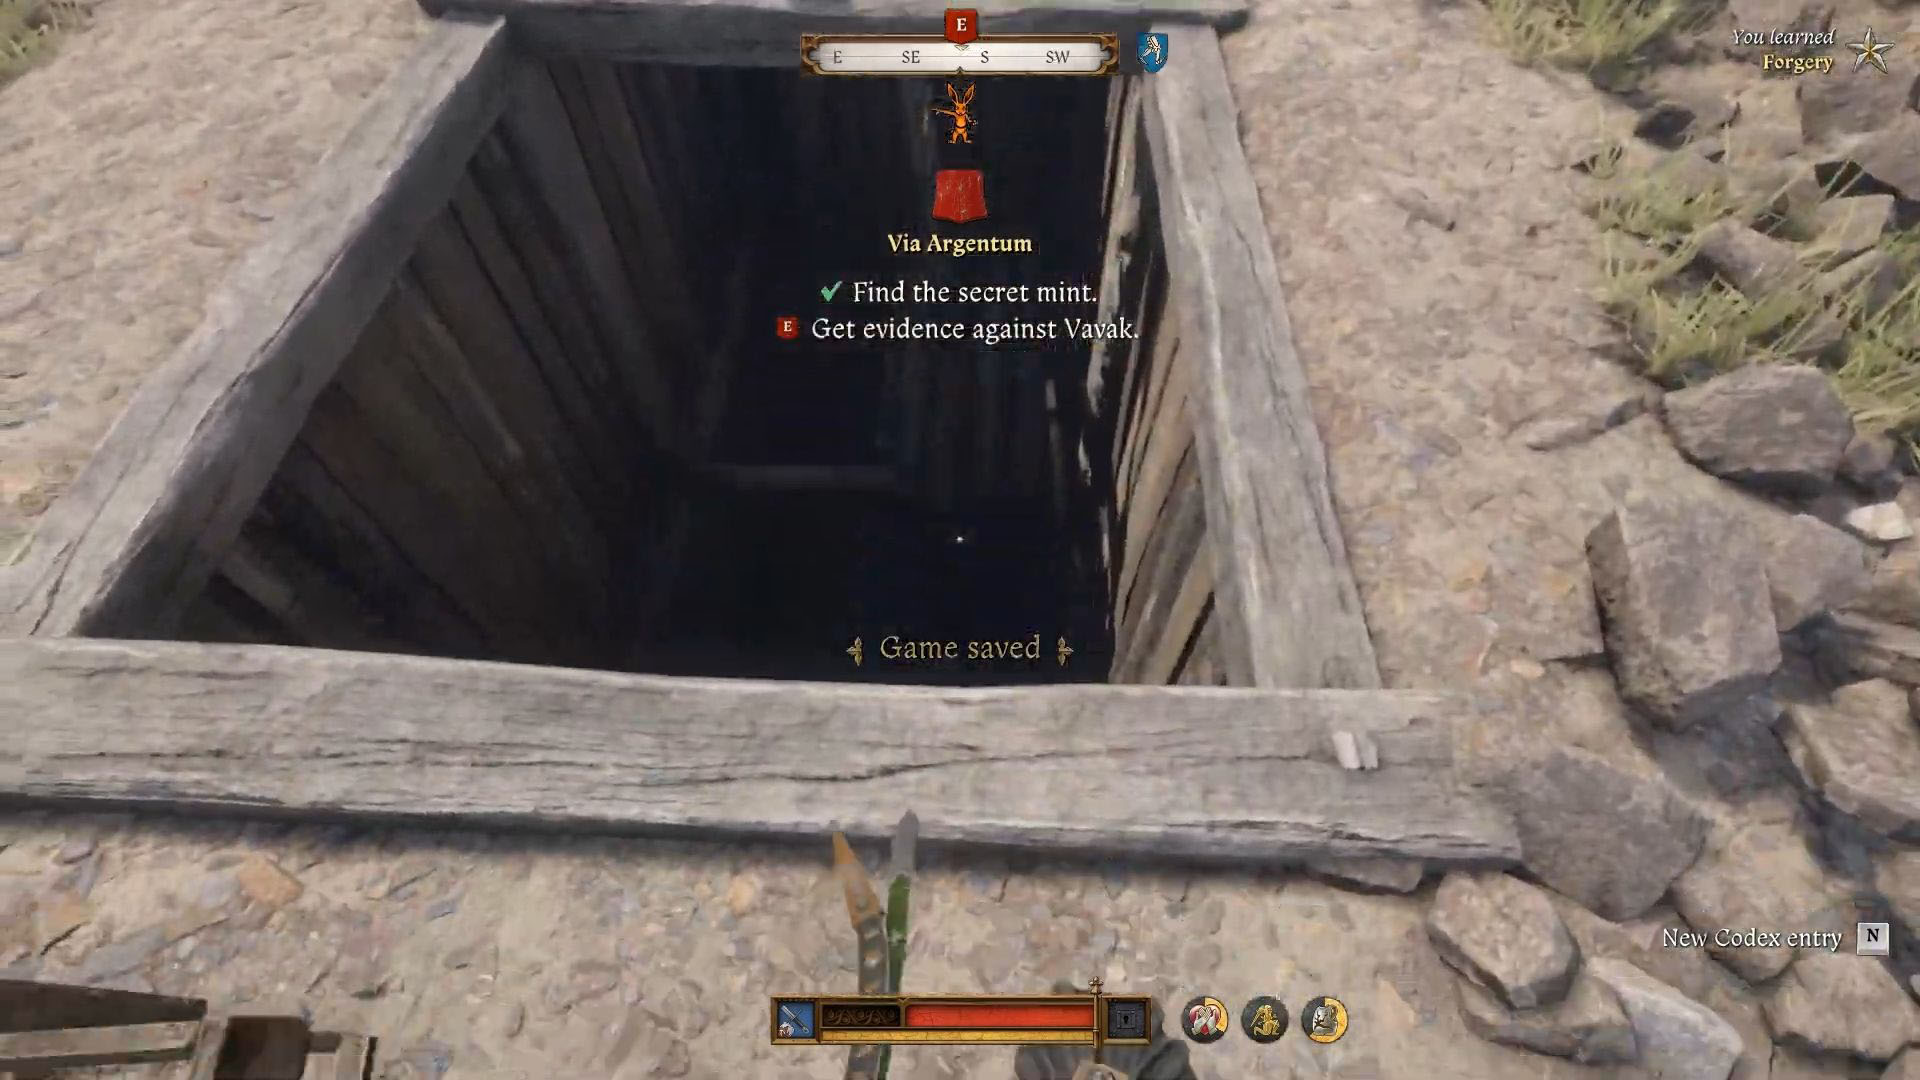
The hidden treasure vault is situated to the east of Grund. Upon arriving at the designated spot indicated on your map, you’ll discover a pit in the ground with a ladder inside. Climb down the ladder when you get there. Over time, you’ll encounter Buresh accompanied by three soldiers.
This version maintains the original meaning while making it more accessible and easy to read for the average reader.
In this situation, you’ll face two choices: Take Buresh’s offer (which may include important items like the Record Chest Key and a letter from Vavak), or confront the soldiers instead.
1) You have two options: attempt to secretly eliminate him or steal from him. Regardless of your chosen method, ensure you acquire those items. Subsequently, find the Secret Preghus Key on the table in the room and proceed to the end of the tunnel.
2) You can choose between stealthily taking him out or picking his pocket. Whichever route you decide, be certain to obtain the necessary items. Next, secure the Secret Preghus Key from the table in the room and advance towards the end of the tunnel.
Report Back To Christian

In that particular location, you’ll encounter two imprisoned miners. If you engage them in conversation, they’ll disclose that crucial evidence against Vavak is hidden within a secure chest located in the same chamber. By successfully picking the lock on this chest, you’ll gain access to the elusive Secret Mint Ledger containing 200 Groschen. It’s entirely up to you whether or not you choose to free these prisoners as well.
Now, you can go back and report to Christain to end the quest.
Read More
- Best Heavy Tanks in World of Tanks Blitz (2025)
- Here Are All of Taylor Swift’s Albums in Order of Release Date (2025 Update)
- Stellar Blade New Update 1.012 on PS5 and PC Adds a Free Gift to All Gamers; Makes Hard Mode Easier to Access
- Delta Force Redeem Codes (January 2025)
- Beyoncé Flying Car Malfunction Incident at Houston Concert Explained
- DBD July 2025 roadmap – The Walking Dead rumors, PTB for new Survivors, big QoL updates, skins and more
- PUBG Mobile Sniper Tier List (2025): All Sniper Rifles, Ranked
- COD Mobile Sniper Tier List Season 4 (2025): The Meta Sniper And Marksman Rifles To Use This Season
- [Guild War V32] Cultivation: Mortal to Immortal Codes (June 2025)
- Gold Rate Forecast
2025-02-14 17:42