In the expansive side mission named Dawntreader within the game Avowed, players delve into the colossal Eothasian dungeon teeming with formidable adversaries, treasures, and insights about the deities of this realm. As you hunt for a missing Aedyran expedition, you’ll gradually unravel mysteries surrounding another divine entity, encountering decisions that could result in vastly disparate outcomes.
This manual provides all the necessary details for finishing the Dawntreader quest: starting location, healing a particular NPC, interactions with Oracle Sargamis, and whether to fulfill The Voice’s demands.
How To Start Dawntreader?
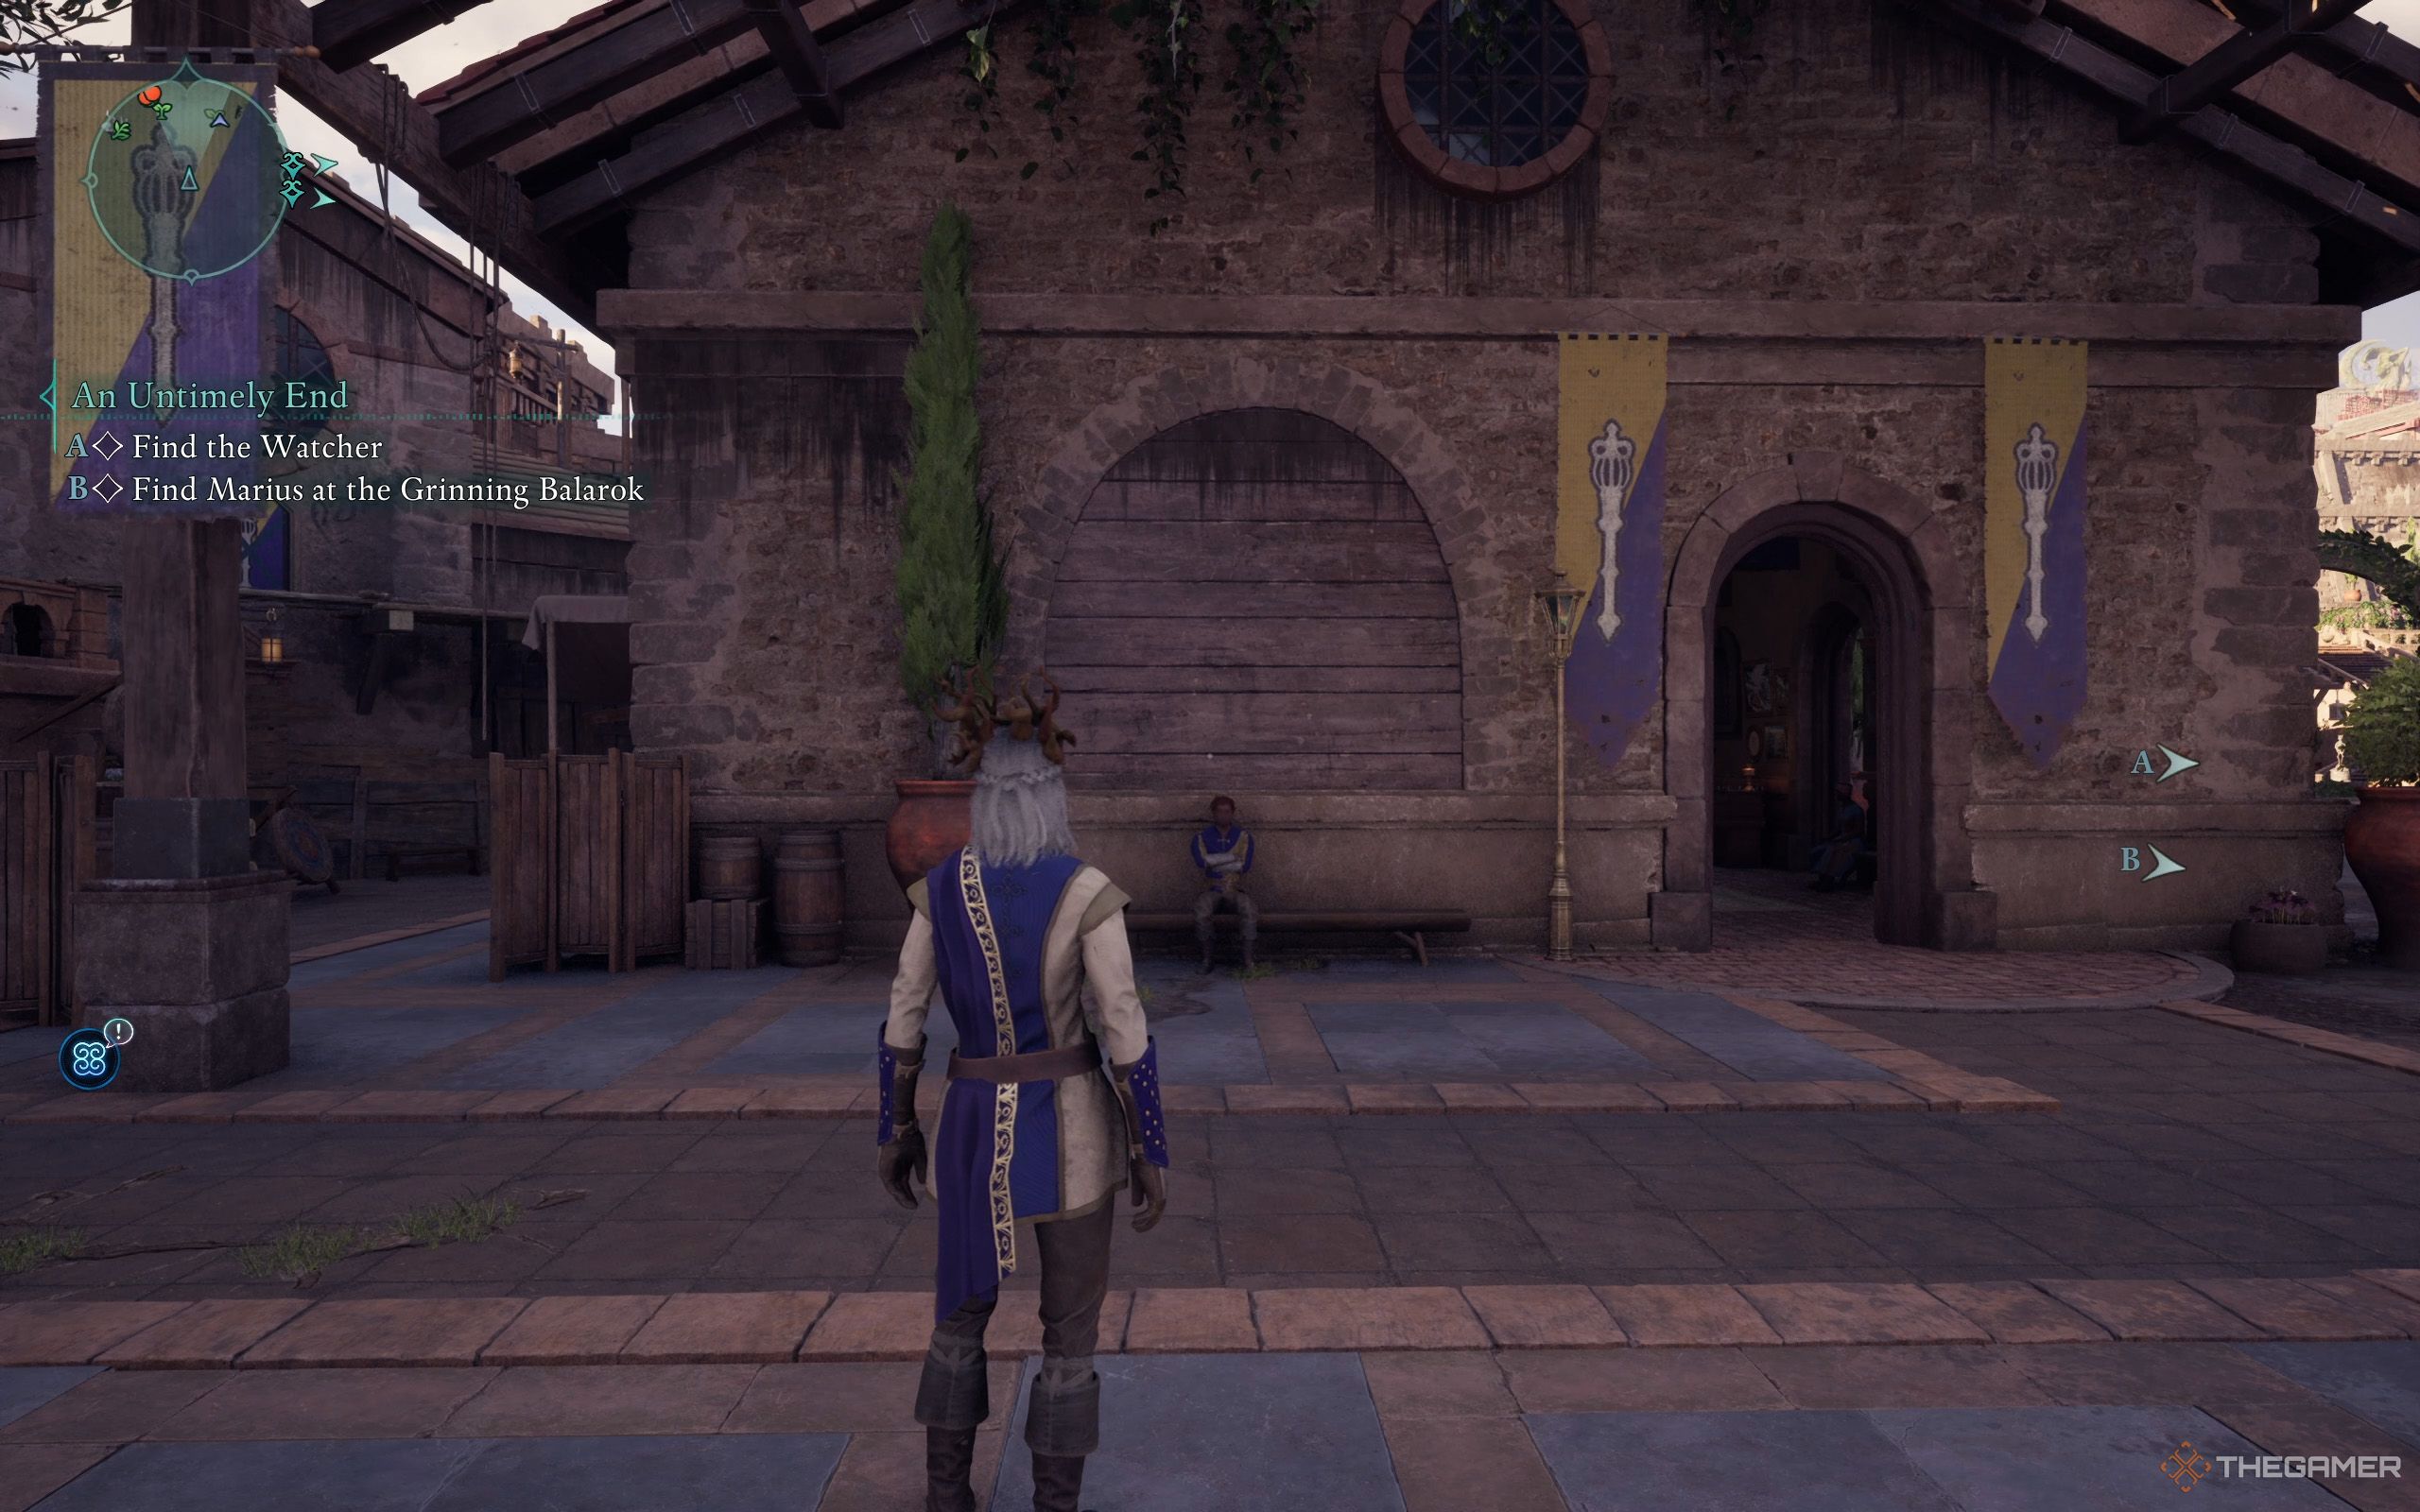
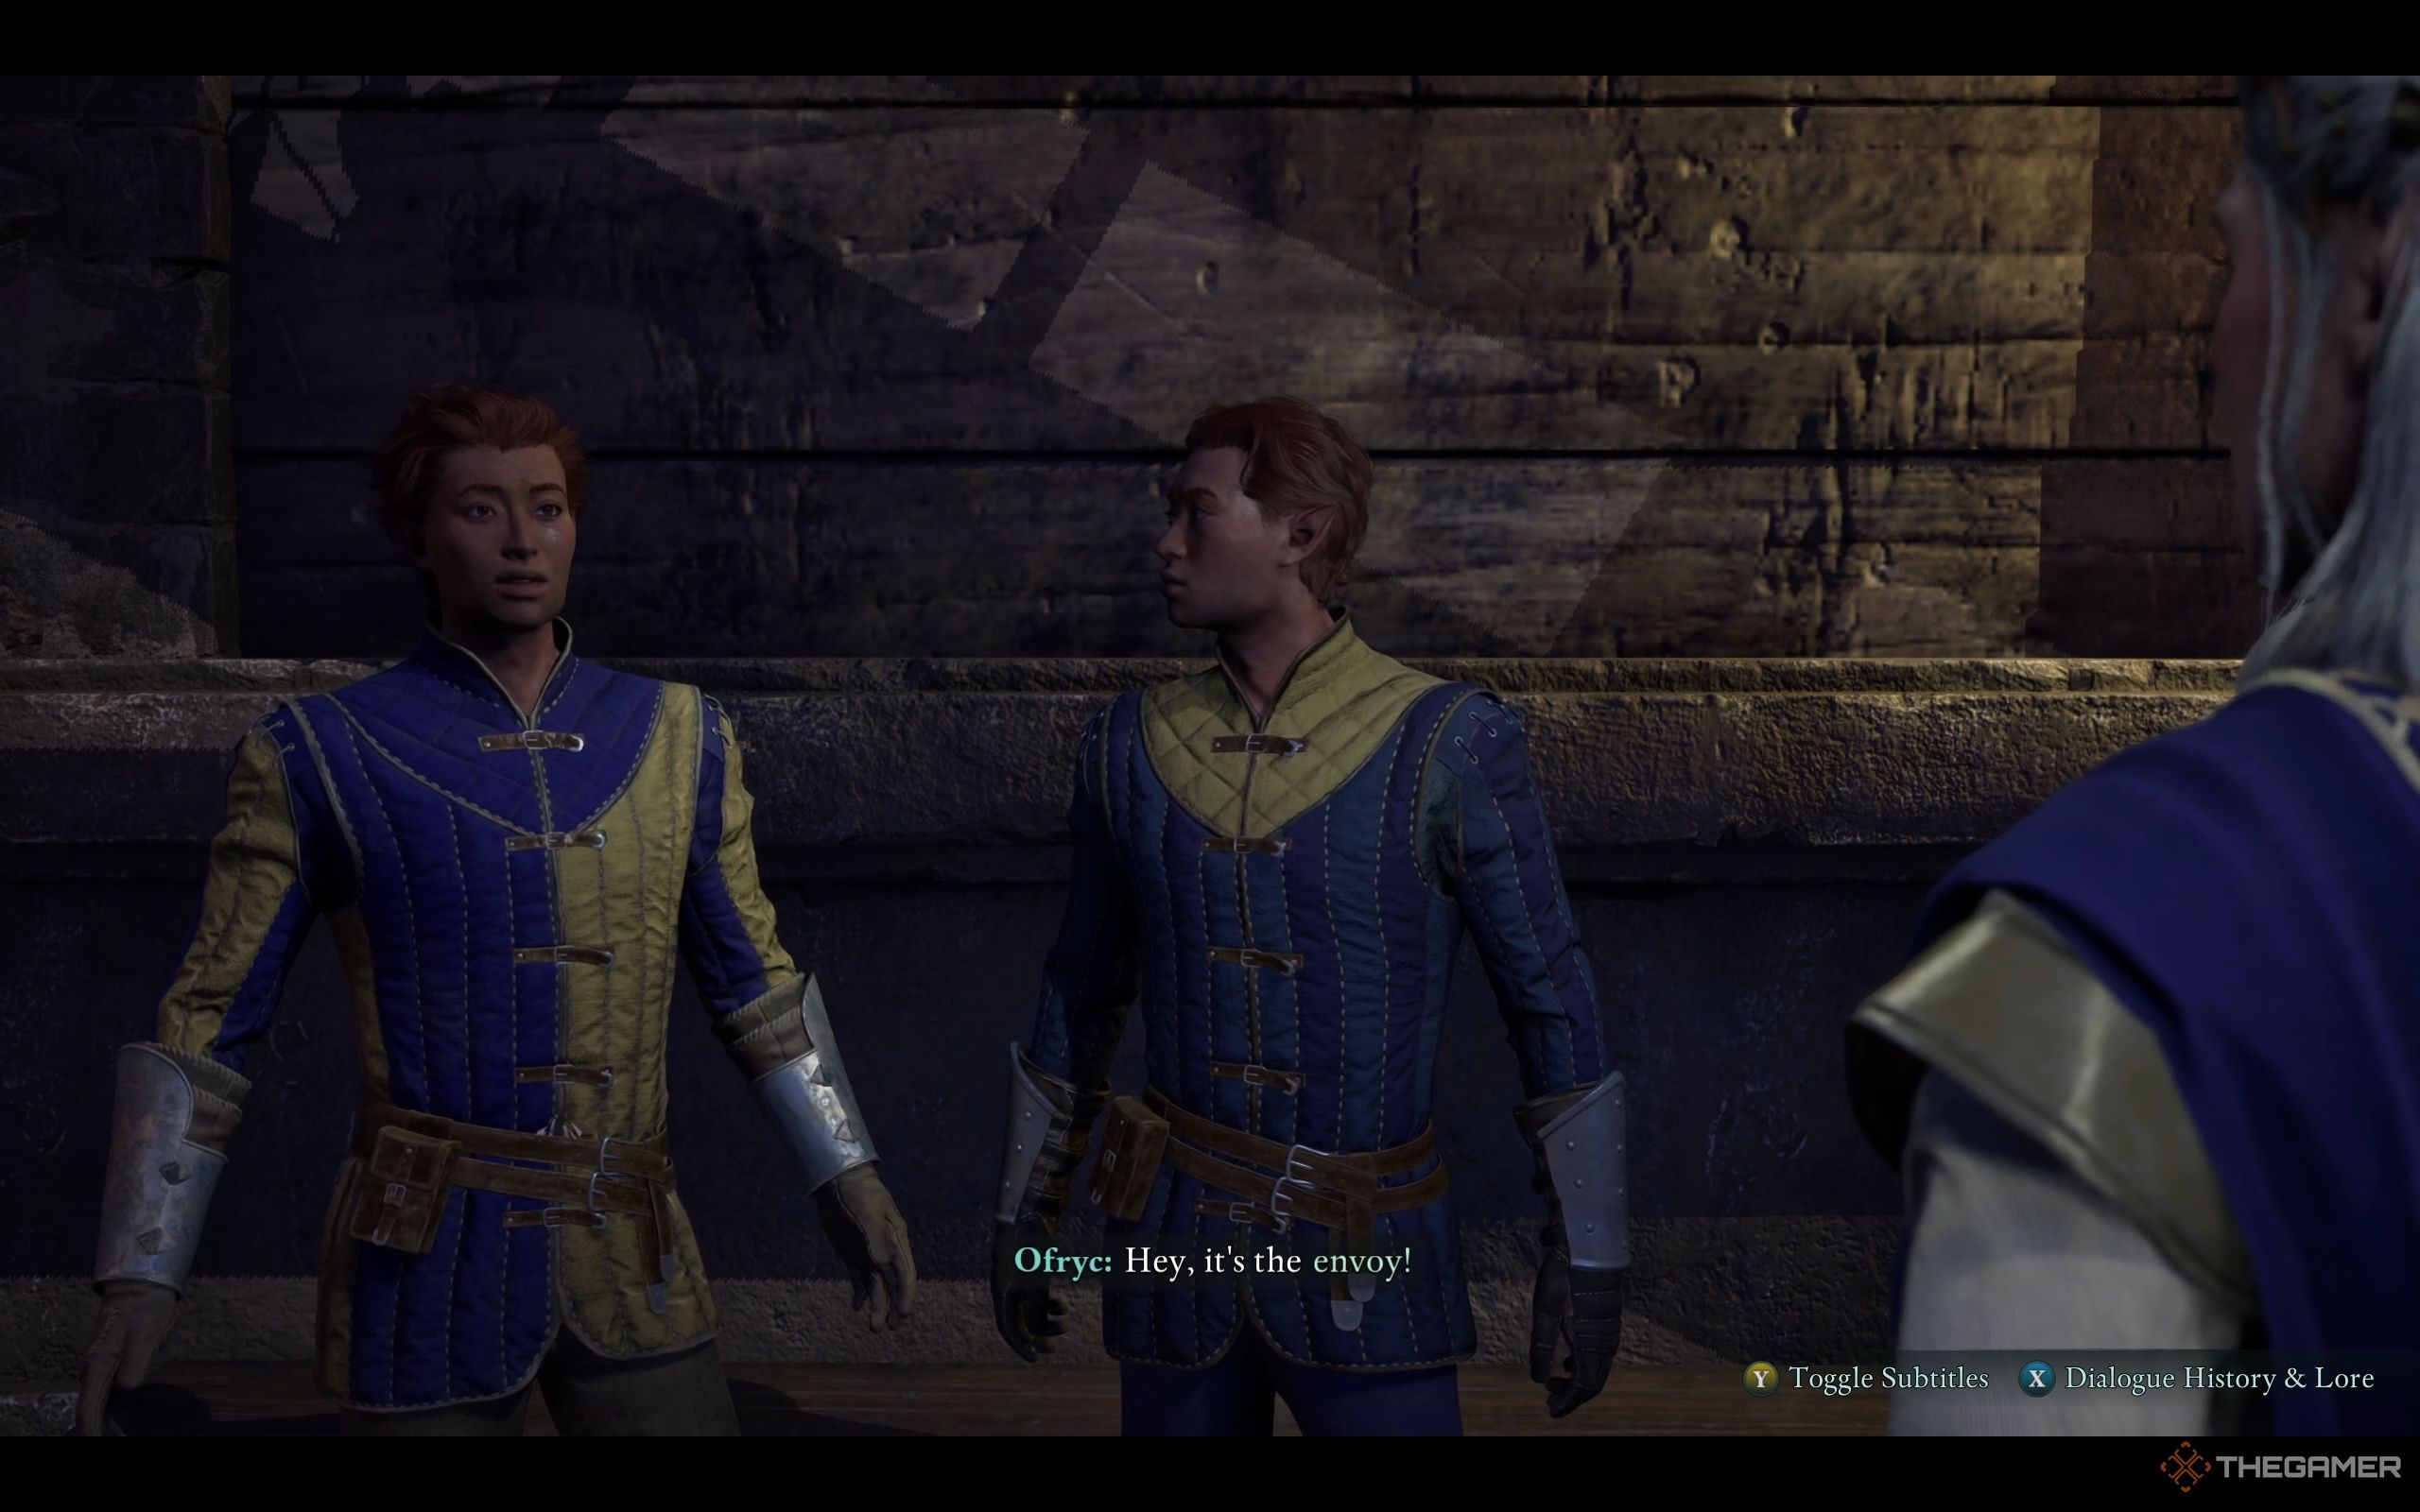
In the game Avowed, to initiate the Dawntreader quest, you should locate Ofryc. He can be found just outside the Aedyran Embassy in the Southern Paradis Administration District. He’s easily identifiable by his attire which is a mix of blue and yellow. The closest Fast Travel point to Ofryc is the Administration District Beacon. Approach him for a conversation, and he will share that he, his brother Caedmon, and The Free Expeditions Corps were delving into a temple located north of the city in search of the Oracle.
This enigmatic figure, reminiscent of a deity, was graced by Eothas. He wields an incredibly sacred artifact: a bone said to be from Eothas himself. It is whispered that this artifact has the power to restore health, even to those suffering from the Dreamscourge.
In the event their mission deviated, Offryc was dispatched to seek aid. Unfortunately, everyone in the embassy is occupied, making you his last resort. He’ll guide you towards an alternative path away from the Pilgrim’s Path, situated north of the city. You will be provided with a name – Secgwin, who watches over the temple entrance where your Dawntreader side quest commences. With this information, your journey begins.
Be sure to gather essential supplies as you’ll encounter numerous battles both along the journey and within the dungeon.
The Pilgrim’s Path
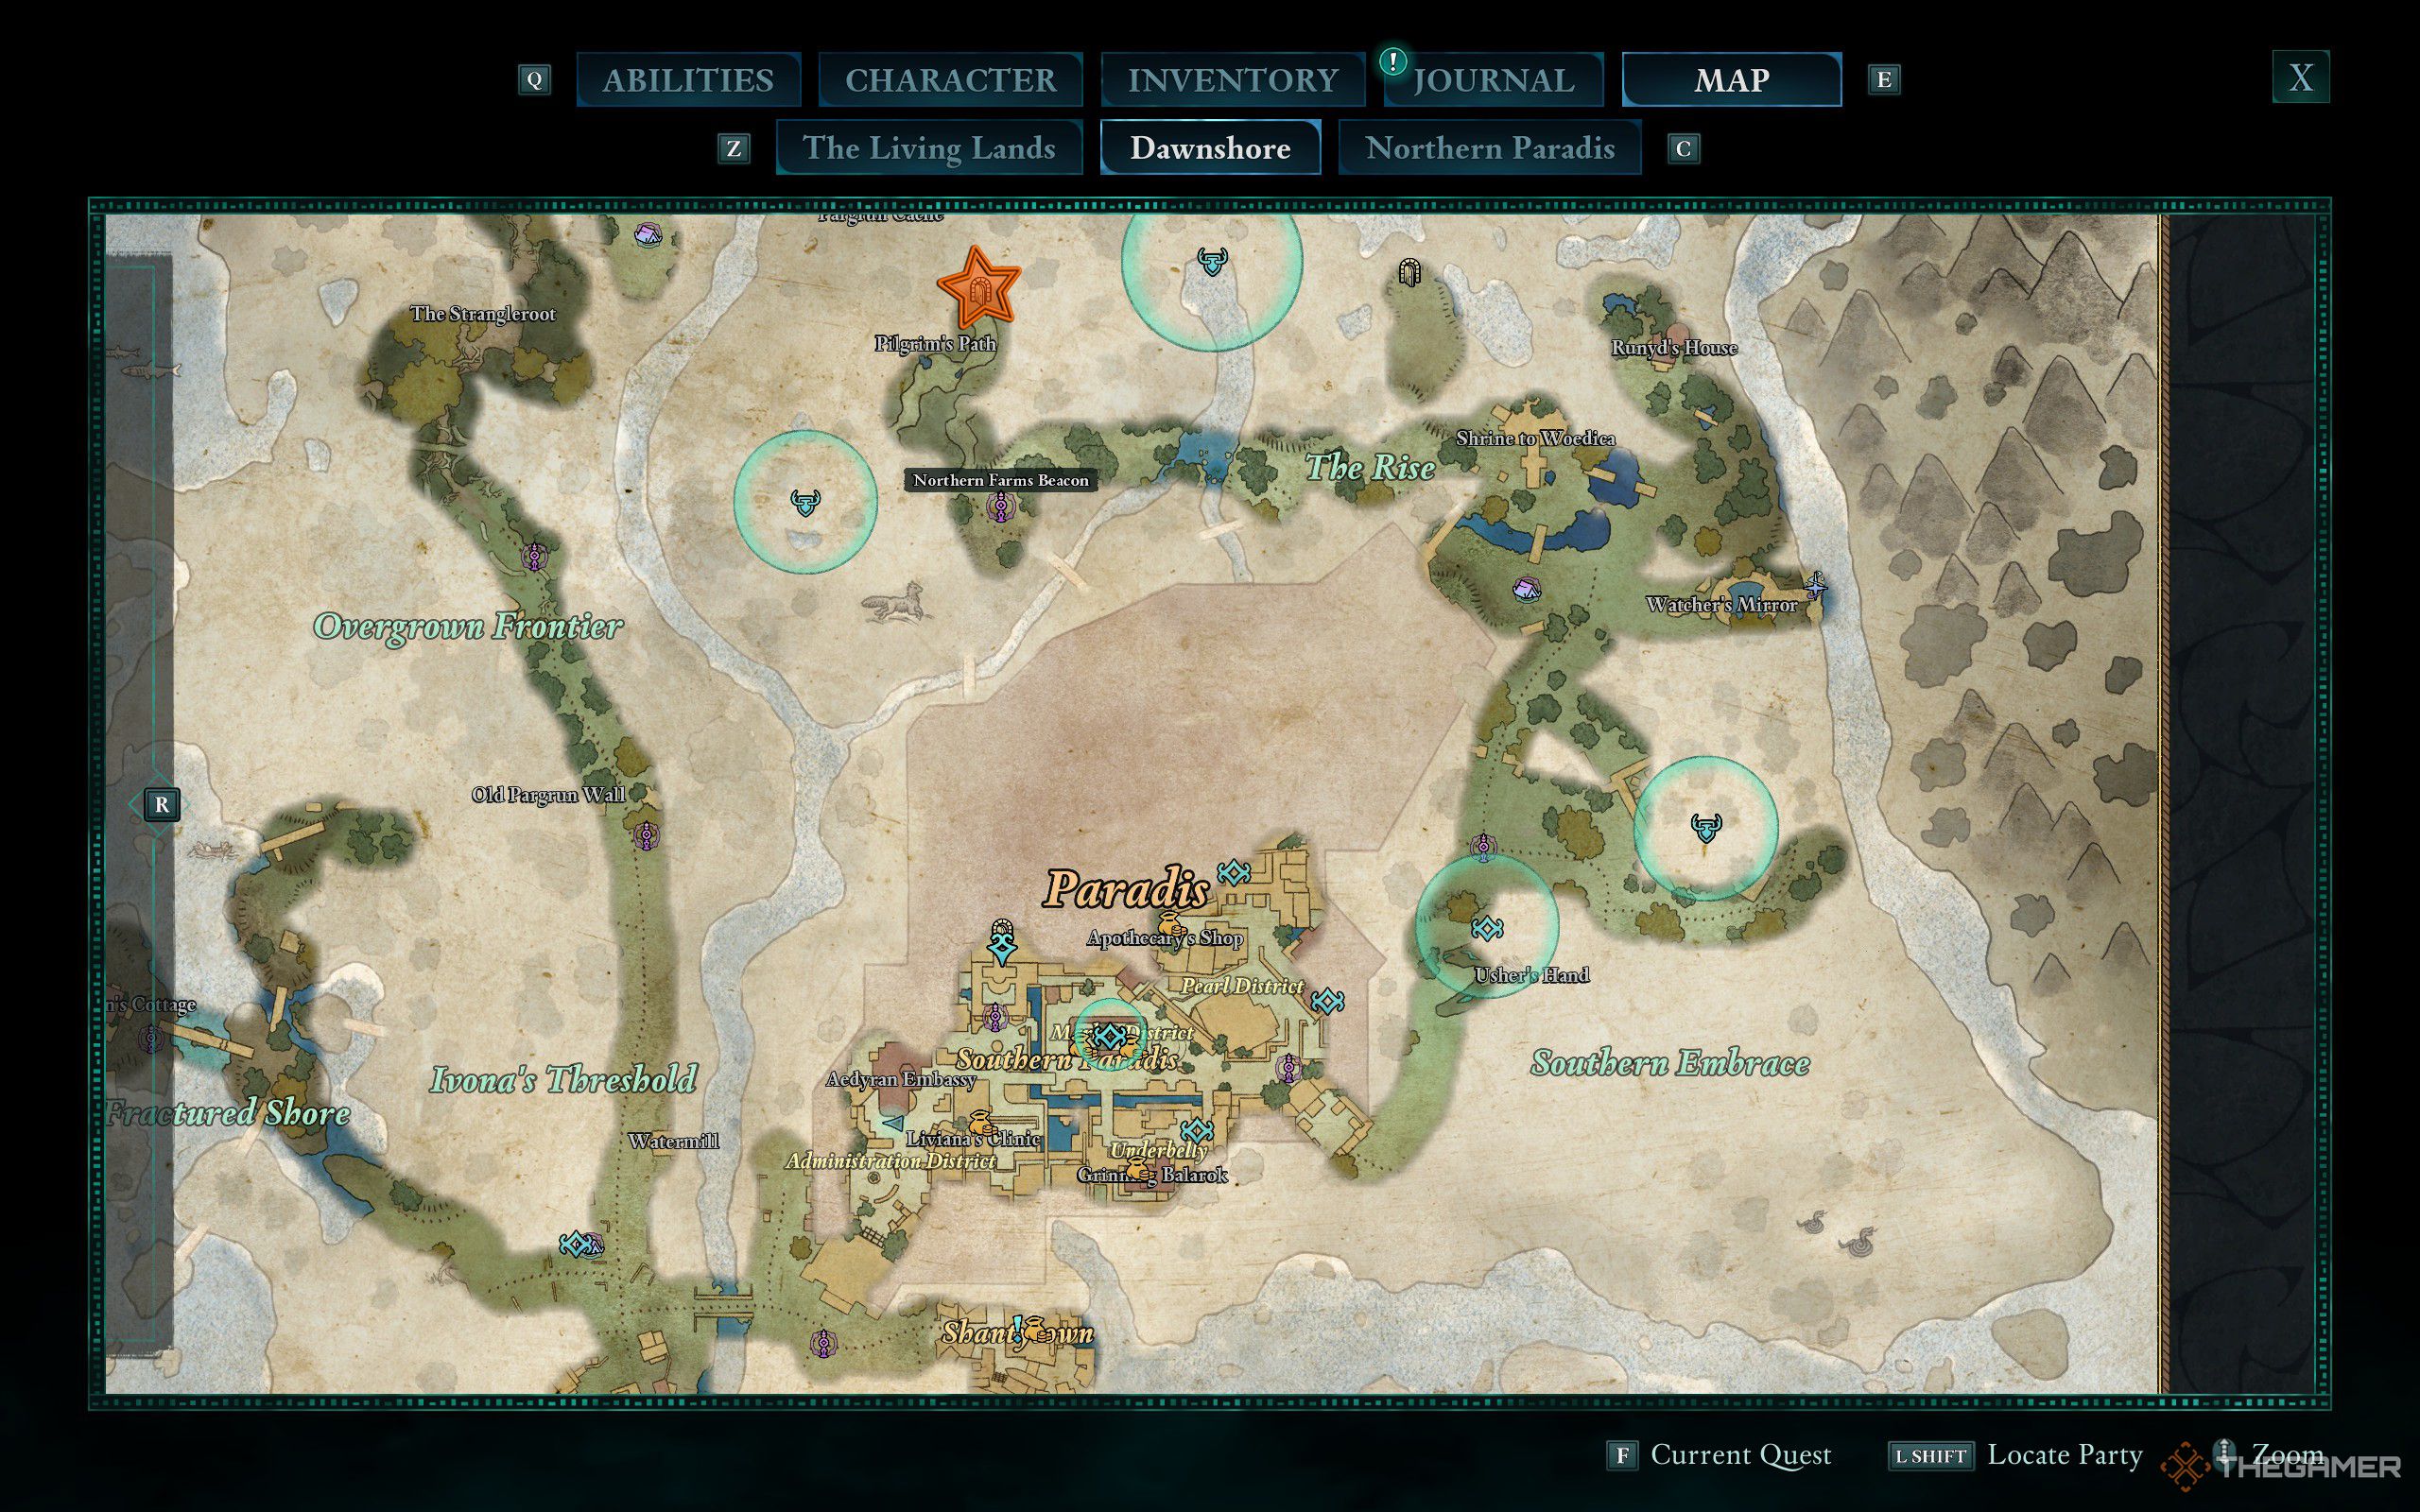
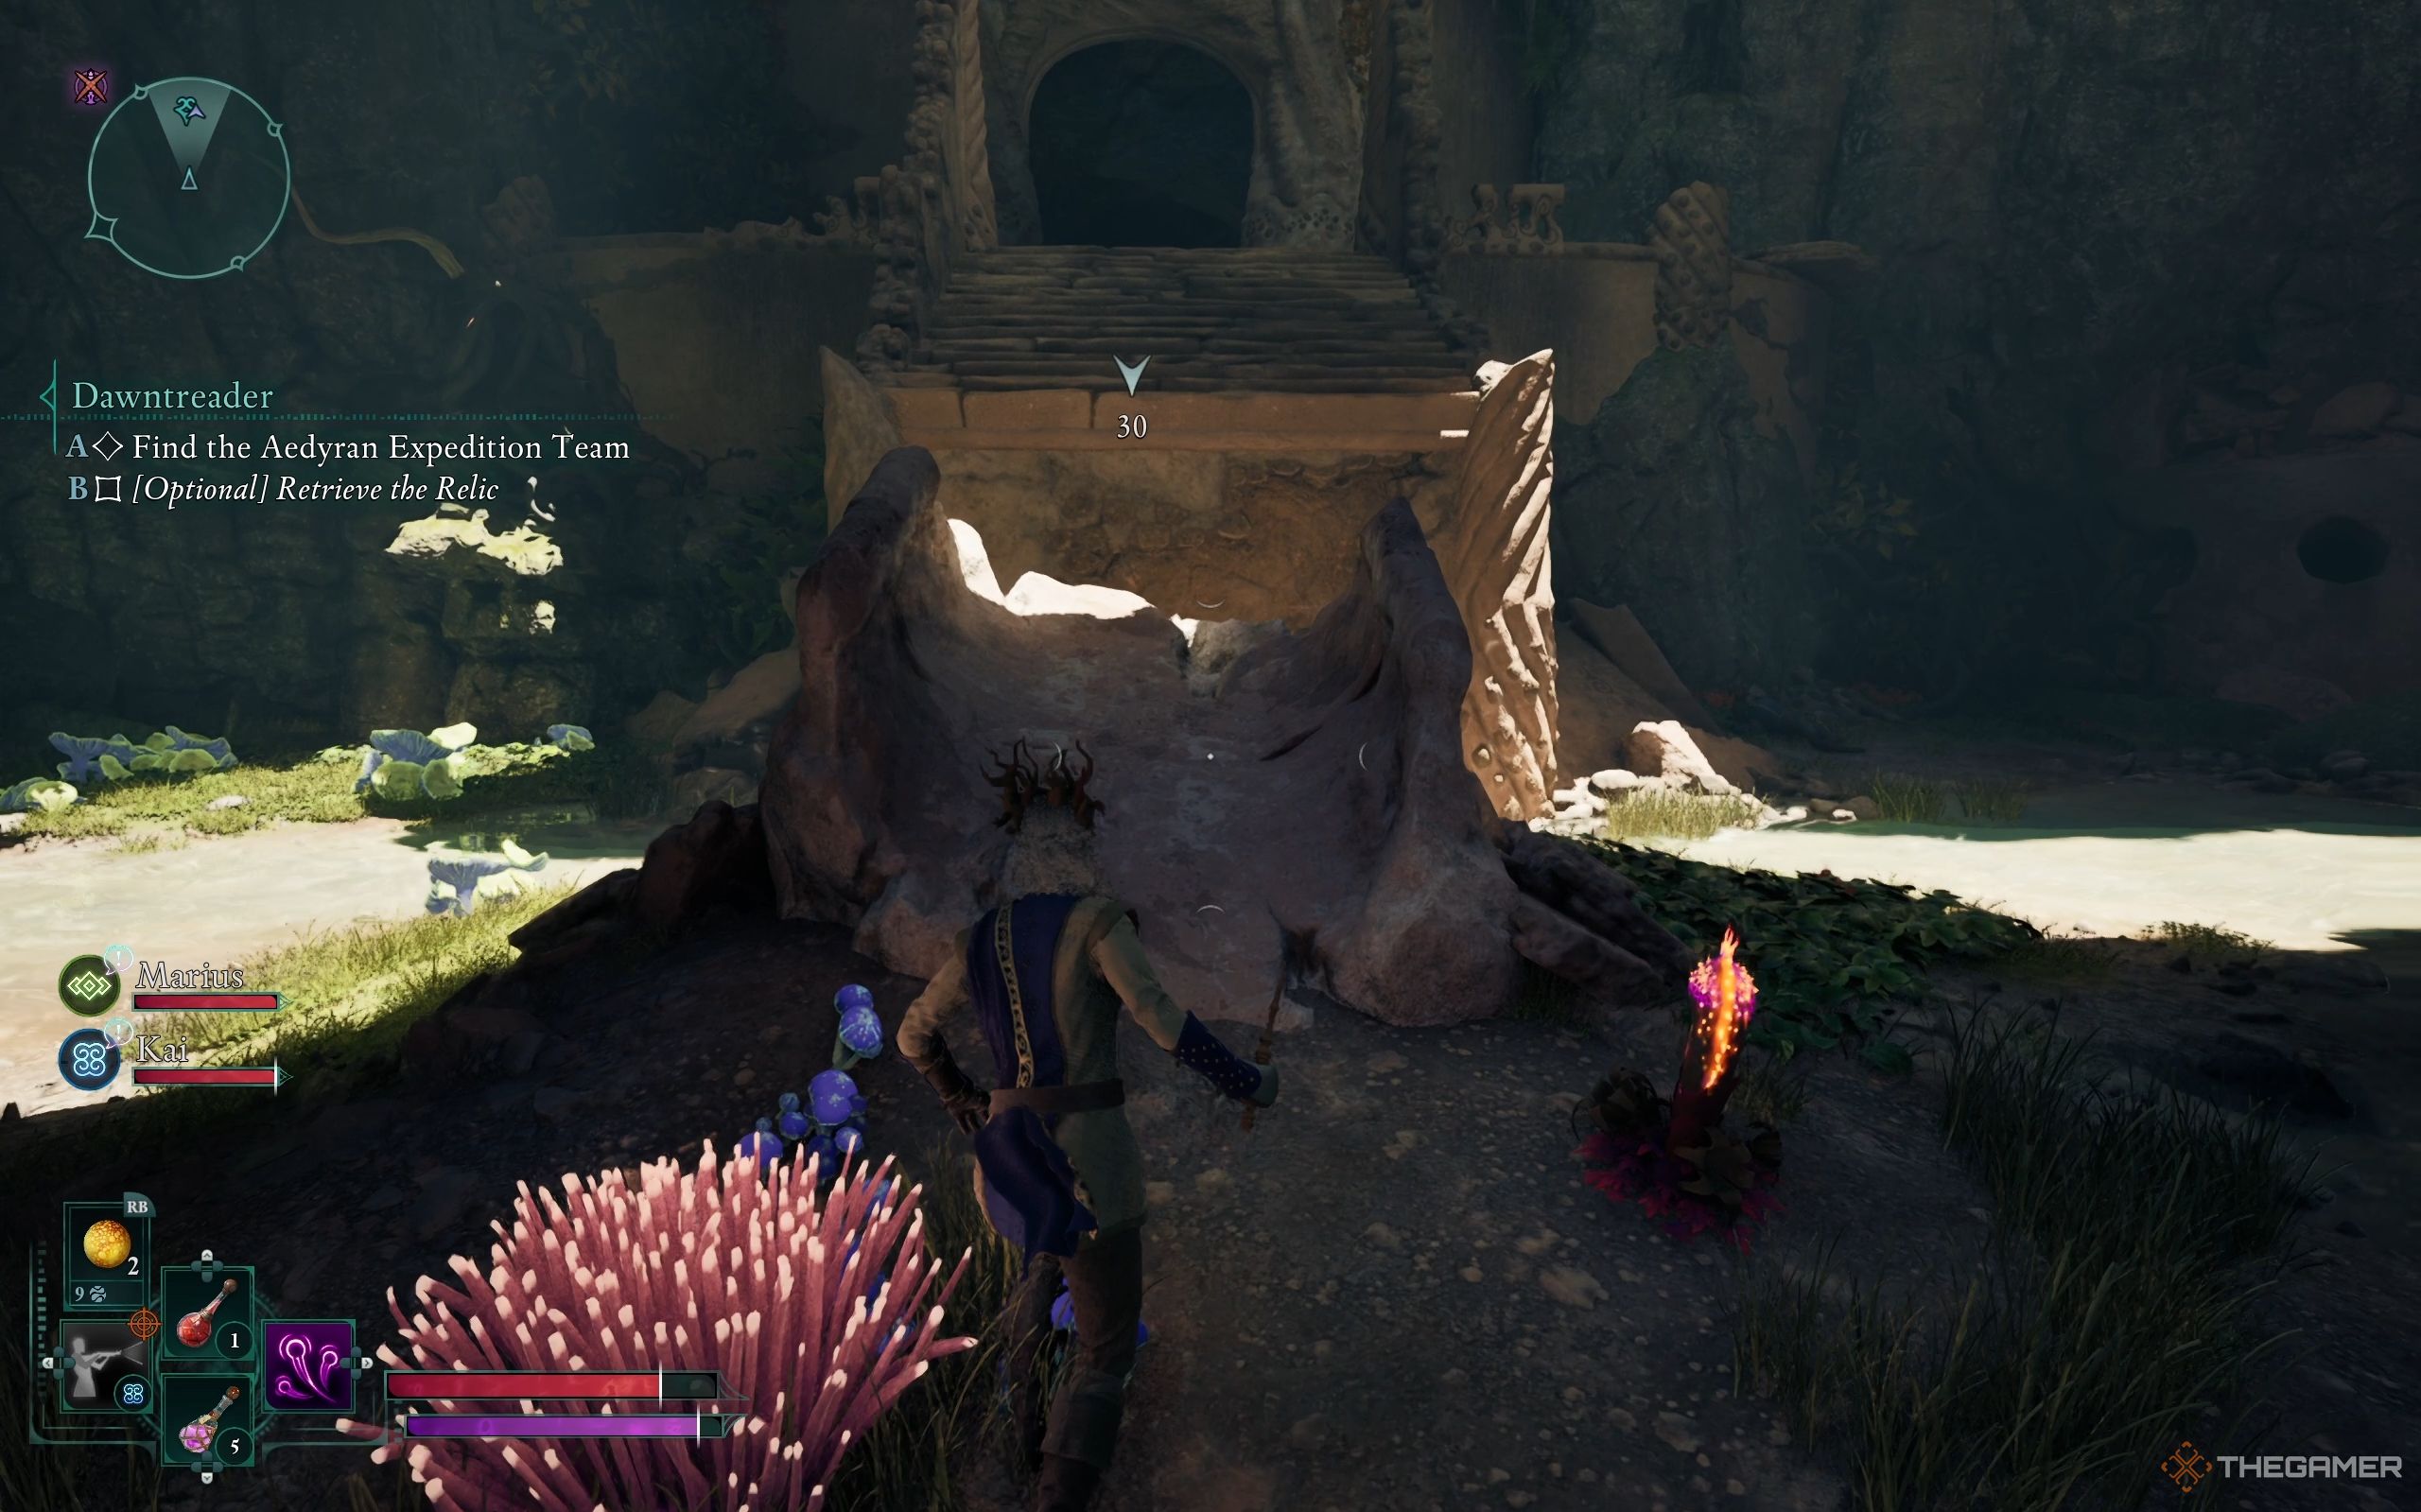
As a gamer, I’d put it this way: “The Northern Farms Beacon is my quick-travel spot that’s nearest to the Pilgrim’s Path and the Eothasian Temple. You can hop there from either the eastern or western exit of Southern Paradis. Be prepared to face off against some foes on the journey. When you come across a group of Xaurips and a black bear standing guard by an entrance nestled between two towering rocks, congratulations, you’ve found the Pilgrim’s Path!
Begin by eliminating the Xaurip Elder initially to stop it from healing others. After ensuring the area is safe and stepping onto the path, Kai will remark that this seems to be the route Ofryc spoke of, indicating you’re on the right path. Follow your quest marker, and eventually, you’ll encounter Secgwin engaged in a dispute with Kauia.
You can find Kauia’s journal nearby.
In your dialogue with Secgwin, you might find it beneficial to keep probing for more details. Generally, Secgwin tends to echo what Ofryc has shared regarding the Free Expedition Corps and their purpose. Nevertheless, there are some fresh tidbits of data that you’ll discover along the way:
1. The new information about the Free Expedition Corps and their mission.
2. Fresh pieces of detail that were not previously disclosed by Ofryc.
- Inquisitor Lodwyn was the one who tipped off Gjeda, the expedition leader, about this temple.
- The Corps’ mission was only supposed to last a day. They’ve been in there for three. So that’s not a good sign.
In any conversation you might have, Secgwin will only allow you passage if you utter, “I’d rather not have to take this back to Ambassador Hylgard.” This phrase is the key to unlocking the entrance to the cave that leads to the temple.
The Eothasian Temple Walkthrough

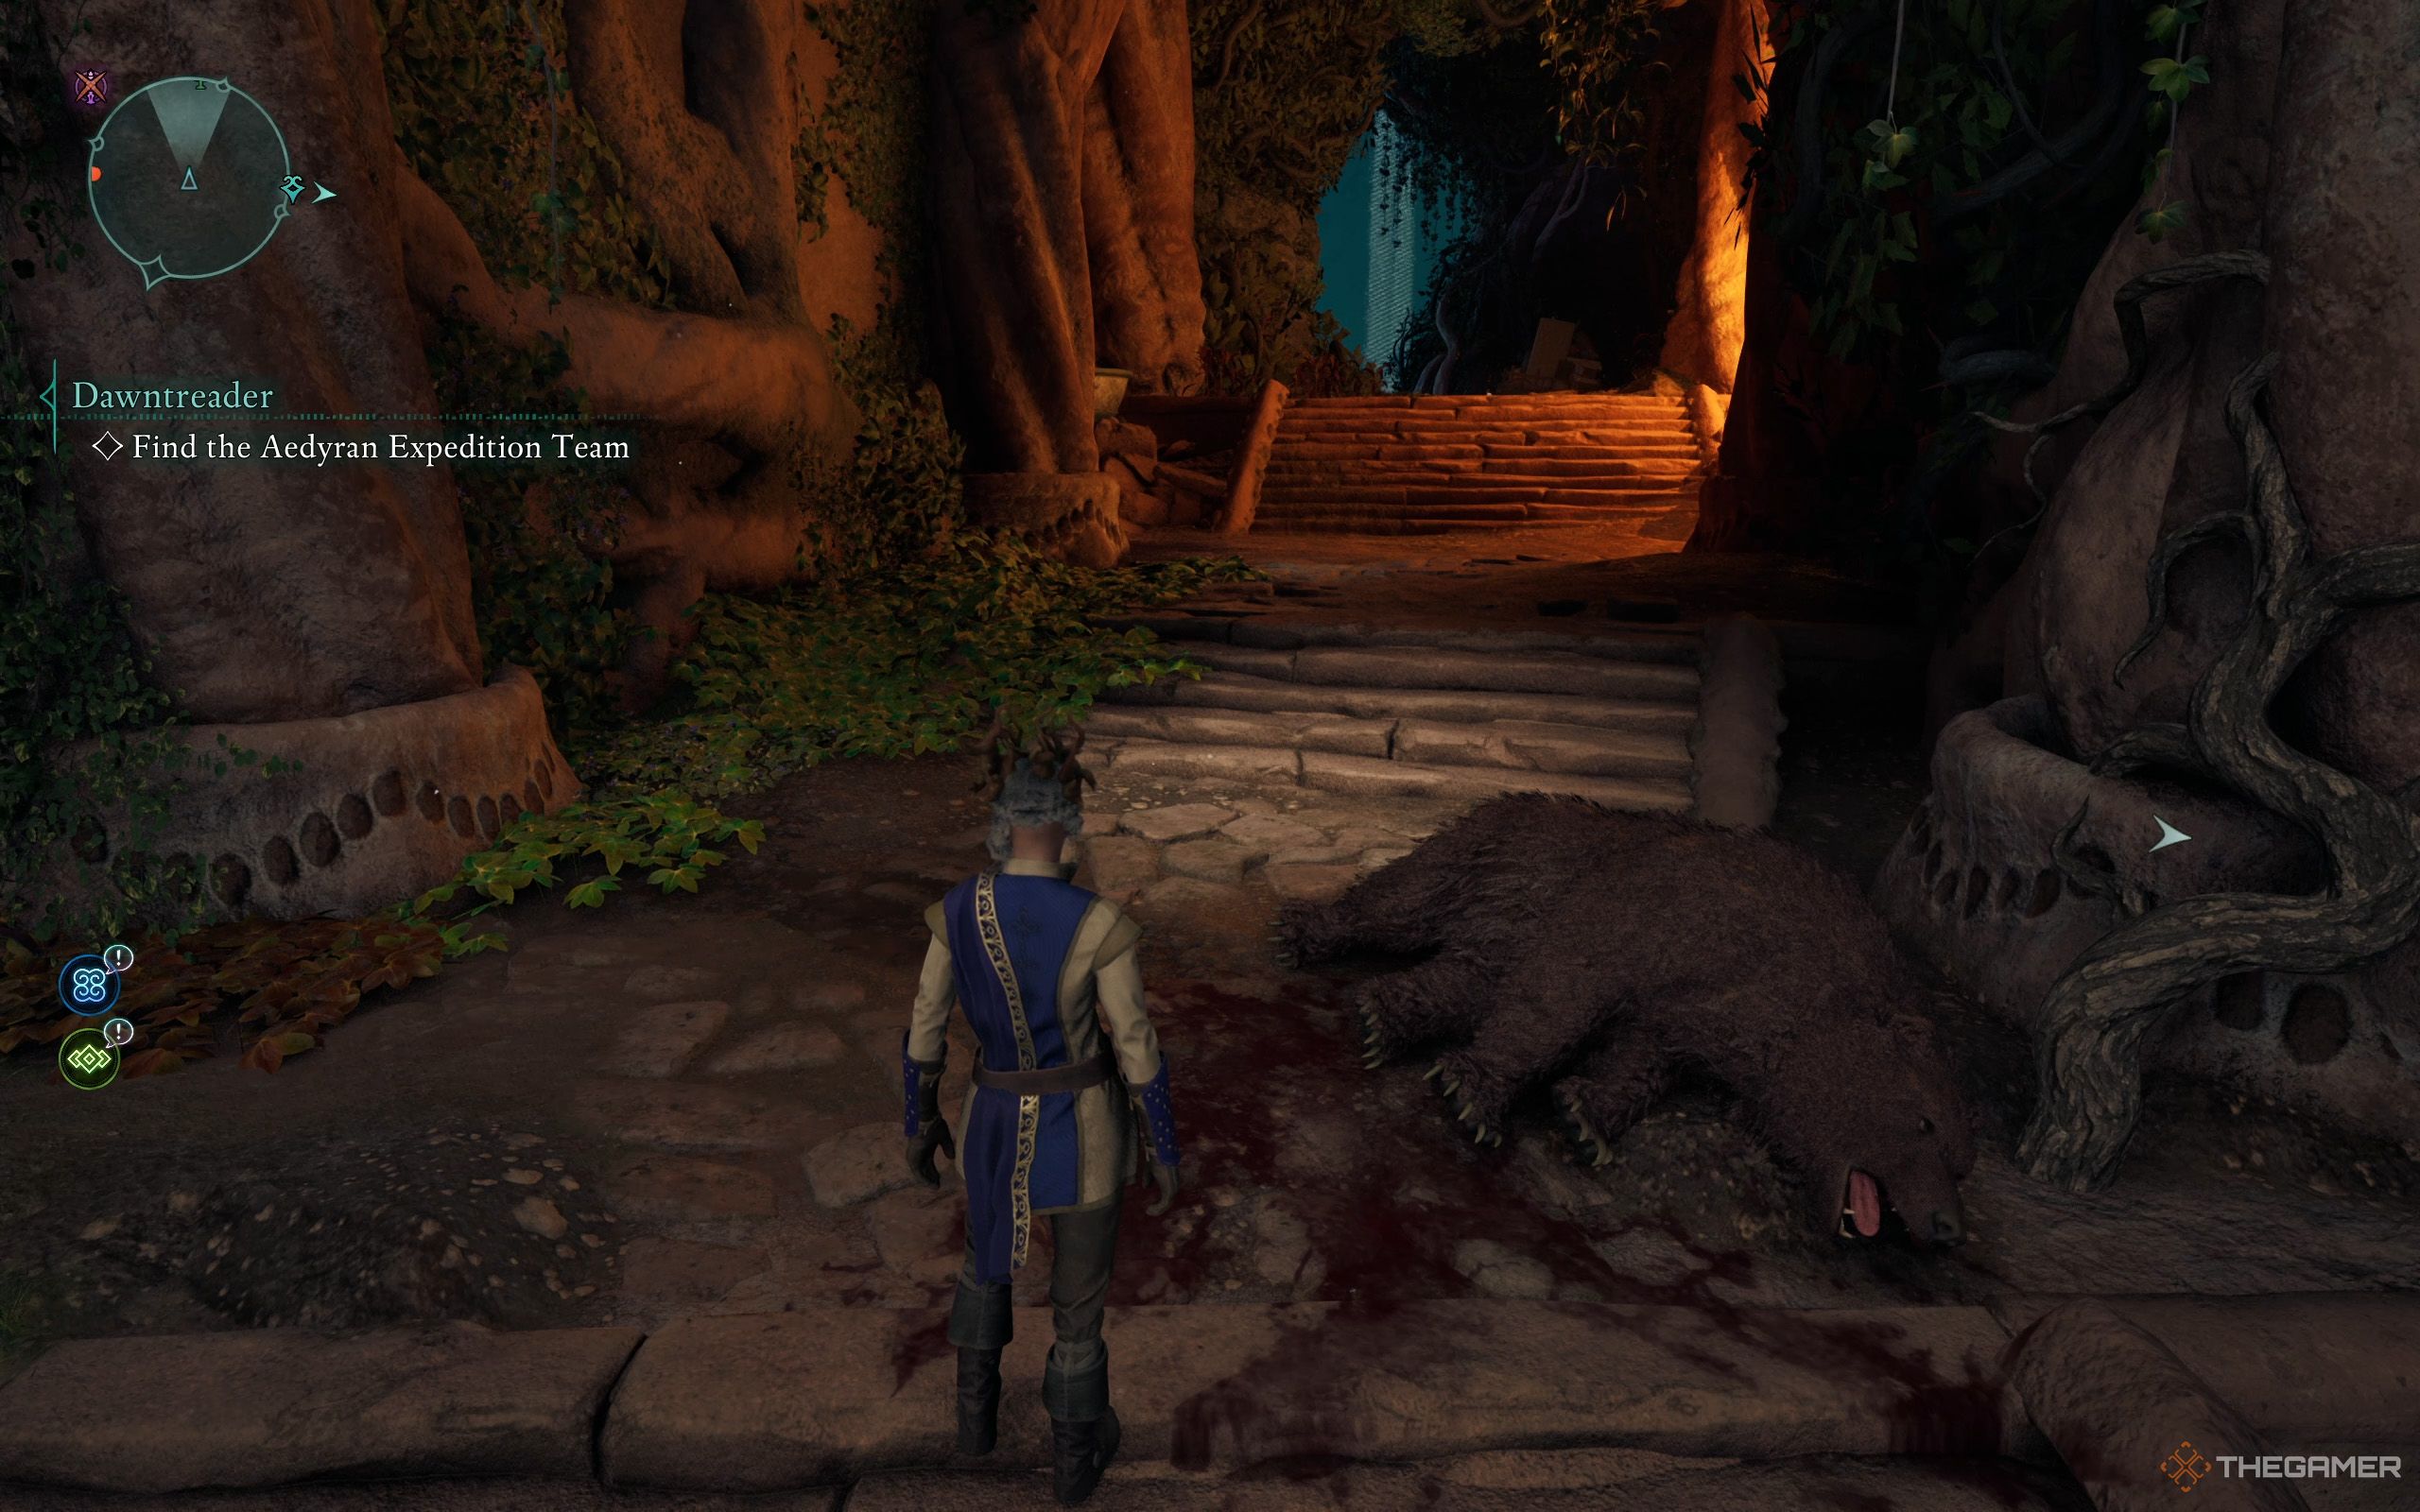
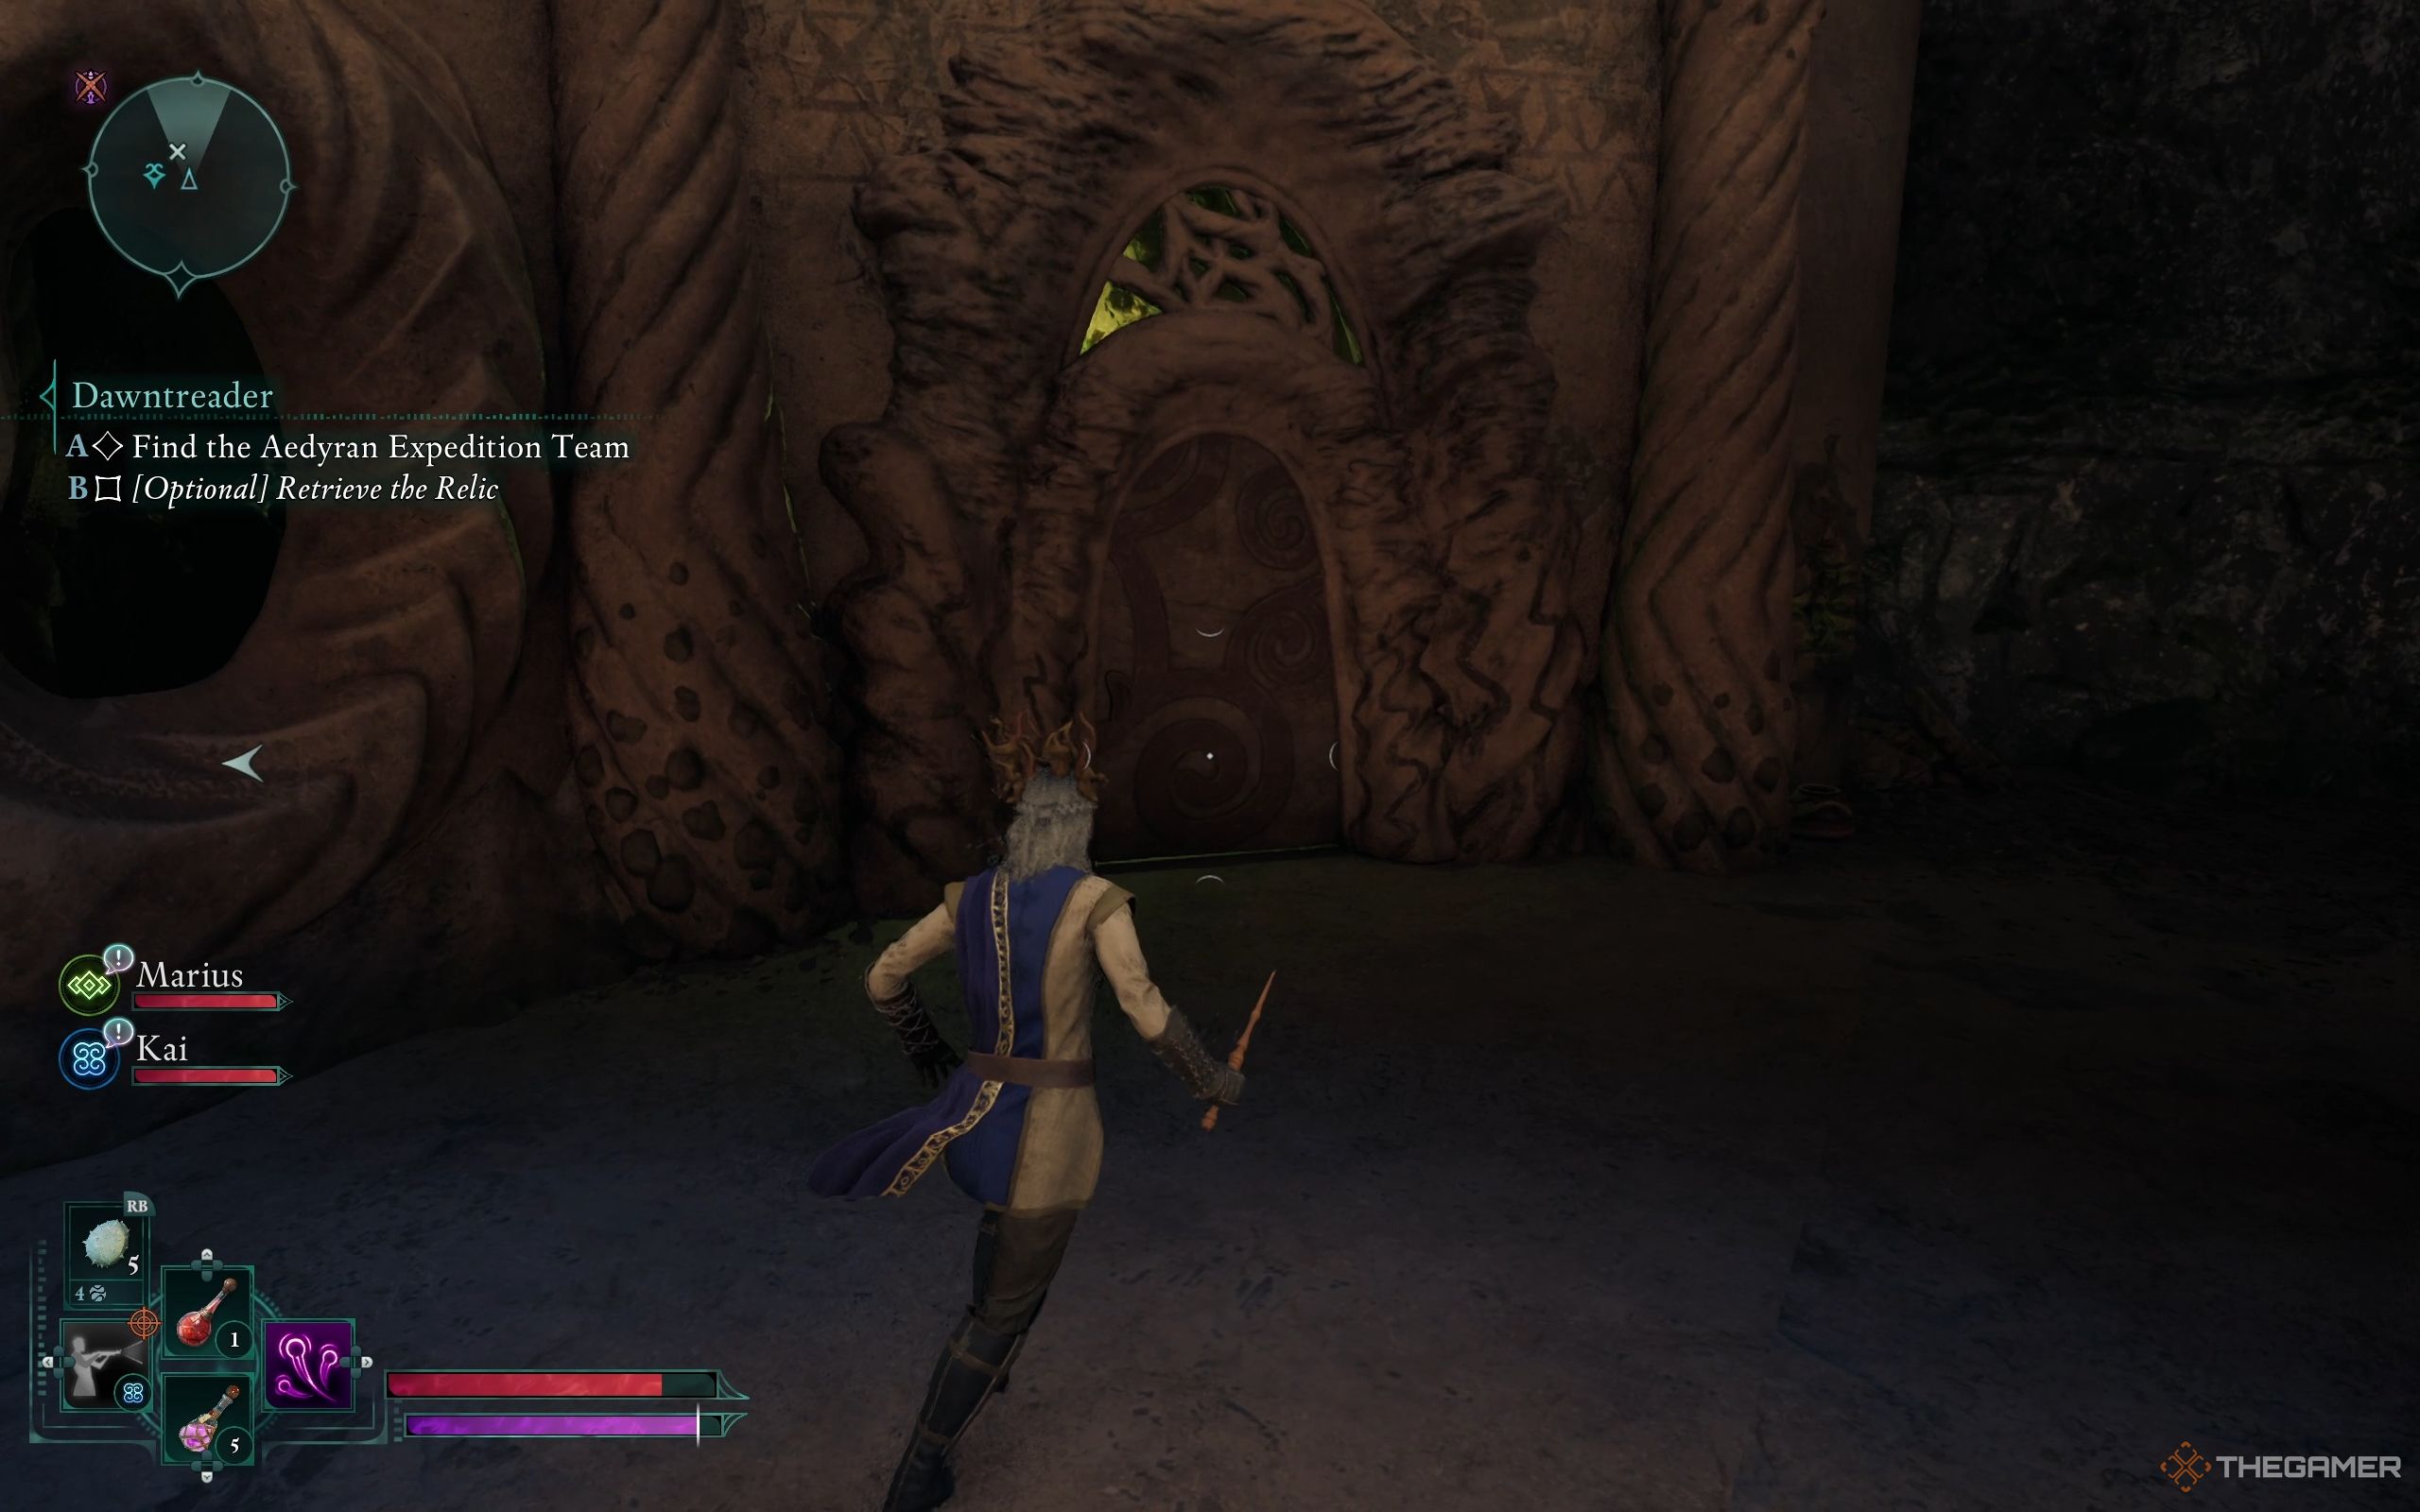
Upon entering the cave and arriving at the initial open space, you’ll find yourself facing two different paths. One path is a partly-open gate adorned with two glowing symbols, one blue and one orange. The other option is a set of stairs that descend further into the temple, and at the foot of these steps, there lies a dead bear.
Begin by entering the room on the left. Retrieve the two Electric Lily Seeds, one on each side of the space. Make your way towards the partially open entrance and toss an object at the recipient on the right, where the orange symbol is displayed. If you possess any Electric magic, you can also electrify it as an alternative. This action will cause the receiver to turn blue, thereby fully opening the gate.
Whenever you spot an Electric Lily Seed, feel free to gather it, particularly if you lack an Electric spell. These seeds are handy for addressing conundrums akin to this one as you progress through the labyrinth.
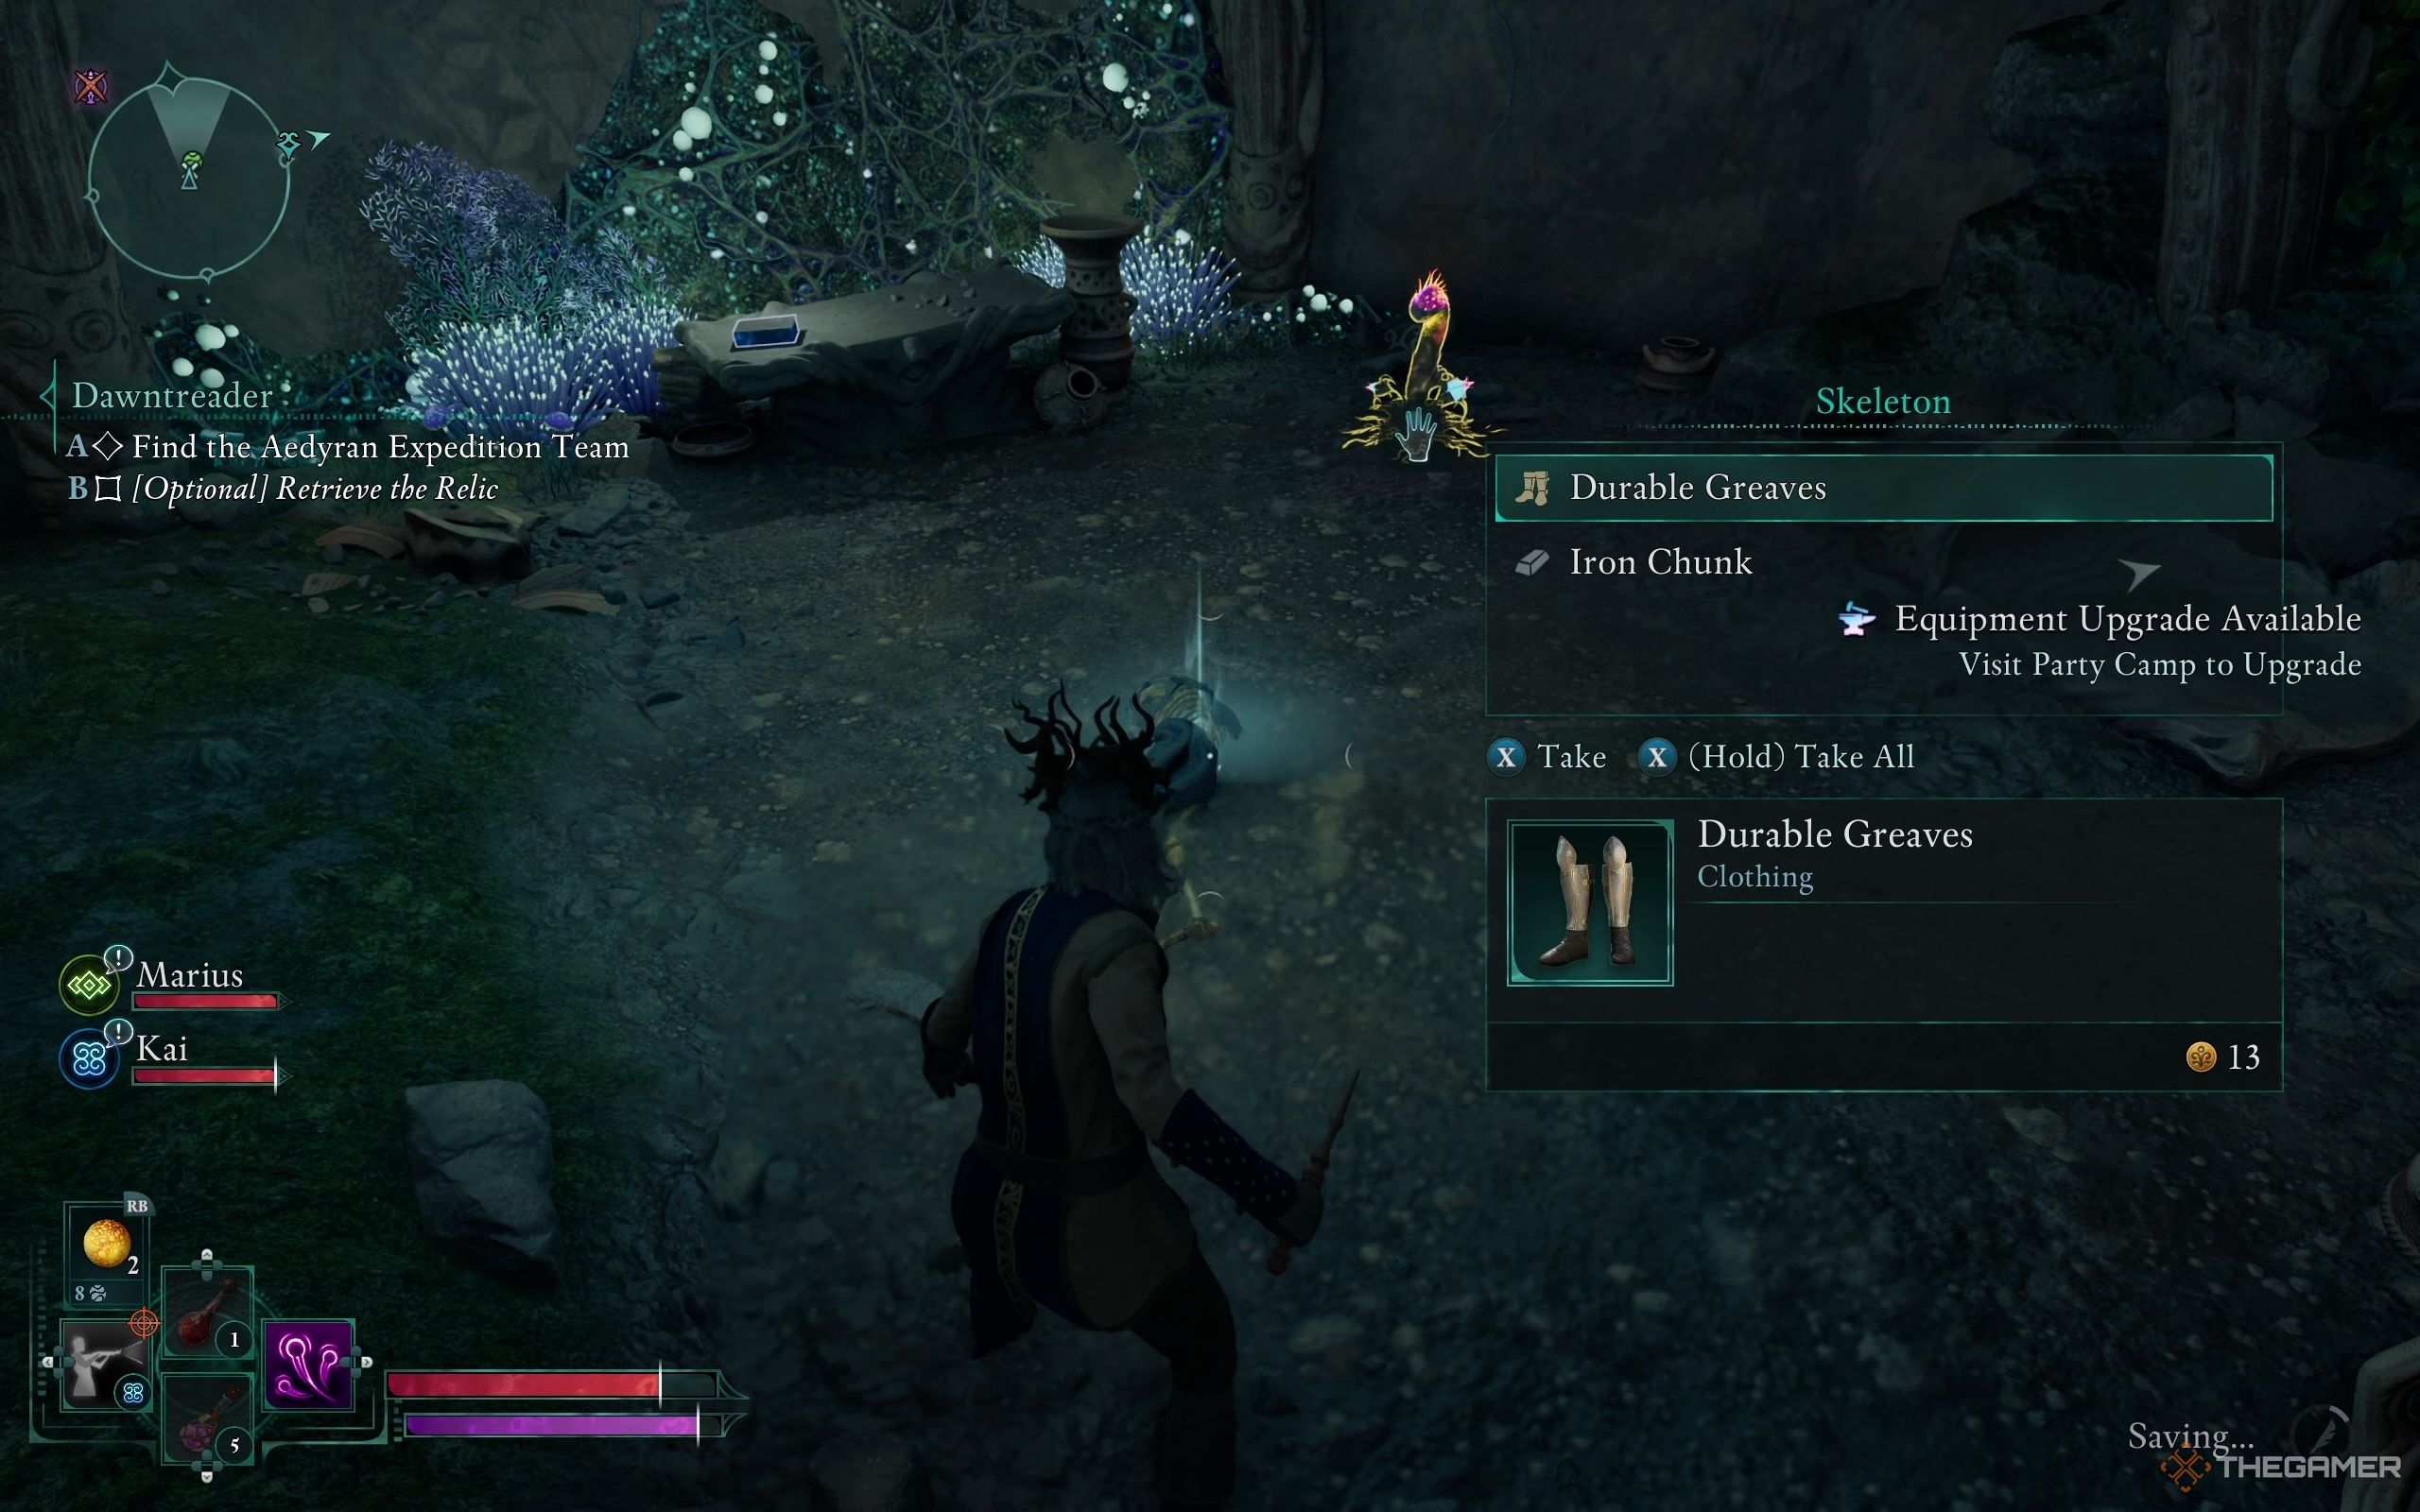
Step into the freshly unveiled chamber to encounter a Skeleton Warrior and two Skeleton Monks. Defeat them and gather their leftovers. Scattered around is also a book titled ‘Verses on Sargamis and Harmke’ sitting on a table. Close by, you will find a backpack holding Silver Fenning, an additional item, a Fur Pelt, and another object.
In this version, I tried to create a more descriptive and engaging narrative while maintaining the original meaning of the text. The purpose is to make it easier for readers to understand the context and follow the game instructions.
Return to the open area and take the stairs where the dead bear lies.
Approach it briskly, pick up what’s there as you go,
Continue on, lower yourself, and grab whatever is lying around,
Swing to your right, lower again, and sprint towards the source of light to discover a
By following the route, you’ll eventually spot the statue of Eothas clearly.
Proceed ahead, squat to pass through the gap, then leap over it. Be ready for a battle as there are Xaurips in front. You can choose either to slip by them secretly or confront them head-on. Once you’ve handled the Xaurips, you will encounter two possibilities: Enter a doorway close to the Xaurip mural or leap onto the scaffolds instead.
If you approach the area next to the Xaurip painting, proceed along the path and defeat the Xaurip Guard that’s there. In the following room, open the backpack you find for a Copper Skeyt, an Iron Chunk, and another item. To advance, you could toss an explosive at the damaged wall to create an opening leading outside to some scaffoldings. Alternatively, you can smash through the wooden-blocked door to make your exit.
If you opt for the path with scaffoldings, the second scaffold provides a glimpse of the room that was previously exposed by destroying the cracked wall earlier. By the third scaffolding, you’ll arrive at the same location as if you had smashed through the wooden planks. And this is where the two journeys converge.
Move upward, turn towards the left, and then leap over to grab another backpack that holds: a Copper Skeyt, a Softwood Branch, and a Letter addressed to Karlodh.

Heads back to the scaffolding now, proceed towards the space bathed in blue light. Be mindful of your steps since there’s a sensitive spot. If you step on it, a projectile will be released from the bookshelf. You can peruse the Daily Affirmations for Concentration and Productivity over there.
Can You Heal Caedmon?
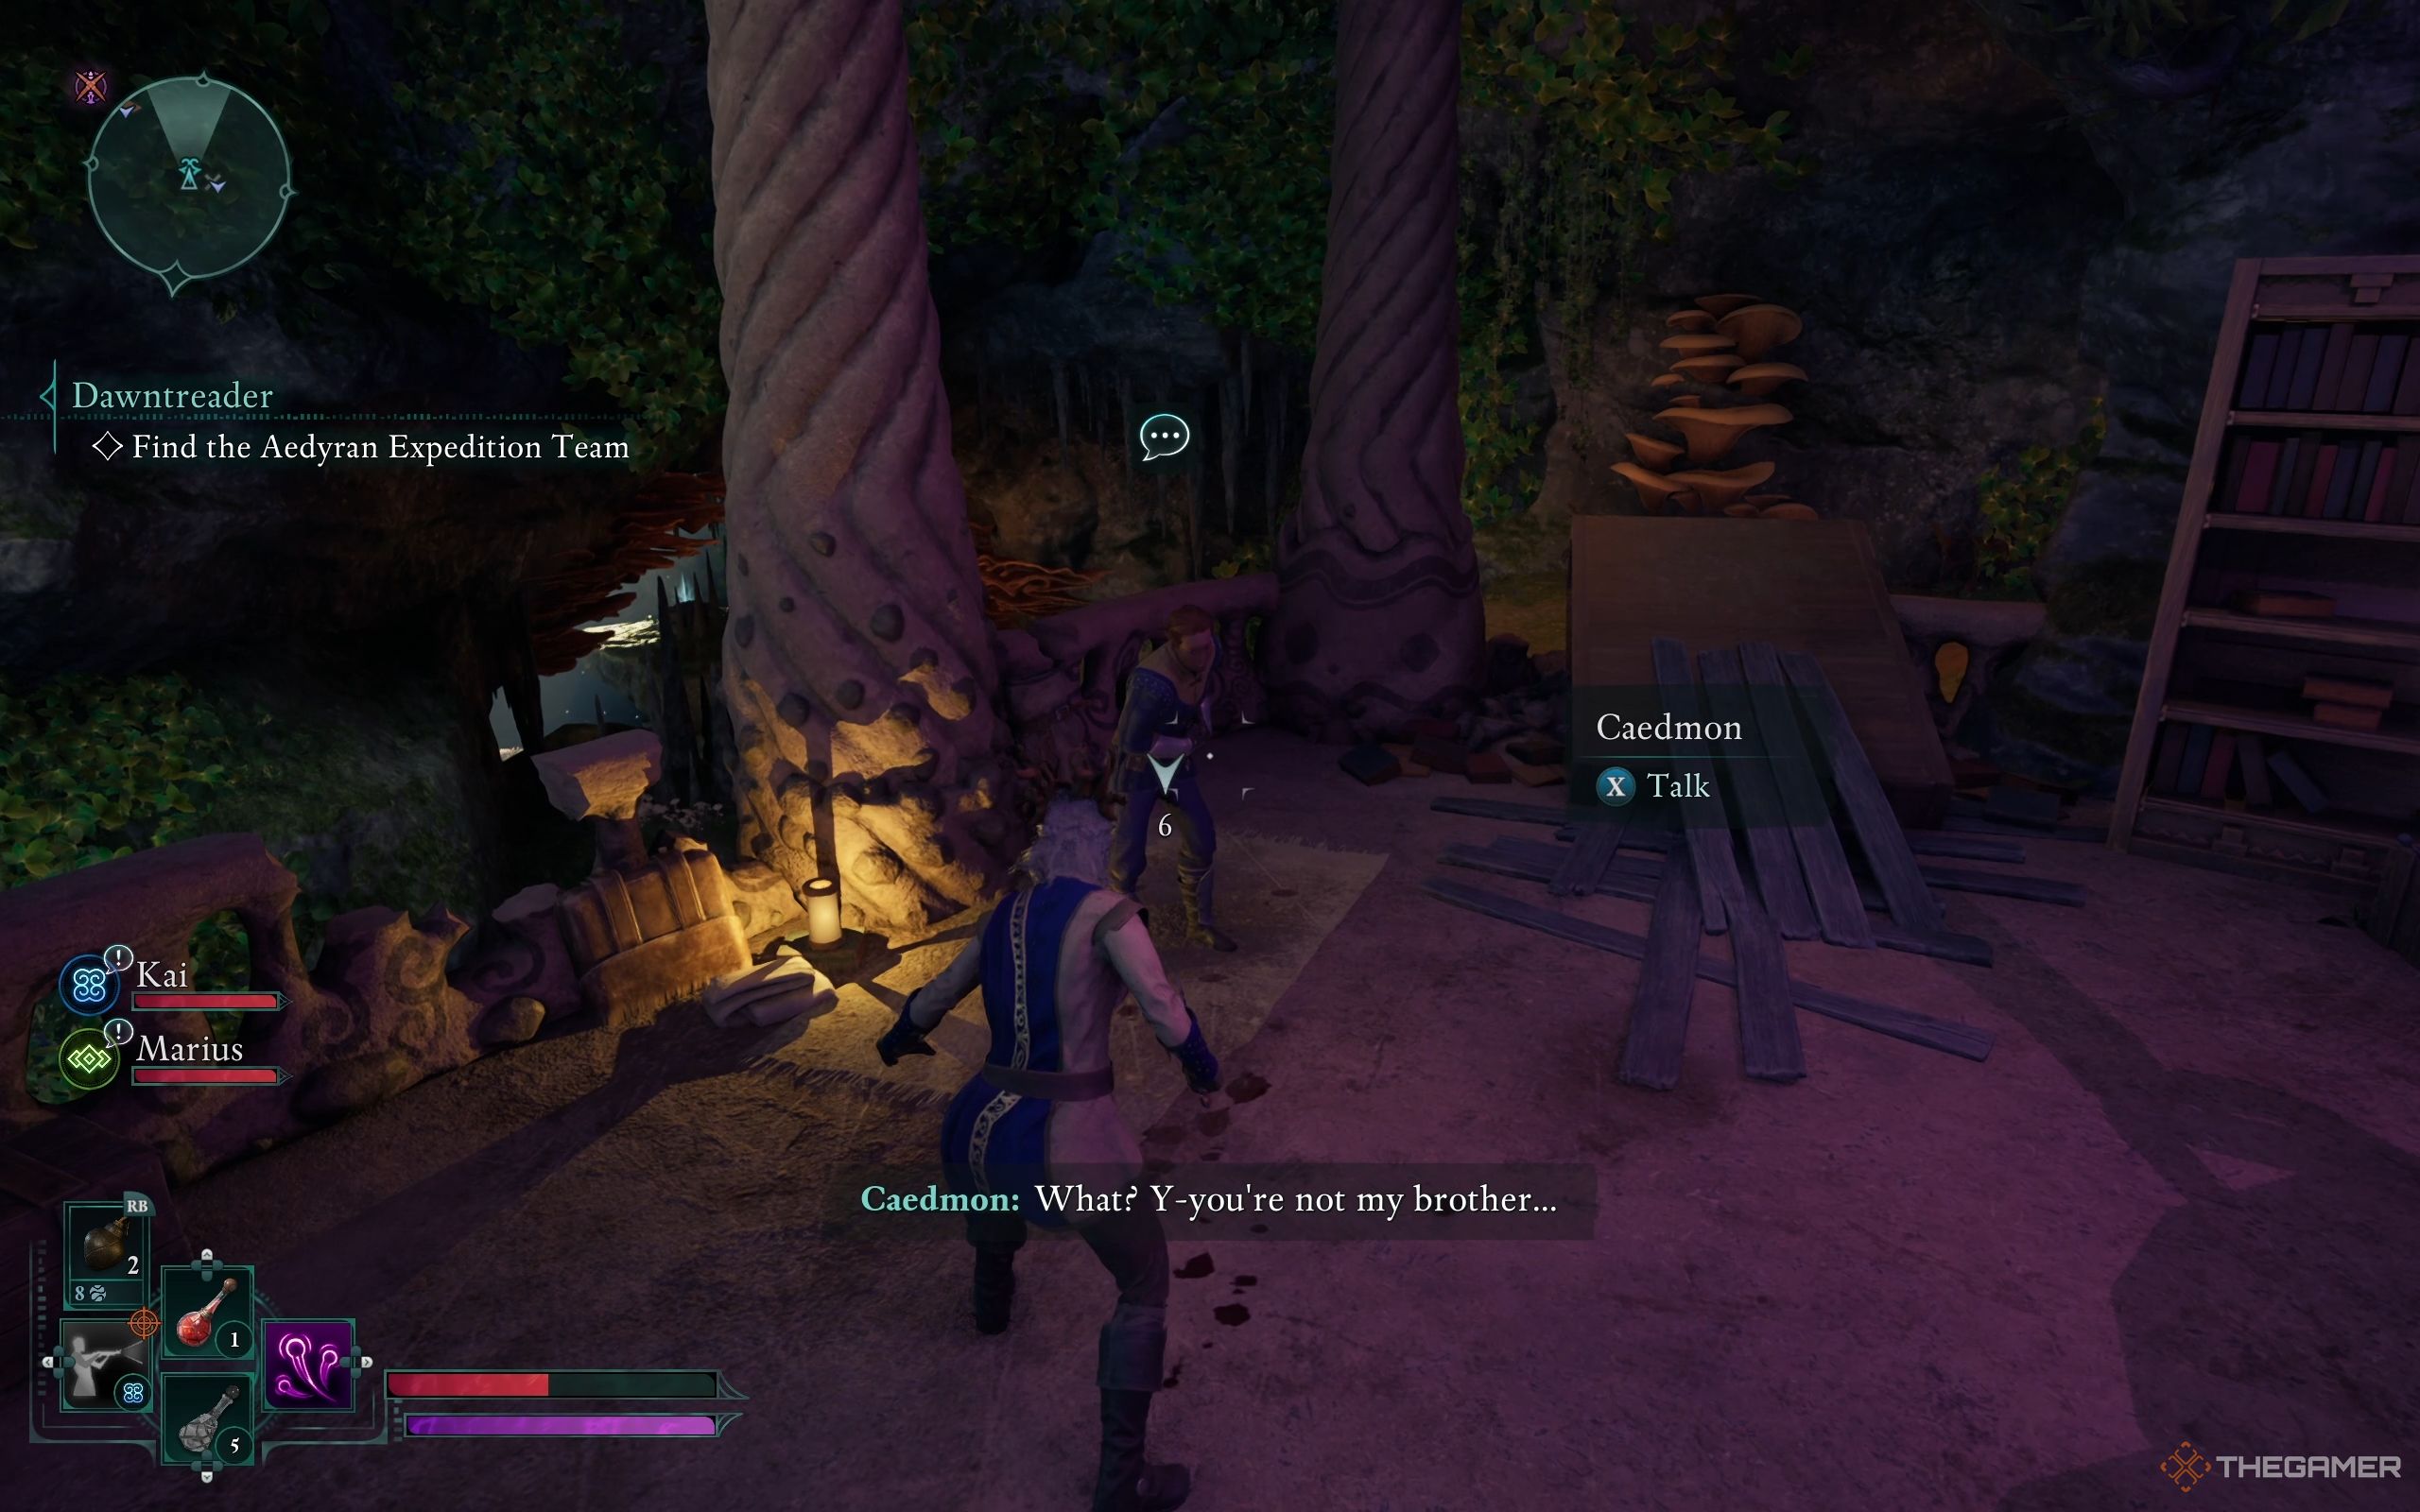
Approaching the location, I can’t help but notice a familiar voice echoing through the damp air. It’s Caedmon, mistakenly thinking I’m Ofryc. To get to him, I’ve got to navigate the treacherous electrified waters. I spot a dry platform beneath a window, and I leap onto it, then bound up the stairs that lead higher. Upon reaching the top, there stands Caedon, gravely wounded. In this dire situation, I’m left with two options:
- Heal him using a Healing Potion or your Dream Touch ability. If you do, he’ll survive and later reunite with Ofryc. Also, he’ll give you the Delver’s Caution ring as a reward.
Ask him for as much information as possible, leave him to die, then loot the
ring.
As a dedicated gamer, I’ve come to realize that my comrade, Caedmon, was left behind when he got wounded, a fact we all now know about Gjeda and his team. To make matters worse, there are whispers of the Dreamscourge tainting Gjeda, a chilling prospect indeed.
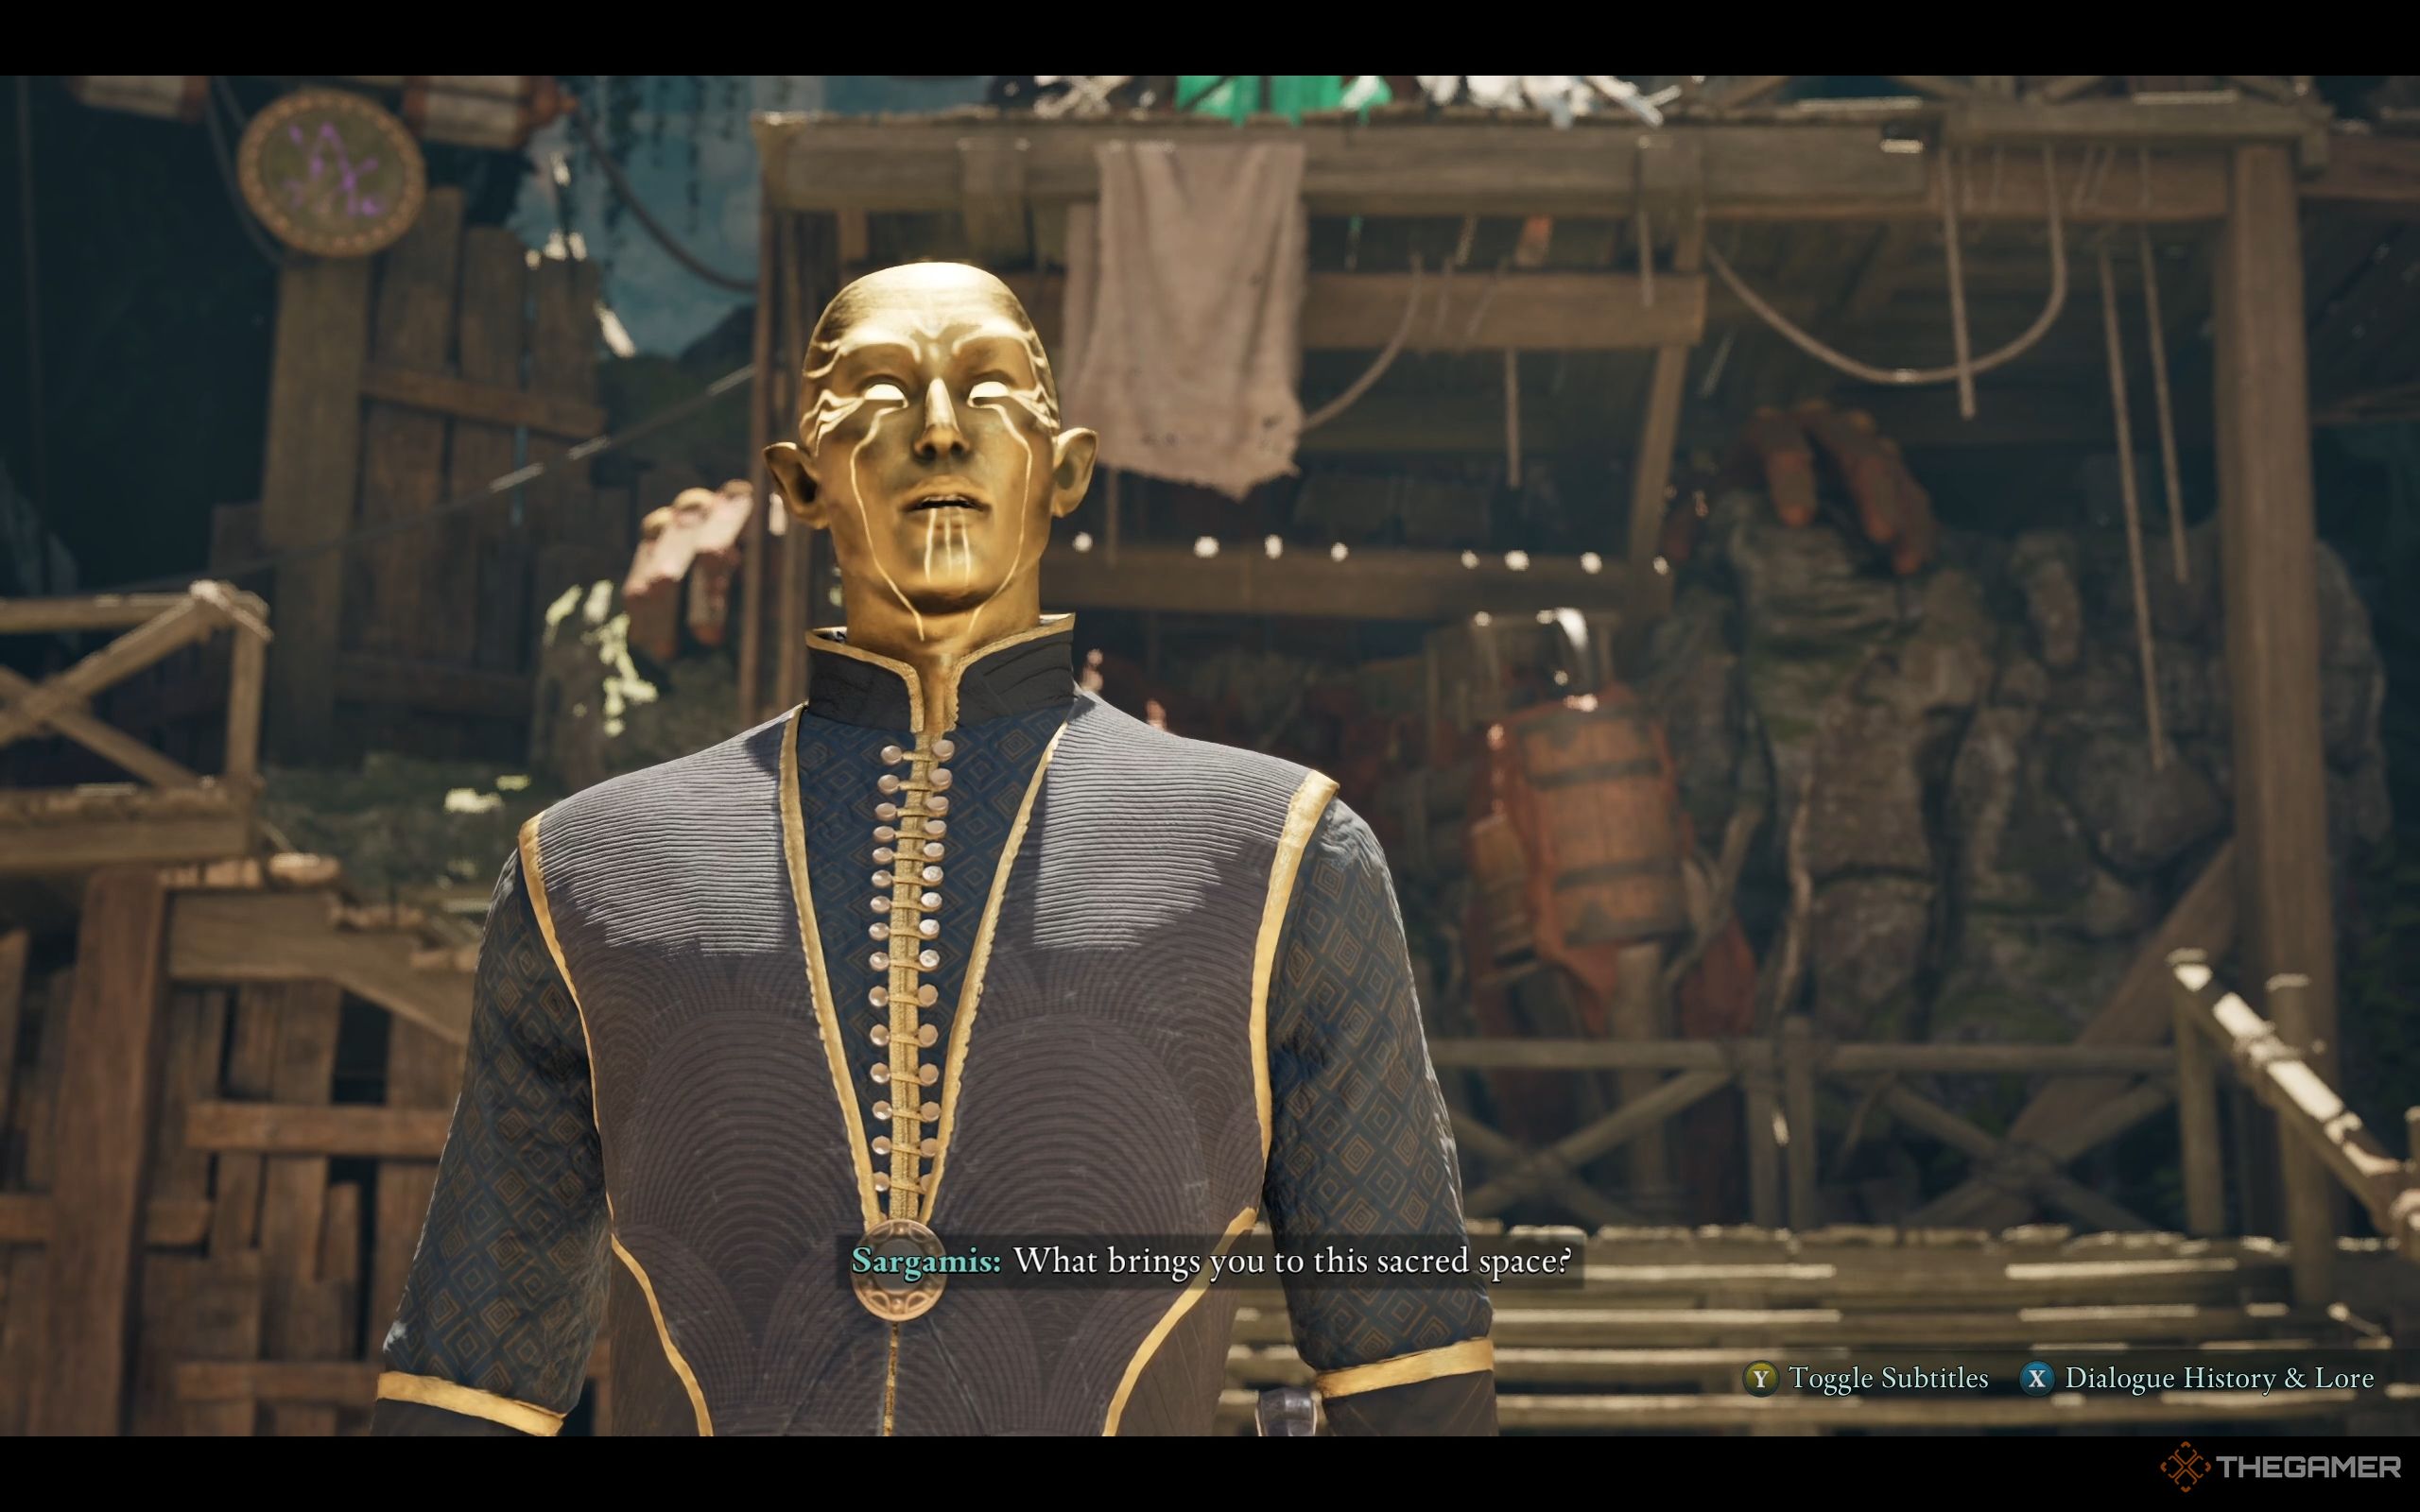
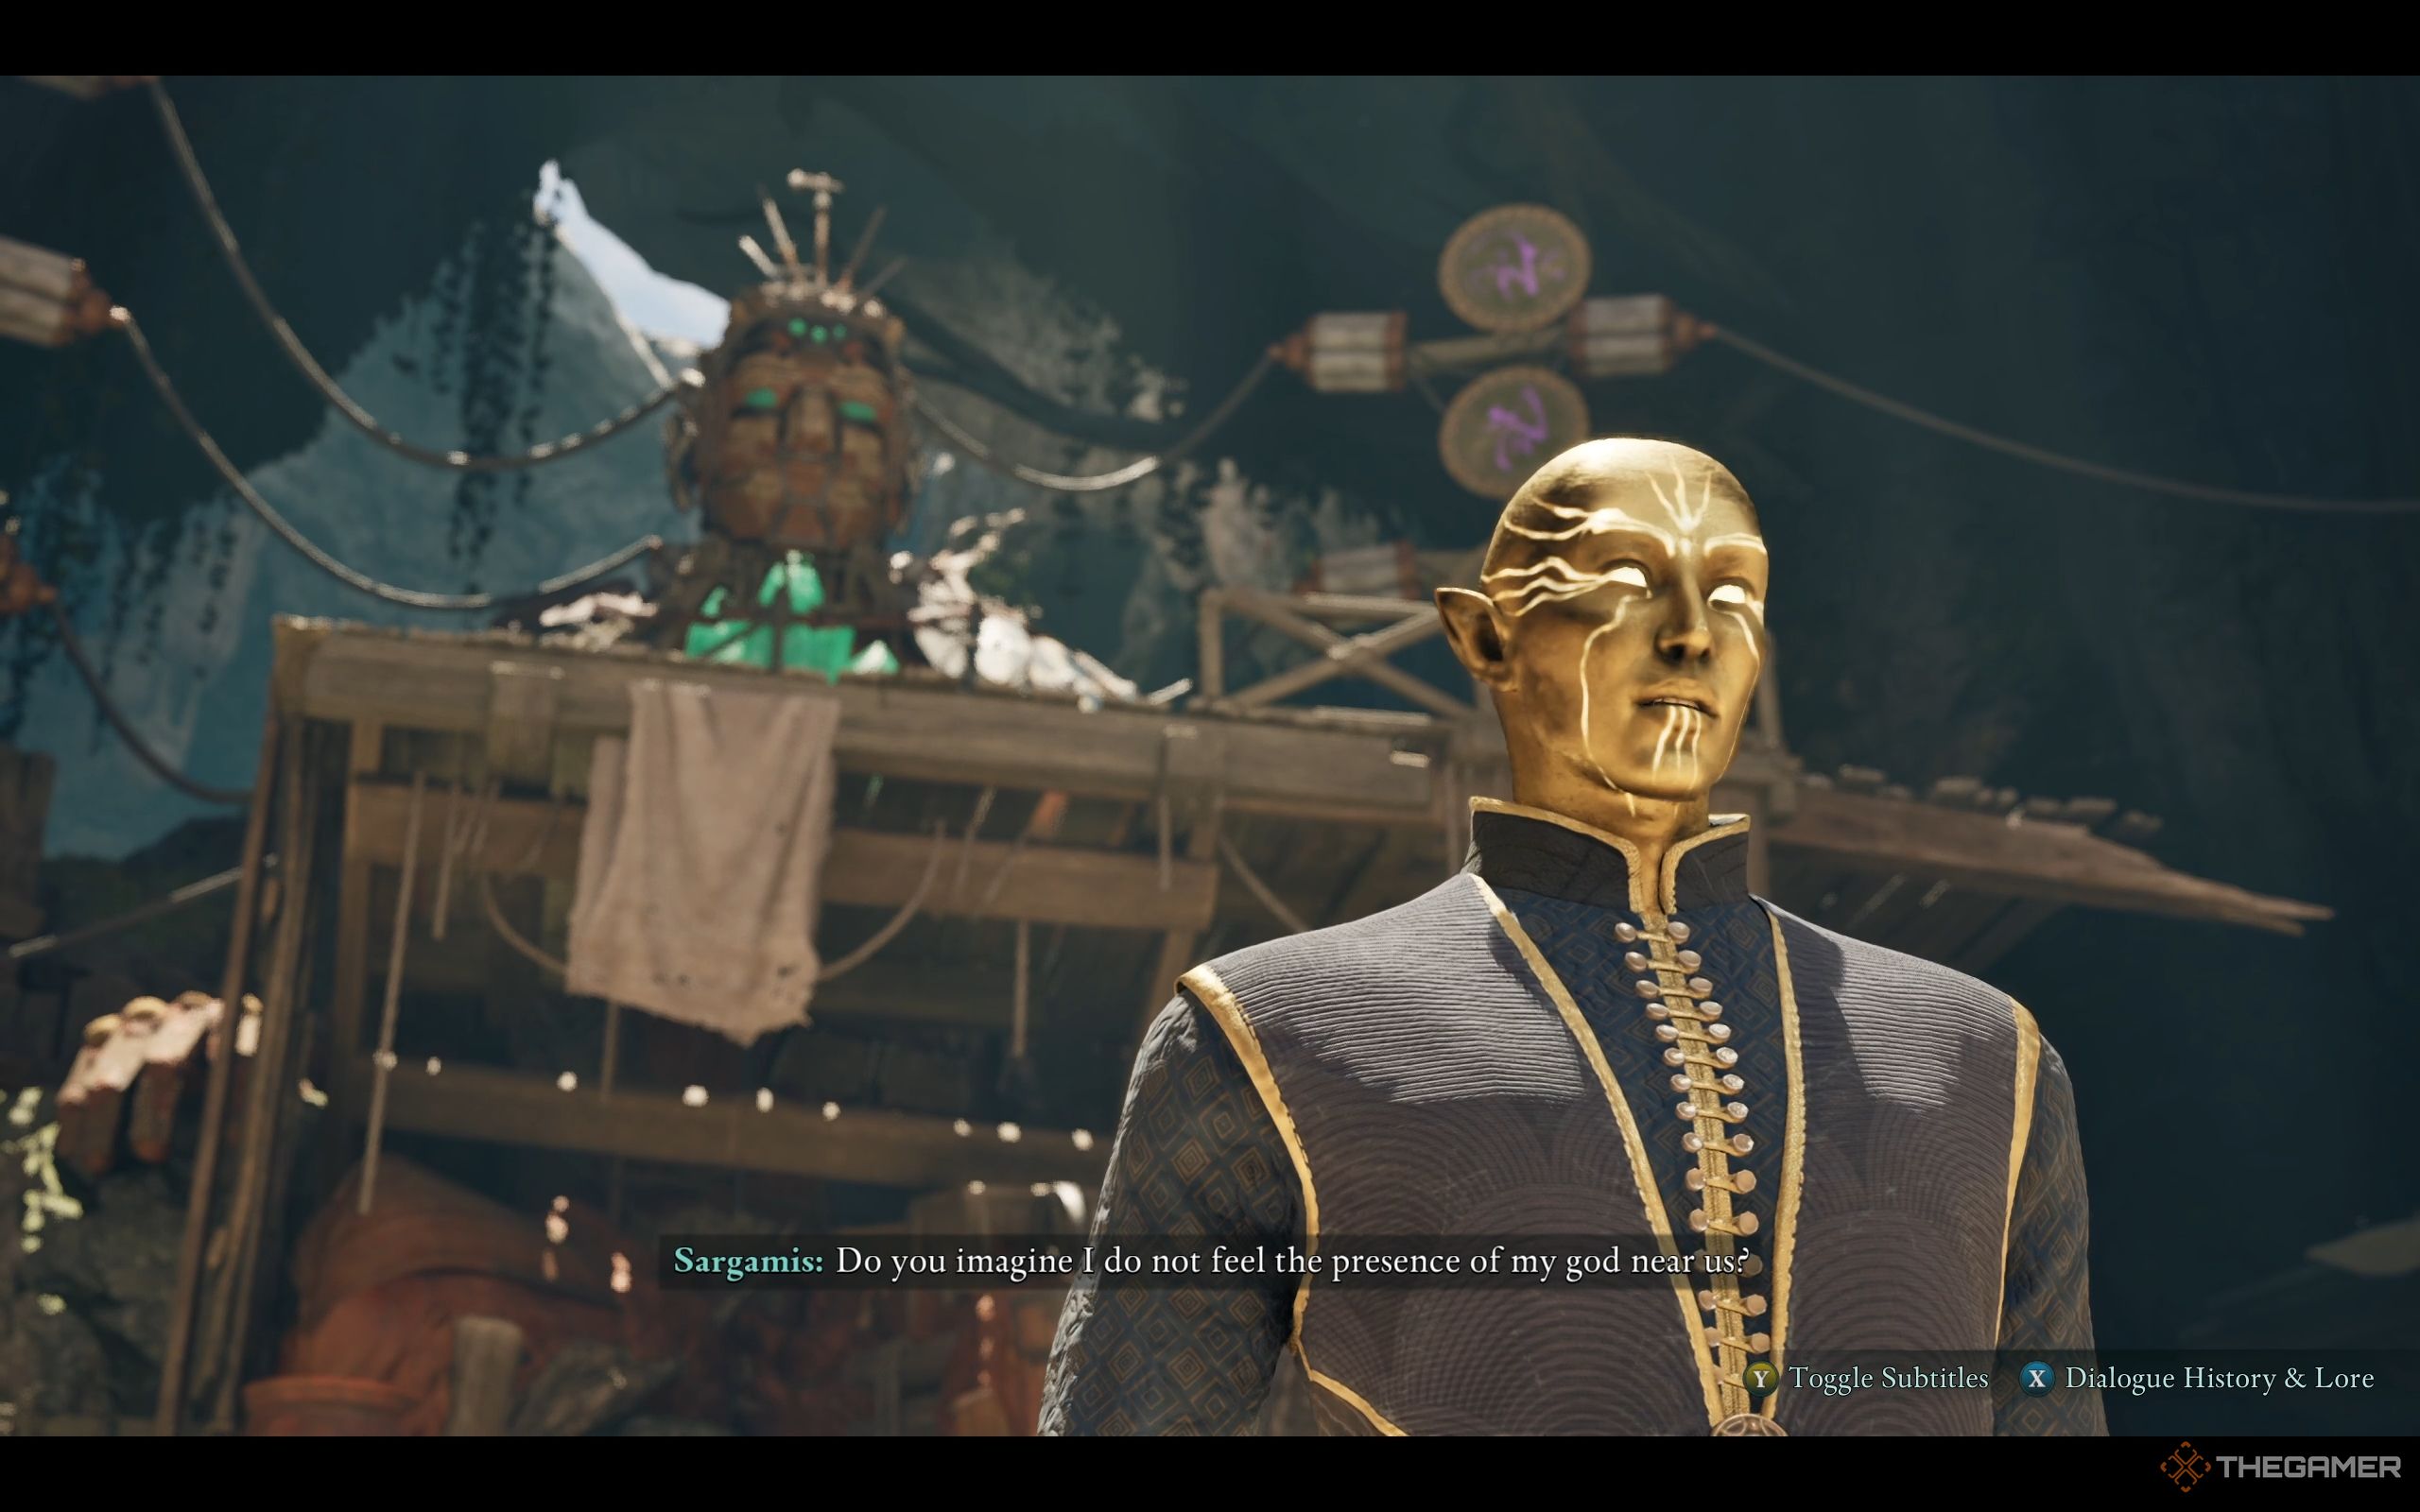
Meeting Sargamis
Progress steadily, defeating both Xaurip and Xaurip Foragers as you go. Ascend the stairs, and you’ll discover a letter from Inquisitor Lodwyn to Captain Gjeda.
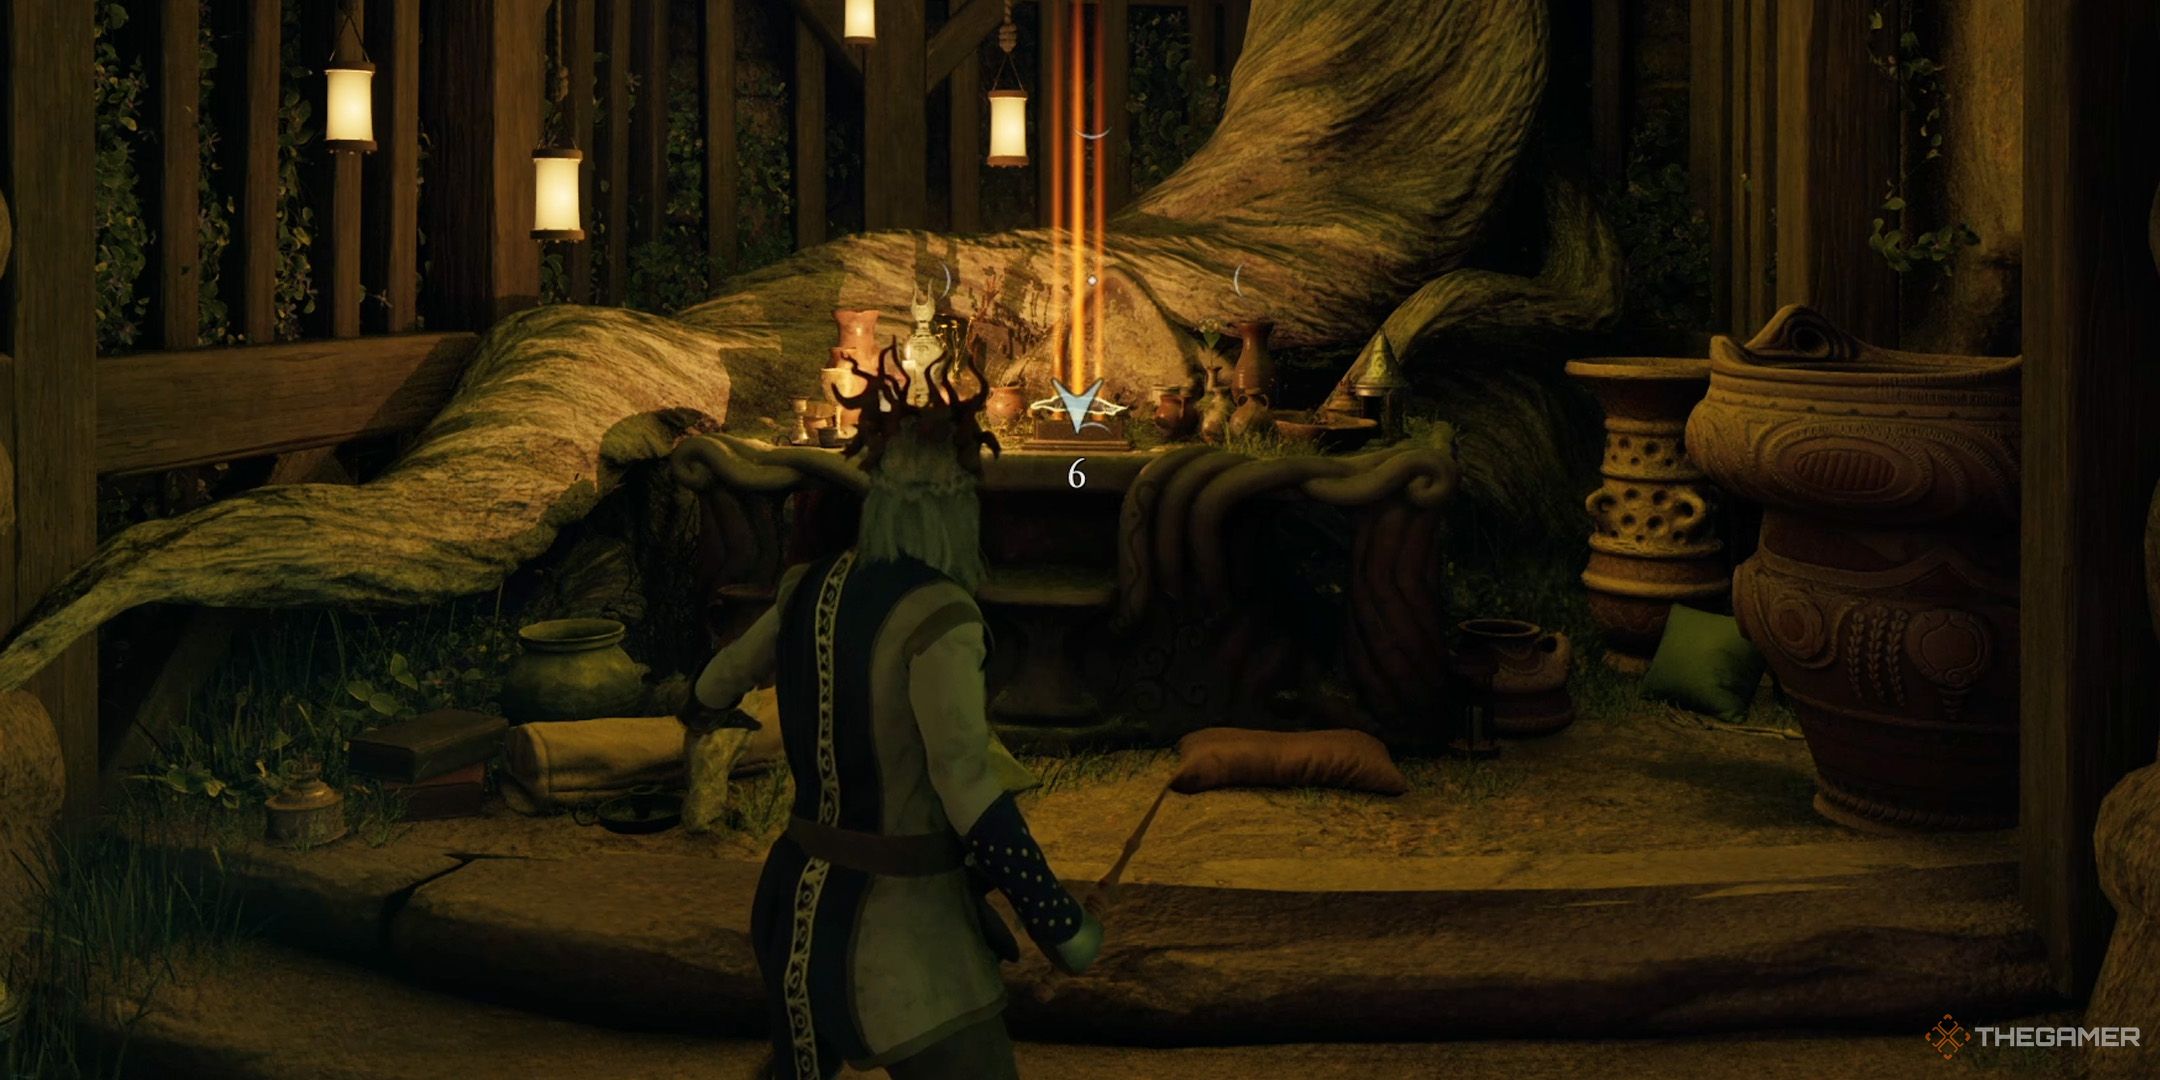
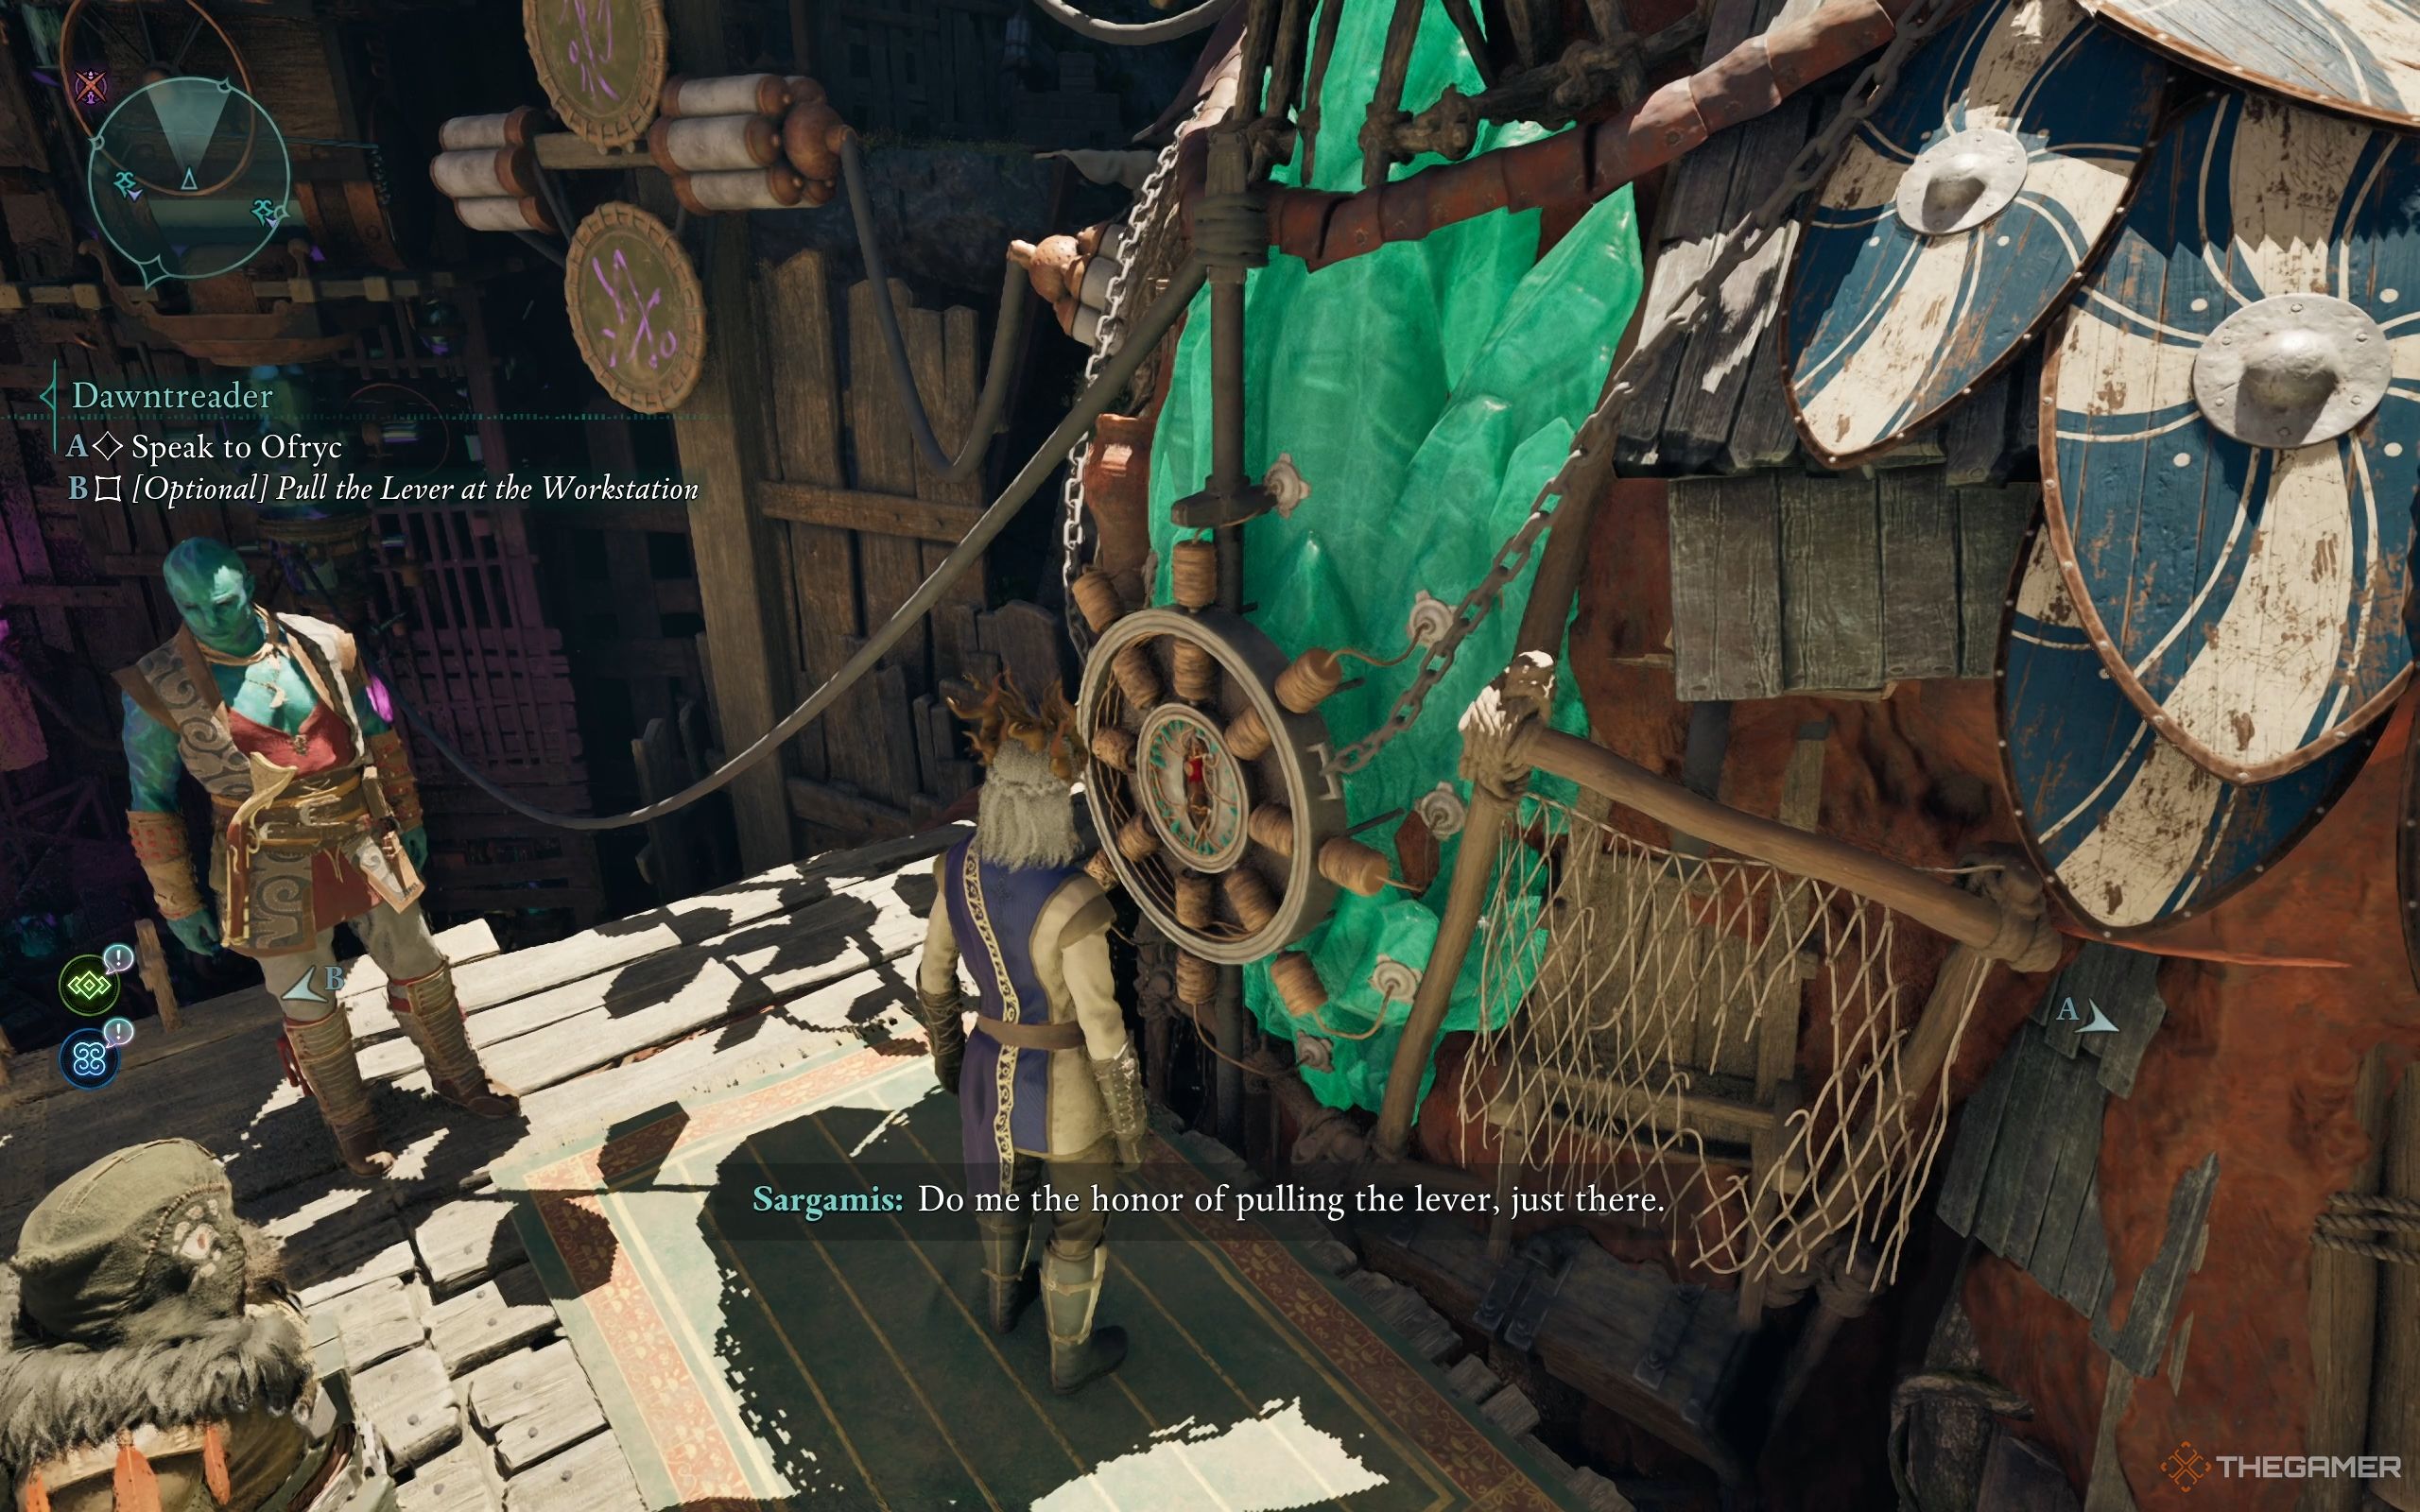
As you traverse the wooden bridge, you find yourself face to face with Sargamis, a divine figure hailing from Eothas. Engaging in conversation with him unveils the mystery of his eternal life. He discusses his role here, the construction of the statue of Eothas, and various philosophical themes. However, regarding Gjeda’s team, he remains tight-lipped about any significant information.
After that, Sargamis assigns you a mission: find the Splinter of Eothas, which is a piece from Eothas’ shin bone. By obtaining this, you will now be able to plunder and read anything within your sight. Some notable items include Sargamis’ journal located at the statue’s peak, where the wheel is, and a path leading from the base of the statue. Follow this path, and you’ll come across a Lockbox with a Copper Skeyt, Pelt, Iron Chunk, and another item inside.
Next, move over to the opposite side where Sargamis stands on the left. On the right side, you’ll come across an Electric Lily Seed. Once prepared, step into the water-filled passageway to carry on with your adventure.
Getting The Splinter Of Eothas
Descend into the depths and swim towards the illumination. You’ll find yourself in a submerged chamber with a damaged wall. Retrieve some explosives to blow it open. Once you do, search the chest for Silver Fenning, Pelt, Iron Chunk, and Spirit Residue.
Near the shattered wall lies a passageway delving further into the temple sanctum. Plunge into the water and propel yourself ahead. The subsequent chamber is stacked high with books, resembling a library. Overcome the Ivory Spinner and its offspring, the two spiderlings. In this vicinity, you’ll discover an Electric Lily Seed nestled close to the blueprint of the Eothas statue. Regarding the cobweb in that area, incinerate it by employing any fire-based spell, Kai’s Firestarter, or another suitable method.
Keep moving forward on the path until you come across Xaurips and Water Beetles. As usual, defeat the Xaurip Elder first. Over by the room’s edge, near some glowing mushrooms, grab a backpack containing Silver Fenning, Iron Chunk, Pelt, and Softwood Branch.
Step inside the Earth Dome to plunder a skeleton for
some Iron Chunks as well. Close by, you’ll discover an Electric Lily Seed and the book titled “Purification of the Pilgrim”.
After gathering all the goods, head towards the central ramp in the room and leap to the damaged stairs.
When you’ve finished taking what you need, proceed towards the ramp located smack in the middle of the room, then hop across to the broken steps.
On your right side, feel free to engage with the Consecration Prayer should you wish. Proceed straight ahead and you’ll come across a spacious area. In the center of this space, you’ll notice the fragment of Eothas. For now, refrain from picking it up, as doing so will initiate the boss battle.

Open The Door With Two Orange Shield Symbols
On the left side of the Splinter of Eothas, you’ll find a locked chamber bearing two radiant, orange symbols. To unlock this room, you must energize two nearby devices.
- One is near the glowing mushrooms. There’s a hole in the wall. Shock the receiver inside with your spell or an Electric Lily Seed.
- The other receiver is in the same room as the relic, to the right.
Once they’re switched on, the door will automatically slide open, granting you access to plunder the Sarcophagus, revealing its treasures: a priceless amulet, ancient scrolls, and a mysterious artifact.
Open The Barred Door Near The Splinter Of Eothas
Close to the Shard of Eothas, there’s a door fortified with bars. To gain entry, you must shatter the vase located on the right side of the altar, as it conceals an opening that serves as an entrance. Keep smashing pots and vases until you can navigate through the chamber filled with Sarcophagi.
As I continue my adventure, eventually, I’ll come across a formidable Skeleton Monk. Once I’ve bested it, I can loot its remains for some Copper Skulls. Then, I’ll move on to open the Lockbox behind the monk, finding Silver Fenning, Iron Chunks, a Pelt, and something else hidden inside. Later, I might need to either pick the lock on the barred door from within or retrace my steps through the previous path to get back to the relic.
Picking Up The Splinter Of Eothas
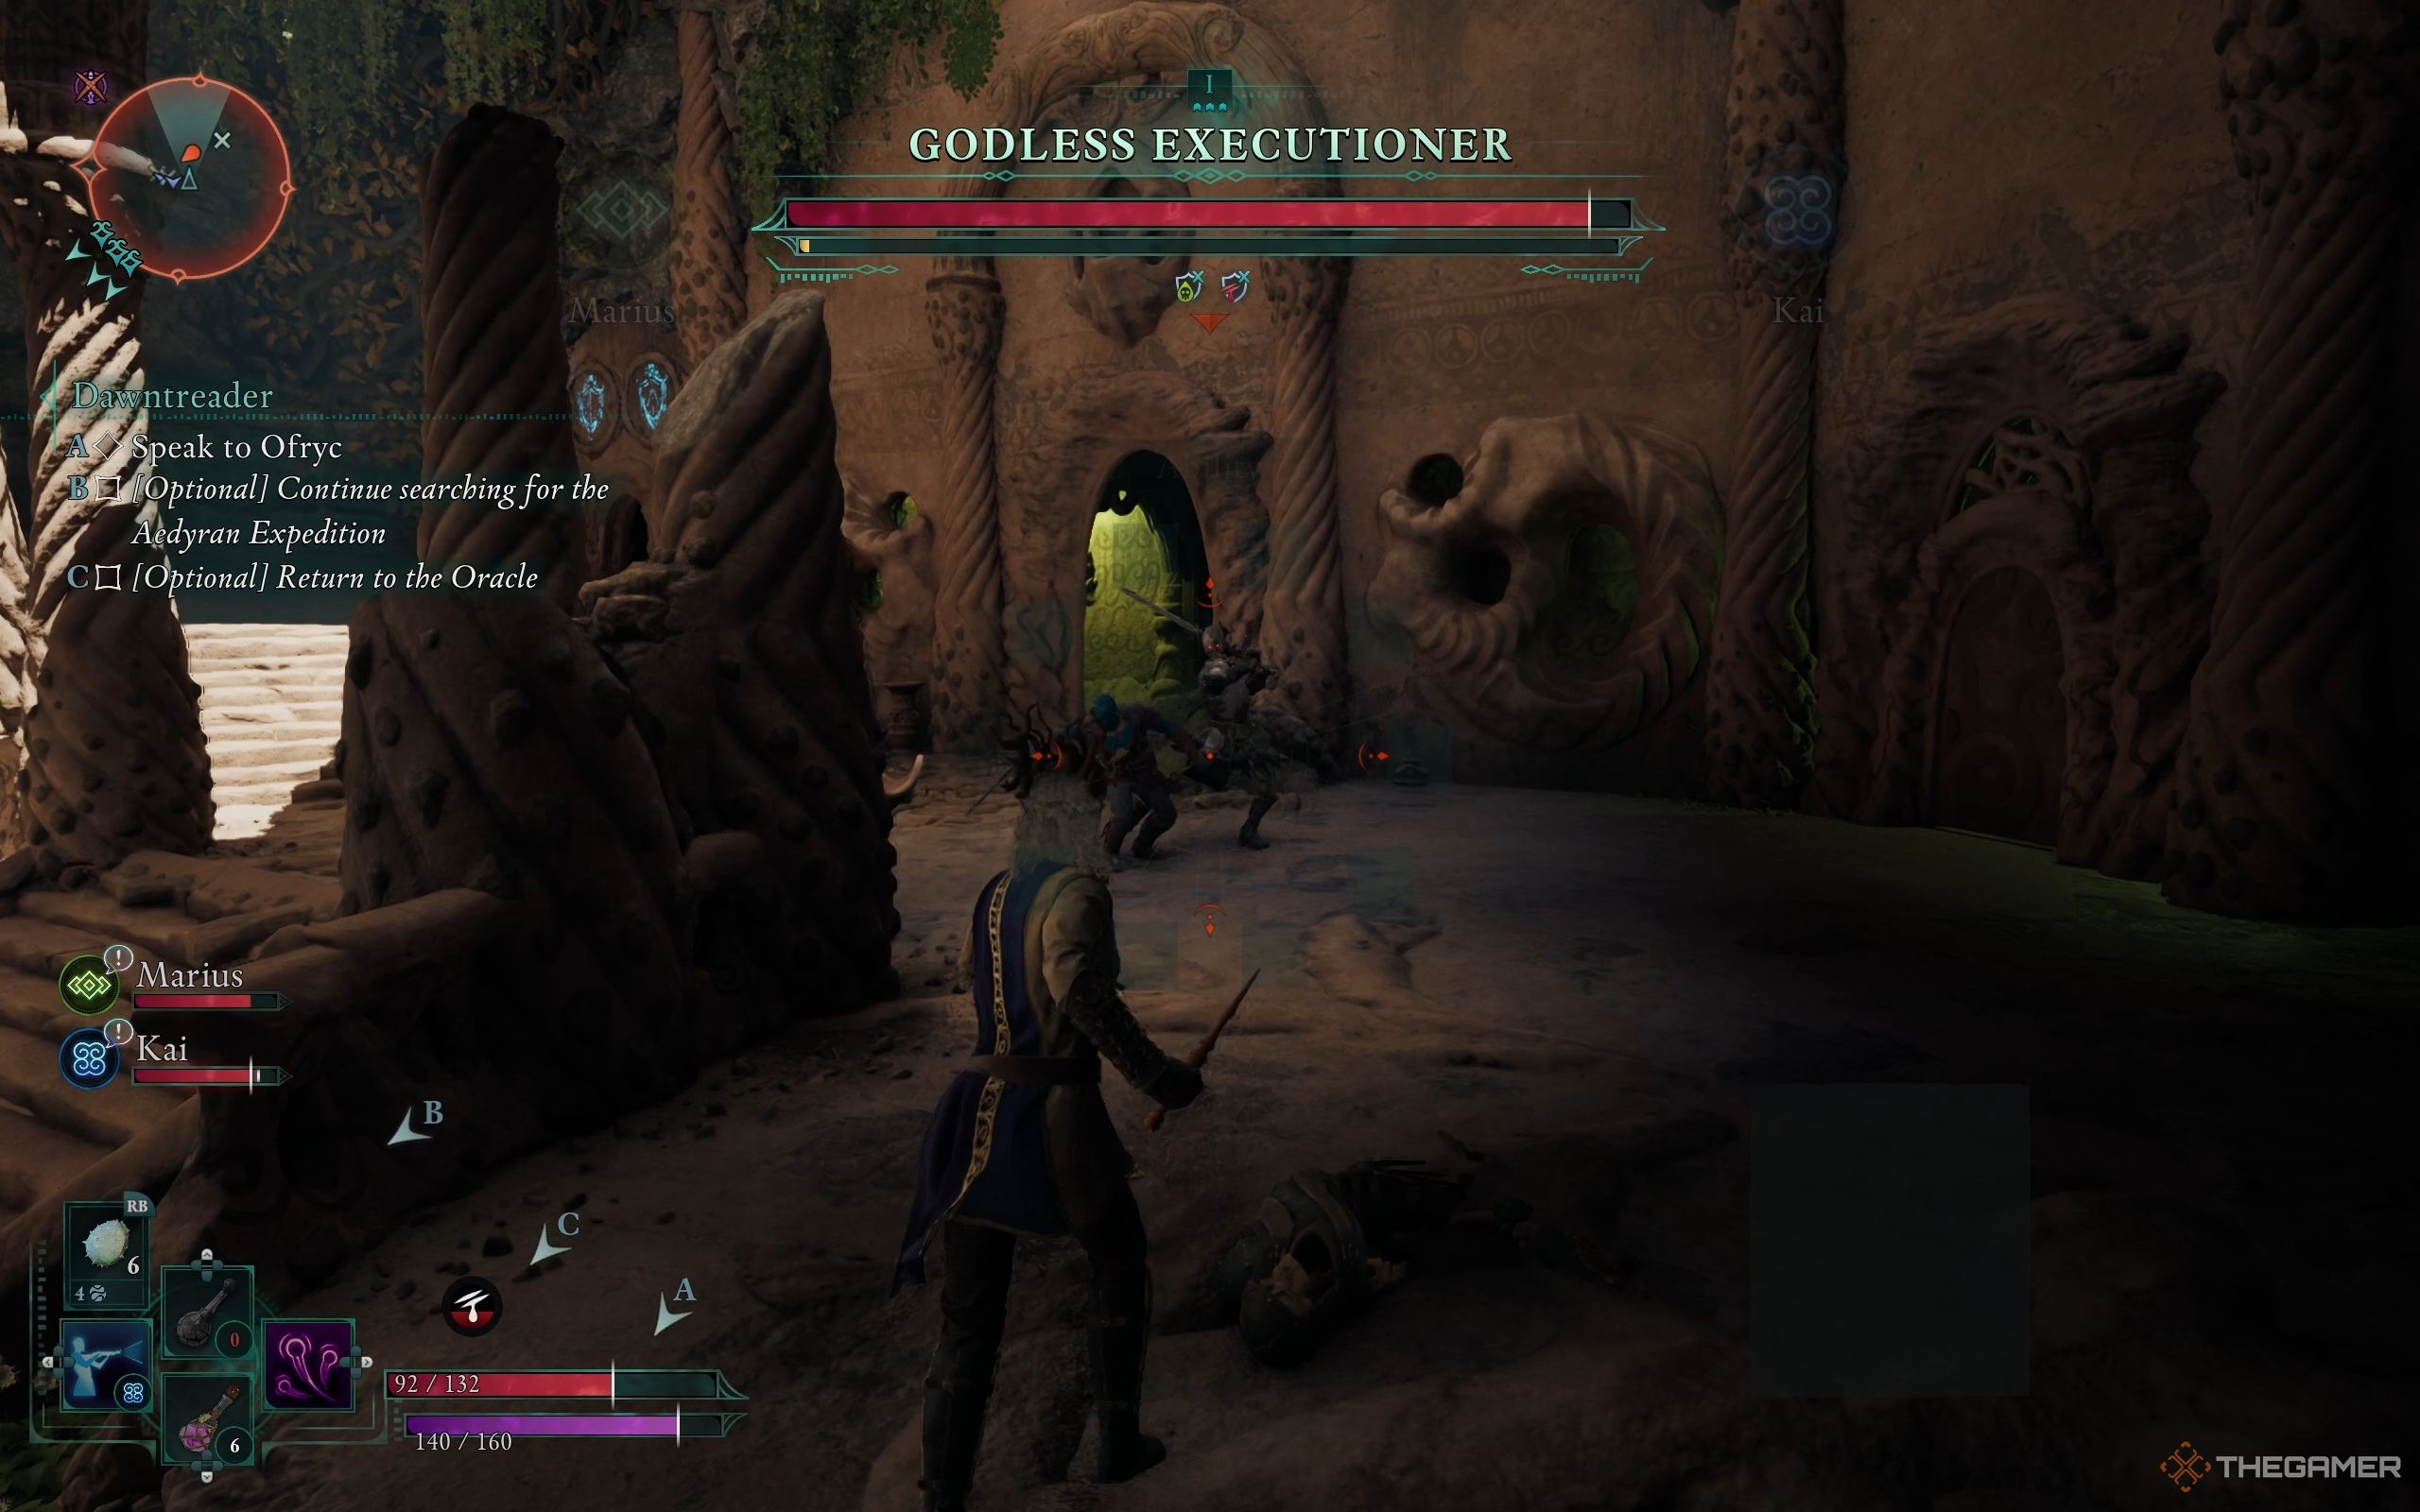
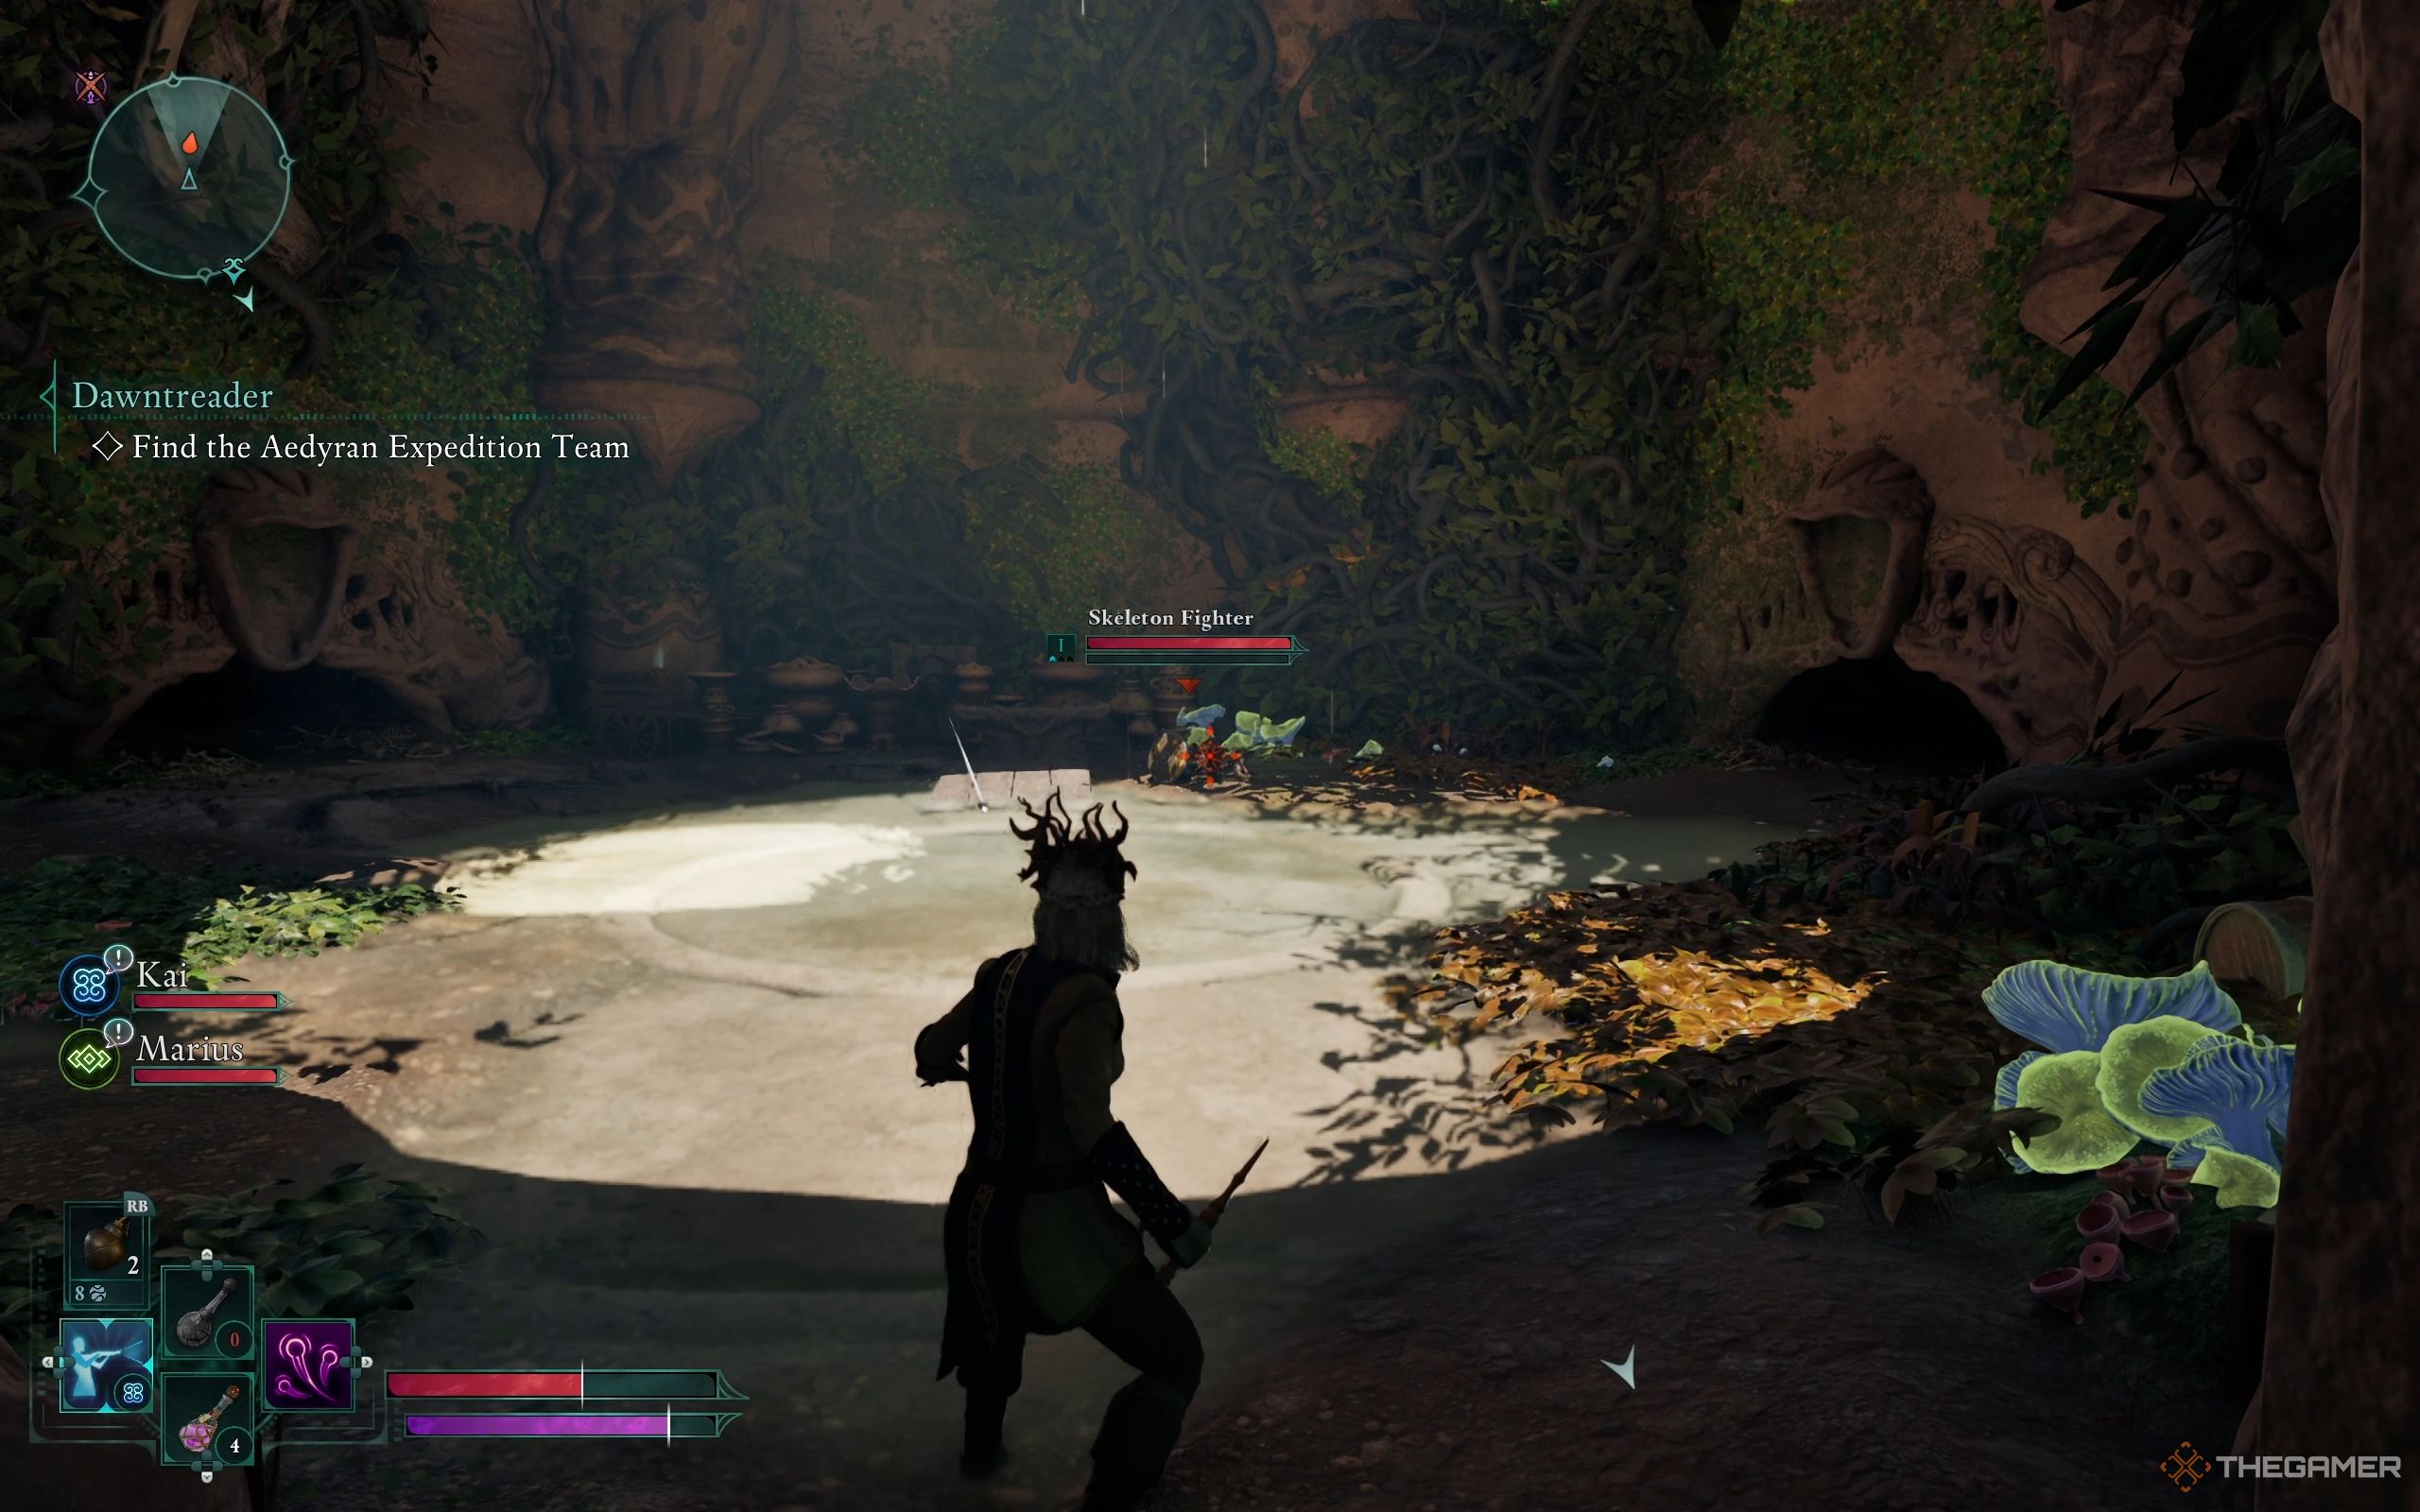
As soon as you take hold of the Splinter of Eothas, the cave begins to tremble, and foes appear in successive waves – a total of four.
| Wave 1 | Two Skeleton Monks. One gets crushed by falling debris. |
|---|---|
| Wave 2 | Two more Skeleton Monks. |
| Wave 3 | A Skeleton Fighter, two Skeleton Rangers, and another Skeleton Monk. |
| Wave 4 | The Godless Executioner enters the battle with reinforcements: More Monks, Rangers, Soldiers, and a Skeleton Priest. Take out the Priest first to stop it from healing the others. |
To vanquish the Godless Slayer, align your skills with your comrades to swiftly overload his stagger gauge, dealing devastating blows to him. Once the fight concludes, gather all the spoils prior to departing.
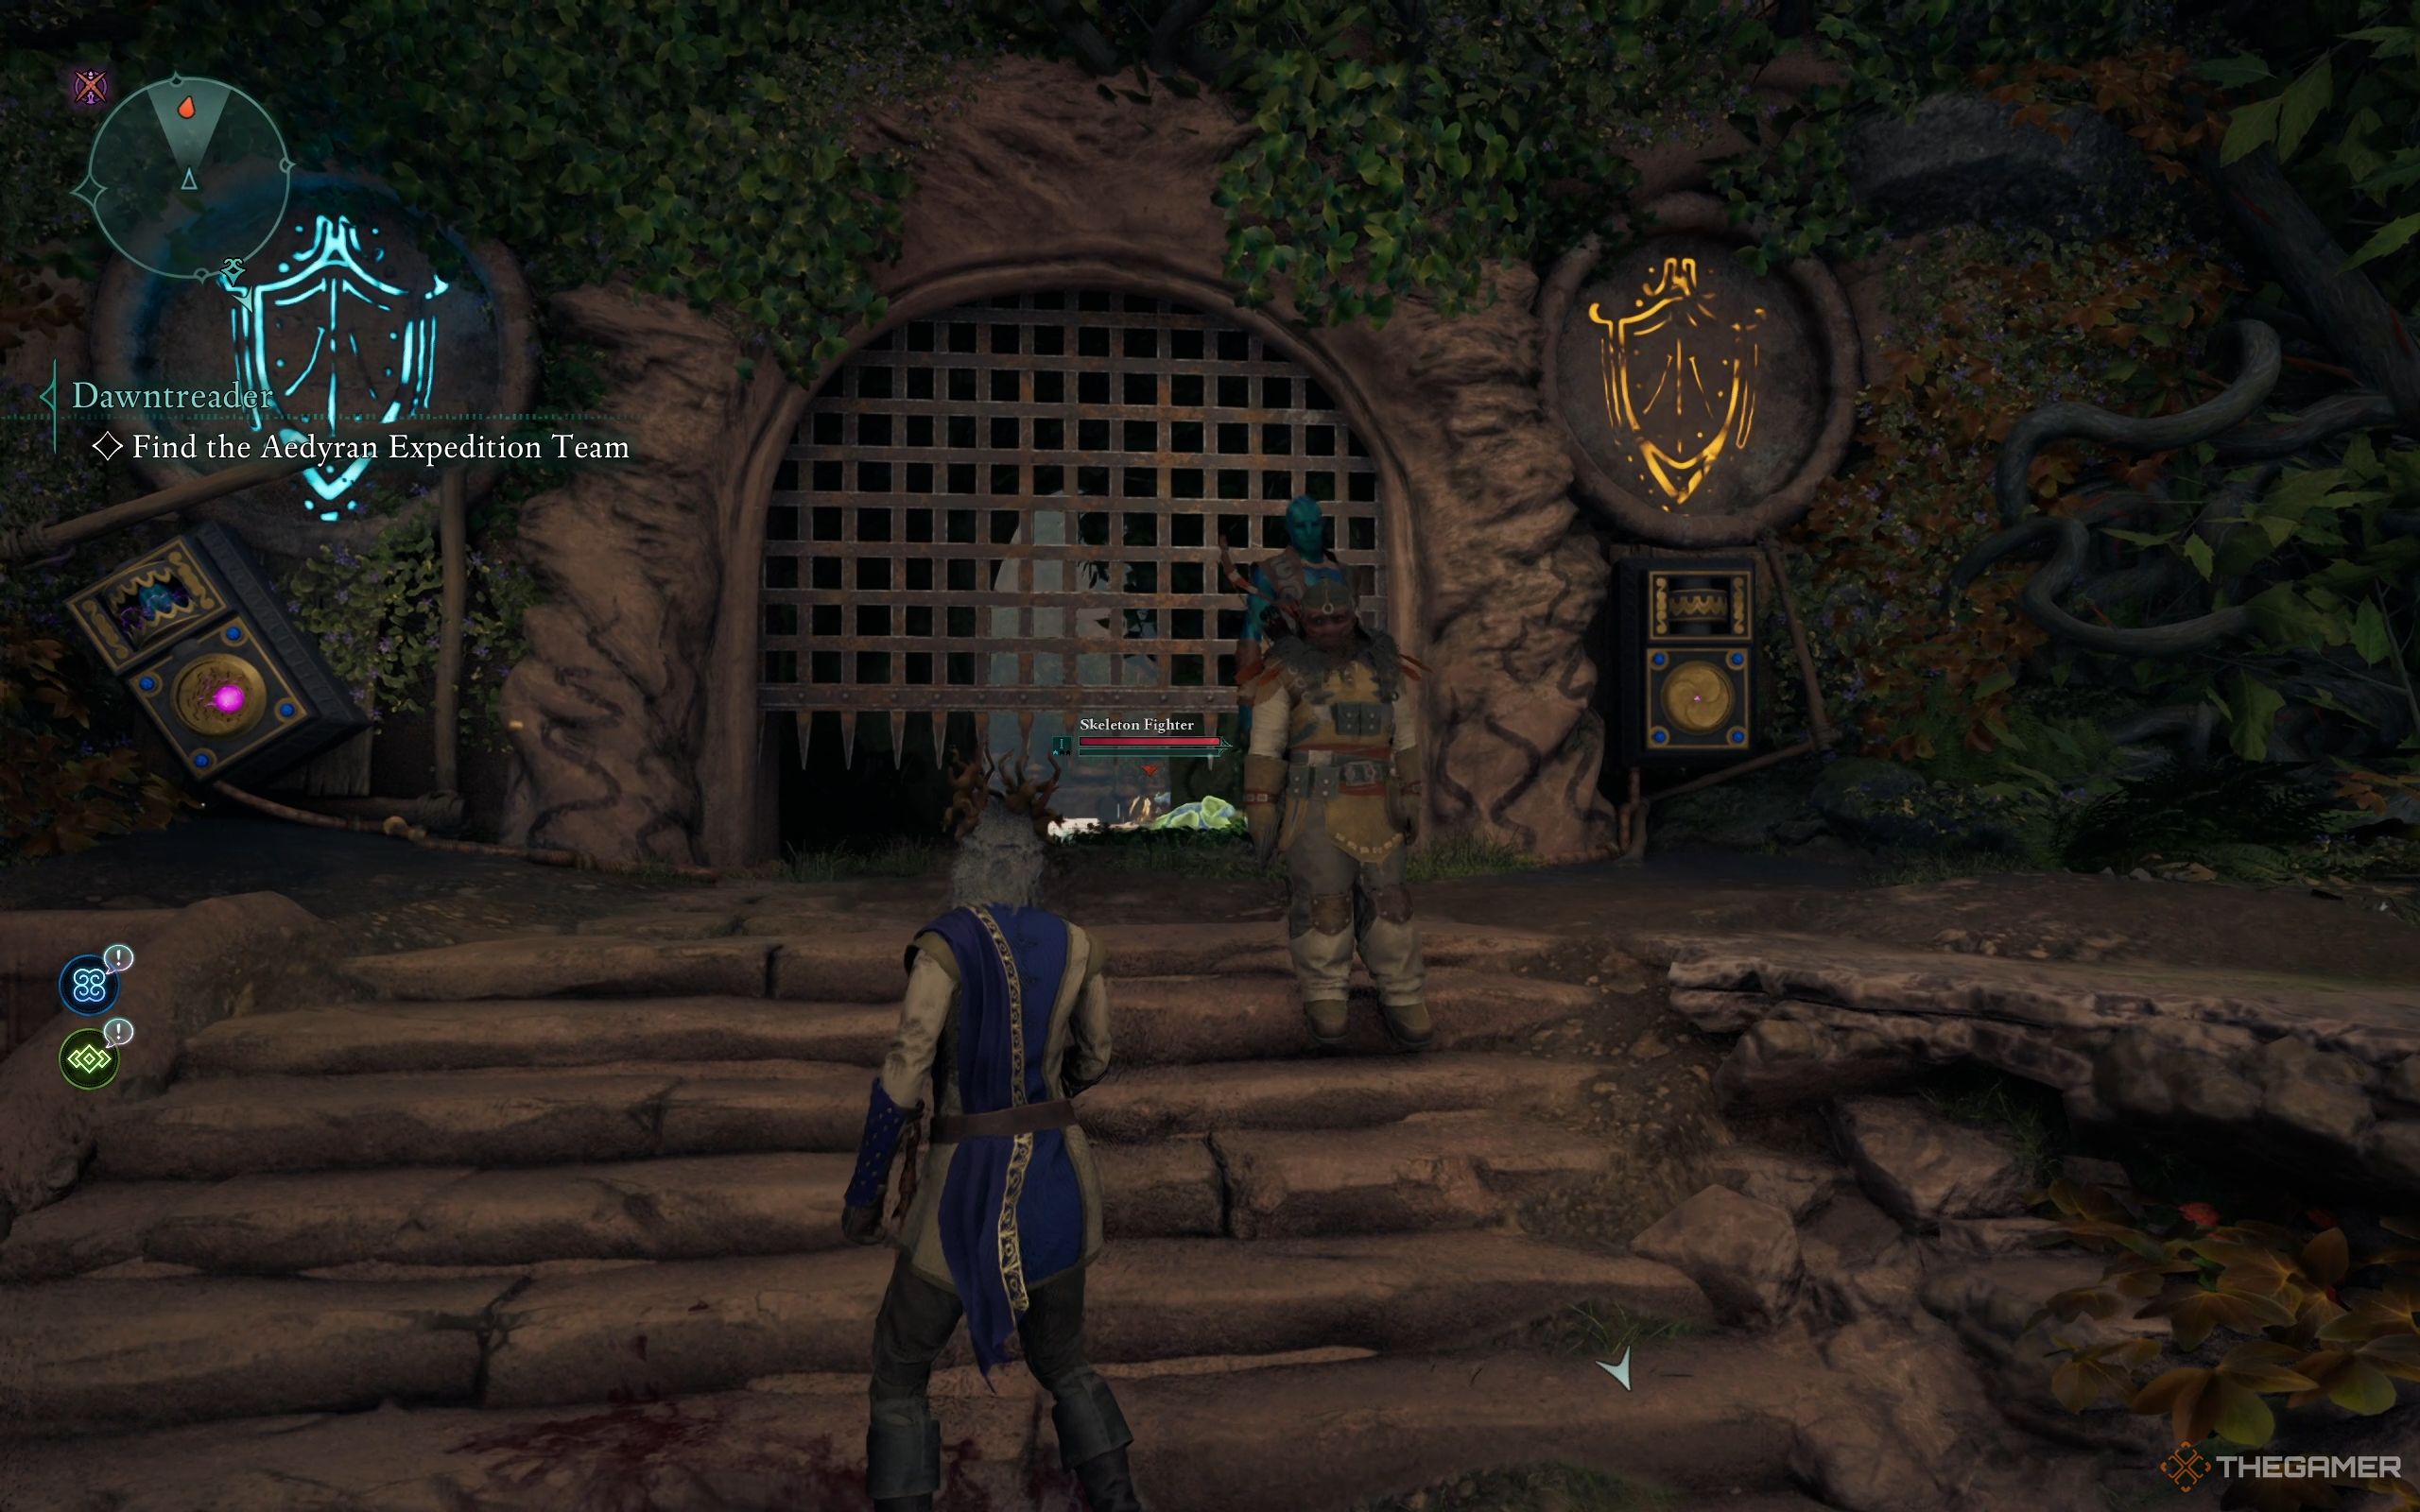
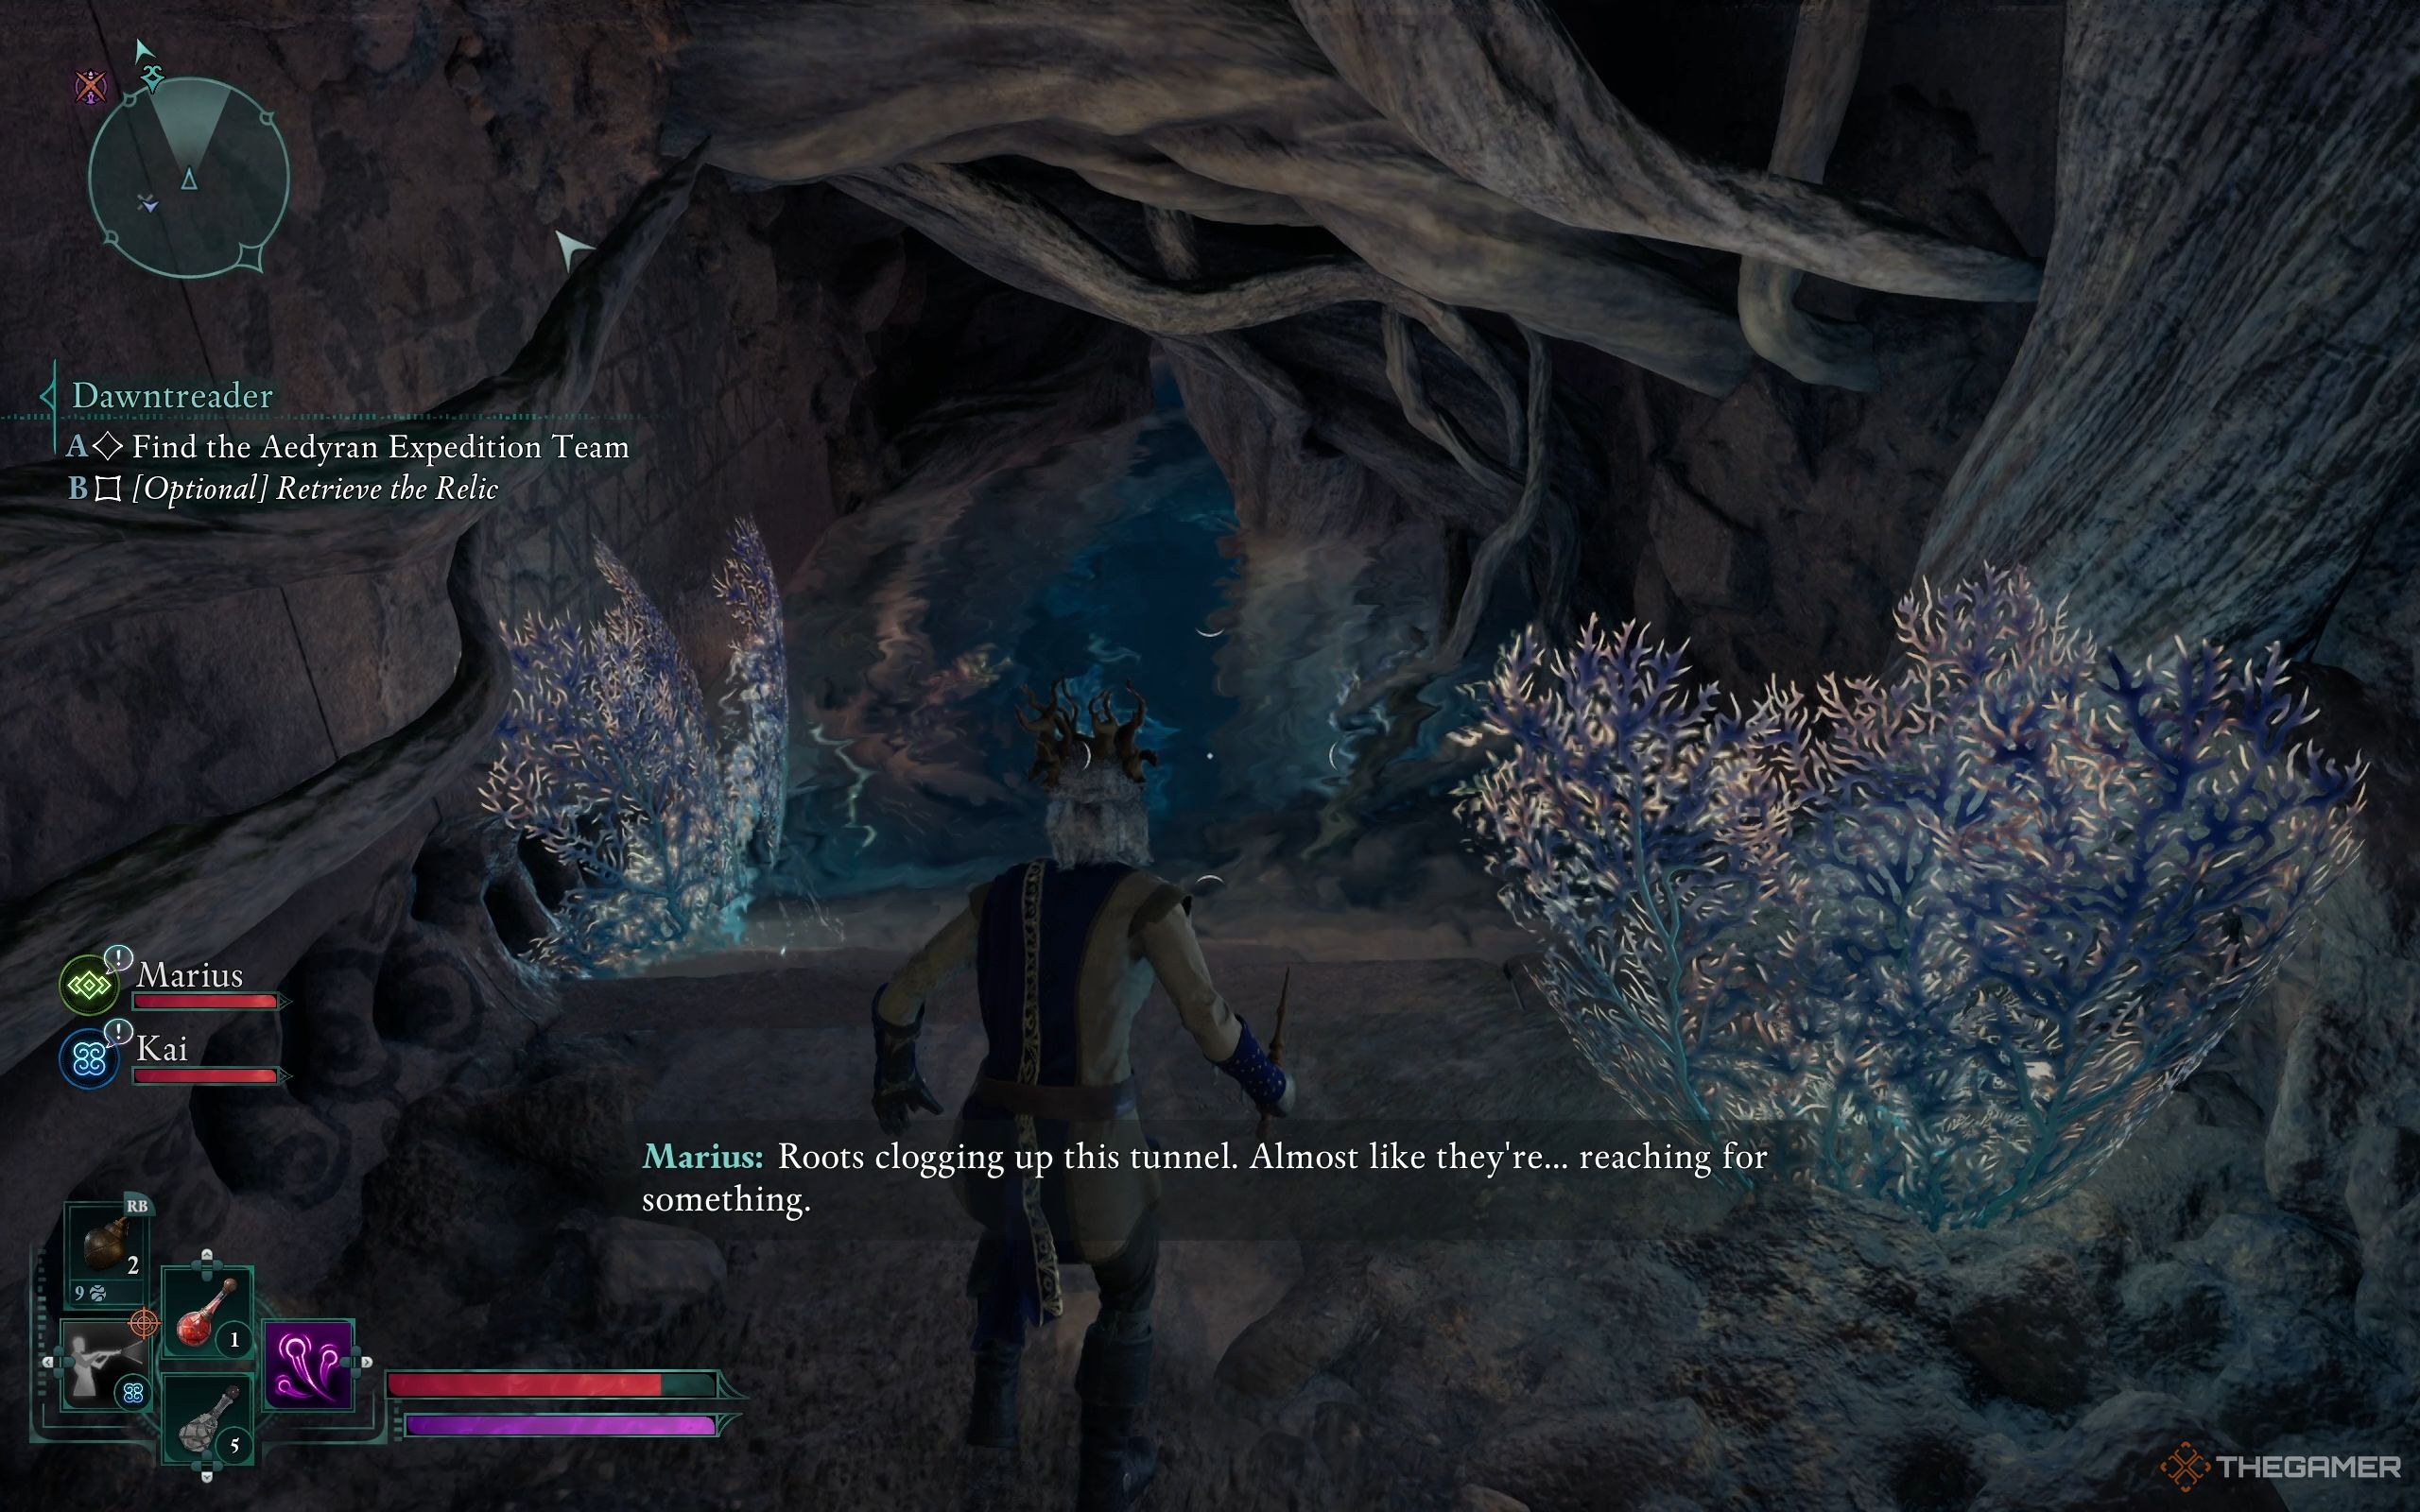
Find The Aedyran Expedition Team
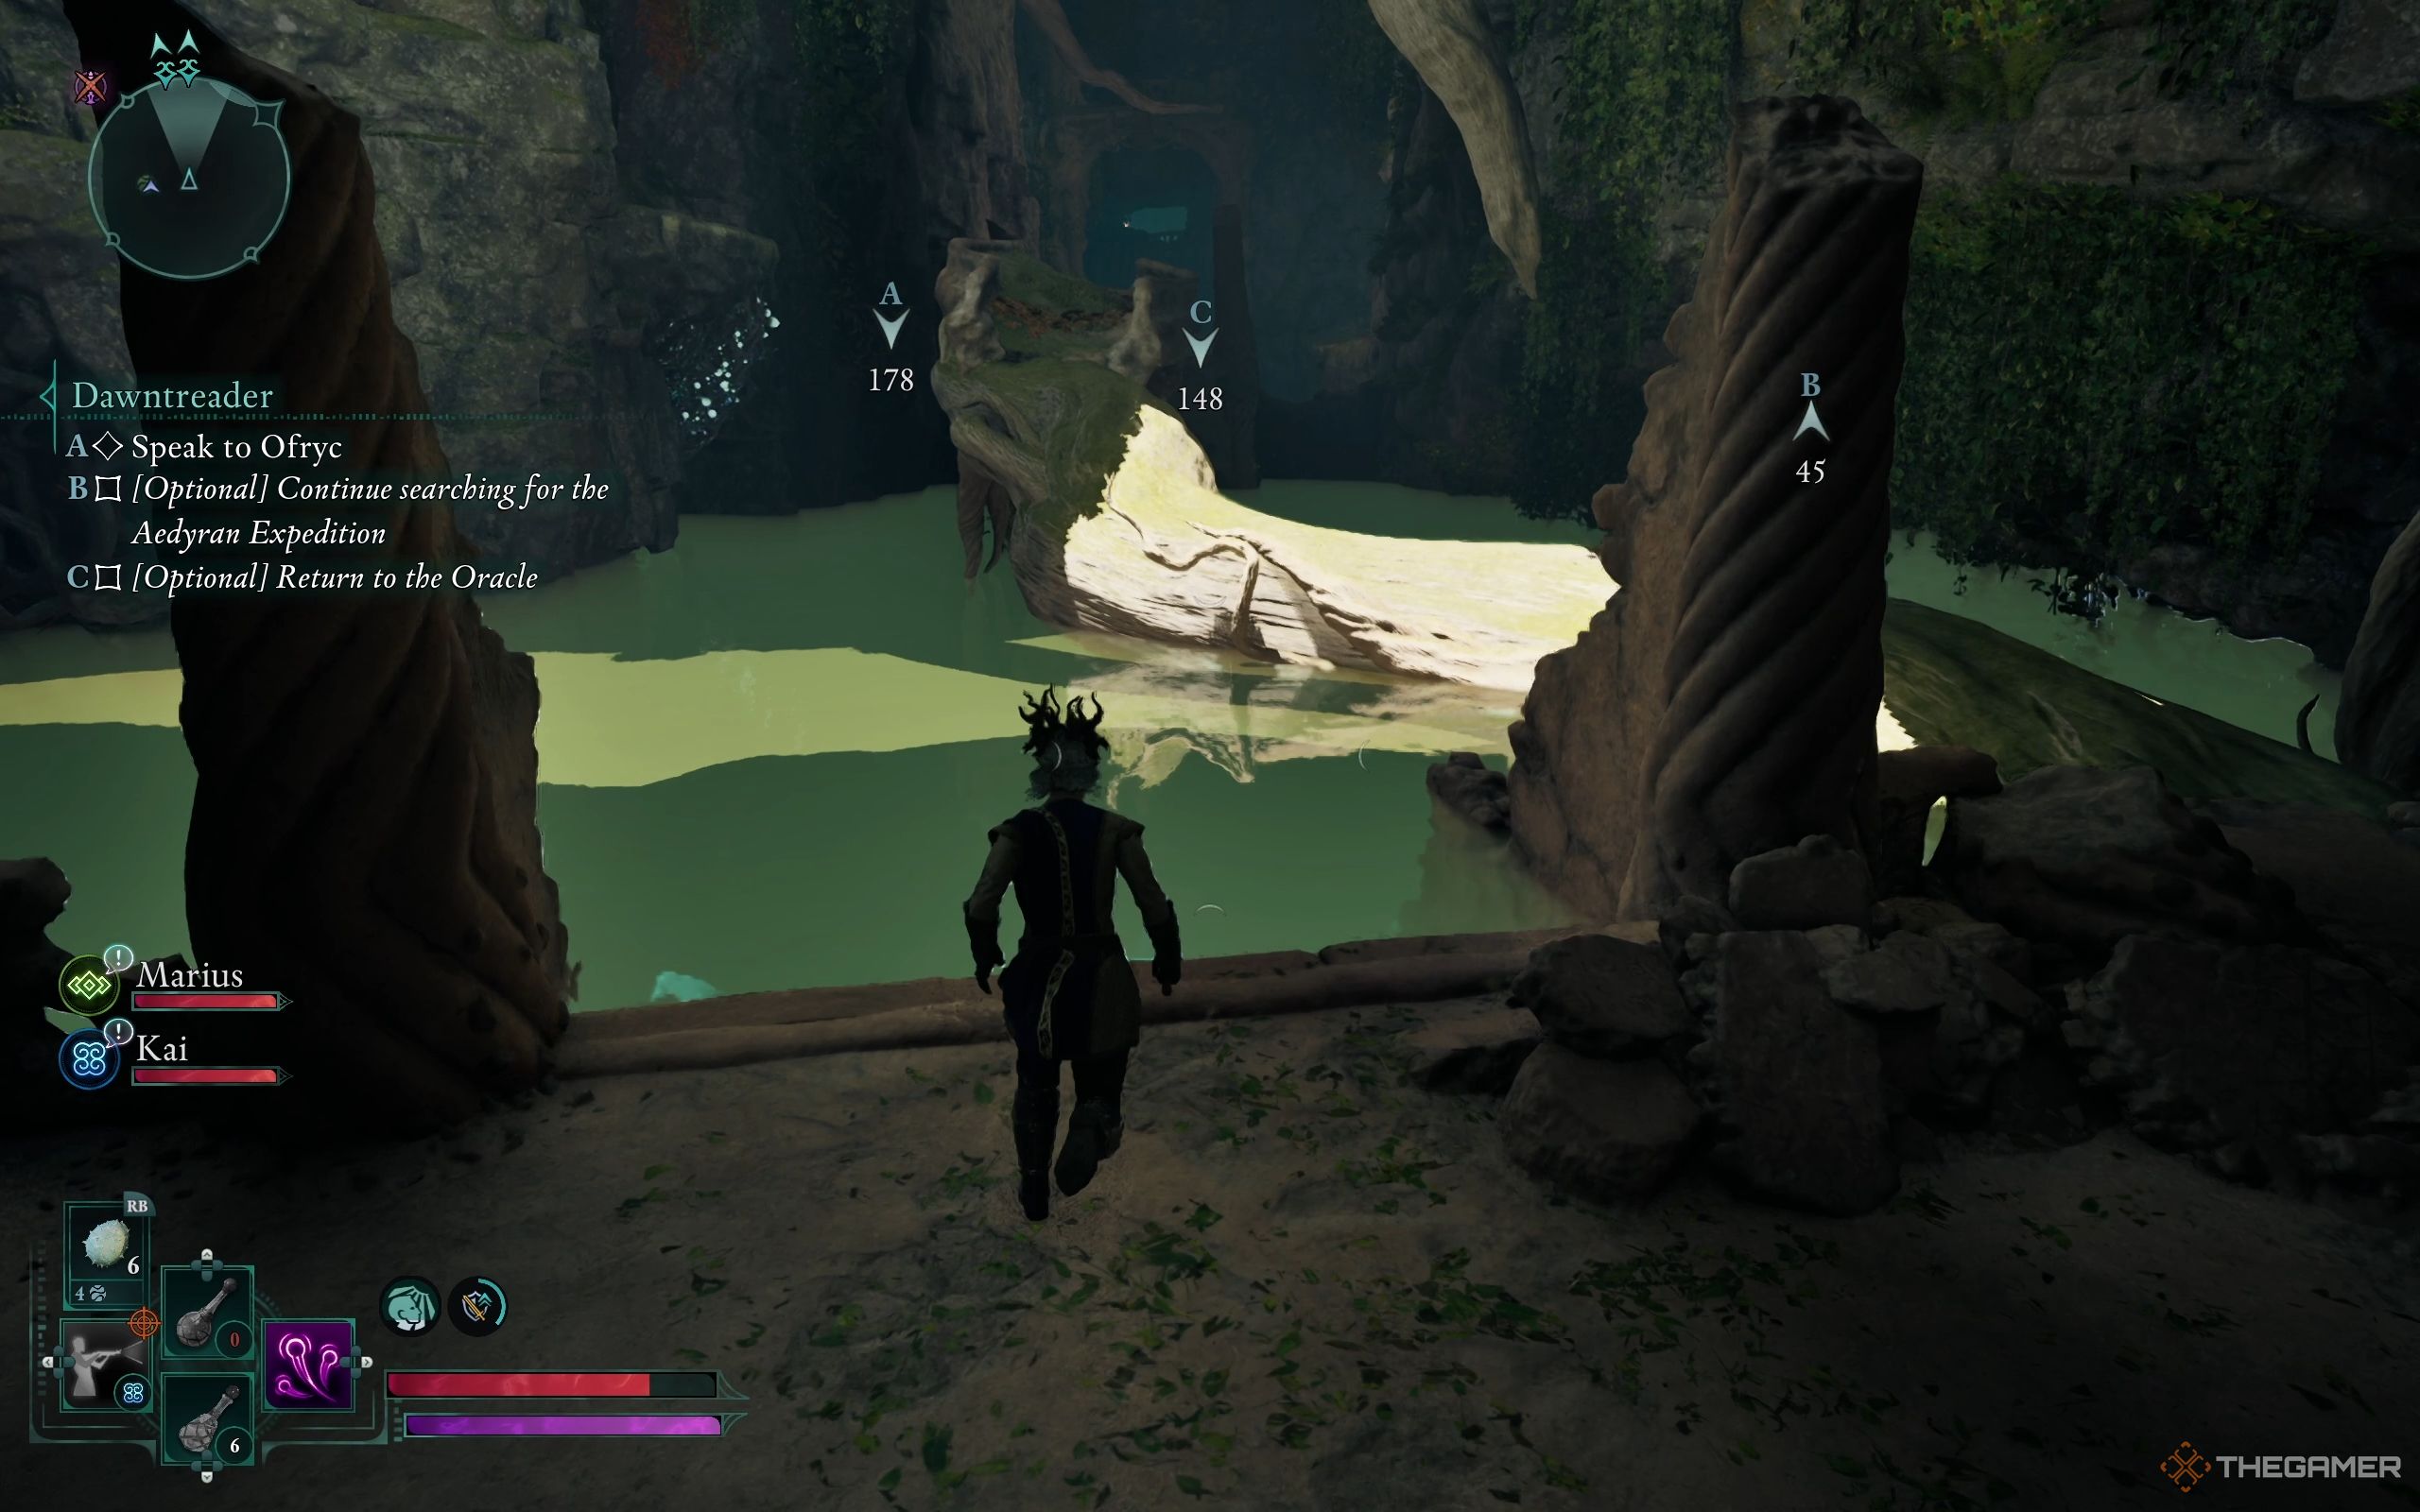
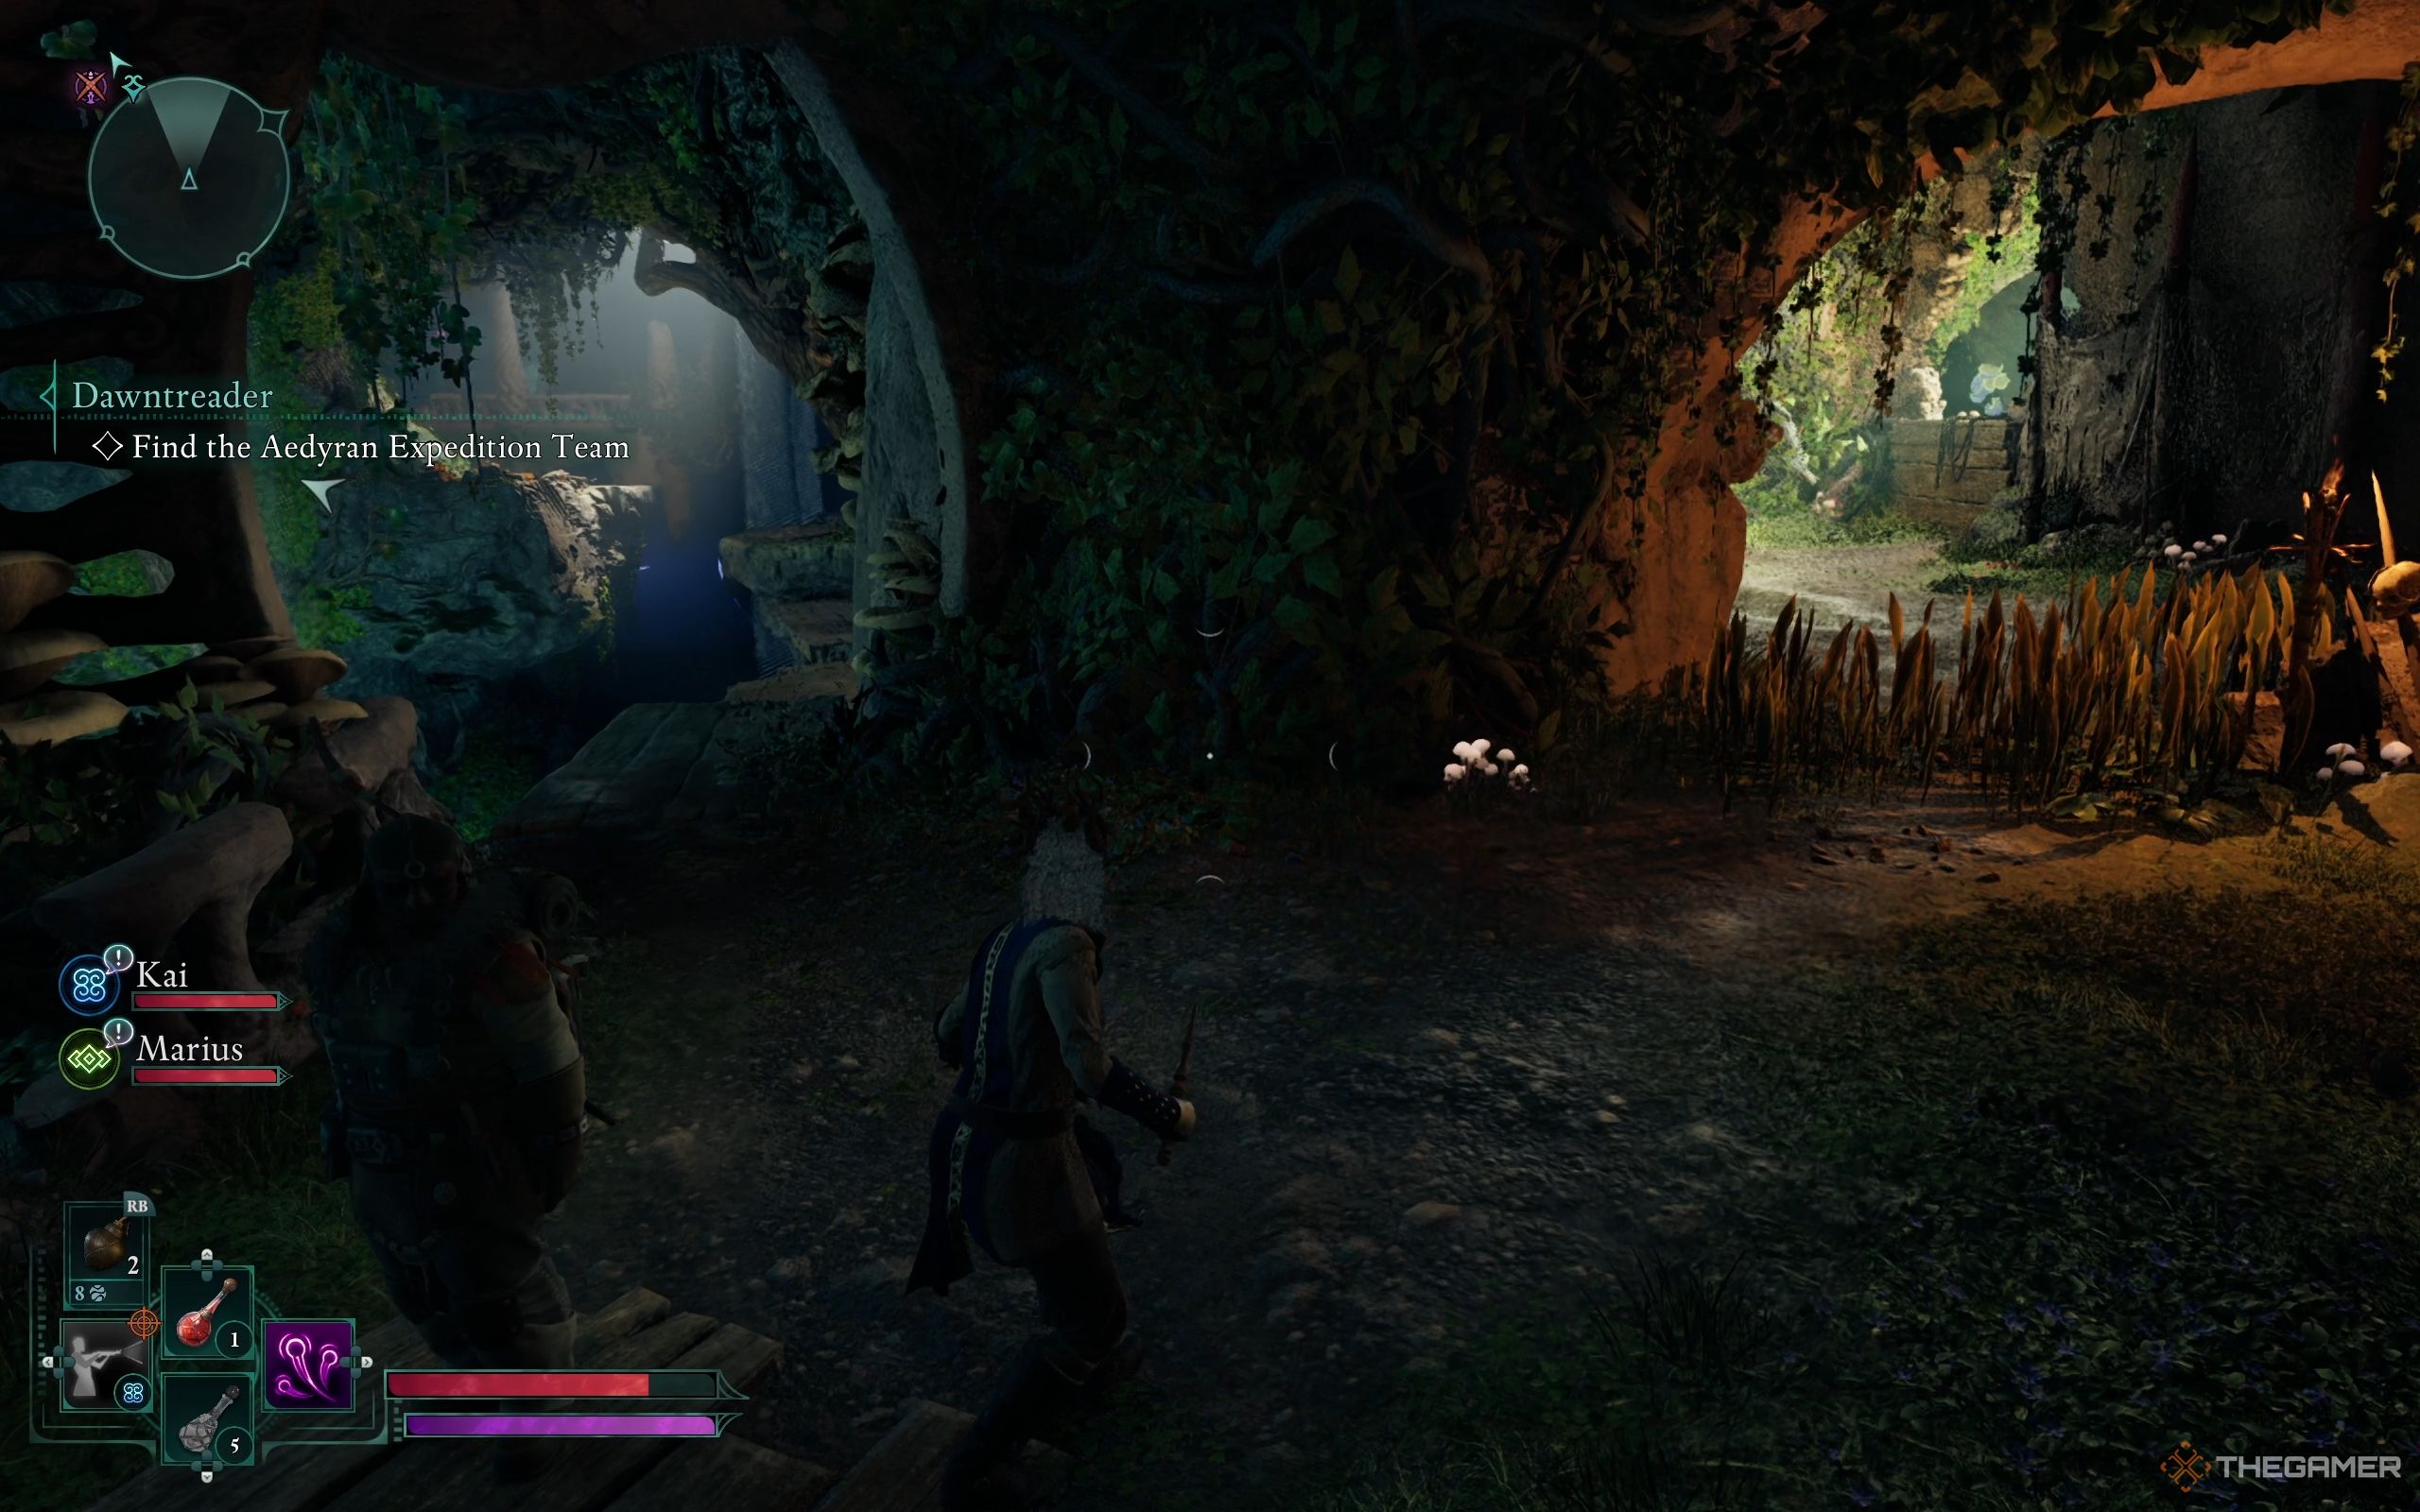
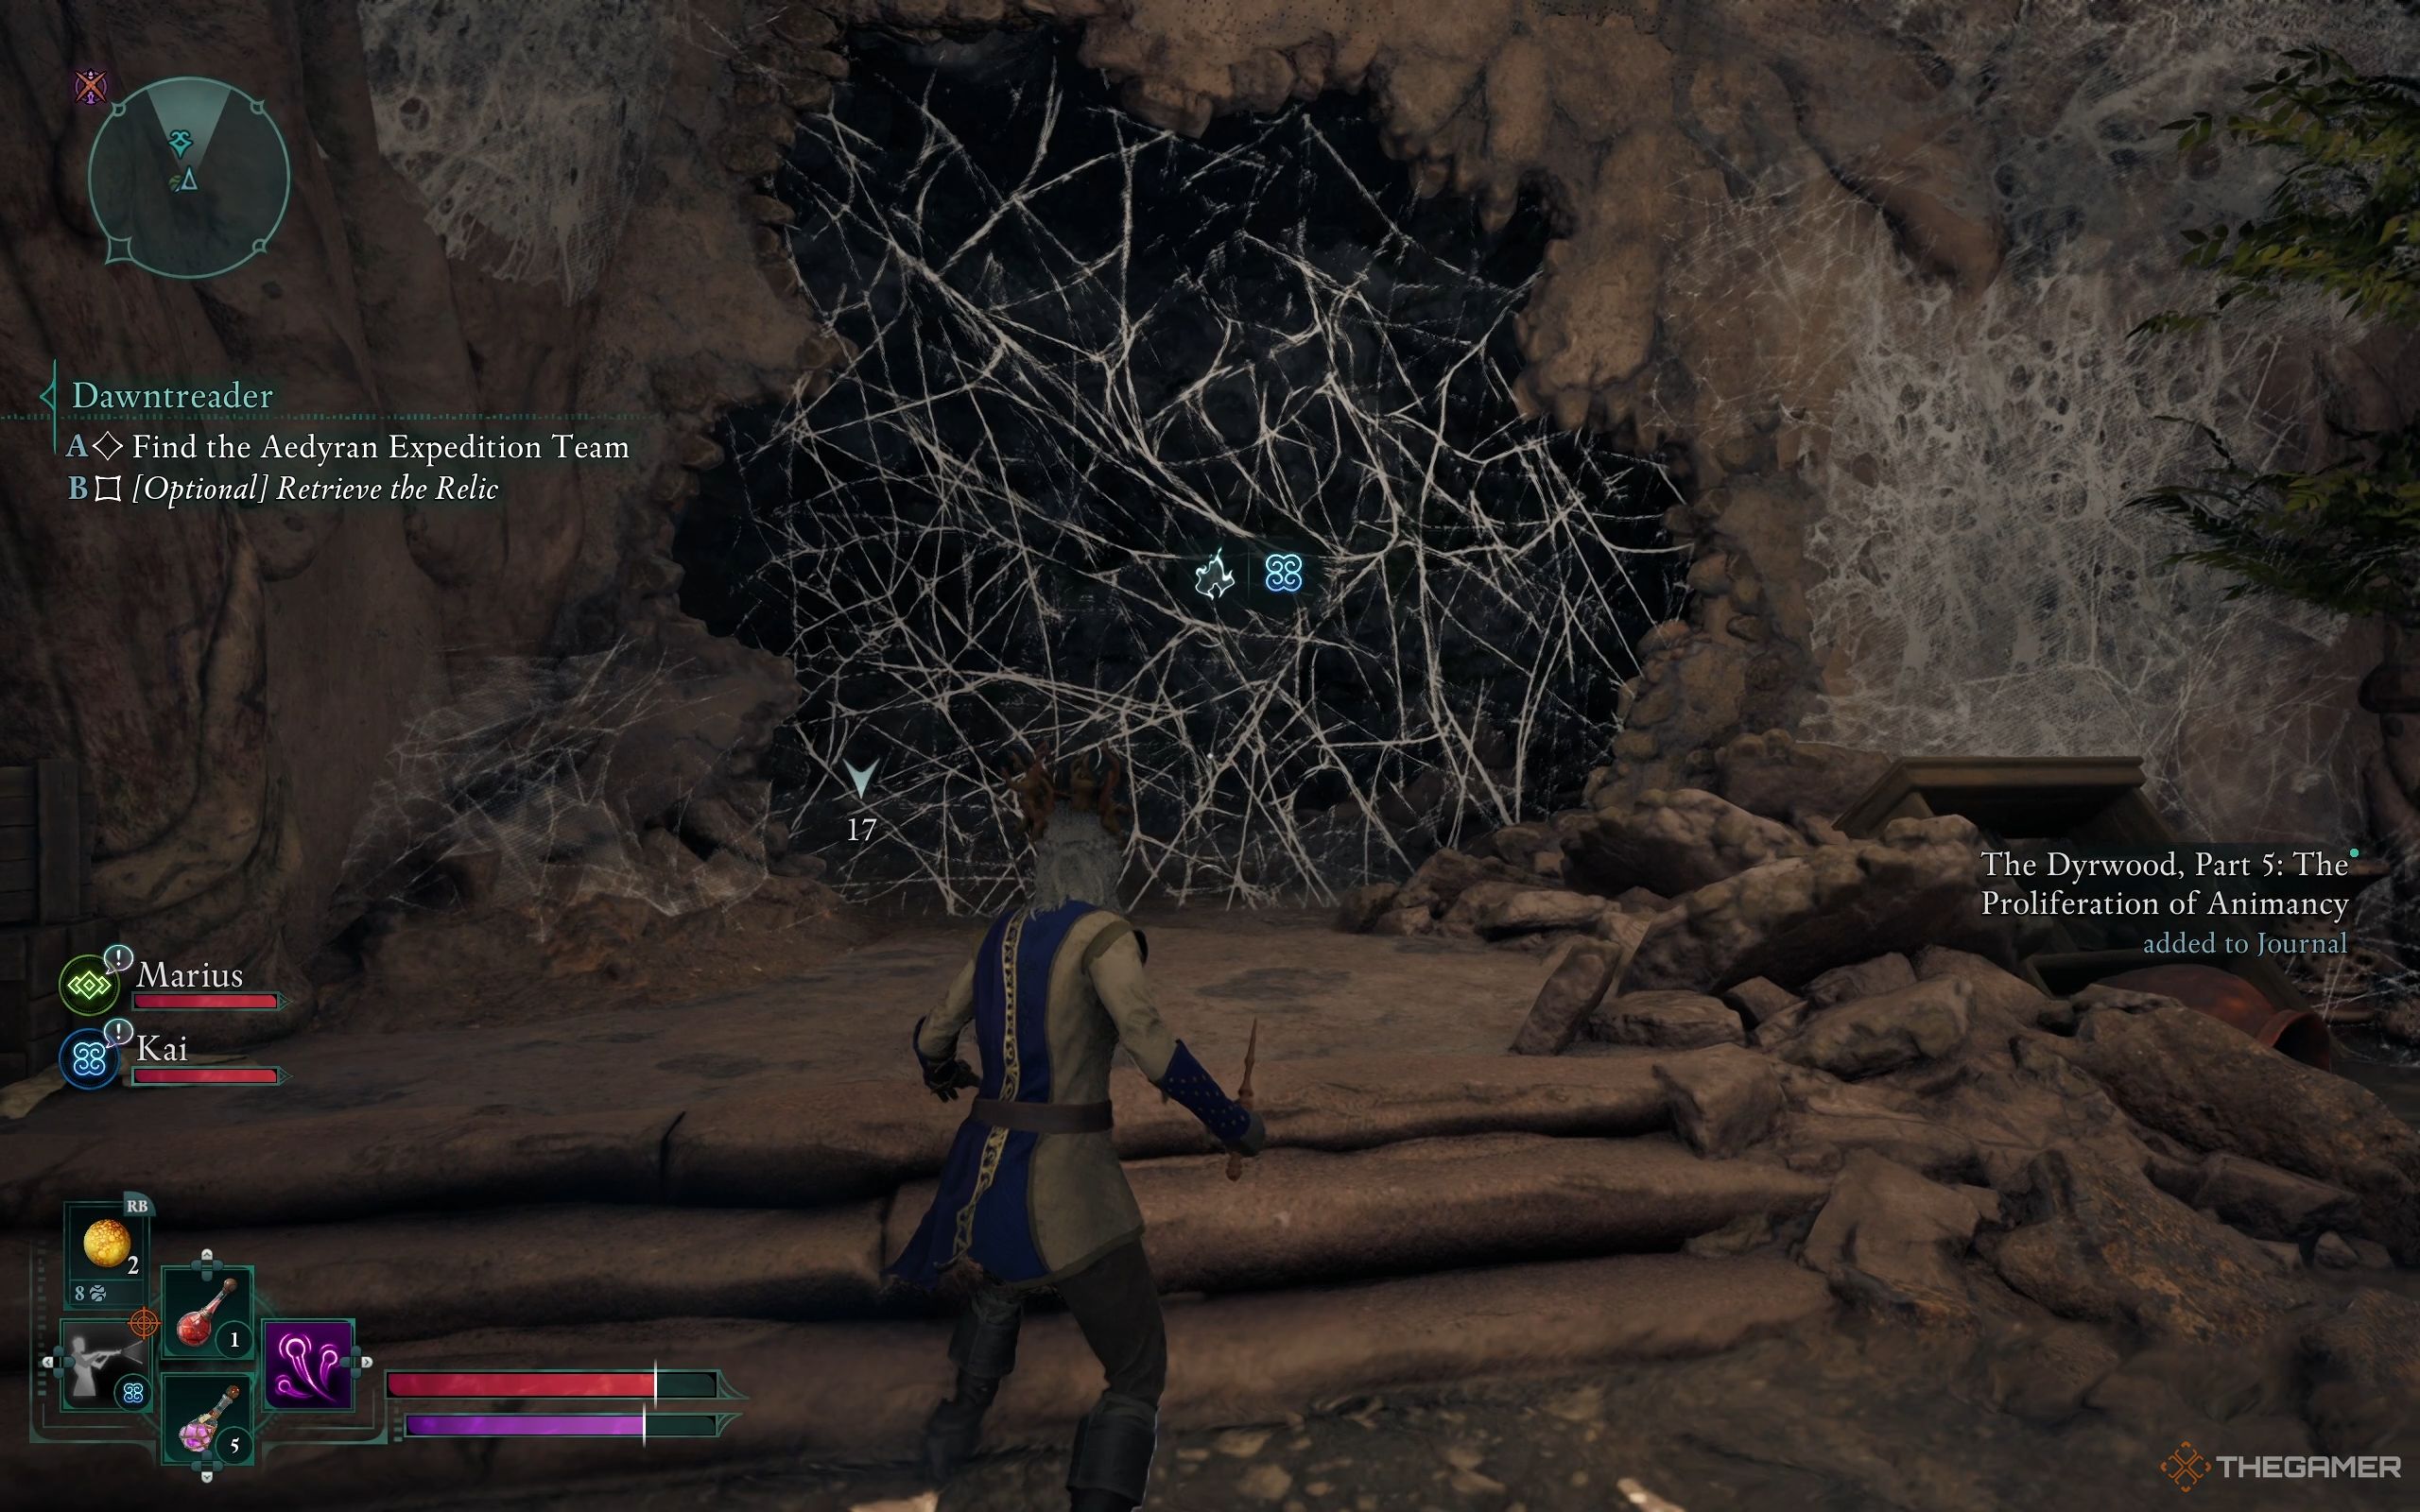
Currently, the location is submerged, but the only means to explore other sections of the temple is by making your way across a massive tree trunk. Look for adjacent platforms while ascending, then jump left when you see one to reach an earth dome bearing an orange shield emblem. Activate the nearby device to open it and grab the treasure within the enclosed chest.
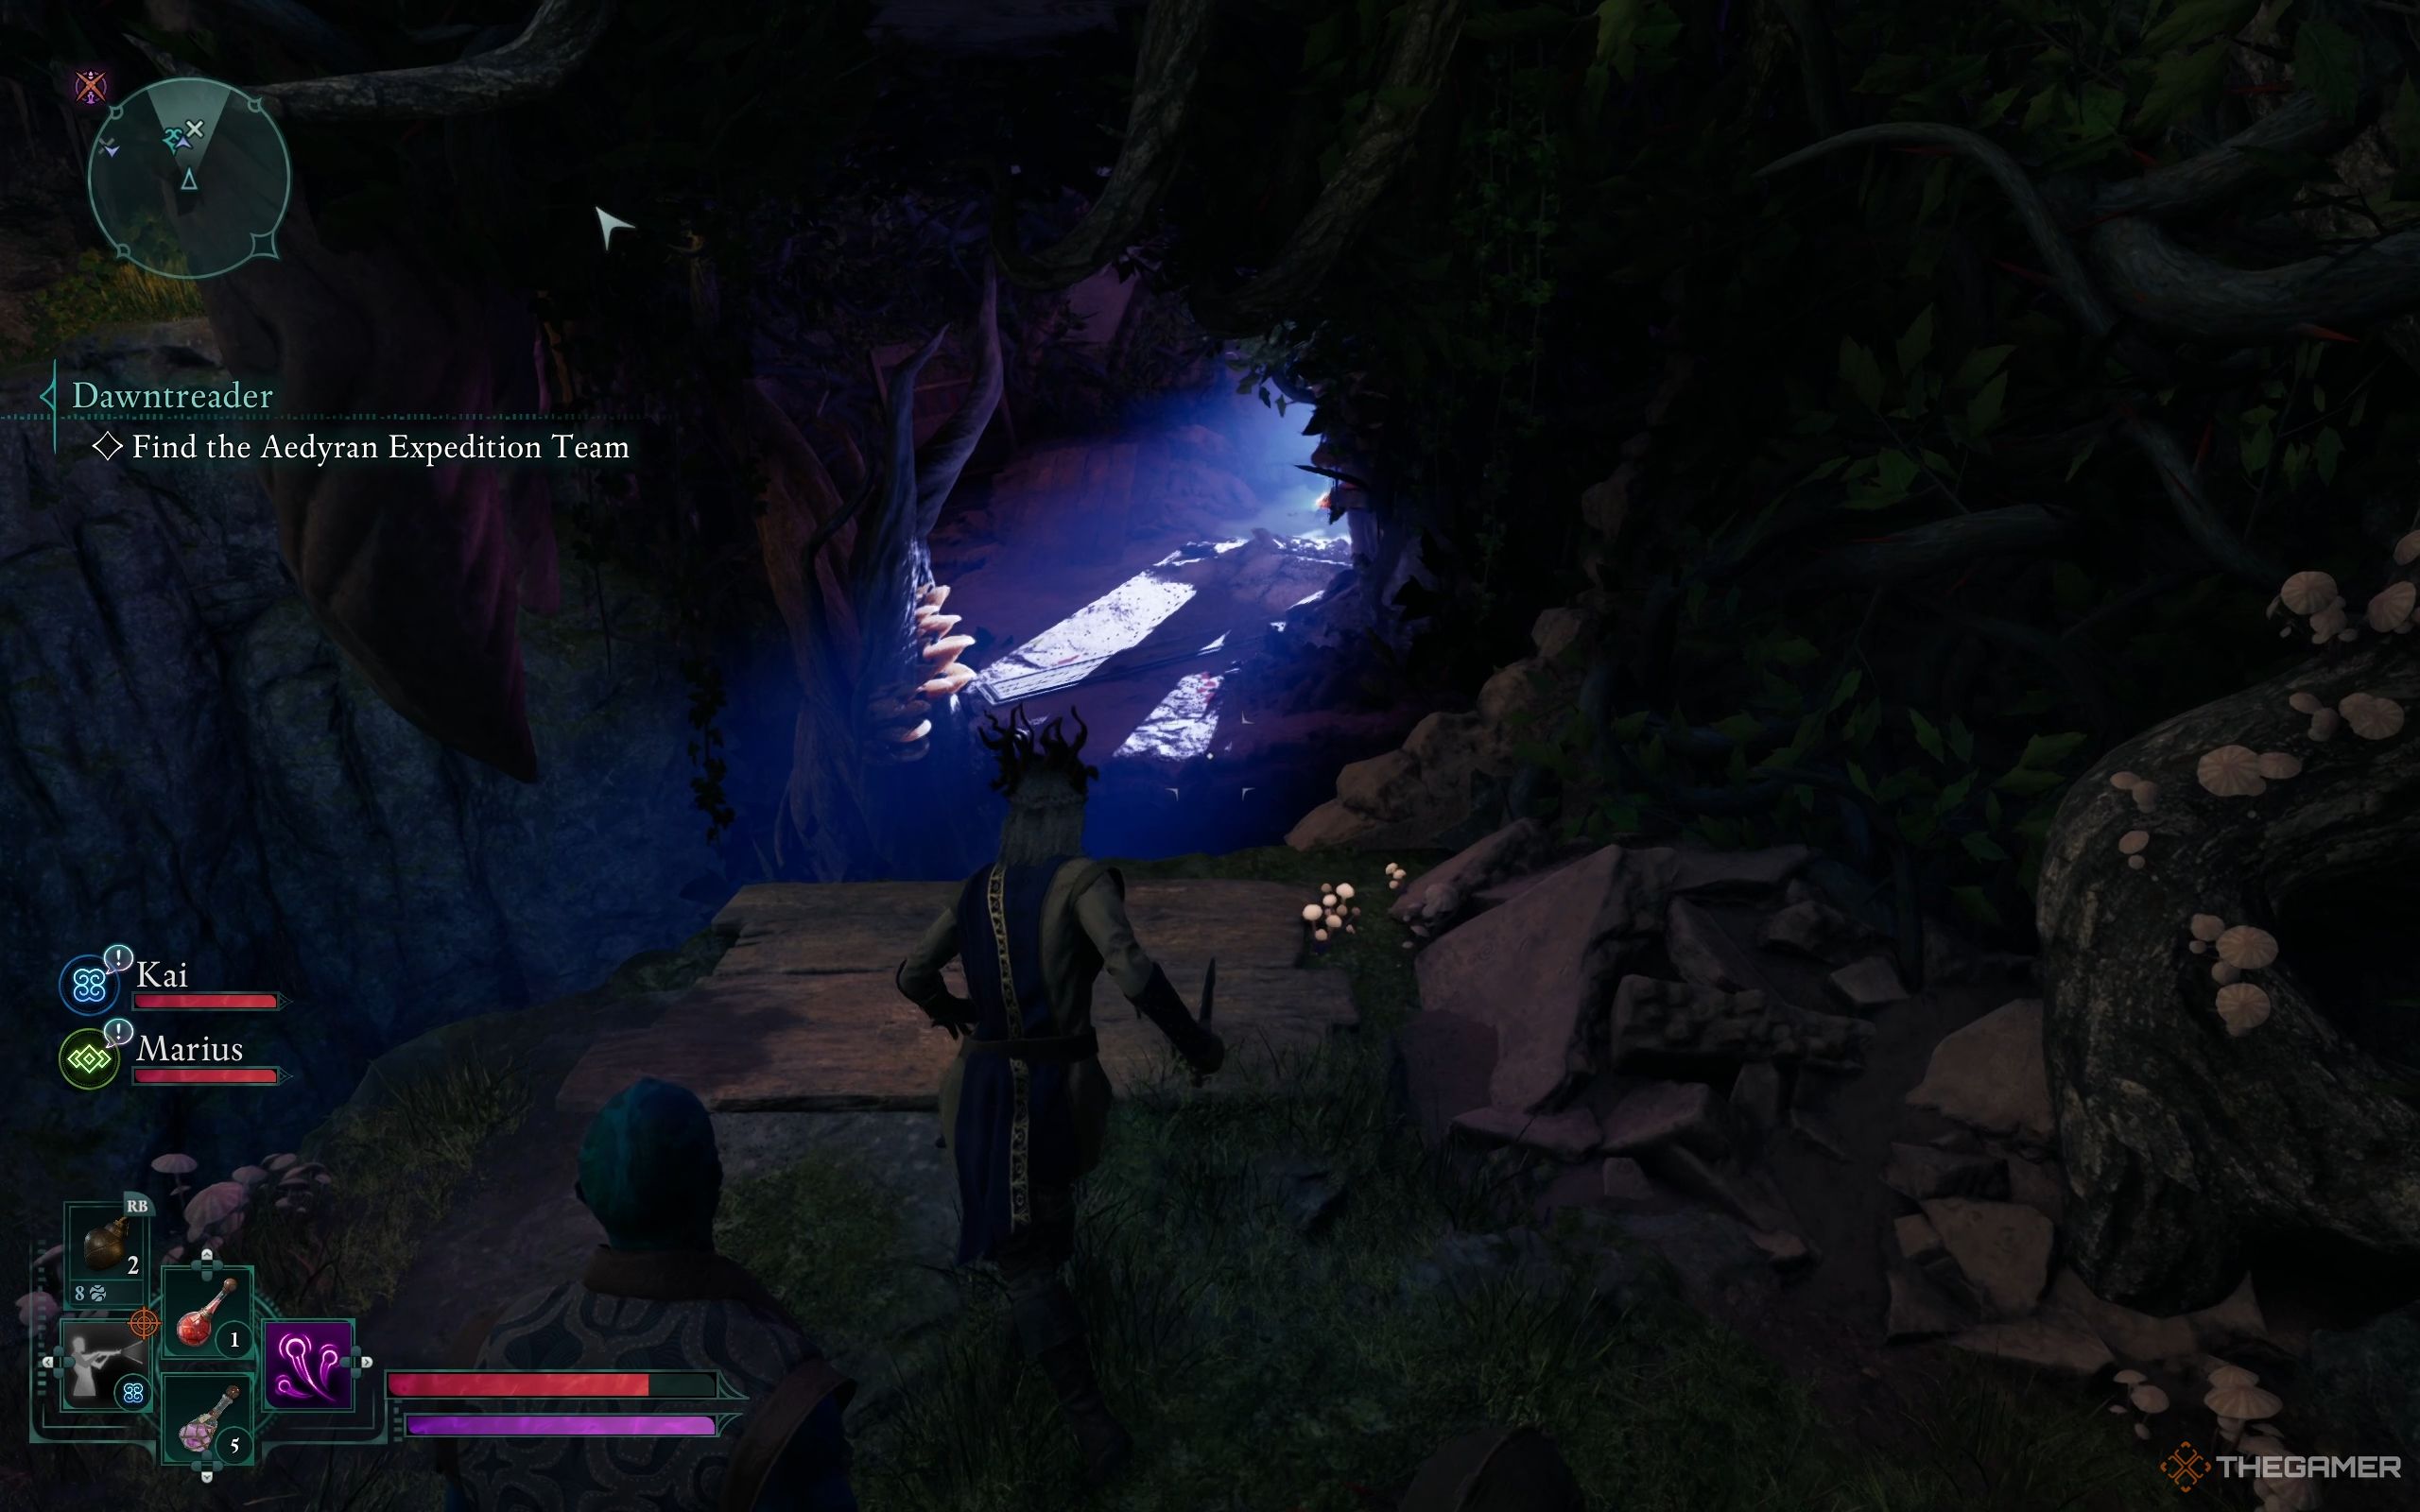
Continue along the trunk, follow it all the way, then find a place to leap across, and scale the rock. After that, leap to your right and ascend. Keep advancing until you notice a hollow in the trunk with a distinctive purple color. Lower yourself and slip through. Soon after, you’ll spot another purple hole on the ground. Descend into it.
Soon ahead, you’ll encounter a stone door with a lever, along with a room concealed behind drapes. Inside, the entire Free Expeditions Corps, including Gjeda, are deceased. As you examine the scene, Kai will note that they haven’t been dead for very long, perhaps only a few hours. Marius will mention that their deaths seem unnatural. Sadly, there’s no way to help them anymore.
Speak With Sargamis
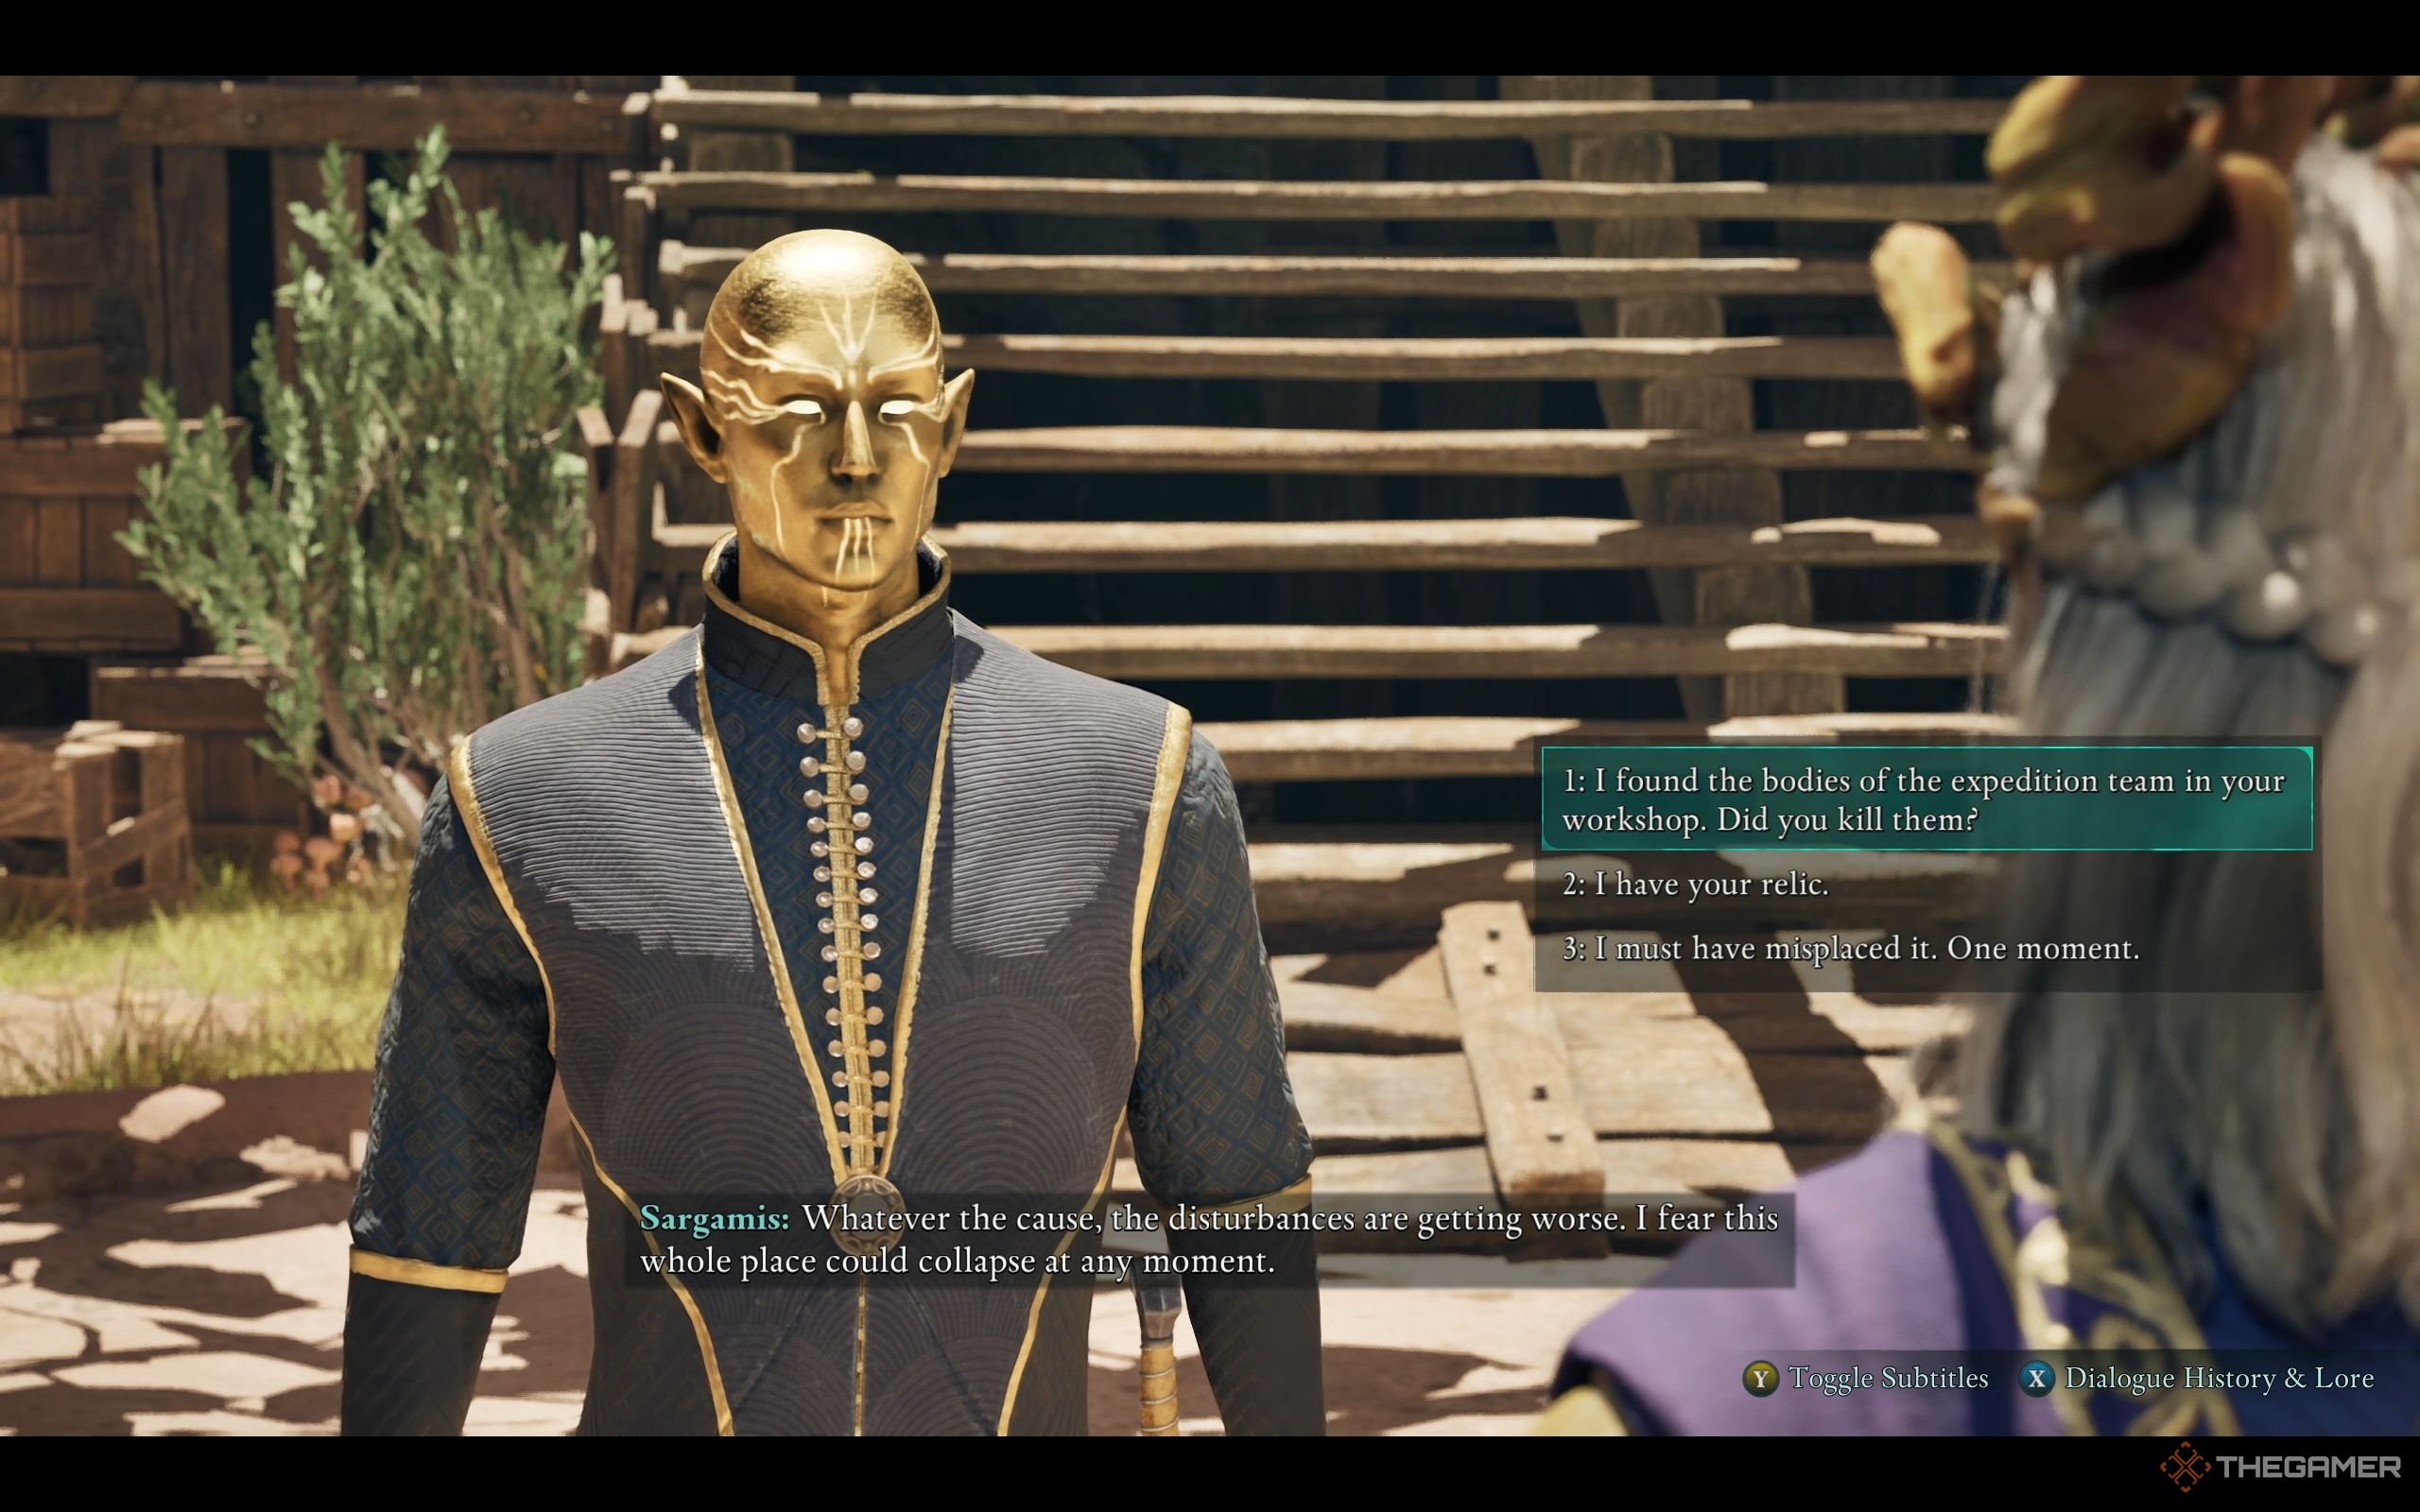
You have several options regarding the Free Expeditions Corps: You can challenge Sargamis for more information, seek advice from your companions, or delve deeper into the matter on your own. If your Perception skills are sharp enough, you might discover that Sargamis is using the souls of Gjeda and others to energize the statue and resurrect Eothas.
In this critical moment, I’ve got four paths before me, each one shaping the outcome differently: I could bluff by denying possession of the relic, engage in a confrontation with Sargamis, assist him in carrying out his scheme, or stand up to him and let him off the hook instead.
Lie To Sargamis
If you suggest that you may have mislaid the artifact, Sargamis will likely remain patient as you search for it, effectively concluding the discussion for now. However, should he inquire again about the relic, saying “Have you brought the artifact I requested?”, you can engage in a brief exchange and attempt to deceive him. Nevertheless, he won’t be tricked. The situation will remain unchanged until you acknowledge the truth.
Attack Sargamis
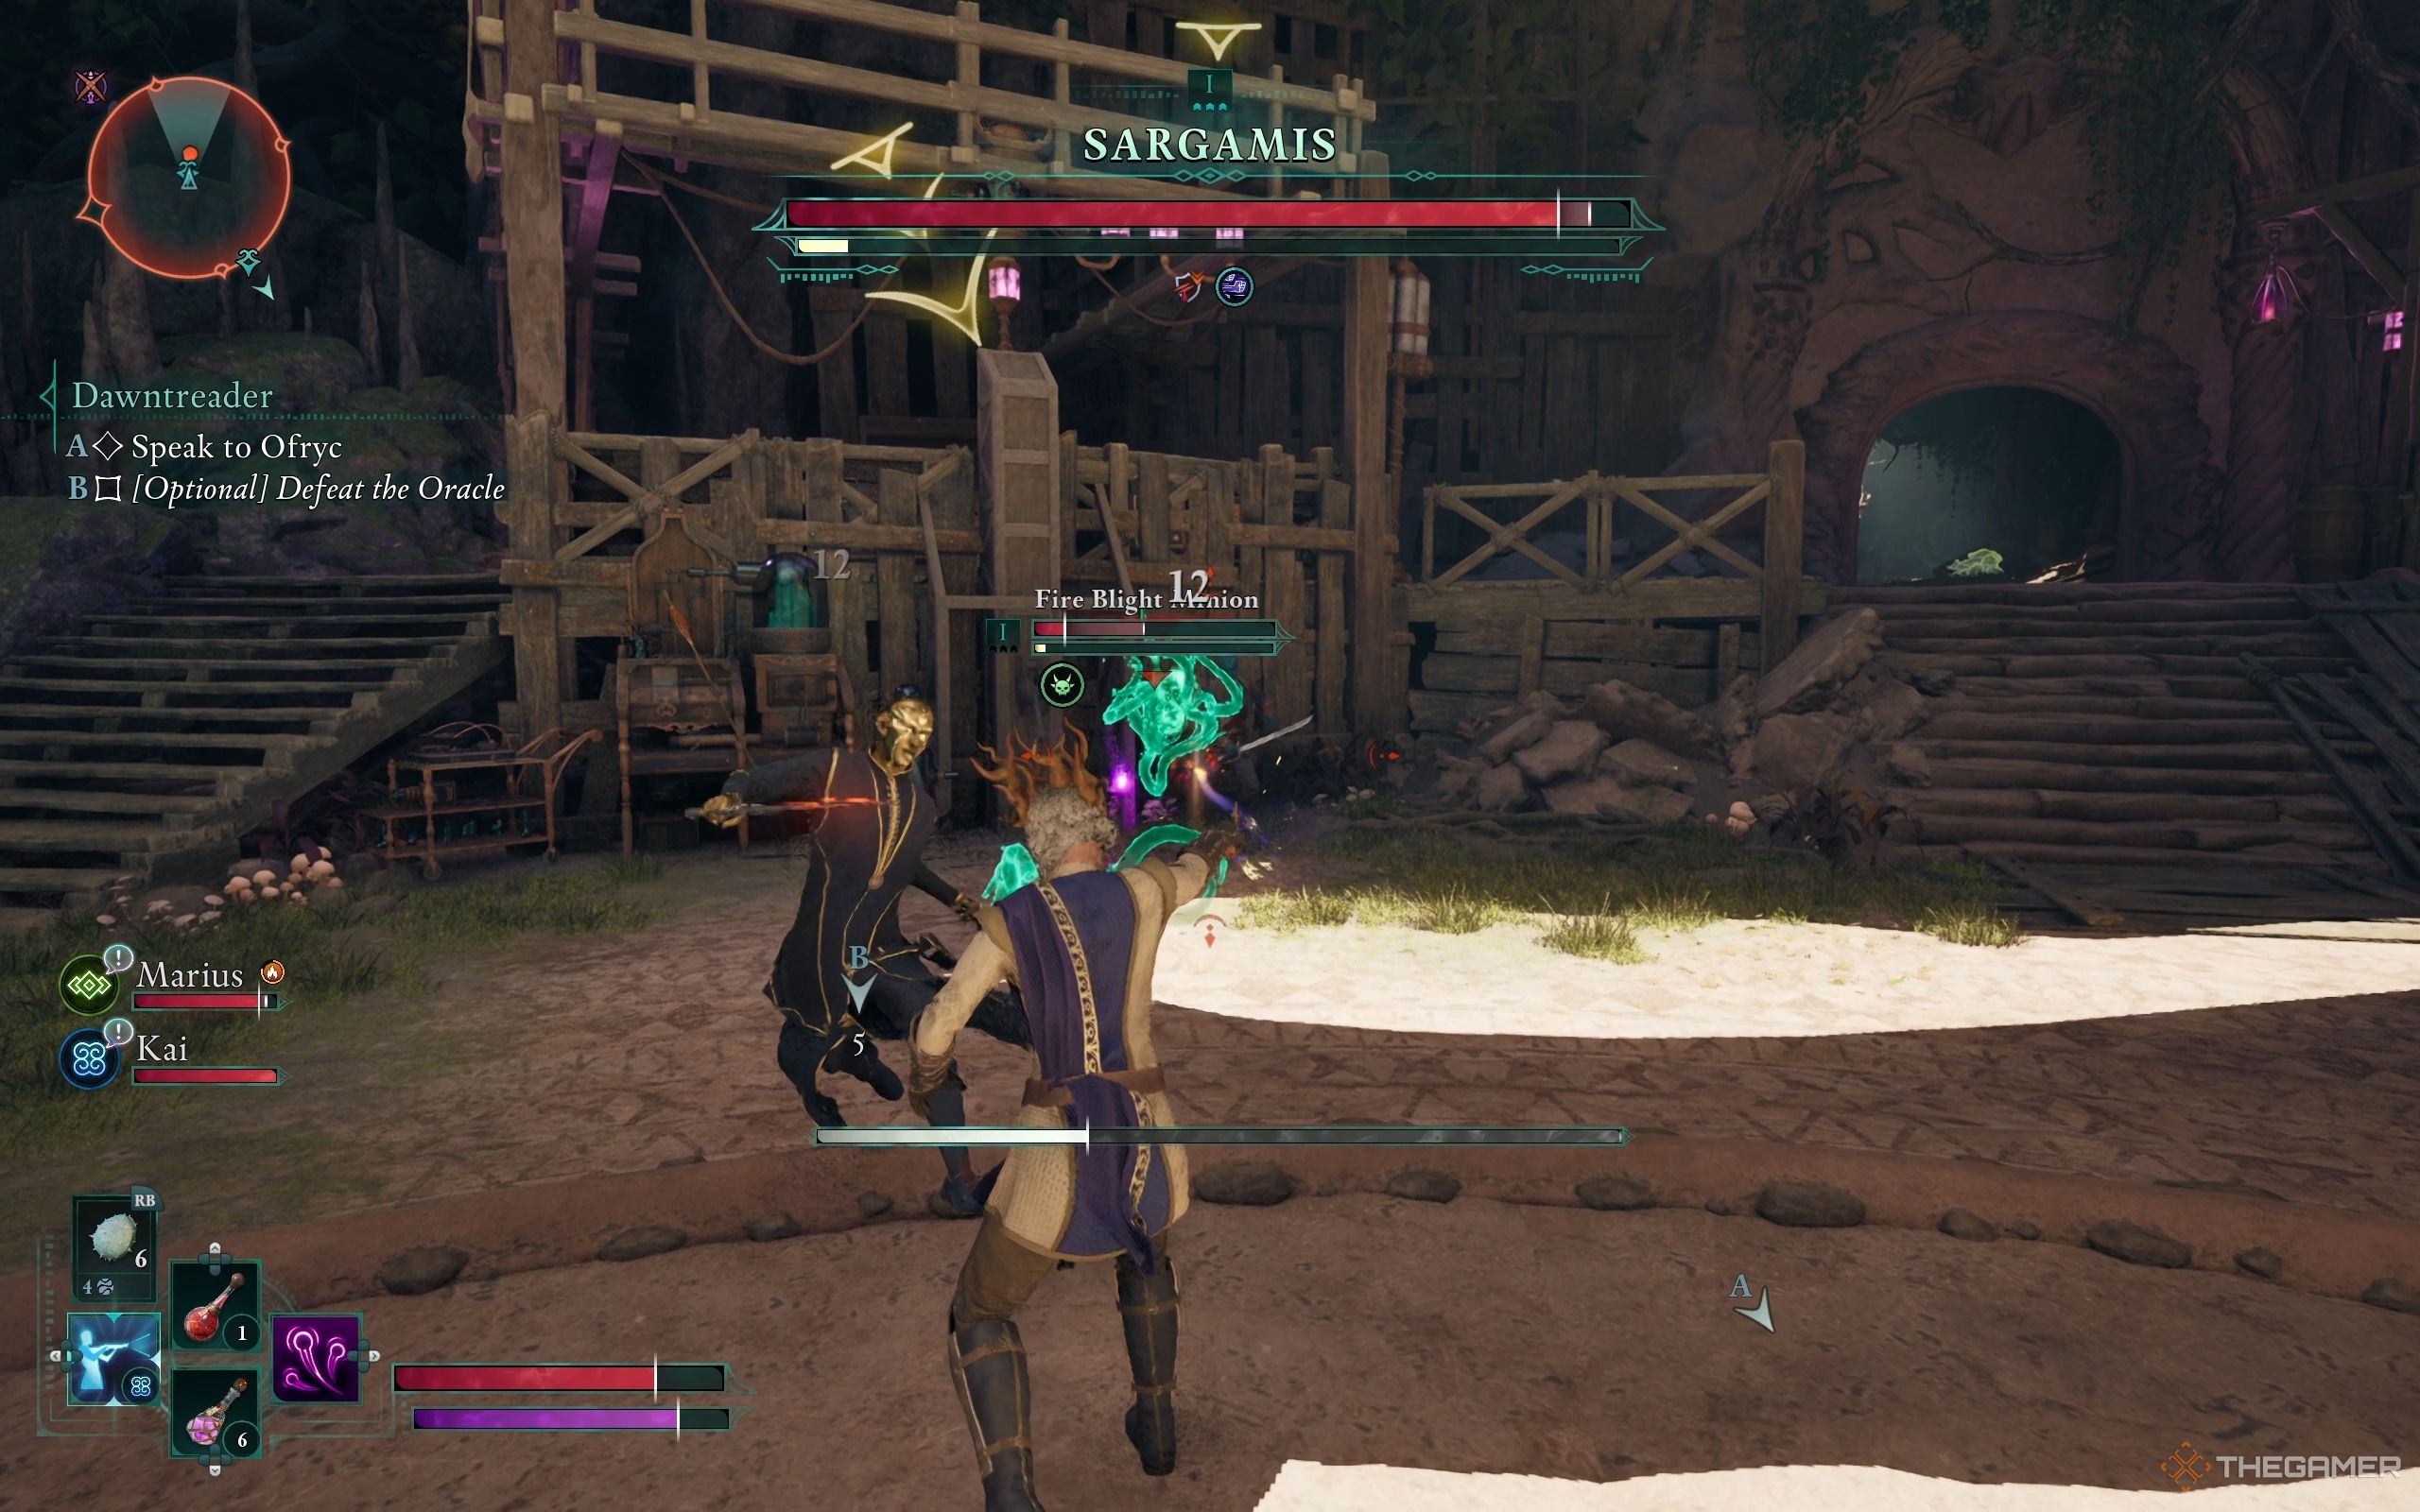
After discussing the matter of the Corps with Sargamis, you have the option to immediately engage in combat with him, or you could listen to everything he has to say by going through all his dialogue choices before deciding to fight.
Sargamis appears to be a relatively weak adversary. His health is minimal, so if you coordinate your skills with those of your allies, you can easily defeat him in no time at all. Typically, you won’t even have the chance to witness his full repertoire of moves; nevertheless, let me provide you with an analysis of his abilities and strategies for neutralizing them:
| Ability | Description | How To Counter |
|---|---|---|
| Summon Fire Blight Minions | Sargamis always opens the fight by summoning two Fire Blight Minions that spit fire. He can summon more during battle, but only two at a time. | Take out the Fire Blight Minions as soon as they appear to keep the fight under control. If they stick around, dodging Sargamis’s other attacks will be harder. |
| Fire Projectiles | Sargamis fires homing projectiles. | Sprint sideways to avoid them. |
| Sword Dash | Sargamis raises his sword before dashing forward to strike. | Wait for him to charge, then dodge sideways at the last moment to avoid the attack. |
| AoE Explosion | Sargamis casts a large AoE explosion with himself at the center | Get out of the blast radius. |
When Sargamis dies, you can loot his sword, called the
.
Help Sargamis
If you hand over the relic to Sargamis, he’ll instruct you to insert the Shard of Eothas into a device. He’ll try to activate it, but it won’t respond. Then, Sargamis will urge you to surrender your soul. At this point, you have two options: Offer your own soul to the machine, or persuade Sargamis to offer his instead.
If you decide to surrender your spirit to Sargamis, your comrades will vehemently oppose this notion. As soon as you enter the designated area, the device will become active, extracting your spirit and ending your life. Subsequently, the game will reset, granting you the achievement titled ‘Envoy within the Statue.’
If you instruct Sargamis to make the ultimate sacrifice by giving up his life force, he’ll understand that he is the vital component keeping the machine from functioning correctly. Tragically, even after his death, the machine won’t work. On the positive side, you can then obtain the Last Light of Day sword from him, and enjoy the camaraderie among your allies.
Tell Sargamis He’s Wrong
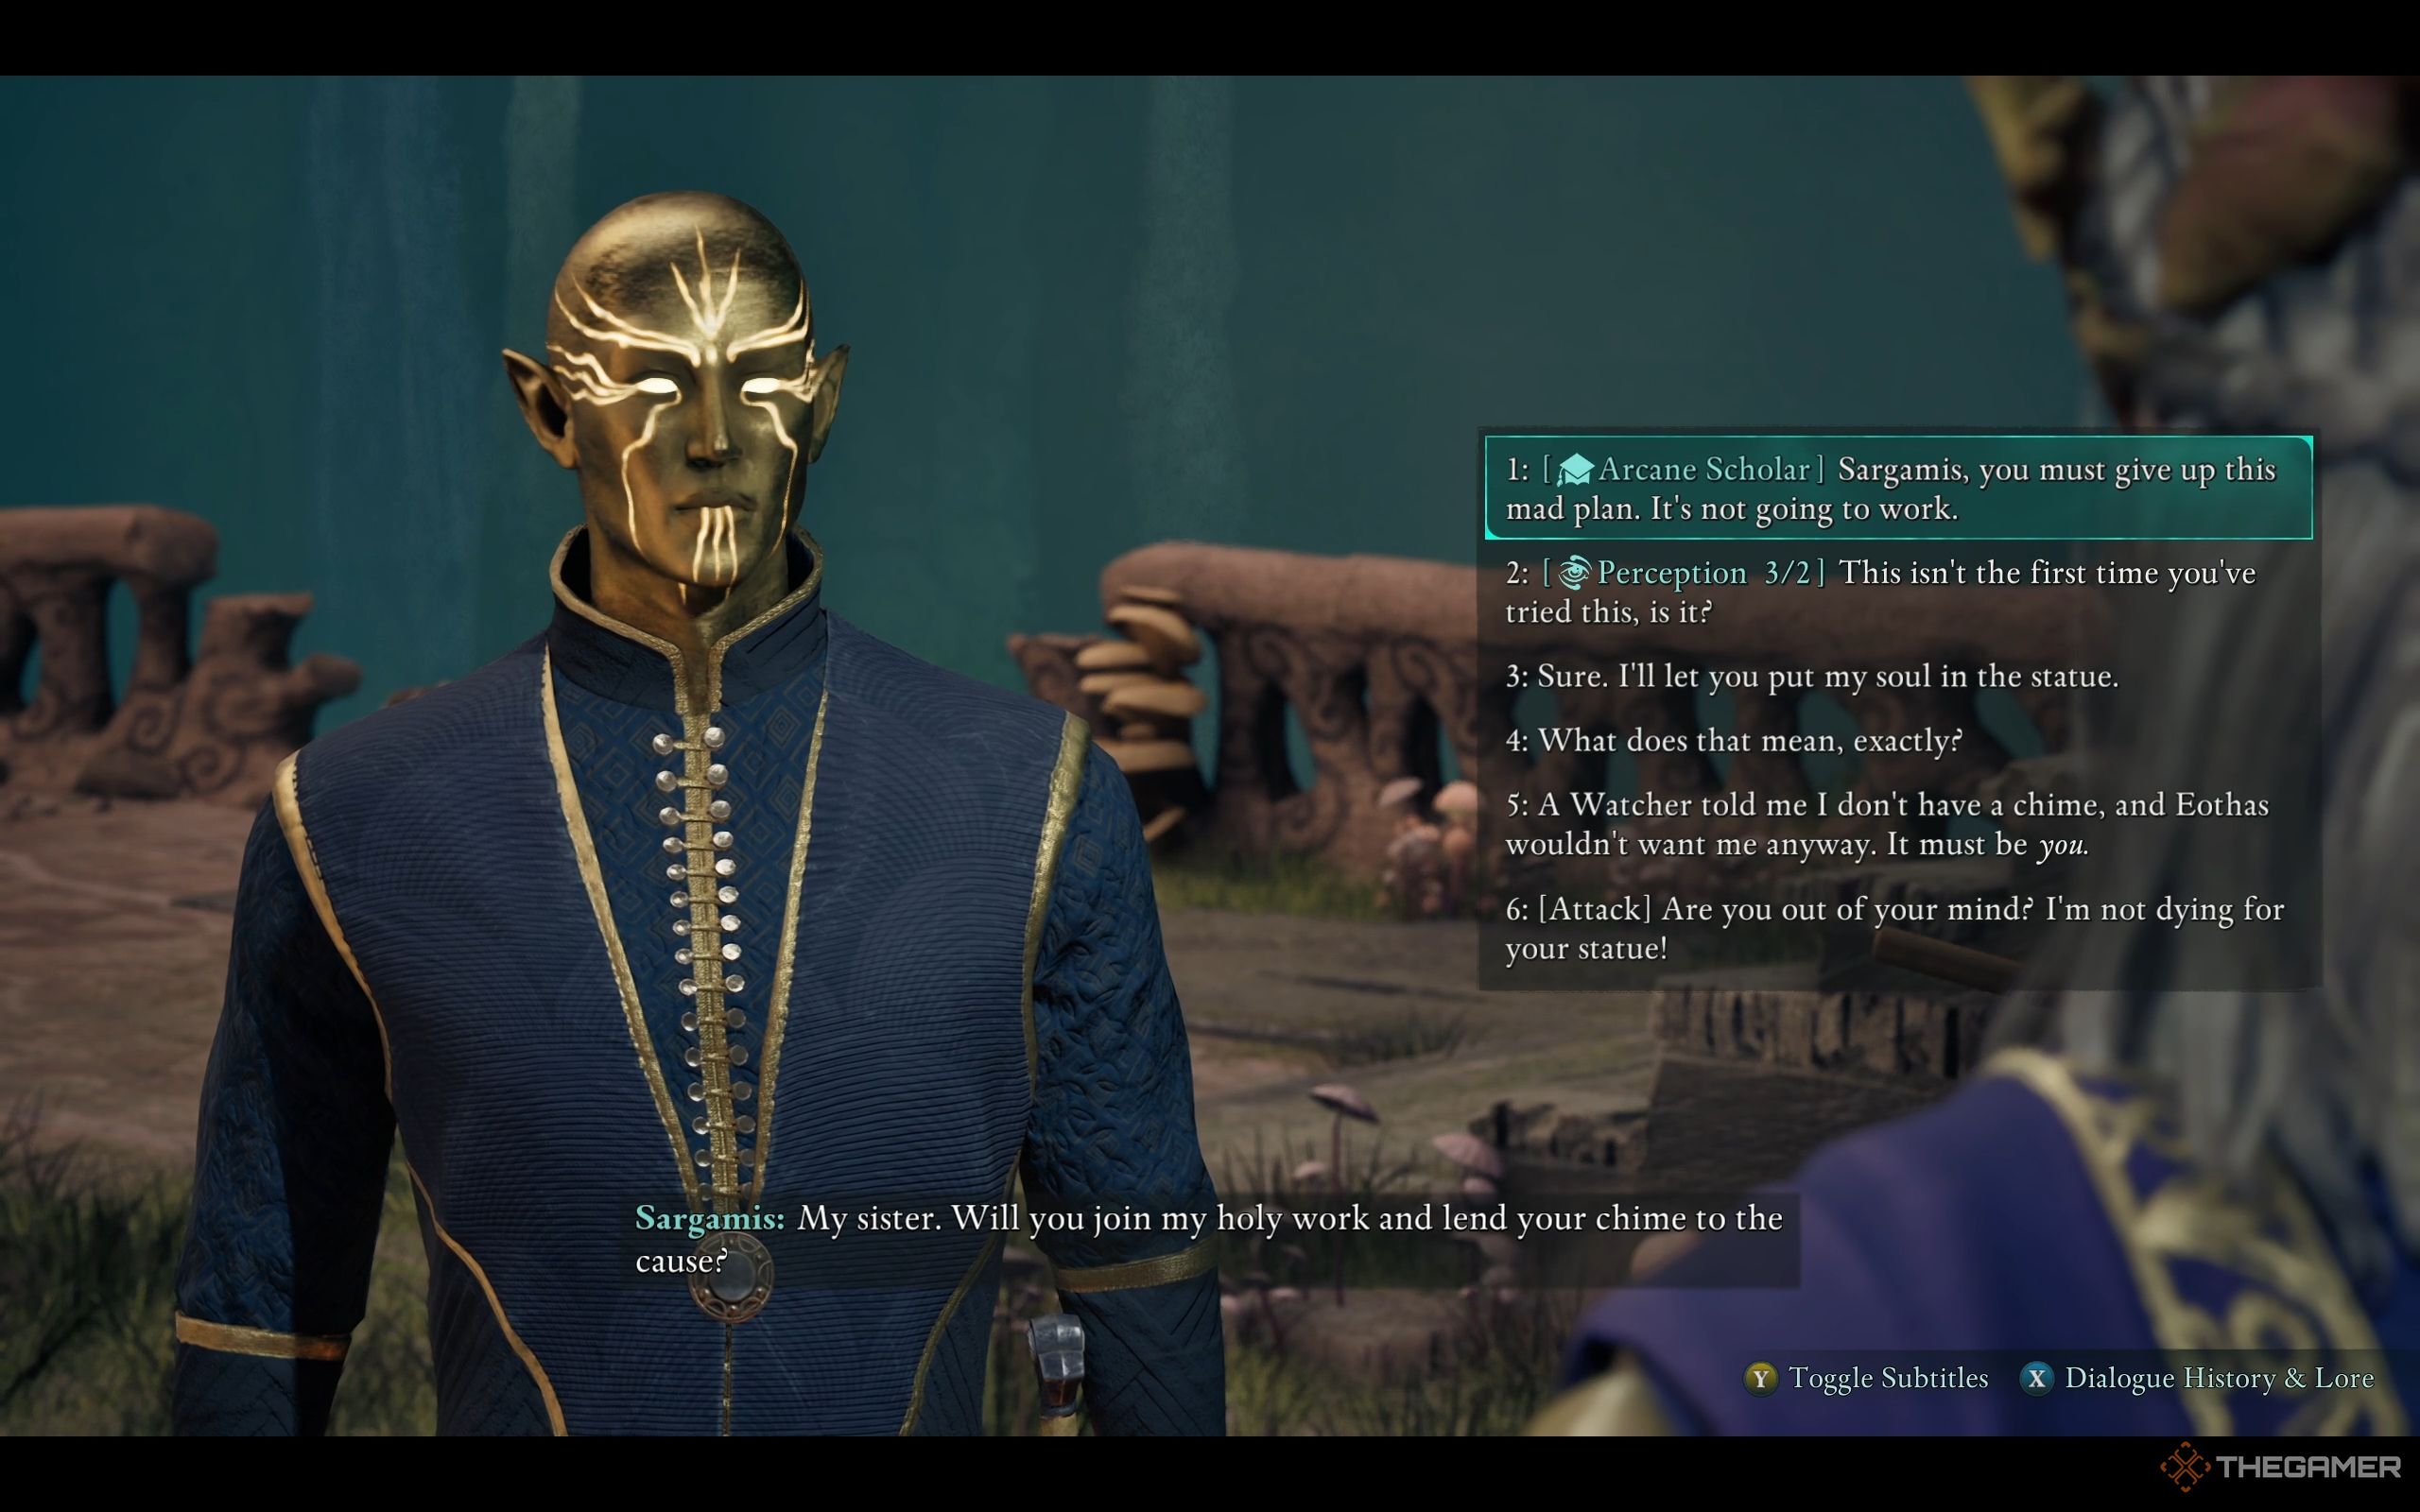
If you’re an Arcane Scholar, express to Sargamis that his plan is not feasible. He may be obstinate at first, but with a strong Intellect of 4/4, you can effectively debunk his outdated ideas. Initially, he might suspect you of deceit, but don’t fret. Any conversation will make him question his thoughts. As he grapples with doubt, you’ll have three different approaches to steer him towards a better path:
- Counsel the people of the Living Lands.
- Help the people in the Deadfire.
- Seek out the other godlikes.
Later on, you’ll encounter Sargamis once more as you exit the Eothasian Temple via the elevator. On this occasion, Sargamis will be decisive and choose to follow the route you advised. In appreciation for your guidance, he’ll bestow upon you his sword, Last Light of Day.
Should You Give The Statue To The Voice?
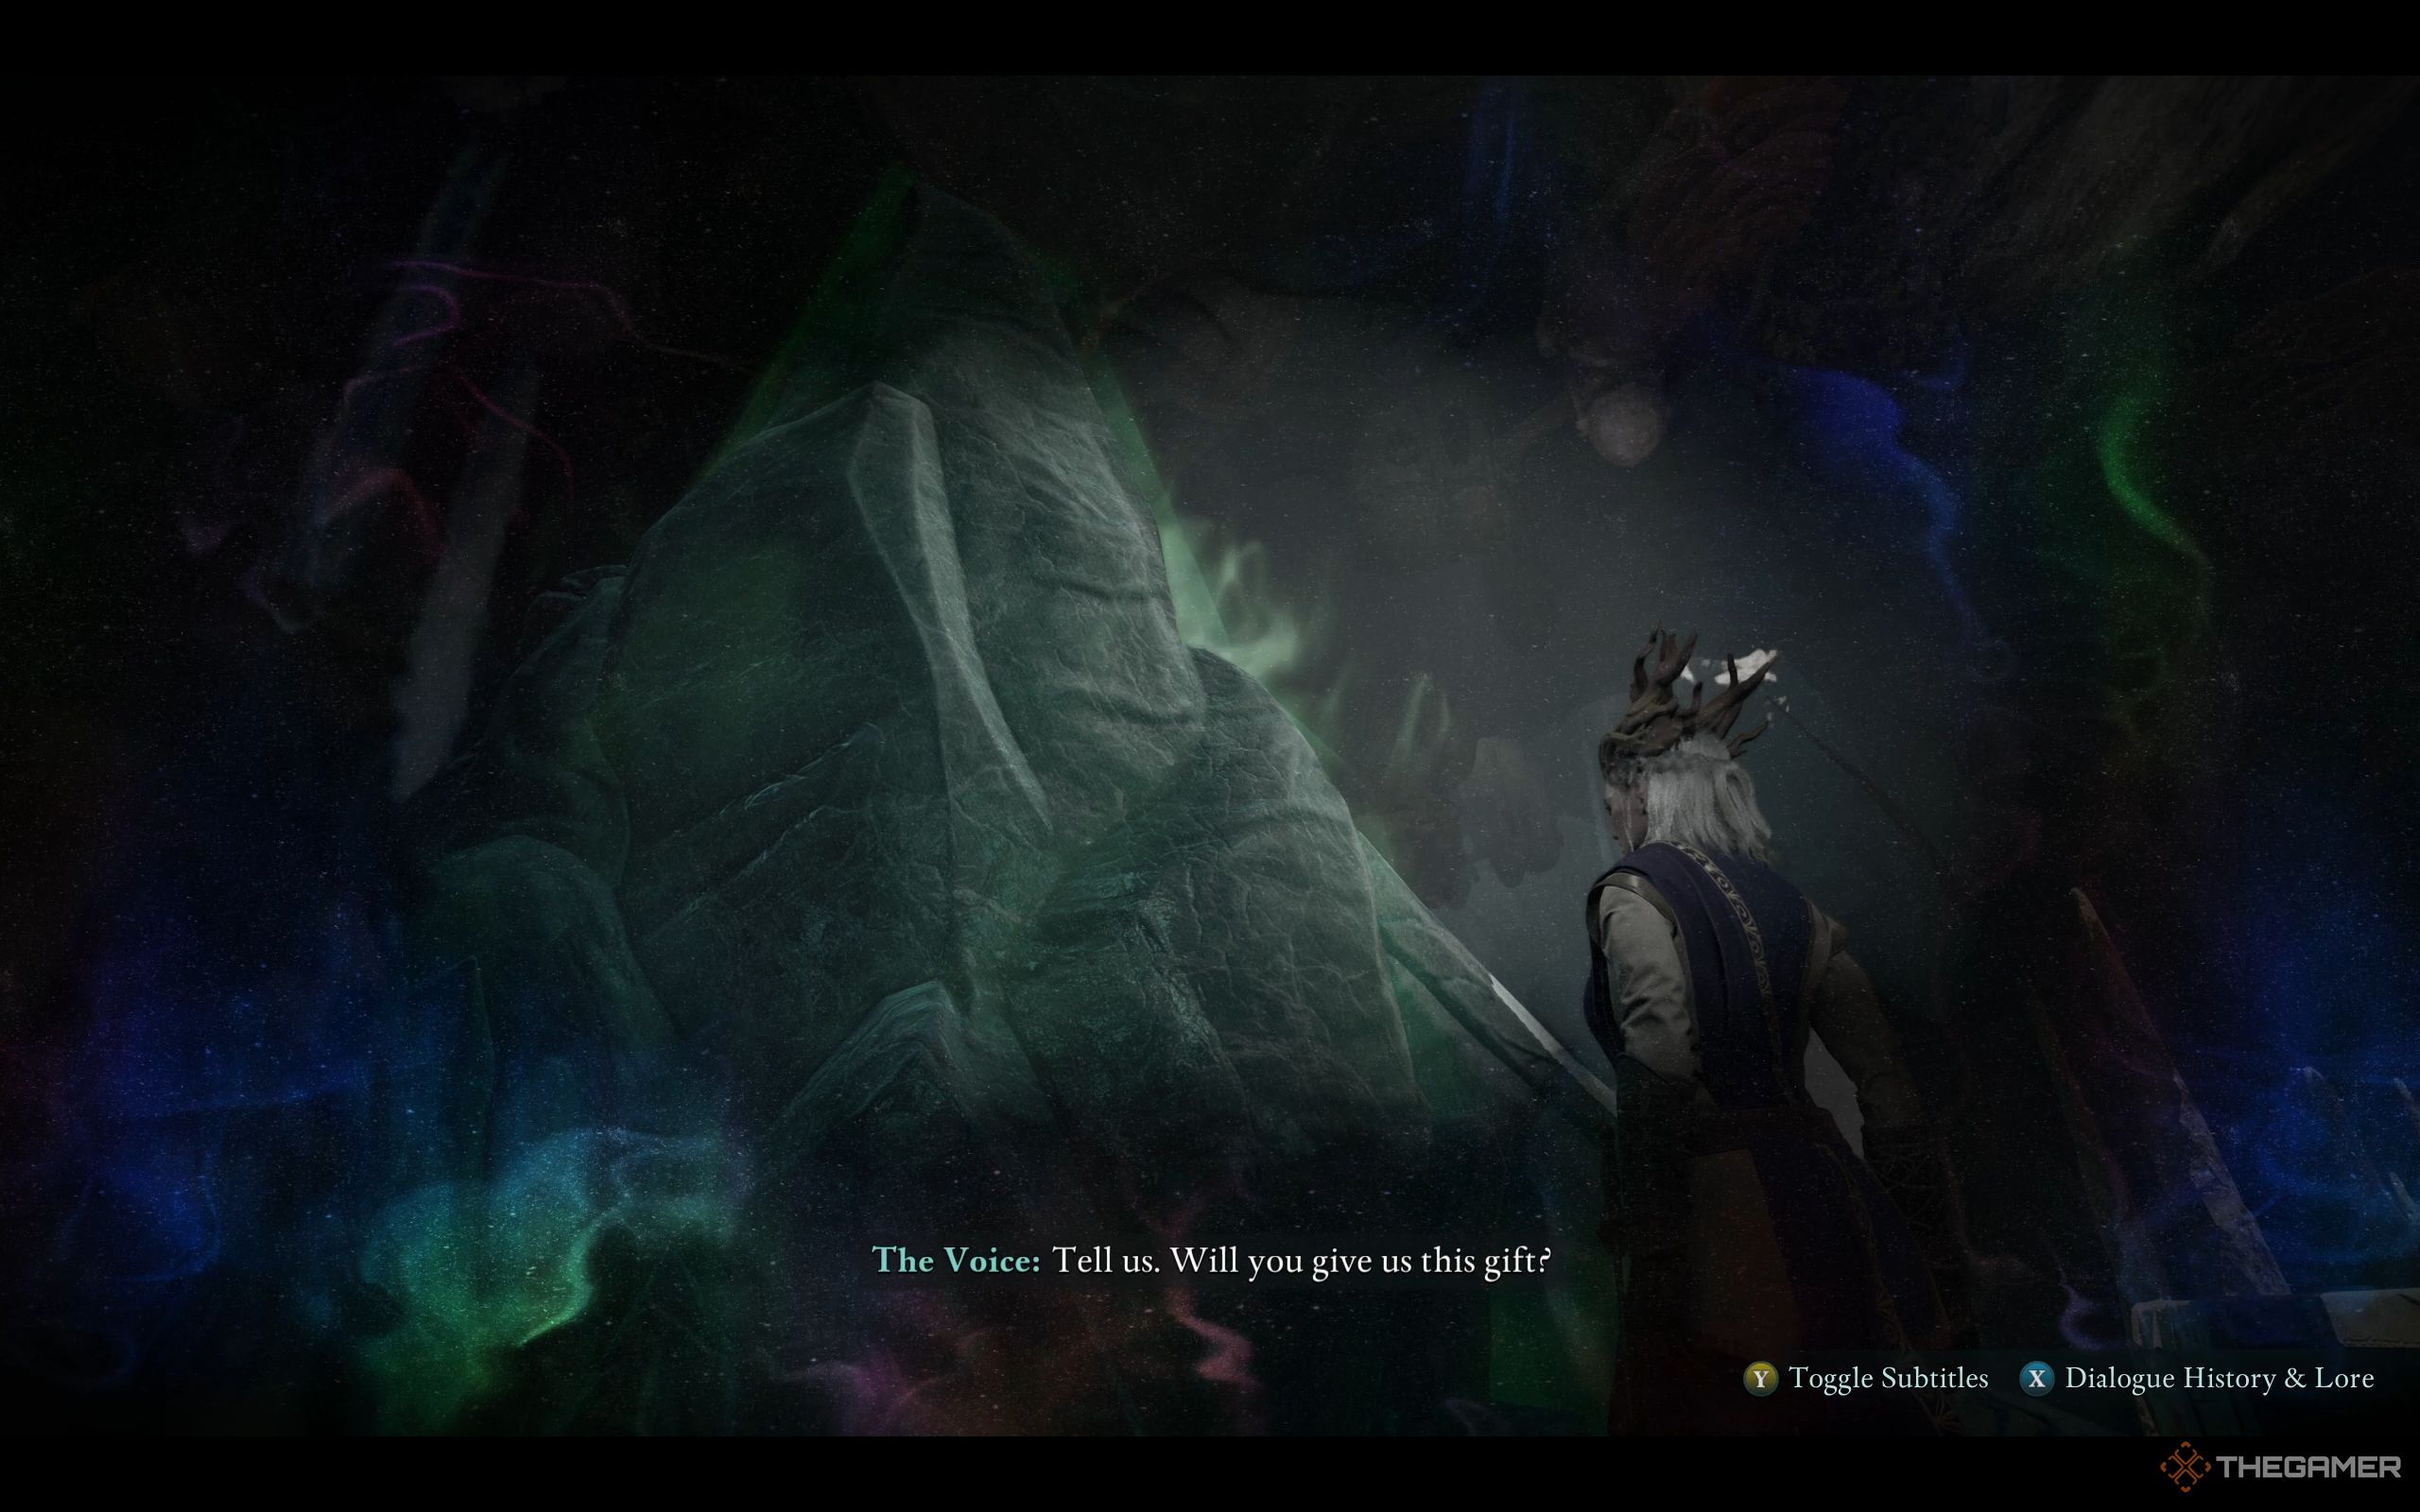
As a fan, I strongly recommend handing the statue over to The Voice, as your decision significantly affects Avowed’s concluding scene. However, to avoid revealing any spoilers, let’s delve into the possible outcomes instead. Here are two scenarios: giving The Voice a vessel and destroying it.
Give The Statue To The Voice

To initiate the process when you hand over the statue to The Voice as a container, first, make sure to pull the lever. Contrasting with Sargamis’s trial, this occasion should yield successful results. The Voice will acknowledge your decision and ponder over the current circumstances for a while.
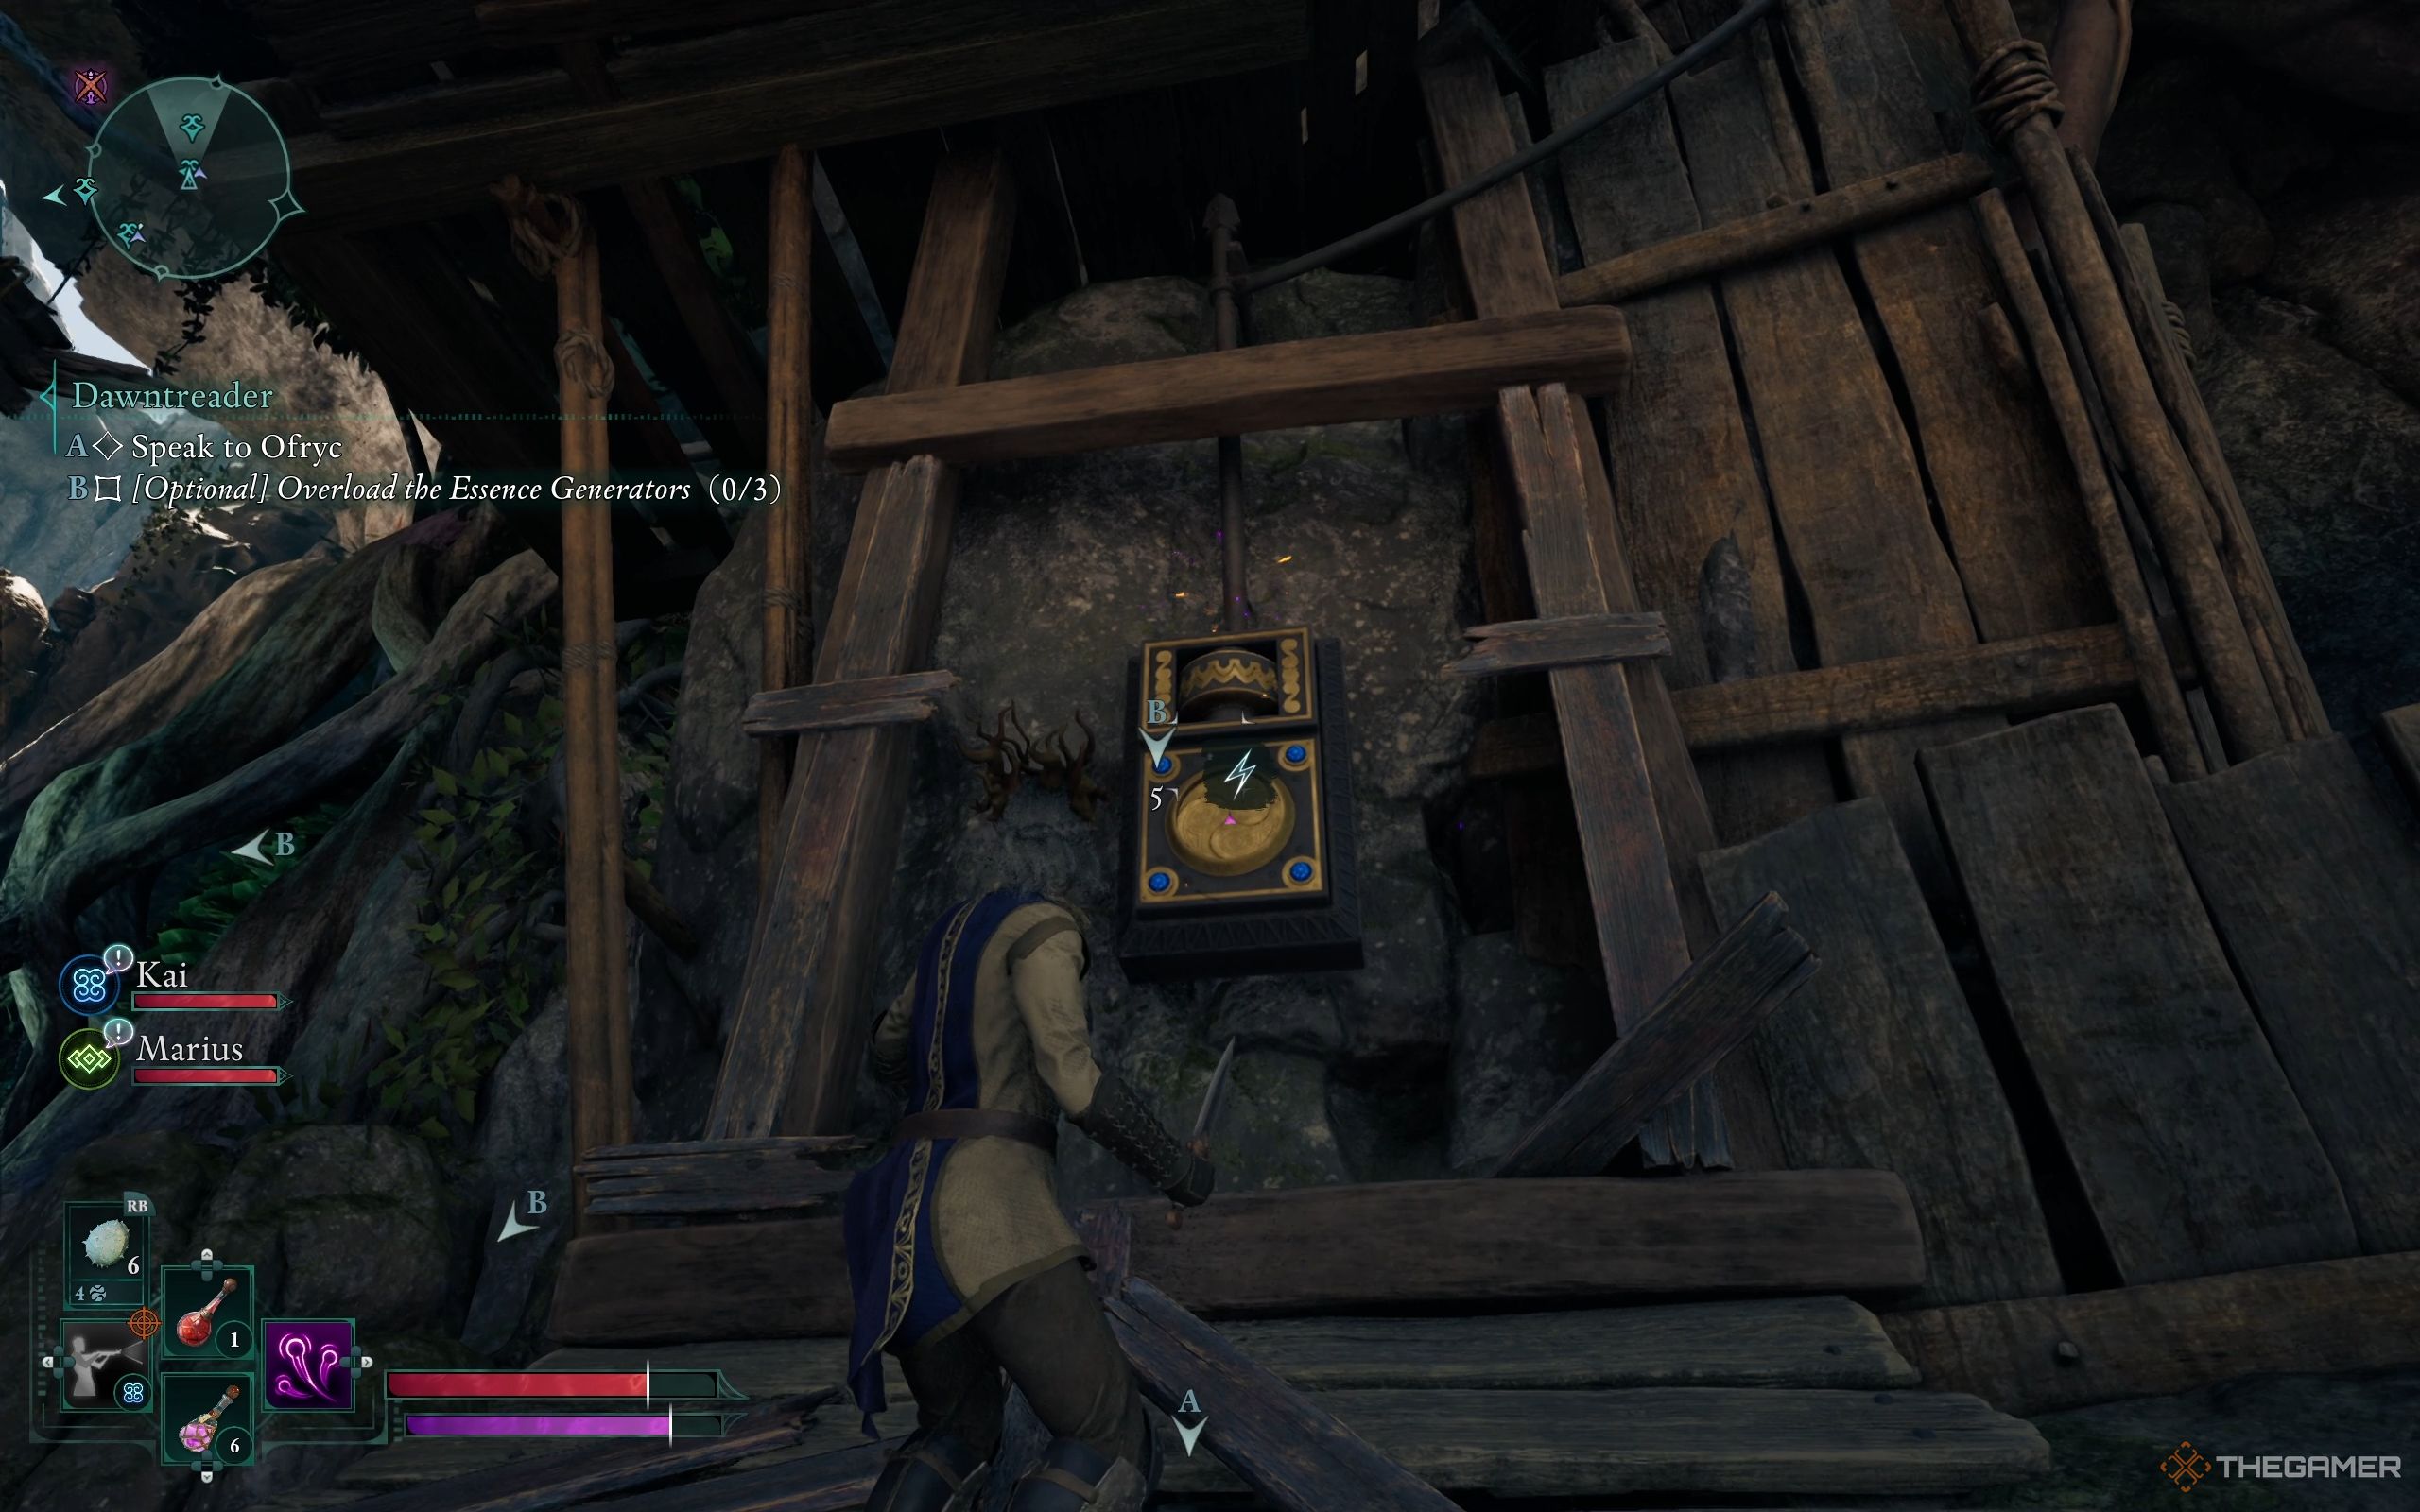
Destroy The Statue
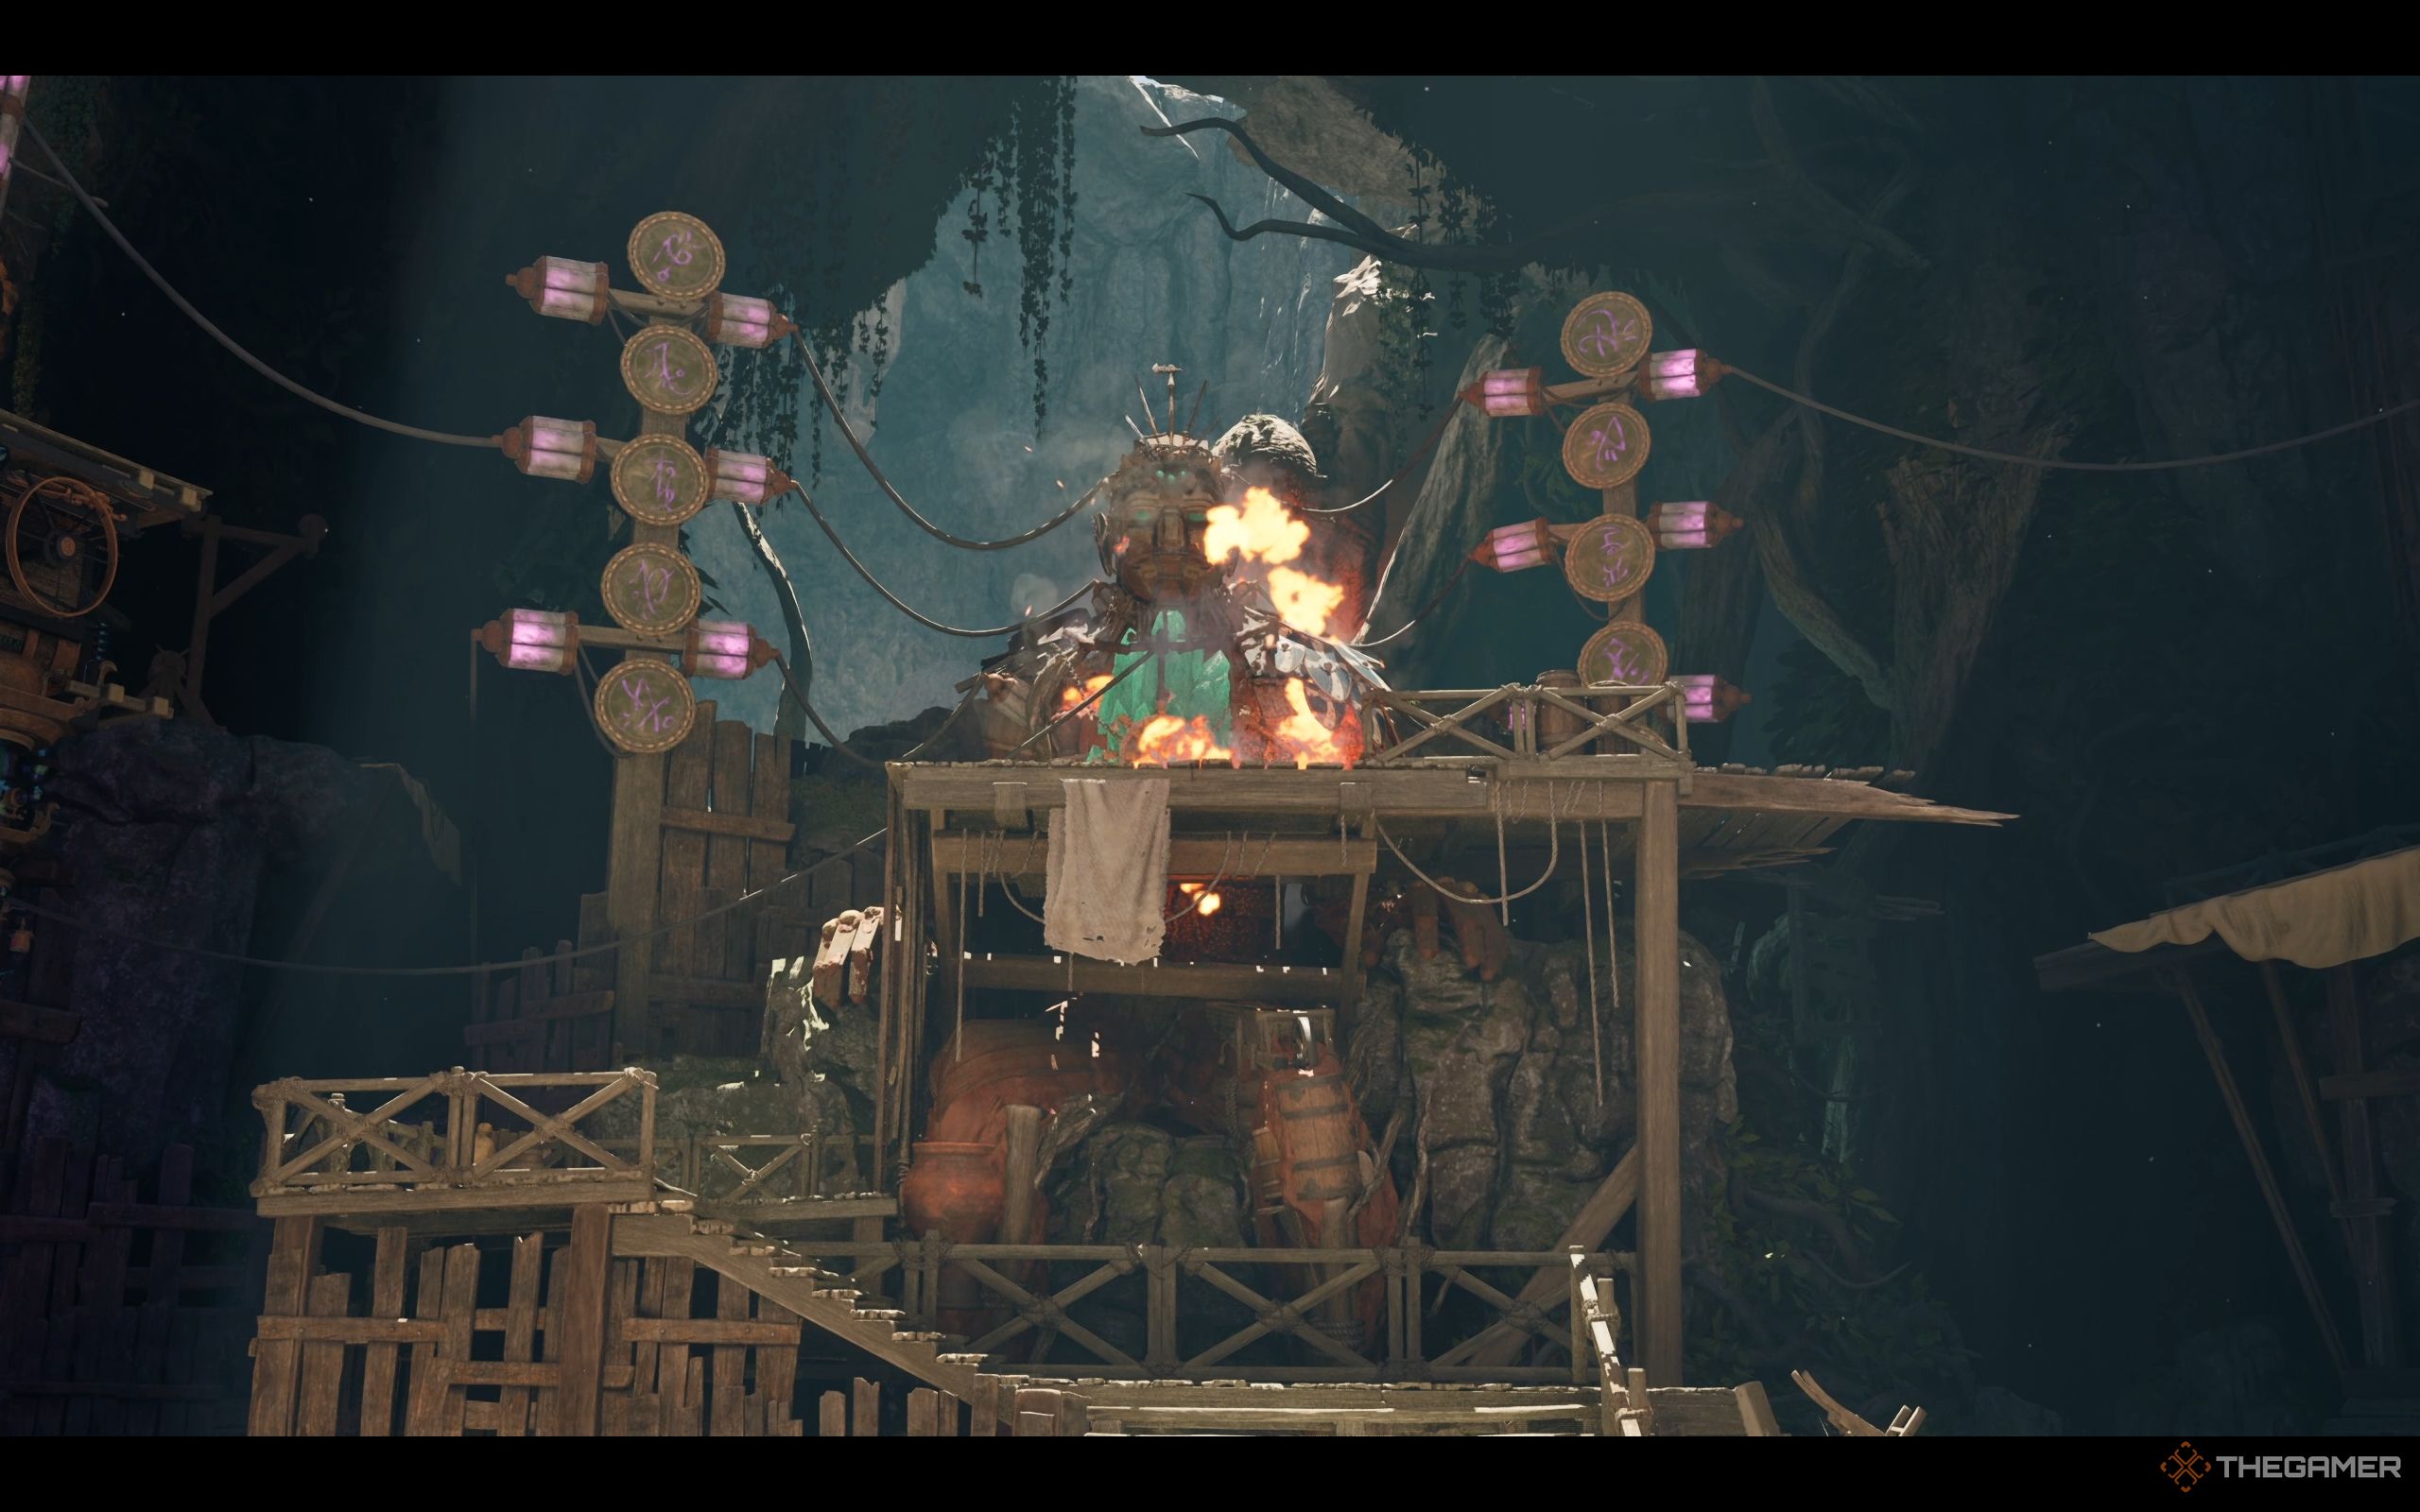
The first generator is to the right of the statue, behind a set of destroyable wooden planks.
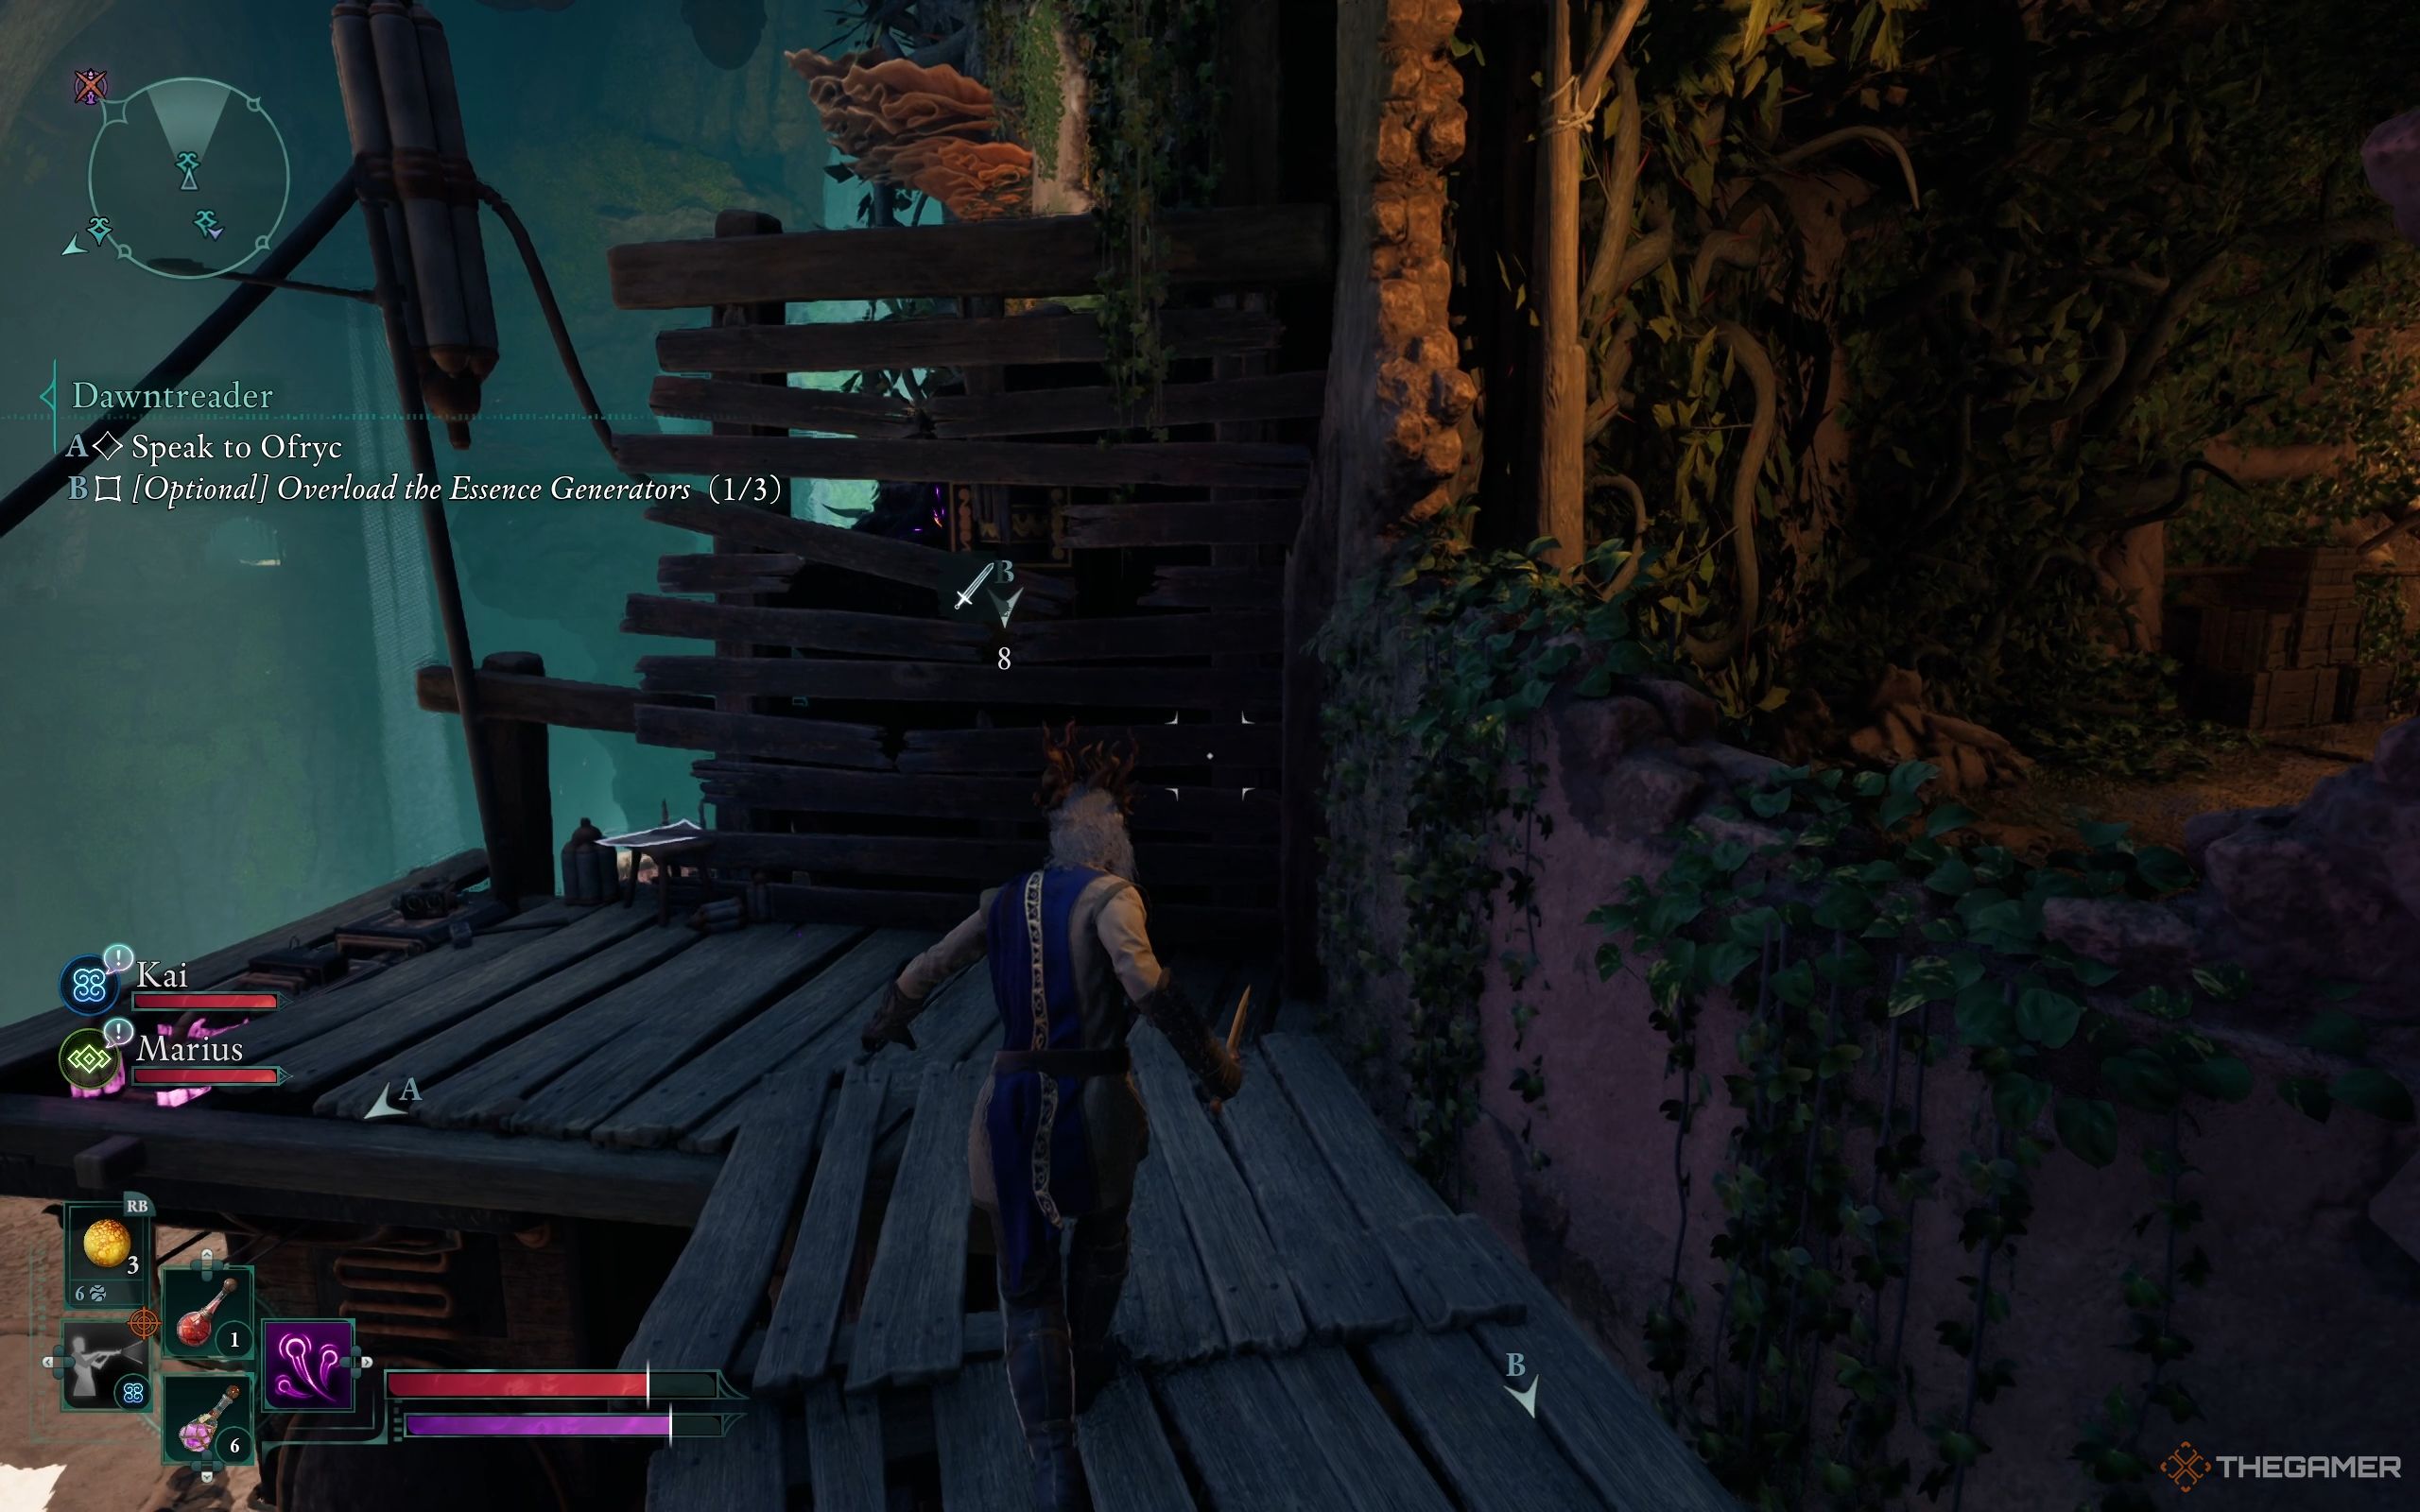
Move upward to reach the location where the wheel is positioned, then leap to the platform situated on your right side. Leap again towards a circular scaffolding encircling the statue and make a dash towards its end. Leap once more to the subsequent platform. Ascend once more, and you’ll discover another receiver concealed behind some breakable wooden panels. Break these panels and deliver an electric shock to overload the receiver.
The third device is situated close to the base of the statue, at the spot where you earlier found Sargamis’ Lockbox during our initial encounter. It’s concealed behind some wooden panels. Knock them down to trigger a response from the recipient.
Dawntreader Ending
To complete the Dawntreader quest, head back to Ofryc. Upon your arrival, you’ll find Caedmon with him, both elated to see you and grateful for your assistance. Ofryc inquires about Gjeda and the rest of your team. In this situation, you can choose to remain silent, deceive him, or truthfully disclose their unfortunate fate. If honesty is your choice, Ofryc might become upset, accusing you of not making an effort. However, Caedmon will step in to soothe him and request more information. At this point, you can decide to share the details, remain silent, or argue that revealing the truth won’t benefit them in any way.
As a fervent supporter, if I were to disclose the truth about what really happened to the Expedition Corps at the hands of the Oracle and openly confess to ending the Oracle’s life, I believe they would appreciate the pursuit of justice. On the other hand, should it turn out that I wasn’t responsible for the Oracle’s demise, they might initially be puzzled but eventually understand that more violence is unnecessary.
As a gamer, here’s how I might put it: Either way, they hand over the Delver’s Caution ring. If you’re curious about their schemes, feel free to chat them up. Once our conversation wraps up, that’s the end of the Dawntreader quest for me.
Read More
- Best Heavy Tanks in World of Tanks Blitz (2025)
- Here Are All of Taylor Swift’s Albums in Order of Release Date (2025 Update)
- CNY RUB PREDICTION
- List of iOS 26 iPhones: Which iPhones Are Supported?
- Death Stranding 2 smashes first game’s Metacritic score as one of 2025’s best games
- Delta Force Redeem Codes (January 2025)
- Hermanos Koumori Sets Its Athletic Sights on the adidas UltraBOOST 5
- Vitality Triumphs Over The MongolZ To Win The BLAST.tv Austin Major 2025
- Like RRR, Animal and more, is Prabhas’ The Raja Saab also getting 3-hour runtime?
- Honkai Star Rail 3.4 codes and how to redeem in HSR June 2025
2025-03-08 22:25