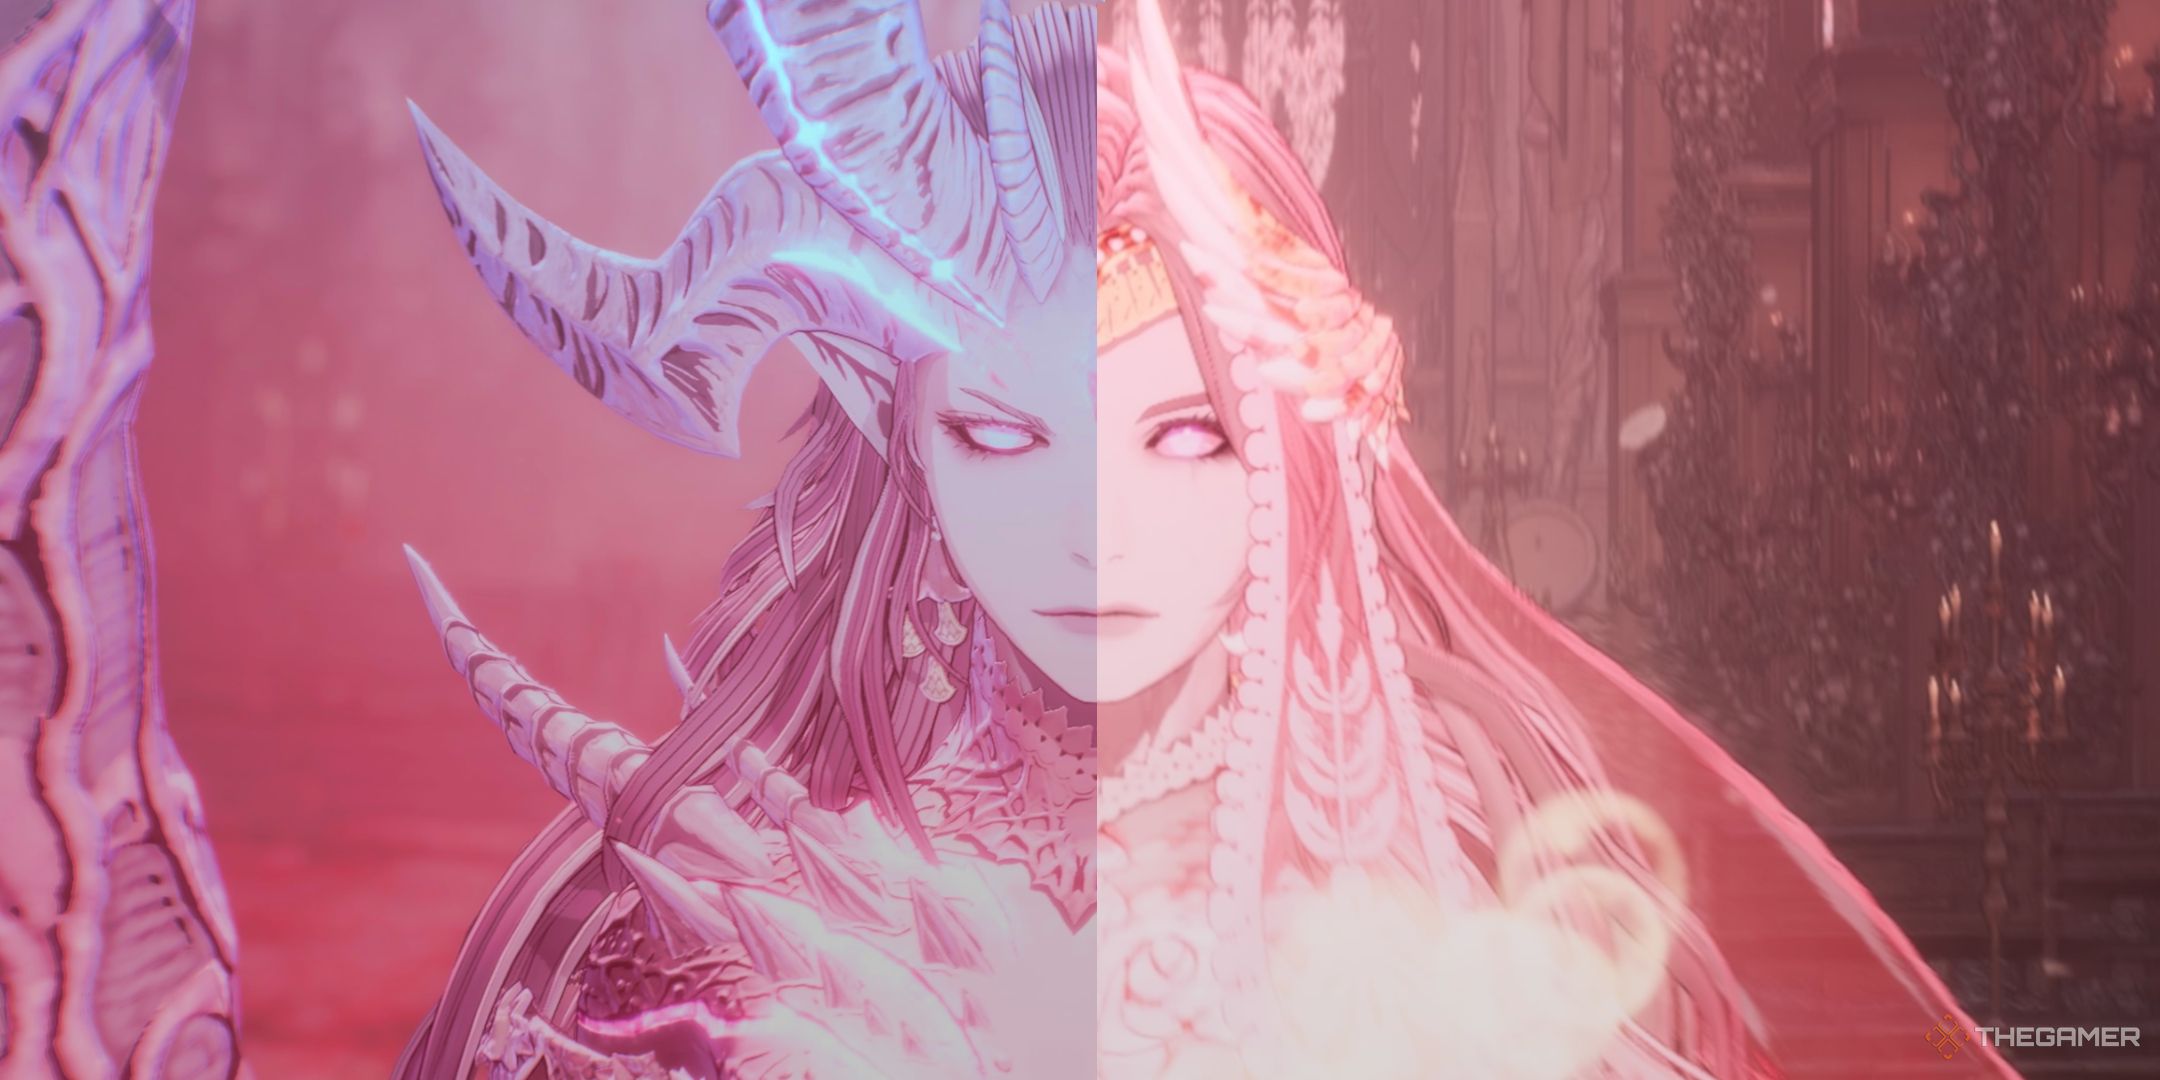
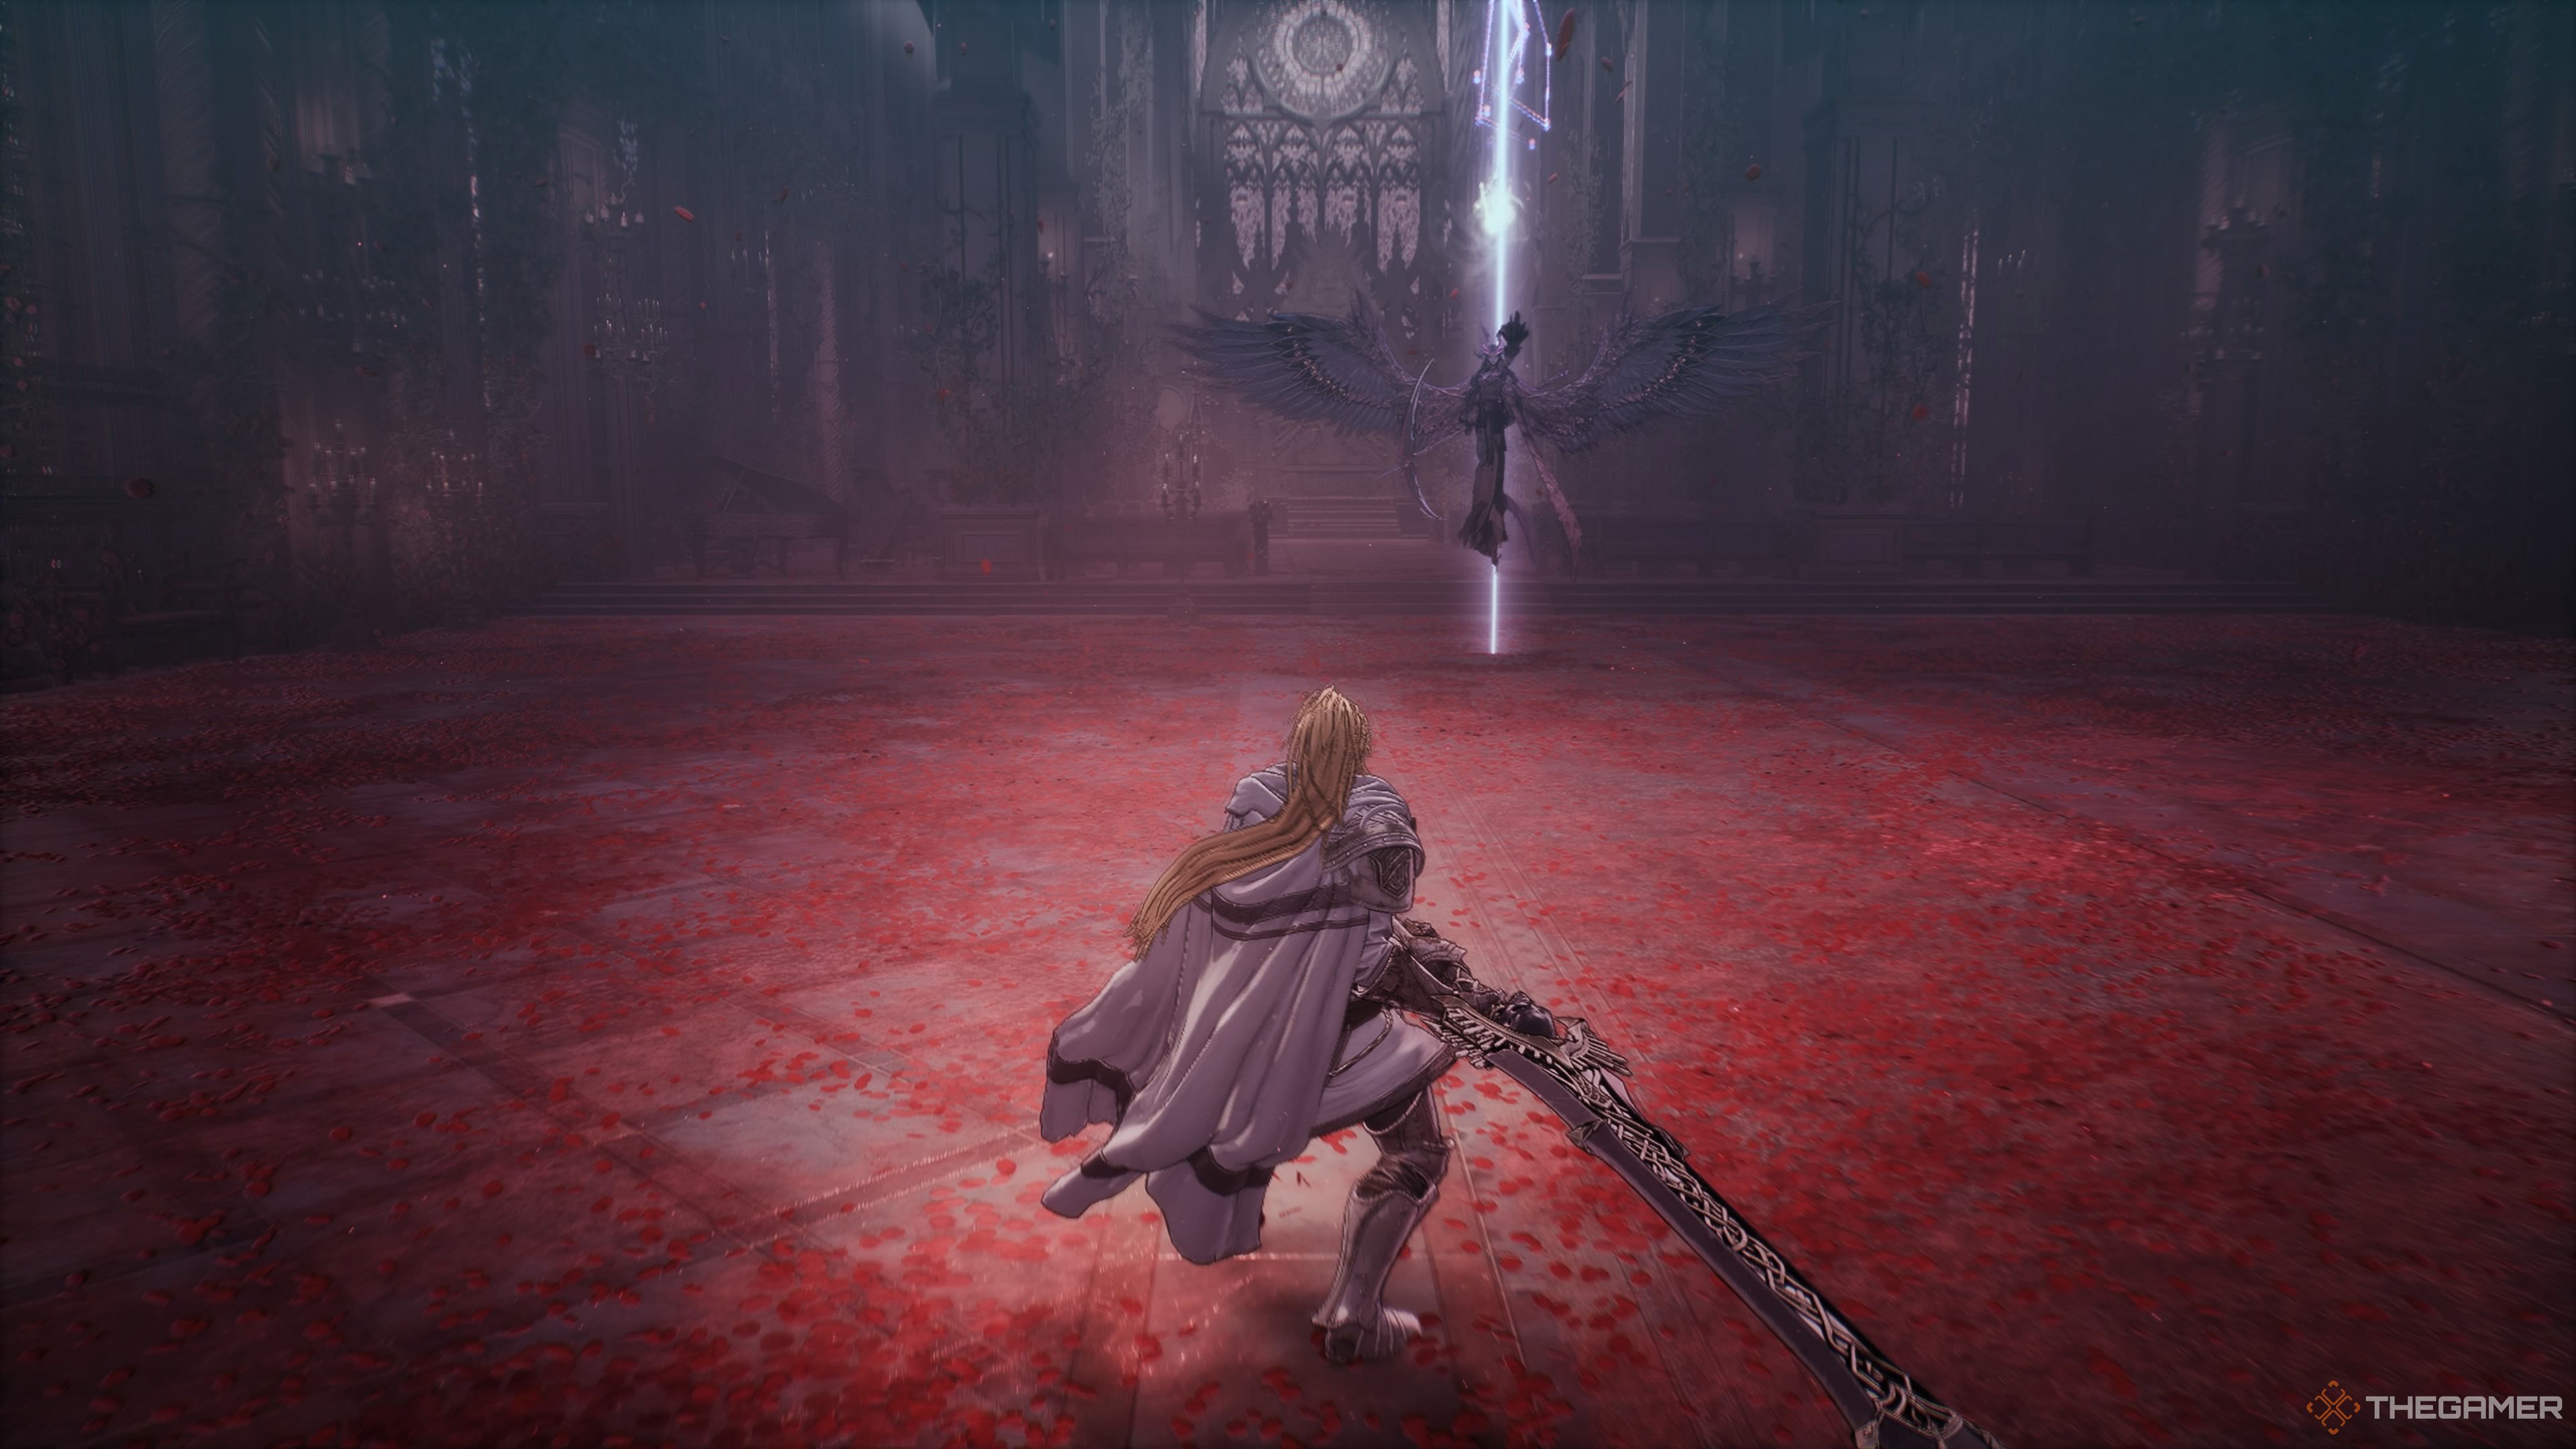
In the game “The First Berserker: Khazan,” Reese serves as the second-to-last boss. Given this position, it’s no wonder that her battle is a distinctive one, blending various types of boss fights. Initially, Reese exhibits magical attributes much like Trokka or Bellerian during her initial phase. However, as the fight progresses, she will transition into a more aggressive approach, putting pressure on you similar to Maluca or Skalpel.
I’ll guide you through the two stages of this battle, assisting you in maneuvering through these two unique skirmishes. We’ll assist you in pinpointing her vulnerabilities, diminishing her advantages, and helping you strategize against her extensive arsenal. Additionally, we’ll provide some tips on how to construct your own Khazan for this encounter.
Preparation For The Reese Fight

One crucial factor in this battle is that Reese can be effectively hindered. A powerful strike from a large sword, if landed, would momentarily halt her progress. Though any of the three weapons could prove effective against her, the large sword seems to hold an edge. Moreover, Reese’s limited agility in her initial form makes it relatively straightforward to deliver massive blows with the oversized sword.
Moreover, be sure to prioritize investing skill points in your Counterattack ability. Reese’s Burst Attacks are relatively easy to counter among all the game’s bosses, so you’ll likely land the Counterattack often during this fight. Increasing the number of skill points will make each hit stronger and restore more resources when you successfully land it.
In summary, Reese employs chaos magic and may frequently cast spells that cause chaos. To protect yourself effectively, consider equipping an armor set offering some resistance to chaos. If your character is strength-based, utilize the Radiant Guardian set. For builds with low strength, opt for the Saint set instead. Moreover, it’s recommended to keep Chaos Cleanse Potions handy.
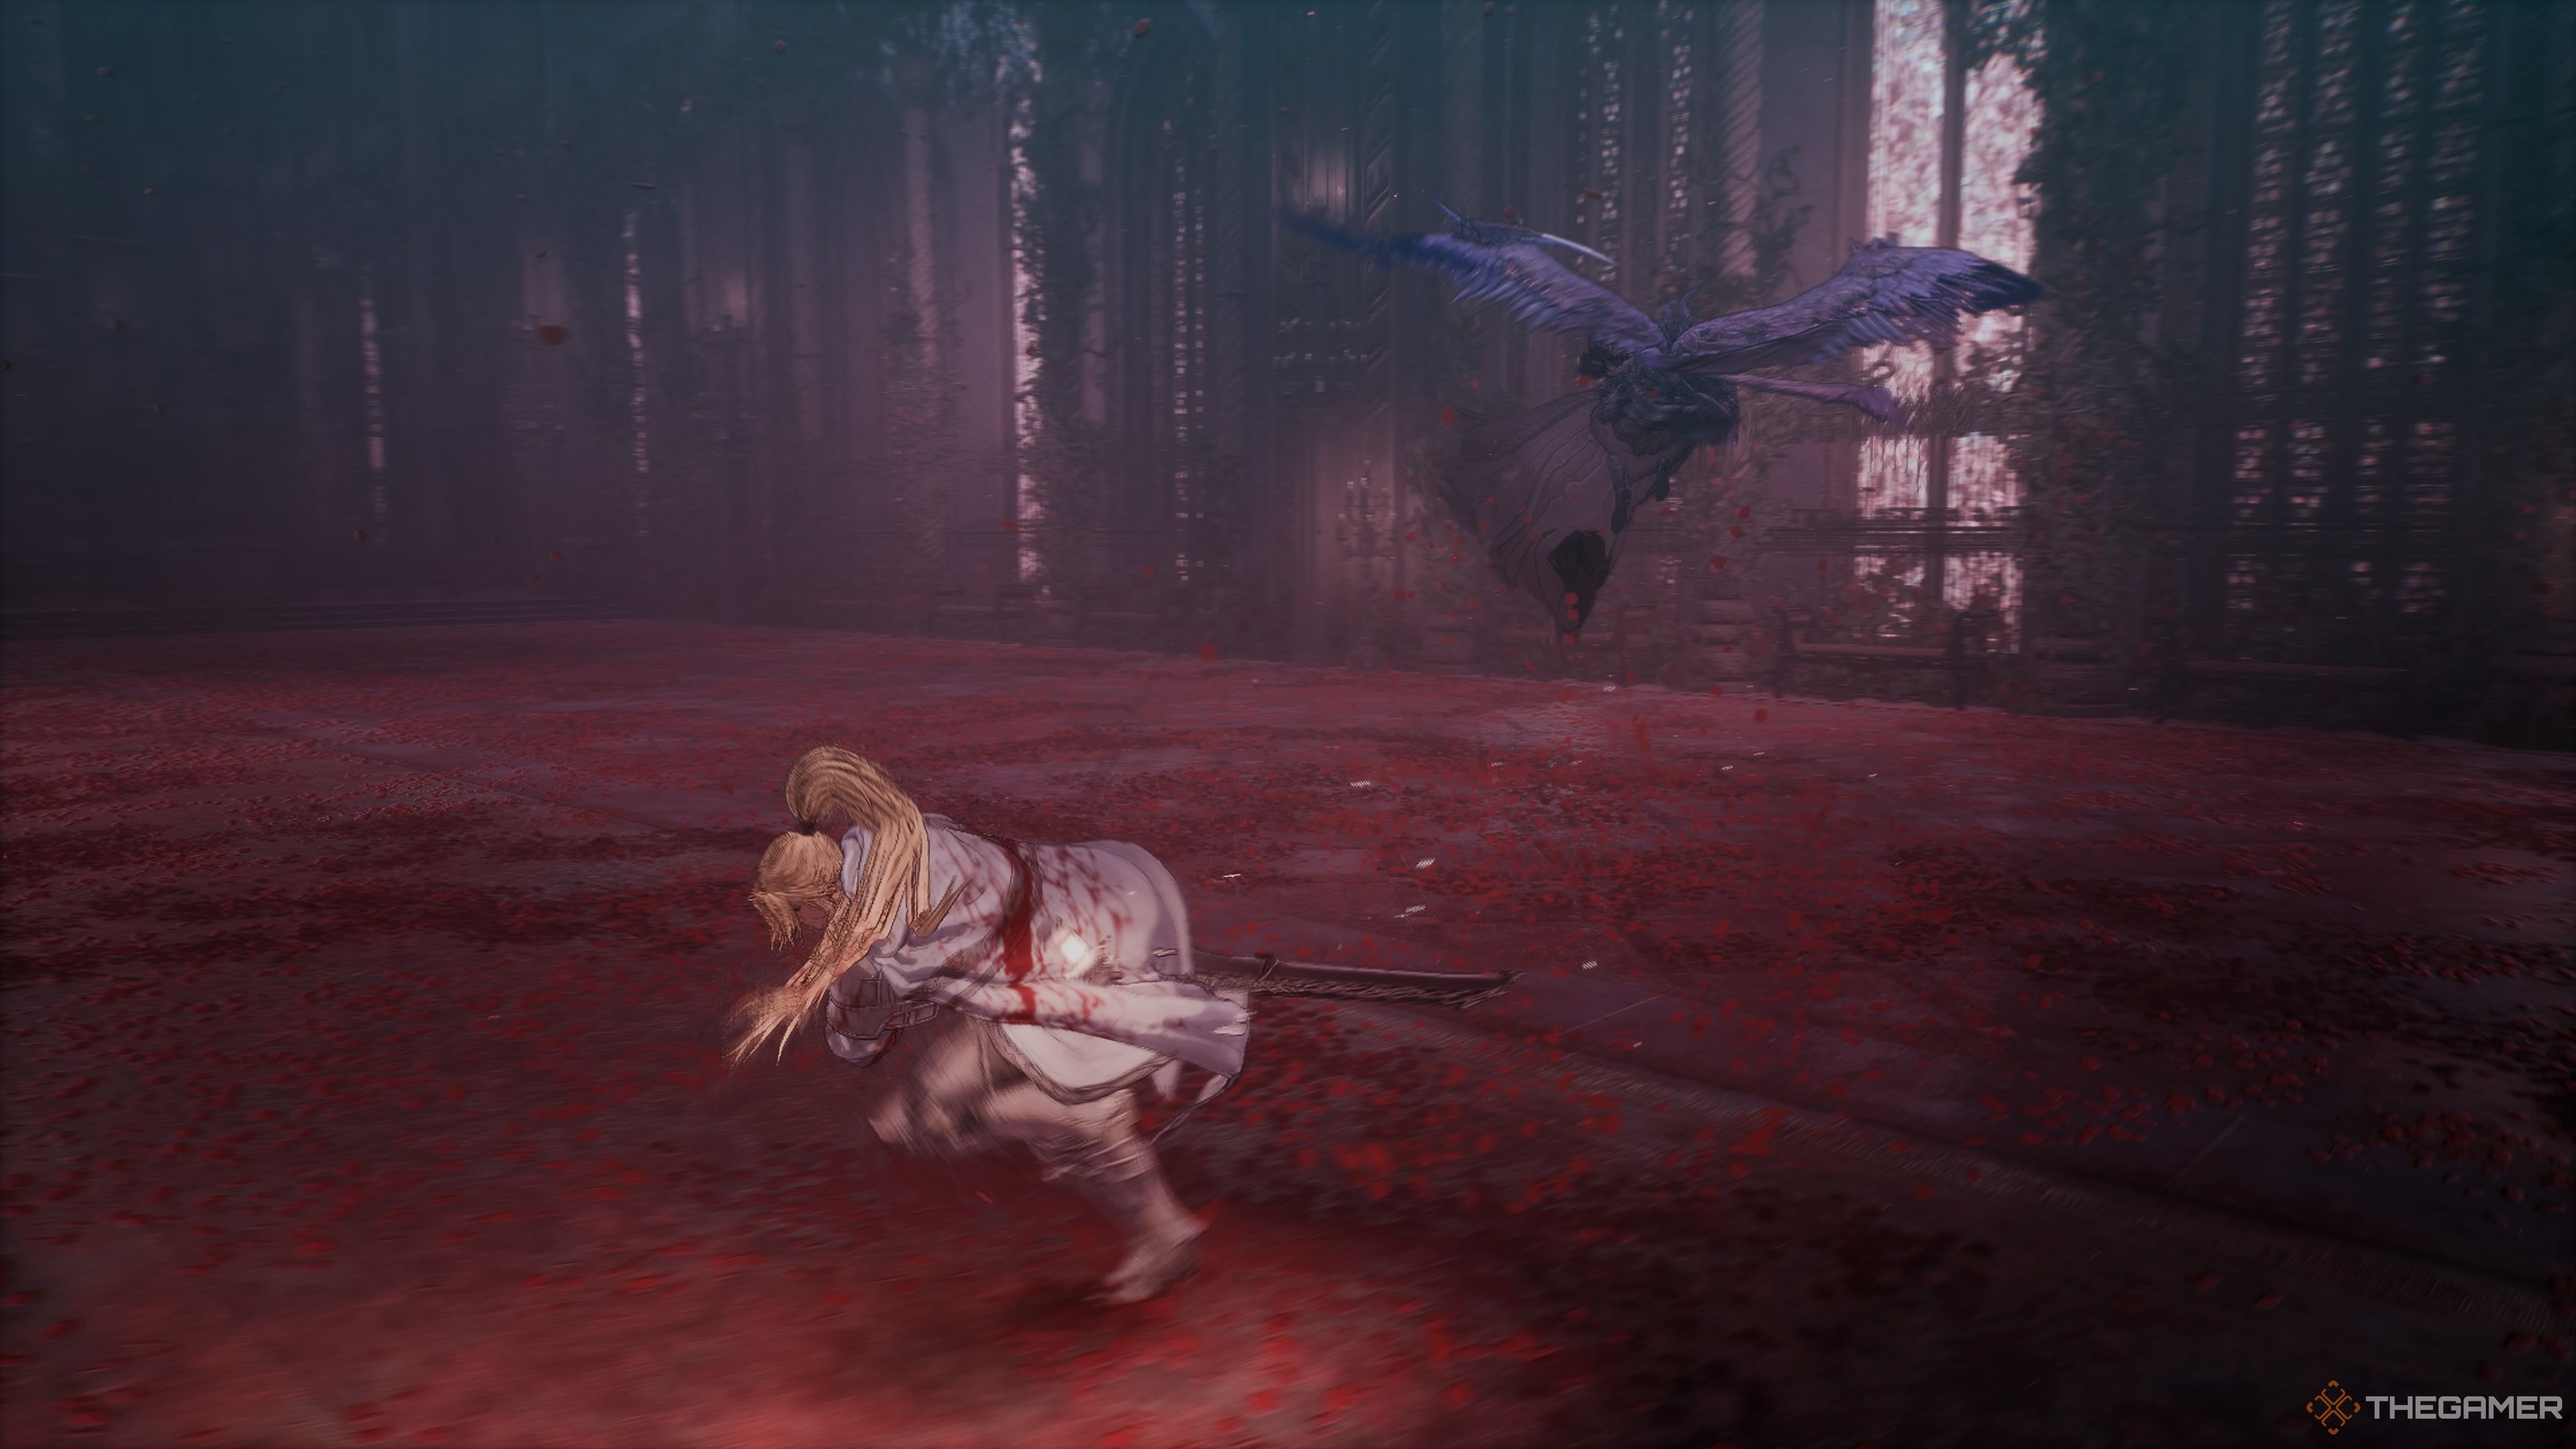
Reese’s First Form
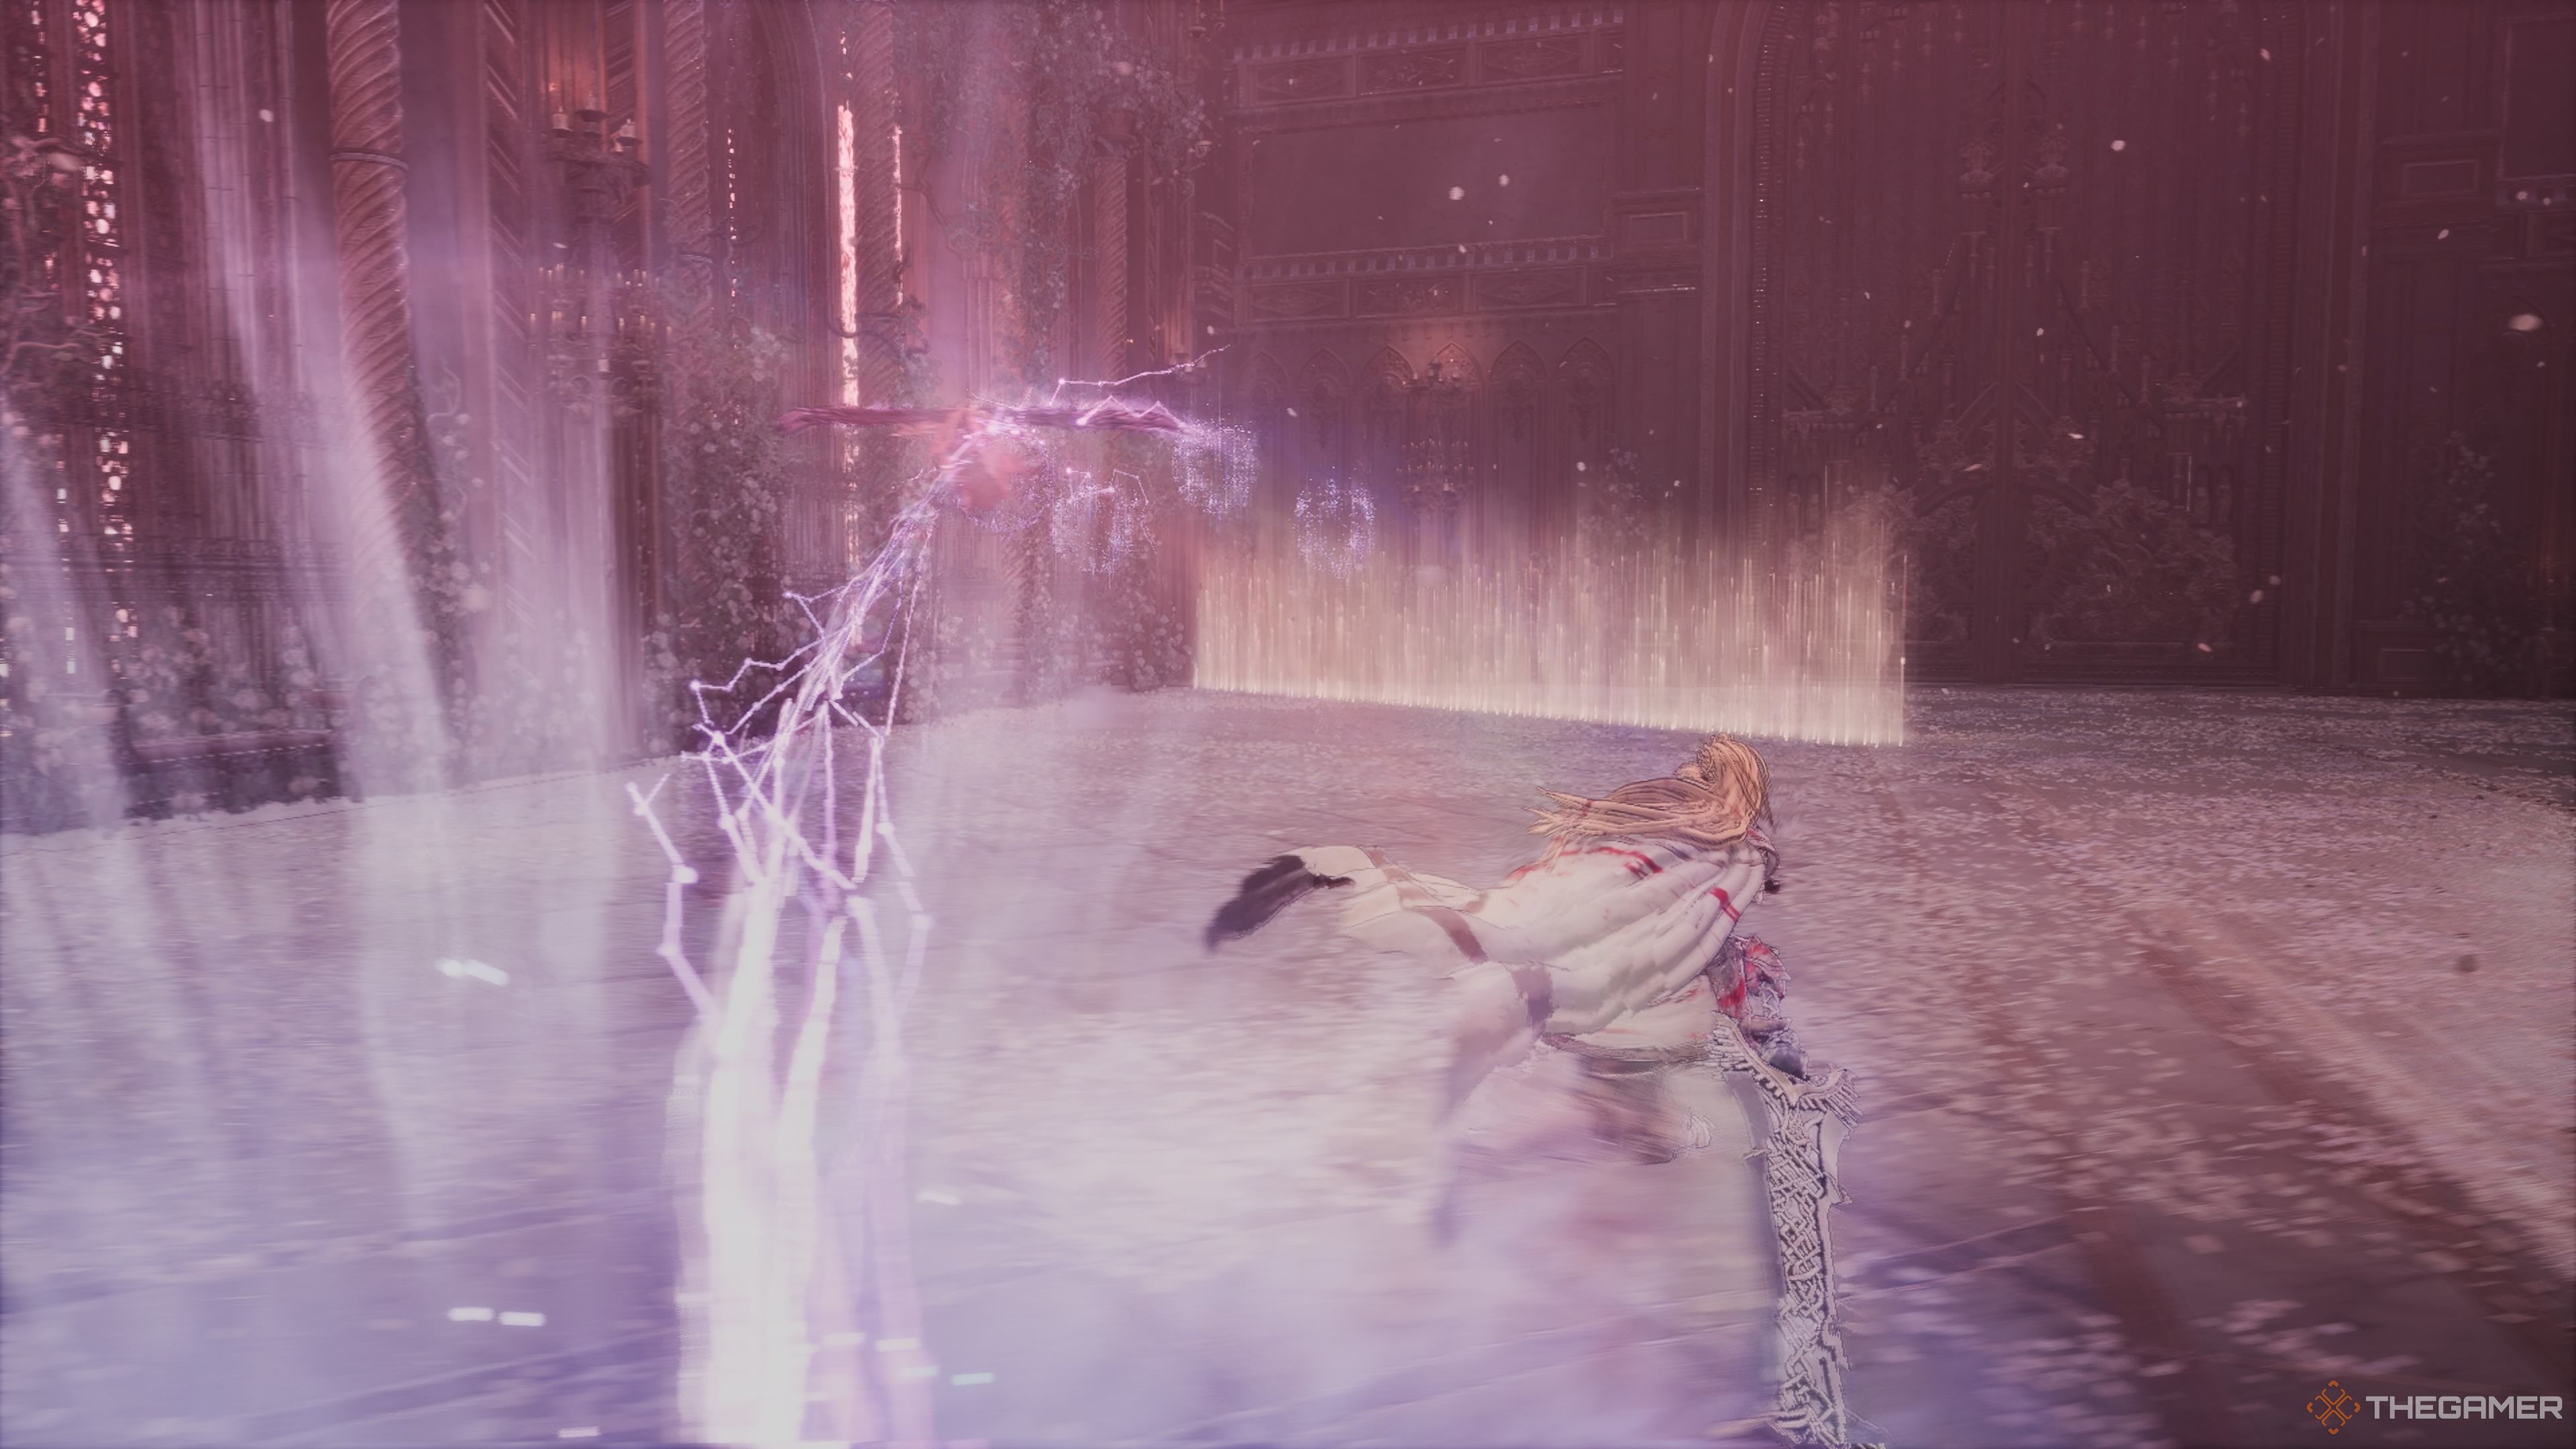
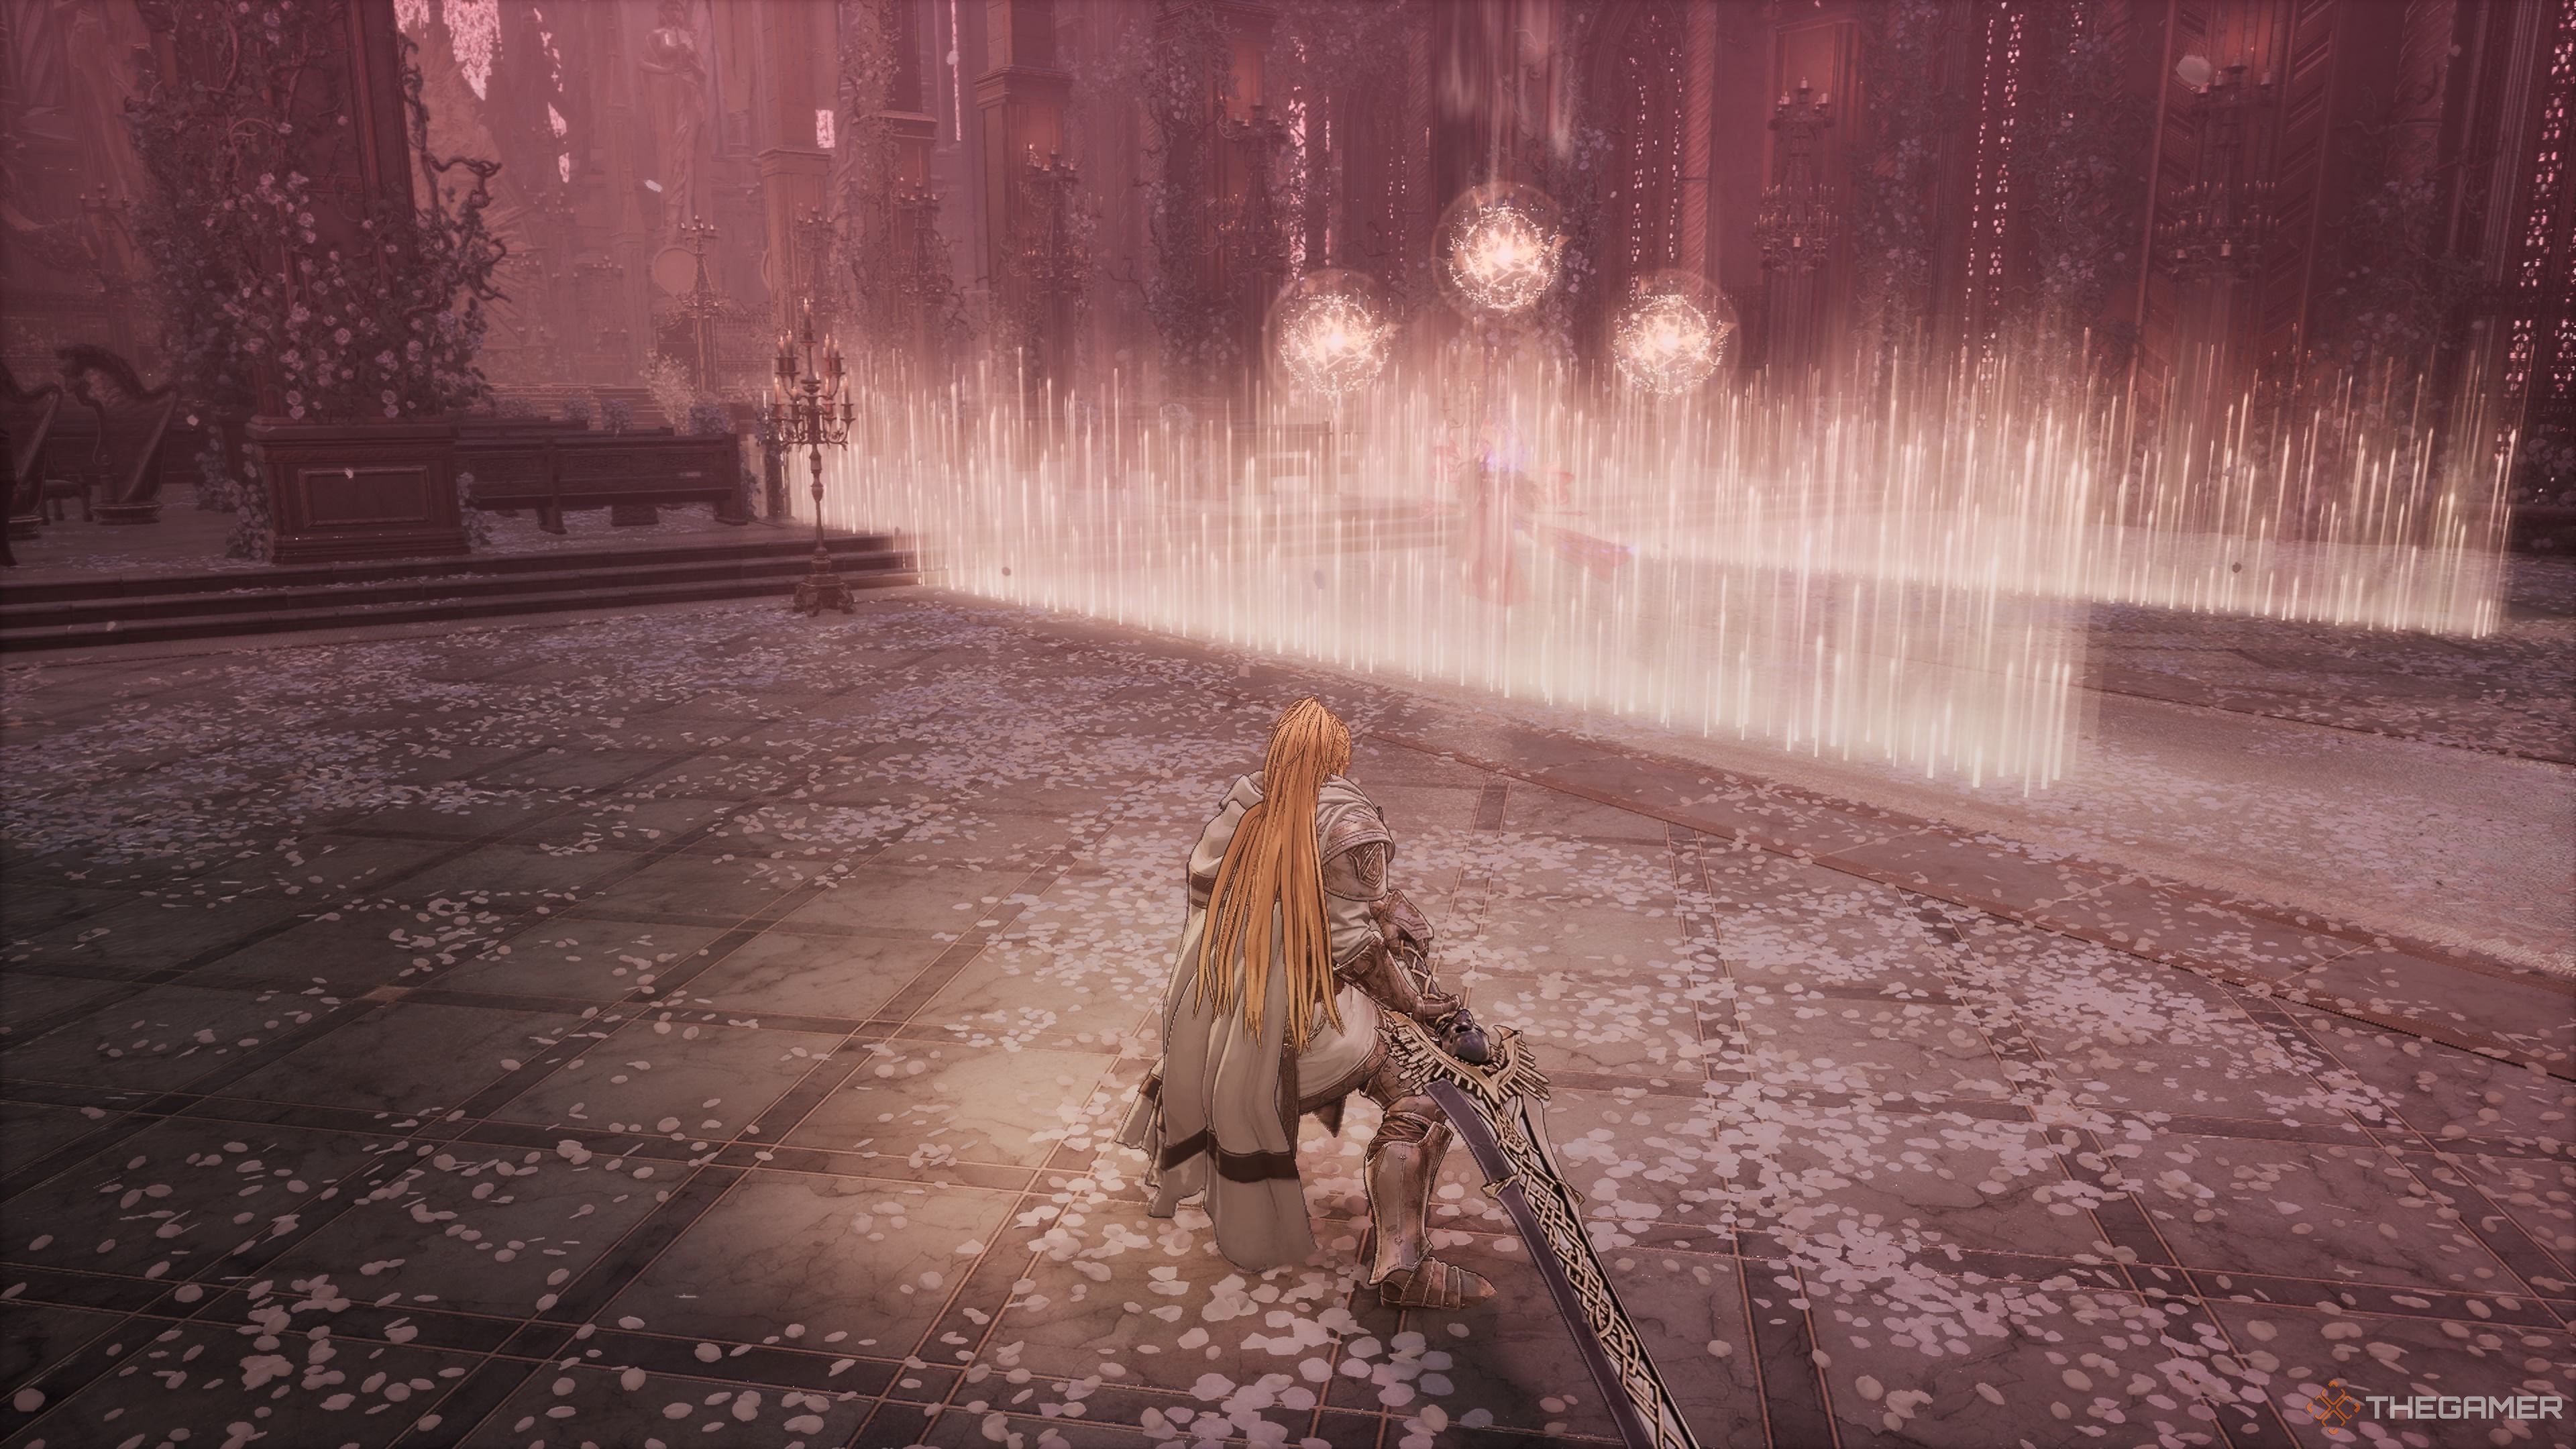
In this fight, Reese will primarily keep her distance from you by flying, intermittently firing projectiles at you and attempting to conjure magical symbols beneath your feet that detonate with magical force. She has some close-quarter attacks too, but they are not as potent as her long-range ones. All of her spells stem from chaos magic, causing the chaotic status affliction upon you.
Reese’s AOE Attacks
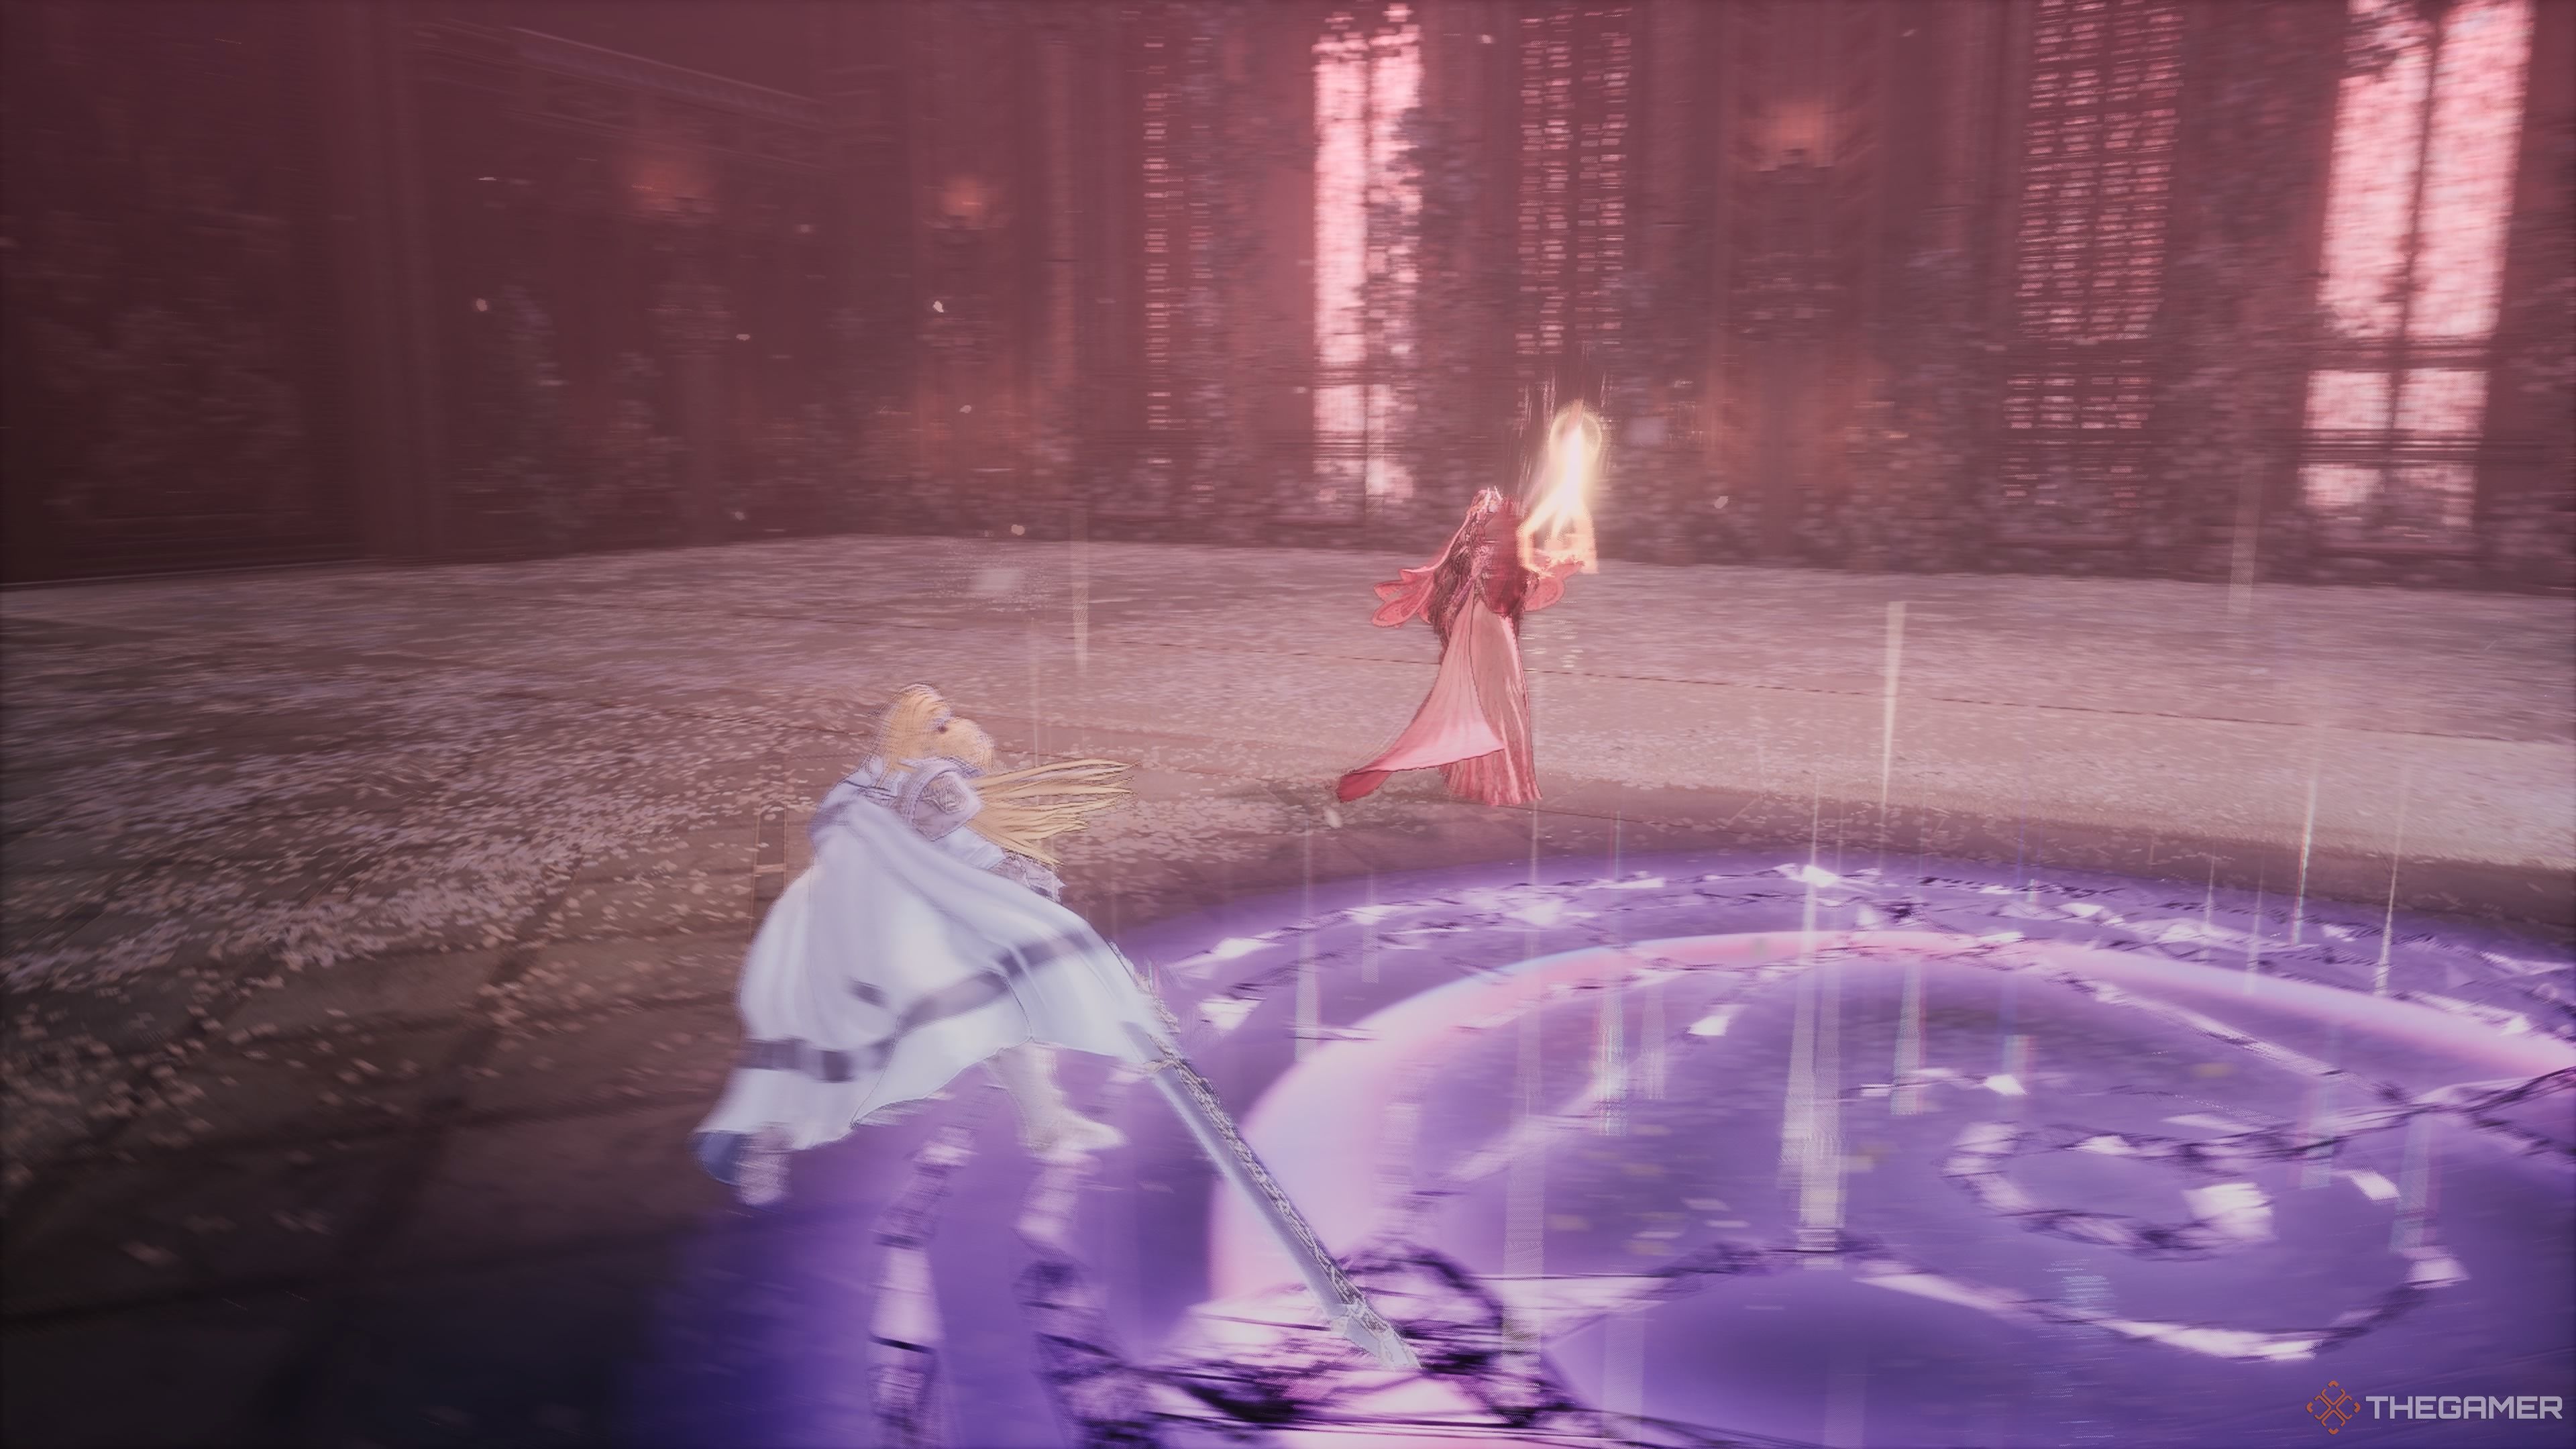
During the fight with Reese, large symbols will be laid on the ground. Standing on these symbols will trigger the chaos effect for you. Moreover, Reese has the ability to make these symbols explode by raising her staff towards the sky, which can inflict significant damage. So, it’s crucial to avoid standing on these symbols during the fight with Reese.
As a gamer, I’ll be channeling my staff with mystical power, transforming it into a mace. When we clash, I’ll strike above me, leaving a symbol on the ground in your path. I’ve also got a spell up my sleeve that can swiftly materialize a symbol beneath your feet. I’ve got three distinct versions of this attack, but size isn’t everything – the key is to dodge to the side as I cast these spells.
You can attack Reese as she summons sigils to disrupt her.
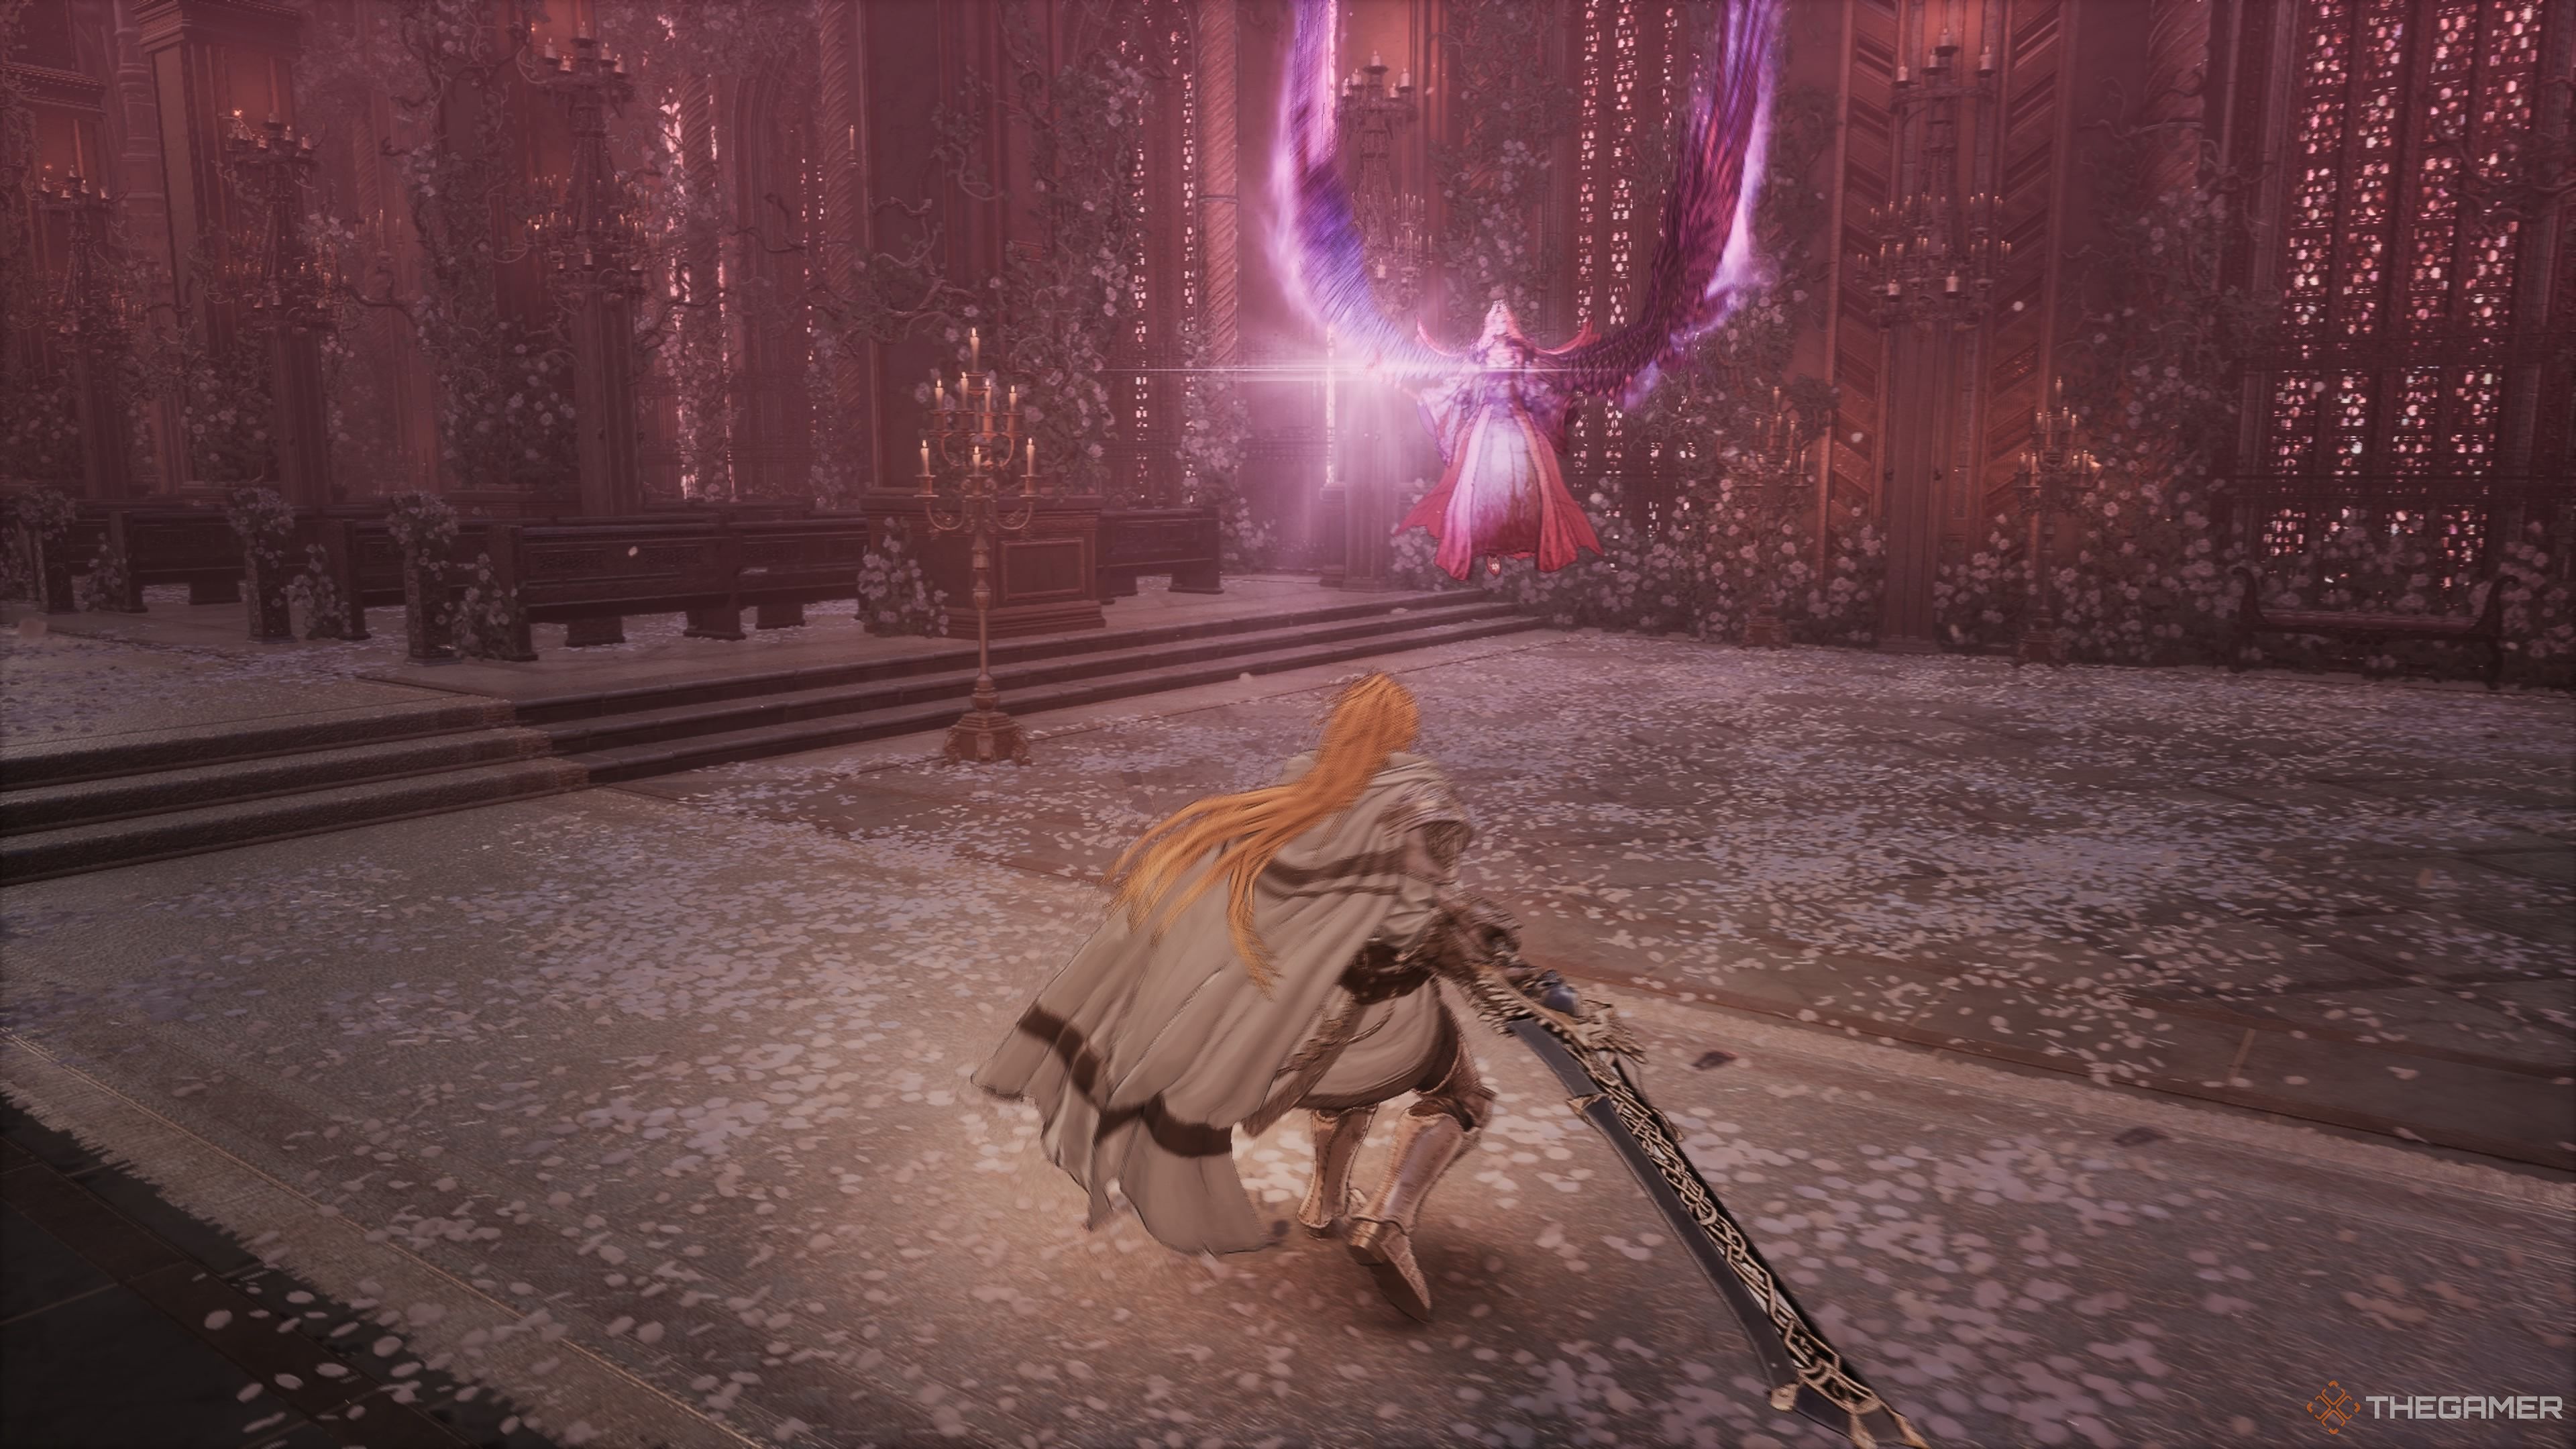
When Reese leaps into the air, she begins preparing a potent assault that will etch a gigantic symbol onto the ground, transforming into an area-of-effect attack. If you notice her charging this attack while she’s up in the air, make sure to run as far from Reese as possible. The more distance between you and Reese, the simpler it will be to evade this spell once she unleashes it. As soon as she targets you with the attack, jump sideways swiftly. If she manages to strike you with this attack, it could potentially knock you out if your health isn’t fully replenished. It packs quite a punch!
Reese’s Projectile Attacks
One of Reese’s swift offensive moves involves creating a beam of light that she hurls towards you. This projectile is straight-forward and emerges rather rapidly. Additionally, she enjoys summoning three portals which will emit beams that will intersect at your location. These beams have a slight tendency to home in on you. If she performs this action with her magical barriers active, the portals won’t fade away but continue firing bursts of chaotic energy at you instead.
As Reese begins soaring through the arena, she’ll create doorways that will emit a burst of chaos energy towards you. This energy blast will follow shortly after the portal is created, and you’ll hear a sharp sound as a warning before it launches. To avoid this projectile, simply start running sideways immediately after each portal appears. Reese will fire one such beam when she initially takes off, and she’ll generate two of these portals in mid-air thereafter.
Reese’s Magical Walls
When Reese erects two shield barriers, these will deflect all incoming missiles from both sides. She’s capable of raising these simultaneously, positioning them side by side. Avoid standing between them, as she’ll continuously launch projectiles at you. Plus, if you linger too close, she can conjure another set of barriers, cornering you in a confined space. Your best bet is to flee when she sets them up, ensuring you stay safe from her barrage of attacks. You can take advantage of these barriers to momentarily evade her projectiles and gain some breathing room.
Reese’s Melee Attacks
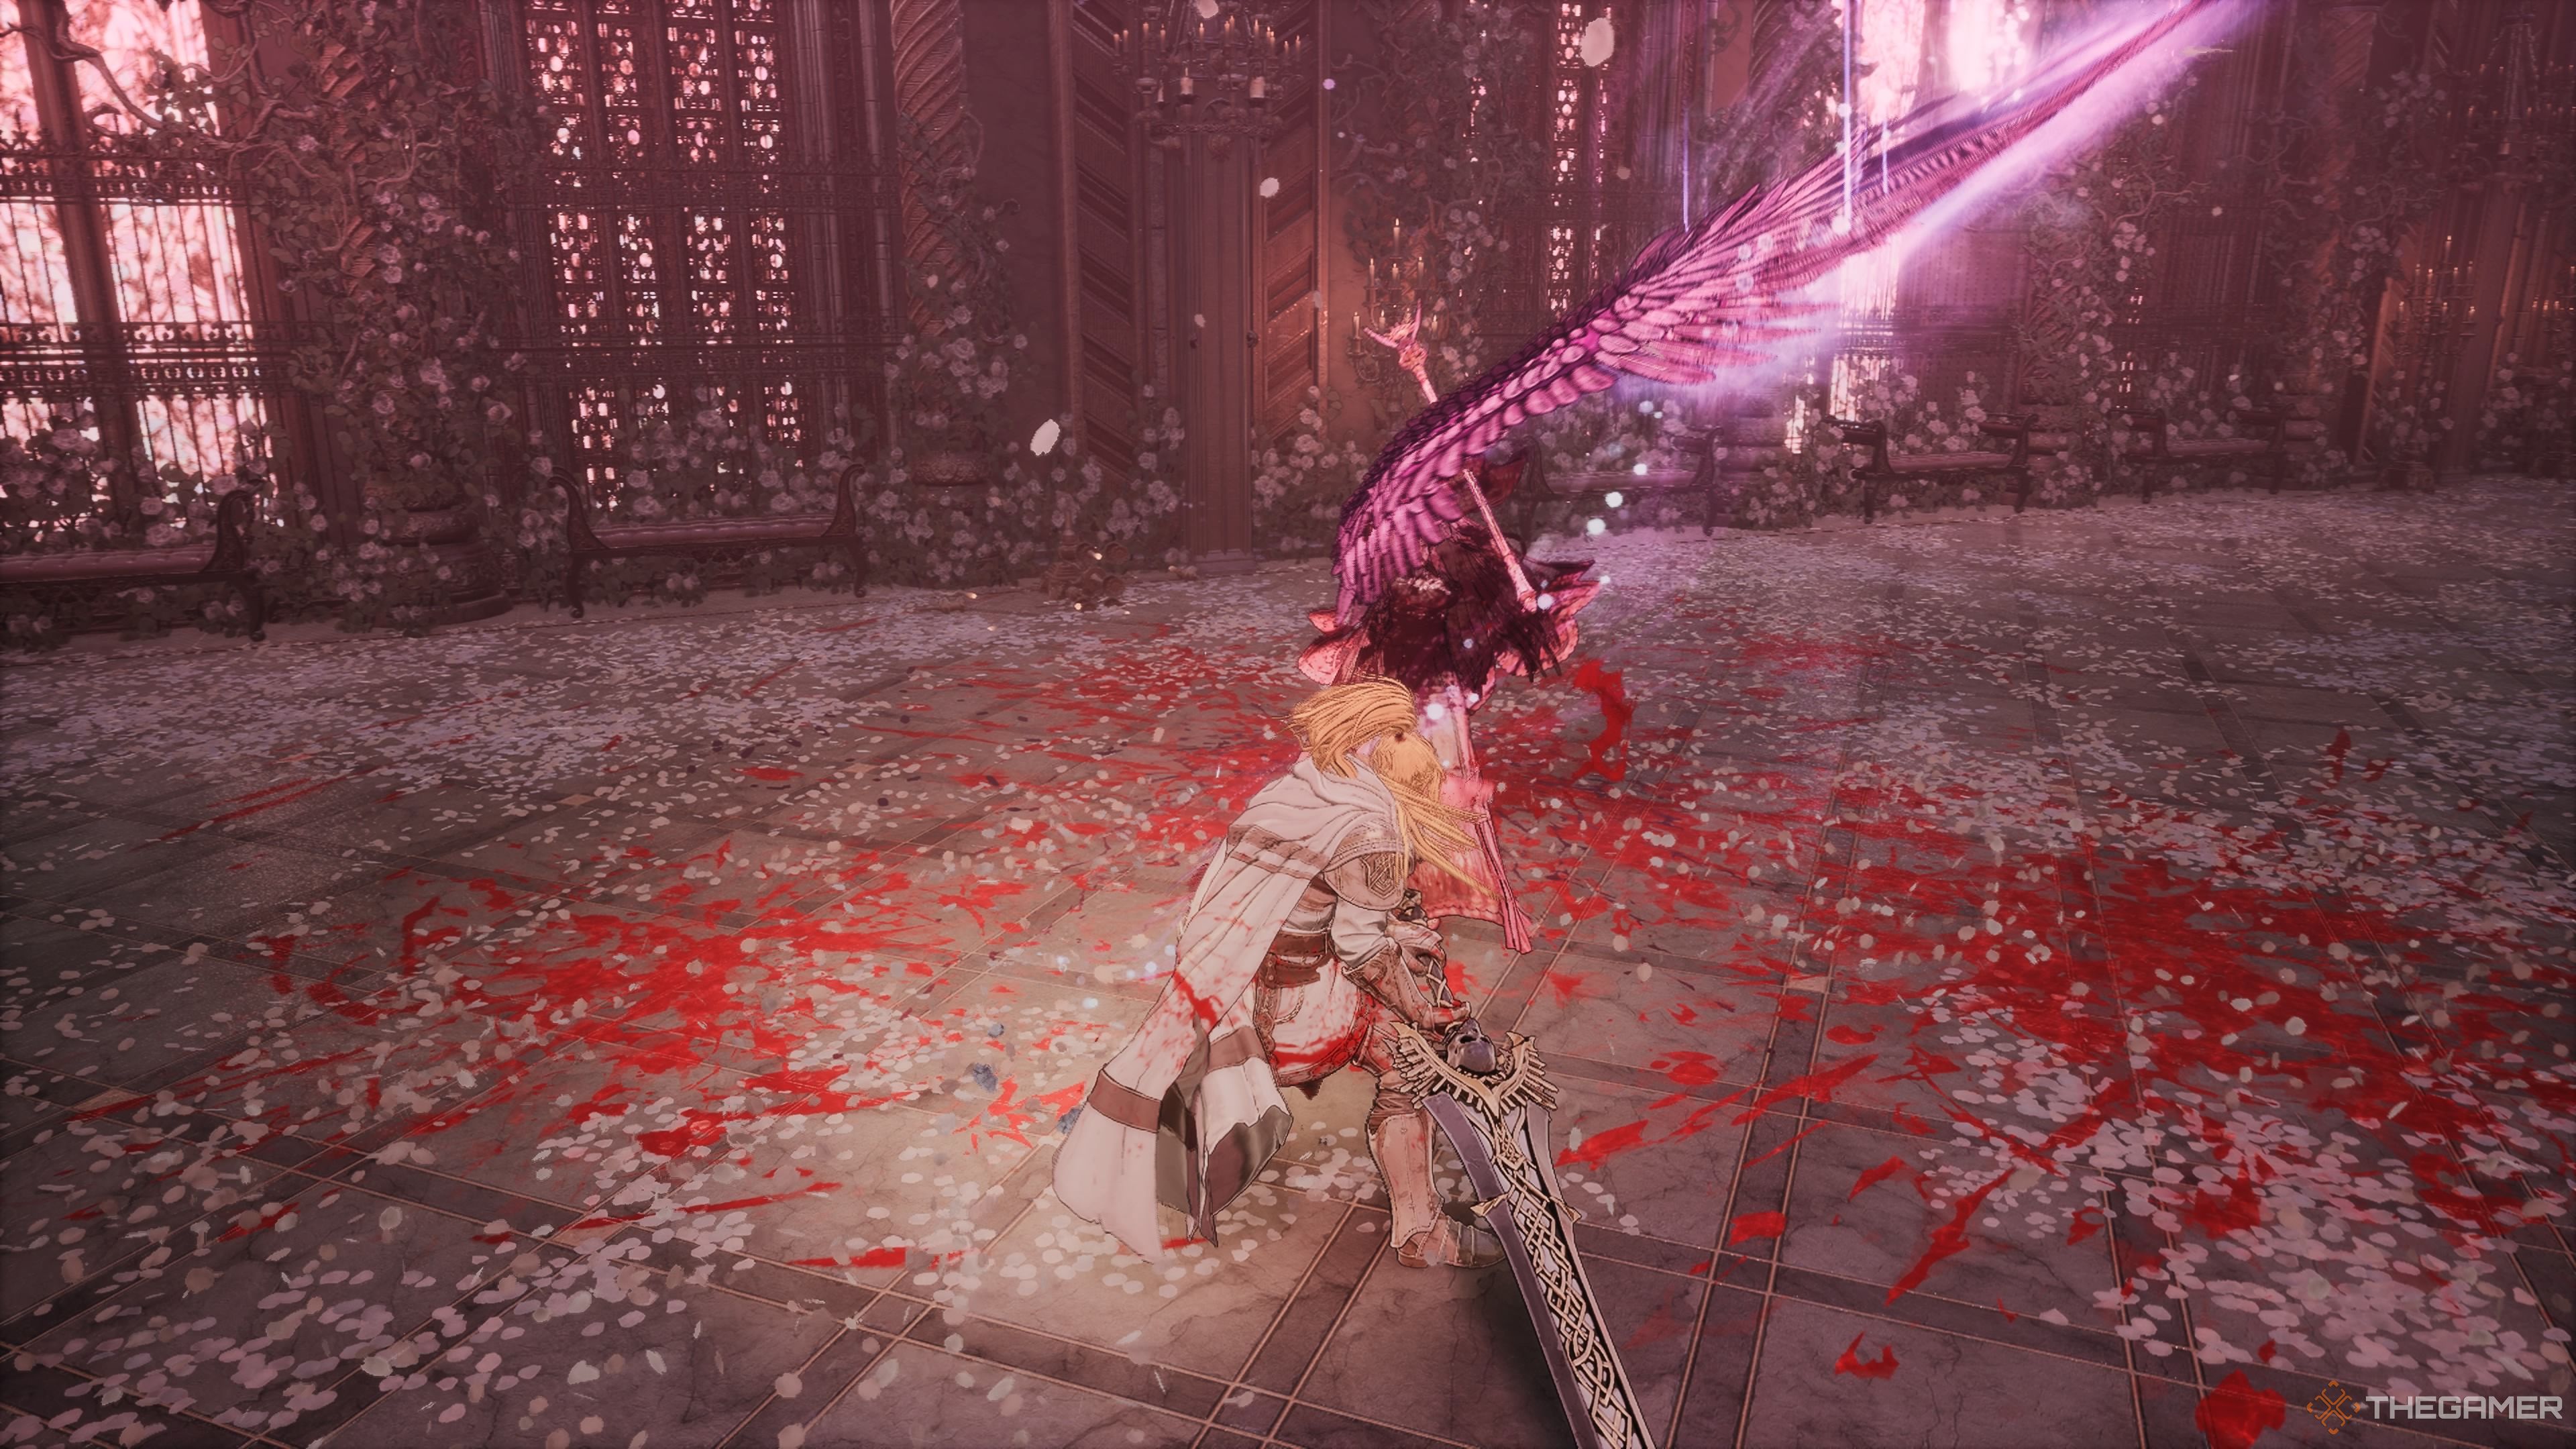
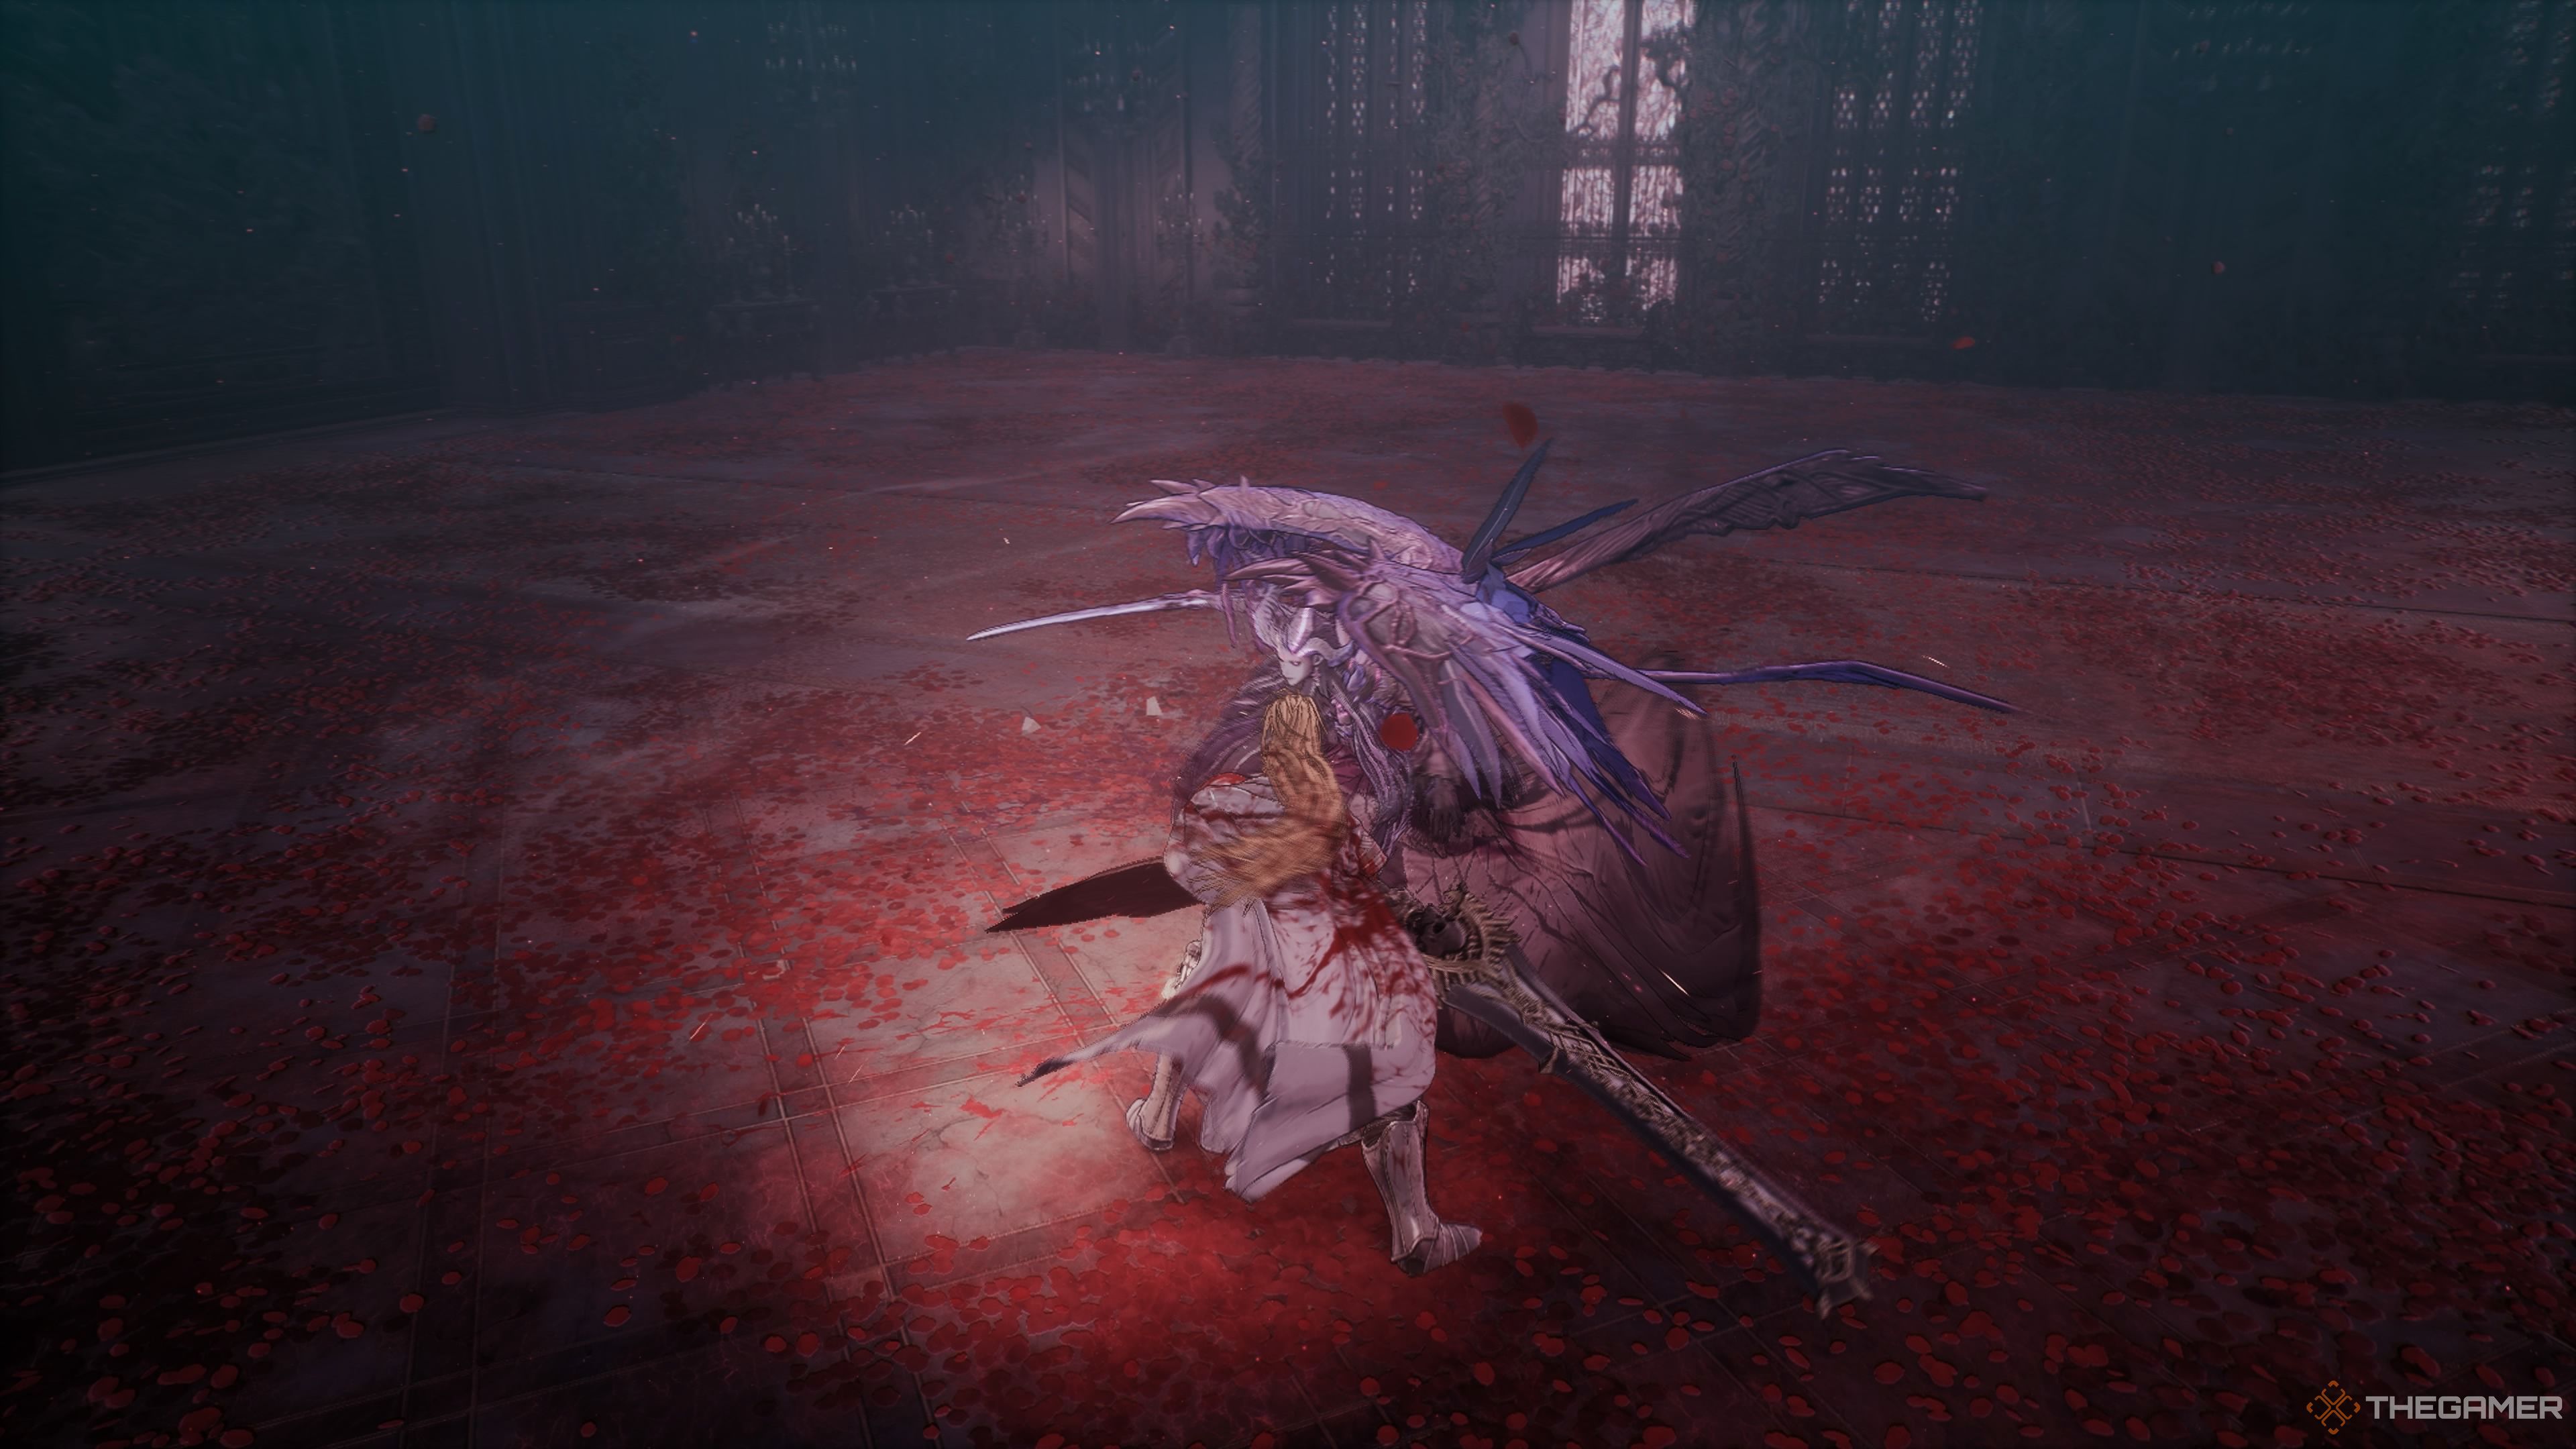
As a devoted fan, I can share that Reese isn’t just about ranged attacks; she’s got some melee moves up her sleeve too! She can swiftly swipe at you using her wings, but remember, these moves are on the slower side and have limited reach. However, the damage they inflict is significant. If she manages to spread both her wings simultaneously while standing still, get ready for her powerful grab attack! If she manages to catch you in this move, be prepared for a heavy blow!
It’s fortunate because as soon as you spot wings, you can swiftly evade, ensuring your safety regardless of the winged maneuver she employs. She’s also capable of producing a beam of light to attack you directly, and occasionally, she’ll thrust it into the ground instead. When she does this, it transforms into a small area-of-effect attack, but due to its limited range, it’s not very potent.
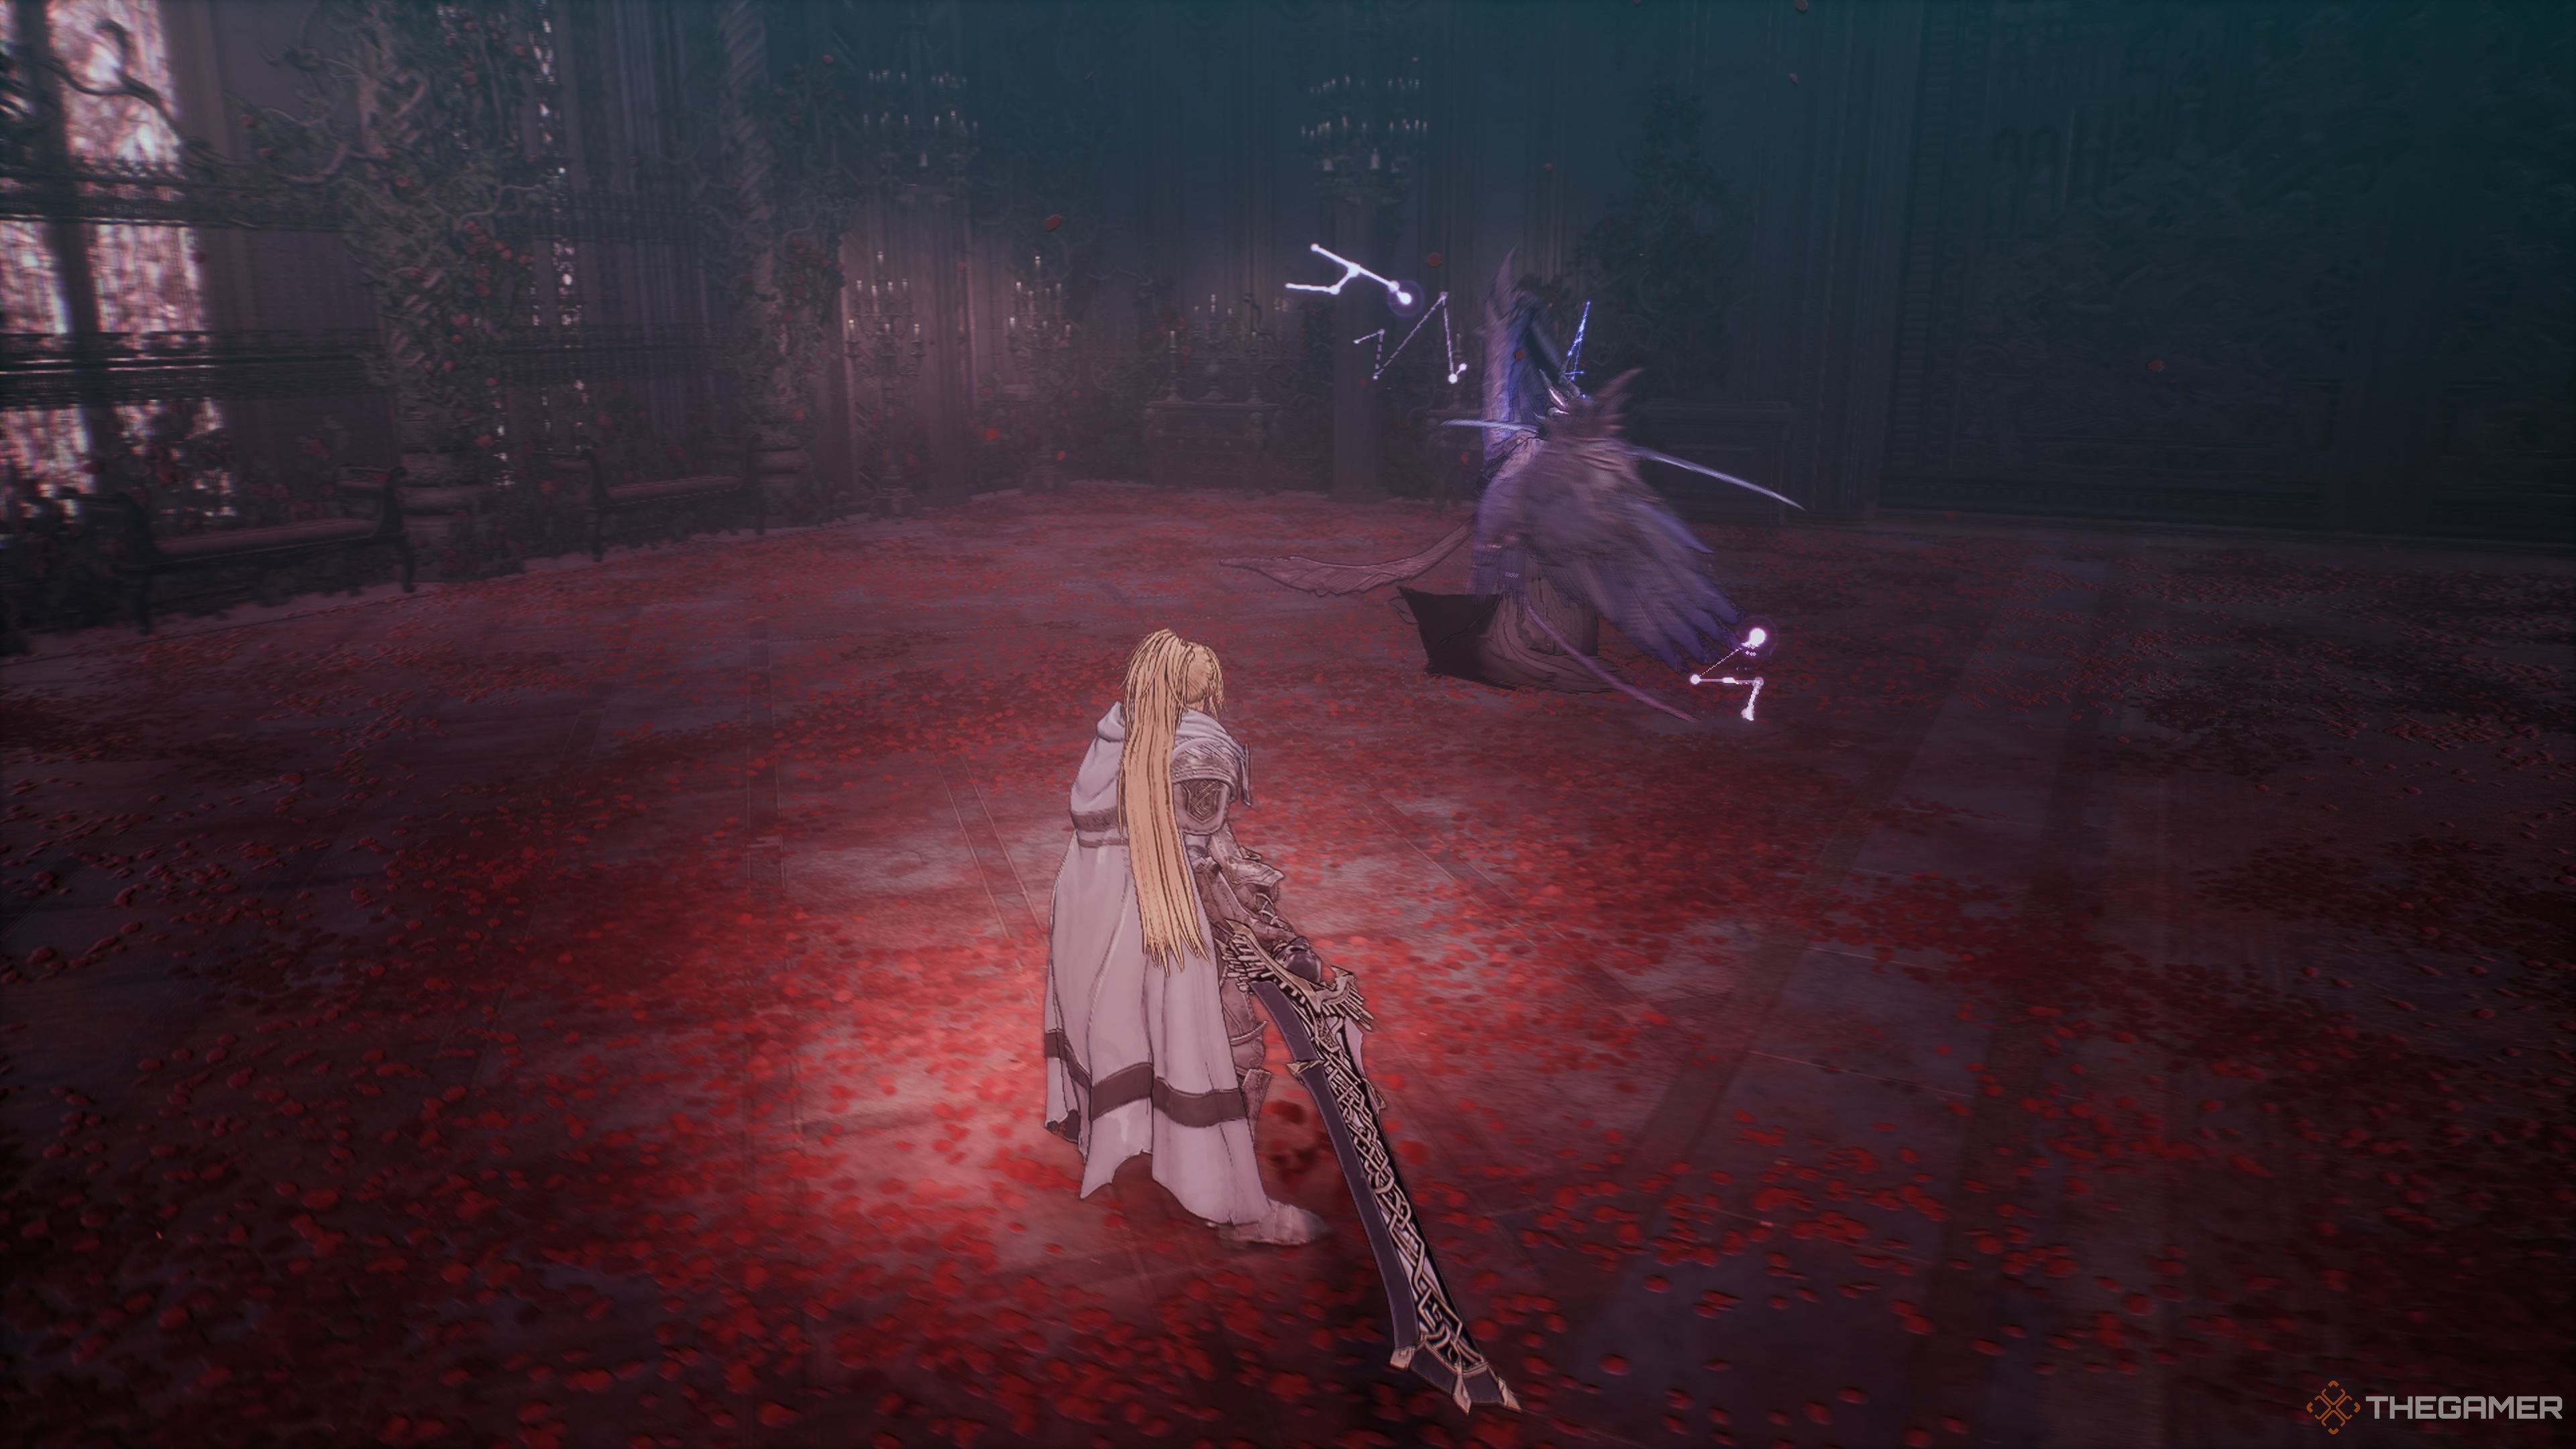
Reese’s Very Exploitable Burst Attack
As a gamer, I’ll soar high, then, upon the Burst Attack icon’s appearance, I’ll glide menacingly towards you. This move isn’t lightning-fast and it’s astonishingly easy to Counter. Even if you haven’t used the Counterattack throughout the entire game, you’ll find it a breeze here. Not only does countering this move deal a substantial amount of damage, but it will also deplete a significant chunk of her stamina. If I miss my first Burst Attack, I always follow up with a second. Take advantage of this attack!
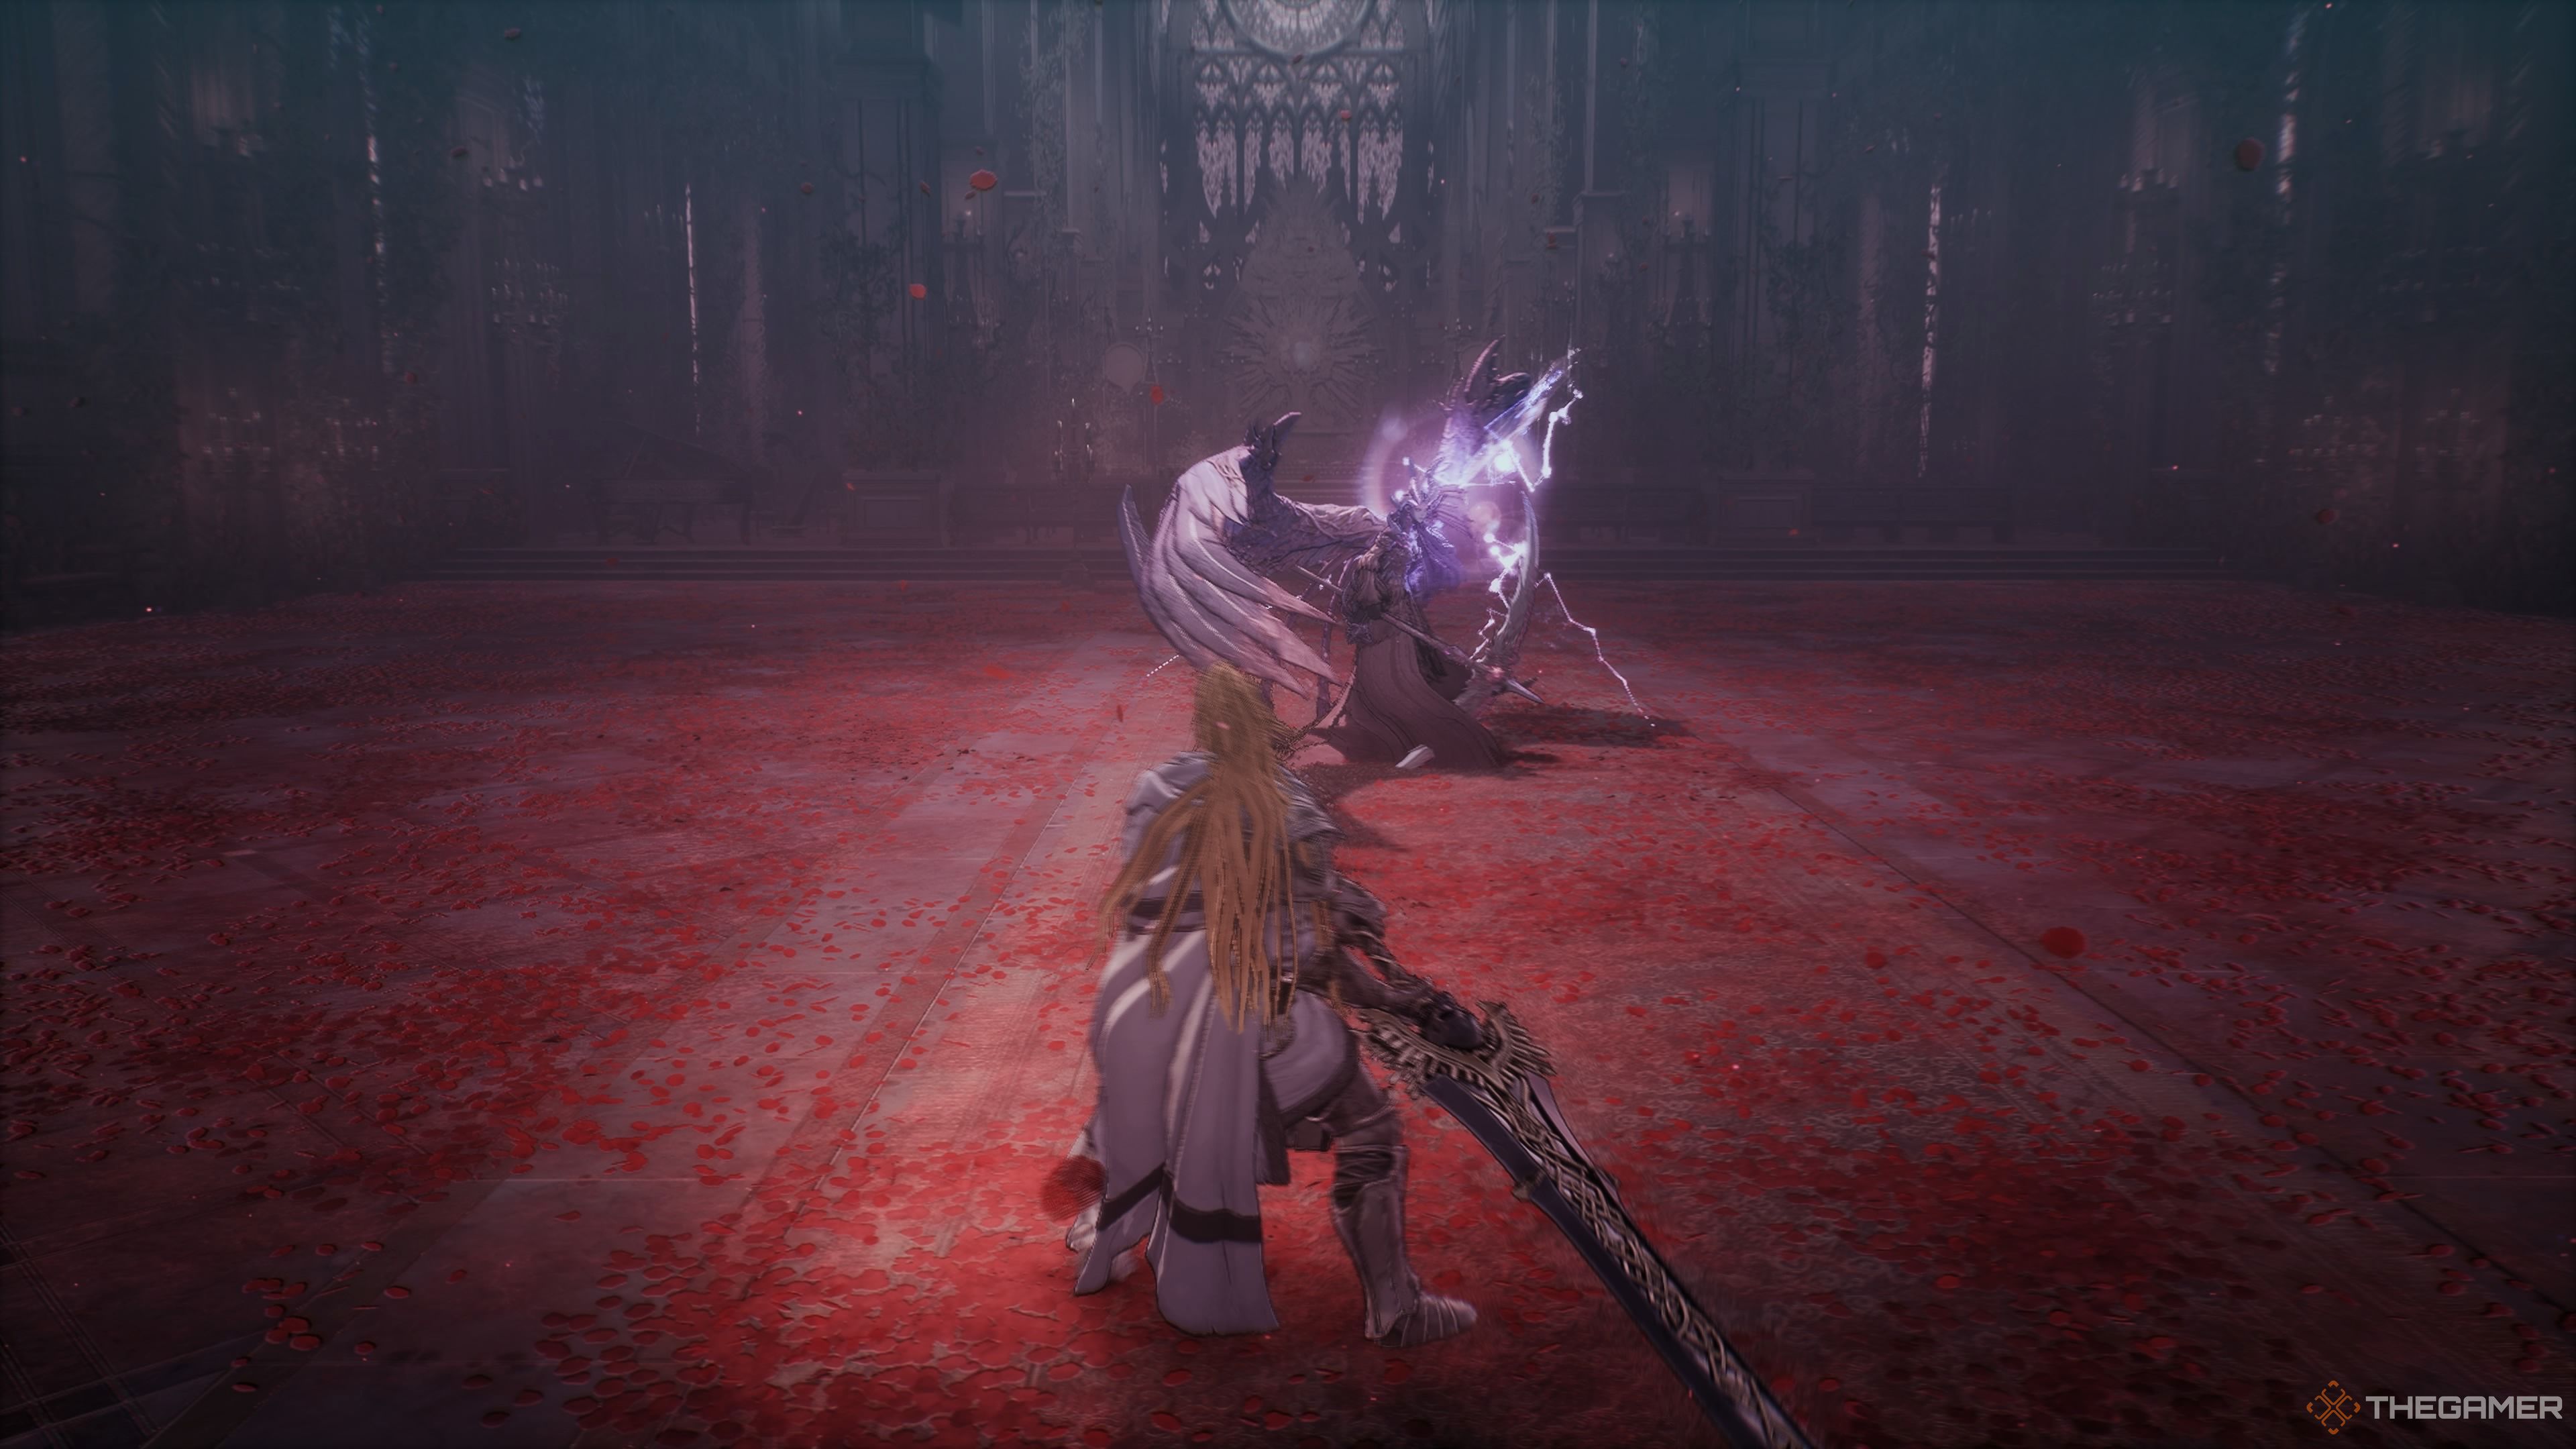
Reese’s Demonic Form
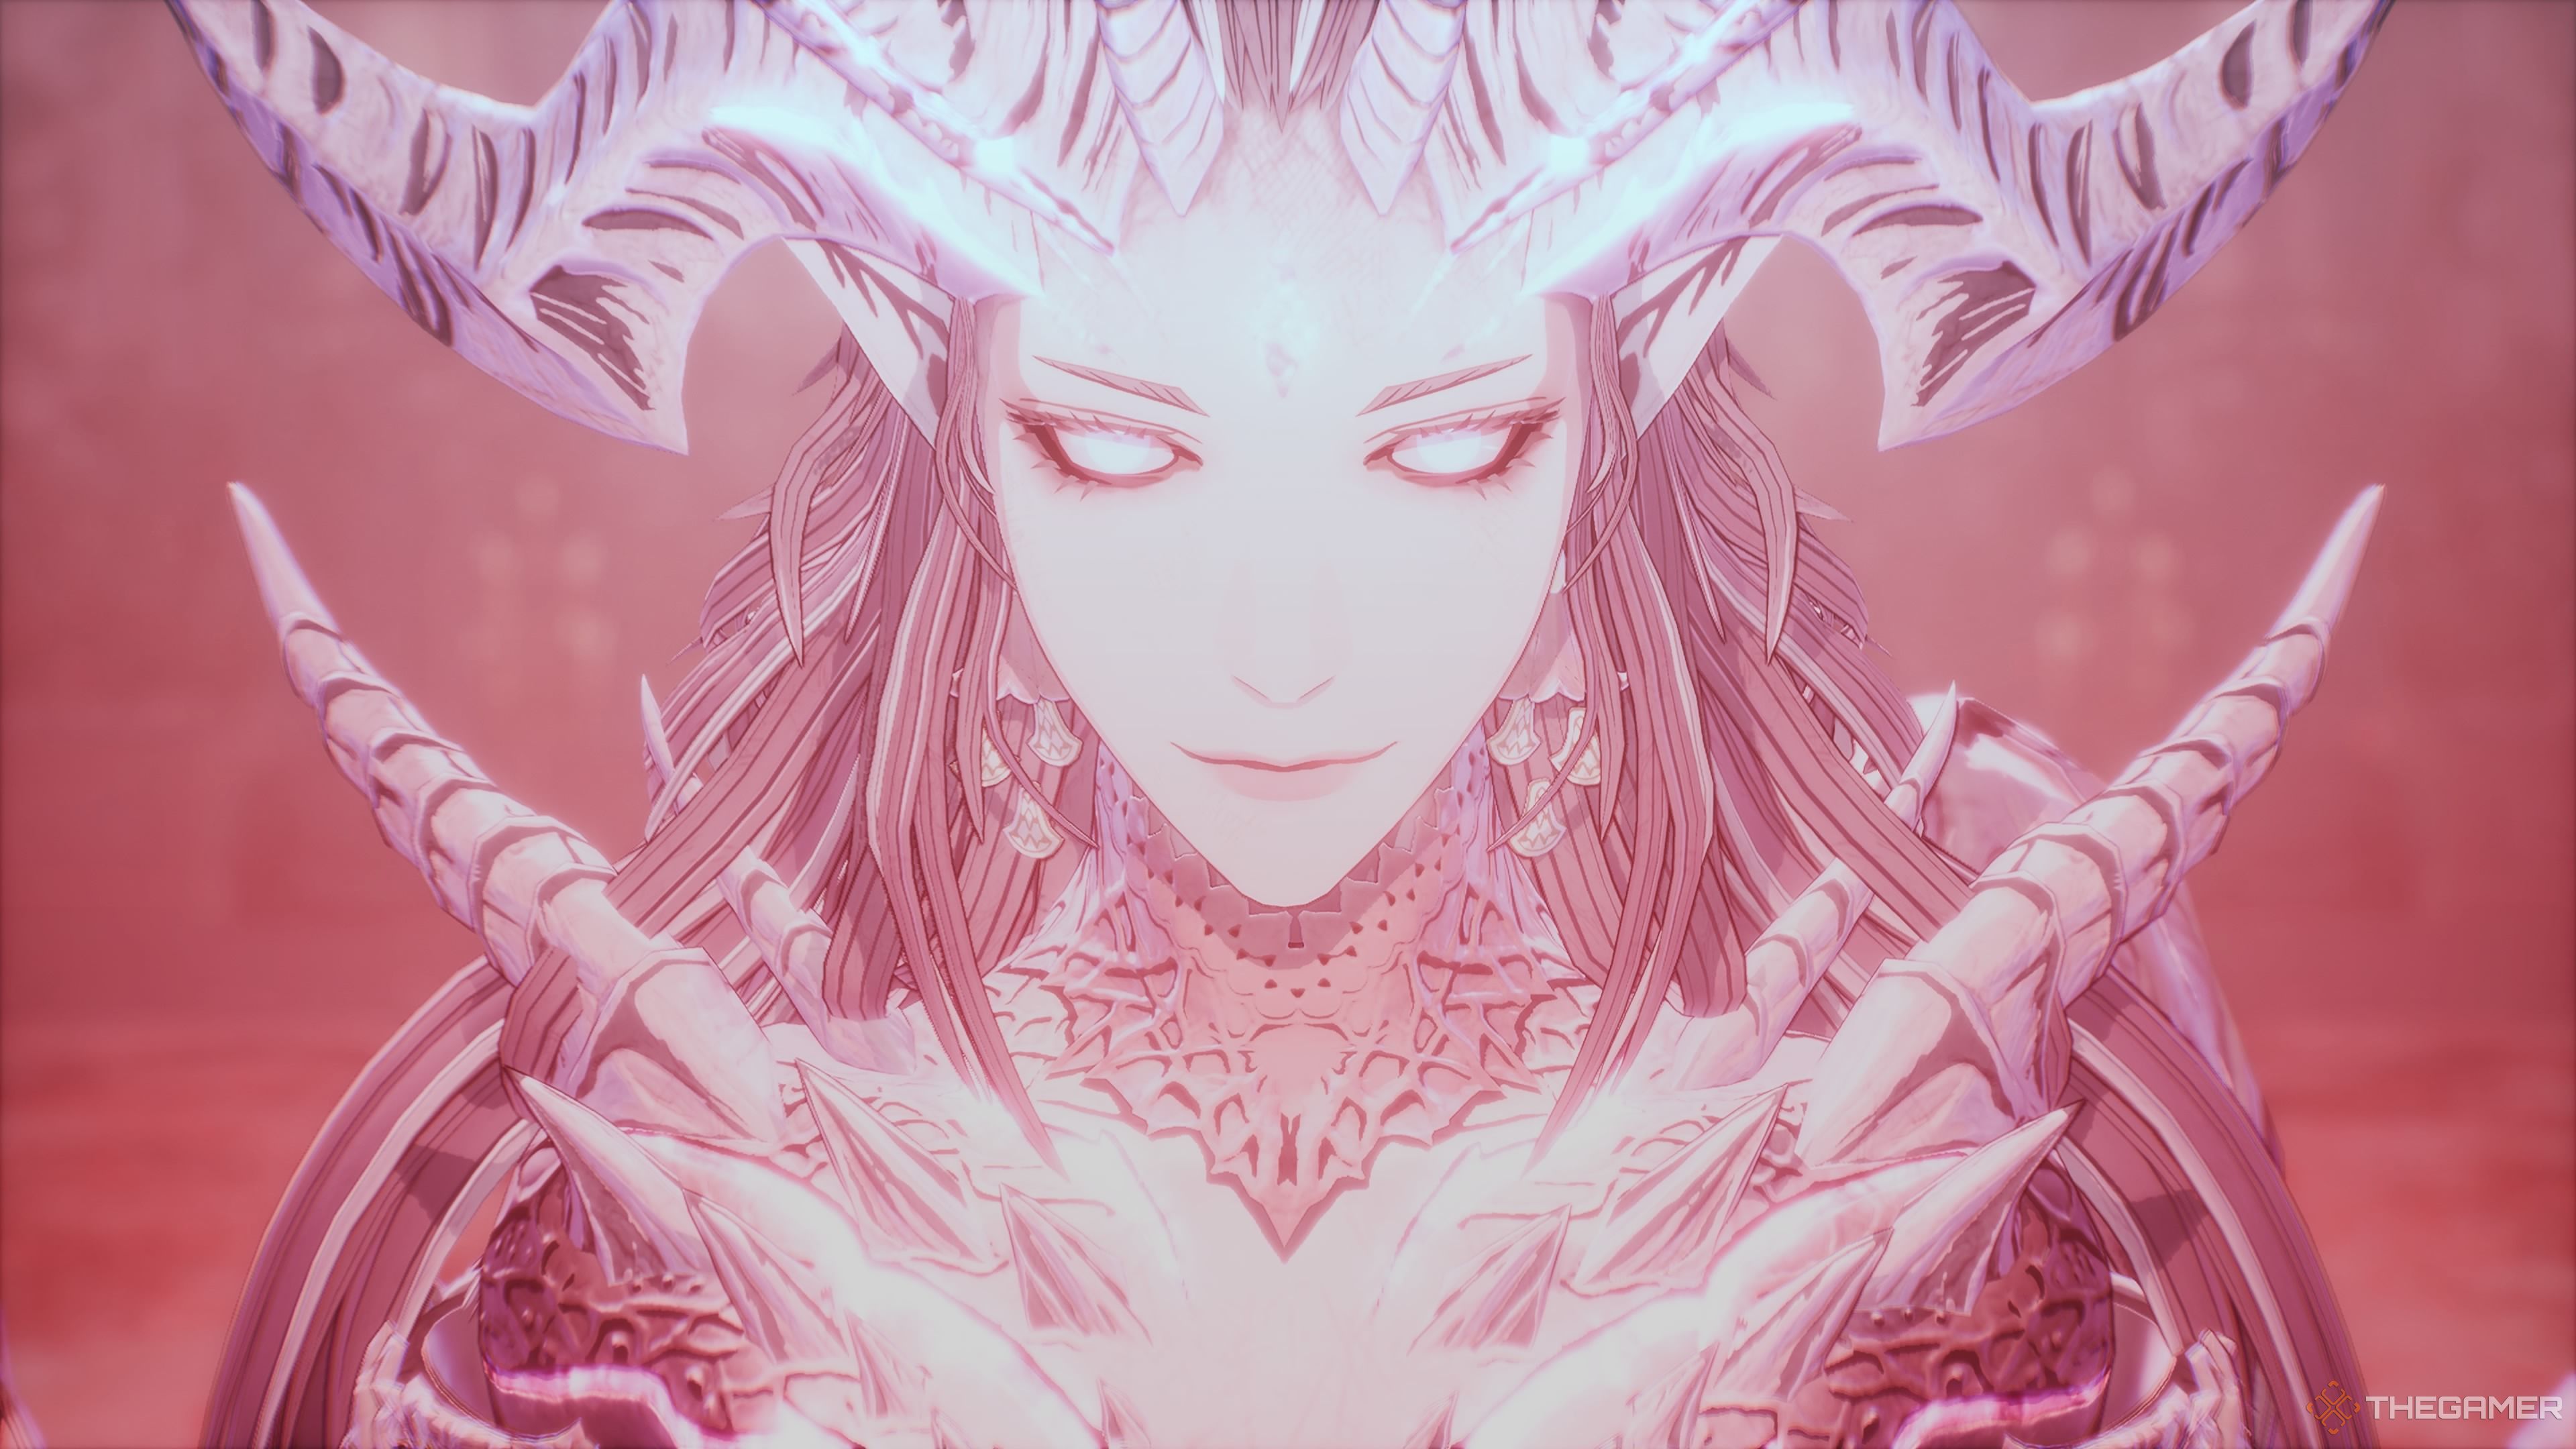
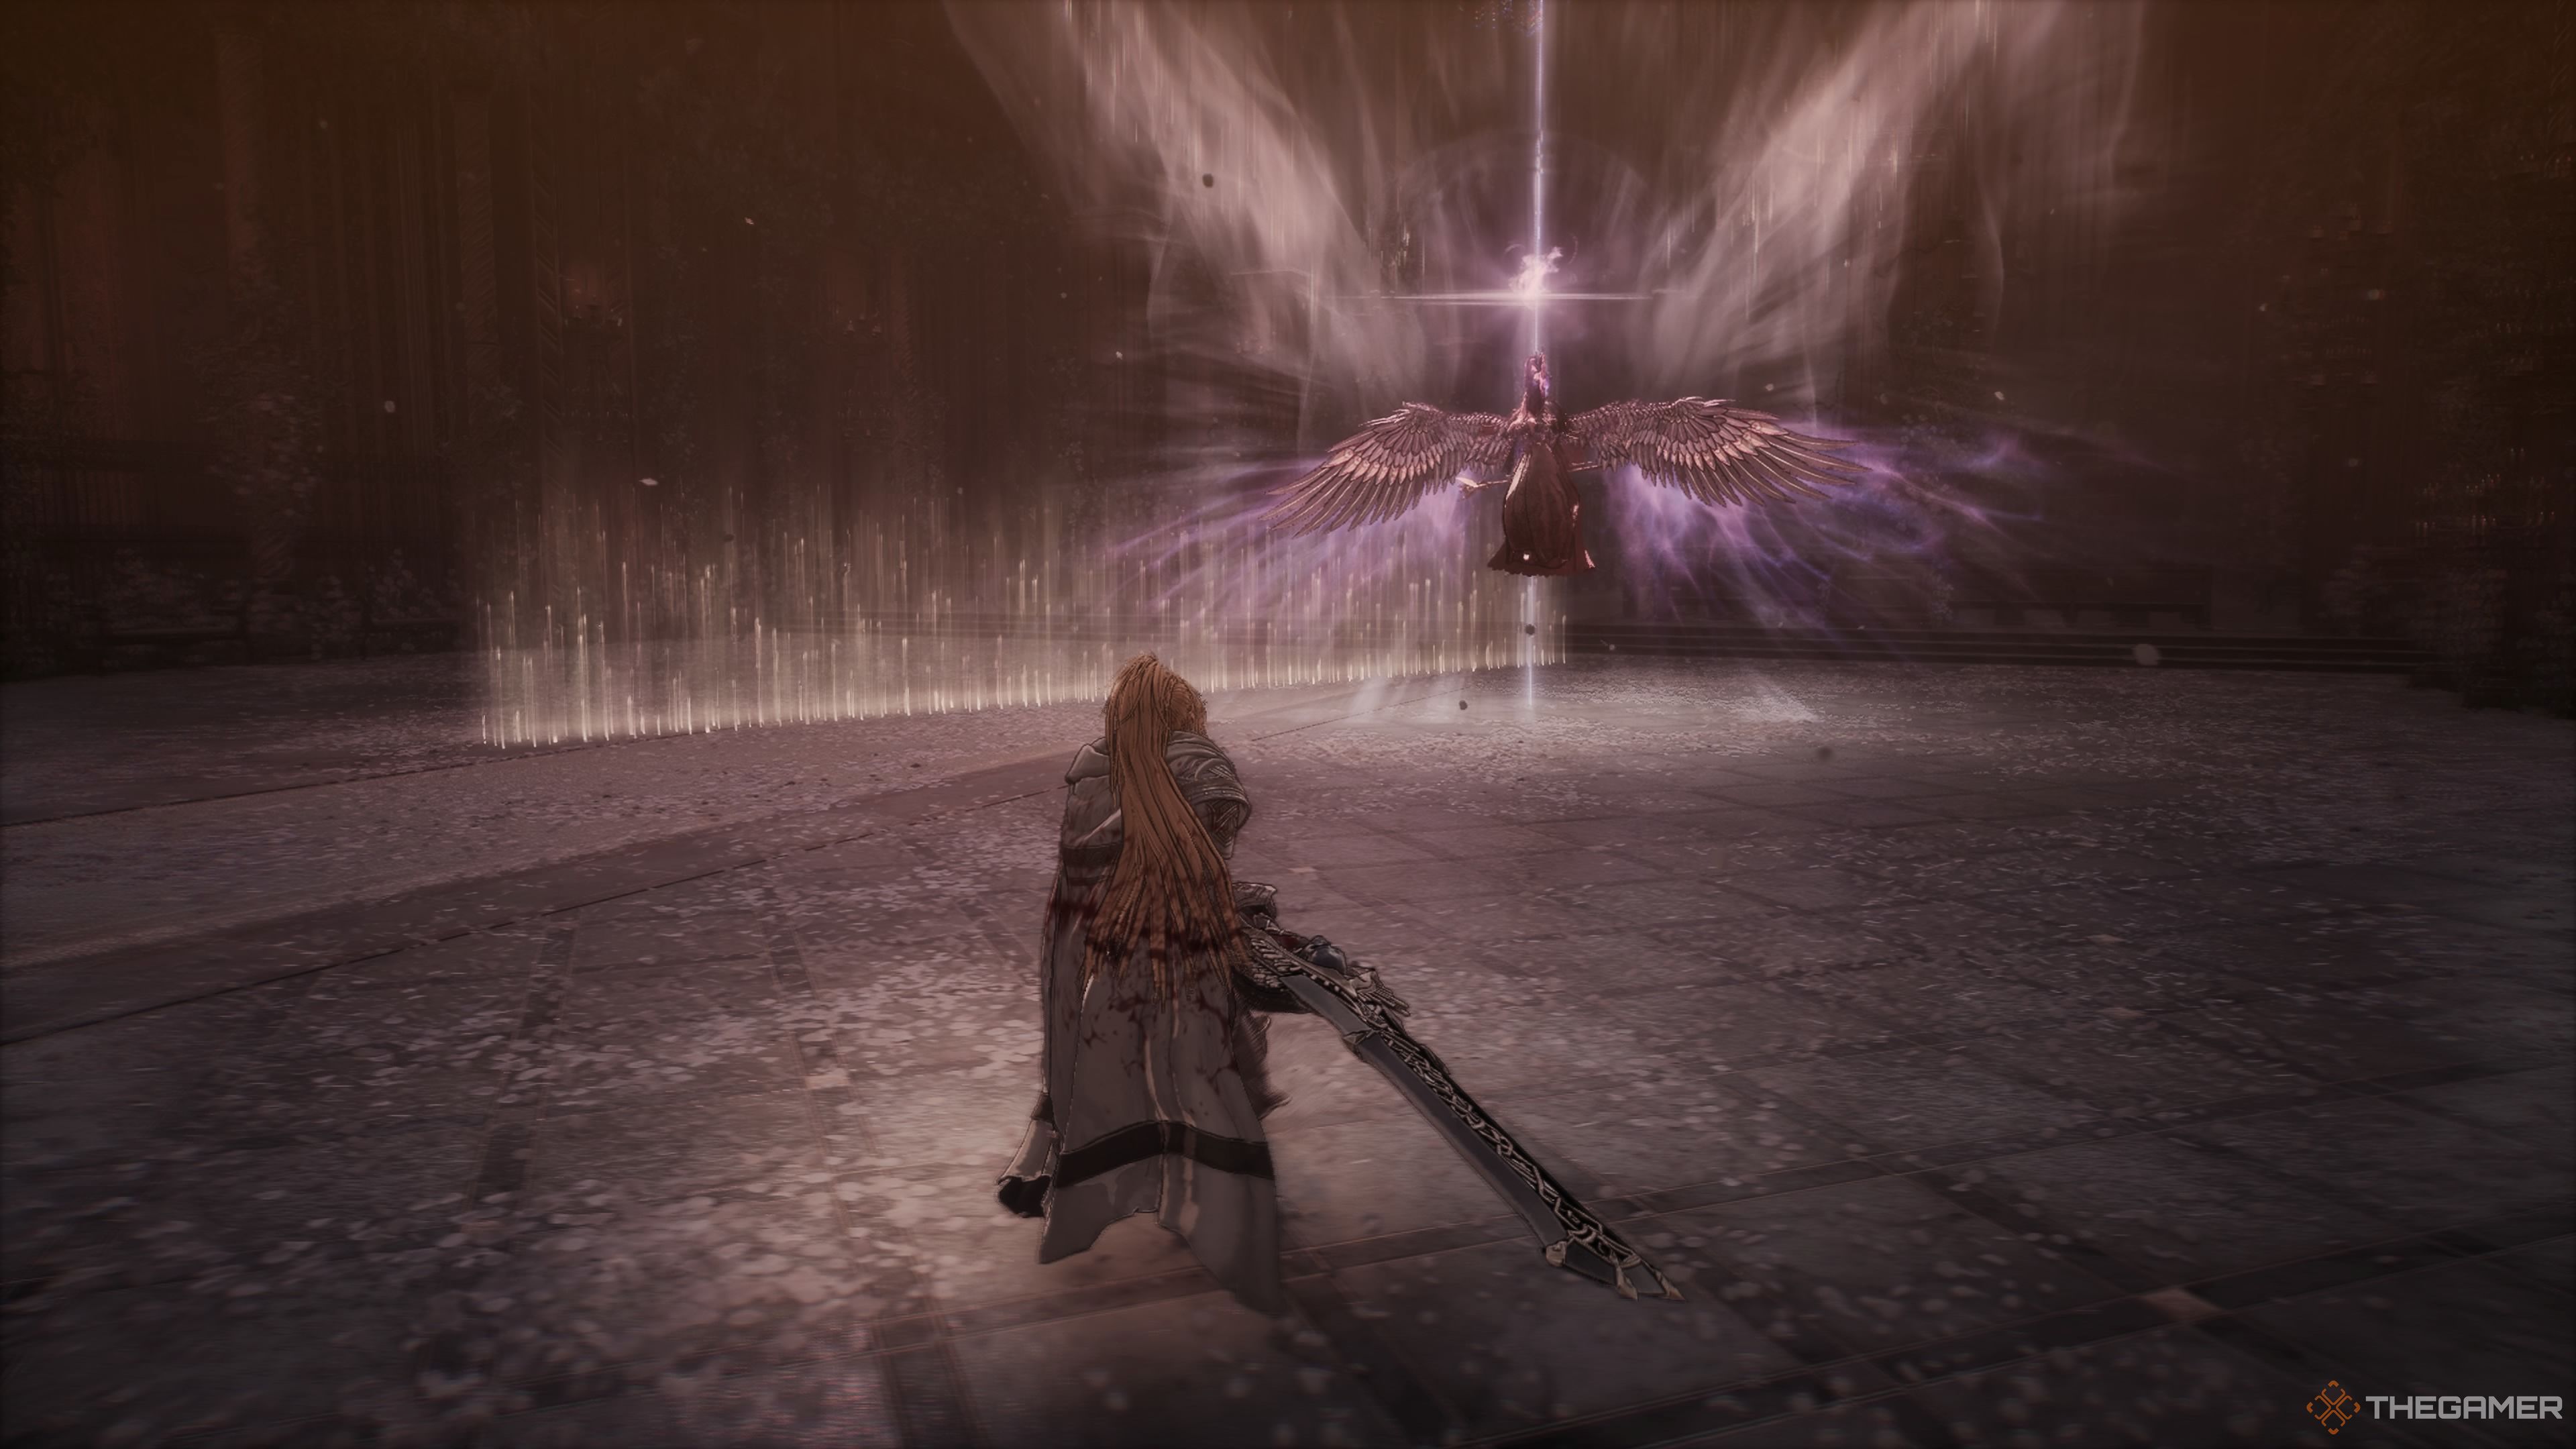
After you’ve slain Reese in her human form, she will reappear as a demon. Many aspects about her will stay the same. She’ll continue to execute the same attack where she soars into the air and shoots two projectiles at you. To counter this, you’ll need to react in exactly the same way – dart to the side when portals appear. She’ll also retain the ability to create magical barriers, and when she ascends into the sky, she’ll be preparing to unleash that potent area-of-effect spell again. Essentially, you’ll have to handle all of these aspects just as you did before.
Her Brink Attack remains similar and can still be easily thwarted. If you notice that Reese’s scythe begins to glow as she floats backward, you’ll understand that her Brink Attack is imminent. Given that Reese becomes more difficult to hit in her demonic form, it’s crucial to take advantage of these instances.
Instead of using her ineffective melee attacks previously, she has replaced them with more challenging and dangerous scythe-based ones in this new form. She is quite aggressive now, so evading was sufficient to counter her melee attacks before, but against these new attacks, you’ll need to employ your Brink Guard for protection.
Reese’s Scythe Attacks
In one of Reese’s frequent moves, she first powers up her scythe from a distance, then speeds forward for a big slash, followed by three more swift slashes. She also uses a move that is quite similar, but instead of staying put, she takes flight and later returns for a fifth slash. Therefore, if you see her take off, it’s not because she’s fleeing, rather, be ready for a rapid strike. After the sequence ends, it will then be your turn.
Additionally, Reese performs a three-step sequence where she slows down the pace after each step before delivering her strike. In this pattern, she turns her back and winds up for every swing. The rhythm of these attacks is quite regular, allowing you to anticipate and time your blocks effectively. Following the last attack, retaliate with your strongest countermove.
If Reese moves forward swiftly with her scythe, she will push it out in front and then pull it back. Therefore, you should anticipate and guard against the scythe blade moving in both directions. This can be challenging when you’re not expecting it.
When she performs one of her most challenging moves, she’ll rise up, fire off two energy bursts, and then dash swiftly towards you for a powerful strike. It’s crucial to block this attack as it could be disastrous if missed. After she passes you, she’ll momentarily be stunned, so take advantage of the situation and attack her aggressively.
Slipping past an attack can be effective, however, it will cause you to be propelled ahead since she passes by you, which makes it more challenging to execute subsequent actions.
Apart from her existing abilities, she now possesses a new strategy involving wing-based assaults. She’ll protect herself with a swift flap of her wings before darting forward with two spinning wing attacks. Sometimes, she may follow this up with another pair of spins. The reach of these attacks is quite extensive, but they aren’t particularly fast, so you should be able to use Brink Guard effectively against them.
As you successfully counter all these assaults, Reese will ultimately begin emitting chaotic energy. Once she starts doing this, try to squeeze in a few more strikes, then withdraw. Eventually, she’ll unleash a powerful attack. Over time, you’ll learn how many attacks you can deliver before needing to retreat.
Reese’s Final Phase
After reducing half of her health bar during her second form, Reese will execute a scythe charge accompanied by a flash of lightning. This gives her the ability to use her ultimate move: teleportation. She’ll employ this skill in two ways: teleporting next to you for an attack with her scythe, then disappearing and reappearing near you again for another two slashes. After that, she’ll vanish and reappear again, delivering a two-hit combo. In the end, she’ll rise into the air and explode. Therefore, there are five distinct attacks in total. When defending against these attacks, make sure to dodge by sprinting when she begins to hover in the air.
Don’t worry, you’ll only have to deal with this sequence once or twice.
Another way she might utilize her teleport is to prolong the aerial assault that ensues after firing two energy bolts. Following the aerial strike, she’ll vanish, only to reappear shortly afterward with a massive spinning scythe attack. If you’re ready for this move, it won’t be too difficult, but if you’re caught off guard, it can still take you by surprise.
Reese will now execute a modified four-move combo, which includes four scythe attacks, a backward leap into the air followed by a somersault, firing an energy bolt, and concluding with a swift lunging strike. Note that the projectile and the mid-air attack are launched closely together, it’s advisable to block the energy projectile instead of attempting a Brink Guard maneuver in this situation.
In the end, Reese will acquire a new Brink Attack. As she prepares, she’ll charge up her scythe before darting towards you, surrounded by intensely bright light. This move is a bit more challenging to counter, but not too difficult. She might execute it when she’s quite near you, making it slightly trickier. Nevertheless, if you notice her crouching and emitting a glow, understand that she is preparing to use the Brink Attack. Counterattack during this moment for some significant, free damage.
After defeating her, you’ll receive the “Faded Memory Scroll” as a reward. This victory will then allow you to progress to the final mission in the game where you can confront Ozma once and for all.
Upon overcoming her challenge, you’ll gain access to the elusive “Faded Memory Scroll”. Following this triumph, you’ll be ready to embark on the ultimate mission of the game, where you’ll have the chance to confront Ozma head-on.
Read More
- Best Heavy Tanks in World of Tanks Blitz (2025)
- CNY RUB PREDICTION
- Here Are All of Taylor Swift’s Albums in Order of Release Date (2025 Update)
- Death Stranding 2 smashes first game’s Metacritic score as one of 2025’s best games
- List of iOS 26 iPhones: Which iPhones Are Supported?
- Delta Force Redeem Codes (January 2025)
- Vitality Triumphs Over The MongolZ To Win The BLAST.tv Austin Major 2025
- Hermanos Koumori Sets Its Athletic Sights on the adidas UltraBOOST 5
- ‘No accidents took place’: Kantara Chapter 1 makers dismiss boat capsizing accident on sets of Rishab Shetty’s film
- The First Descendant fans can now sign up to play Season 3 before everyone else
2025-04-07 09:36