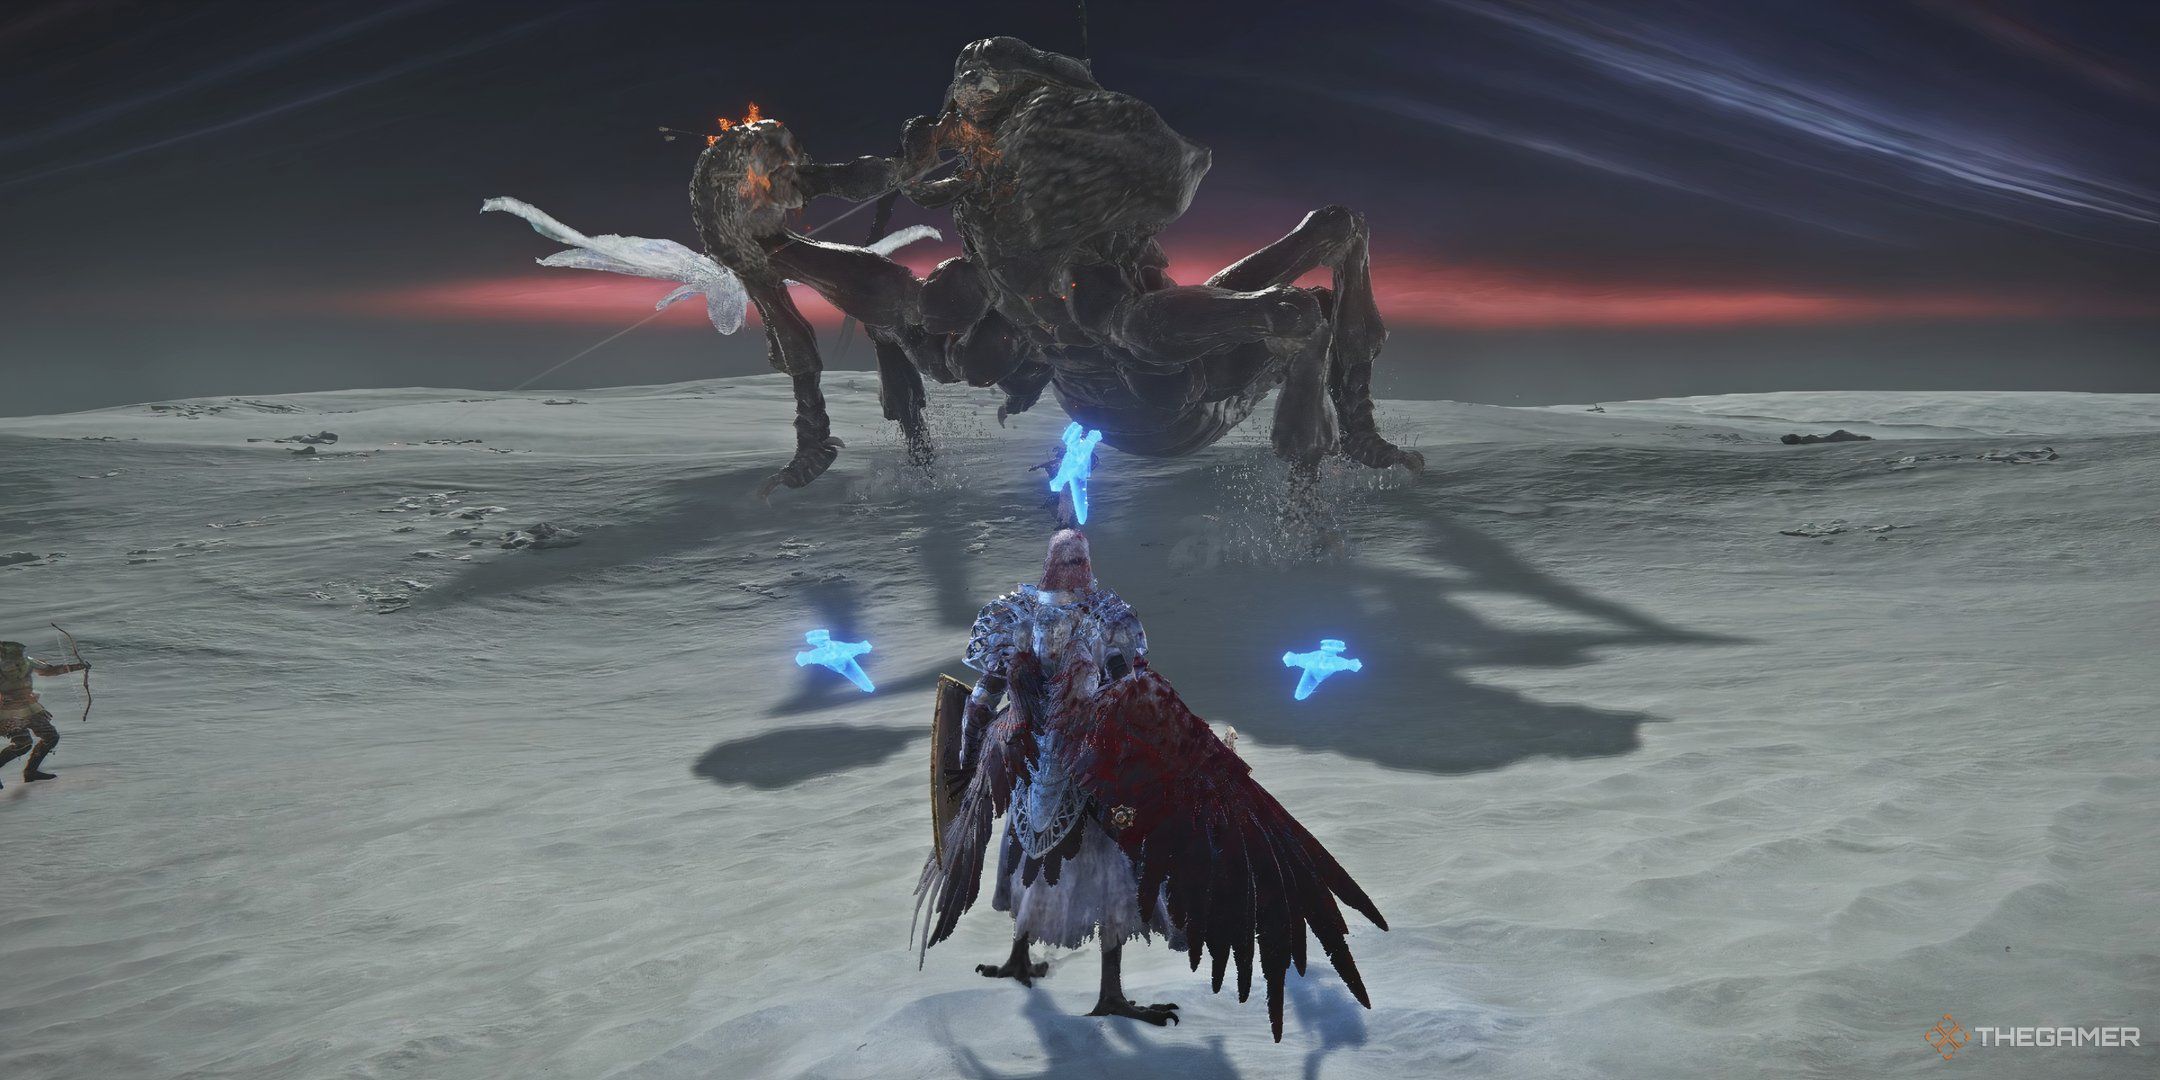
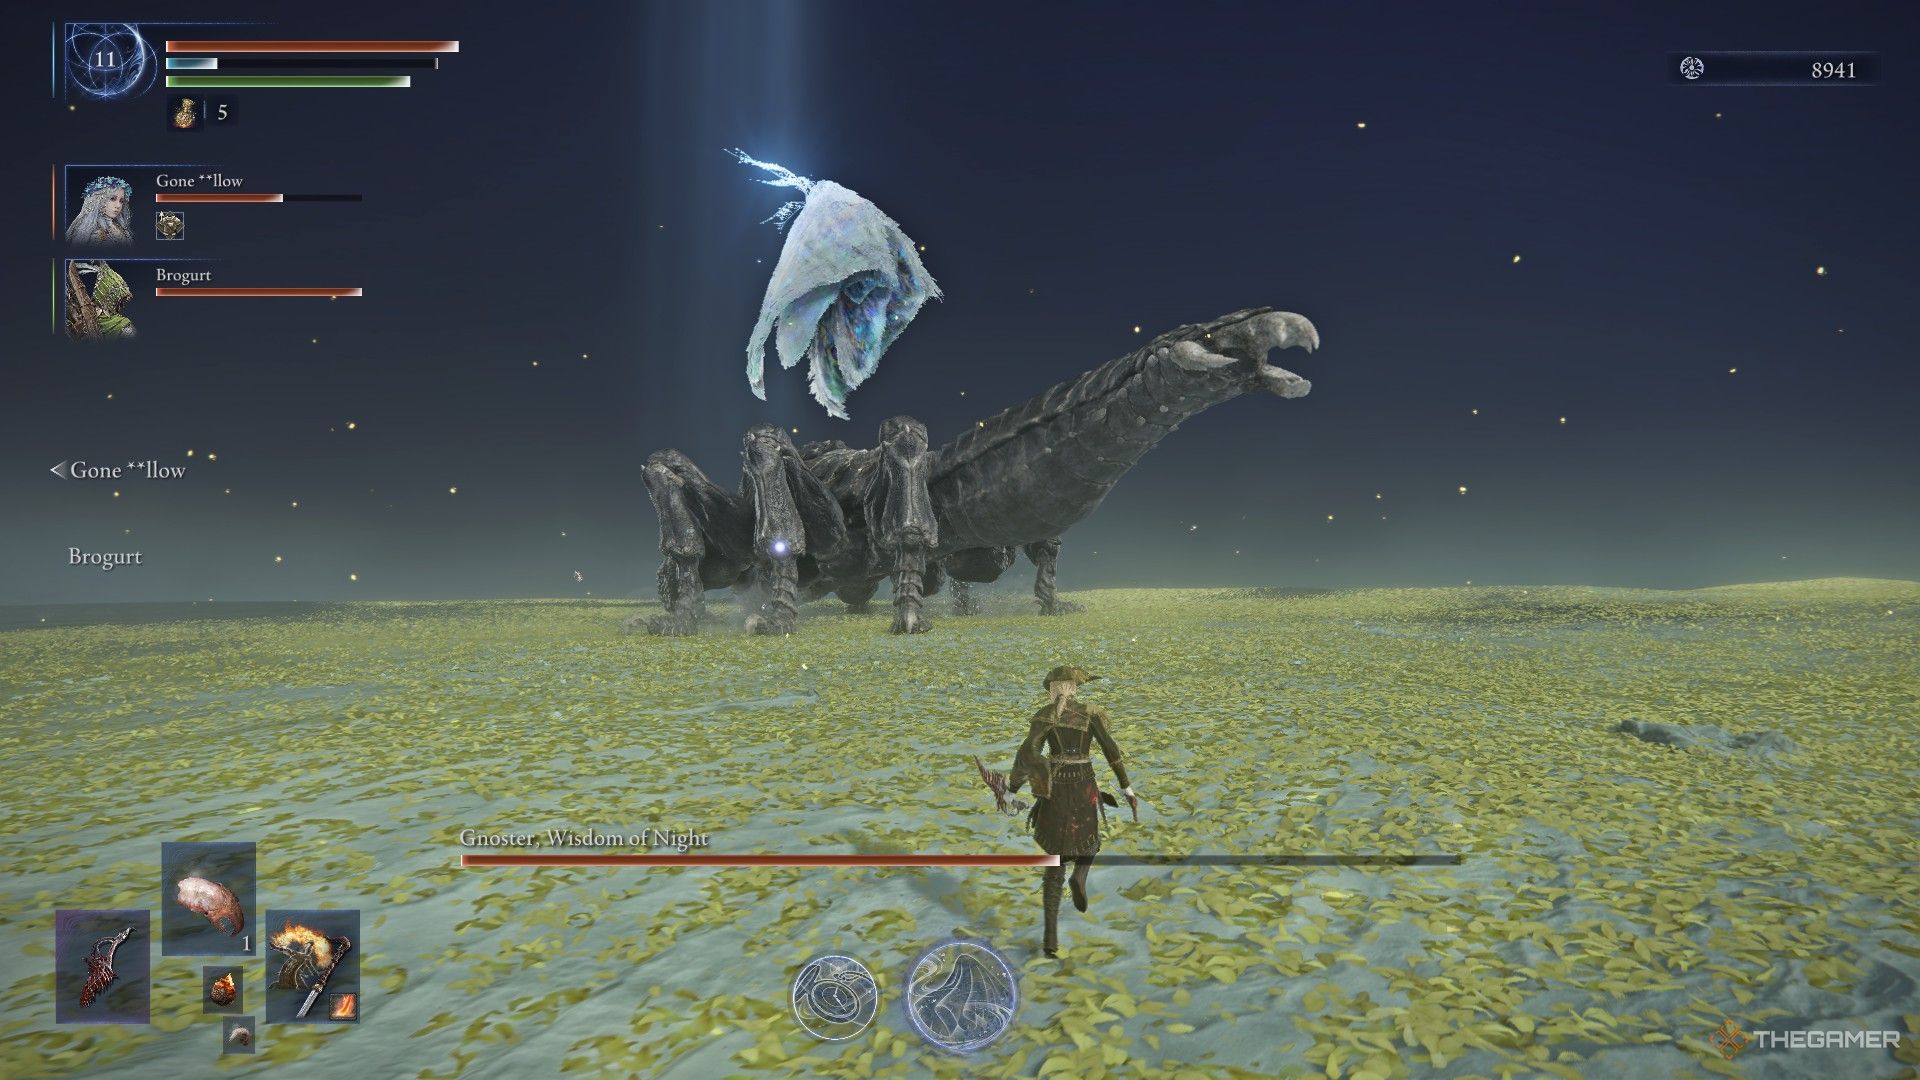
In Elden Ring Nightreign, Sentient Pest serves as the third significant adversary, and it’s far from a walkover. As for a fair fight, be aware that Sentient Pest is not a single opponent but two, which means your numerical superiority might not be as advantageous as you assumed. Much like with Gladius, you’ll need to strategically divide your focus between several active attack fronts.
As a gamer, I’m thrilled to share some insights about defeating Sentient Pest. Knowing its vulnerabilities and exploiting its size and numbers is key. Gather all the necessary equipment in the nights prior to our battle. This guide will help navigate you towards a successful squash of this pest for good. Good luck!
Sentient Pest’s Stats And Weaknesses: How To Prepare
Weak Vs. | Fire |
|---|---|
Strong Vs. | Poison, Magic (Phase Two) |
Immune To | Madness, Sleep |
Deals | Standard, Poison, Magic |
Total HP | 39,180~ |
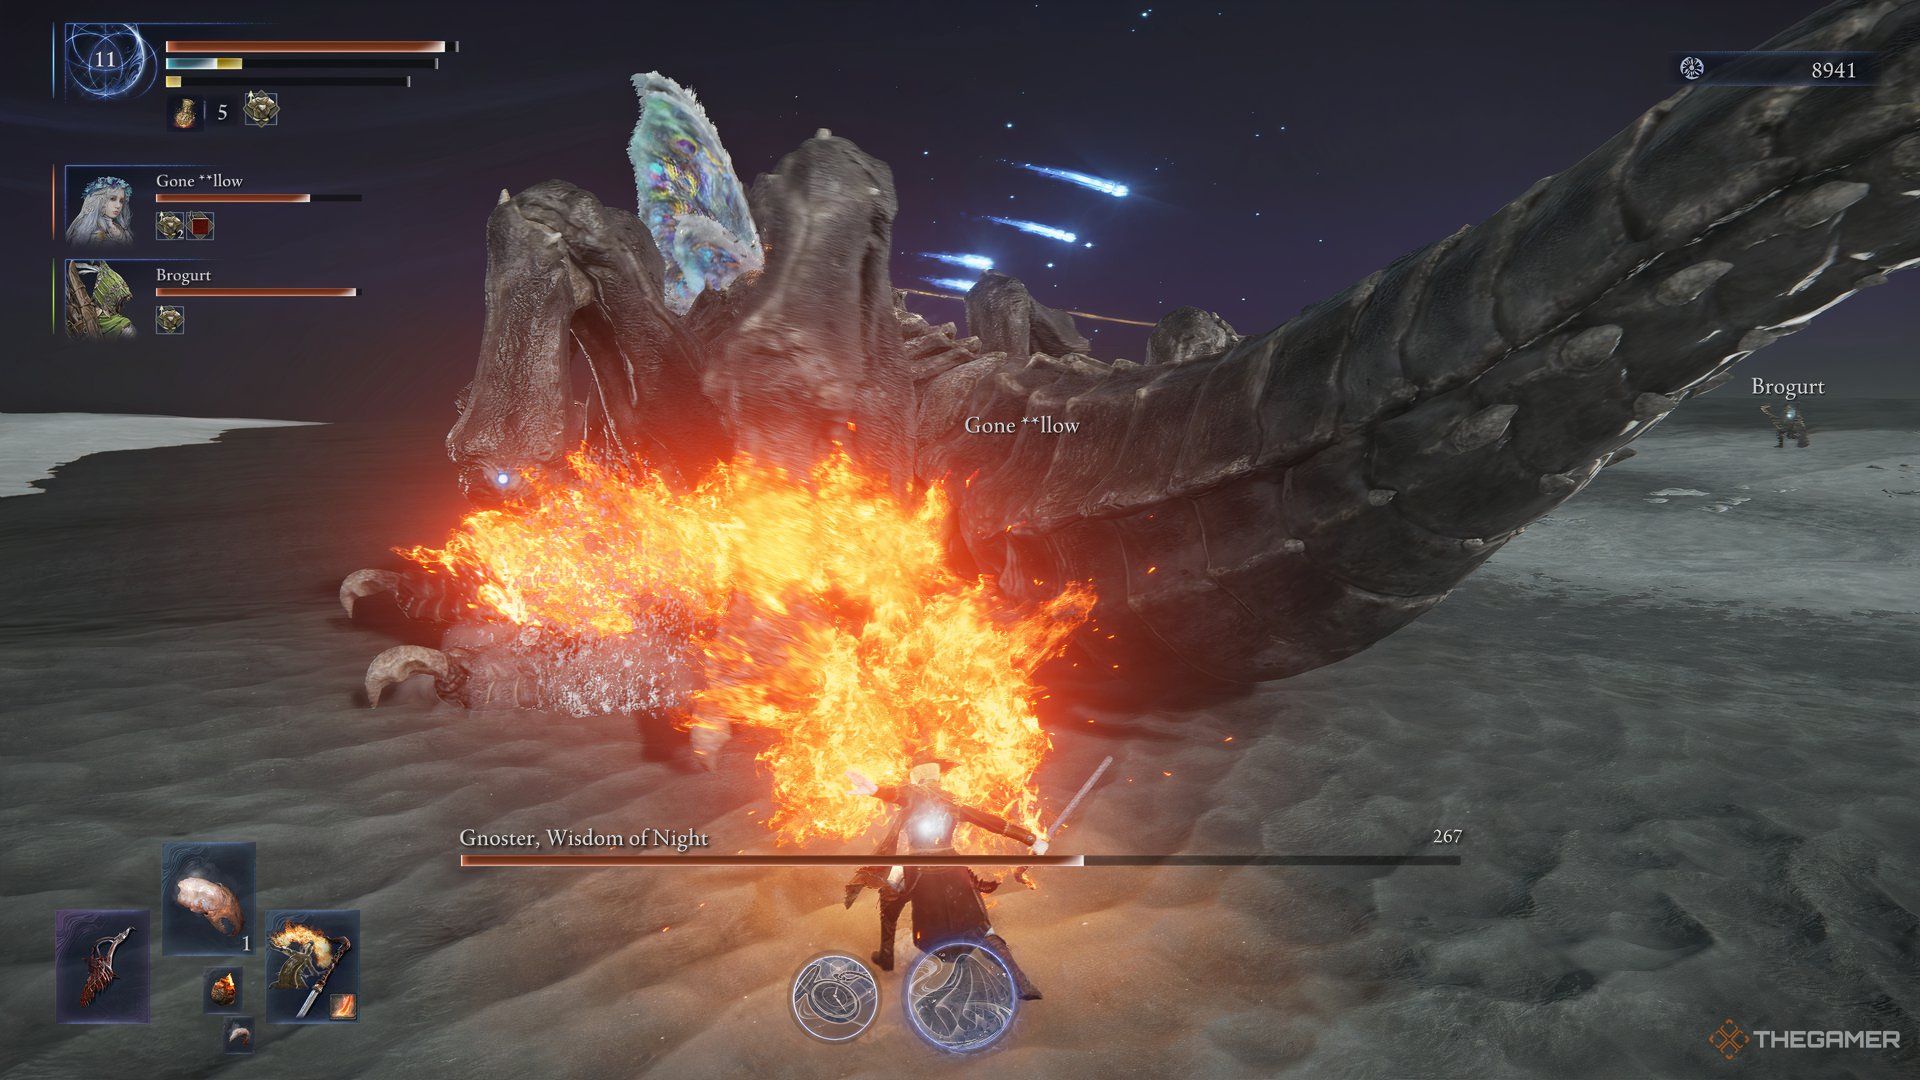
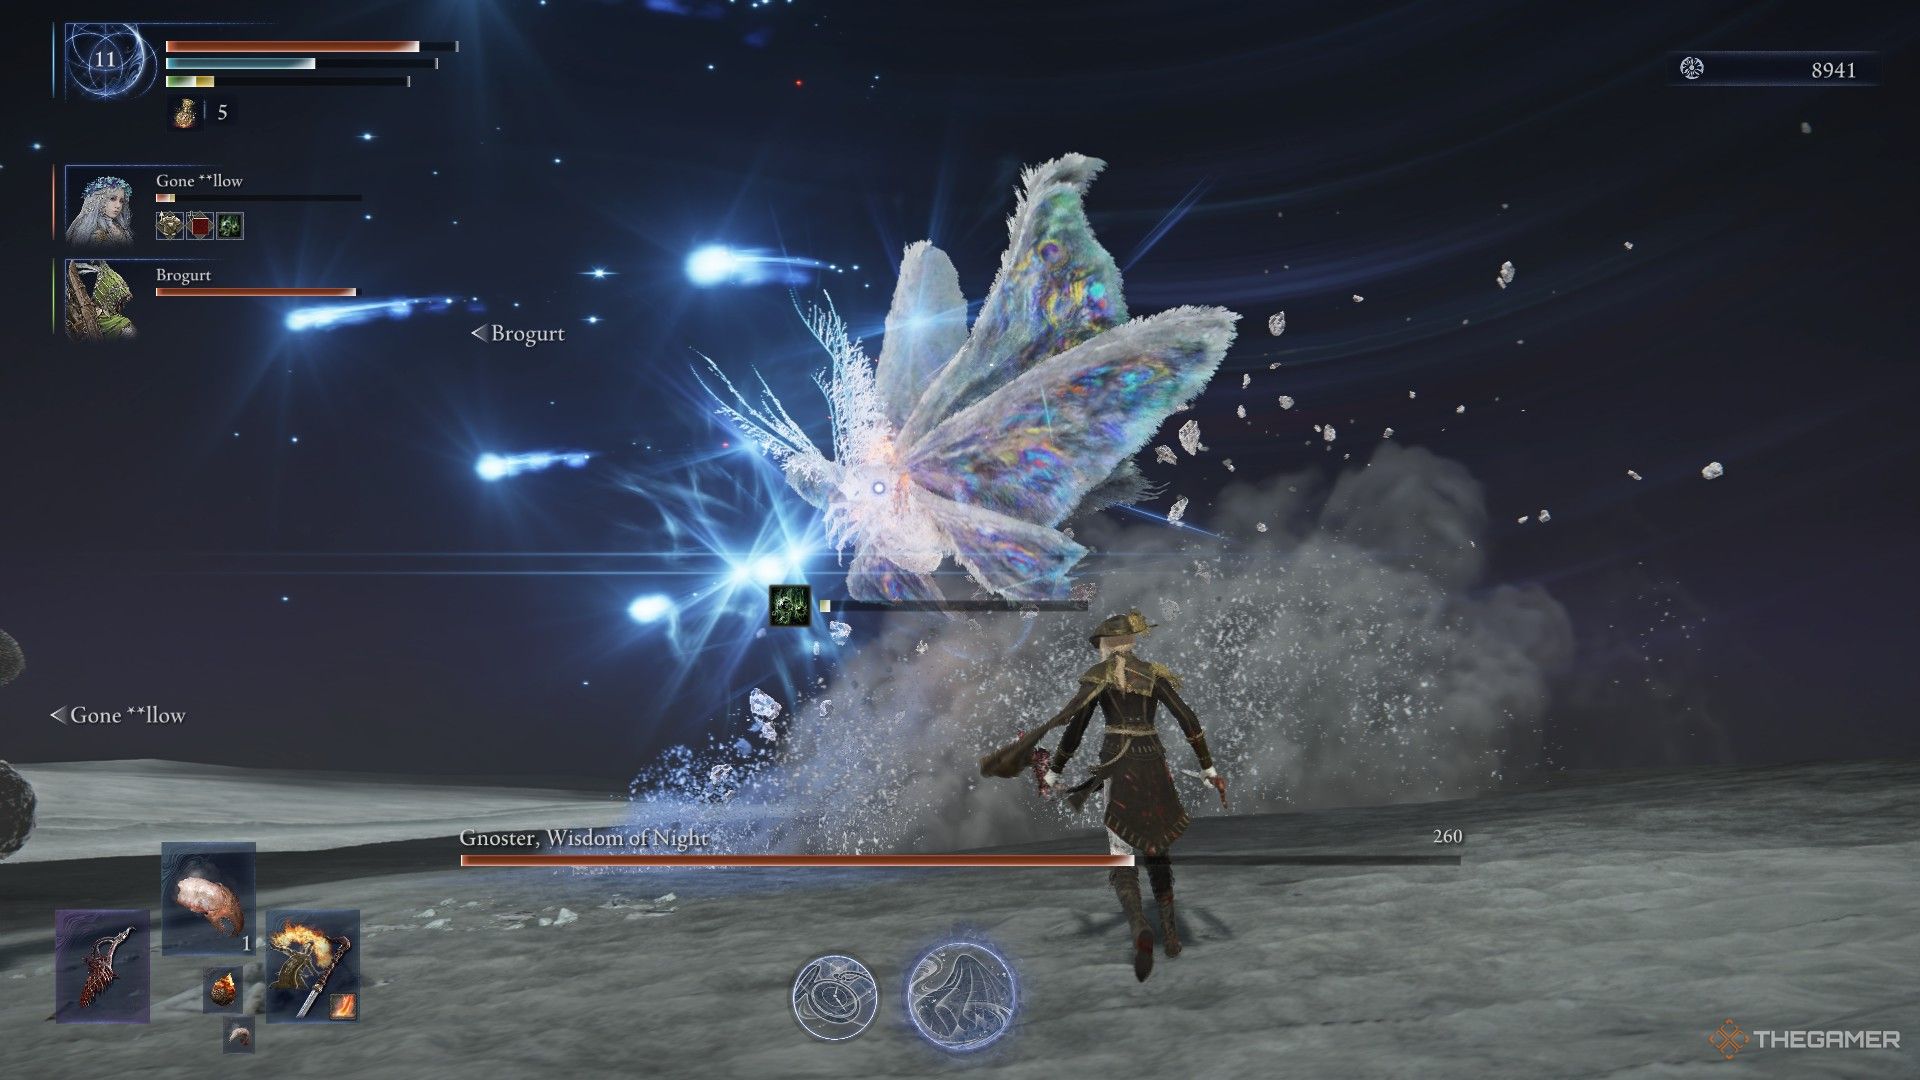
The enemy known as Gnoster, Wisdom of the Night specializes in using poison attacks, and the amount of damage inflicted varies based on the specific boss making the attack.
- The scorpion will only deal Standard (Physical) damage.
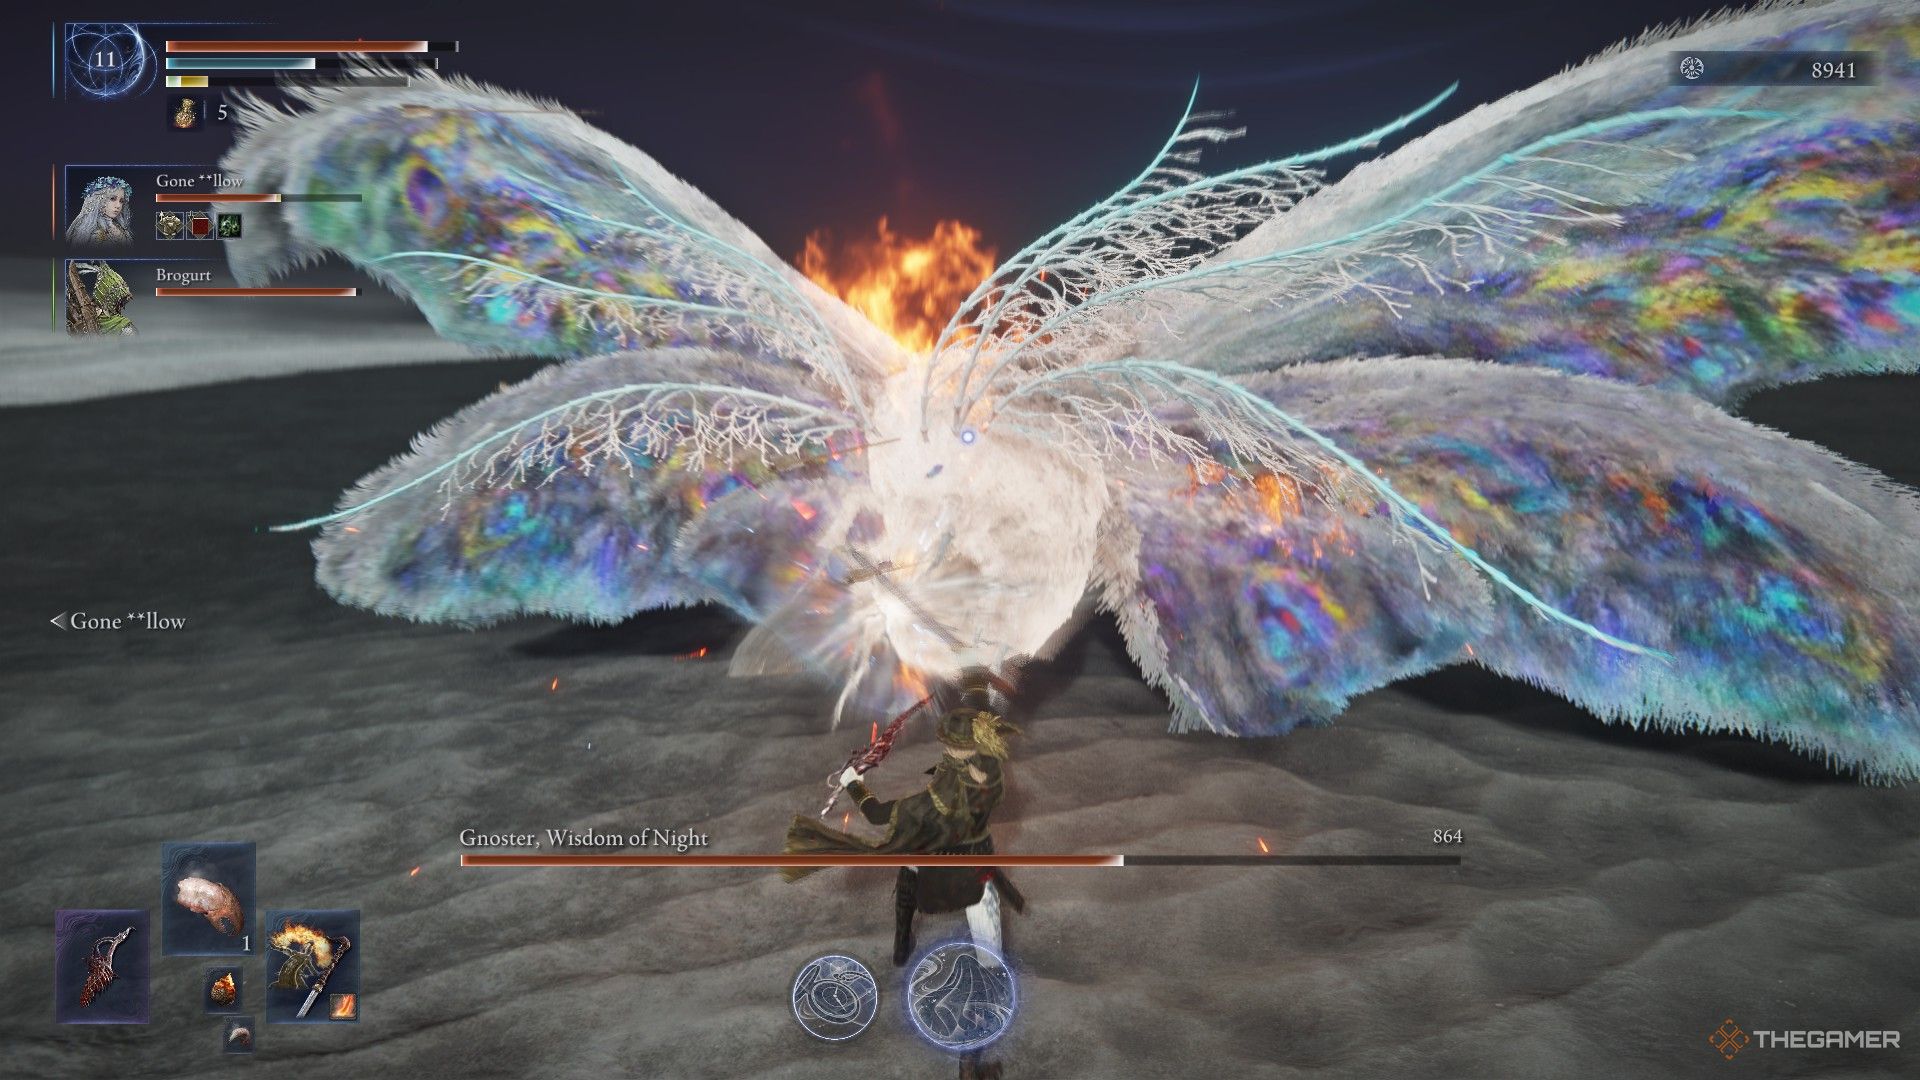
- The Moth can deal Poison or Magic damage.
In this scenario, it’s important to note that there’s a single health bar for both characters – the scorpion and the moth. They both have the potential to be attacked since they are in the same swimming pool.
Because of dealt Poison damage from the moth, we recommend bringing in some .
To effectively prepare for the Sentient Pest, focus on gathering weapons that have a Fire affinity, as this is its sole vulnerability.
Likewise, abilities and effects that do the following are incredibly important for this fight:
- Resistance to Poison, Magic, and Physical damage
- Increase Fire affinity damage
- Increase Immunity
Some effective ways to combat the Sentient Pest often involve utilizing prolonged magma spells. These can inflict significant damage over time.
Additionally, it’s beneficial to gather Fire Grease and Fire Pots prior to your hunt and entering the arena. These items can inflict substantial critical damage and provide a notable advantage in combat.
Recommended Characters
Characters that excel in Sentient Pest gameplay often possess exceptional durability, be it robust defenses or high avoidance rates. Consequently, it’s these characters who tend to shine brighter:
- Raider
- Duchess
- Guardian
In the vast battlefield, Wylder earns recognition for narrowing the distance between him and the Sentient Pest. Moreover, his powerful finishing move, Ultimate Art, inflicts significant harm when it successfully connects with the peculiar hitbox of the pest.
Raider’s Ultimate Art offers a method to dodge Scorpion’s assaults for some much-needed aerial safety, as well as a means to shield oneself from Bee’s attacks when you’re on foot.
His unique talent of boosting the surrounding team’s offensive capabilities, particularly during the activation of his Art, proves crucial for this battle.

The Duchess skillfully dodges the majority of the Sentient Pest’s assaults, notably its extraordinarily lethal charge move during Stage Two.
In a battle, although her individual attack power and range might decrease, she excels at significantly boosting the entire team’s damage output using her unique skill, and swiftly reviving fallen comrades with her rapid attacks and unique art.
Finally, Guardian demonstrates exceptional ability in absorbing the majority of the Sentient Pest’s attacks. Essentially, he is a sponge for the pest’s focus, allowing other team members to launch their assault.
Despite being vulnerable to Magic assaults and having a slow pace, he possesses an Ultimate Art that breaks the posture and disorients the Scorpion, providing valuable breathing space for his teammates.
Sentient Pest Attacks And Combos
| Scorpion Only | ||
|---|---|---|
| Attack | Wind-Up Tells And Attack Description | Suggested Counters |
| Groundbreak – Forward | Raising up onto his back feet, Gnoster stands up and waddles just a few feet before slamming his body onto the ground. Spikes erupt forward on the ground. | Dash to either of Gnoster’s sides to avoid his head entirely. Attack. |
| Groundbreak – Side | Raising the legs on one side of his body, he holds up his feet for almost two full seconds and then slams them onto the ground. The ground erupts into spikes in a wave out to the side. | Either dash or dodge under Gnoster onto his other side. Attack. If not possible, dodge into his side just as he makes contact with the ground. |
| Lunge | With a roar, Gnoster pulls back his head and raises his mandibles as he walks toward his target. He lunges forward with a pincer attack. He can do this up to three times in a row. | Roll dodge forward or to the side. |
| Roar | Shaking his body, Gnoster raises his head out into the air and lets out a roar that does several rapid waves of damage. | As fast as possible, either sprint or mash dodge backward out of his roar’s range. |
| Dig | The scorpion lowers his head and digs underground. After several seconds, a rumble can be heard as he begins to burrow toward the player that has his aggression. It will track that player and emerge just as it nears. | Begin dashing away from the visible upset in the ground. If it targets you, wait until the mound reaches you and then dash forward or forward diagonal. |
| Lunging Jump | Gnoster braces himself and then jumps forward toward his target. He can repeat this up to two times and end in a comboed lunge. | If you have distance, sprint away, dodging back only once. When he finally reaches you, dodge forward. |
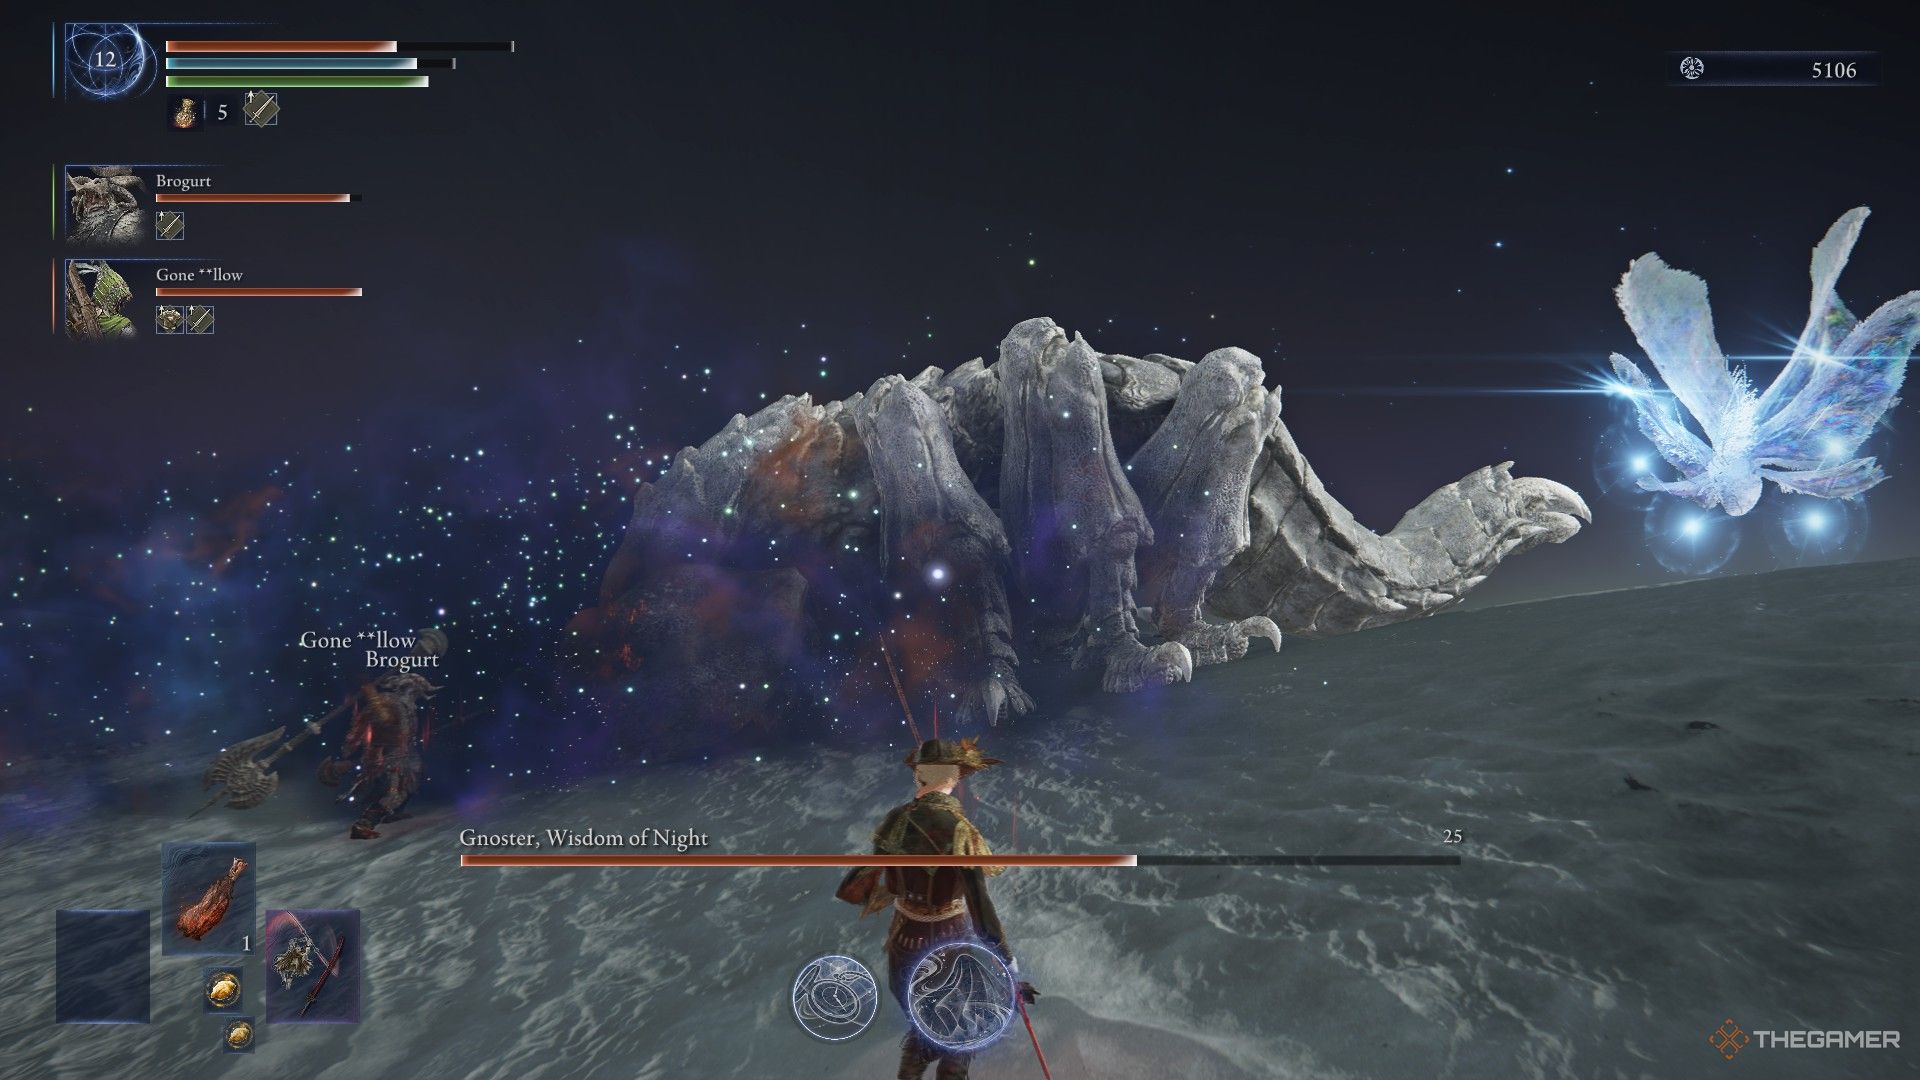
| Harden | Gnoster curls and hardens his shell. While in this shell, he is near impenetrable and cannot take damage. | Use the shell of the scorpion as a shield from the moth. After several seconds, when it appears the scorpion is about to return, use your upgrades and buffs. |
| Moth Only | ||
| Star Shower | Glowing blue, the moth lights up the sky box with several starlike lights. After, those stars begin to rain down in a fan pattern that spreads out in a wave. | Sprint forward and doge forward into the circle of the stars (typically where the moth resides). |
| Poison Mist | A bell chimes as sparkling lights are fanned from the moth’s wings. After the lights settle, they turn into mists of poison. | When you hear the chime, look for the lights cloud and sprint away from them to a safer location. |
| Star Barrage | Light gathers in six points around the moth’s wings. It then unleashes them onto a single target as balls of magic. The balls of magic energy are slightly uneven in their timing. | Sprint to one side and sidestep at the last moment for each wave. |
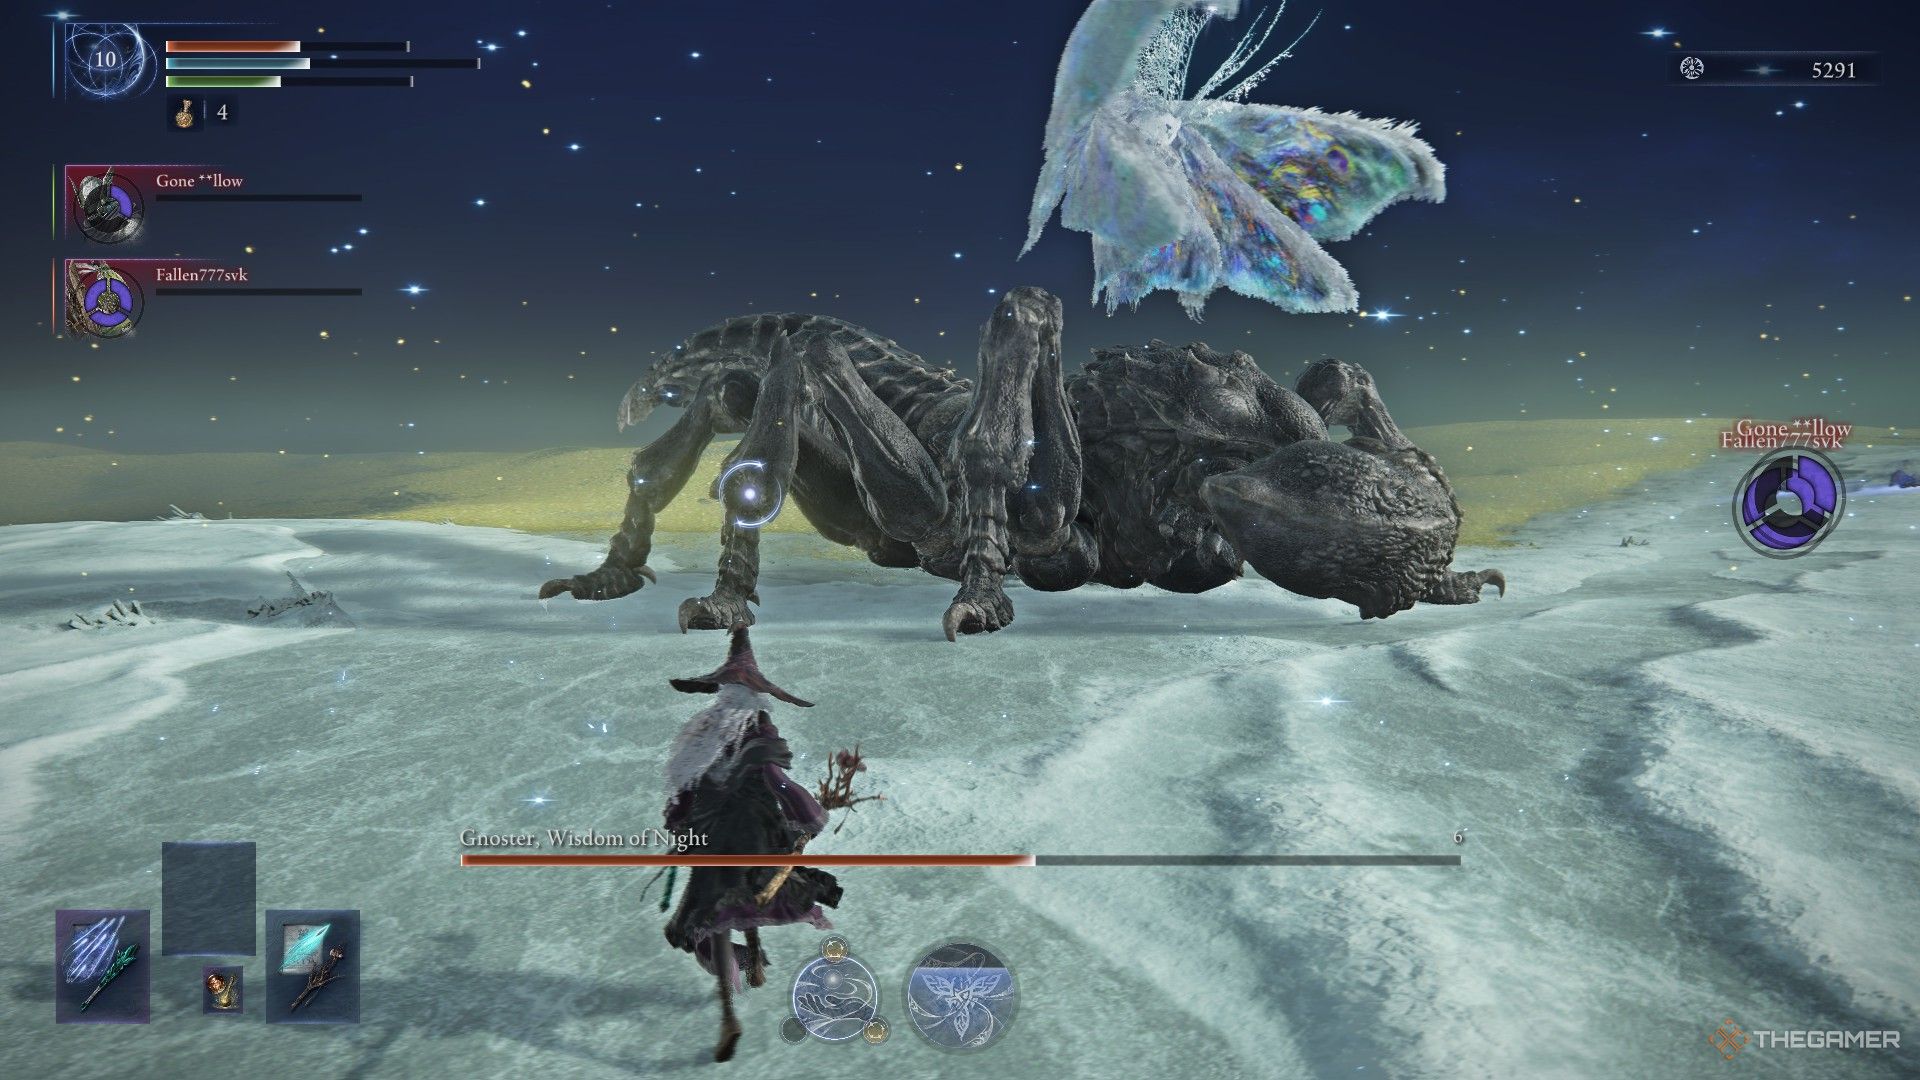
| Poisoning Grab | The moth chimes and comes low to the ground. It then flashes purple and lunges forward toward a character. If grabbed, the player is dealt massive damage (normally killed) and infested with a poison that lasts the match. | Sprint away and dodge in any direction before the moth grabs you. |
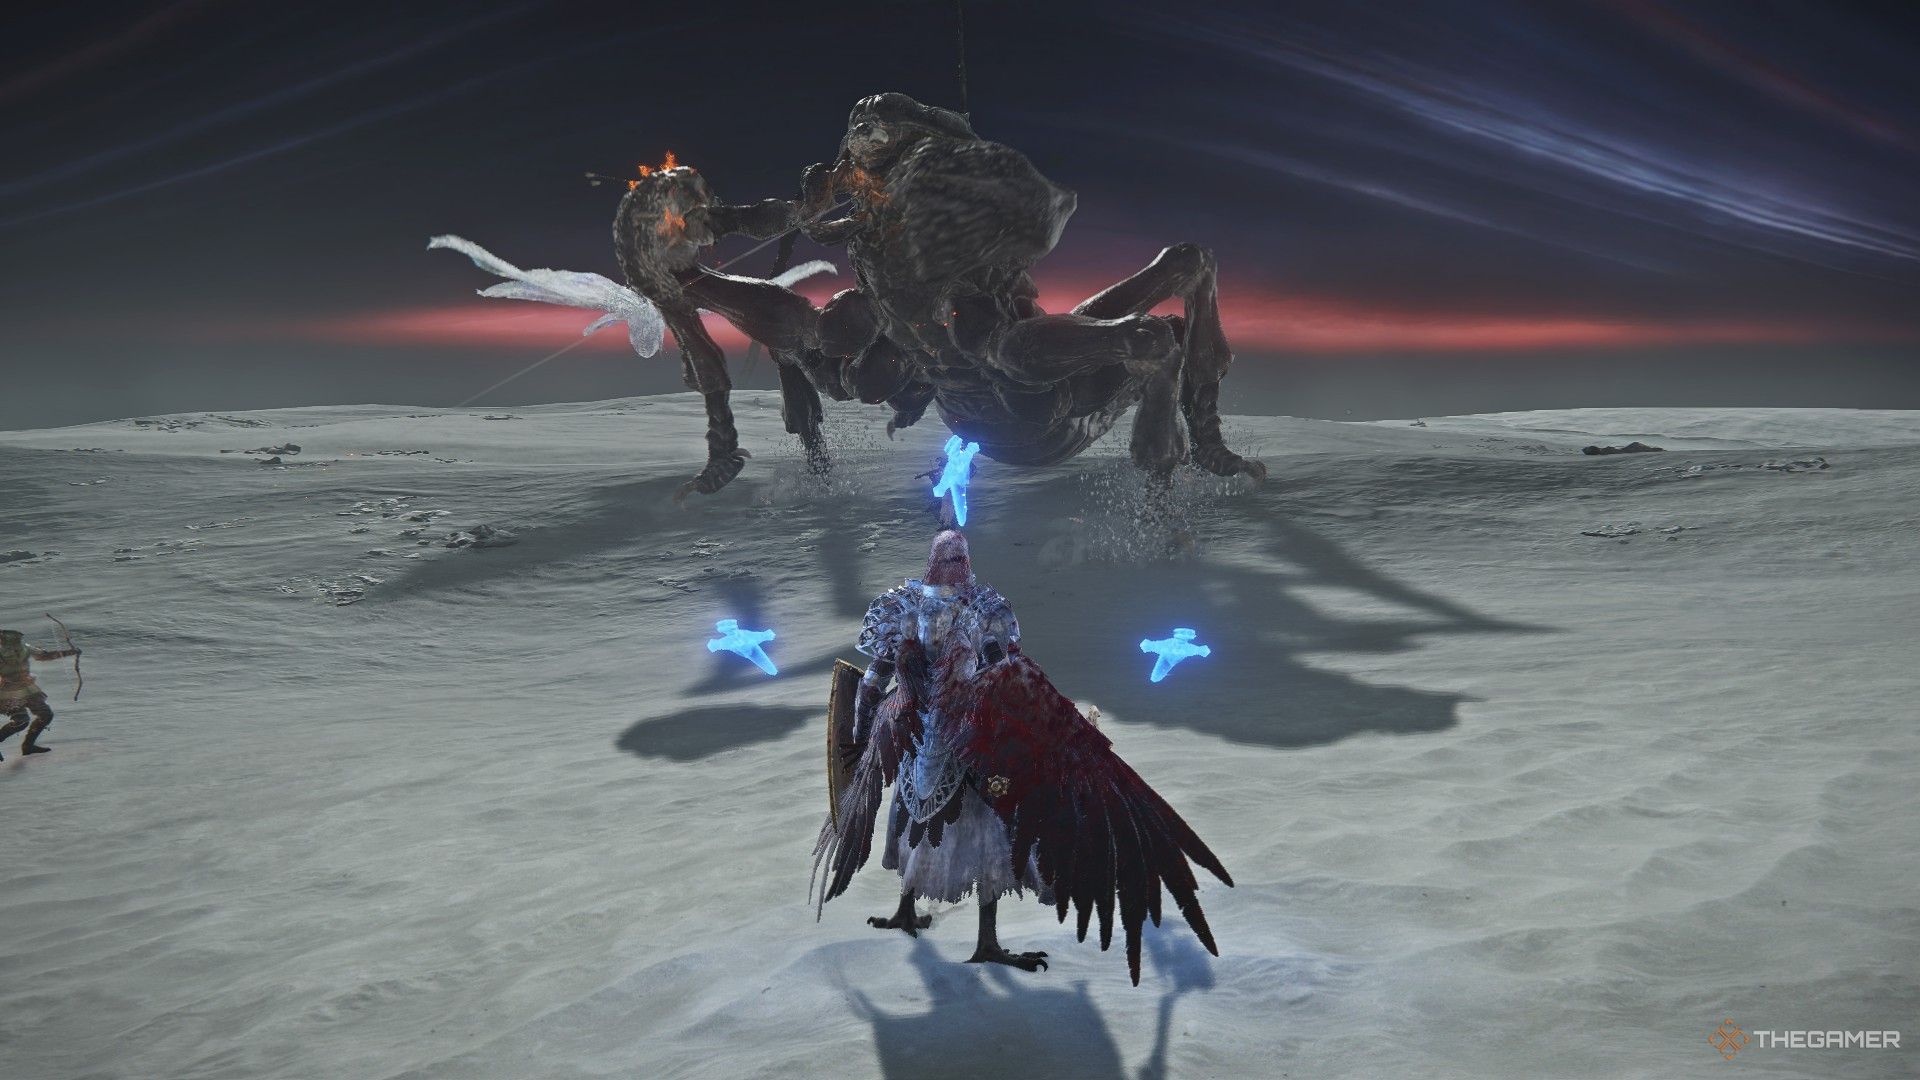
| Phase Two | ||
| Transition Roar | The moth mounts the scorpion’s head. After, the scorpion lets out a larger area of roar. | As the field begins to turn green and the moth flies to the scorpion, run away and keep your distance. Make preparations for Phase Two. |
| Scorpion Attacks | The scorpion can make any attack from its prior list except Harden and Dig. | See above. |
| Moth Poison | While mounted on the Scorpion, the moth will intermittently spread poison waves, typically in a circle around the scorpion but sometimes ahead. | Listen to the chime and watch for the mist to see its direction. Either avoid it by running away or dodge forward through the ring as the circular mist will slowly roll out and away from the scorpion. |
| Star Show (Phase Two) | Now, the Moth releases a Star Shower attack faster and whenever the scorpion performs a Forward Lunge. | Run around the scorpion to avoid the forward lunge and then dodge forward as the starlight rains down. |
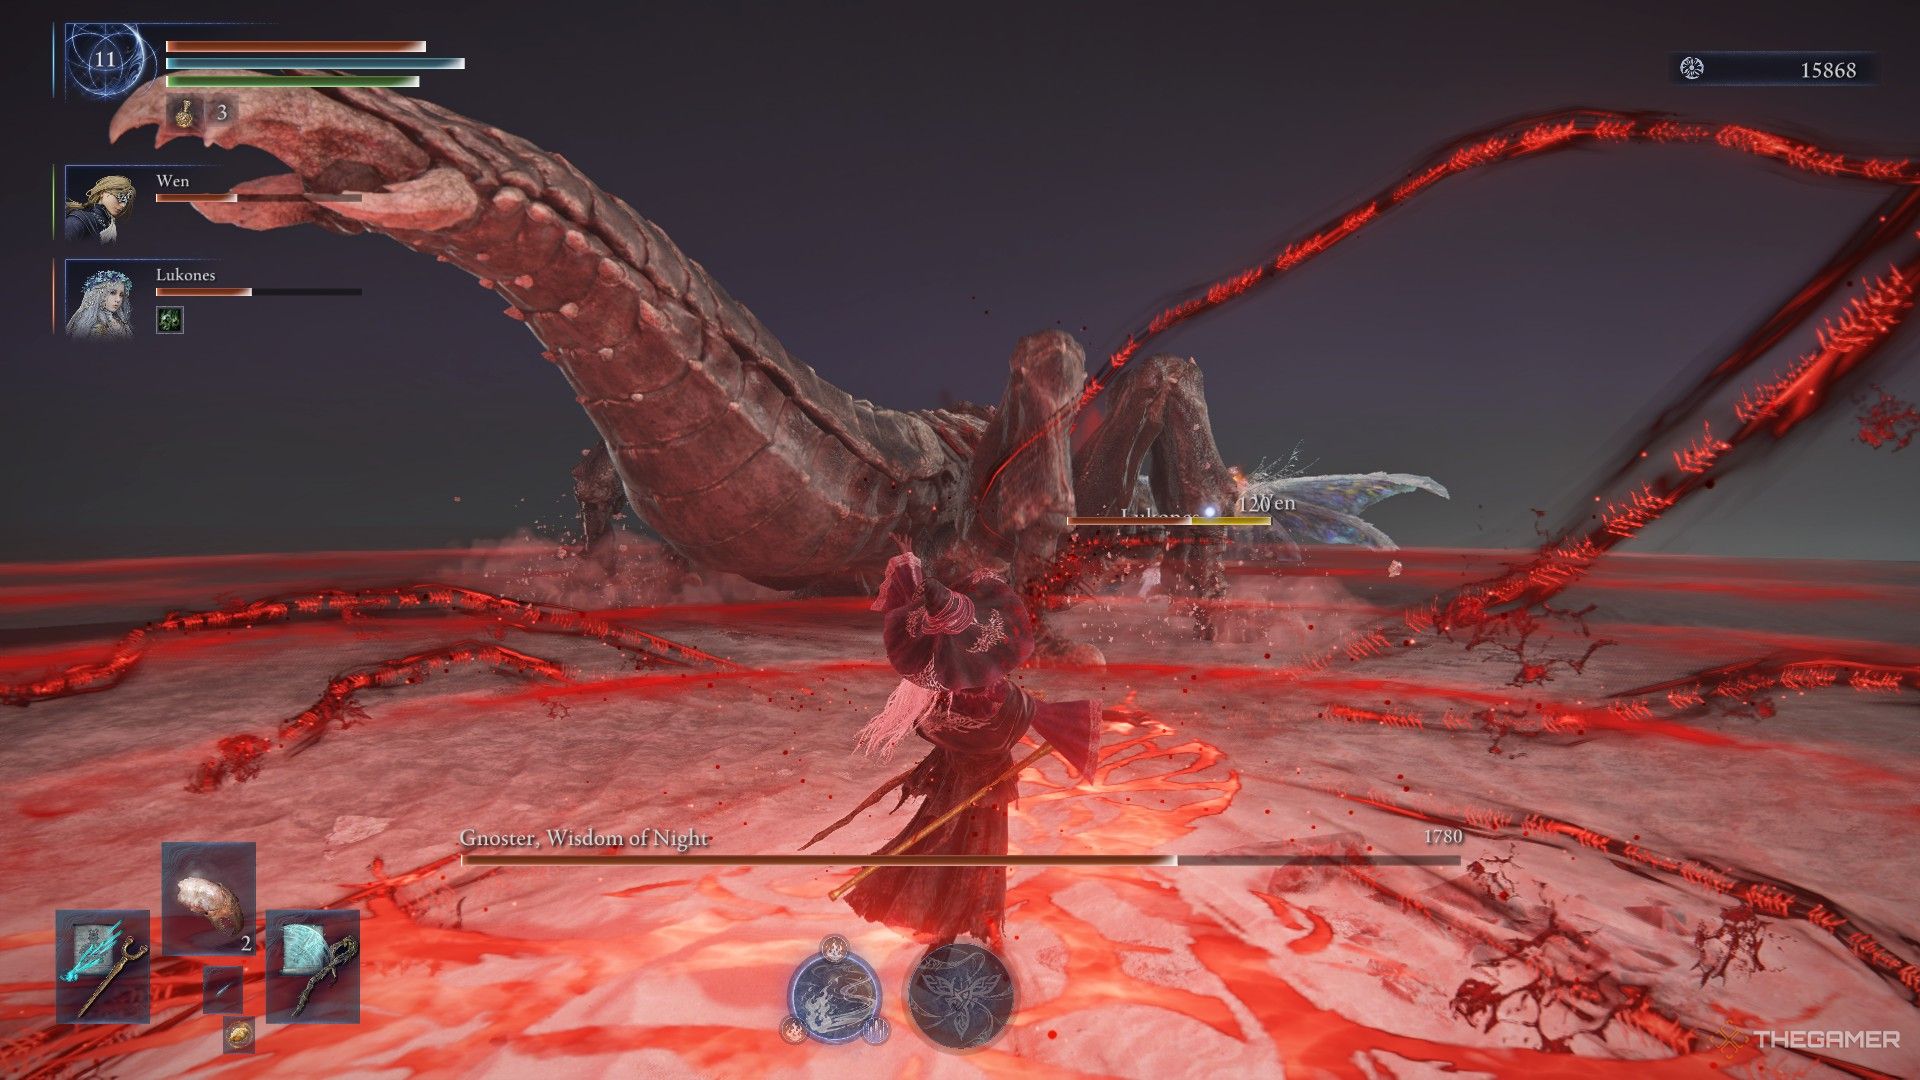
| Charging Barrage | A single player is targeted with a red circle. Then, a light forms above the moth’s head before the scorpion begins to charge. It fires three waves of Star Barrages and turns around once it has passed the player. It repeats this three times, switching targets if its first target has died. When it comes to a rest, it unleashes a small and quick wave of Star Rain. | Stand put and side step with each of the barrage waves. Side step twice in quick succession as the scorpion reaches you, about to run you over. Continue until it finishes, and then dodge a final time for the Star Rain before you attack. |
| Light From Above | A light begins to shimmer on the ground. It follows the player, showing itself three times before it rains down on the fourth. Once it begins to rain down, it deals tremendous pulsing Magic damage in an area. | Begin walking away from the light, moving it away from any teammates and the boss. When the fourth circle is about to appear, dash away. |
Maintaining unwavering persistence is the main challenge in defeating the Sentient Pest. Due to the numerous positioning difficulties it creates with its move pool that retaliates against aggressive actions, this battle could potentially last too long and become perilous.
Therefore, you have to make the best out of the few openings you have and play mercilessly.
The best openings to take advantage of are these moves:
- Groundbreak – Side
- Groundbreak – Forward
At some point, the Sentient Pest scorpion will partially fold itself and transform into a shade of gray. At this stage, its shell becomes tougher, providing it with an immunity to harm during that specific period.
At this point, it would be wiser to hold off and reassemble rather than having characters such as Ironeye and Recluse advance towards the moth half.
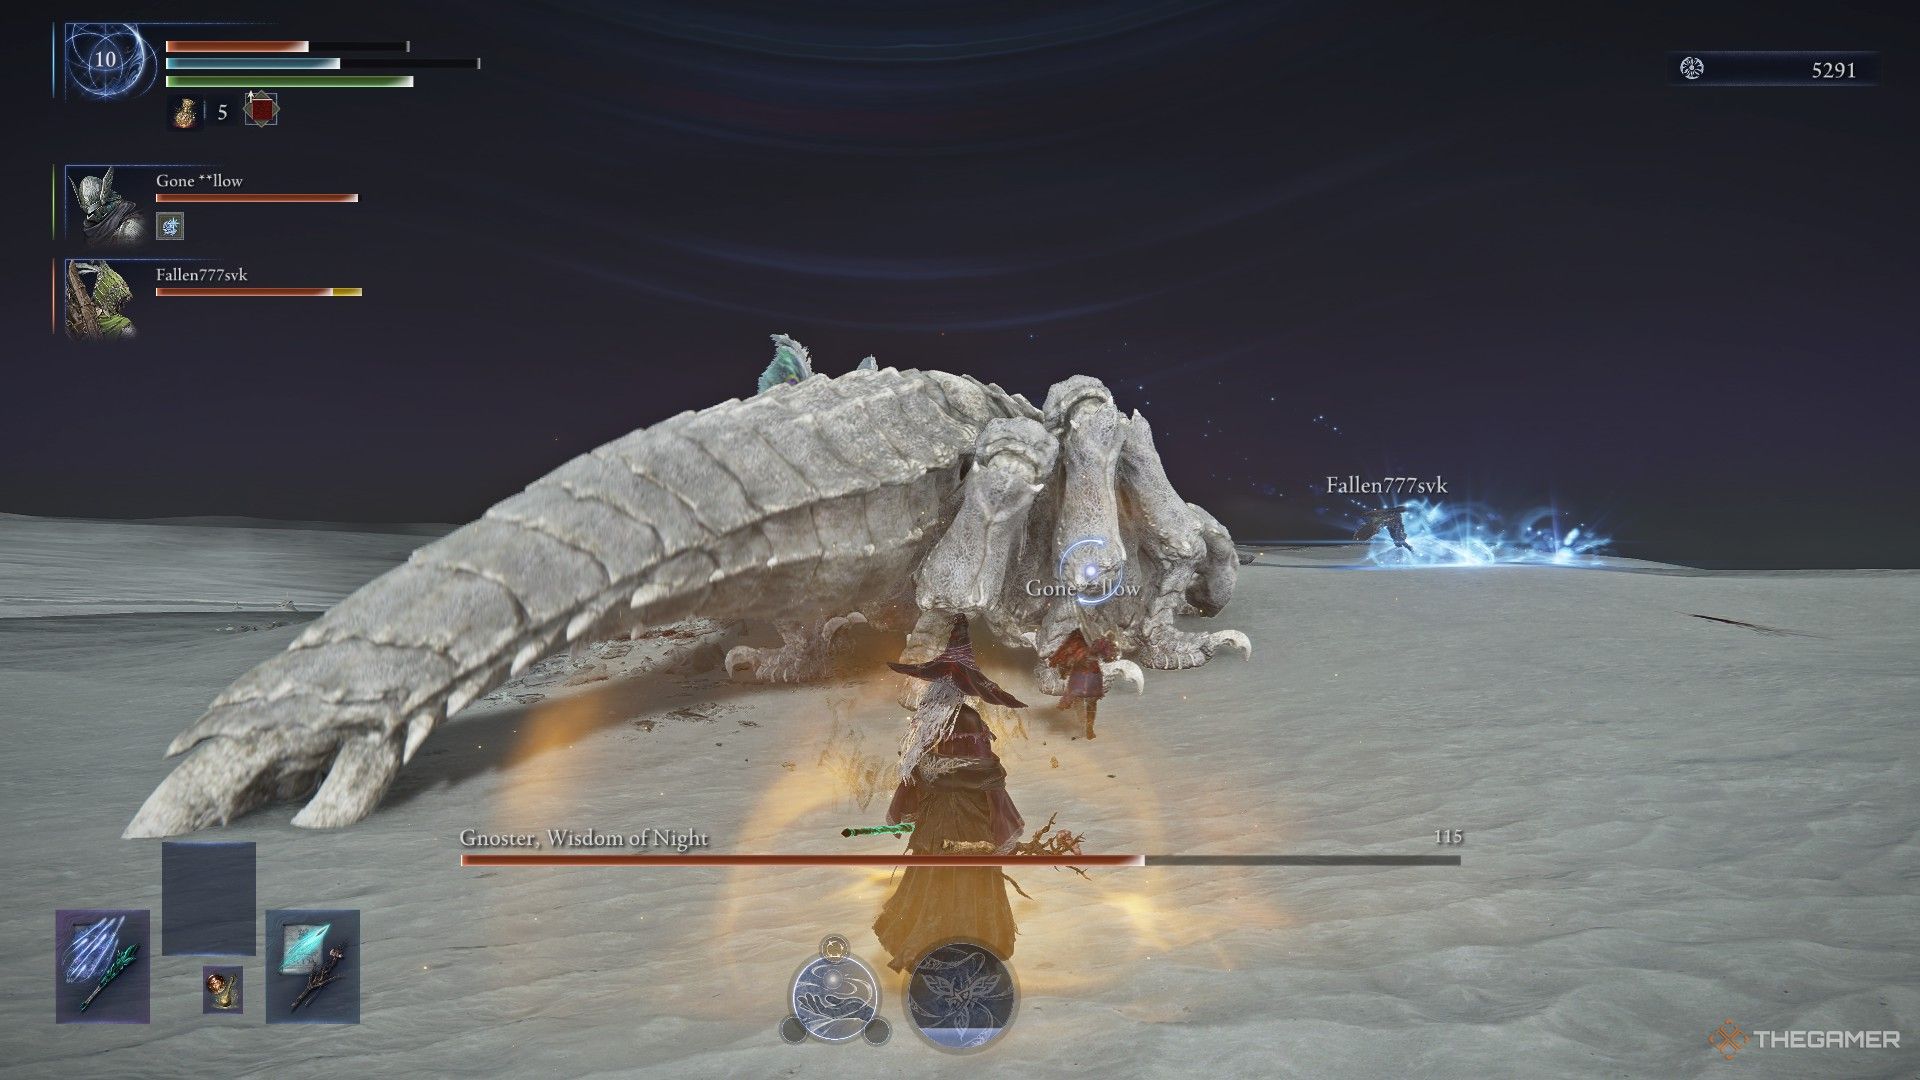
The scorpion’s shell can additionally serve as a shield against magical assaults from a moth. However, it won’t safeguard you from the harmful mist, only magic rays will be blocked.
If the Sentient Pest continues its erratic movements, it will make for a very exhausting battle as you’ll need to chase it constantly.
Approximately when it reaches between 50-60%, there will be a significant change (Phase-Transition), and the entire space or arena will be covered with lush greenery.
If this event occurs, it’s best to steer clear of the scorpion to dodge its destructive roar assault. Prepare yourself for Phase Two by utilizing any boosts you may have on standby.
The deadliest move that the Pest has is its Charging Barrage during Phase Two. At present, it focuses on a single character, but there’s a high risk of other team members getting caught in the crossfire or even becoming the next target once the initial one falls.
As a devoted enthusiast, mastering the art of evasion against the Sentient Pest’s attacks is crucial for my survival. If you’re curious about how to dodge this attack and other techniques, I’d strongly recommend checking out the chart provided above.

Tips For Beating The Sentient Pest: Gnoster
Here are three crucial insights from this article, which are essential for achieving victory over Sentient Pest:
1. Firstly, understanding Sentient Pest’s behavior patterns will help you anticipate its actions and counter them effectively.
2. Secondly, implementing a comprehensive pest management strategy that combines various tactics is crucial to outsmarting Sentient Pest.
3. Lastly, staying updated on the latest research and advancements in pest control technology can provide valuable insights for defeating Sentient Pest.
- You have to learn how to deal with Charging Barrage.
- You must bring Fire damage in some form.
- You have to stay aggressive.
If you manage to carry out the following three tasks, you’re making significant progress towards overcoming this colossal challenge.
Previously, we experimented with Bleed builds when facing the Sentient Pest. This strategy indeed propels us to Phase two swiftly, but its efficacy wanes significantly because of the pest’s massive health reserve. In terms of dealing damage, fire is undeniably the most effective choice.
After achieving those three objectives, you should be aware that you’ll probably get poisoned during this battle. It’s just a standard part of the encounter.
If you don’t possess Neutralizing Boluses or any method for managing that situation (particularly if you’re caught), it might be wiser to opt for death, as this will eliminate the poison without consuming your flasks.
Do not do this if you have already died once before (and most especially: twice before).
In conclusion, if your teammates unfortunately meet their demise during combat (which seems inevitable), then you should consider waiting to resuscitate them under any of these conditions:
1. If they are in a safe location and not immediately under attack.
2. If their revival will significantly improve the team’s chances of winning the fight.
3. If it is more beneficial for you to stay alive and continue fighting, while keeping an eye on their condition for potential resuscitation later.
- The pet has targeted you during a Charging Barrage.
- There is poison mist in the area of revival.
- A Light From Above attack is either centered over them or is tracking you.
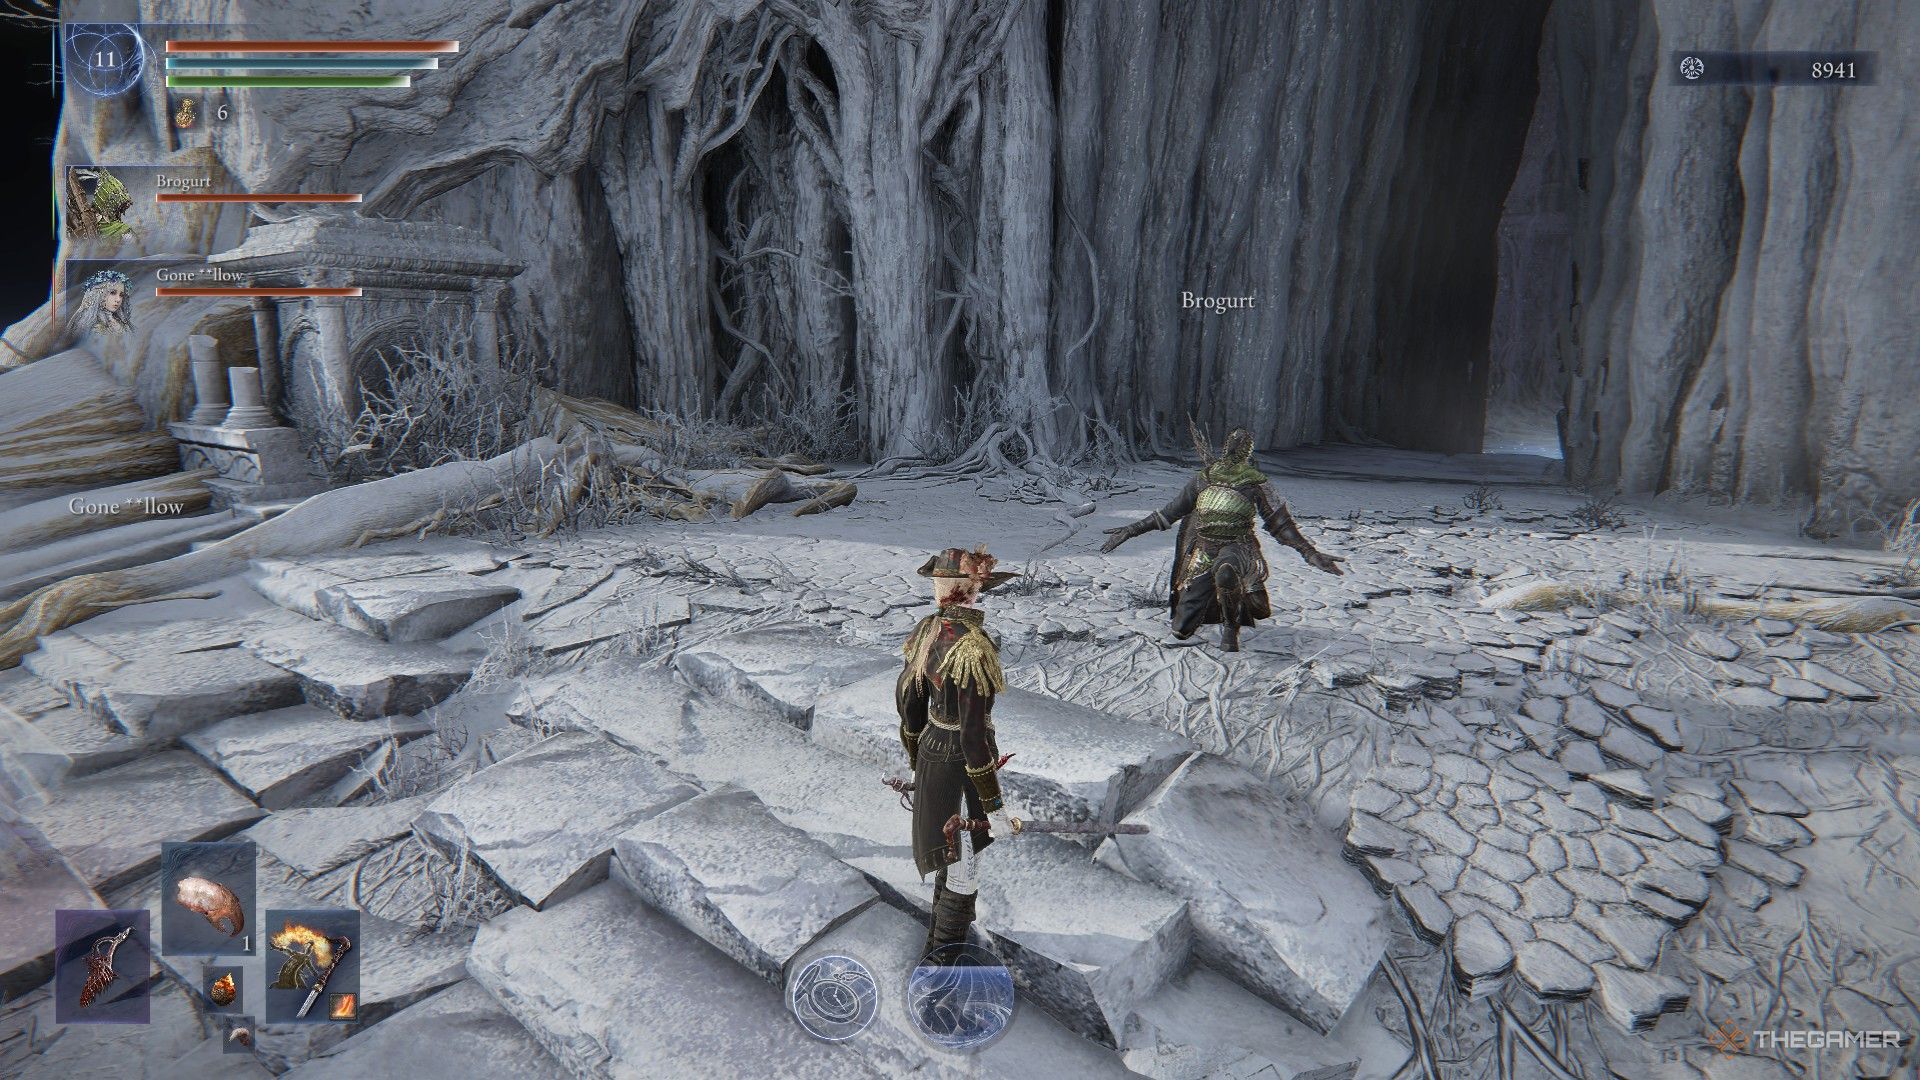
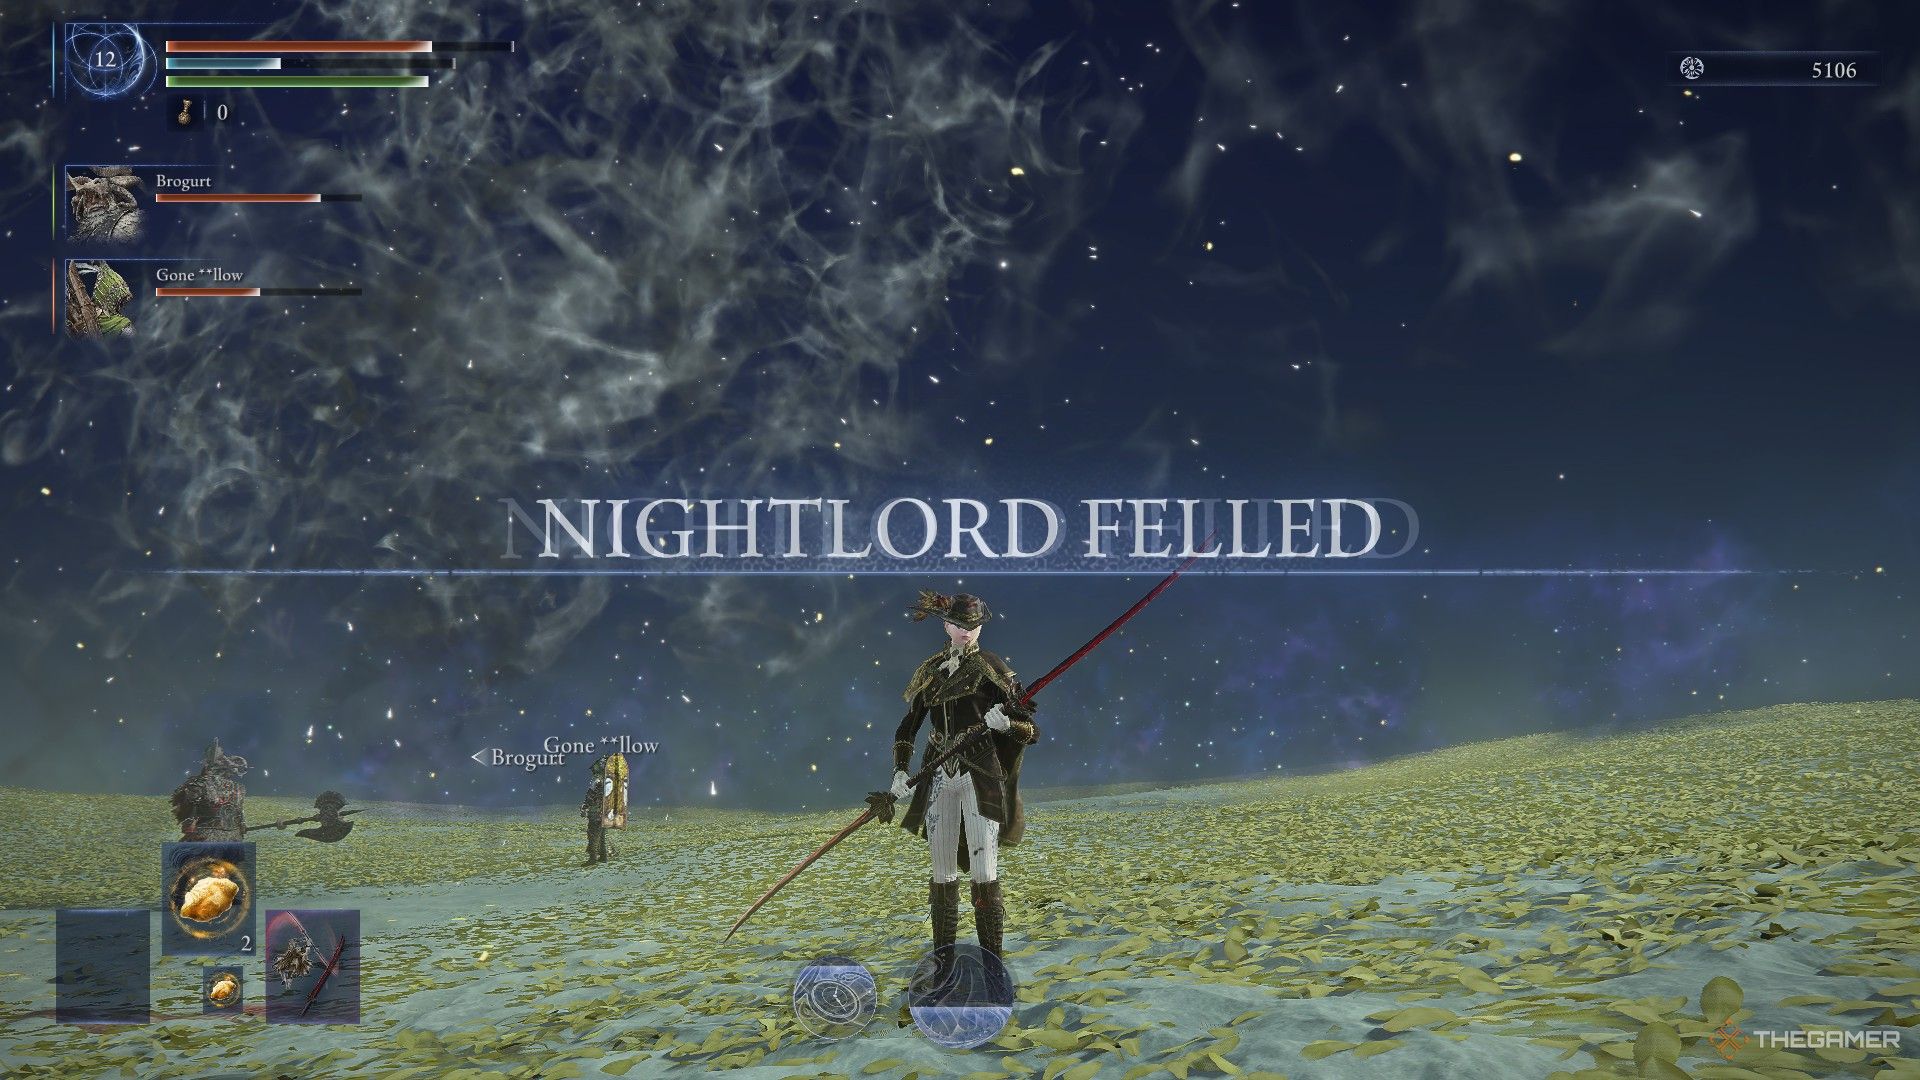
In time, through relentless determination and a fair share of potent weapons, you can emerge victorious over this bothersome Nightlord. The prize for your success will be the valuable artifact known as “Night of the Wise“.
Night of the Wise
- Increase Maximum FP
- Poison and Rot increases Attack Power
- Starting weapons inflict Poison
Read More
- General Hospital: Lucky Actor Discloses Reasons for his Exit
- Analyst Says Dogecoin Has Entered Another Bull Cycle, Puts Price Above $20
- Bitcoin Price Climbs Back to $100K: Is This Just the Beginning?
- Superman’s James Gunn Confirms Batman’s Debut DCU Project
- Inside Prabhas’ luxurious Hyderabad farmhouse worth Rs 60 crores which is way more expensive than SRK’s Jannat in Alibaug
- Is Average Joe Canceled or Renewed for Season 2?
- Where was Severide in the Chicago Fire season 13 fall finale? (Is Severide leaving?)
- Brody Jenner Denies Getting Money From Kardashian Family
- I Know What You Did Last Summer Trailer: Jennifer Love Hewitt Faces the Fisherman
- Analyst Backs Spot Bitcoin ETFs To Surpass Gold ETFs In Cumulative Net Inflows
2025-06-01 11:36