
The long-awaited game “Elden Ring: Nightreign” has arrived! Though it shares similarities in settings, adversaries, bosses, and weaponry, the method of overcoming the Nightlords is subtly distinct. Interestingly, Limveld serves as a map that remains consistent in certain aspects while undergoing changes in others. Given the rogue-like mechanics of the game, you’ll always commence at level 1. Here are fifteen suggestions to give yourself an edge, endure the storms, and ultimately drive back the Night.
Choosing the Ideal Nightfarer
For every Nightfarer character, there are no restrictions on what type of weapon they can use, thanks to the lack of stat-based limitations. If you’re at the appropriate level, any weapon becomes accessible. That being said, certain characters may excel in specific weapon types – for instance, the Recluse might find wands and incantations more effective due to her higher MP. When choosing a Nightfarer, prioritize comfort over aesthetics, as a visually appealing weapon like the Executor’s Cursed Sword could be less advantageous if you struggle with its deflection timing. Additionally, for Wylder characters, don’t confine yourself to the traditional melee warrior role; explore ranged attacks, tanking, and magic abilities to truly embody a versatile character.
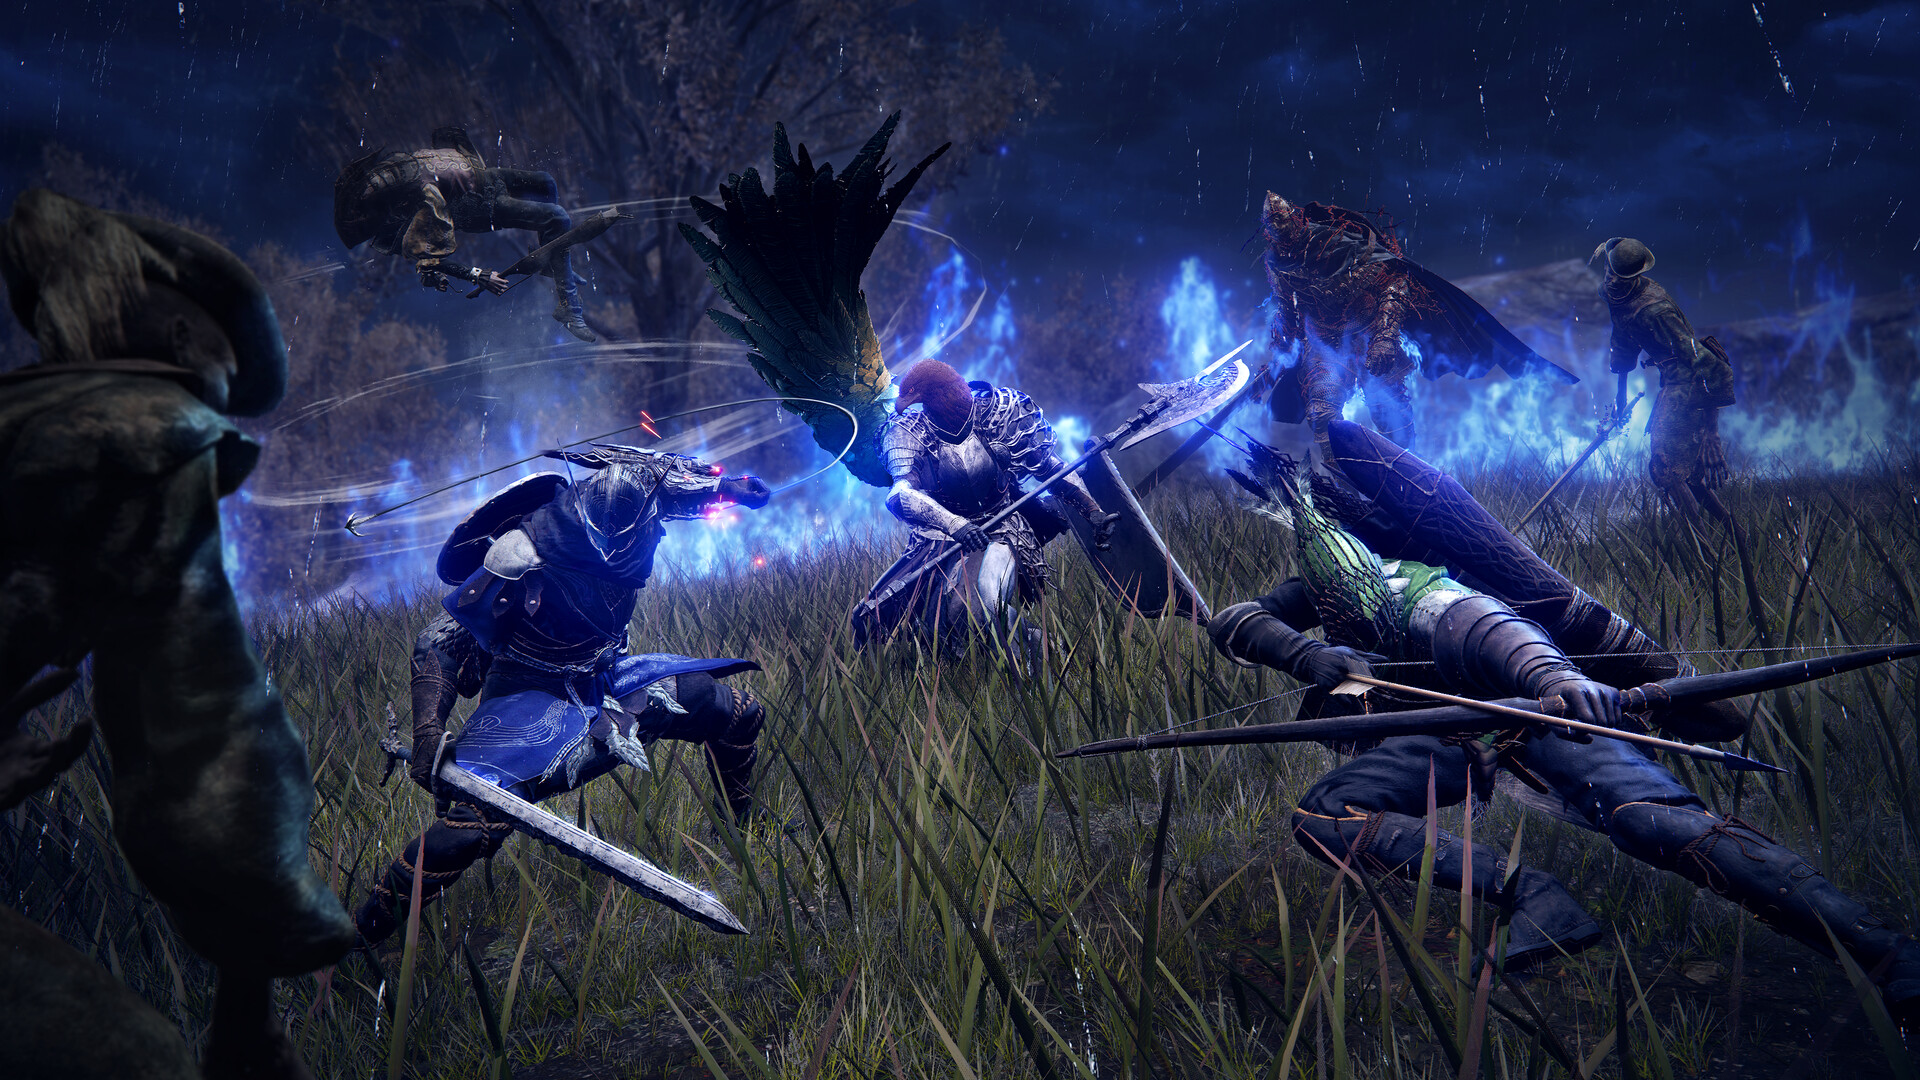
Coordinate Ultimate Arts
In a game where voice chat or signals for timing are absent, aligning your Ultimate Arts with teammates can be tricky. However, a consistent combo can greatly aid in boss battles. Have two Nightfarers (either Ironeye, Wylder, or Raider) launch their Ultimates first, and then trigger Rewind with the Duchess next. This sequence will deliver a powerful burst of damage, making fights more bearable. Additionally, it’s essential to learn when to save certain damage-dealing Ultimates for specific scenarios, such as breaking Libra’s shield.
Learn the Map
In Limveld, loot is scattered at random locations, but not everything can appear everywhere. By clicking on the map for a detailed view, you’ll notice symbols representing various weapon types and elemental damages. Even though you won’t always find a specific weapon with a particular attribute, certain items like Smithing Stones to upgrade an Uncommon to Rare weapon will drop consistently from a specific boss. Therefore, it’s crucial to familiarize yourself with the map for maximum efficiency during each playthrough.
Exploit Elemental Weaknesses
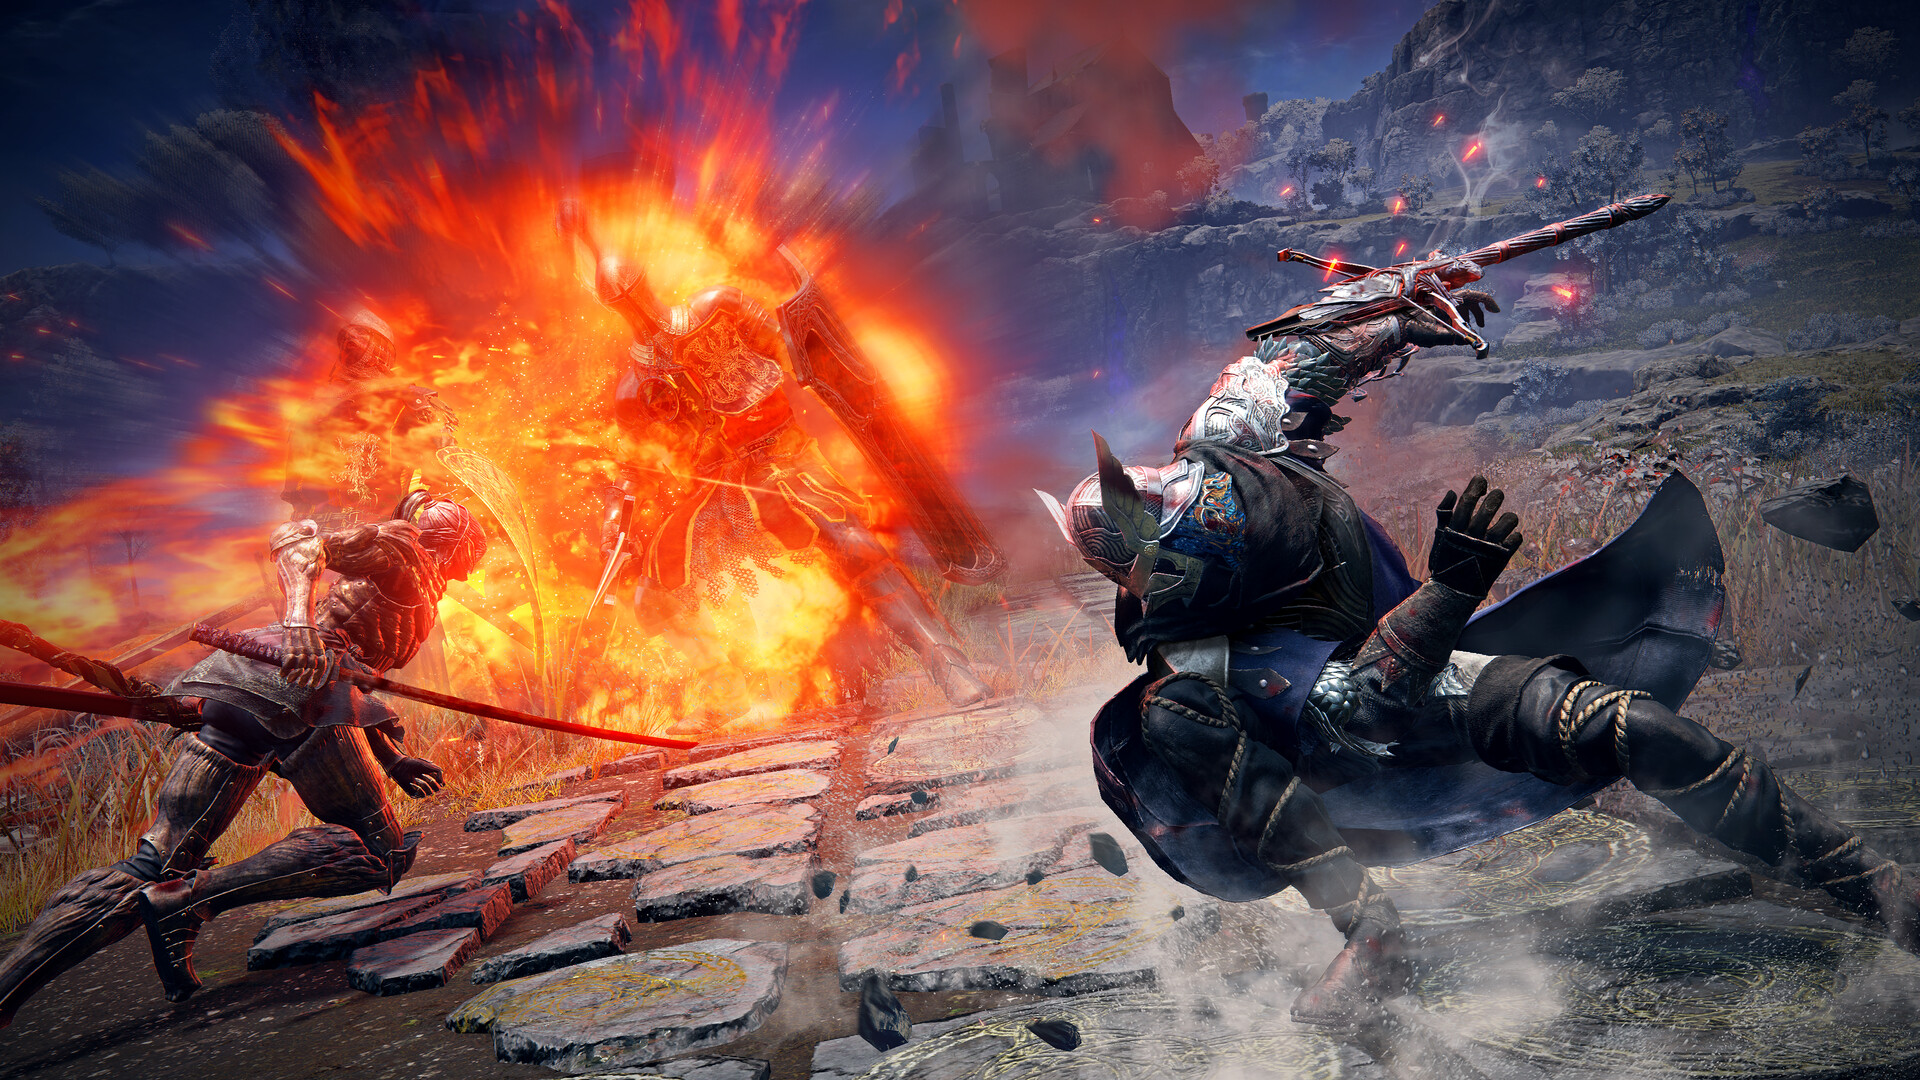
It’s crucial to know where to get particular weapons and damage types for specific elements, as each Nightlord has unique vulnerabilities. Before embarking on a quest, you can see their vulnerability indicated by an icon next to their picture. Mastering the fight mechanics and staying alive are still essential, but leveraging that elemental weakness will significantly simplify things.
Diversify Your Weapon Roster
In simpler terms, it’s common sense to maintain a variety of weapons at your disposal, as they can come in handy in different situations. While your character might primarily use a bow, having an alternative melee weapon or spell that deals elemental damage could be beneficial if the current one doesn’t. Furthermore, higher rarity weapons often have useful passive effects, such as resistance to various elemental damages, which can prove vital when facing challenging bosses.
Know When to Challenge Certain Bosses
In this enchanting isle, you’ll come across formidable foes roaming freely, such as the Draconic Tree Sentinel. At lower levels, I’d advise steering clear of these bosses, unless you and your team are well-practiced in dodging and dealing damage confidently. Engaging them too early might lead to a risky situation where your damage output isn’t sufficient, causing precious time waste. Come back when you’ve reached level 9 or higher on Day 2 to boost your chances of success!
Ideal Levels for the Nightlords
Regarding the appropriate level to confront Nightlord Gladius for the first time, there’s some wiggle room; you could manage if you’re at level 11 or 12, but that isn’t always the case for the subsequent ones. Levels 13 or 14 would be more suitable – going in with a lower level will essentially invite difficulties. They might not offer a significant edge in terms of health and damage, but every extra point can make a difference.
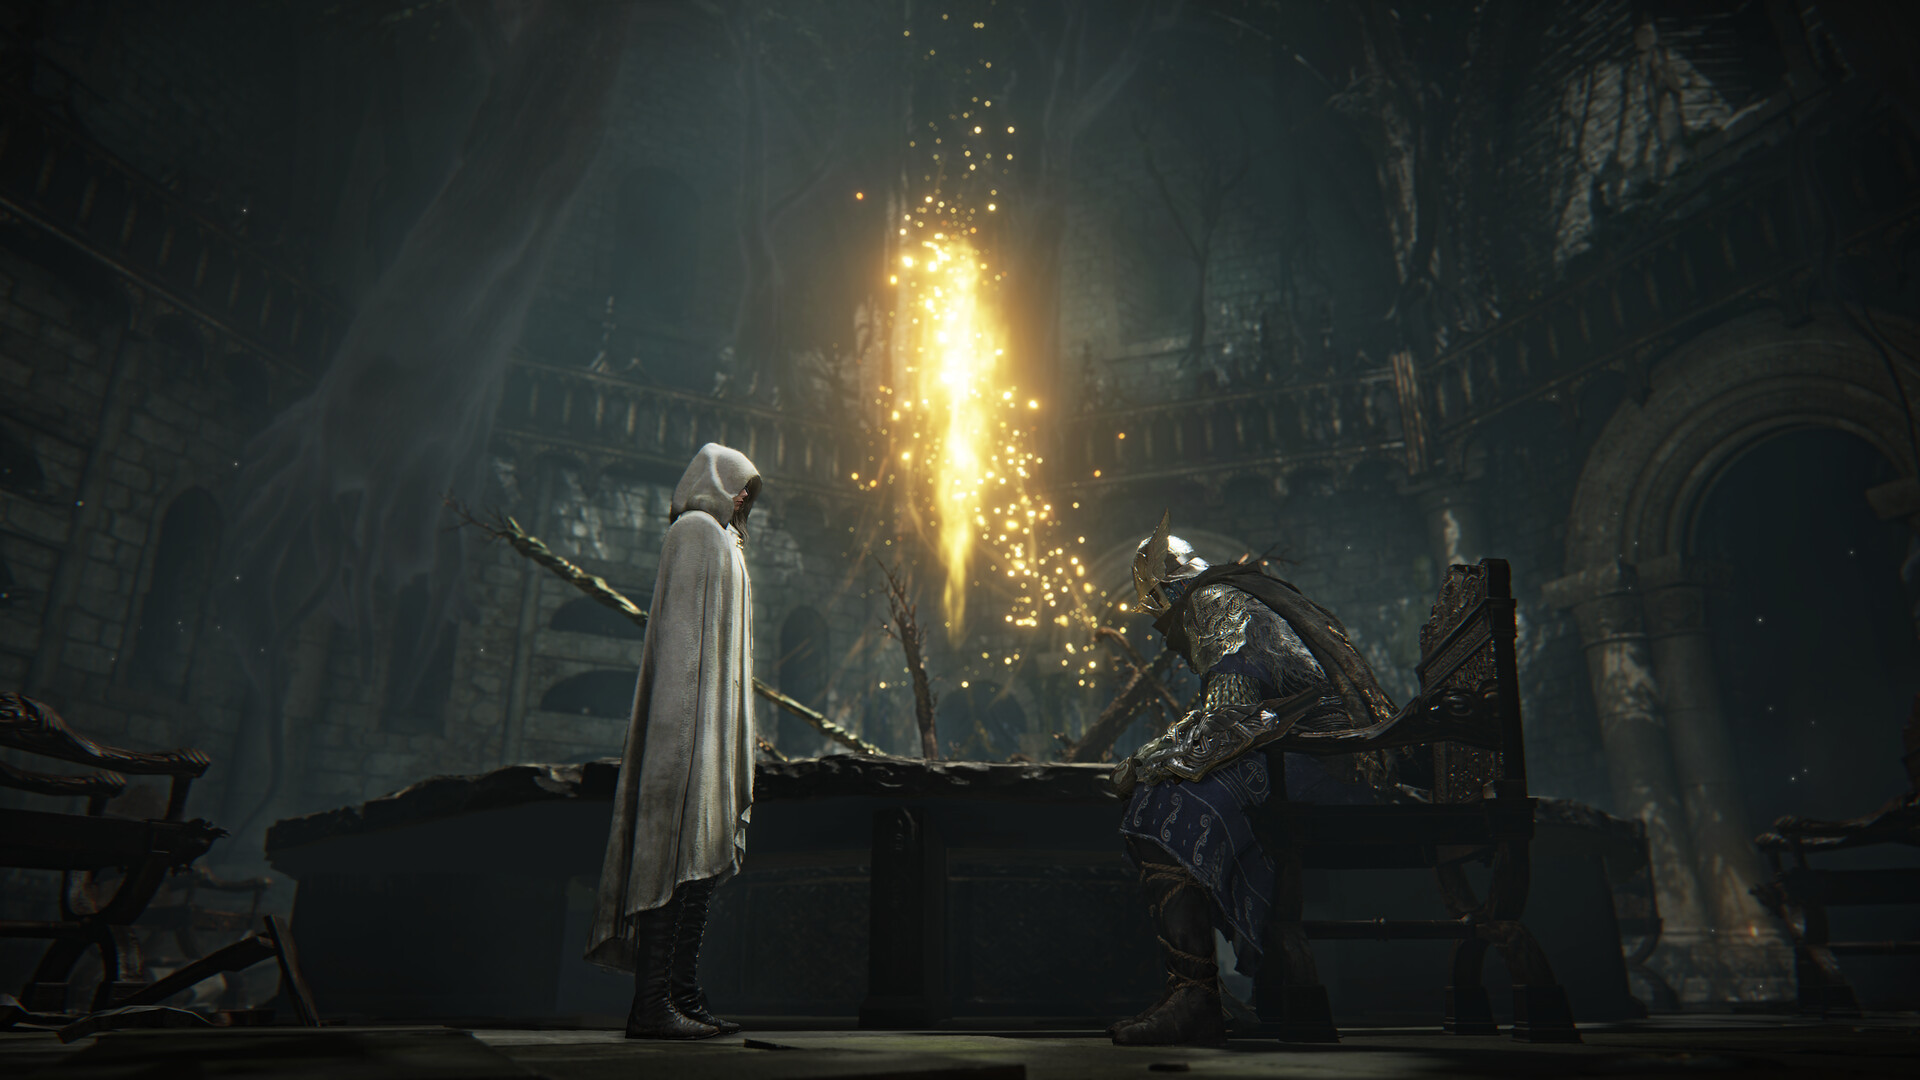
Relic Rites

At the Shrouded Roundtable Hold marketplace, you’ll find the vendor offering emotes and relics for sale. You can use Murk earned during each run to buy random relics too. Yet, it’s recommended that you buy the Relic Rites for every character first, as these unlock various loadout possibilities. Each relic has a specific color-coding system, which means some options are mandatory while others are excluded. Although this doesn’t necessarily increase the number of items you can bring into battle, it does broaden your strategic options (particularly when you acquire valuable relics by defeating the Nightlords), providing more tactical choices for combat.
Test Weapons in the Sparring Ground
If you’re eager to understand the functioning of a weapon and hone your defensive or weapon-handling techniques, the Sparring Ground is an ideal choice for you! Here, you can pick from various weapons for practice, plus you have the flexibility to customize parameters such as your level, stamina and health regeneration rate, ability and Ultimate cooldown timers, and so on.
Challenging the Castle
In the heart of Limveld lies an unyielding castle, resilient against any foe it encounters, demanding a challenge at level 9 or above. Frequently, you’ll encounter Crucible Knights within its walls, though they may be formidable opponents, slaying them rewards tens of thousands of Runes each time. Ideal for that critical advancement towards higher levels on the second day.
Shifting Earth
Changing Earth repositions a part on the map to an entirely new spot. It’s particularly challenging, with high-level adversaries and harsh environmental factors. As an example, the Peak is known to cause Frostbite and hosts some extremely formidable Ice Dragons. However, overcoming it rewards you with enhanced resistance to Frostbite and greater damage potential in icy conditions. The Crater stands out though. If you venture down into the Forge, you can upgrade any weapon to a Legendary grade, at no additional cost.
Complete Remembrances
As a gamer, when I gather enough Memory Fragments during my gaming sessions, I delve into my Journal, turning its pages until I find the “Begin Remembrance” option at the bottom. Once I select it, I’m given a unique mission that often involves journeying to Limveld and accomplishing a particular task – typically defeating special bosses or enemies. These missions are worth pursuing because they often yield some of the finest Relics for my characters.
Save Vendor Purchases for Day 2
In Limveld, there are many places where vendors can be found, but it’s best to resist the urge to buy anything on the very first day, particularly Smithing Stones and weapons. Instead, you might discover a lot of loot just by playing, including some Smithing Stones if you know the right spots. If you find yourself in dire need of a weapon of higher rarity, an extra consumable slot, or any type of Wondrous Physick, consider making a purchase on Day 2.
Getting More Flask Charges
In Elden Ring, do you recall the initial location you visited? Not the fight with Rick or the mandatory battle to death, but in Limgrave, specifically the structure where you first encountered a vendor. Similar to its predecessor, Nightreign, has multiple such spots on your map, which hold flask charges. These areas may occasionally have minor enemies, but aside from that, quickly visit them for additional healing resources.
Easily Avoiding the Night’s Tide
During the Night’s Tide, while it may not be the deadliest obstacle, it can certainly create numerous issues, particularly if you find yourself knocked out prior to concluding a boss fight and ending the night. Here are some strategies for circumventing it: Utilize Spirit Streams as an alternative, and instead of approaching the problematic wall, opt for a different route to increase your distance. If you’re underground and unsure about the Tide’s location, you can determine its proximity by listening to the sounds it makes. Even if it’s only a few meters away, the sound will help you decide whether you’re on the right path or not.
Read More
- Connections Help, Hints & Clues for Today, March 1
- Shruti Haasan is off from Instagram for THIS reason; drops a comeback message on Twitter
- Shiba Inu Sees Bullish Reversal In On-Chain Metrics, Can SHIB Price Recover?
- The games you need to play to prepare for Elden Ring: Nightreign
- Chiranjeevi joins Prime Minister Narendra Modi for Pongal celebrations in Delhi; see PICS
- Sitara Ghattamaneni: The 12-Year-Old Fashionista Taking the Spotlight by Storm!
- When To Expect Blue Lock Chapter 287 Spoilers & Manga Leaks
- BUZZ: Rajinikanth starrer Jailer 2 directed by Nelson Dilipkumar likely to go on floors from March 2025
- What Is Dunkin Donuts Halloween Munchkins Bucket?
- The Babadook Theatrical Rerelease Date Set in New Trailer
2025-06-02 07:41