In the game Monster Hunter Wilds, every weapon showcases its own unique character, favoring specific strategies and loadouts to excel. As a result, various armor sets, embellishments, and additional items become highly sought-after for various purposes, particularly among players specializing in different weapons.
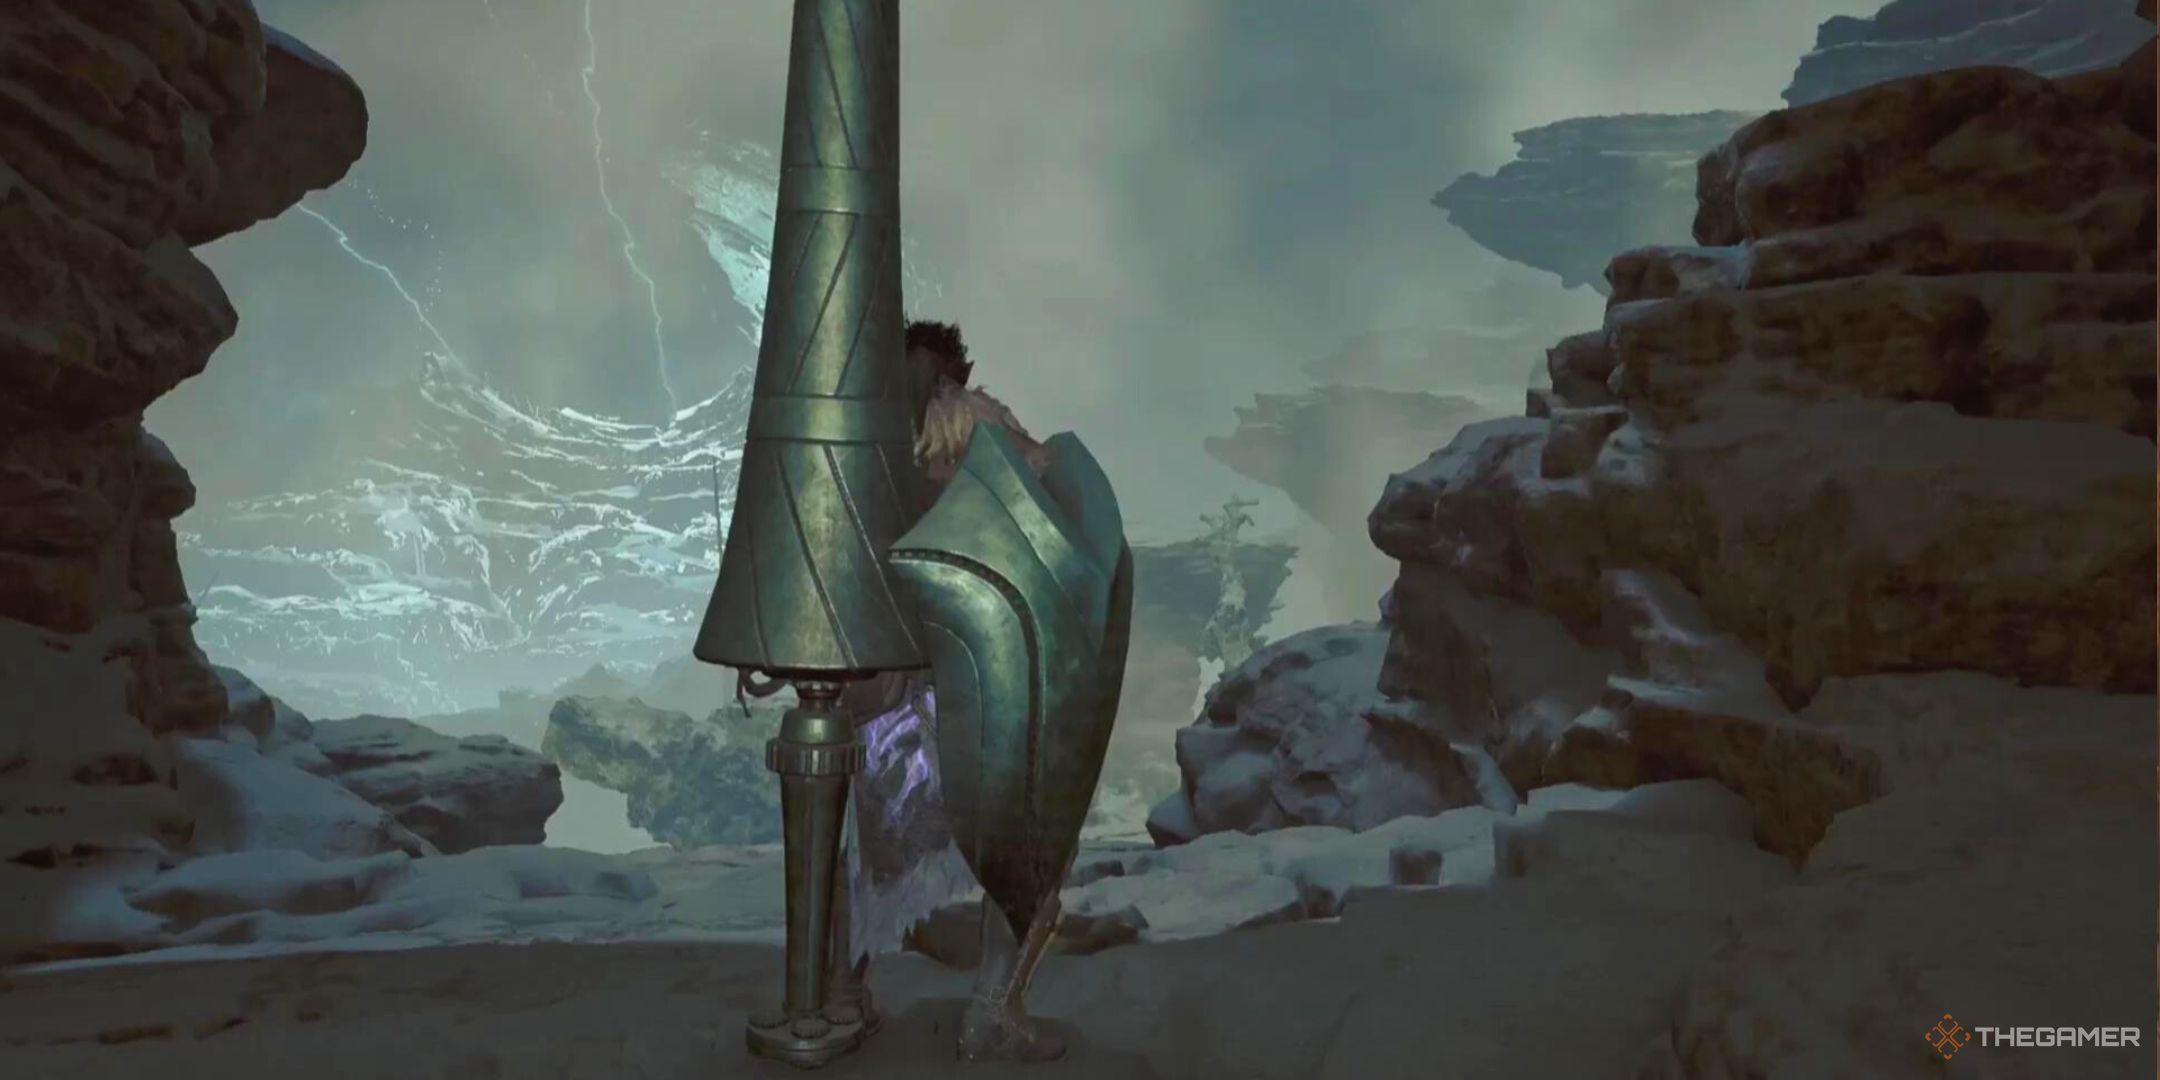
Regarding the Lance, it possesses an even blend of offensive and defensive attributes. While it may not be widely favored among users, this doesn’t mean it lacks strength. In skilled hands, the Lance can enable you to navigate hunts with minimal injuries, all while dealing substantial damage without much, if any, reduction in power.
In Monster Hunter Wilds, the concepts and structures are continually evolving. Therefore, this particular build shouldn’t be perceived as the absolute best, but rather as an excellent starting point for the Lance. It’s designed to offer versatility and effectiveness across a wide range of scenarios.
Lance Build Overview
The Lance also includes a protective guard, which is likely to see frequent action. This is due to two main factors: firstly, the Lance tends to reduce the effectiveness of your dodging maneuvers; secondly, some of your strongest strikes will follow the deployment of this shield.
Despite devoting much time to defense, the Lance allows for rapid-fire attacks when desired due to its relatively swift pace. It’s capable of delivering a series of strikes with the correct sequence, making the Burst skill particularly potent and efficient.
However, Burst won’t be the sole damage mechanic; instead, it will be complemented by the defensive potential that the Lance offers. This means we can absorb some damage without hesitation. With the right armor set equipped, we’ll amplify this feature to deal an impressive amount of additional damage, making for a build that surpasses many others in terms of speed and power.
Lance Build Guide
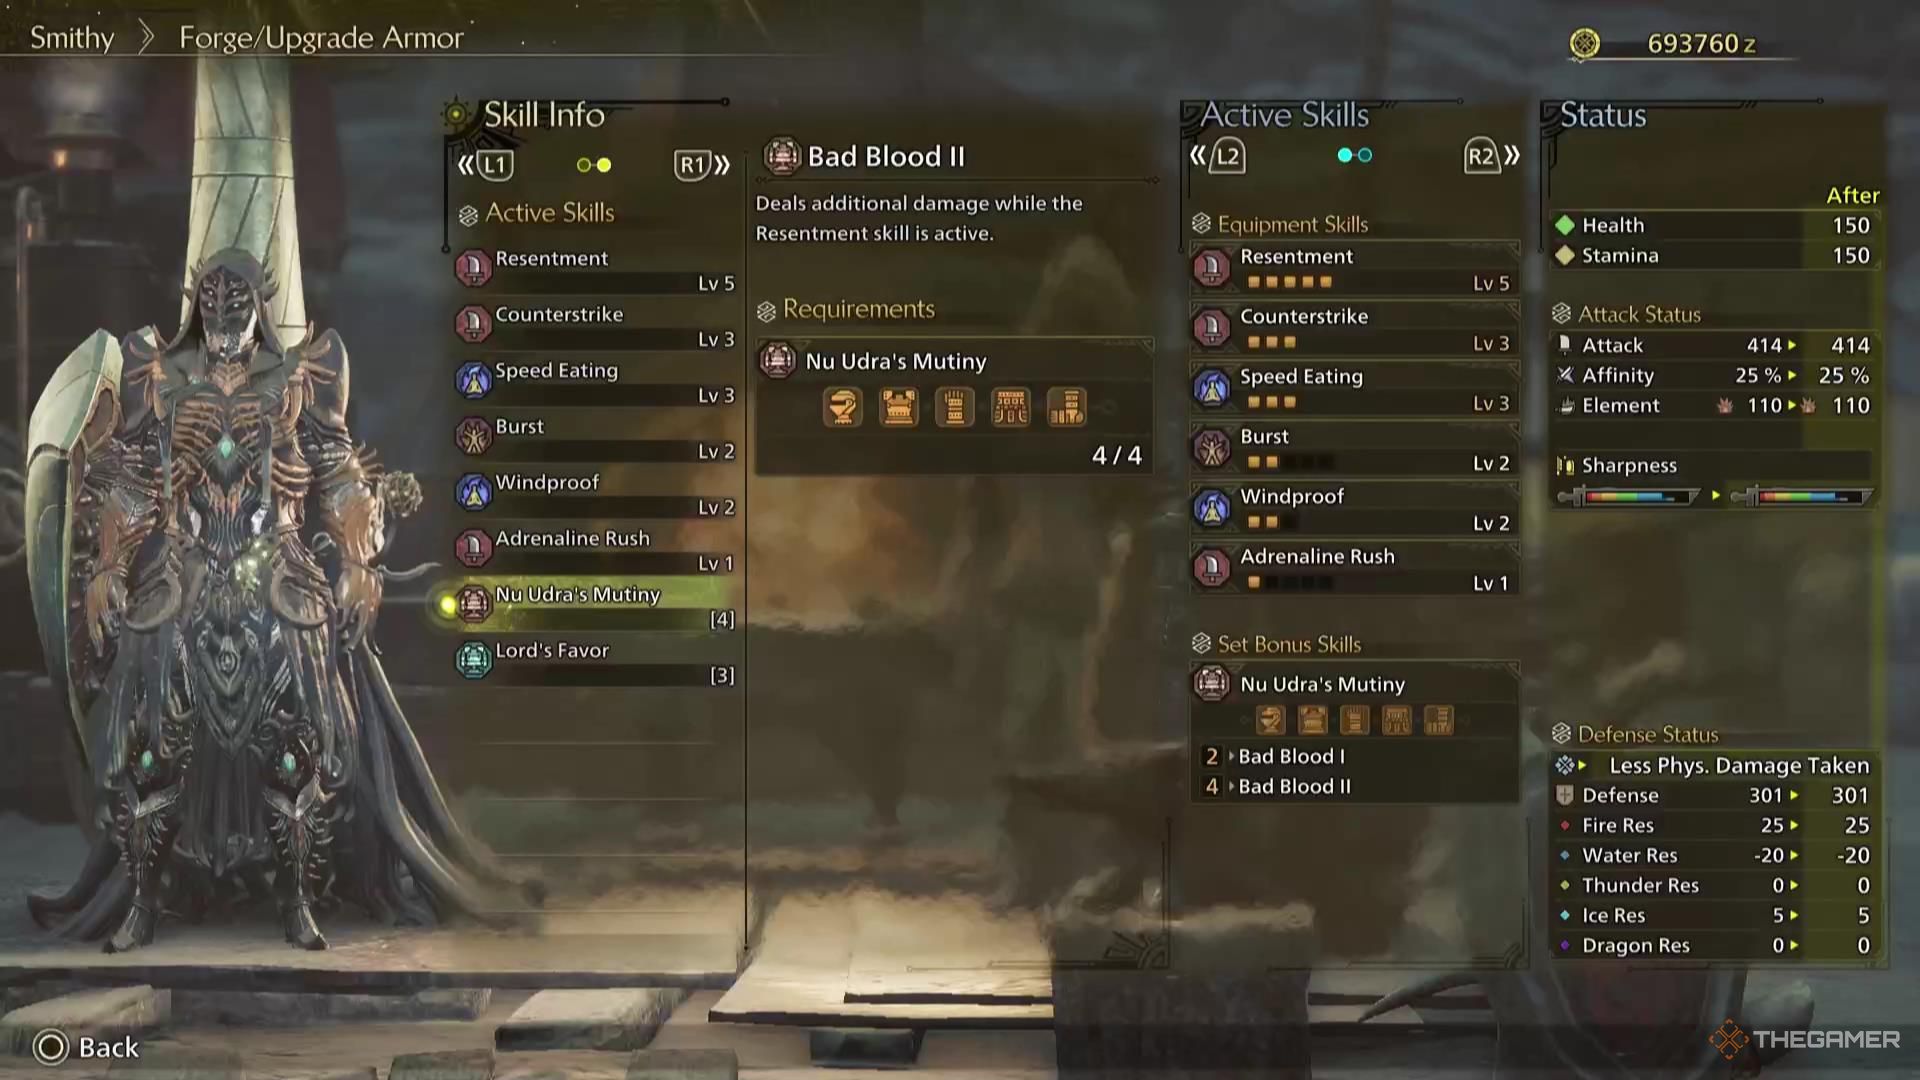
This Lance character setup primarily revolves around the Nu Udra ‘a’ armor collection, which boasts a rarity level of seven. While you can fashion an improvised variant of this build using lower-tier armor, the Set Bonus will be incomplete until you acquire this specific set. This incompleteness could limit the full potential of this build to some extent.
You can opt for the ‘b’ variant of Nu Udra, which removes some secondary abilities and provides additional level 3 decoration slots instead. However, keep in mind that this build relies heavily on skills unique to the ‘a’ version. So, if you’re aiming to replicate this build, you’ll essentially be using decorations with similar skills regardless.
| Slot | Item | Effect | Decorations |
|---|---|---|---|
| Weapon | Artian Lance | Attack / Blast Focus | Attack Jewel | Attack Jewel | Attack Jewel |
| Head | Udra Mirehelm a | Resentment II | Counterstrike I | Physique Jewel | Physique Jewel |
| Chest | Udra Miremail a | Resentment I | Burst I | Physique Jewel | Physique Jewel |
| Arms | Udra Mirebraces a | Counterstrike II | Speed Eating II | Refresh Jewel |
| Waist | Udra Mirecoil a | Resentment II | Speed Eating I | Refresh Jewel |
| Legs | Udra Miregreaves a | Windproof II | Burst I | Chain Jewel |
| Talisman | Chain Charm | Burst I |
In terms of selecting the best mantle for this scenario, the Mending Mantle would be an excellent pick. It allows for recovery from self-inflicted harm without needing to use any healing potions.
Skill Effects
This combination of armor and decorations is going to give us the following skill effects:
| Resentment V | This is going to increase our attack considerably while we’re in the middle of recovering after being hit; specifically, while we’ve still got a portion of our health bar that’s red. |
|---|---|
| Bad Blood II | This is going to improve the attack buff we get from Resentment considerably, further improving our damage for a short while after being hit. |
| Burst IV | This is going to increase our attack for a short period after landing multiple hits. Since the Lance can hit fairly quickly, this is going to be up almost all the time. |
| Counterstrike III | This is going to increase our attack for a short period after being knocked back. Combined with Resentment and Burst, this is going to create an astronomical amount of extra damage. |
| Speed Eating III | This increases the speed at which we can eat food, or otherwise consume items. This is going to be important for quickly recovering our health once our window for increased damage has closed. |
| Windproof II | This is the least important skill effect for this build, but it will decrease the damage and effects of wind. |
| Stamina Surge I | This is going to increase the rate that our stamina regenerates, which is going to be very important in allowing us to constantly block attacks with our shield. |
| Constitution IV | This is going to lessen the amount of stamina that it takes to block against attacks with our shield, serving very much the same purpose as Stamina Surge, and filling out the defensive capabilities of this build. |
| Attack Boost III | This is going to be a flat attack increase for our weapon. |
In this construction, it’s not detrimental but rather beneficial to sustain a moderate blow, as long as it doesn’t knock you out: It’s advantageous to be struck, provided the impact isn’t excessive. By enduring a light hit from the monster, you can swiftly retaliate using your Resentment and Bad Blood skill set, with Burst backing you up.
Lance Choice
For Lance, we opted for a versatile choice: a lance from Artia with a burst impact and an emphasis on attacks. This lance has a swift strike rate, making the burst effect activate frequently. This frequent activation will boost our overall damage, especially during prolonged fights.
In simpler terms, having an Attack focus implies we’ll see fewer critical hits, but the base attack of our weapon, combined with our skill-based attack boosts, will result in a very solid minimum attack power.
How To Play This Lance Build
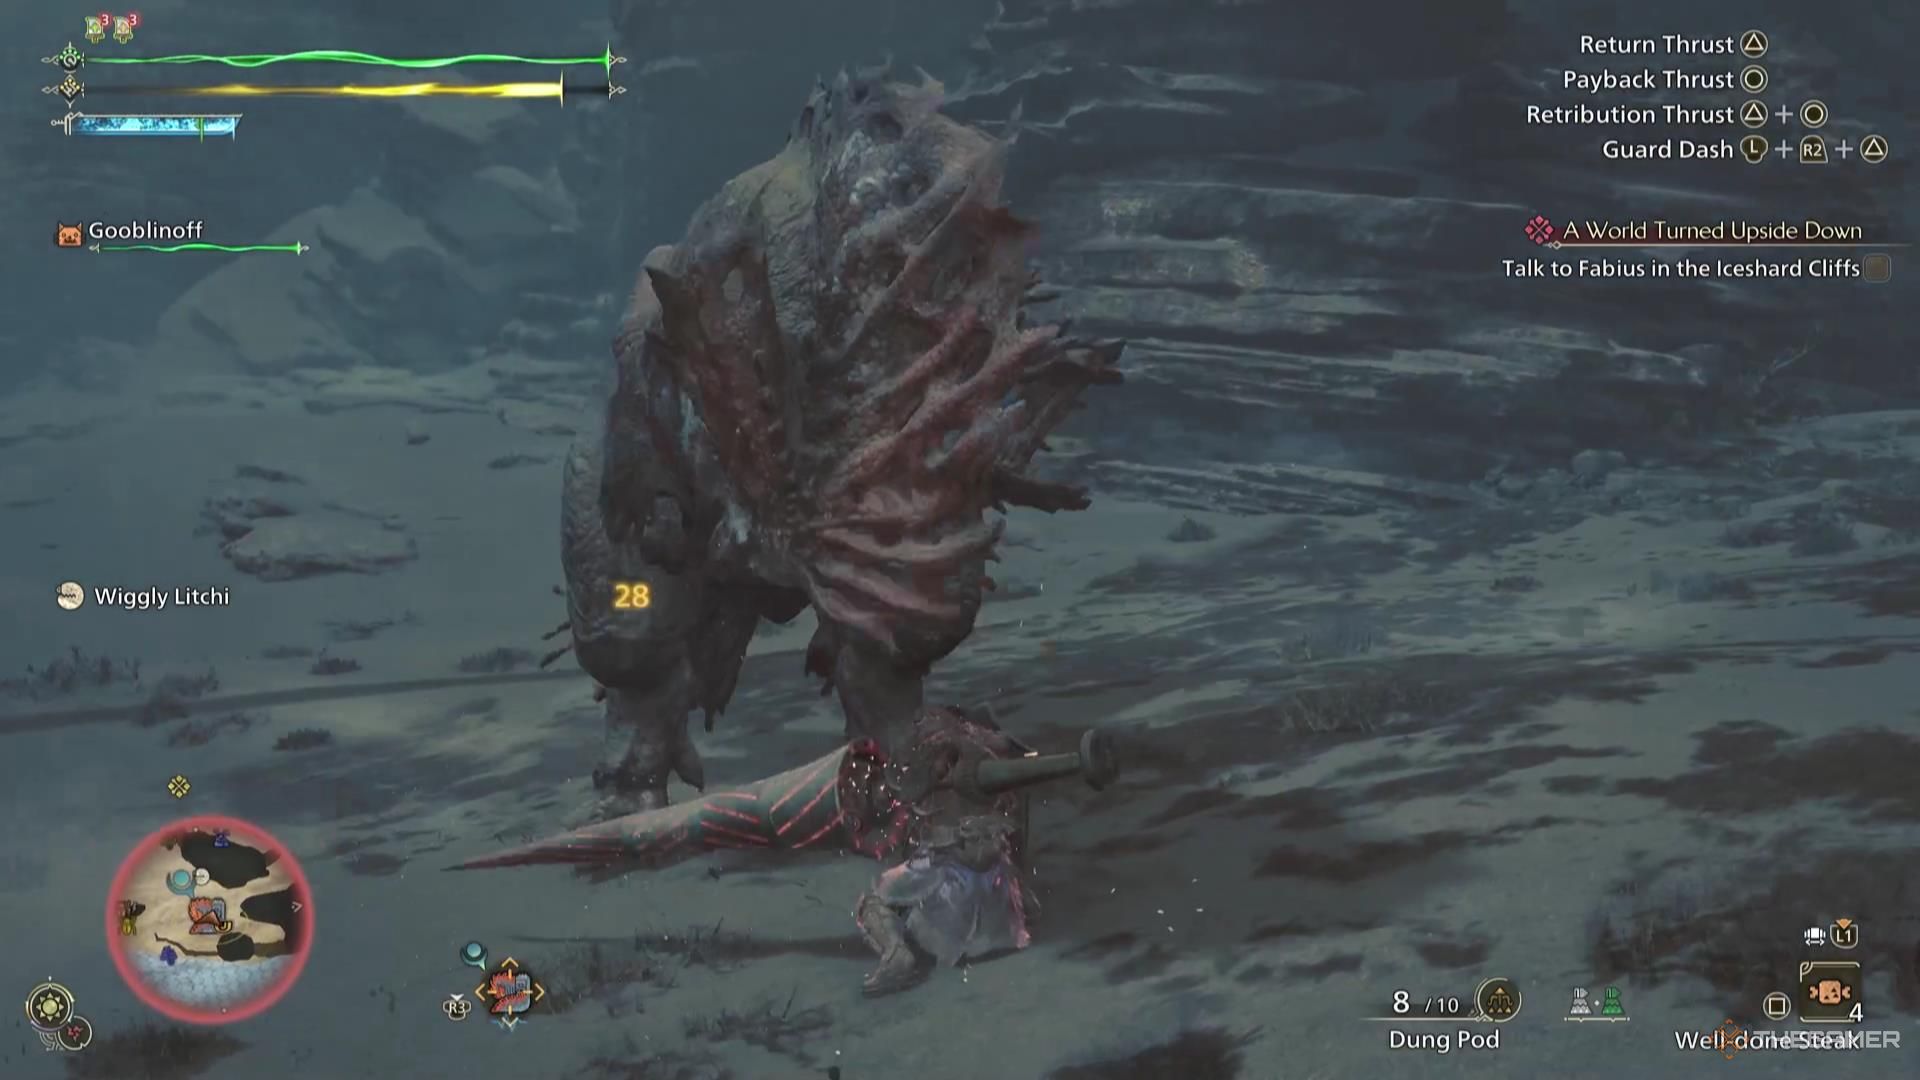
To successfully build this Lance character, it’s essential to understand a monster’s attack patterns; knowing when it’s strategically safe to take a hit for additional damage, or when to dodge to avoid excessive harm will be key.
For the most part, we should try to keep our health one or two hits from full.
When a monster assaults, endure a hit that won’t cause excessive harm, and seize the chance to inflict significantly higher damage. The synergy of our various abilities will come into play here, leading to impressive figures. Make sure to capitalize on this for as long as our health gauge indicates danger.
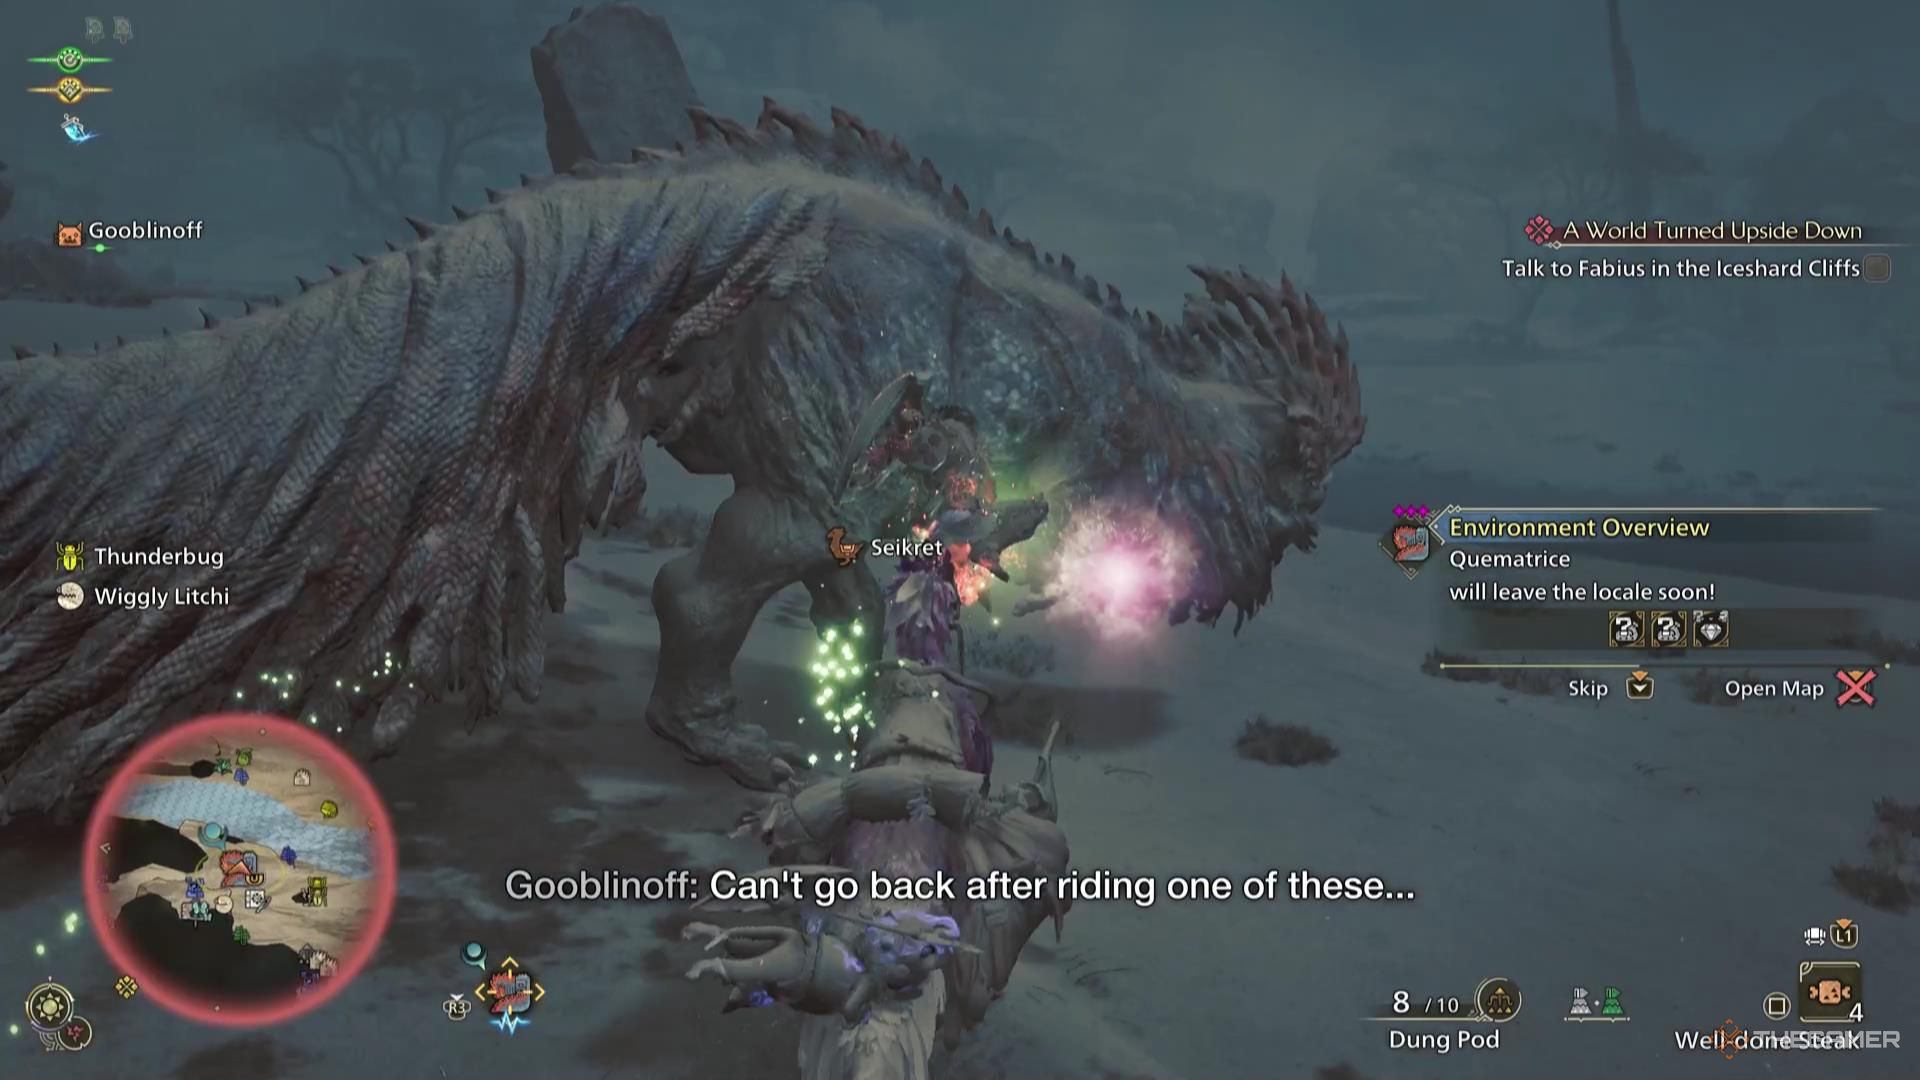
After the redness in our health subsides, it’s often beneficial to consume a swift beverage; this rapid consumption can significantly accelerate recovery, thanks to Speed Eating, implying that we’ll spend considerably less time recuperating than we would under normal circumstances.
Instead, you can often manage to perform a swift healing during the monster’s attack sequence instead of having to retreat or wait for a pause.
Regardless of whether Resentment and Counterstrike aren’t active, Burst will still deal significant damage. In case you wish to avoid additional damage, it will boost your attacking prowess instead.
Read More
- Best Heavy Tanks in World of Tanks Blitz (2025)
- Here Are All of Taylor Swift’s Albums in Order of Release Date (2025 Update)
- CNY RUB PREDICTION
- List of iOS 26 iPhones: Which iPhones Are Supported?
- Death Stranding 2 smashes first game’s Metacritic score as one of 2025’s best games
- Delta Force Redeem Codes (January 2025)
- Hermanos Koumori Sets Its Athletic Sights on the adidas UltraBOOST 5
- Vitality Triumphs Over The MongolZ To Win The BLAST.tv Austin Major 2025
- Honkai Star Rail 3.4 codes and how to redeem in HSR June 2025
- ‘No accidents took place’: Kantara Chapter 1 makers dismiss boat capsizing accident on sets of Rishab Shetty’s film
2025-03-13 13:05