
Summary
- Hammers in MHW excel in blunt damage and stunning, making them great for lock-down tactics.
- Best hammers offer high damage potential and keep enemies in place for repeated strikes.
- Unique hammers like Pandemonium’s Root and Kjarr Hammer Numb offer specialized effects for diverse gameplay.
In the game Monster Hunter World, hammers serve as effective tools for combat. Built for delivering powerful blows, stunning, and even incapacitating enemies, they excel in both retaliation and temporarily locking targets with repeated stuns.
In simpler terms, top-tier hammers possess immense destructive power and enable you to immobilize your foe, providing multiple opportunities for attack. Although the optimal hammer may vary per situation, these hammers tend to be the most effective in virtually every fight within the game.
In this revised piece, let me offer a more conversational approach: This article offers valuable information on various approaches to combat in Monster Hunter World (MHW), including the mighty Hammer, a highly efficient option. To back up this claim, we’ve updated the content with detailed weapon stats and an outline of each hammer for your convenience. Additionally, you’ll find a quick guide that breaks down the necessary steps or crafting materials required to acquire each weapon. By utilizing this knowledge, finding the optimal hammer in MHW should become significantly simpler, helping you decide whether it’s worth investing your time.
13.
Bristly Grudge

| Attack | 1040 |
|---|---|
| Affinity | 0% |
| Poison Damage | 270 |
| How To Obtain |
Bristly Grudge can be crafted after the Bristly Pincushion. To make it, you will need:
|
As you traverse the various territories in Monster Hunter World, you might stumble upon a unique species called the Bristly Crake – a rather elusive and timid large, round bird. Given its skittish nature, be prepared to approach it discreetly as it scares easily if sensed. For those who wish to express their fondness for this creature beyond capturing, there’s also the Bristly Grudge hammer.
This hammer, reminiscent of an elusive bird, proves far more potent in combat, particularly with its impressive Poison Damage stat. Swinging it will swiftly deplete your adversary’s health. However, be mindful that crafting it requires catching a Bristly Crake to earn yourself a commendable recognition.
12.
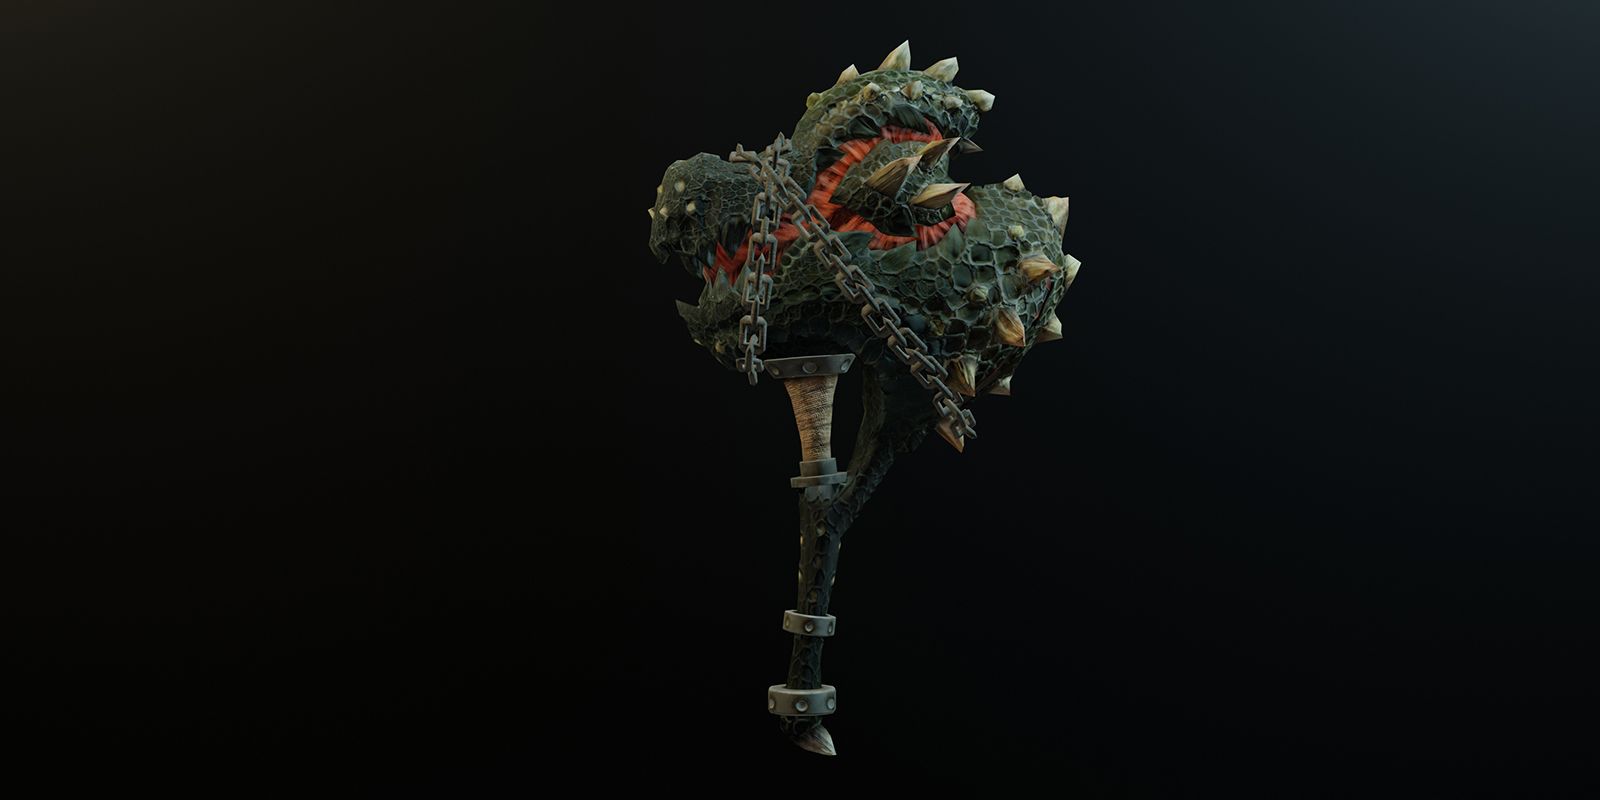
Daora’s Colossus
| Attack | 1040 |
|---|---|
| Affinity | 10% |
| Ice Damage | 150 |
| How To Obtain |
Daora’s Colossus can be crafted after the Icesteel Hammer. To make craft it, you will need:
|
Anything named after the giant figure known as ‘Colossus’ is worth checking out, leading you to Daora’s Colossus. This hammer has already earned its reputation being crafted from various parts of Elder Dragons, so brace yourself for some hunts, but rest assured, it won’t let you down.
Apart from resembling both a dragon’s enraged snarl and a peaceful dragon’s pipe, this hammer boasts impressive strength. It delivers substantial Ice Damage and occasionally lands crucial critical hits at opportune moments.
11.
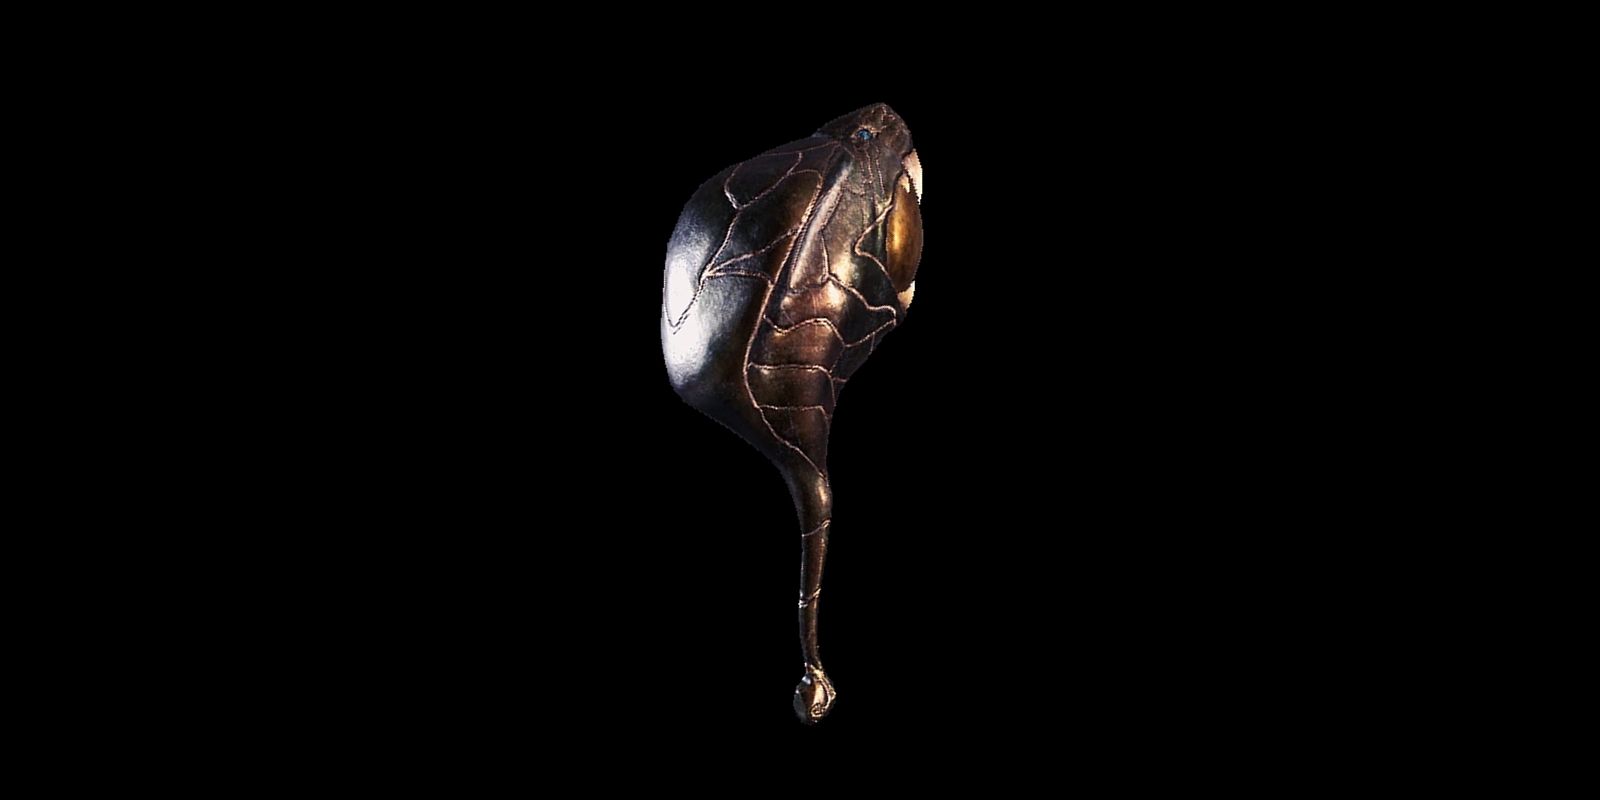
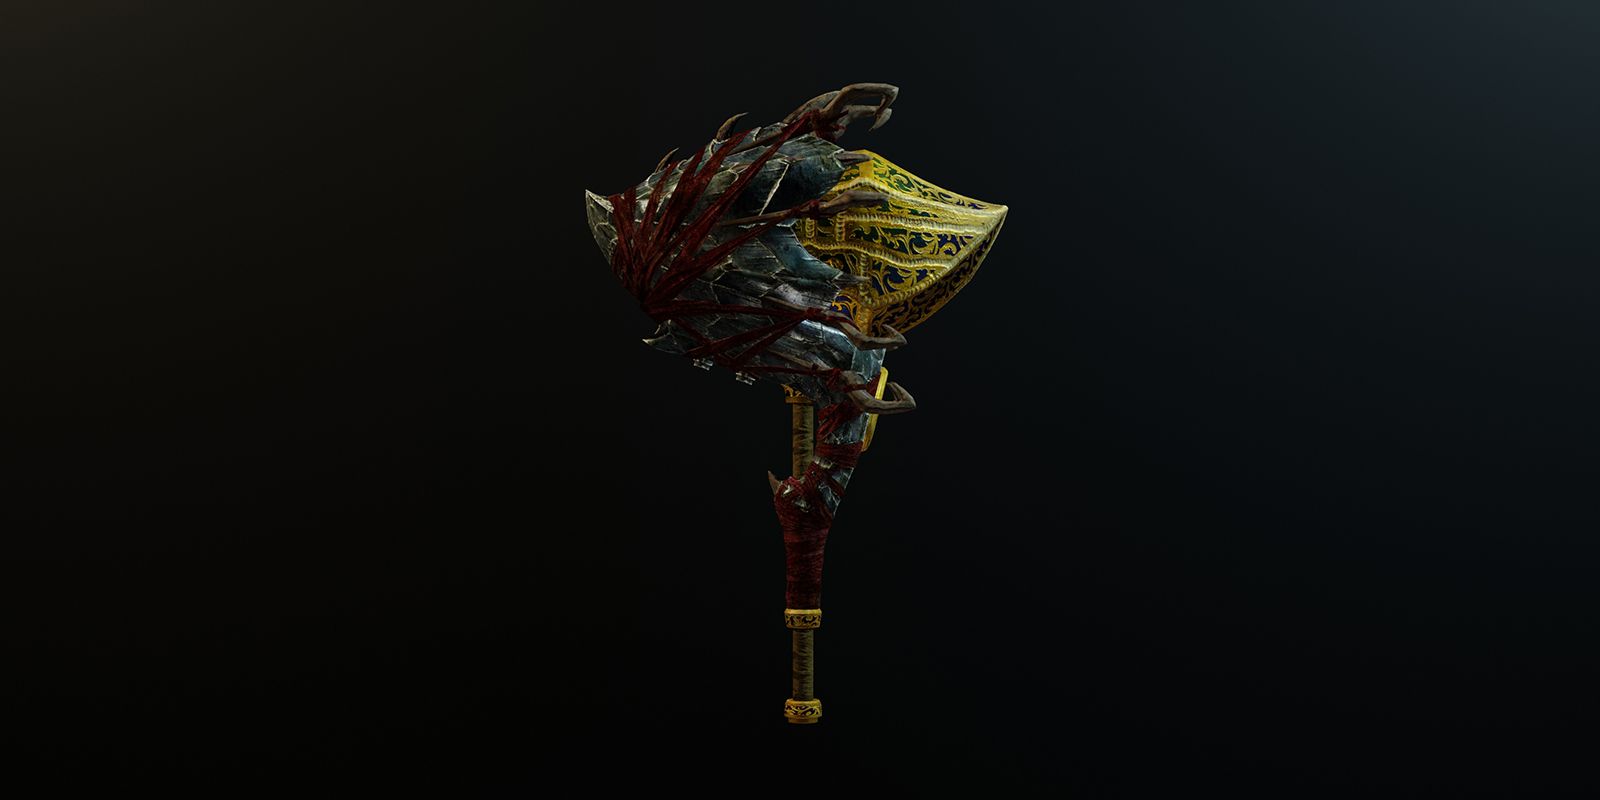
Pandemonium’s Root

| Attack | 1040 |
|---|---|
| Affinity | 0% |
| Dragon Damage | 270 |
| Elderseal | Average |
| How To Obtain |
Pandemonium’s Root can be crafted after the Hazak Vlafos. To craft it, you will need:
|
At a distance, The Pandemonium’s Root appears ax-like, but don’t be fooled by your initial glance. True to its name, upon closer inspection, it stirs up quite a commotion. Its menacing appearance suggests it might cause harm simply by existing.
This weapon is peculiar as it delivers both blunt damage similar to a hammer and dragon damage, while offering several customization options. Despite its heavy strikes, its real worth lies in the consistent ability to inflict Elderseal on your more challenging enemies. Brace yourself for multiple bouts against Vaal Hazak to acquire this hammer.
10.
Kjarr Hammer Numb

| Attack | 936 |
|---|---|
| Affinity | 20% |
| Paralysis Damage | 300 |
| Skills | Critical Status |
| How To Obtain |
The Kjarr Hammer can be obtained through The Fury of El Dorado event quest and Awakening Alchemy. In The Fury of El Dorado event, you must trigger Kulve Taroth’s Fury mode. In Awakening Alchemy, you can trade high and Master rank Kulve Taroth materials into the Hammer. This costs:
|
In the Fury of El Dorado event, you can acquire this hammer by defeating Kulve Taroth. This hammer has the ability to immobilize monsters with its Paralysis feature. Additionally, it possesses the unique skill Critical Status, which amplifies the rate and impact of Paralysis whenever a critical strike is landed.
This tool is exceptionally beneficial due to its integrated 20% affinity boost and its ability to be white-sharp, virtually ensuring a critical hit with every swing. While it may not deal the highest damage, it becomes irrelevant as the monster is consistently immobilized by Paralysis.
9.
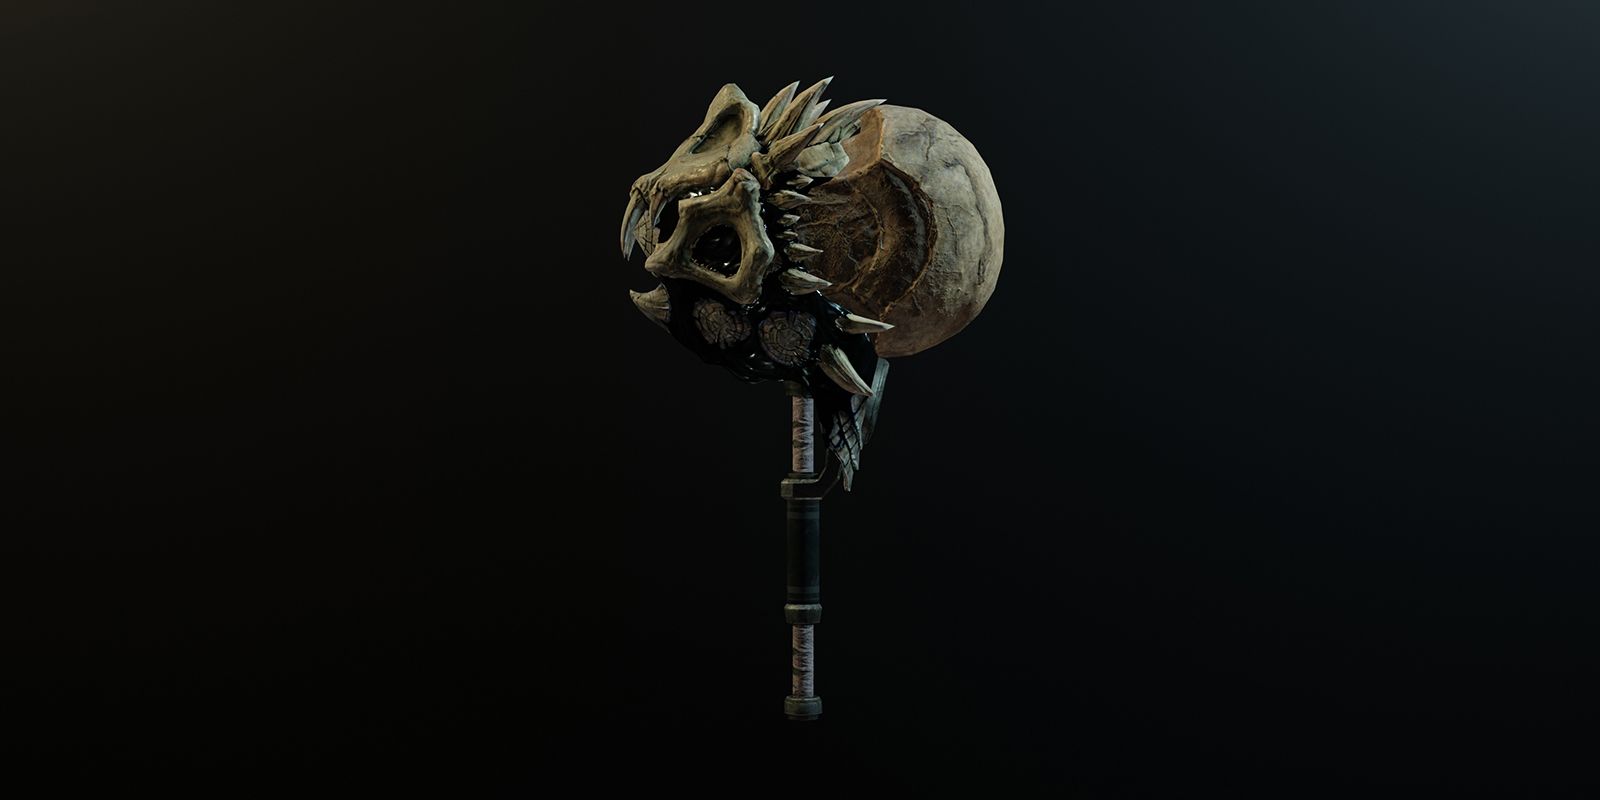
Obliteration’s Footfall
| Attack | 1,092 |
|---|---|
| Affinity | 0% |
| Dragon Damage | 120 |
| Elder Seal | High |
| How To Obtain |
Obliteration’s Footfall can be crafted after the Nergal Crusher. To make it, you will need:
|
As I wield this hammer crafted from the ferocious Nergigante’s drops, its menacing appearance is matched only by its raw power – a base attack strength of 1,092! This bad boy also deals dragon damage and boasts a High-level Elder Seal. That means it can send elder dragons reeling, making them stumble and momentarily lose their unique auras. It’s weapons like this that make me feel like I truly belong in the world of monster hunting.
While this weapon may have limited applications due to its specialized nature, it’s tough to argue against the convenience of having something potent against Elder Dragons. It also performs fairly well against ordinary creatures, making it a valuable asset to possess.
8.
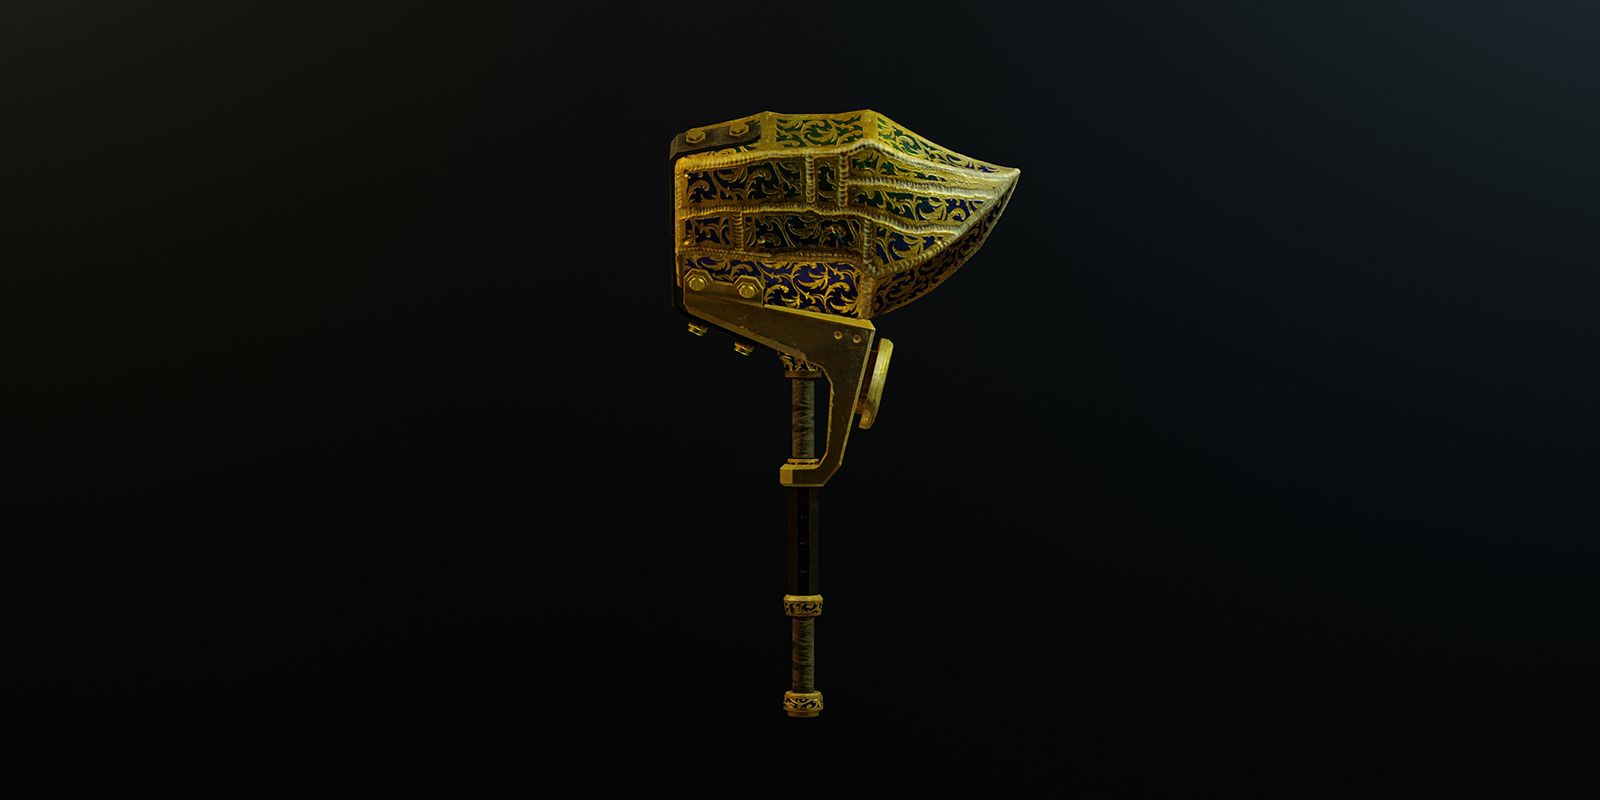
Empress Mace Ruin
| Attack | 988 |
|---|---|
| Affinity | 0% |
| Blast Damage | 150 |
| Skill | Hasten Recovery |
| How To Obtain |
The Empress Mace ‘Ruin’ is an upgrade from the Empress Mace. To get it, you will need the following items:
|
The Empress Mace ‘Ruin’, constructed from the Lunastra, is a potent weapon in numerous battles. It boasts a base attack power of 988 and inflicts Blast damage for extra force, making it an effective tool to crush enemies.
As a gamer, I can’t deny the edge I get from my level 1 Hasten Recovery weapon. Each strike I make restores a bit of health, making me more resilient in tough battles. Plus, it has two decoration slots for customization and comes with automatic white sharpness, reducing the need for constant sharpening. This versatile tool is perfect for various situations, dealing high damage while also providing built-in recovery – a true game-changer!
7.
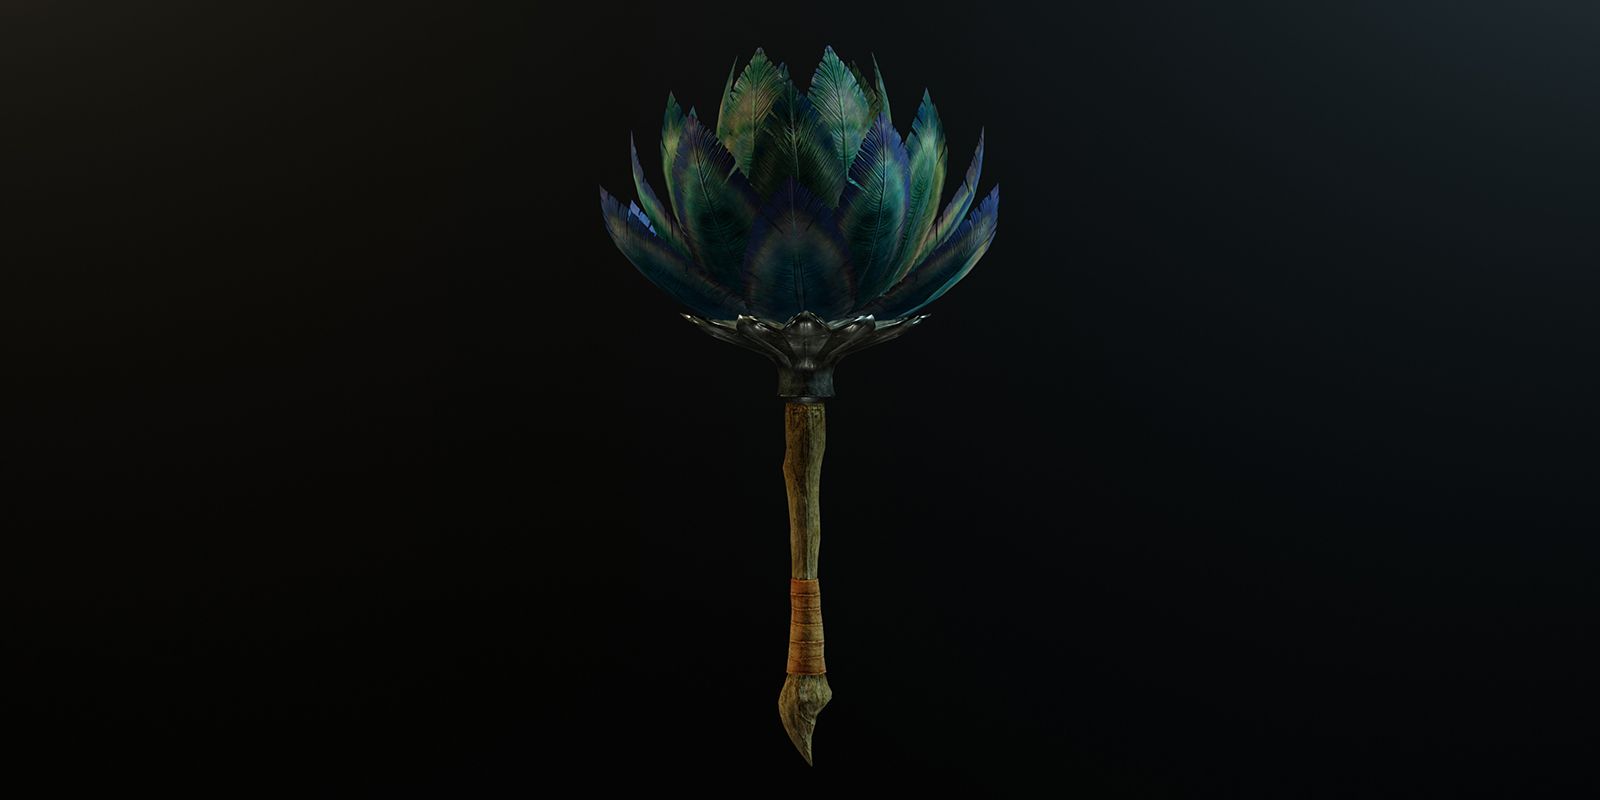
Buona Flora
| Attack | 936 |
|---|---|
| Affinity | 0% |
| Poison Damage | 540 |
| How To Obtain |
The Buona Flora is part of the Blooming Hammer upgrade tree. To upgrade it after the Blooming Hammer 3, you will need the following:
It can also be crafted directly with the following materials:
|
The Buona Flora may not inflict as much conventional harm as other hammers, yet it uniquely administers poisonous damage per blow. It’s an excellent choice for combat against nimble targets with limited vulnerabilities, as the poison slowly weakens them while they evade and dodge.
This hammer also has an advantage: it’s quickly fabricated using a Pukei-Pukei, which means you can acquire it relatively early. Although other weapons may surpass it in terms of damage per hit, for prolonged battles against cunning adversaries, it proves to be quite effective.
6.
Taroth Hammer ‘Decay’
| Attack | 1,040 |
|---|---|
| Affinity | 0% |
| Dragon Damage | 270 |
| Elderseal | Average |
| How To Obtain |
The Taroth Hammer ‘Decay’ is acquired through the Fury of El Dorado event quest or Awakening Alchemy. Through the event, you must cause Kulve Taroth to enter Fury mode for this weapon to be obtainable. Through Awakening Alchemy, you need high and master-rank materials from Kulve Taroth. It will cost:
|
Crafted from the Kulve Taroth, the hammer named ‘Decay’ packs quite a punch, dealing substantial damage with an initial attack power of 1,040. This hammer is versatile and useful even in builds not focusing on critical hits as it has no affinity associated with it. It can be enhanced or upgraded twice for added benefits.
This weapon is quite valuable due to its ability to inflict dragon damage and its moderate level of Elderseal. A standout feature, especially for hammer builds, is its high damage and bonus against elder dragons, making it a reliable choice. However, obtaining it during The Fury of El Dorado may require some preparation as it can be challenging.
5.
Taroth Hammer ‘Sleep’
| Attack | 1,040 |
|---|---|
| Affinity | 0% |
| Sleep Damage | 300 |
| How To Obtain |
Like other Taroth weapons, this Hammer is obtained in the Fury of El Dorado quest or through Awakening Alchemy. To get it from Kulve Taroth, he must be placed in Fury mode. If you are making it through Awakening Alchemy, you will need the following:
|
In our opinion, this hammer stands out as top-notch among others due to its unique feature: it induces sleep upon every swing. Once it has accumulated power, this results in the monster collapsing, providing an opportunity for you and your teammates to set traps, regroup, and strategize for the upcoming attack sequence.
Indeed, the reason it doesn’t excel is because it often leads to prolonged conflicts filled with numerous interruptions. While it works well for beginners or sole combatants, those seeking swift resolutions might find superior options available.
4.
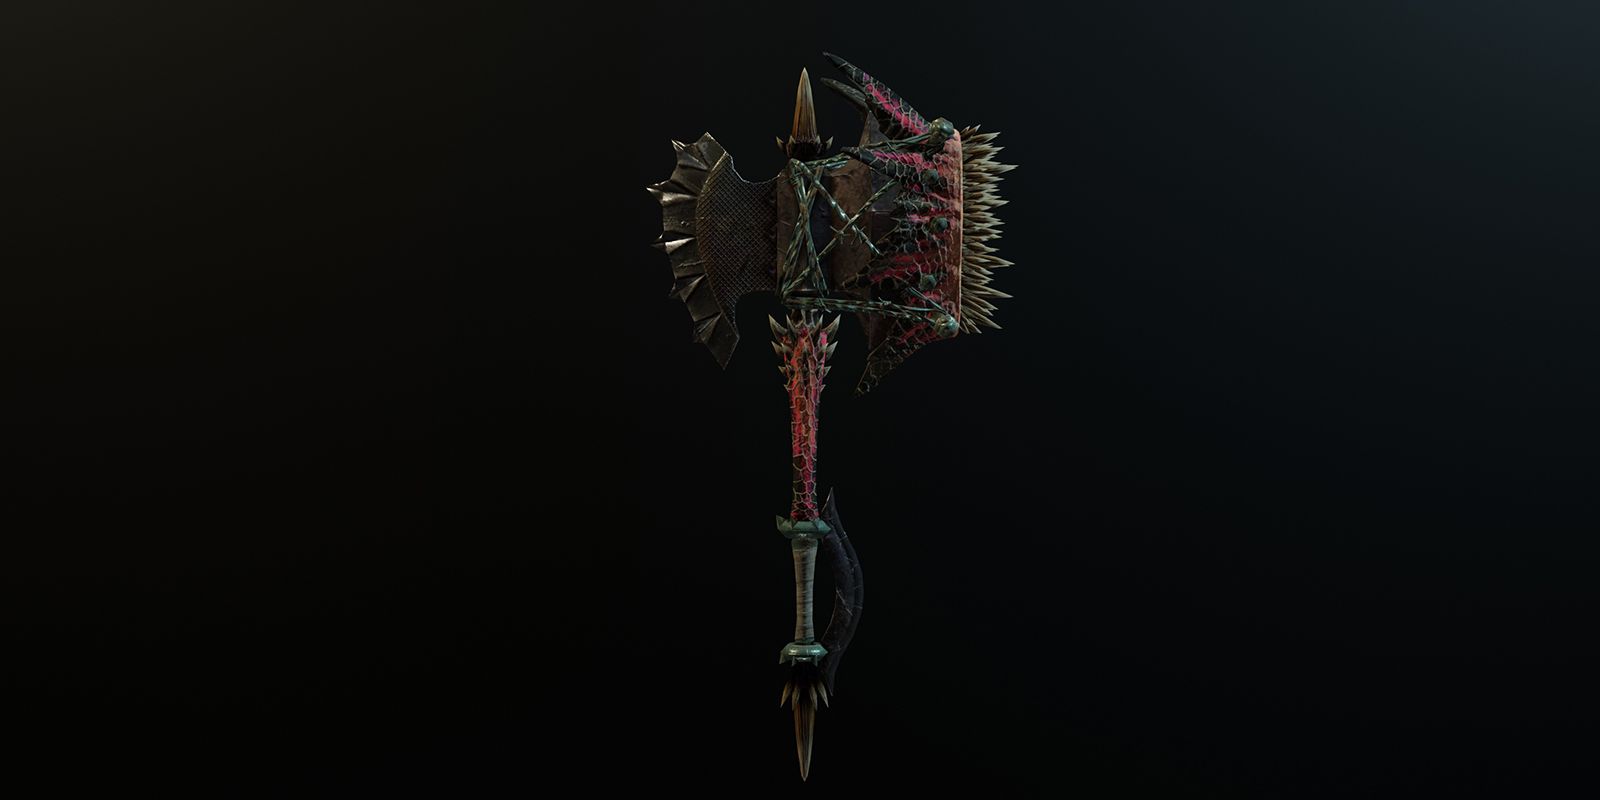
Devil’s Crush
| Attack | 1,196 |
|---|---|
| Affinity | -30% |
| Dragon Damage | 210 |
| Elderseal | High |
| How To Obtain |
Devil’s Crush is obtained by upgrading the Devil’s Due. To do this, you will need the following items:
|
Reminiscent of torn fragments from a Deviljho’s body, this hammer possesses immense power. With just one level of craftsmanship, it can achieve white sharpness; however, for longevity, it is recommended to apply Protective Polish.
Despite having a 30% lower attraction, the fact that it deals Dragon damage and has high Elderseal makes it an excellent choice for many when facing Elder Dragons. This hammer undoubtedly stands out as the top option to bring into battle against these ancient beasts.
3.
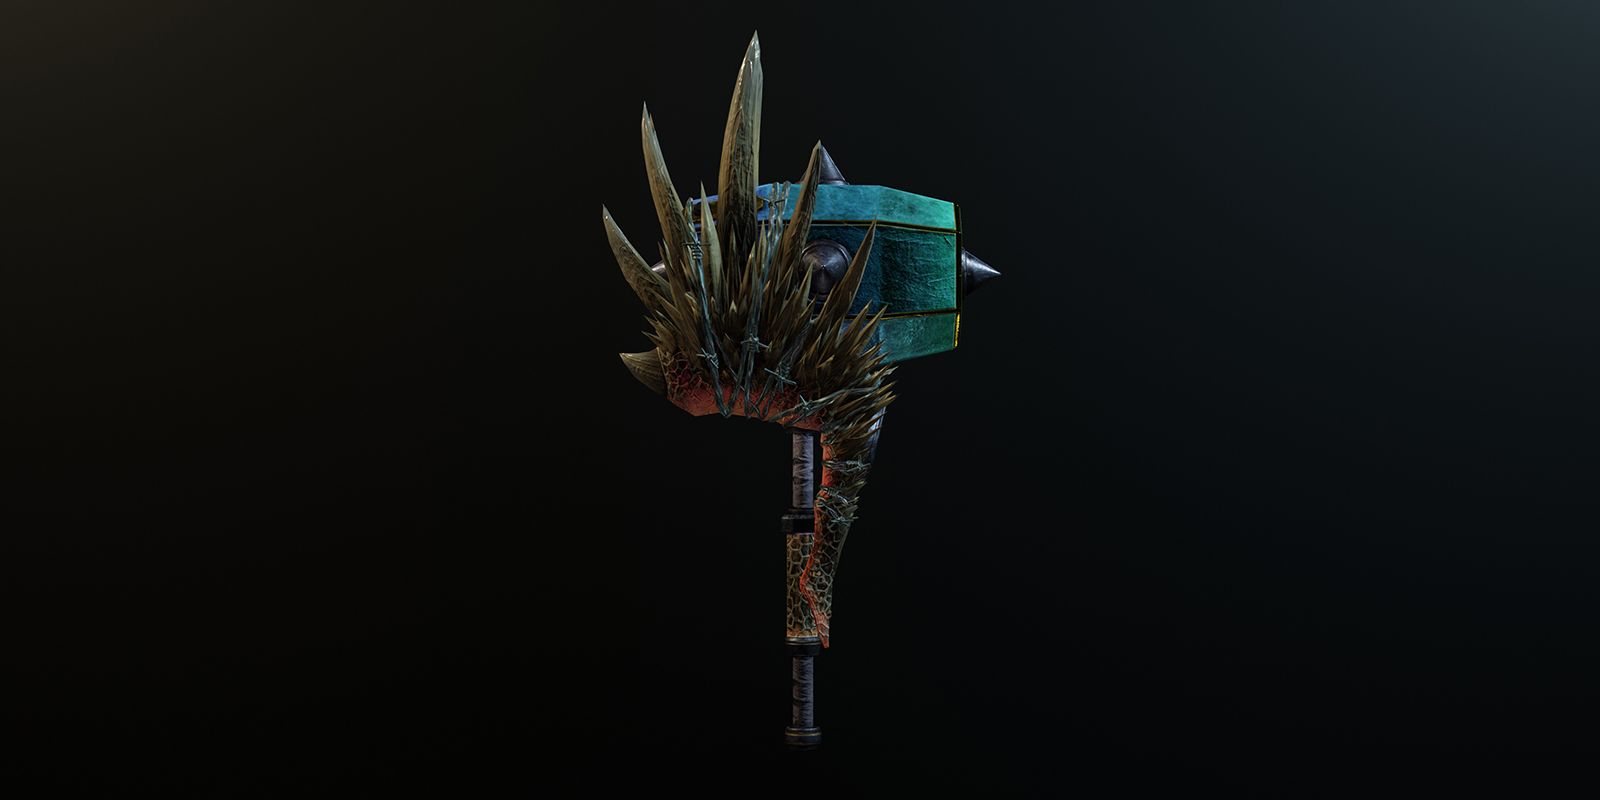
Ragefire Magda Floga

| Attack | 1,144 |
|---|---|
| Affinity | -20% |
| Blast Damage | 420 |
| How To Obtain |
The Ragefire Magda Floga is upgraded from the Magda Floga. To do this, you need:
|
Crafted using pieces of the Zorah Magdaros, the fiery Ragefire Magda Floga delivers substantial base damage at 1,144 and potent Blast damage. However, it has a disadvantage of reduced affinity by 20 percent, but it compensates with a bonus of 20 for Defense.
At first glance, this hammer might appear ordinary, but with its decorative slot and versatile base abilities, it can be customized to fit any circumstance. This flexibility makes it useful for numerous character builds and serves as a reliable tool in various combat situations until a superior hammer is found. For many users, it’s an essential item that’s only replaced when the perfect weapon for every situation is acquired.
2.
Baan Strike 3
| Attack | 988 |
|---|---|
| Affinity | 0% |
| Sleep Damage | 270 |
| Defense | 20 |
| How To Obtain |
The Baan Strike 3 must be upgraded from the Baan Strike 2. The following materials are needed to do this:
|
Crafted using segments of the monstrous Radobaan, the Baan Strike is a versatile weapon suitable for both less experienced and seasoned characters. Its raw damage output is impressive, and it boasts an exceptional skill: rendering foes unconscious.
Using this tool is crucial when playing alone, as it allows you to quickly subdue a creature, providing them a chance to retreat or recuperate. Quite a few of us prefer to put the creature into a slumber with this mallet, switch to a more powerful hammer for damage while it awakens, and then switch back to knock it out again.
1.
Diablos Shatterer 3

| Attack | 1,352 |
|---|---|
| Affinity | -25% |
| Ice Damage | 210 |
| Defense | 35 |
| How To Obtain |
The Diablos Shatterer 3 is obtained by upgrading it from the Diablos Shatterer 2. To do this, you will need to gather the following materials:
|
If you’re looking for high initial damage output, the Diablos Shatterer 3 is your best bet. This weapon is crafted from components of the Diablos dragon and primarily designed to defeat enemies swiftly. It boasts a base attack power of 1,196, with additional ice damage added as an extra edge.
This item boosts Defense by 15 and reduces affinity by 25%. However, it’s engineered to deliver maximum damage per strike without requiring critical hits. Essentially, it’s a no-nonsense weapon tailored for hunters who prefer hammer combat, capable of subduing any beast. It synergizes particularly well with Baan Strike 2.
Read More
- Here Are All of Taylor Swift’s Albums in Order of Release Date (2025 Update)
- List of iOS 26 iPhones: Which iPhones Are Supported?
- Death Stranding 2 smashes first game’s Metacritic score as one of 2025’s best games
- CNY RUB PREDICTION
- Best Heavy Tanks in World of Tanks Blitz (2025)
- Delta Force Redeem Codes (January 2025)
- Vitality Triumphs Over The MongolZ To Win The BLAST.tv Austin Major 2025
- Honkai Star Rail 3.4 codes and how to redeem in HSR June 2025
- [FARM COSMETICS] Roblox Grow a Garden Codes (May 2025)
- Overwatch 2 Season 17 start date and time
2025-03-02 17:38