In the game “Wuchang: Fallen Feathers,” Cloudspire is the second main region you’ll explore. This area offers a chilly environment complete with rebel camps, frozen caves, and a grand palace. The challenge intensifies in Cloudspire, as you’ll encounter more formidable enemies and intricate paths to navigate. You’ll battle four distinct bosses here, many of whom have the ability to inflict multiple status effects that can catch an unready player off guard. This guide offers precise details on the locations of each boss in Cloudspire within “Wuchang: Fallen Feathers.
The guide below contains boss spoilers related to their appearance.
All Cloudspire Boss Locations in Wuchang: Fallen Feathers
General of the North – Ai Nengqi
Beginning at the Hillswatch Shrine in Cloudspire, veer left and climb the hill. Avoid going straight because it leads to Mt. Zhenwu, a later region in the game. Instead, ascend the staircase on your left and follow the trail on your right. Continue forward, disregarding any paths on the left, as they lead to the Female Servant’s quest location within Hillswatch (if you wish to complete this quest, feel free to take a detour; otherwise, keep moving straight).
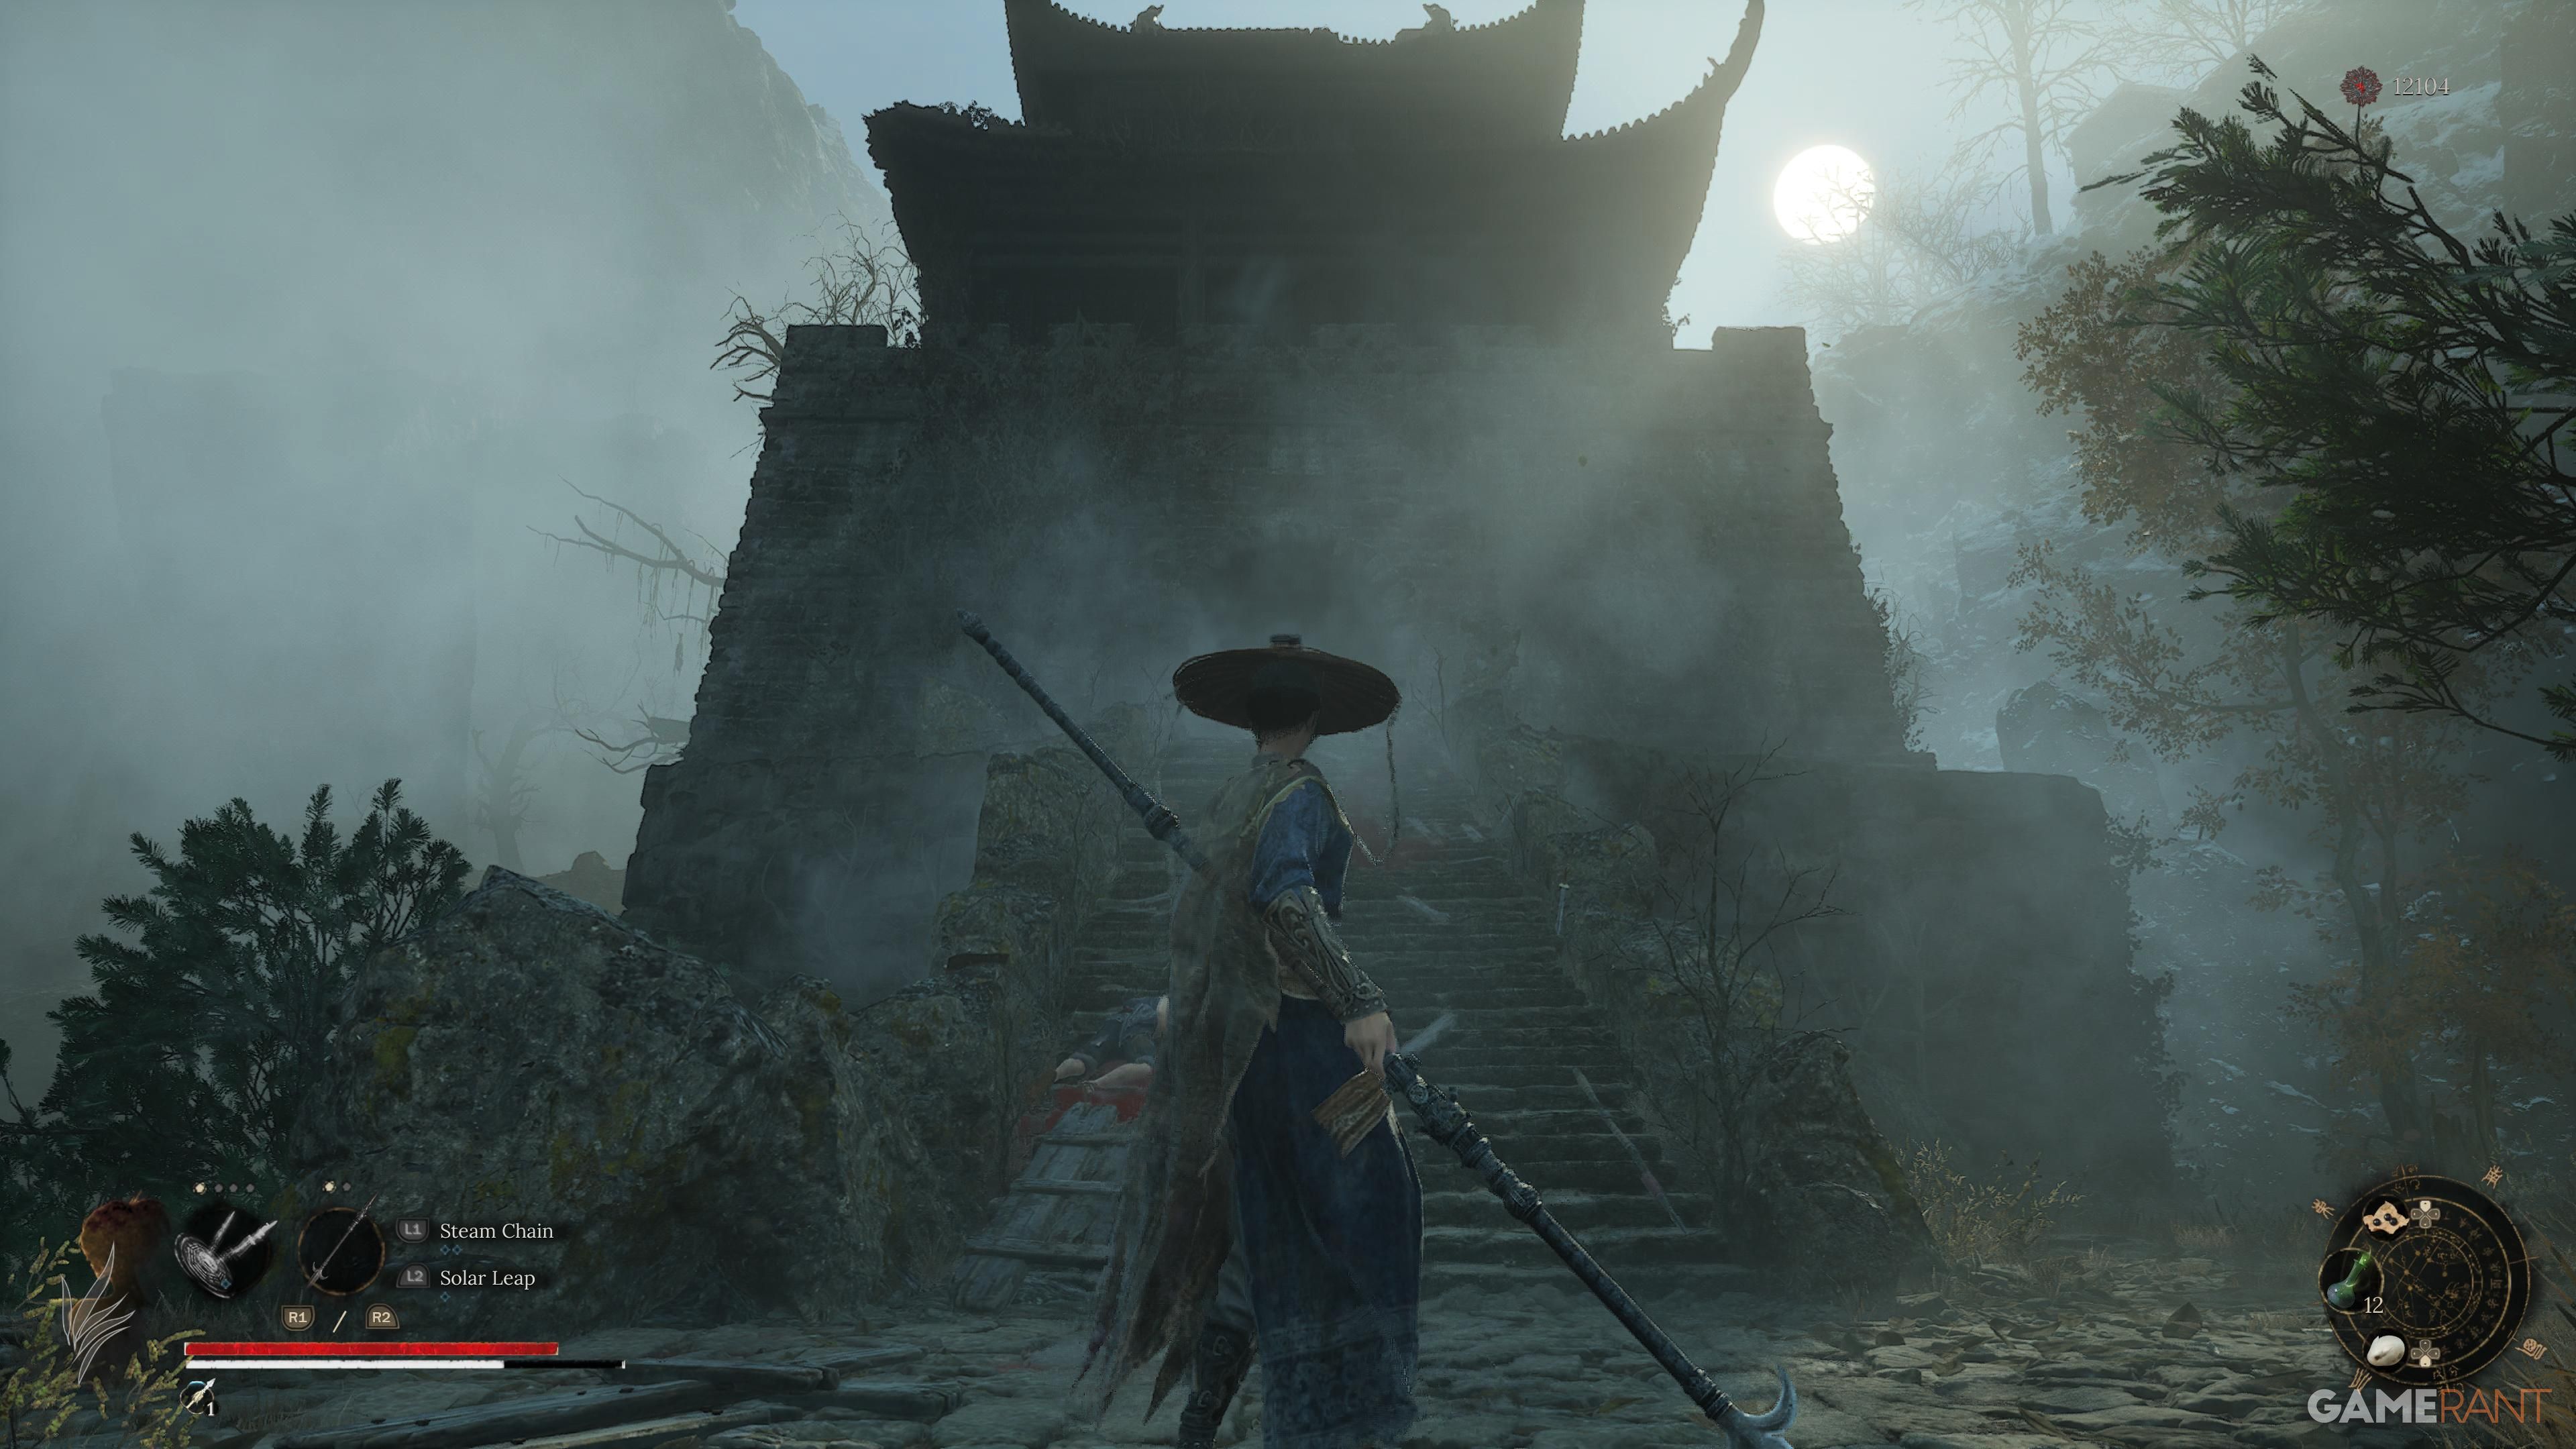
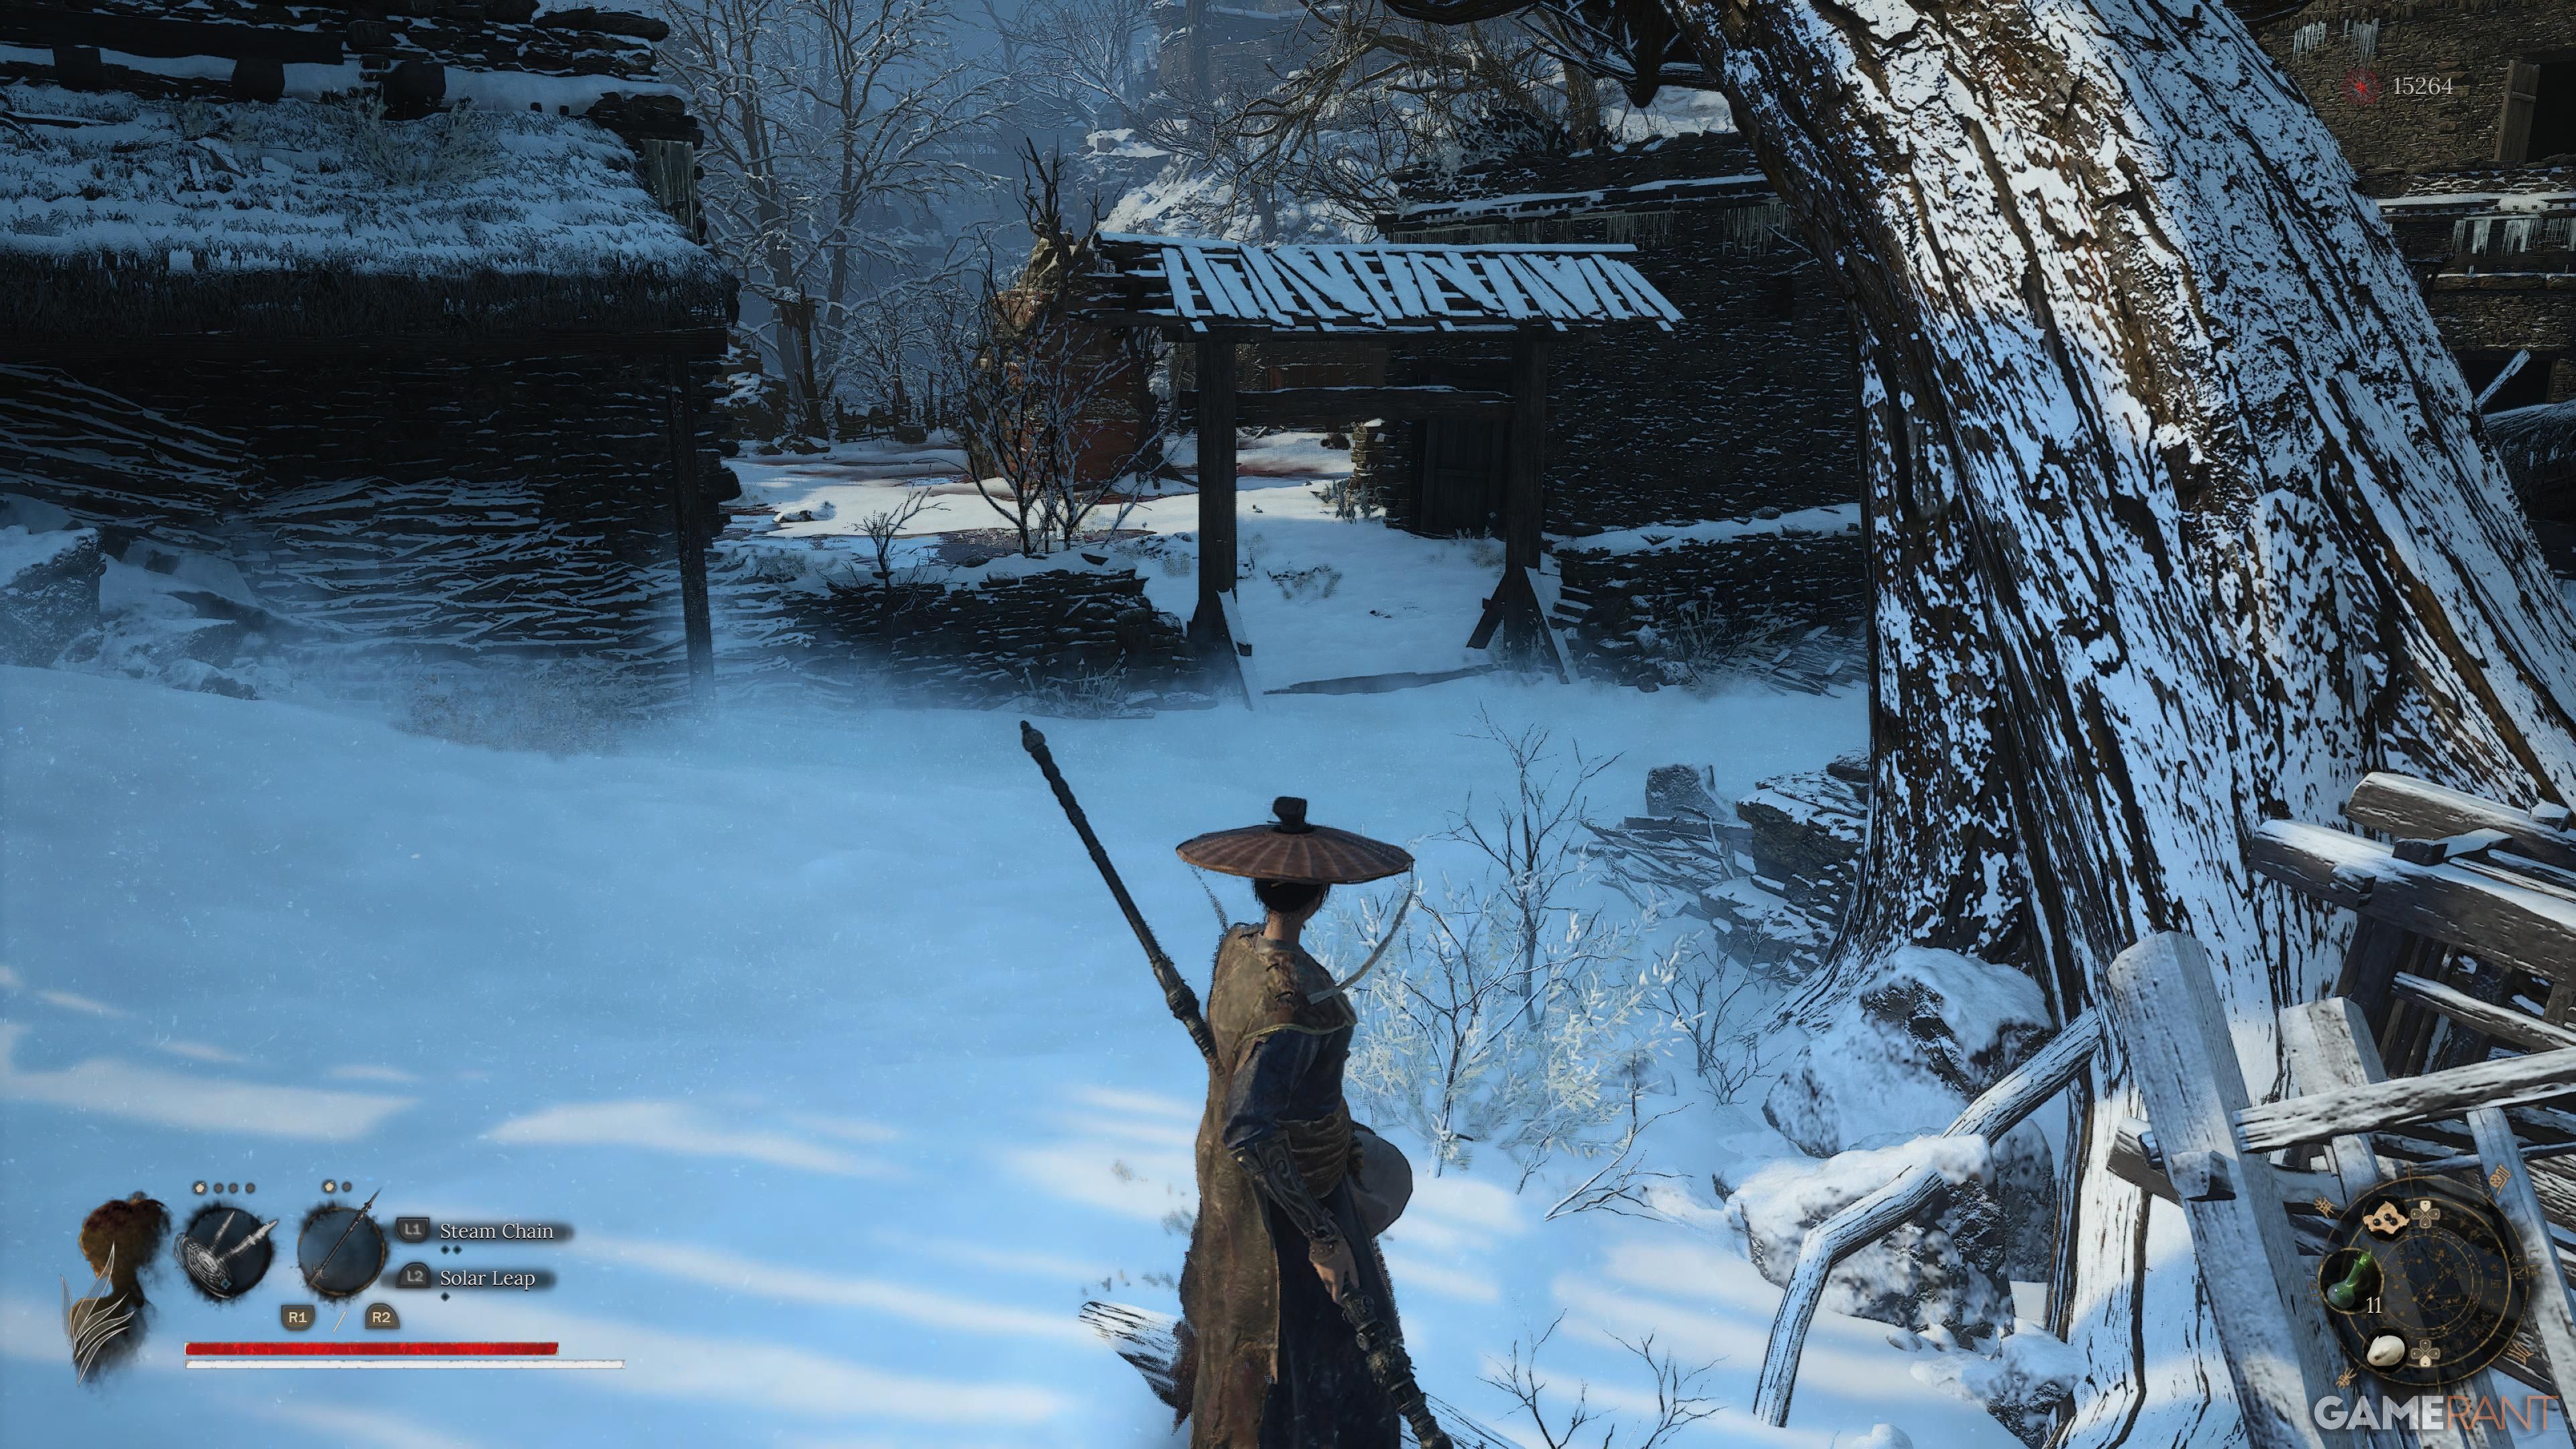
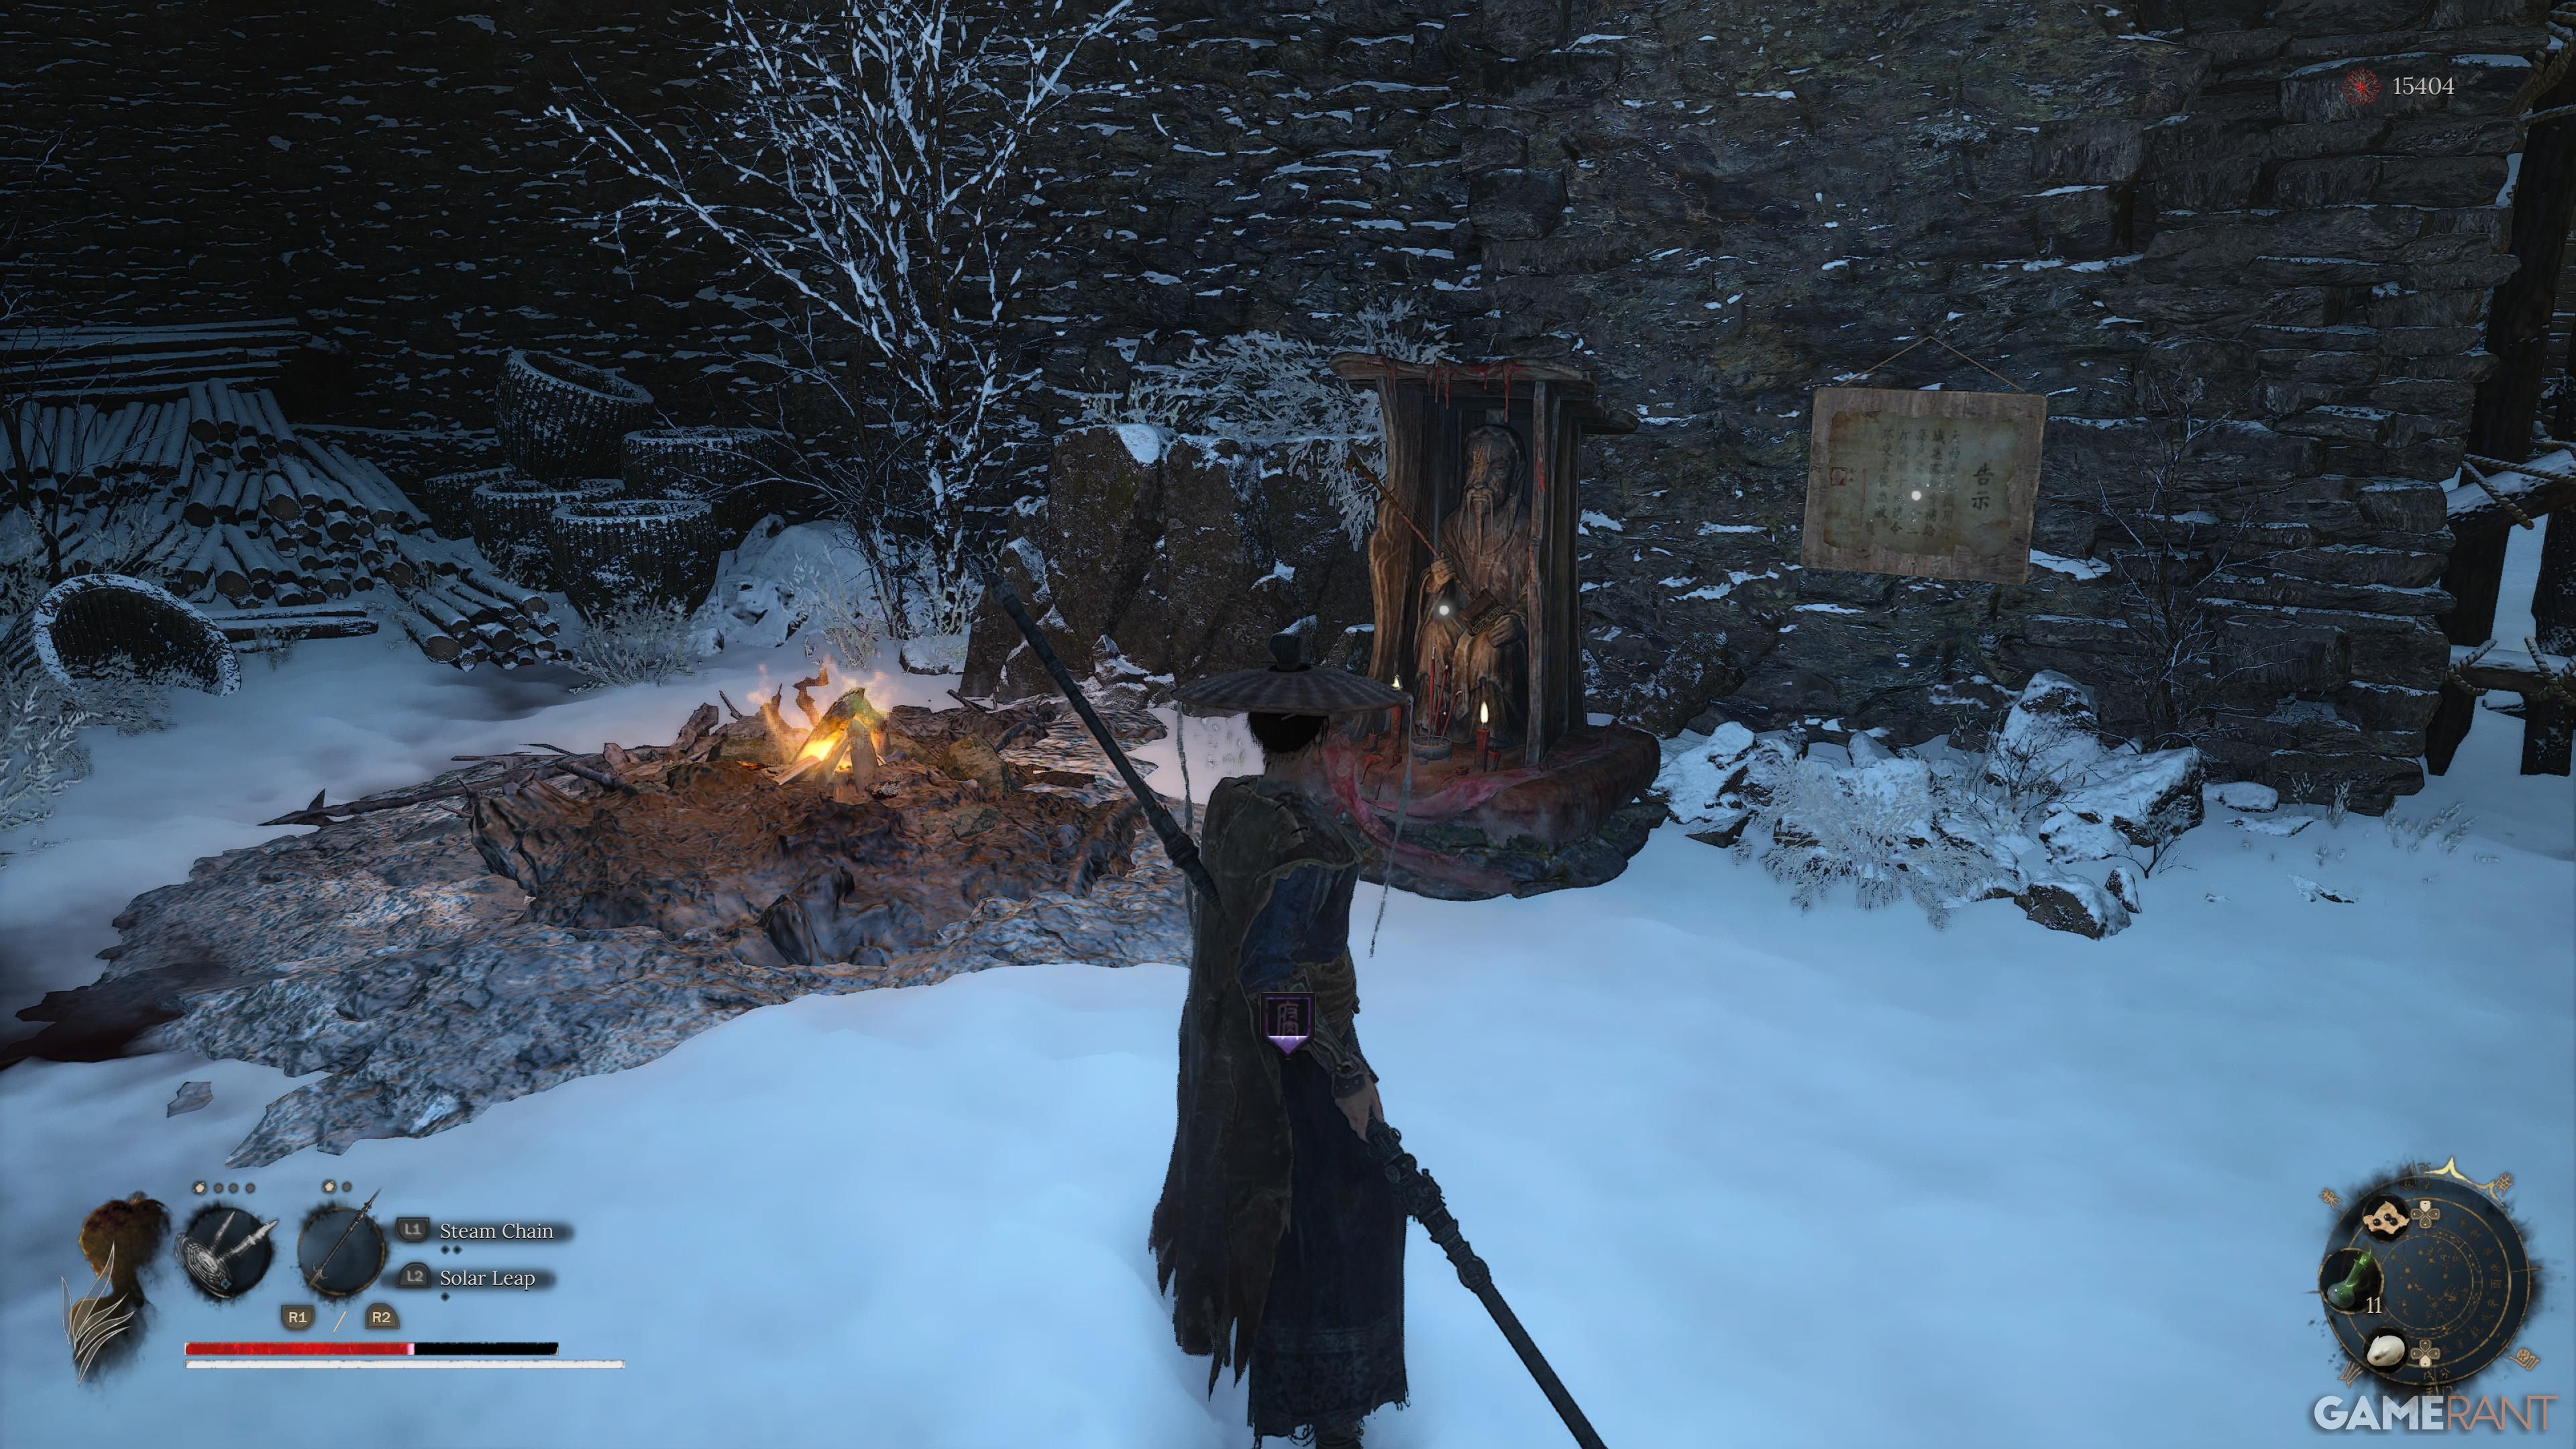
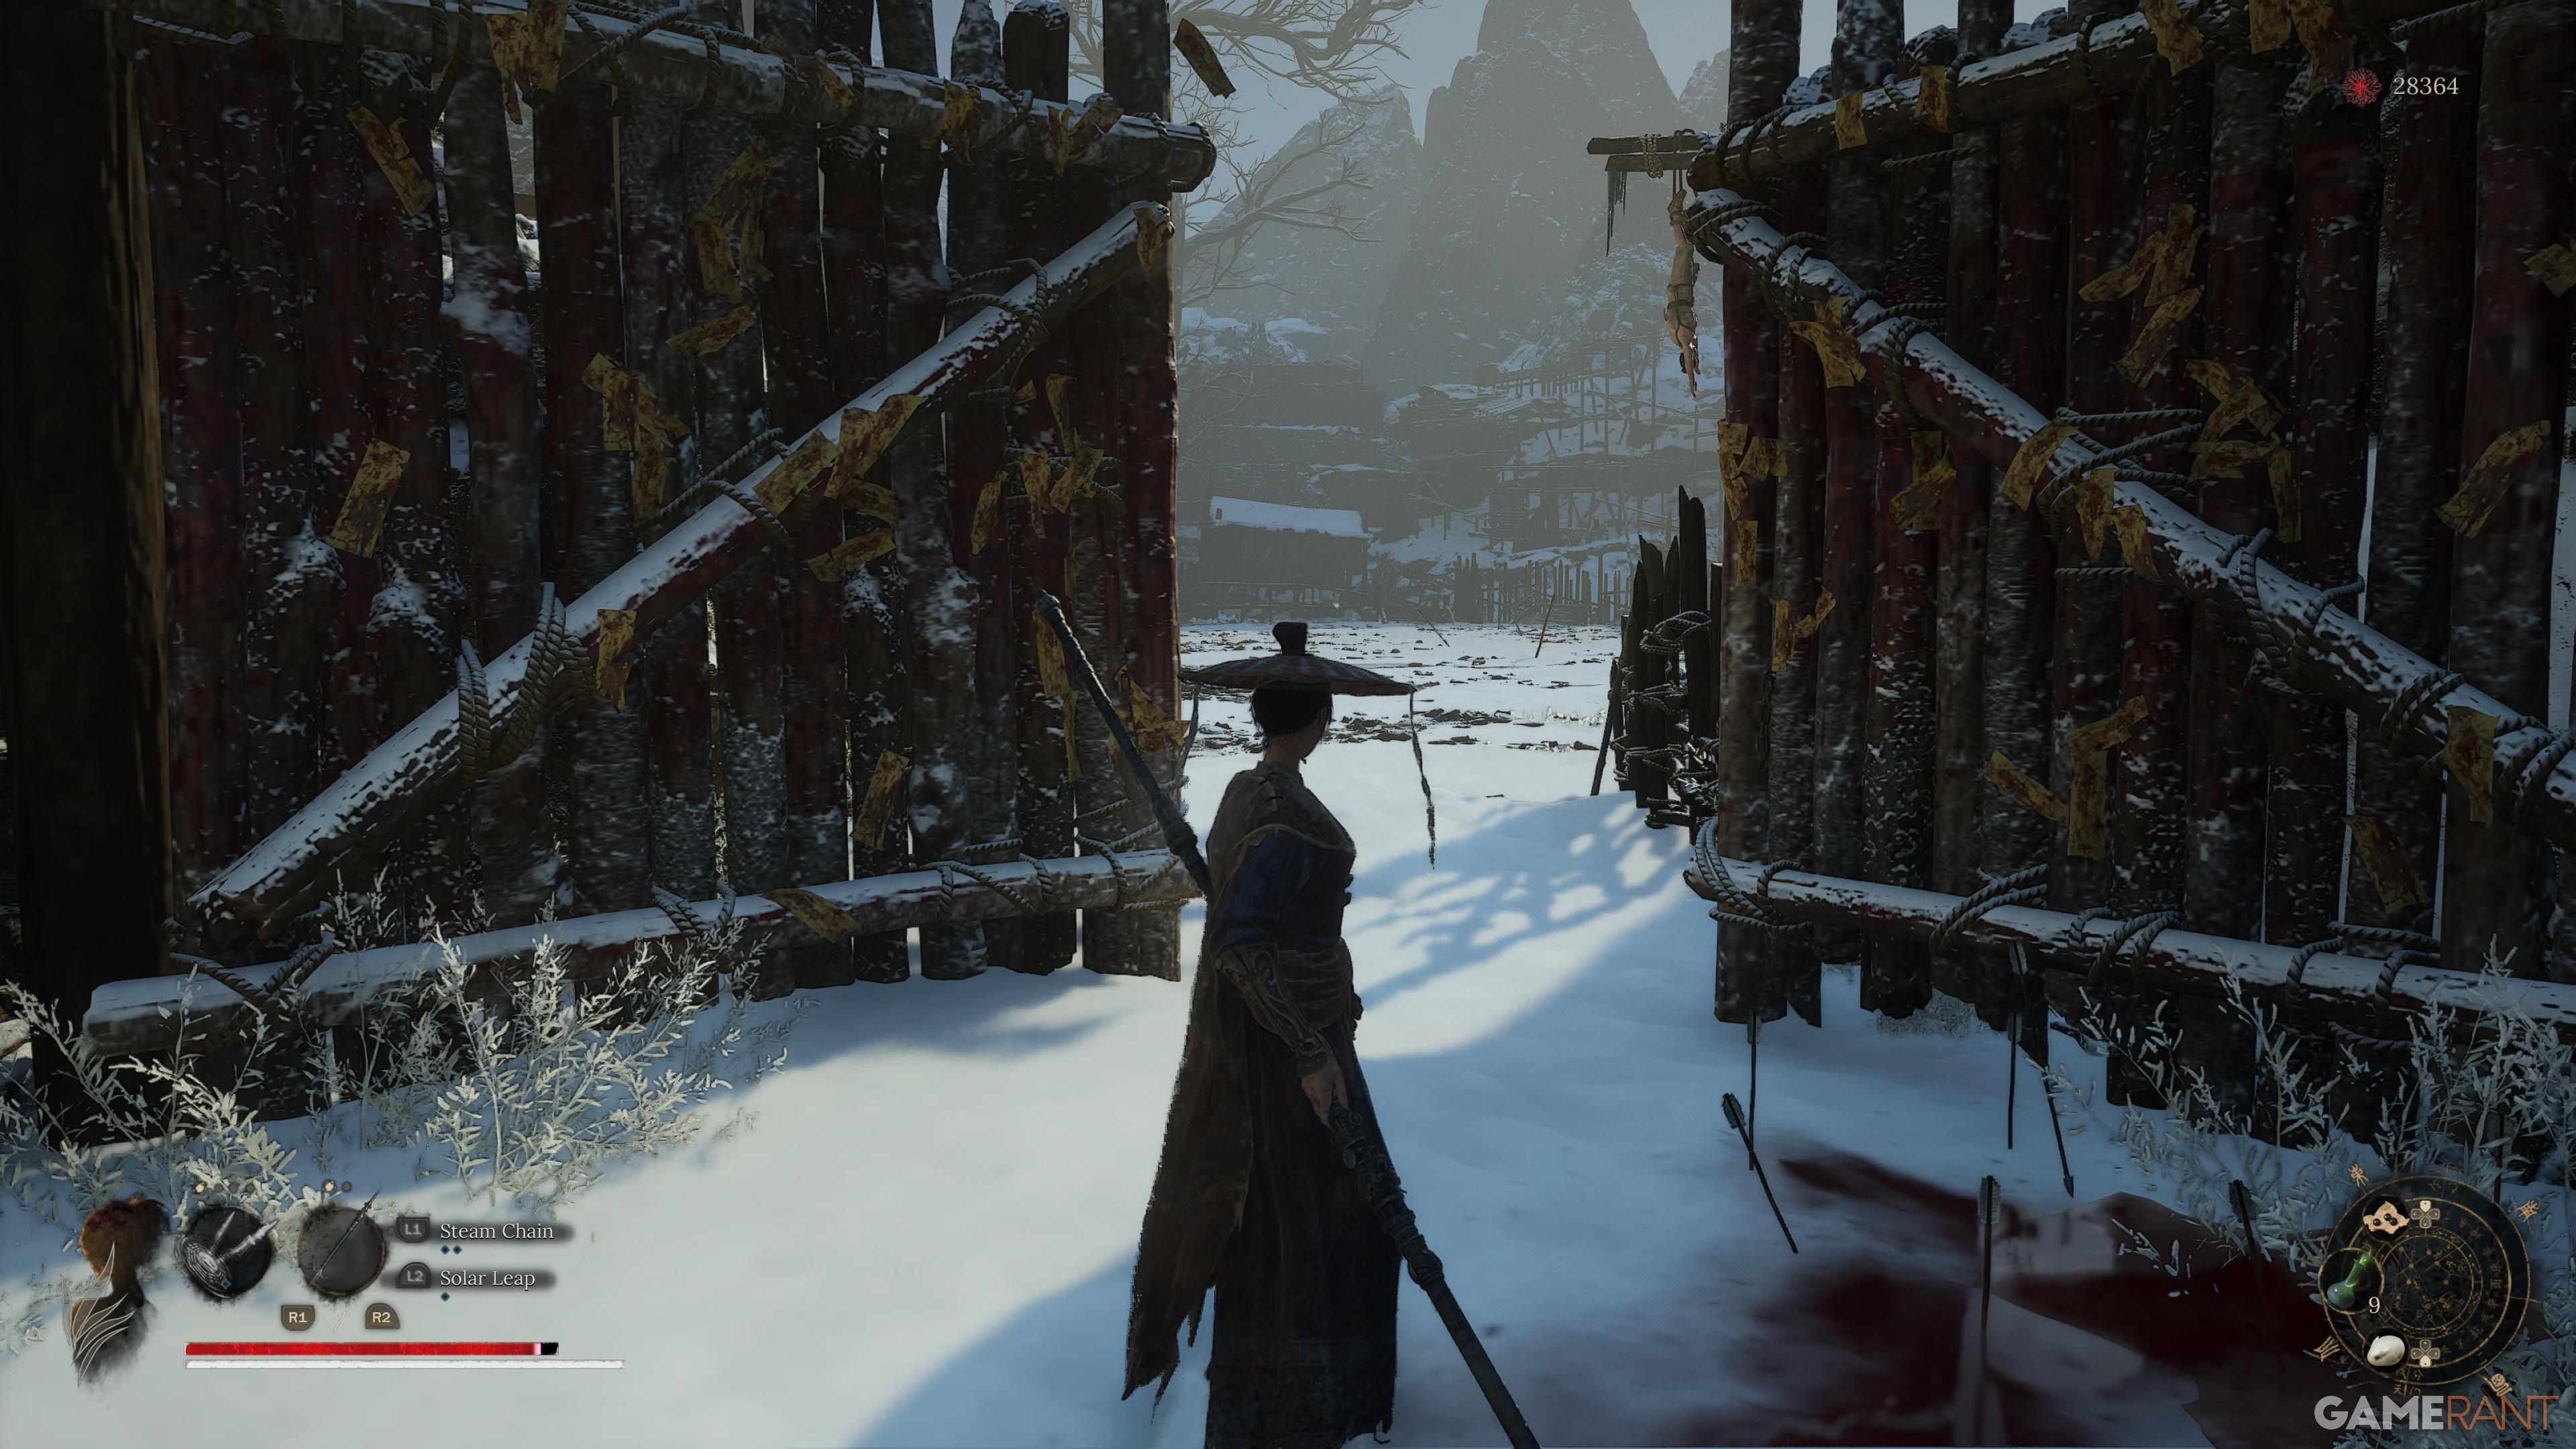
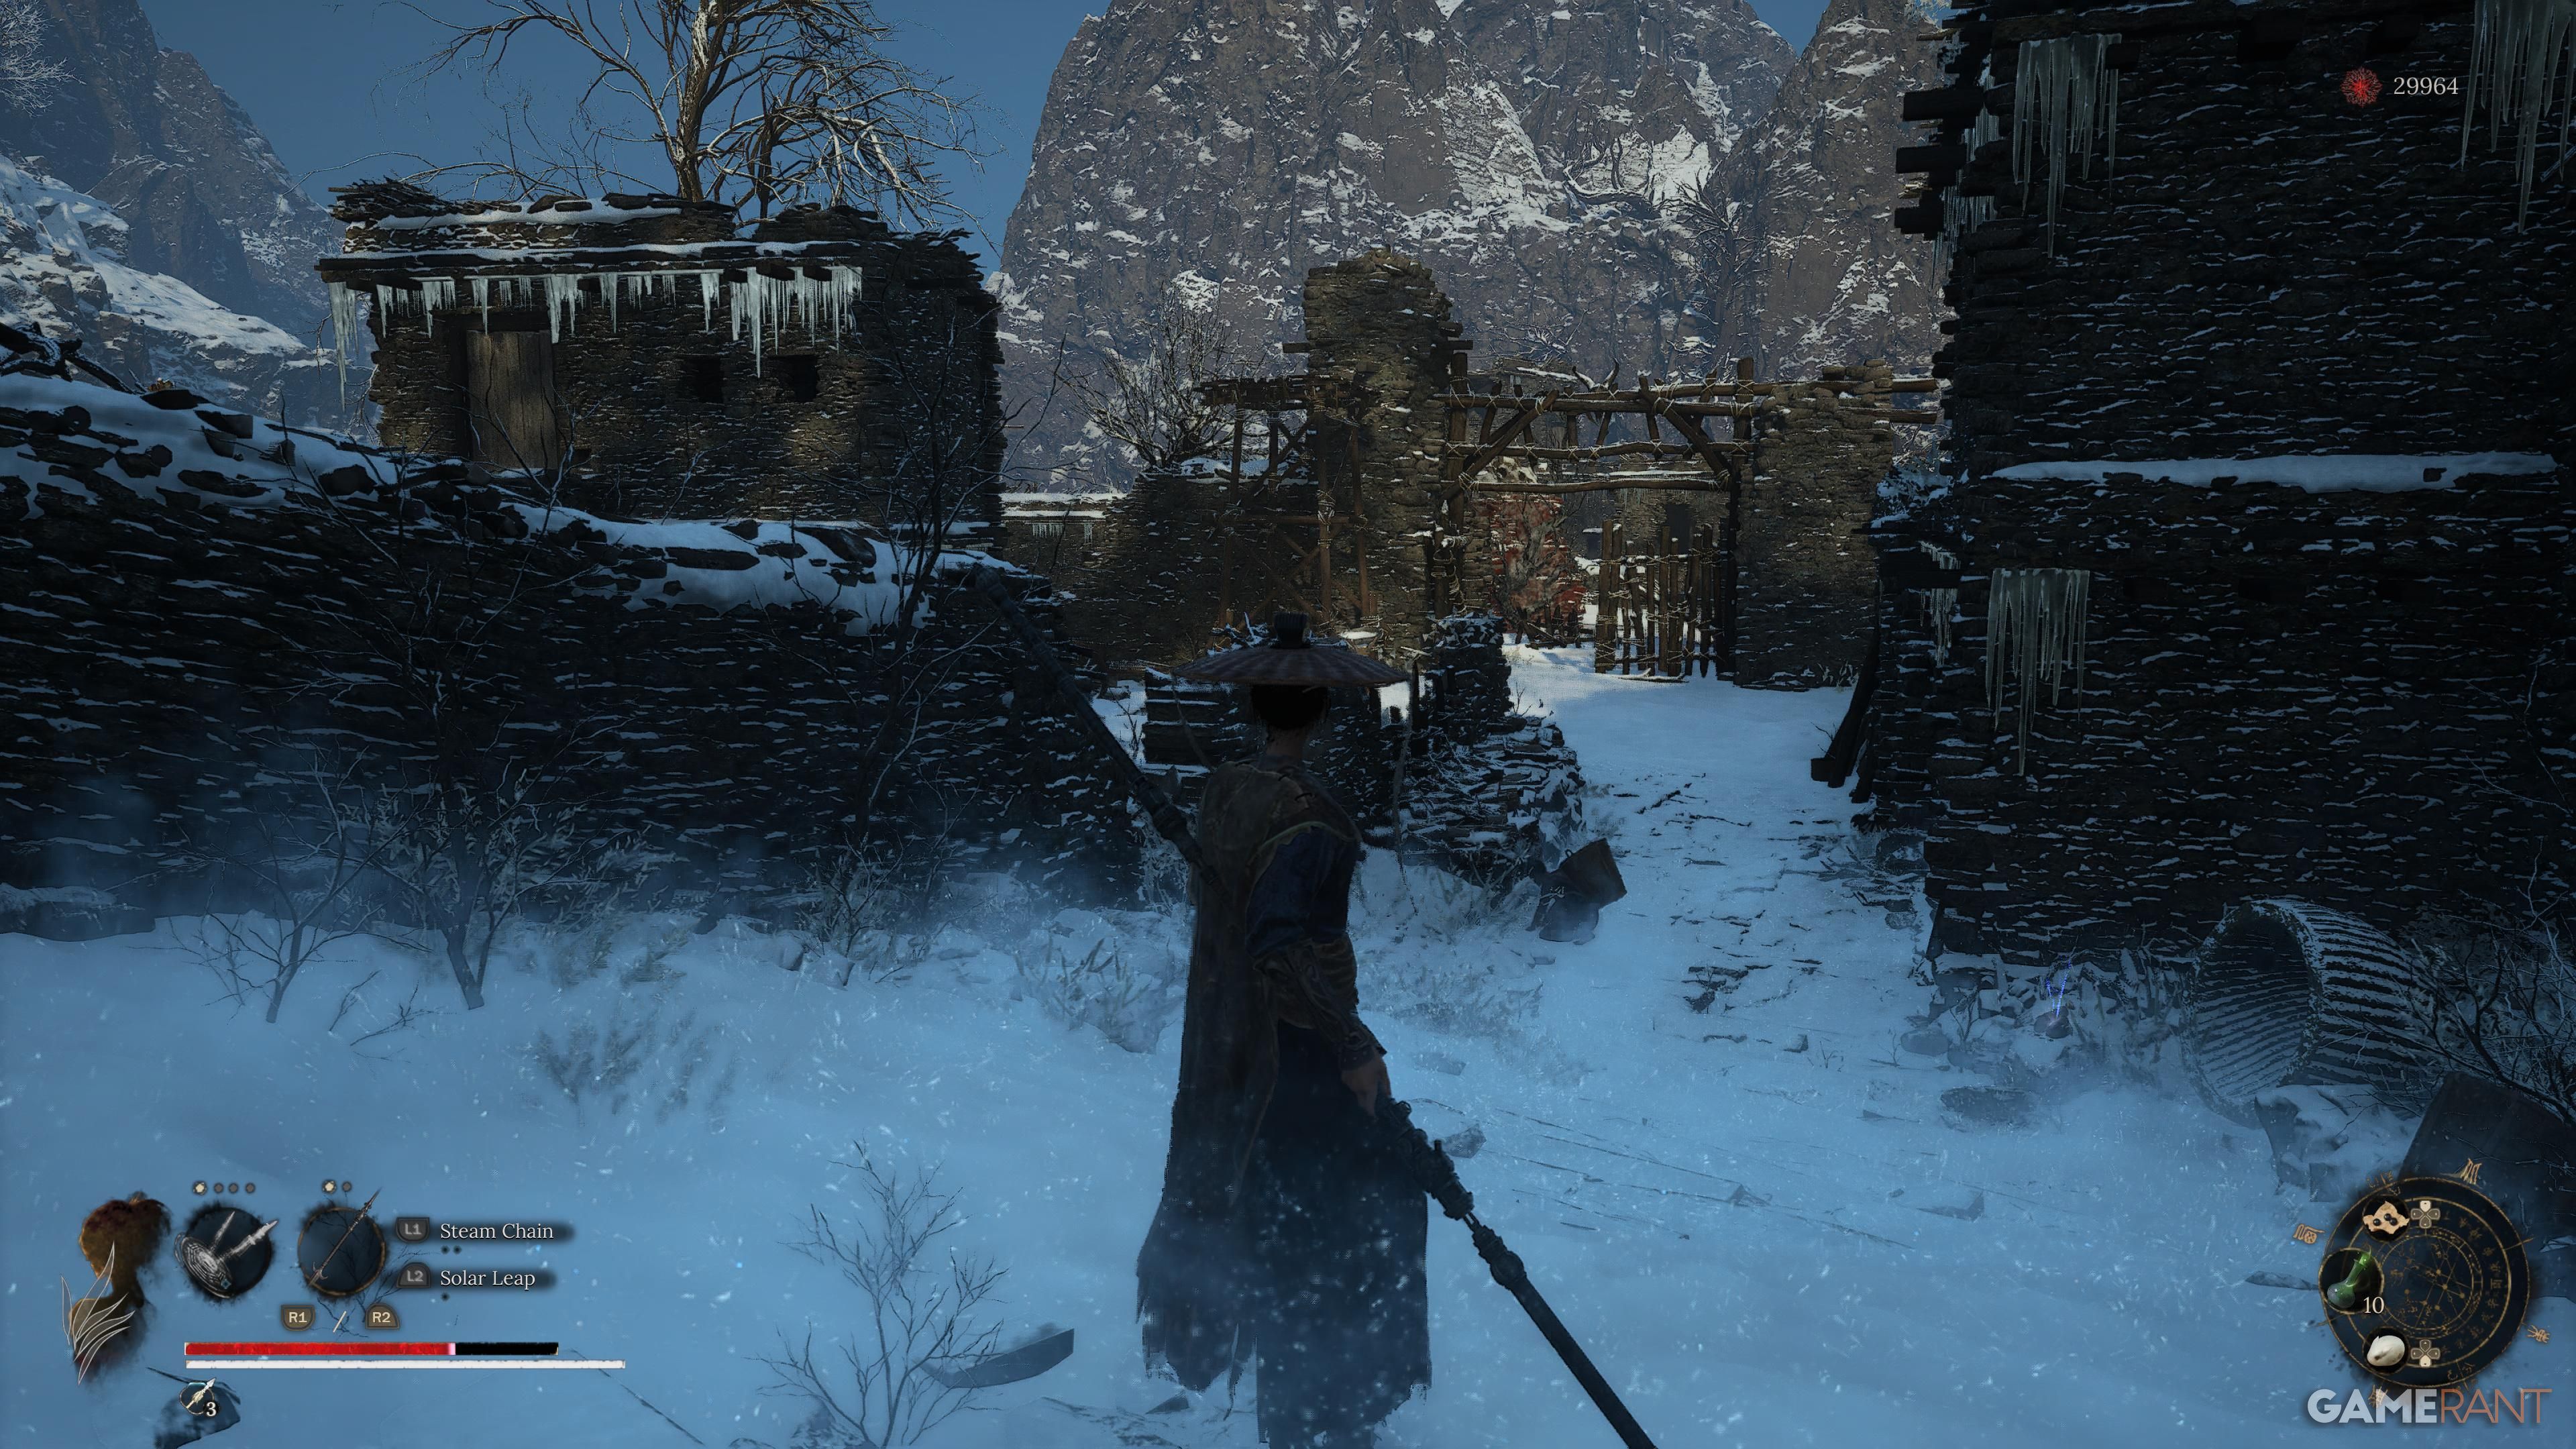
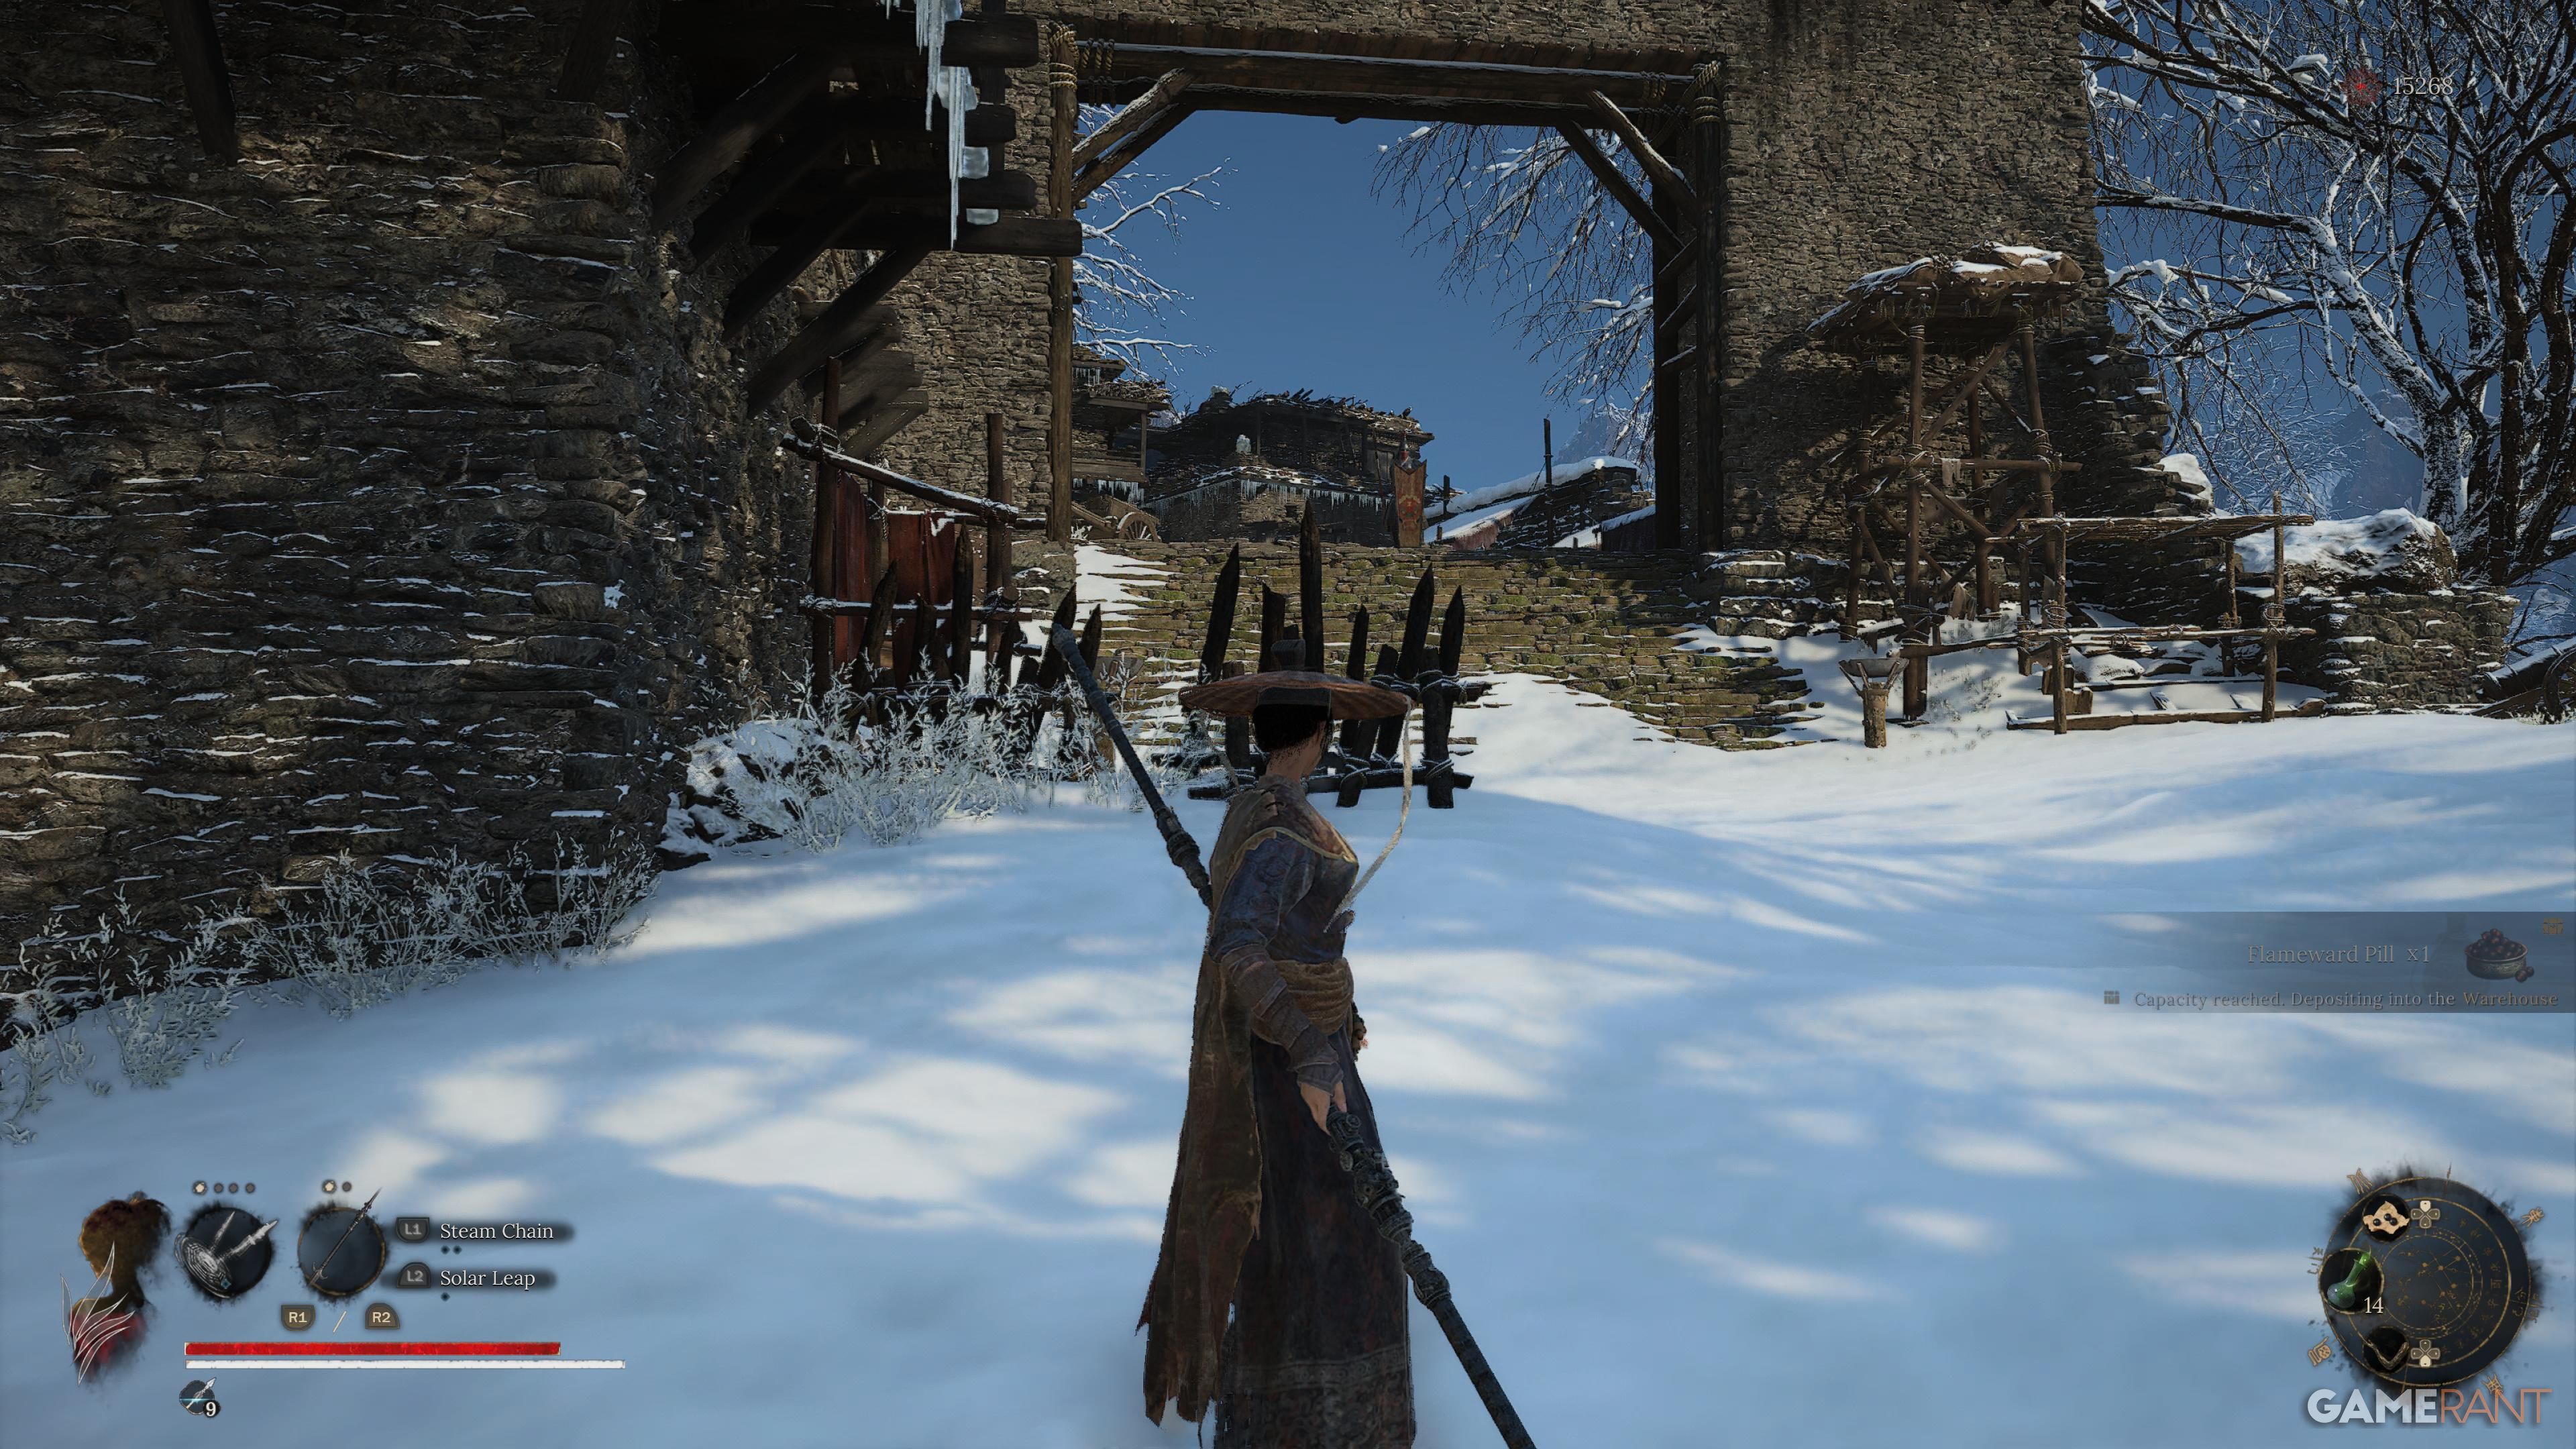
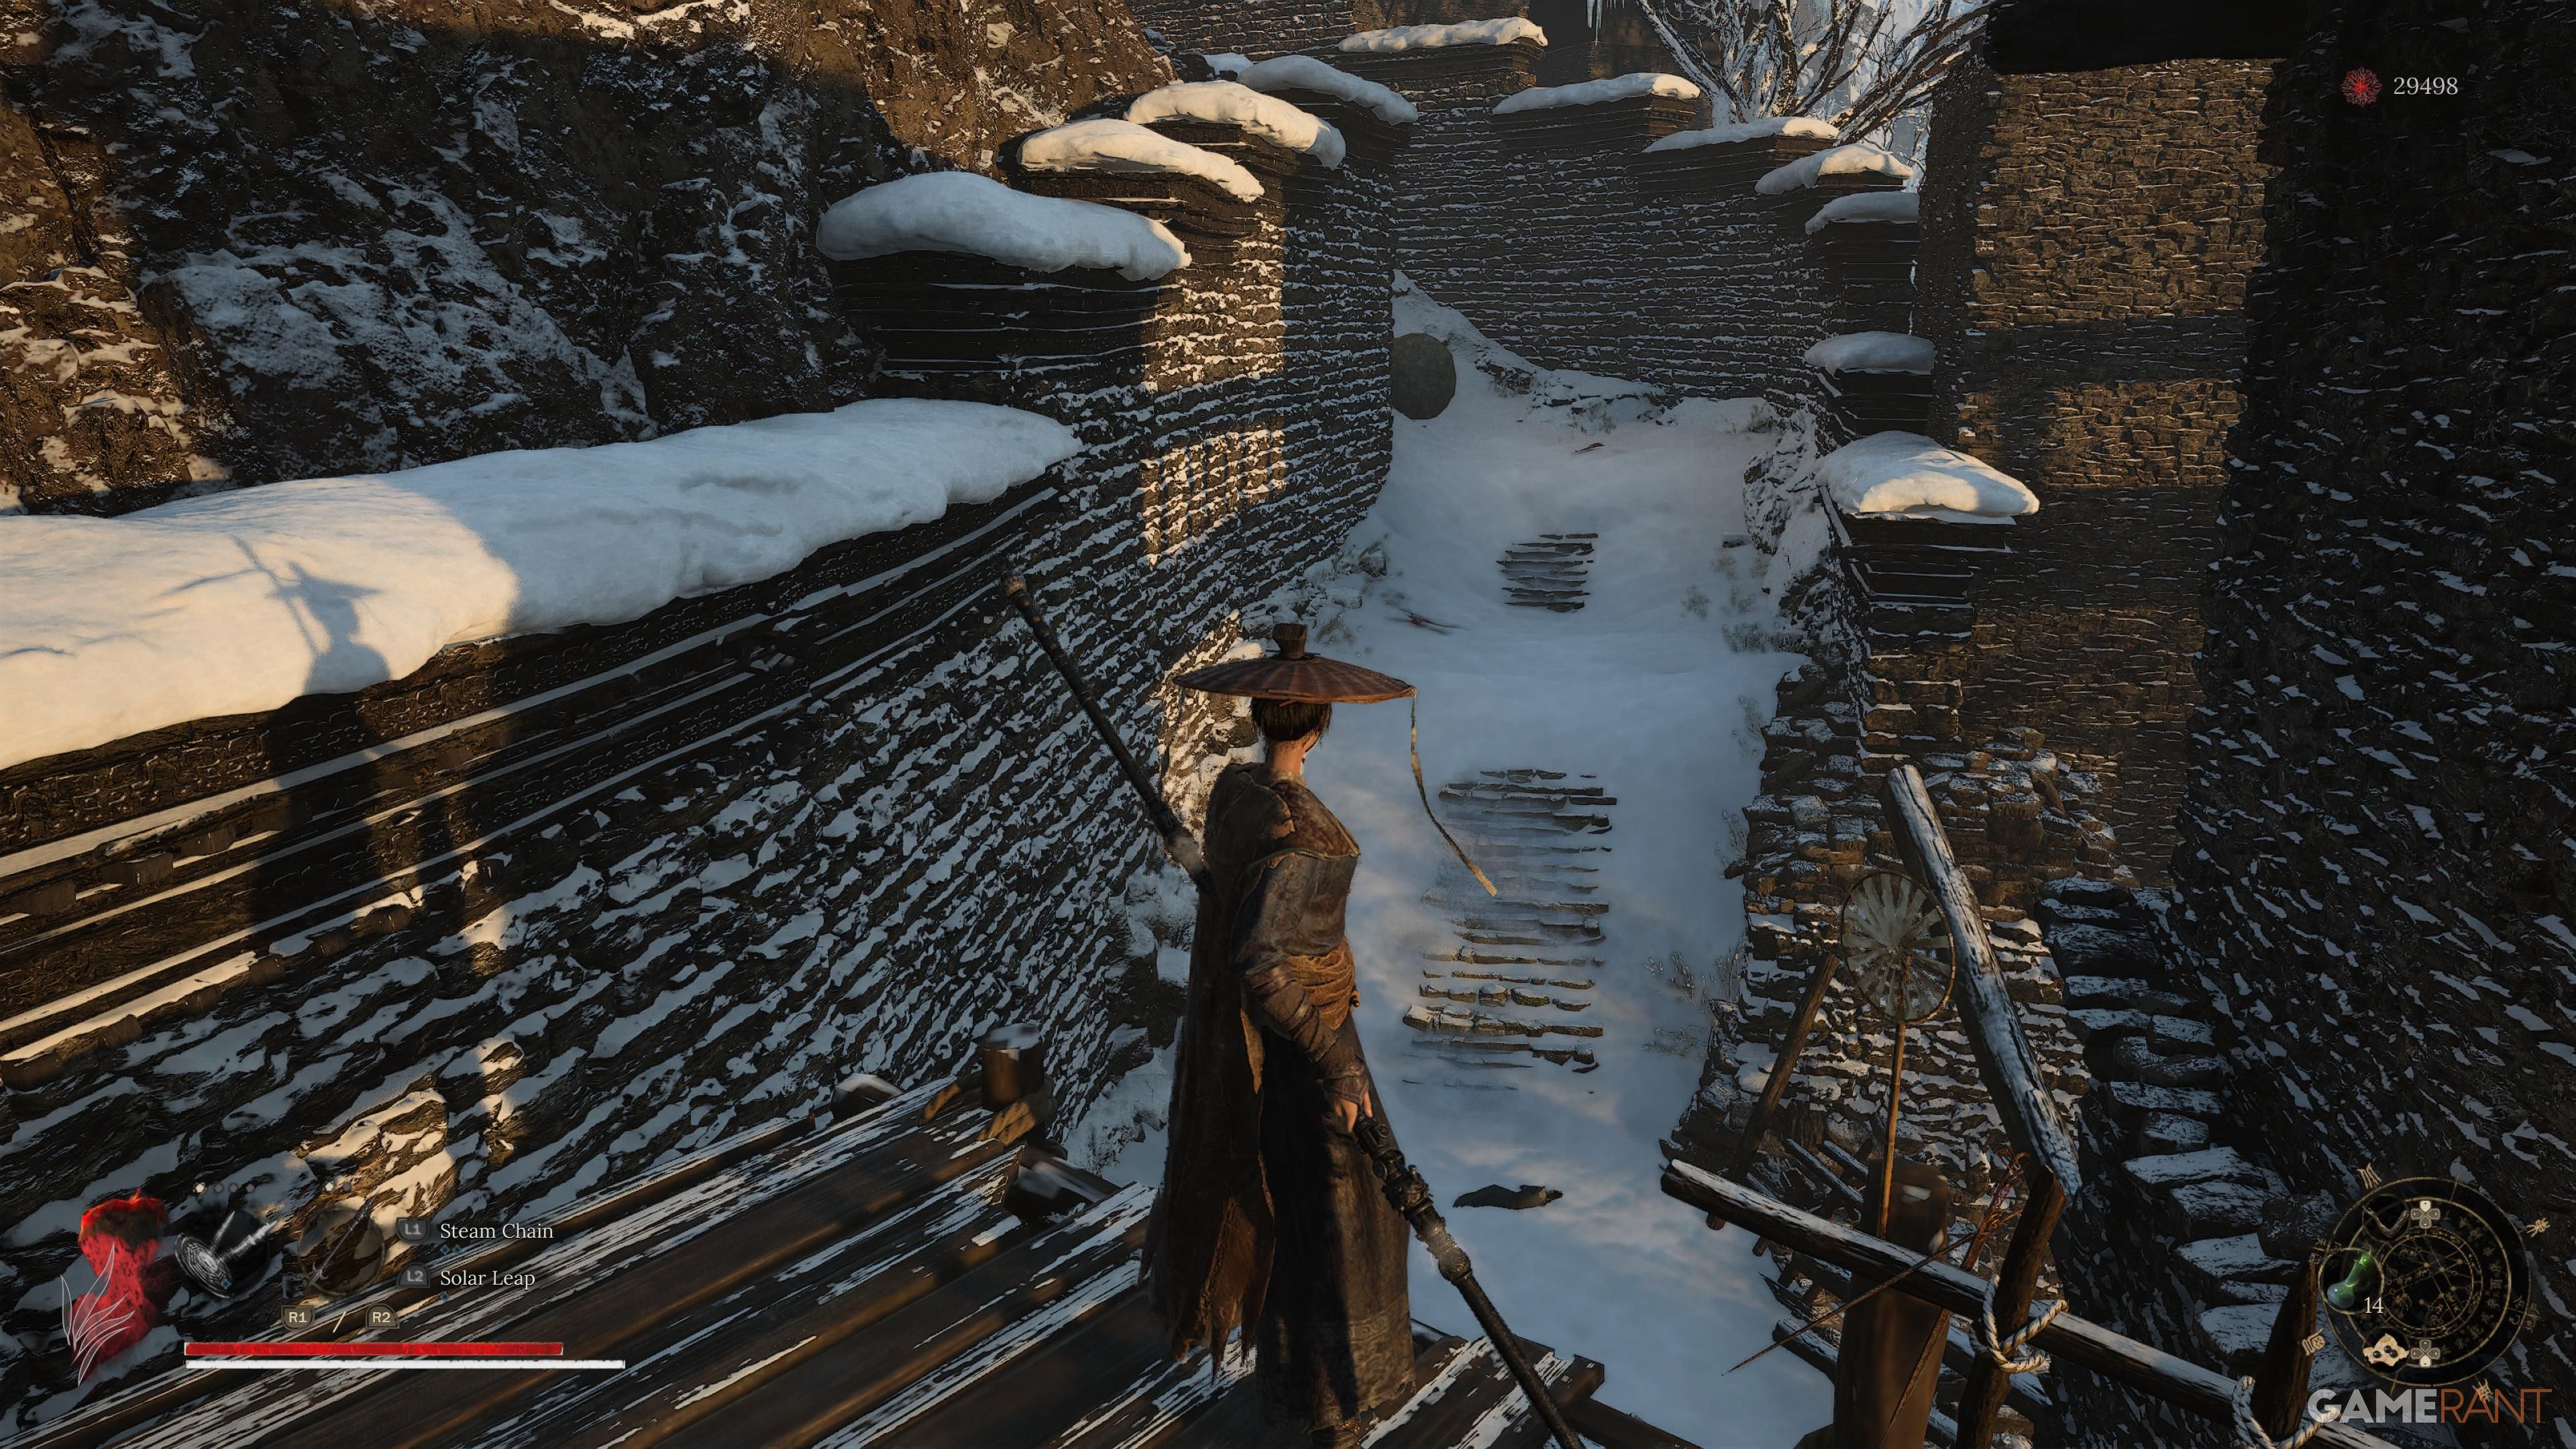
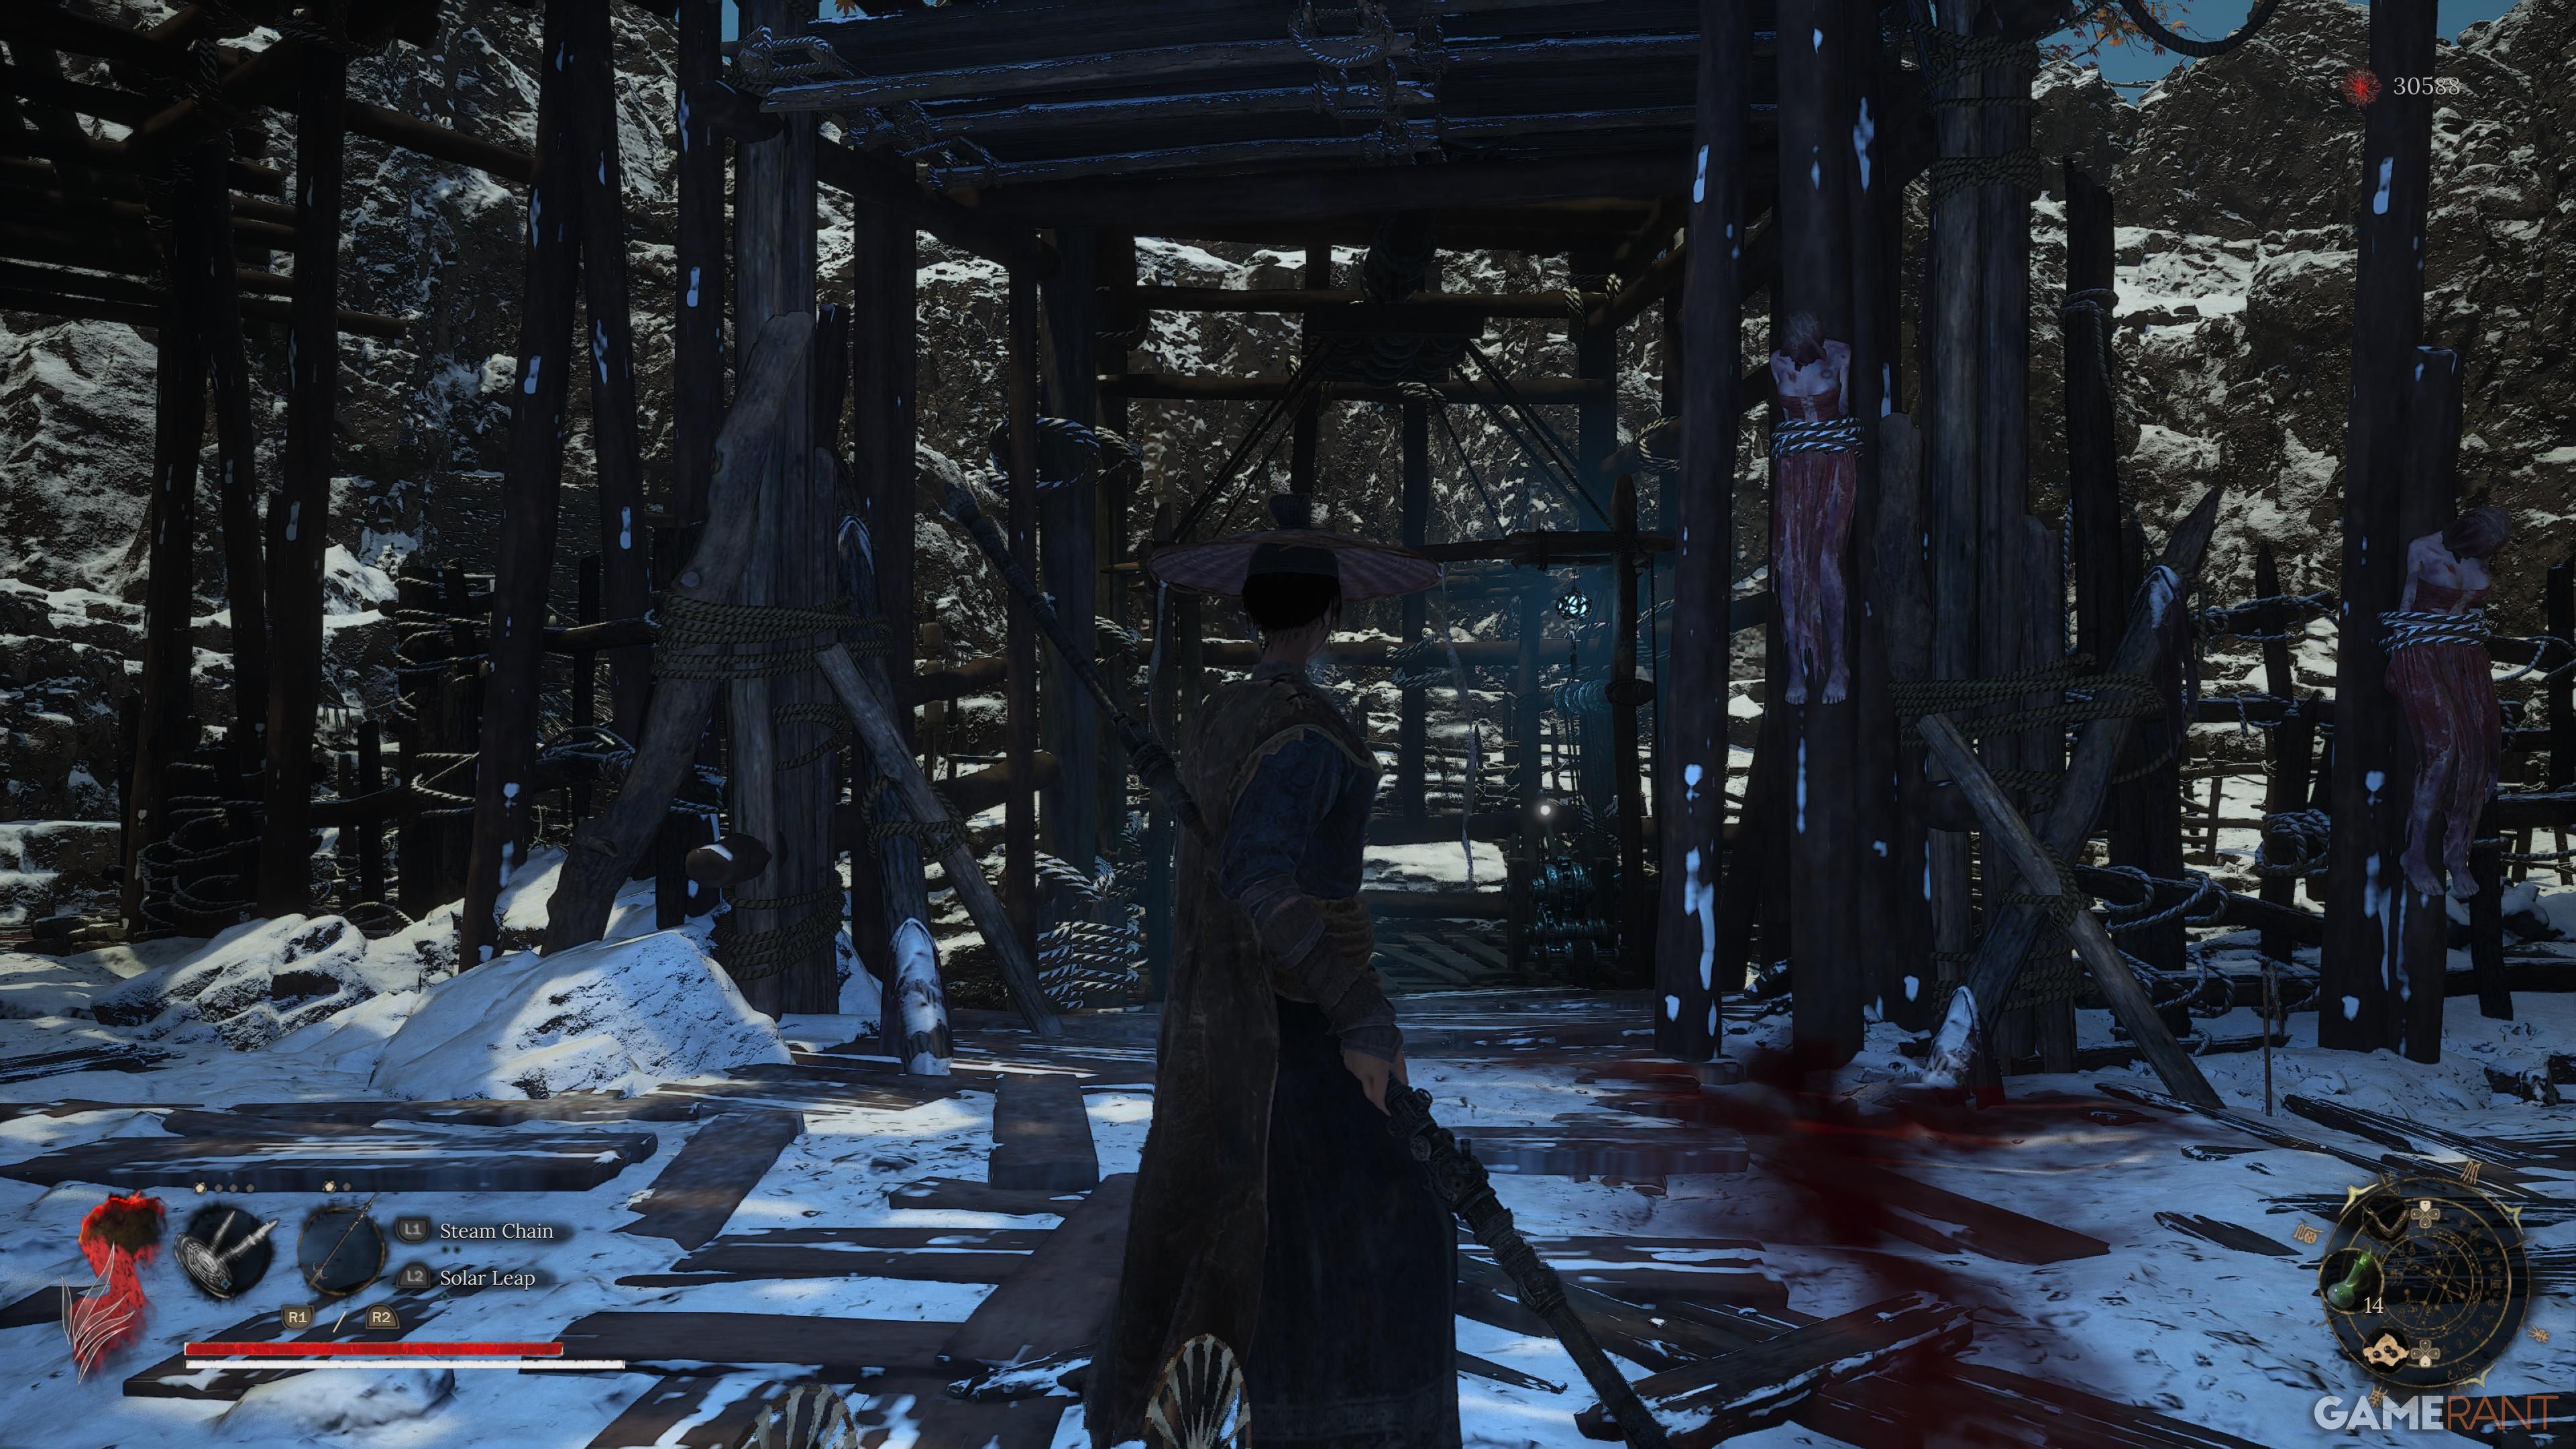
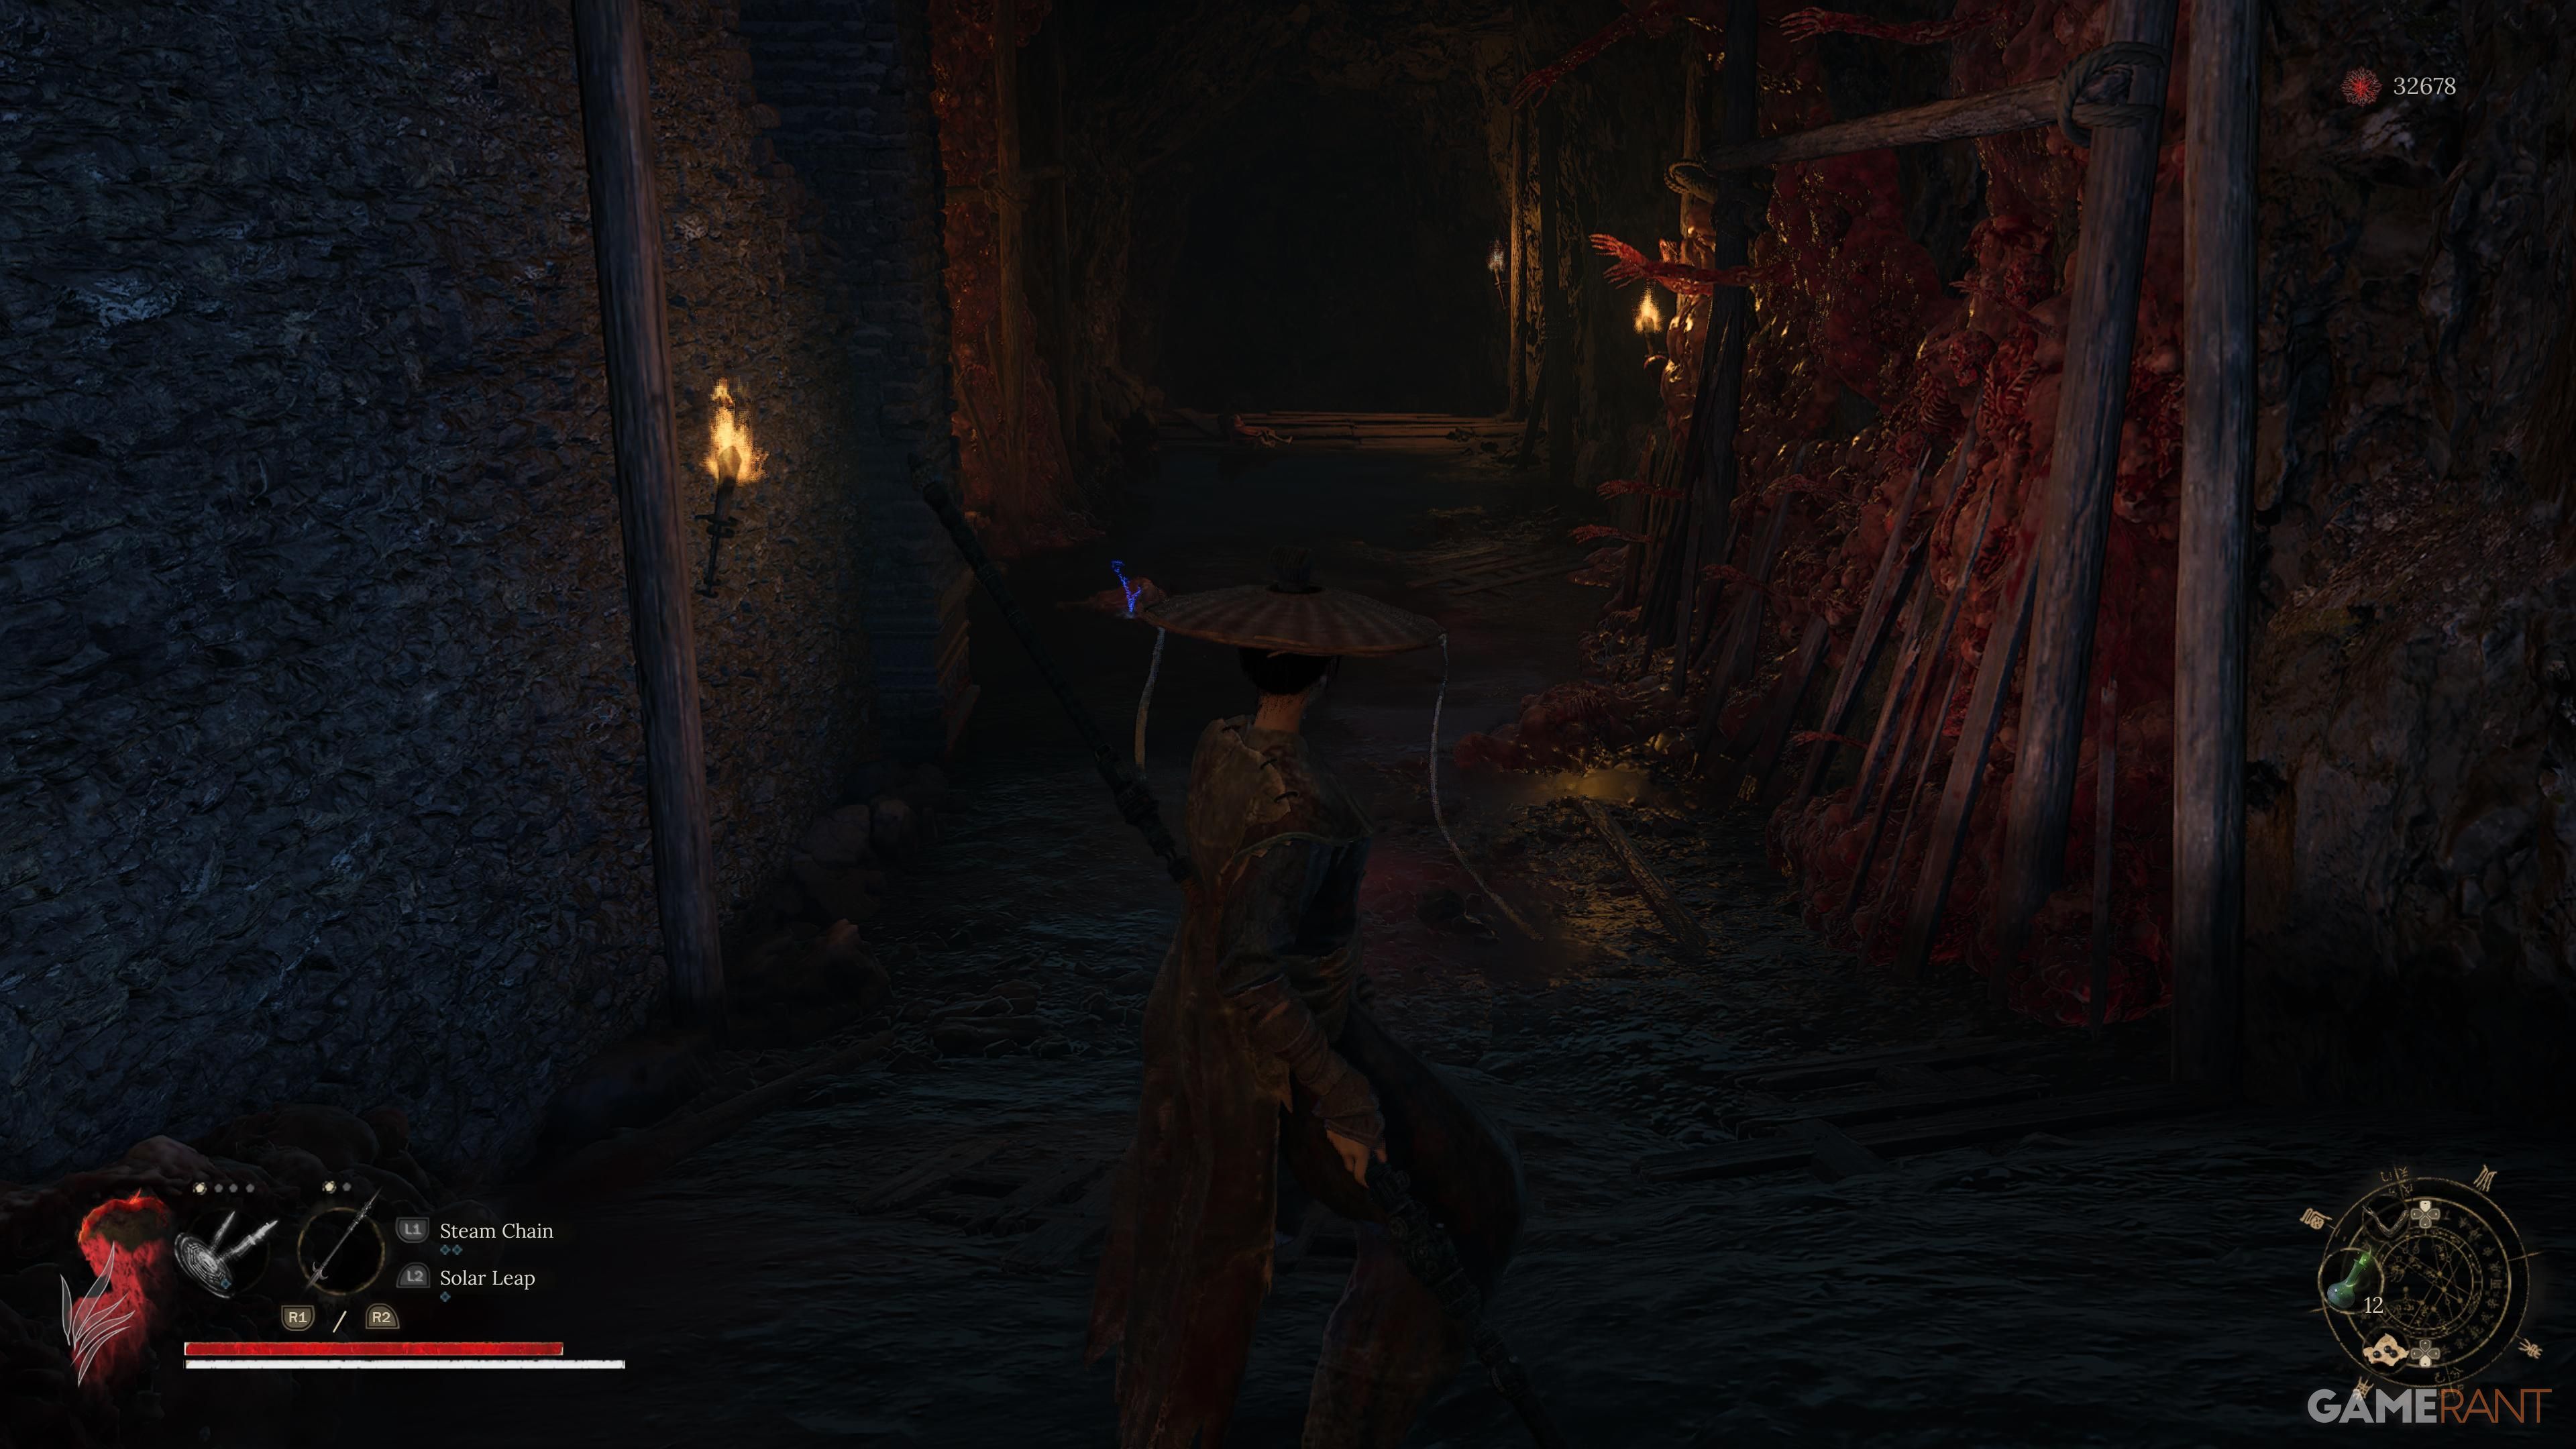
As you walk for a while, you’ll find the second shrine, named “Snowy Passage,” which you can engage and press. Proceed up the path on your left, pass through the wooden gate to get to “Cloudspire Outskirts.” Take a left turn when you spot two dogs on your right side. Here, you’ll encounter some rebels battling bird-like enemies; deal with them, then ascend the stairs until you notice mines on the ground. To your right, you can see an open doorway that leads into a room containing a large square apparatus generating bird-like creatures. On the extreme left of this area is another shrine, also known as “Cloudspire Outskirts.
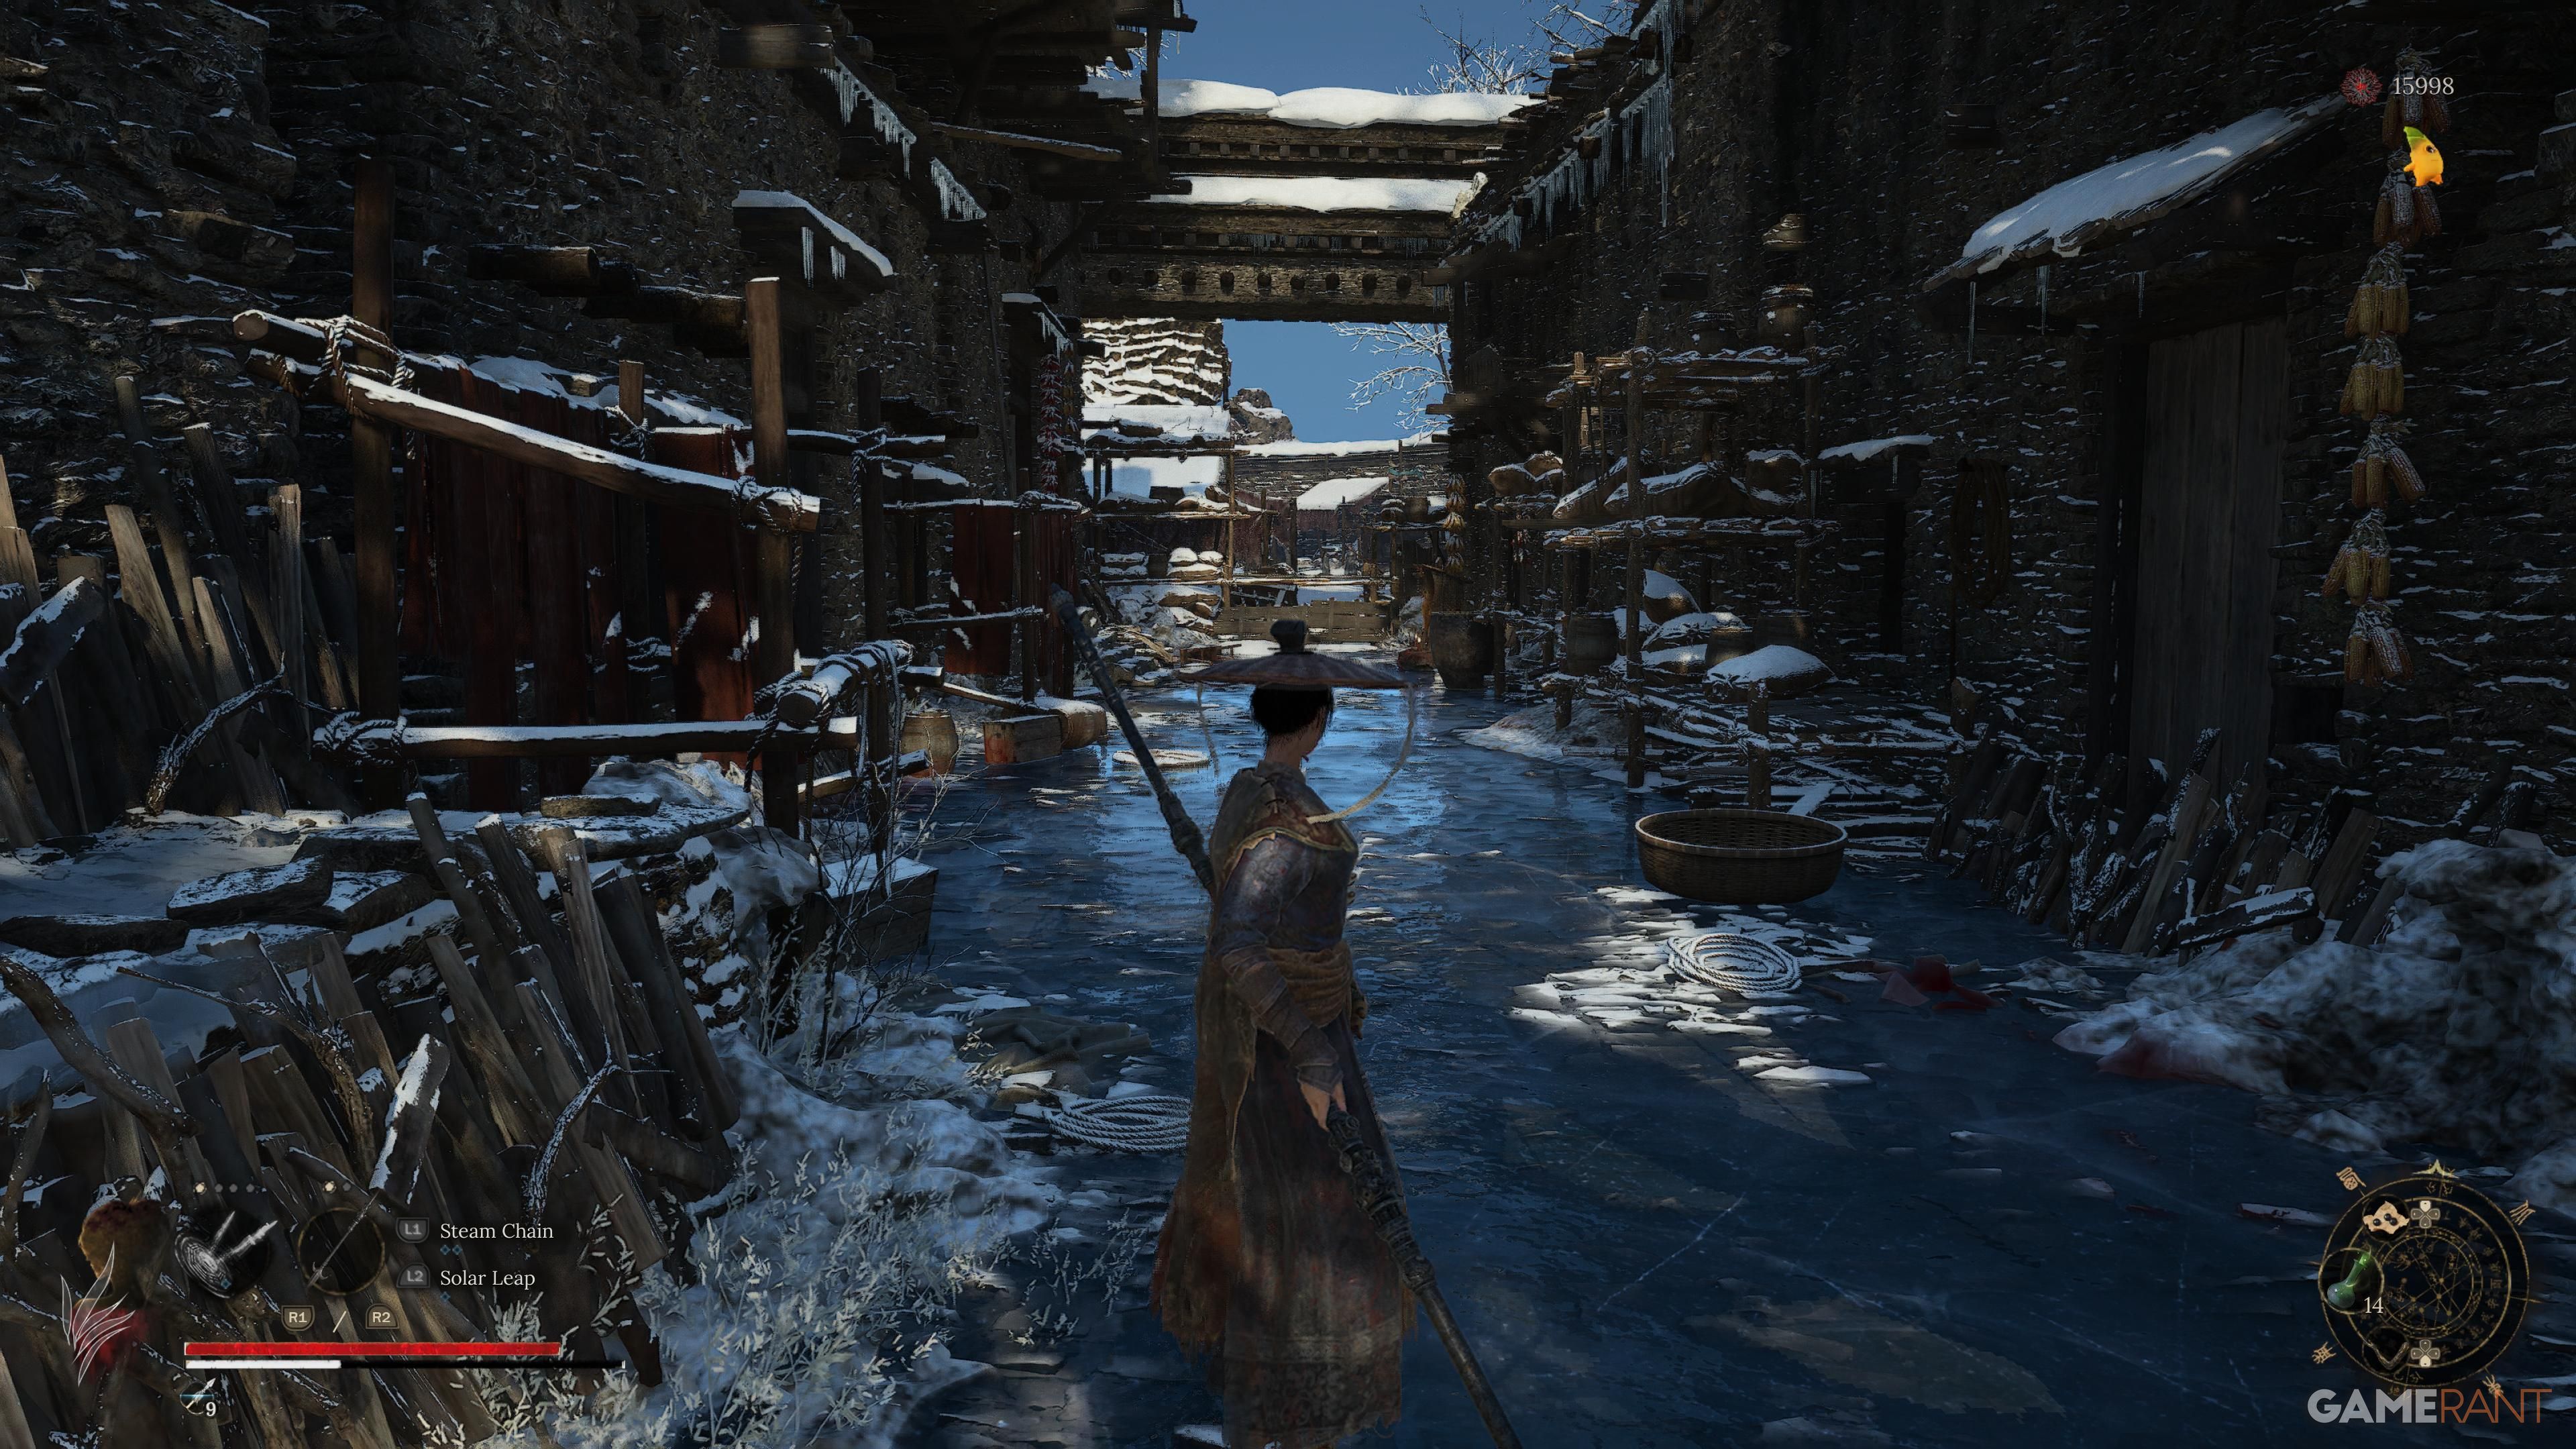
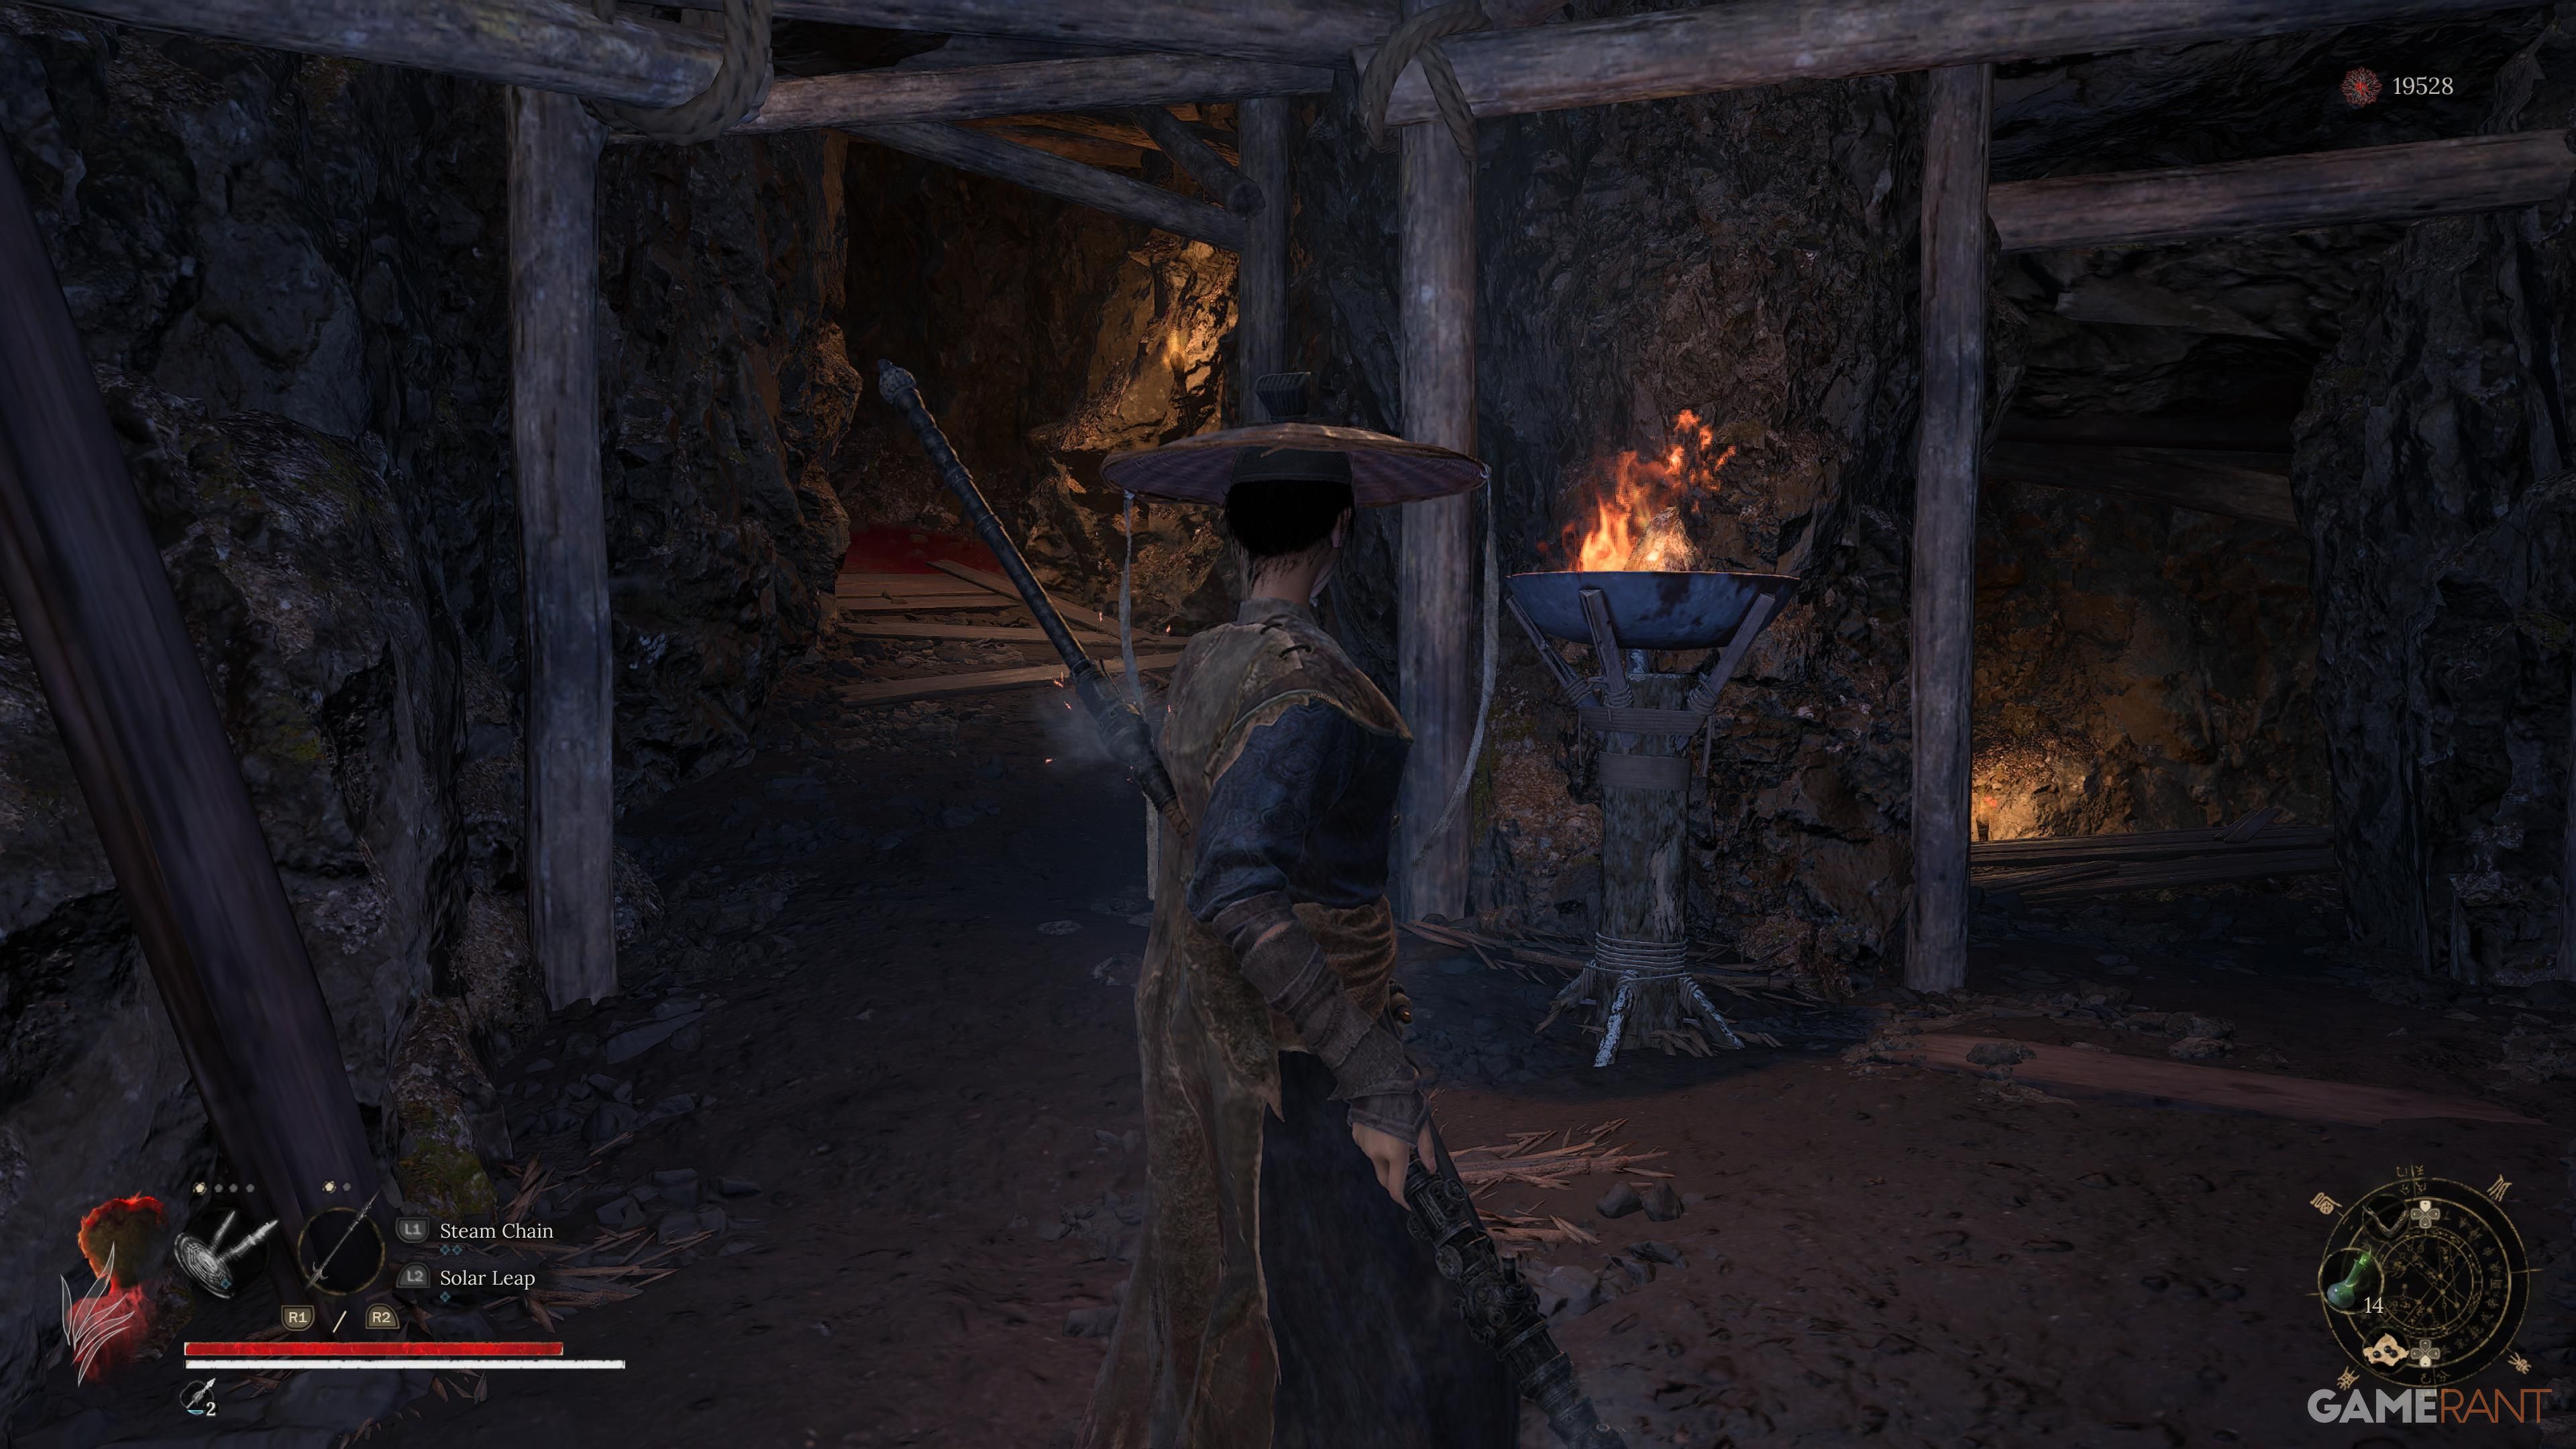
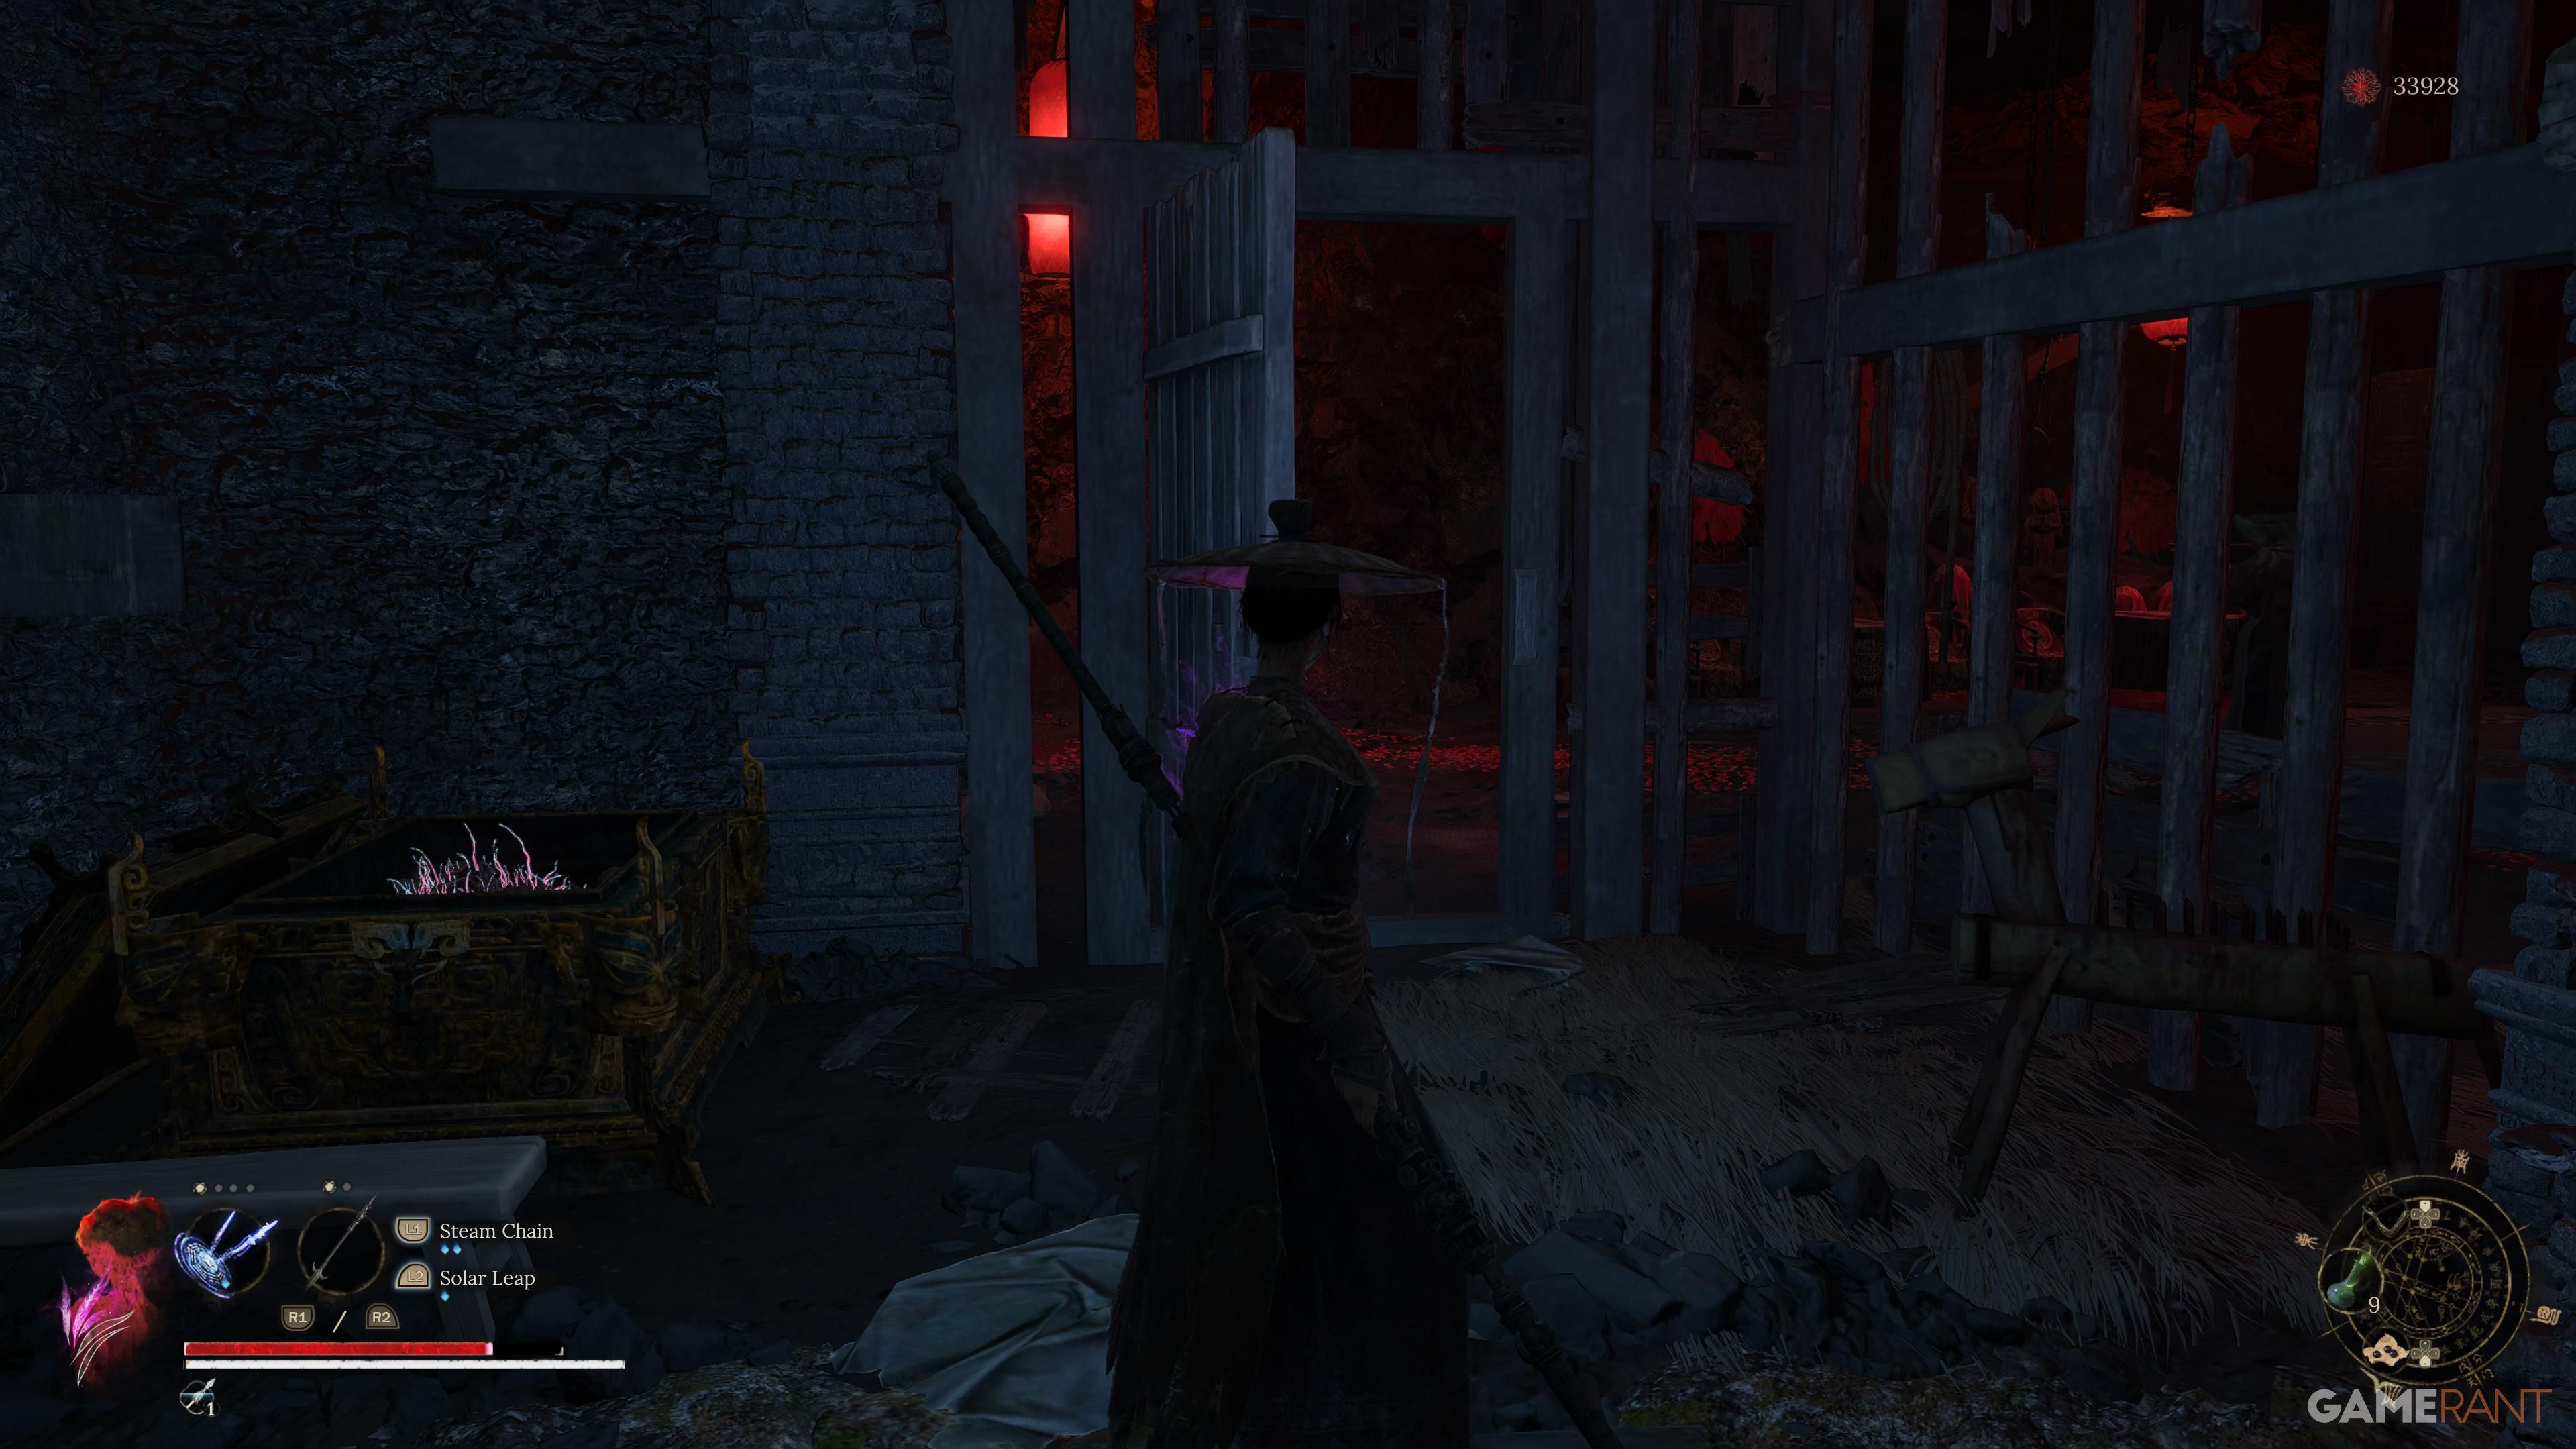
Starting from the shrine, rotate around and proceed directly through the wooden entrance, then veer right to ascend the path. Upon encountering the first house on your left, enter it and locate a stairway ascending. You’ll notice another intricate device that you should bypass. Continue moving to your right until you reach a fork in the path, take the path on the left at this juncture, which guides you towards the Rebel Camp. Engage the enemies firing cannons there, and keep an eye out for a small ladder ahead. This ladder will lead you into the shrine within the Rebel Camp.
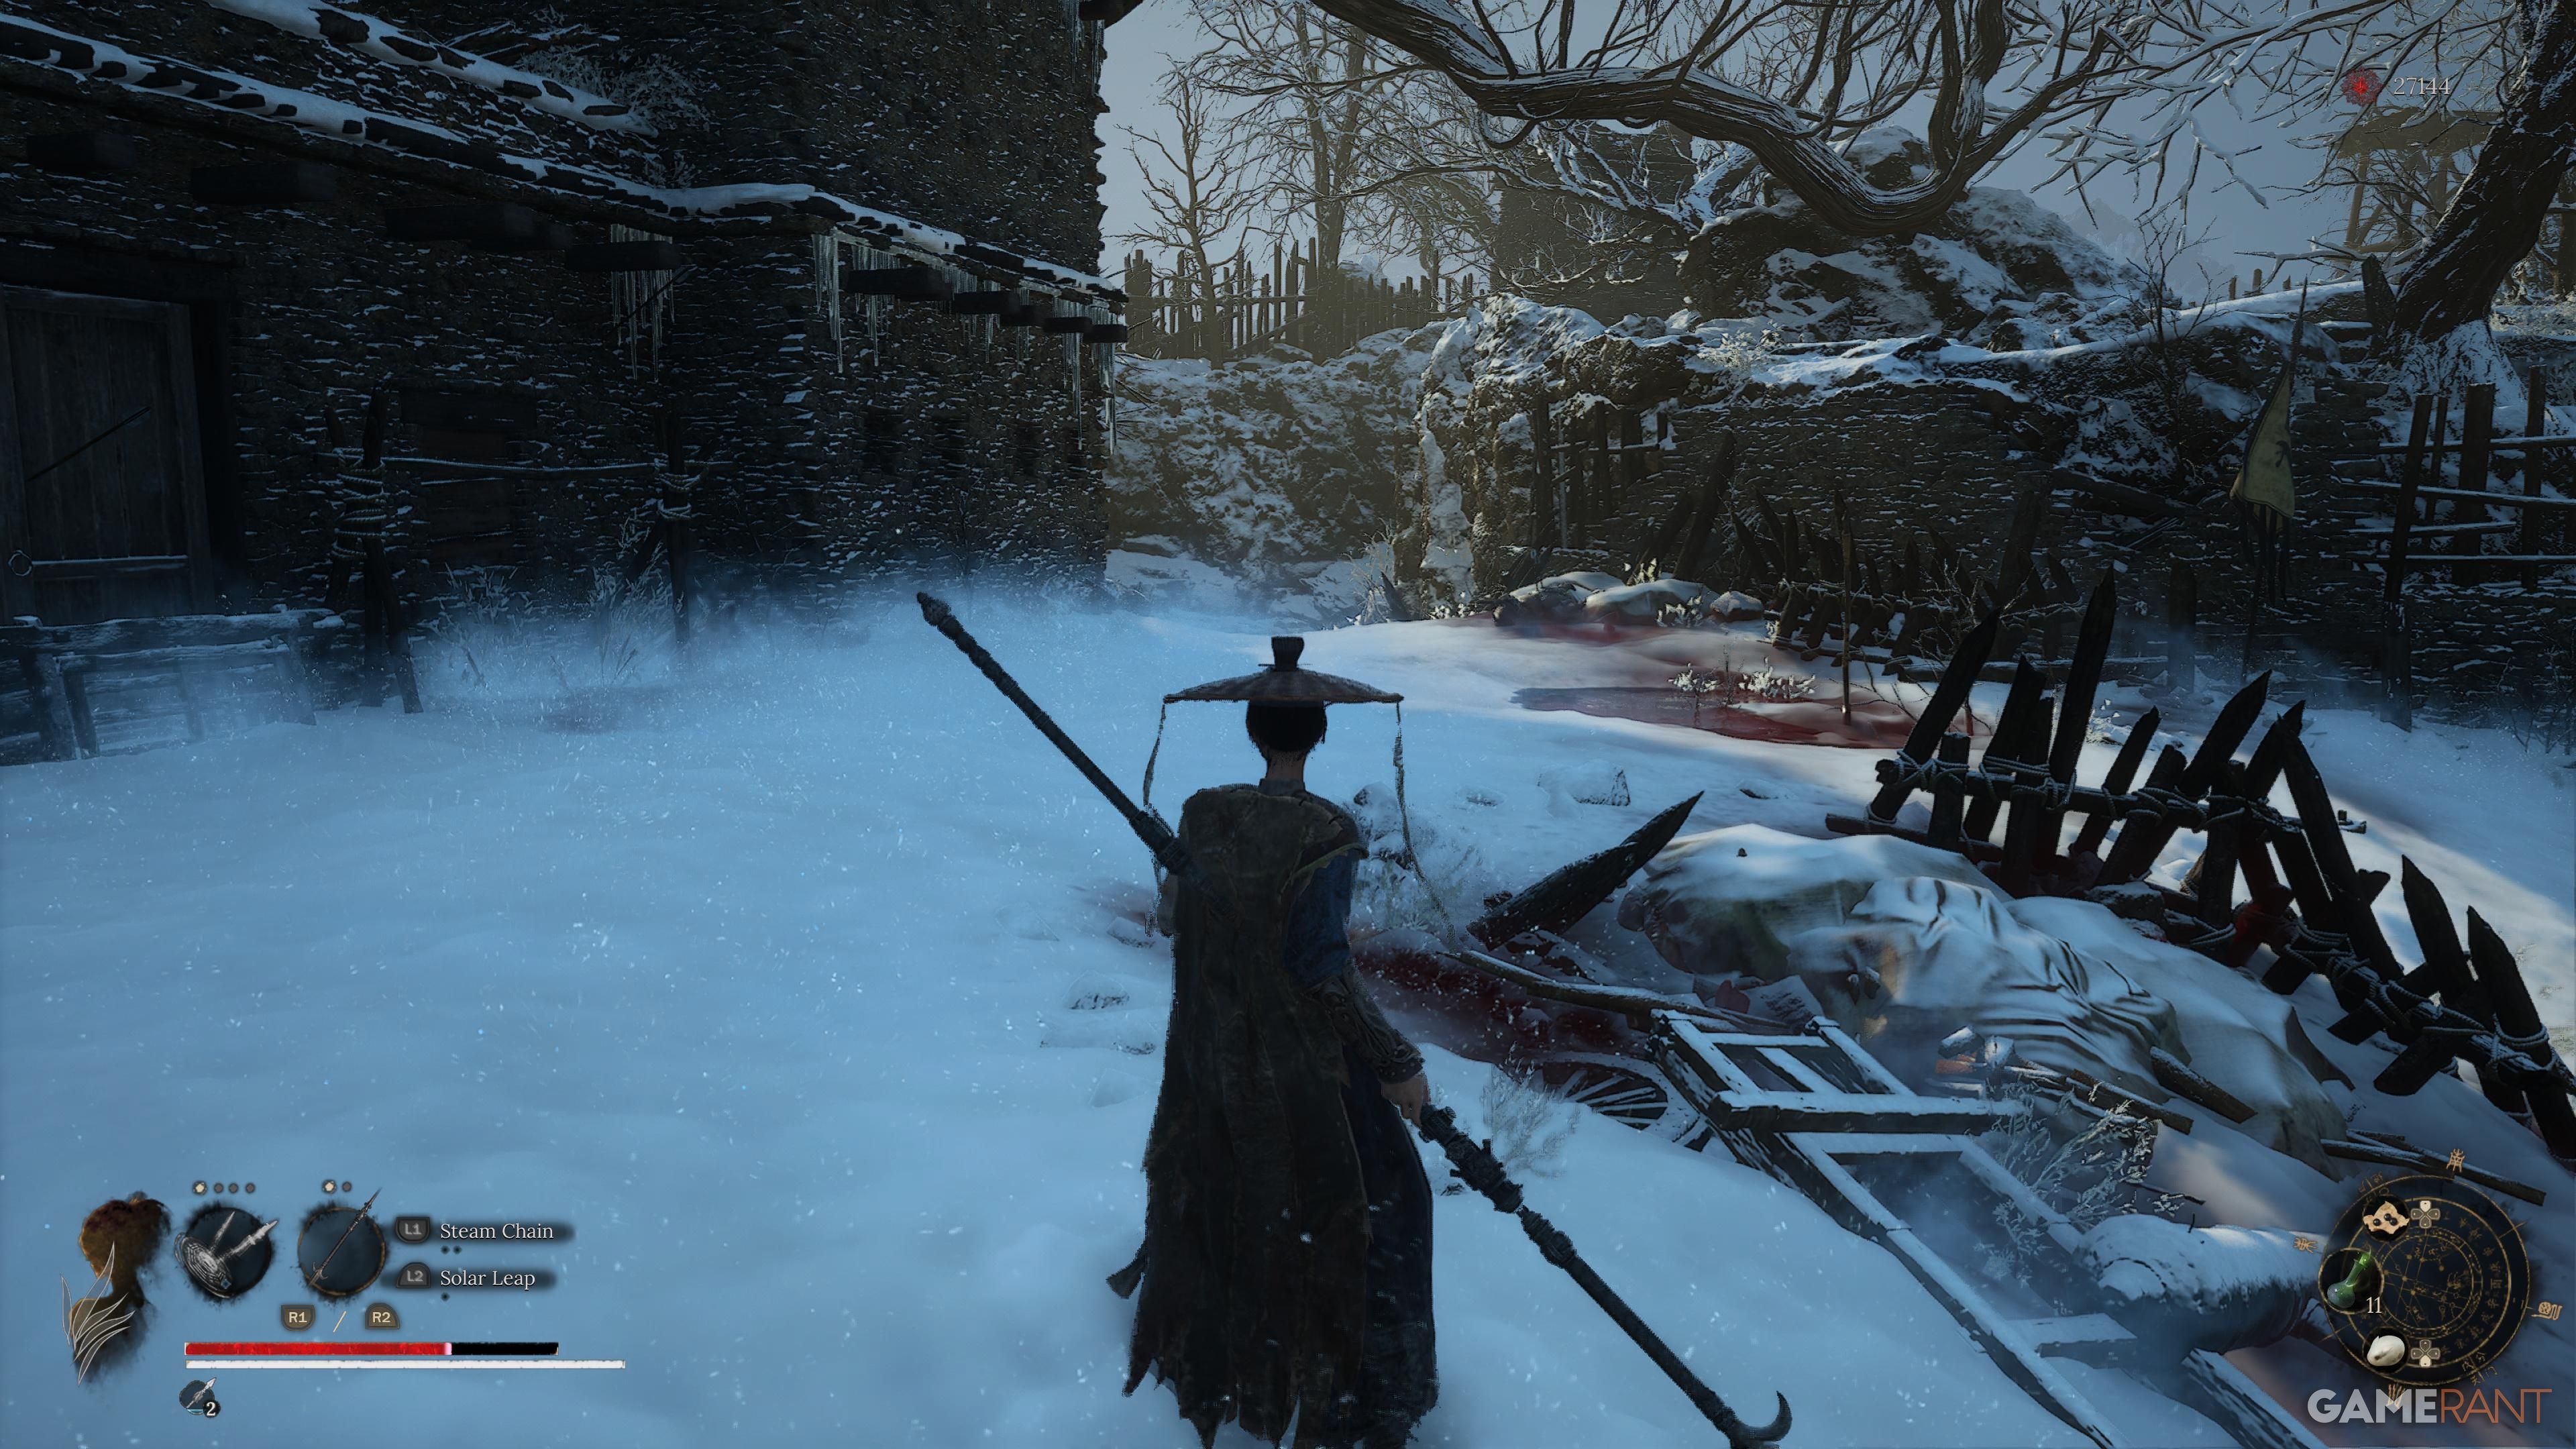
After leaving the sanctuary behind, you’ll notice an adversary that needs to be defeated for you to obtain the Rebel Camp Key. To utilize this key, make your way down the ladder, veer left, and continue straight until you reach a large wooden door. Open it to initiate a battle with the General of the North – Ai Nengqi.
Ming General – Liu Cheng’en
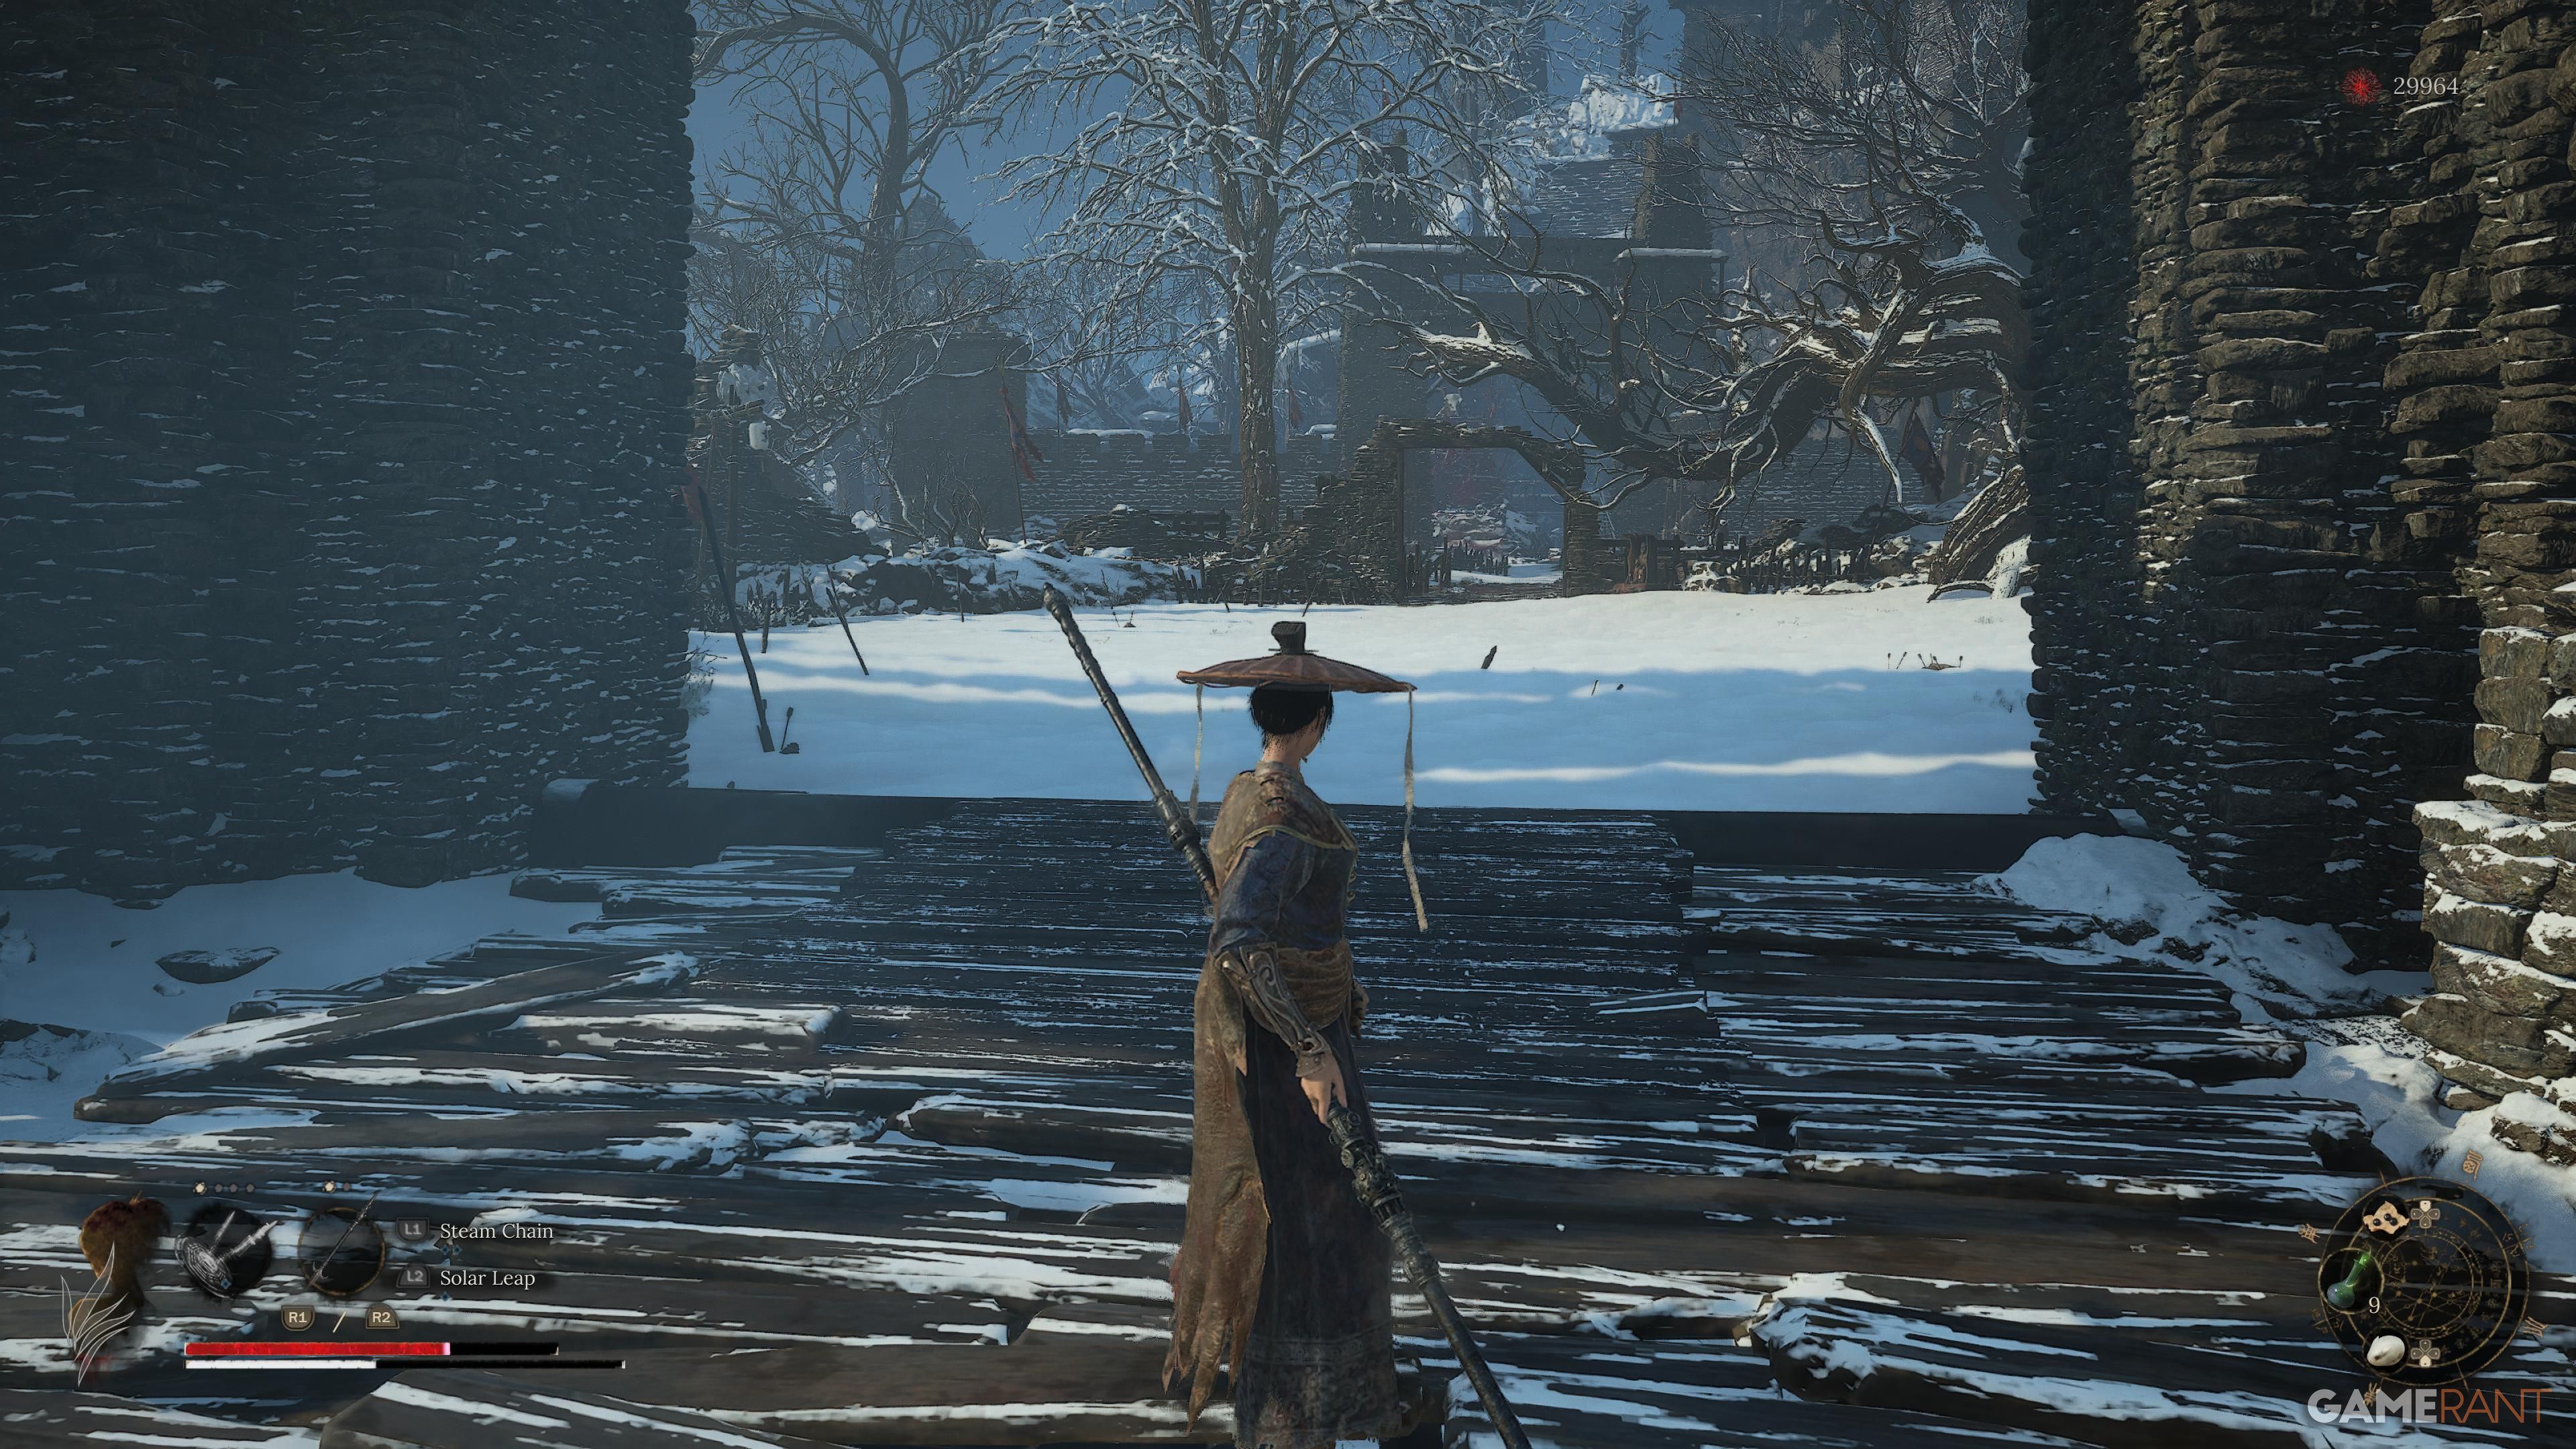
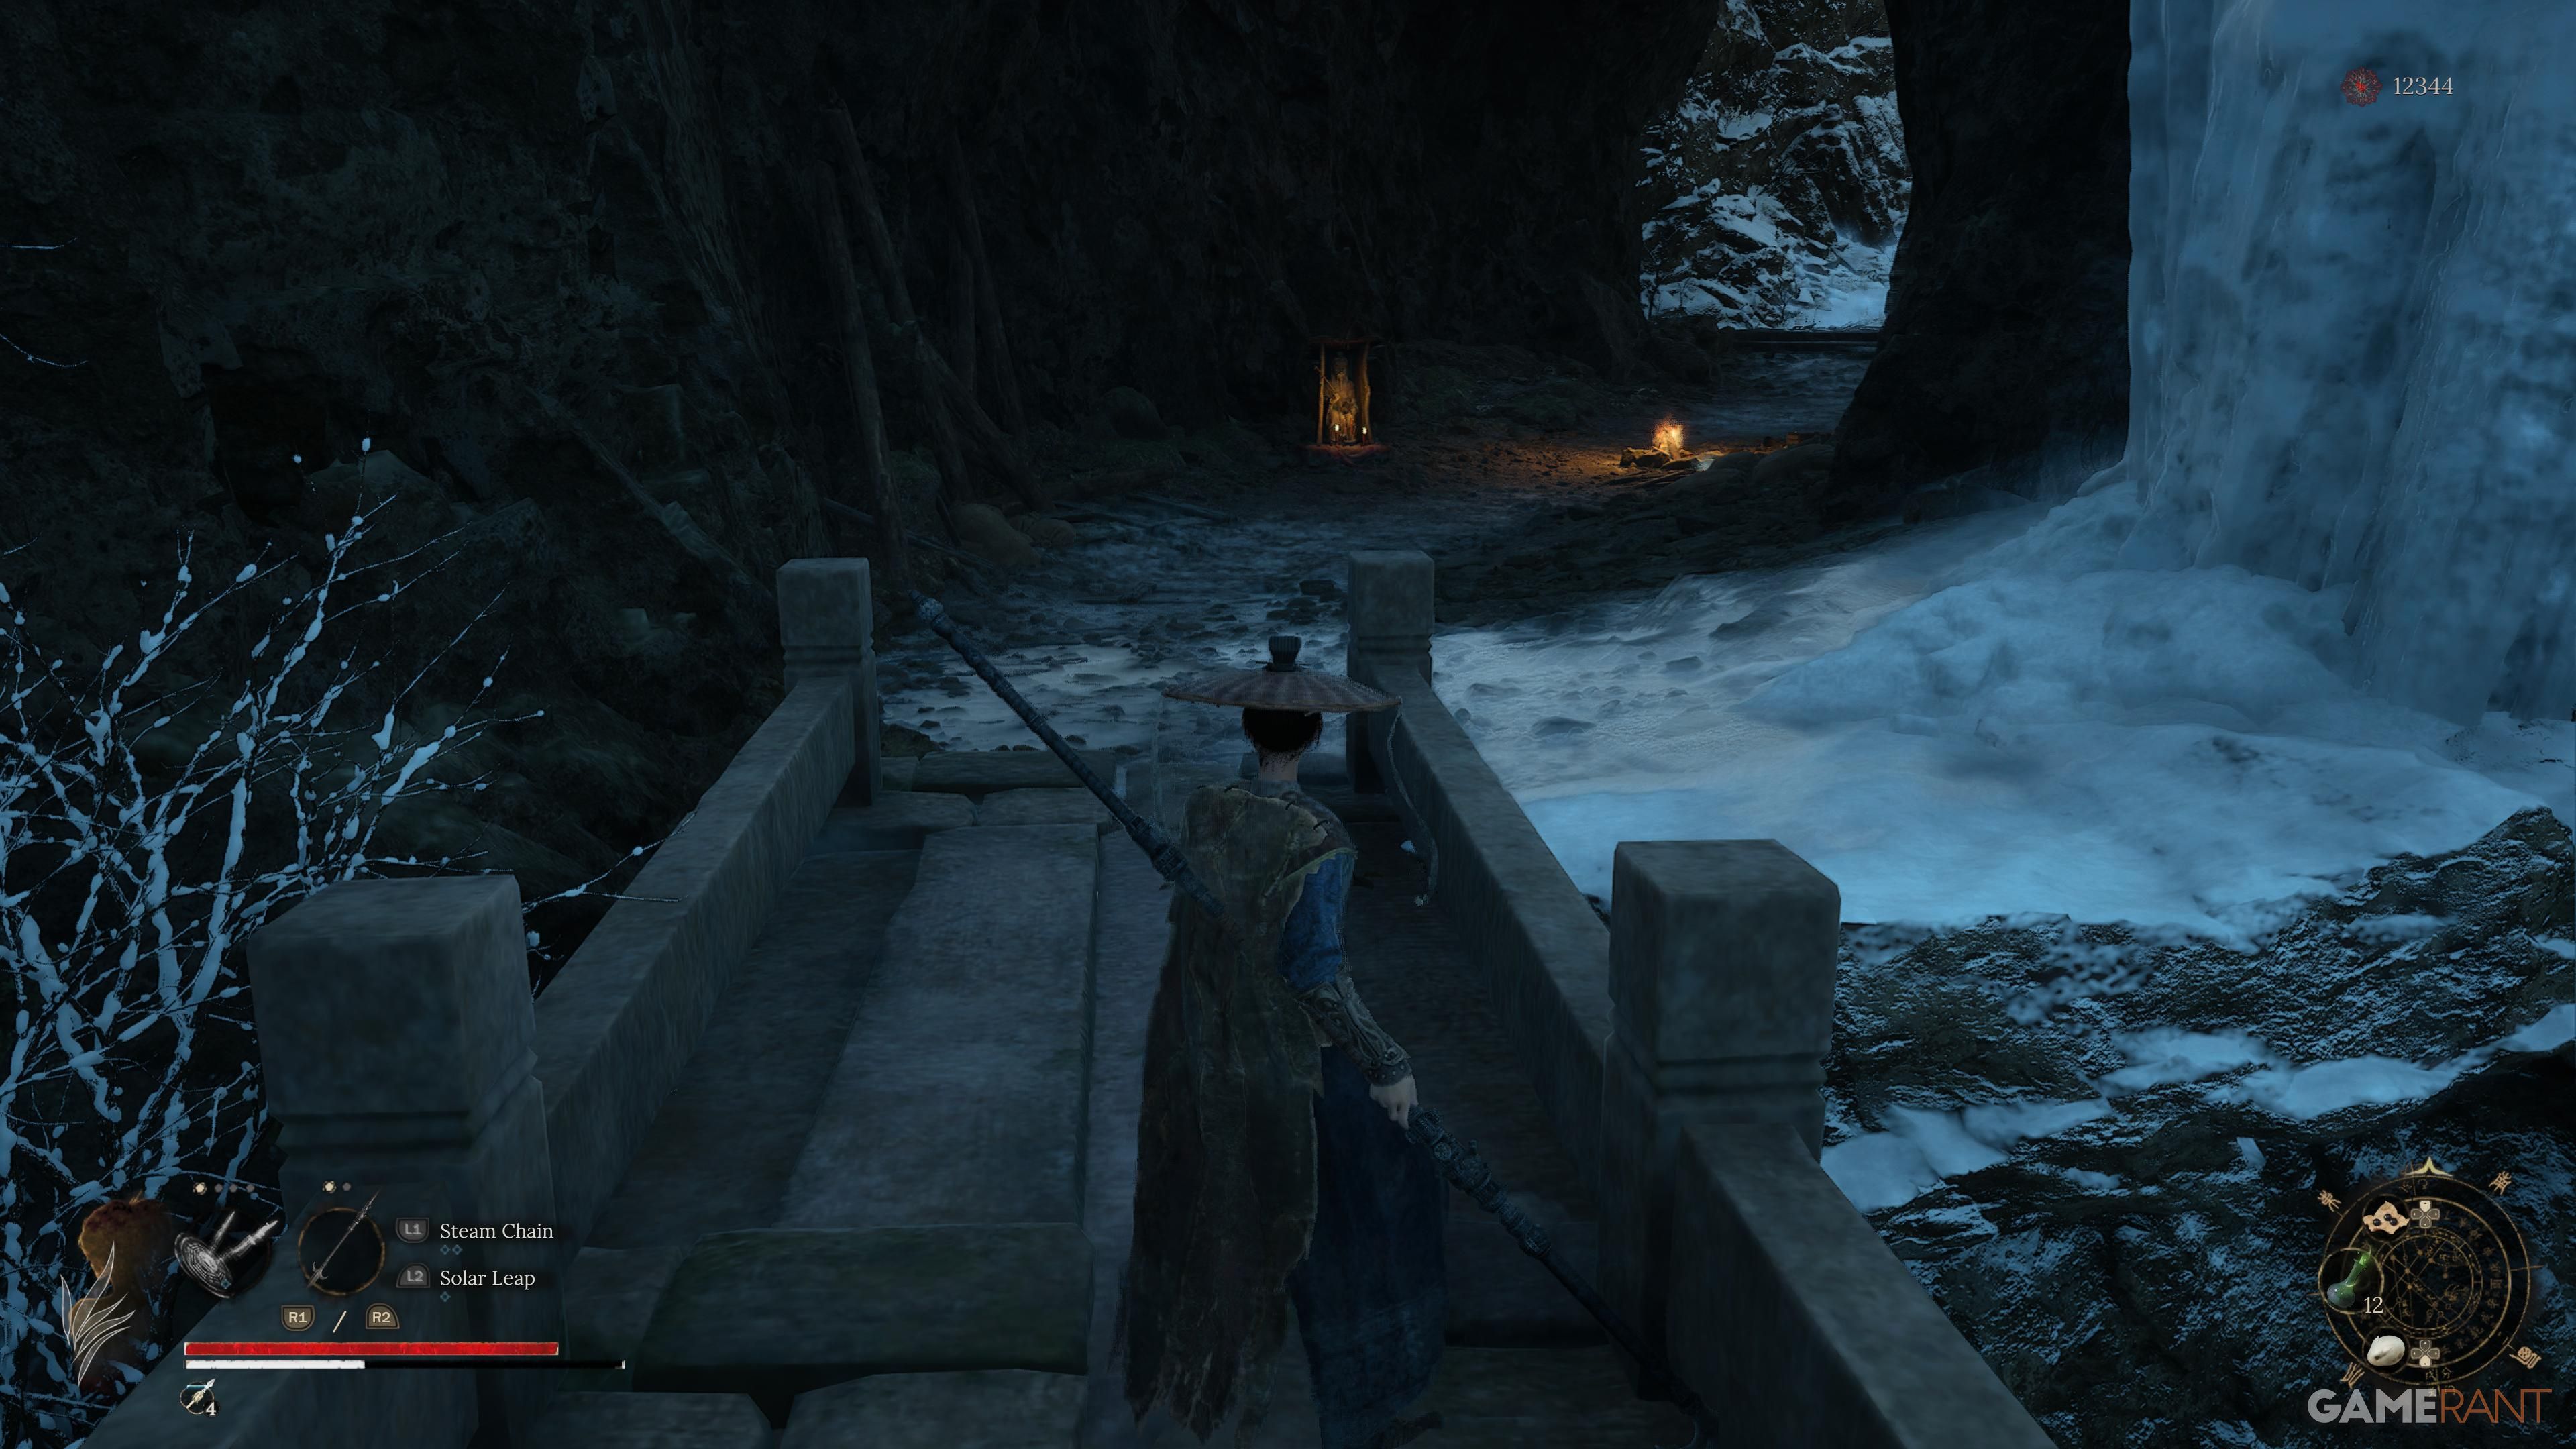
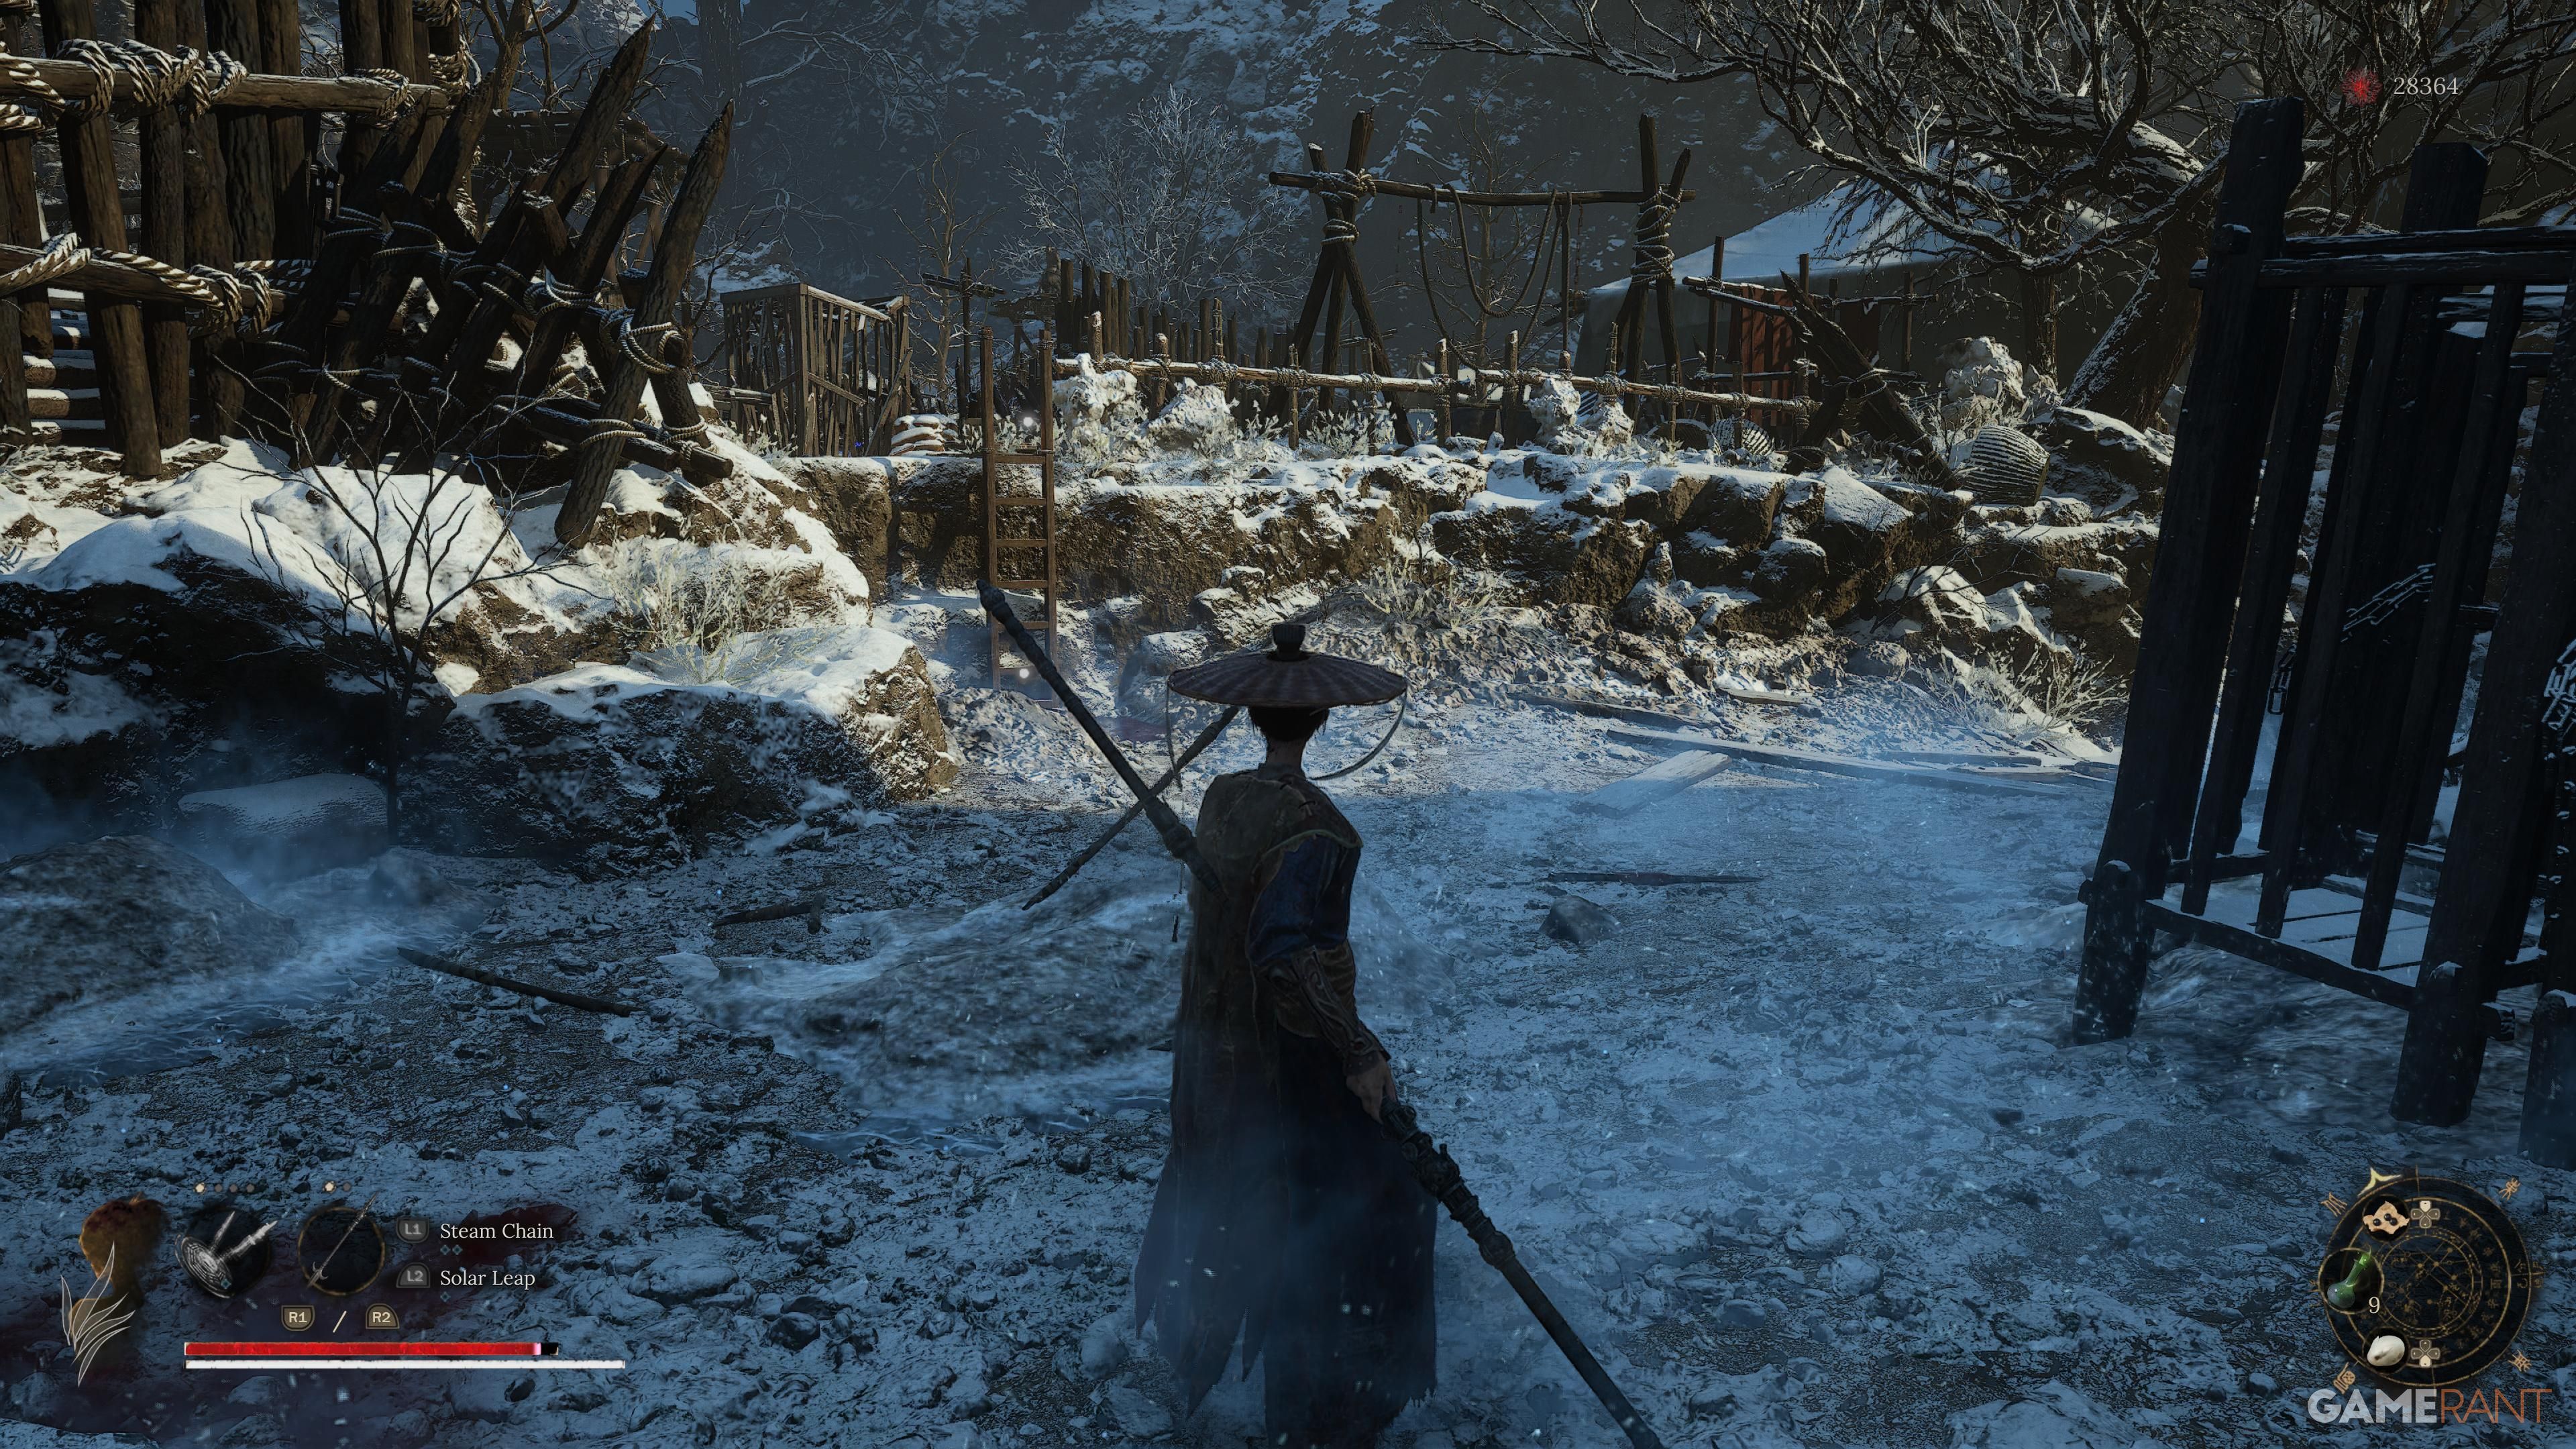
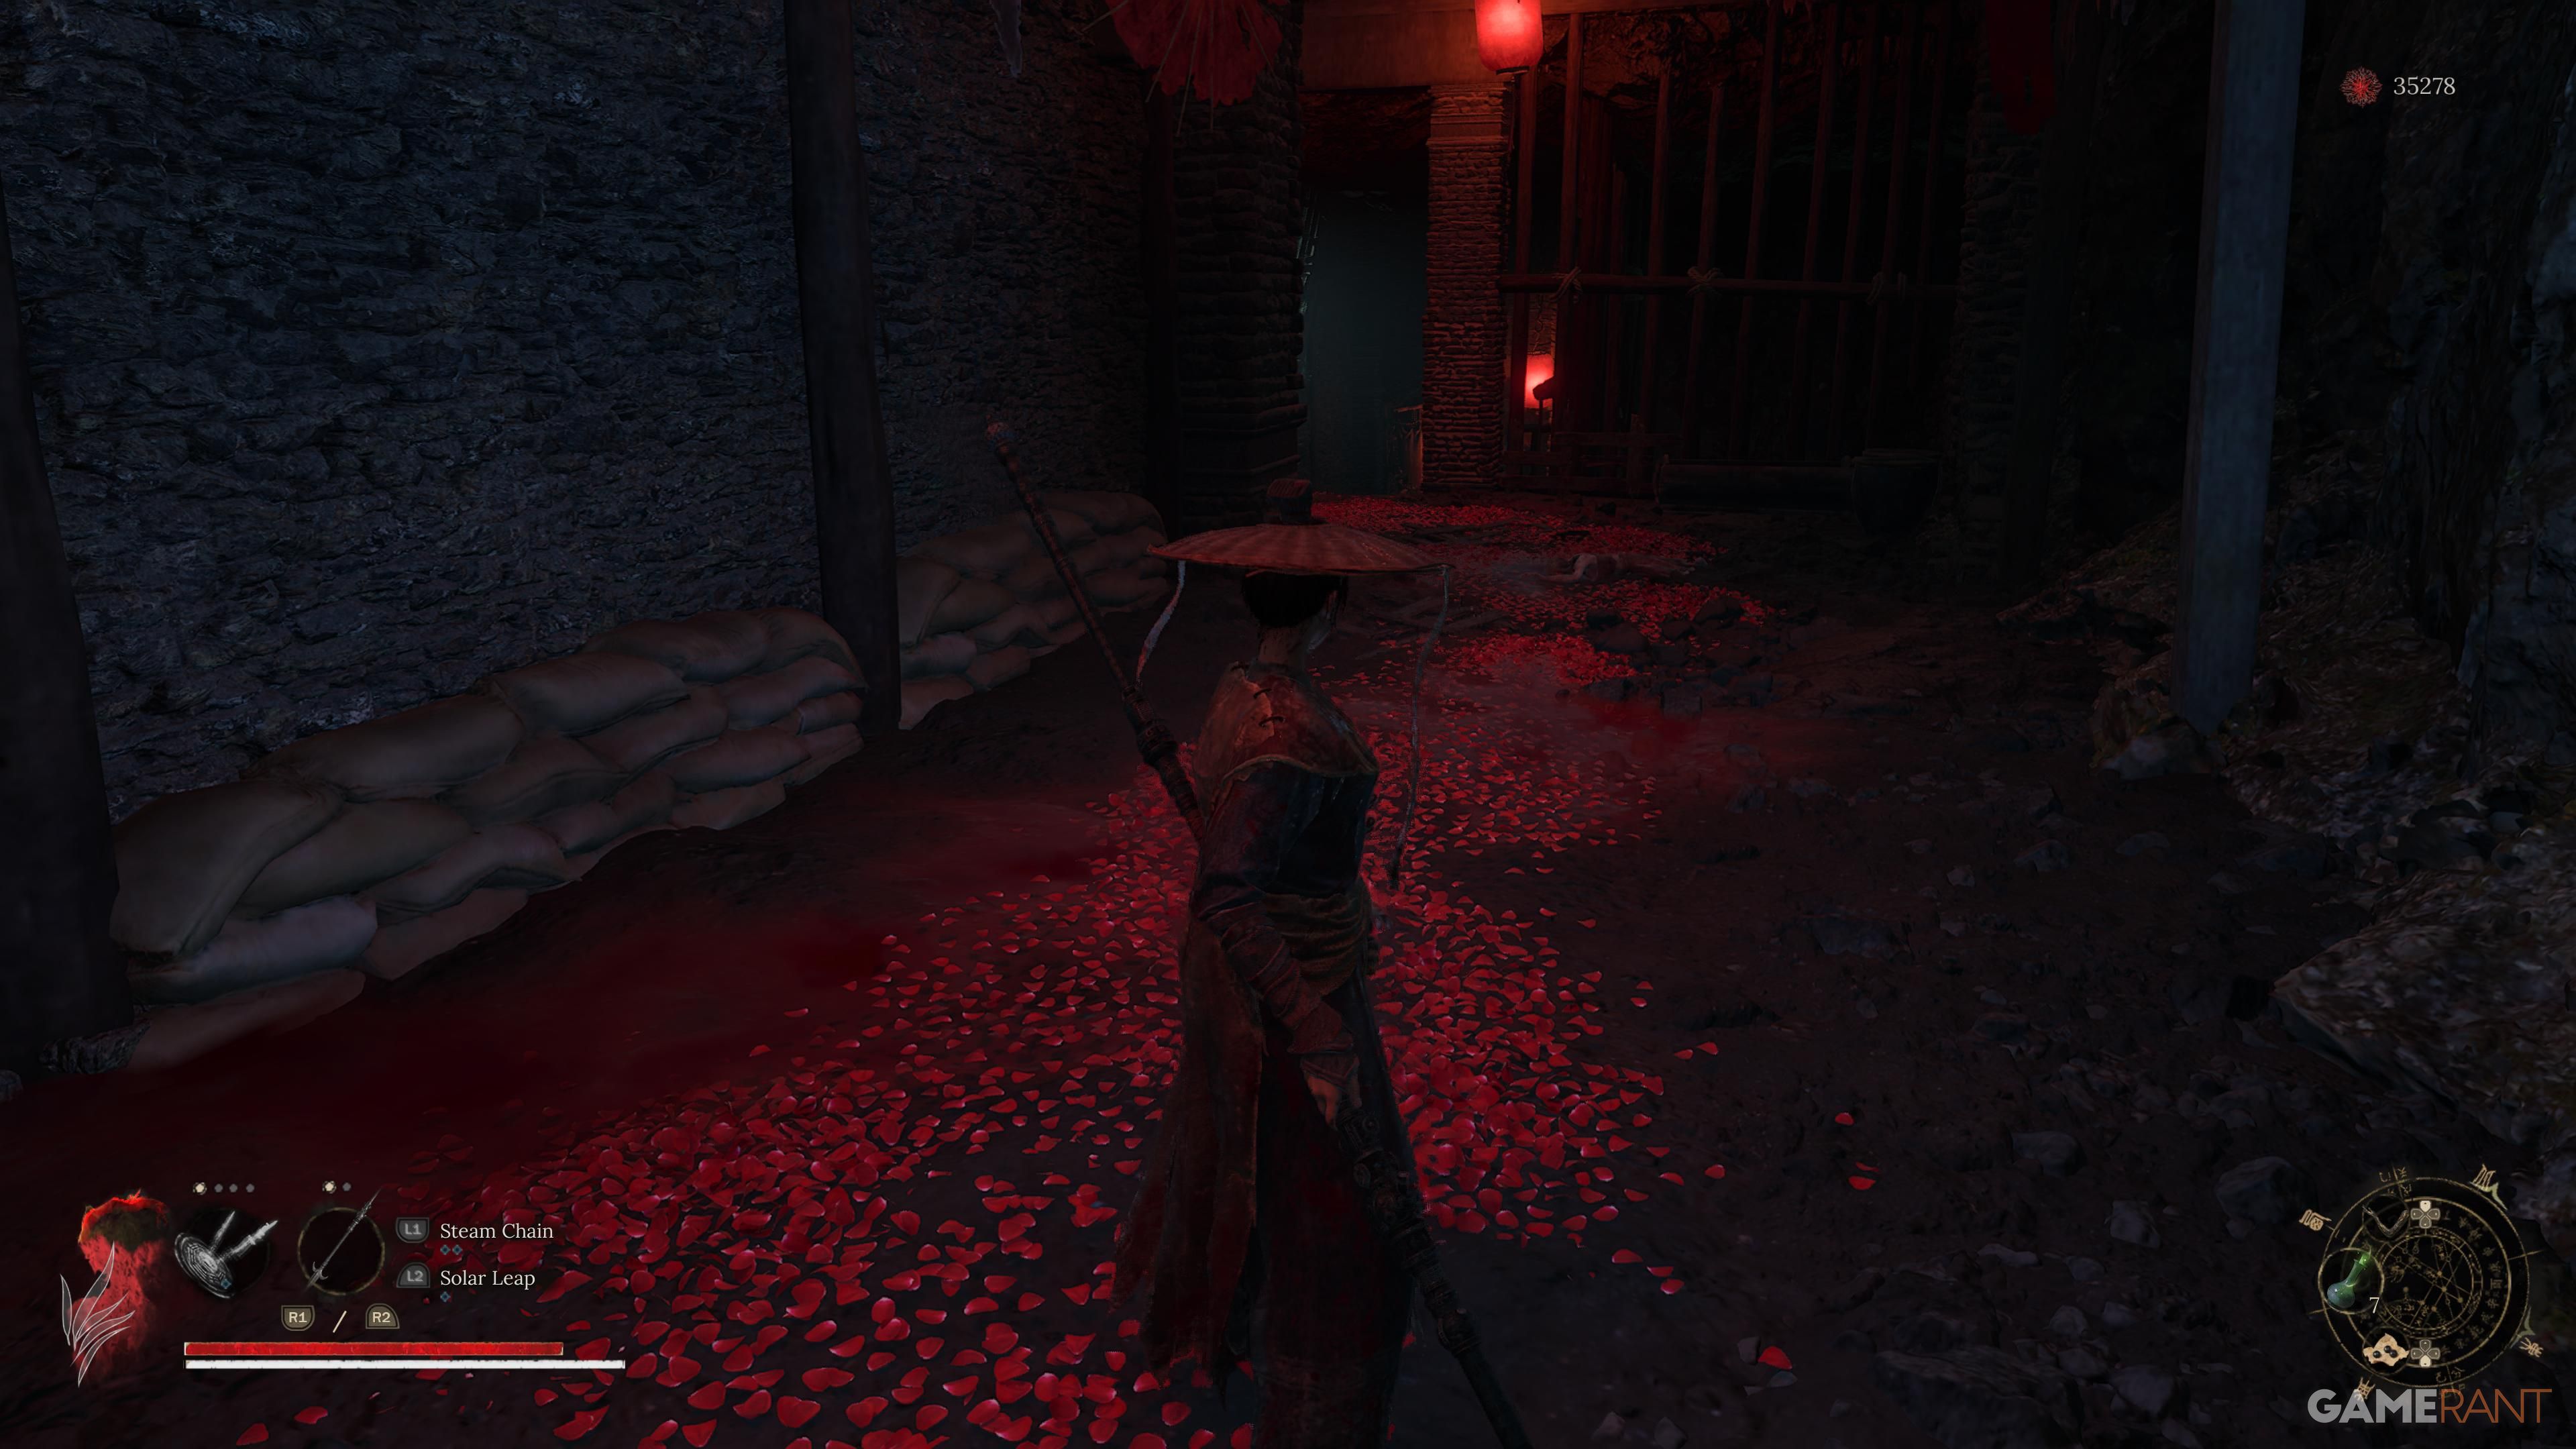
Once you’ve conquered the initial boss and witnessed the scene, retrace your steps along the right-hand path, passing the shrine. Go back to the fork where you previously took the right path that led you to the Rebel Camp. This time, opt for the opposite path and proceed through the open entrance. Follow the route by heading right initially, then making a left turn, and immediately taking another right turn just after the cannon. This path leads to a shortcut to the Cloudspire Outskirts Shrine, which will be useful as it’s the shrine closest to the boss. Continue your journey up the main path, which eventually takes you to the wooden bridge. At the end of this bridge, you’ll discover the battle arena for Ming General – Liu Cheng’en.
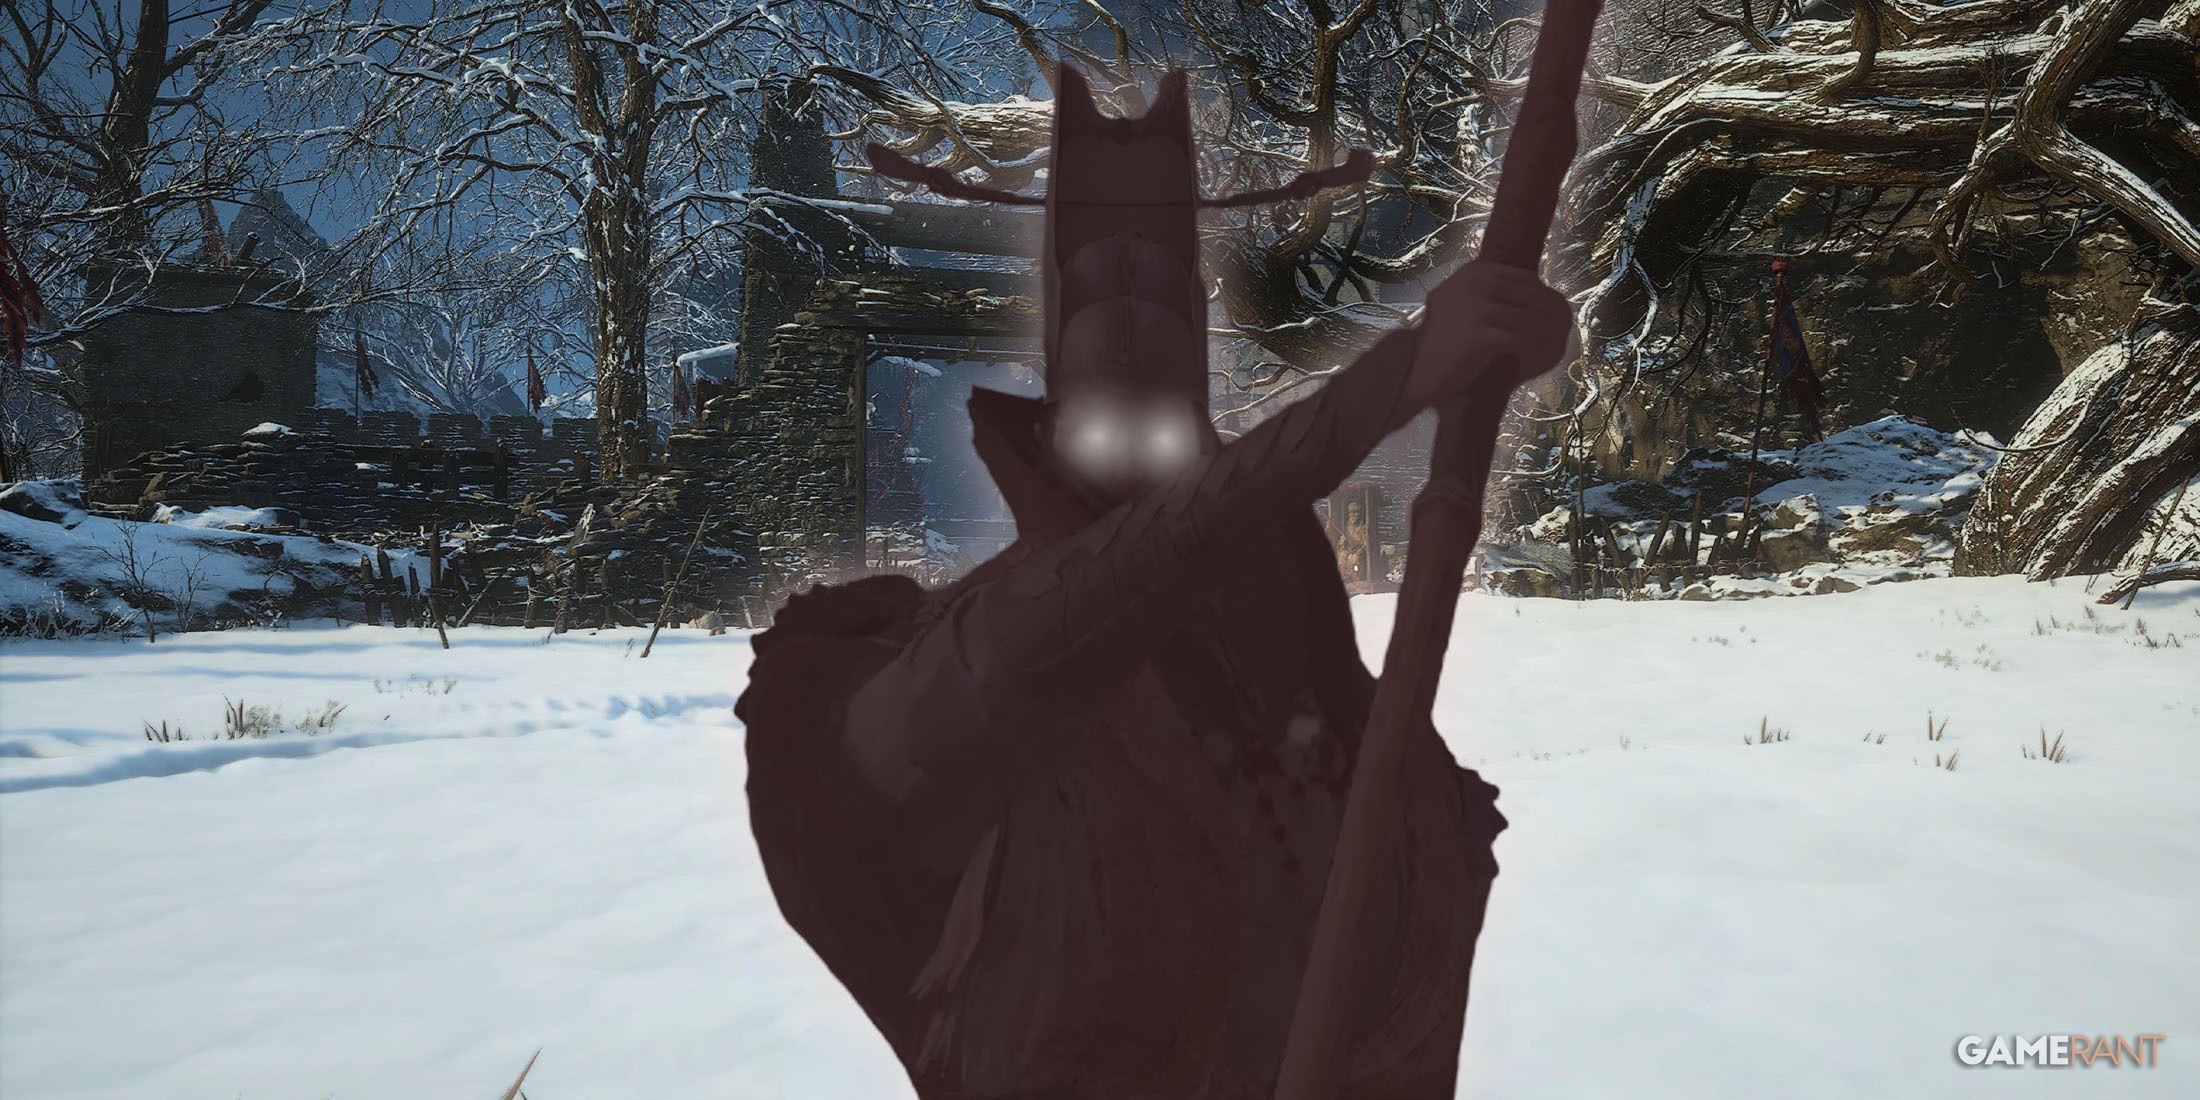
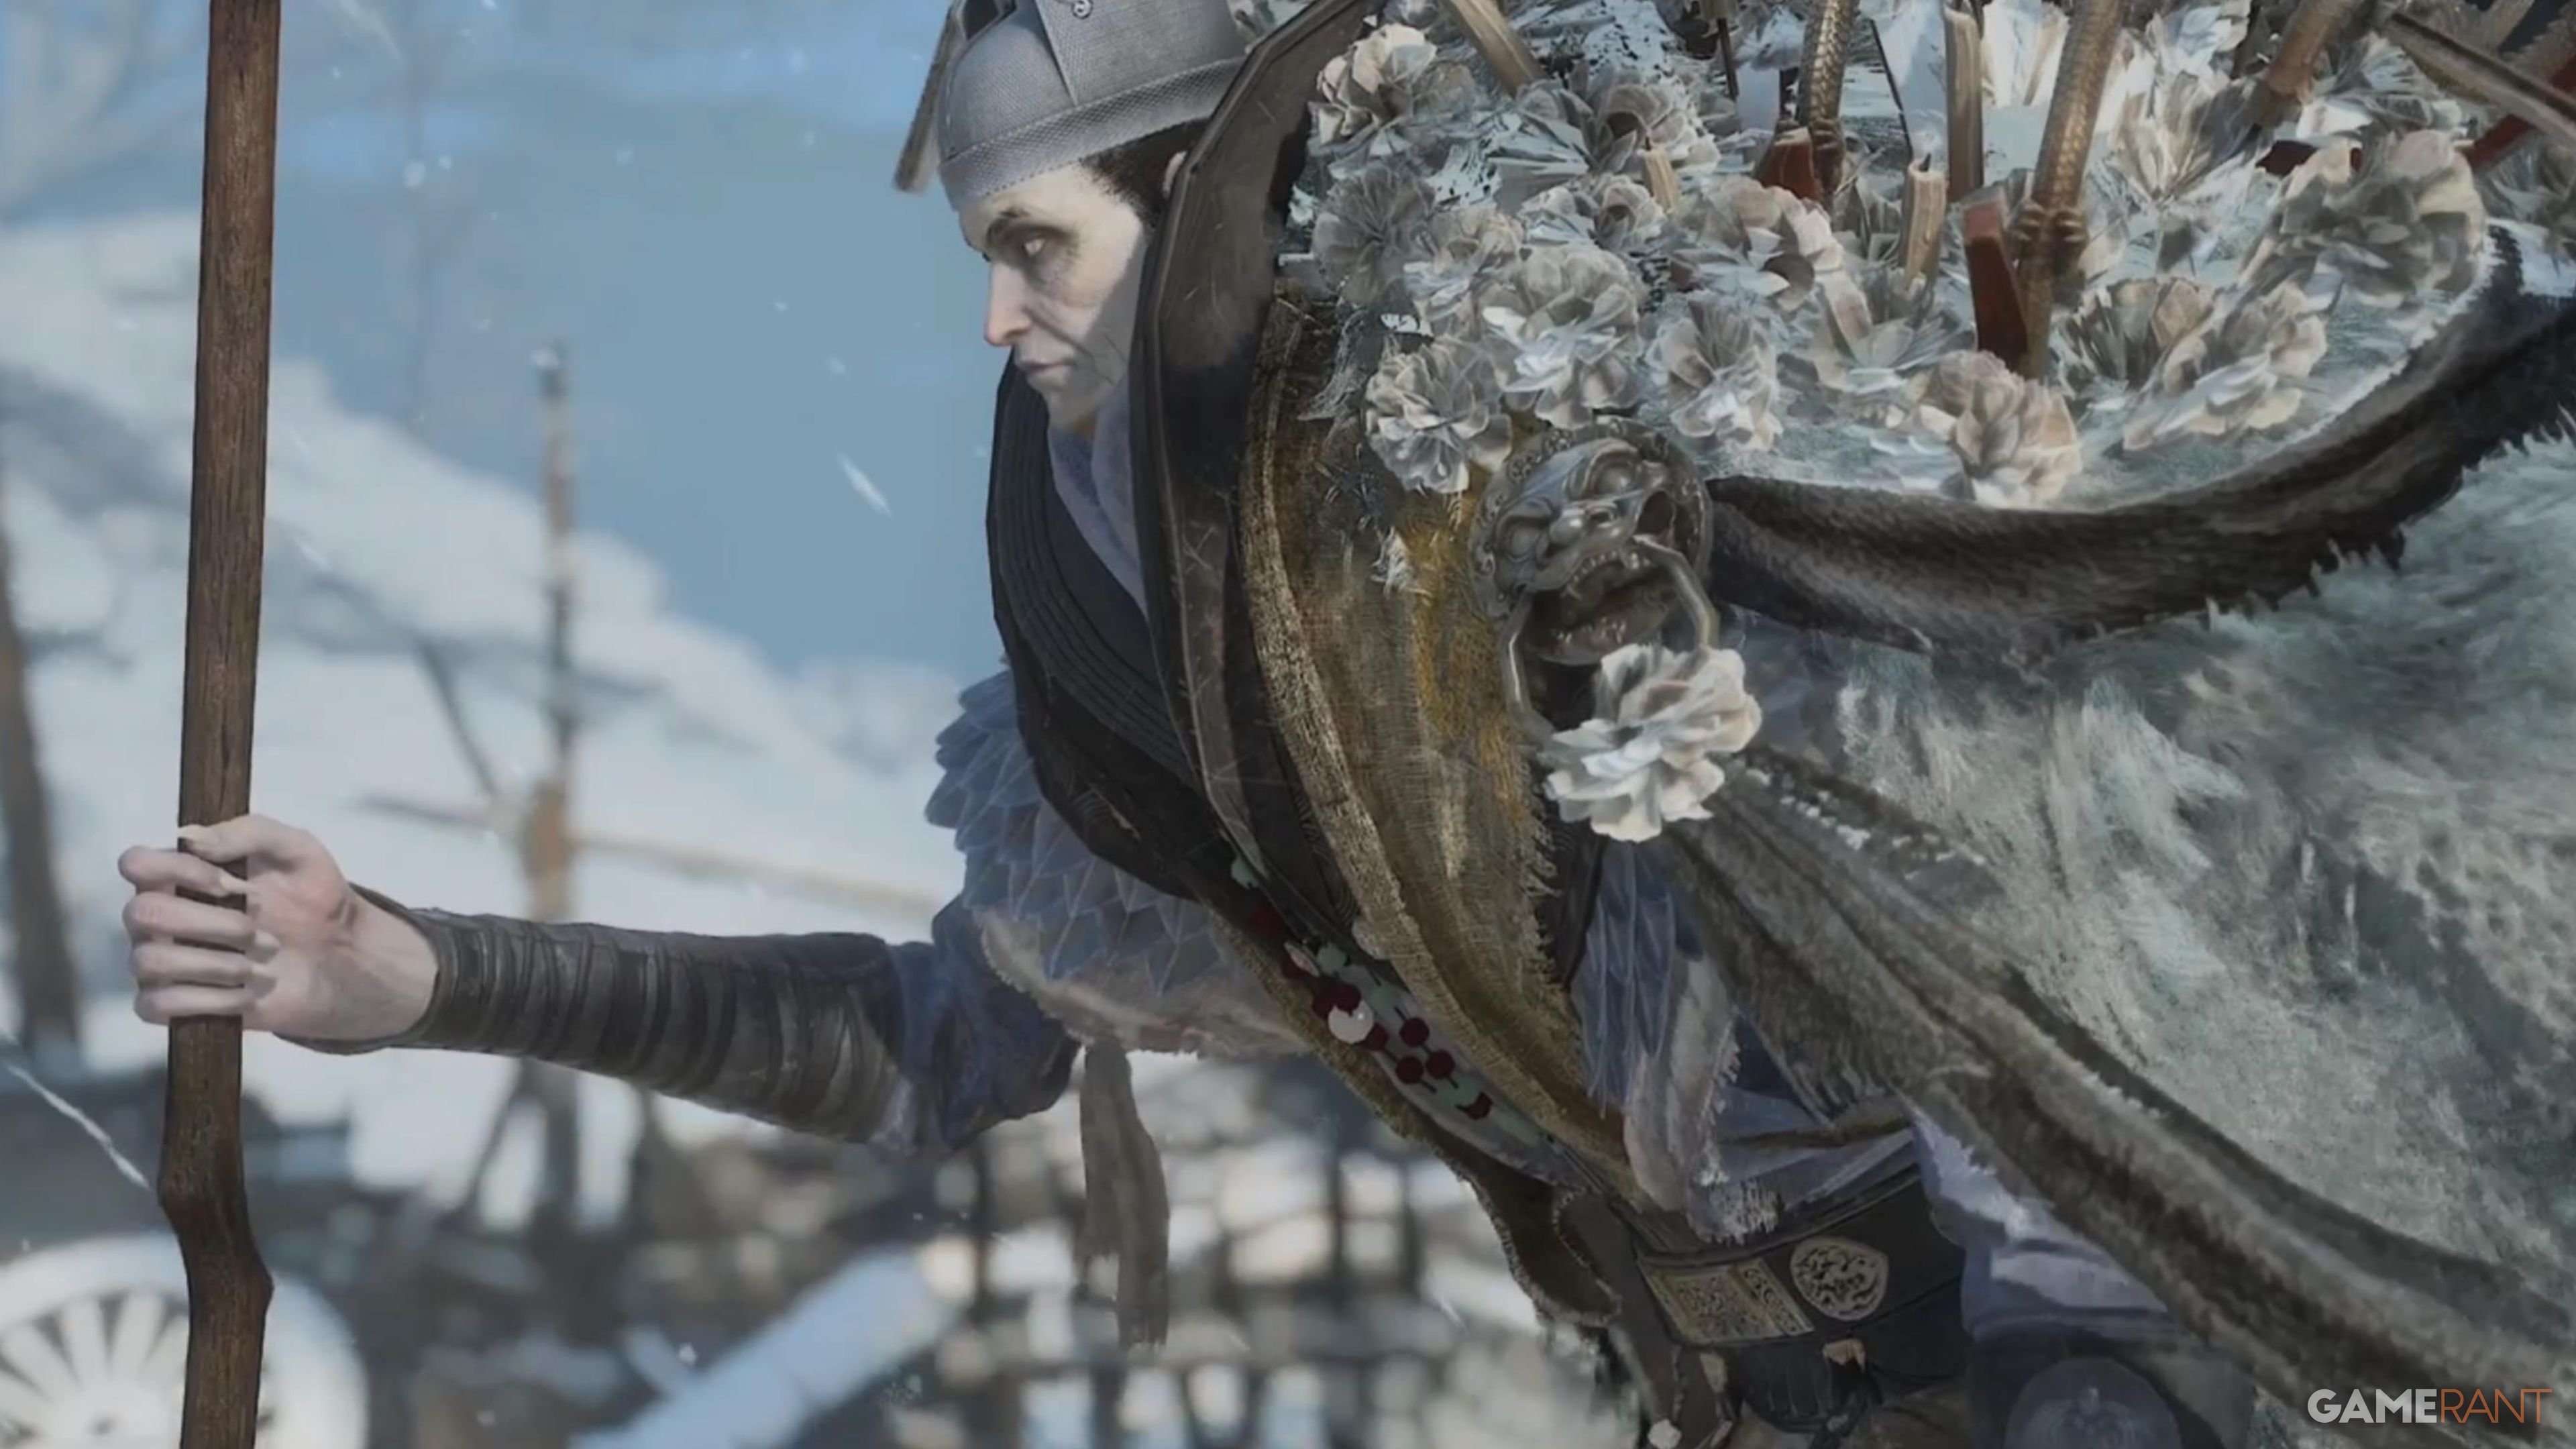
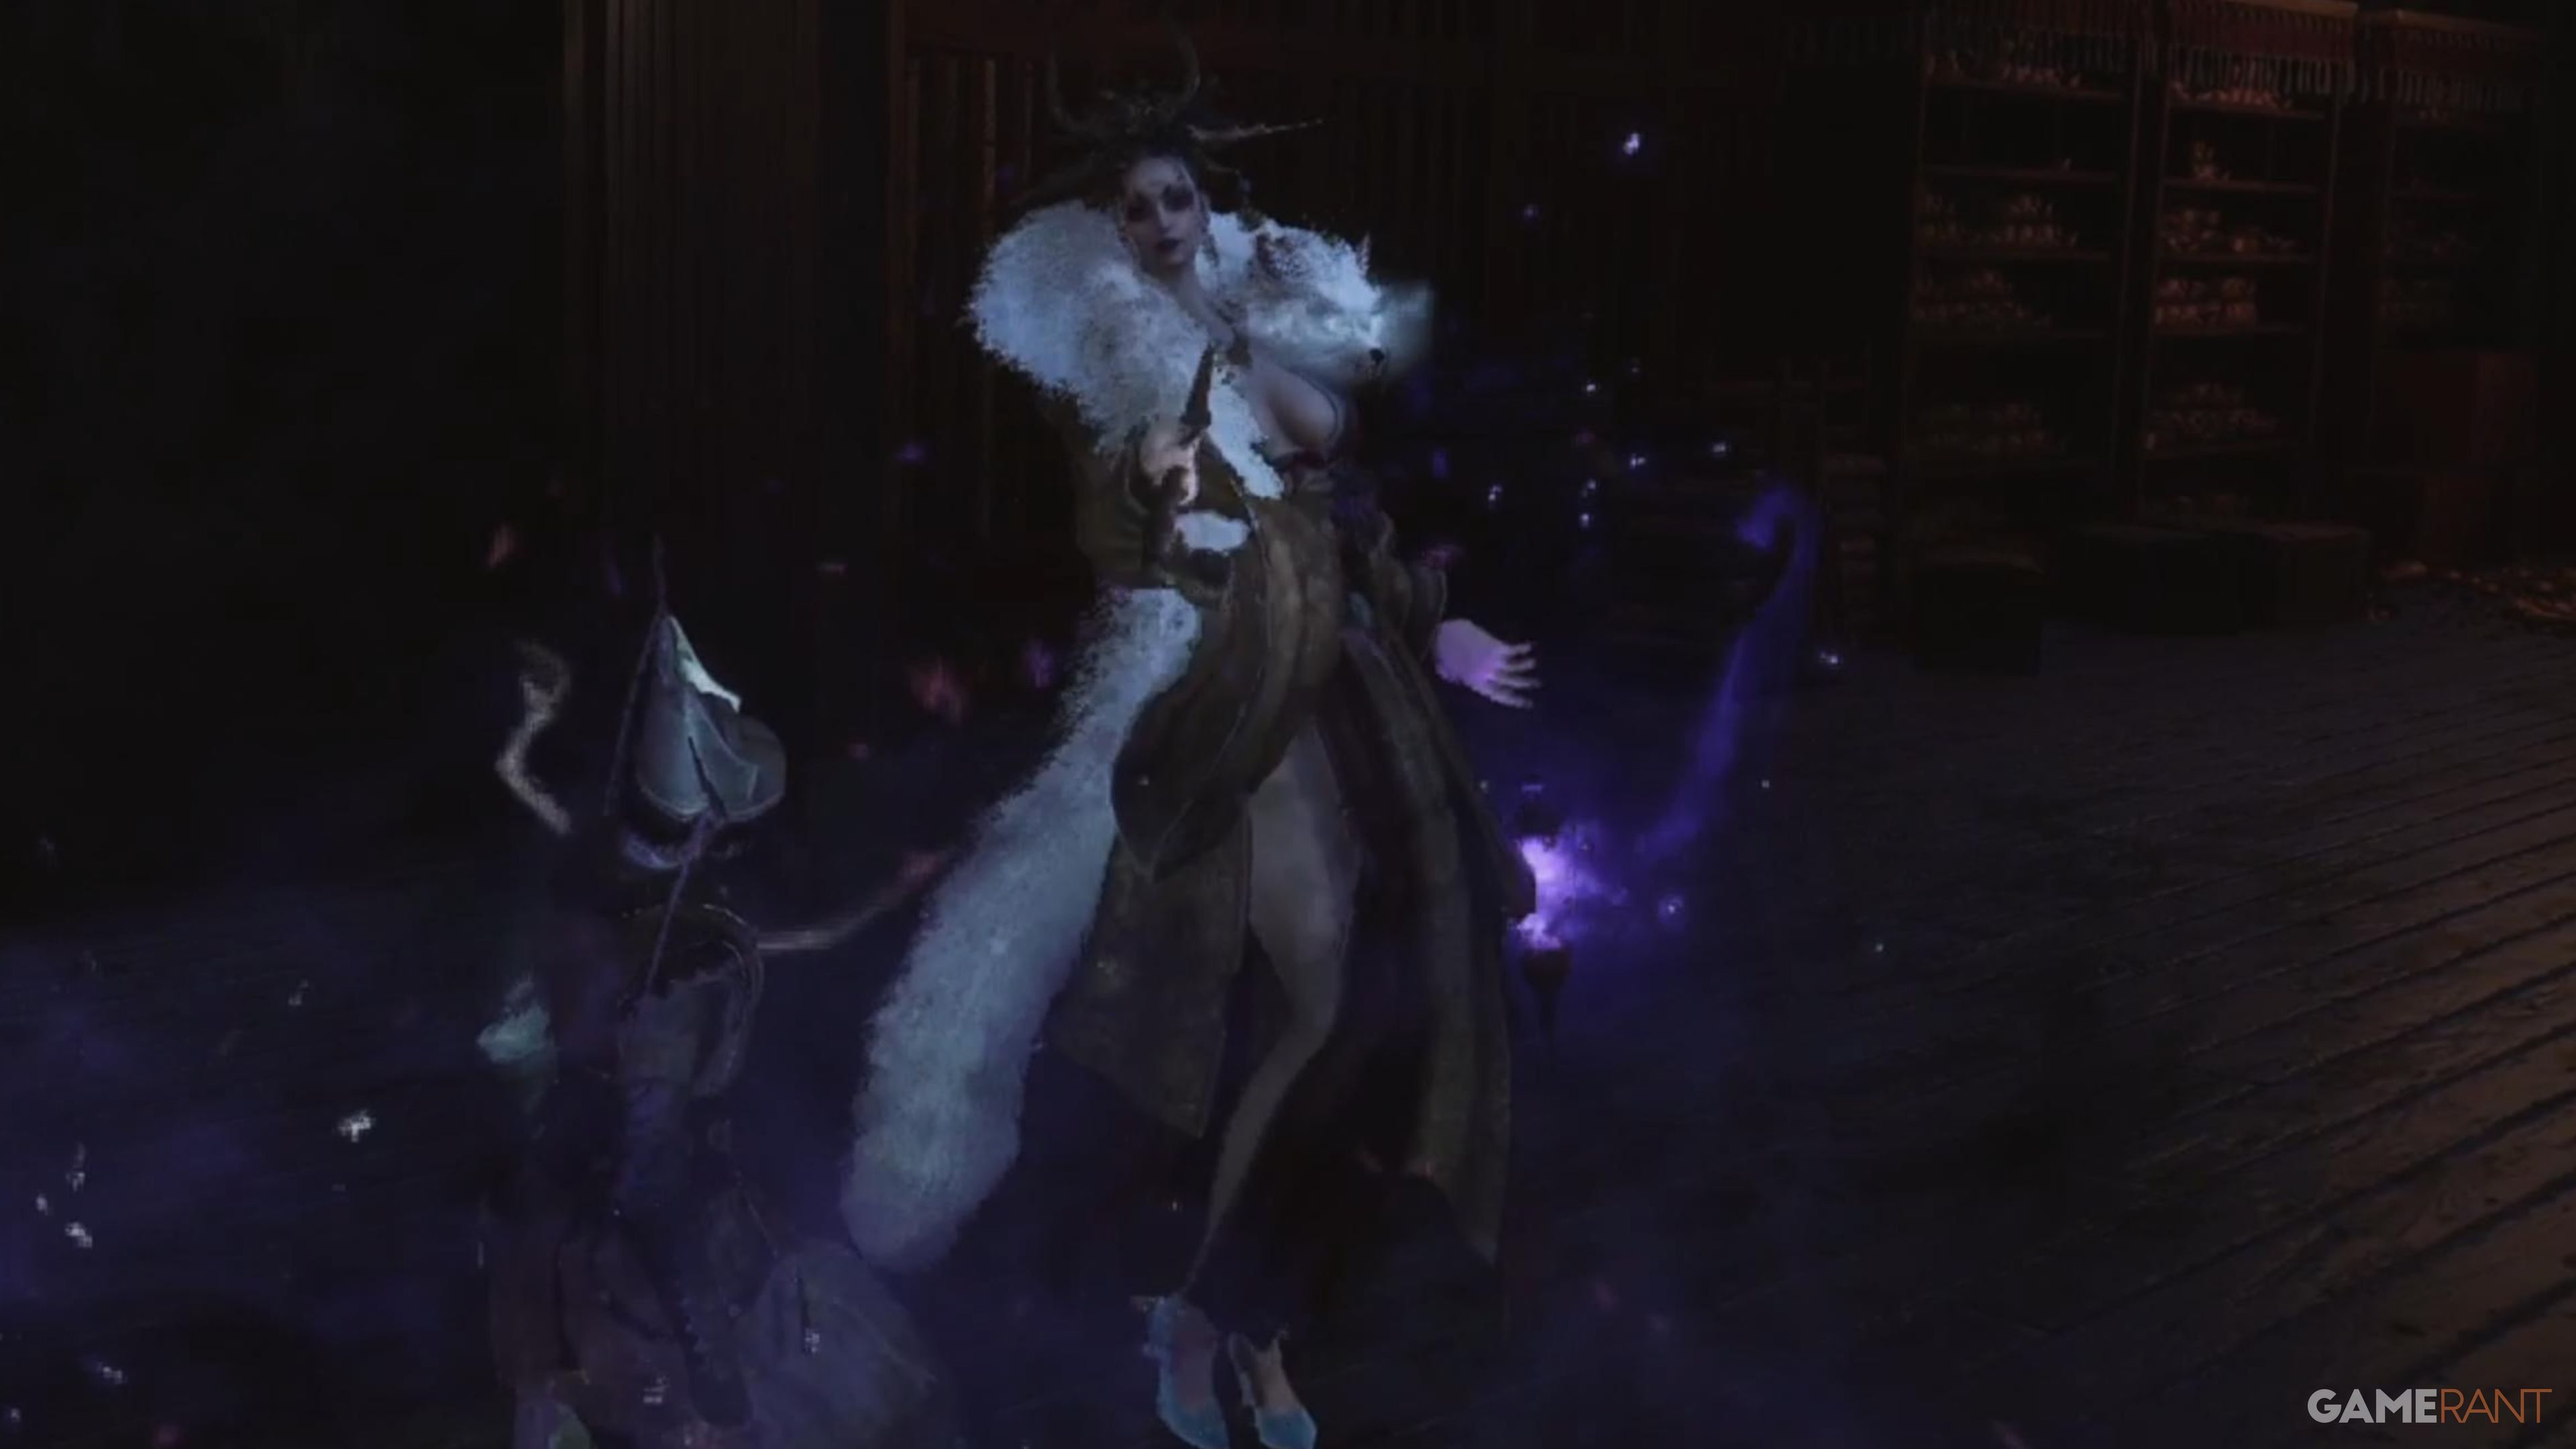
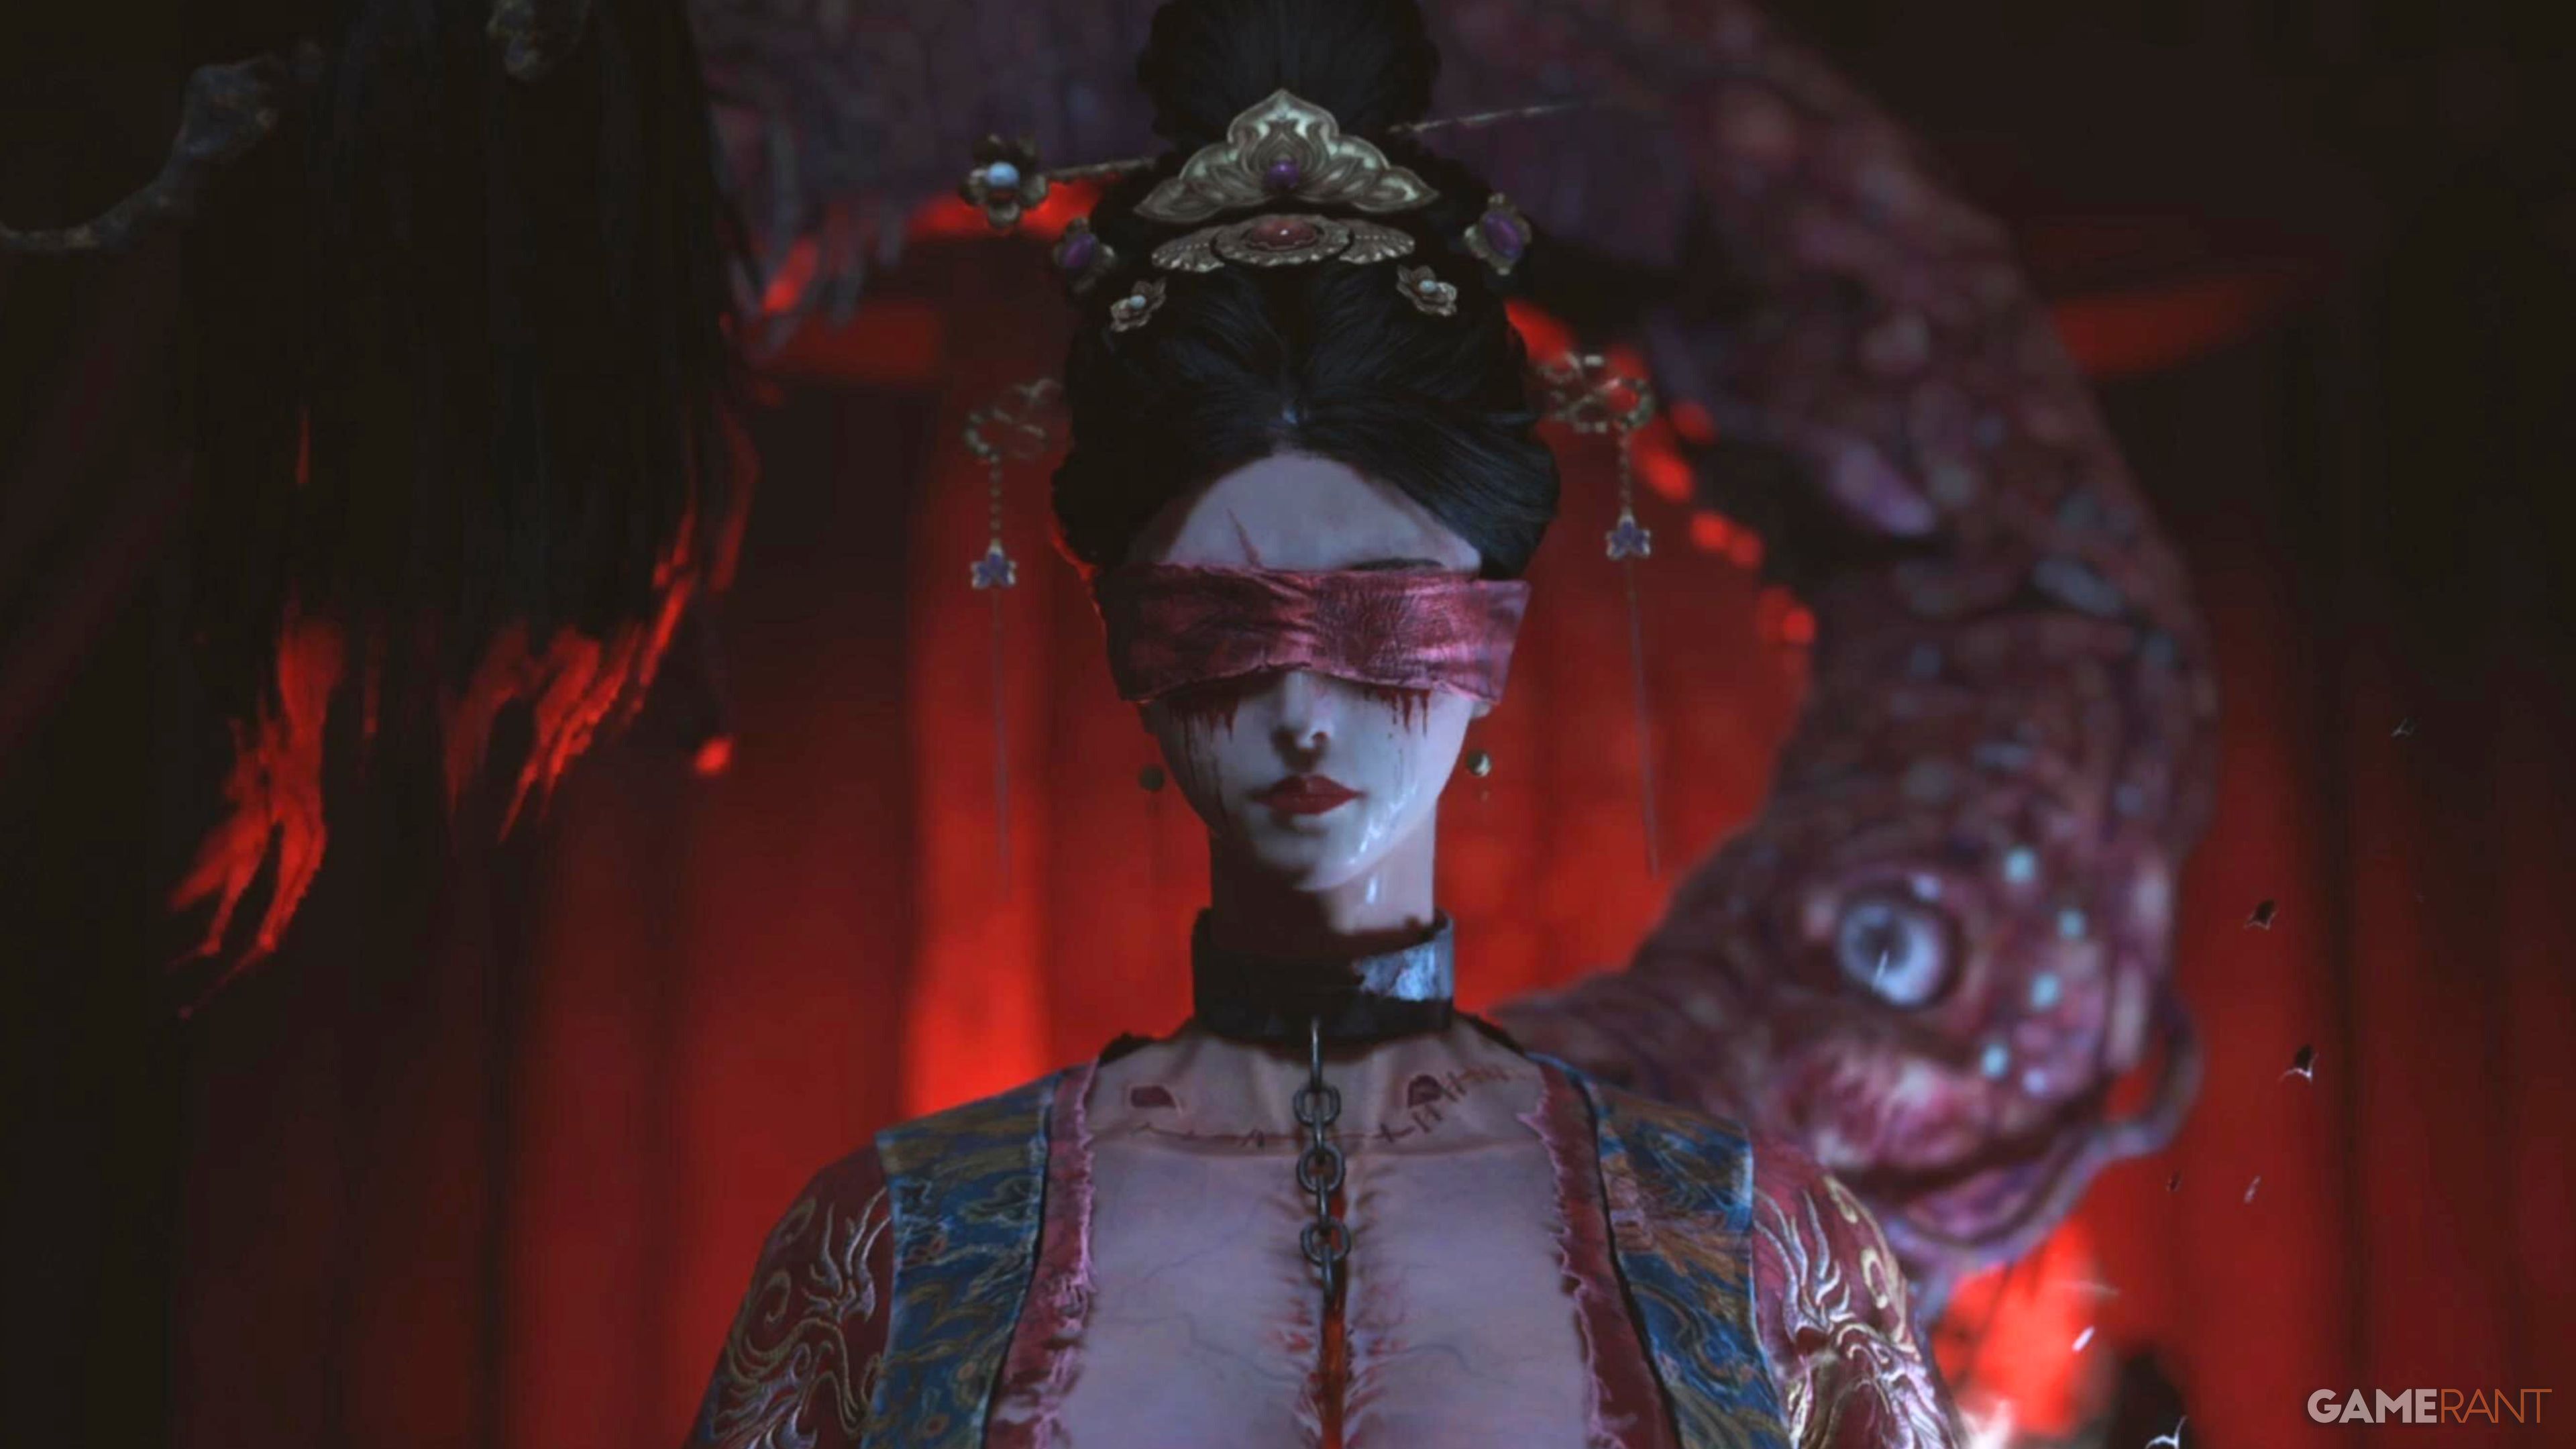
Mistress of the Night – Huang Yan
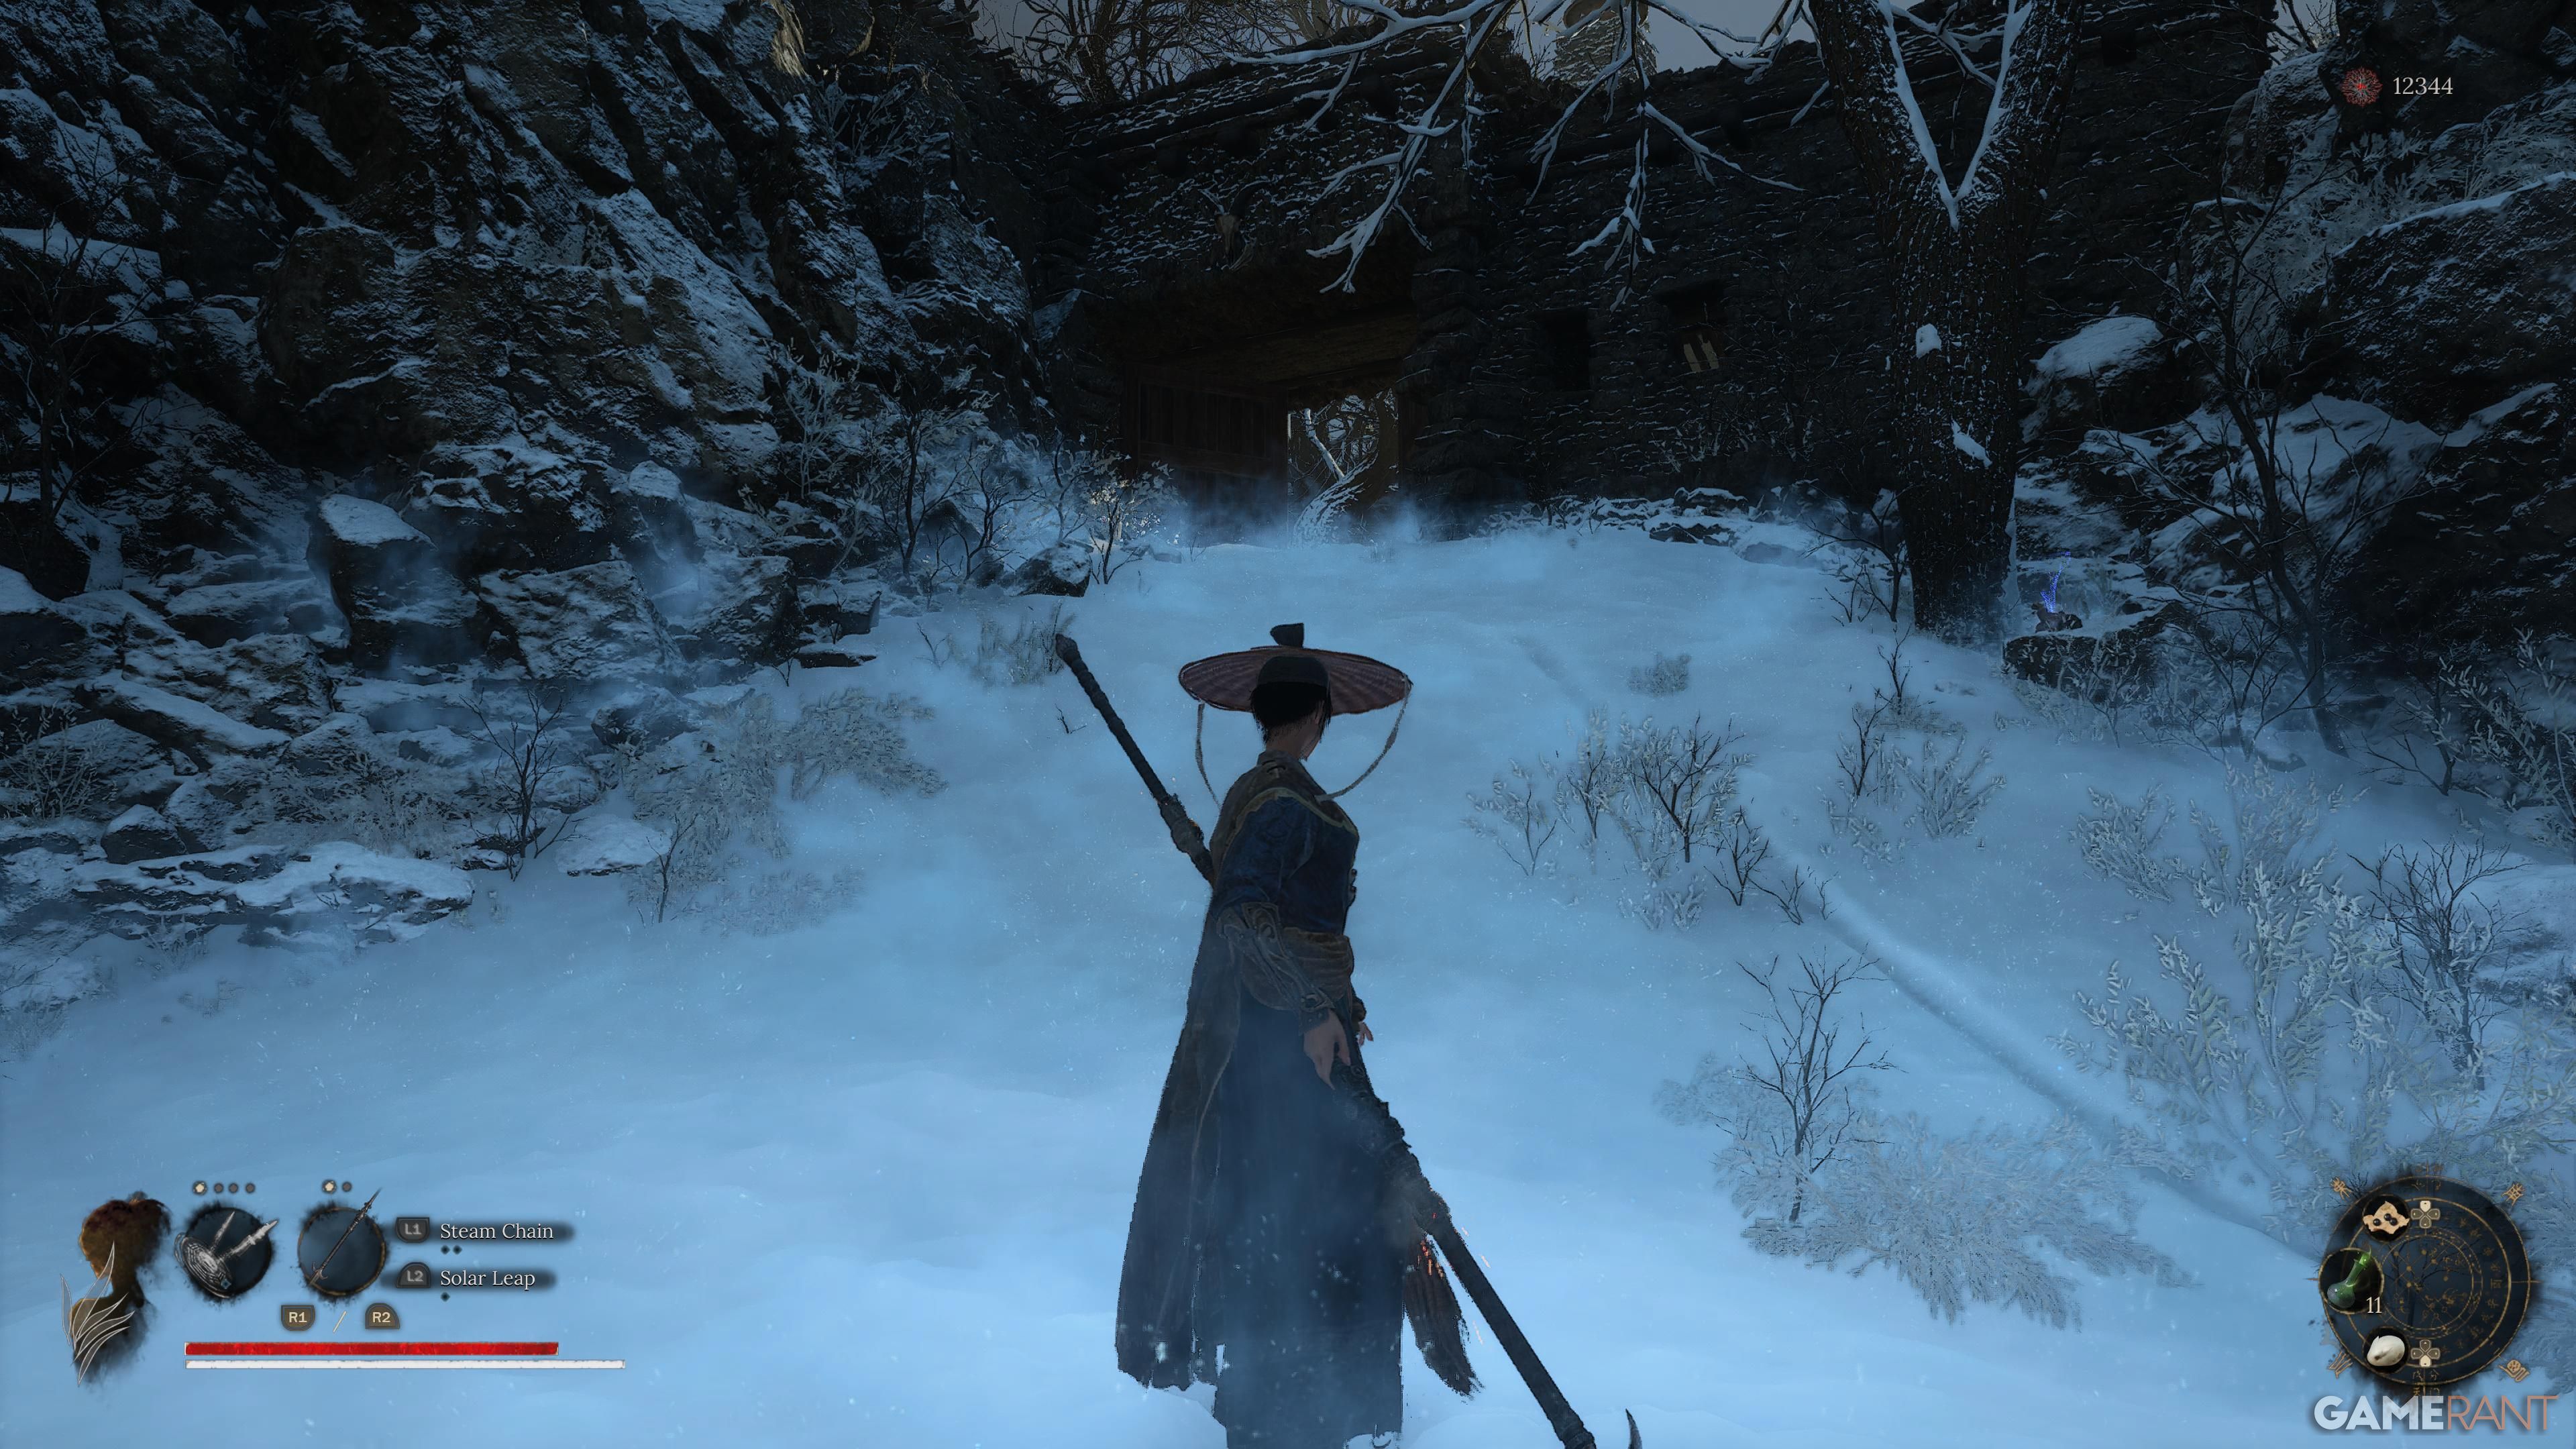
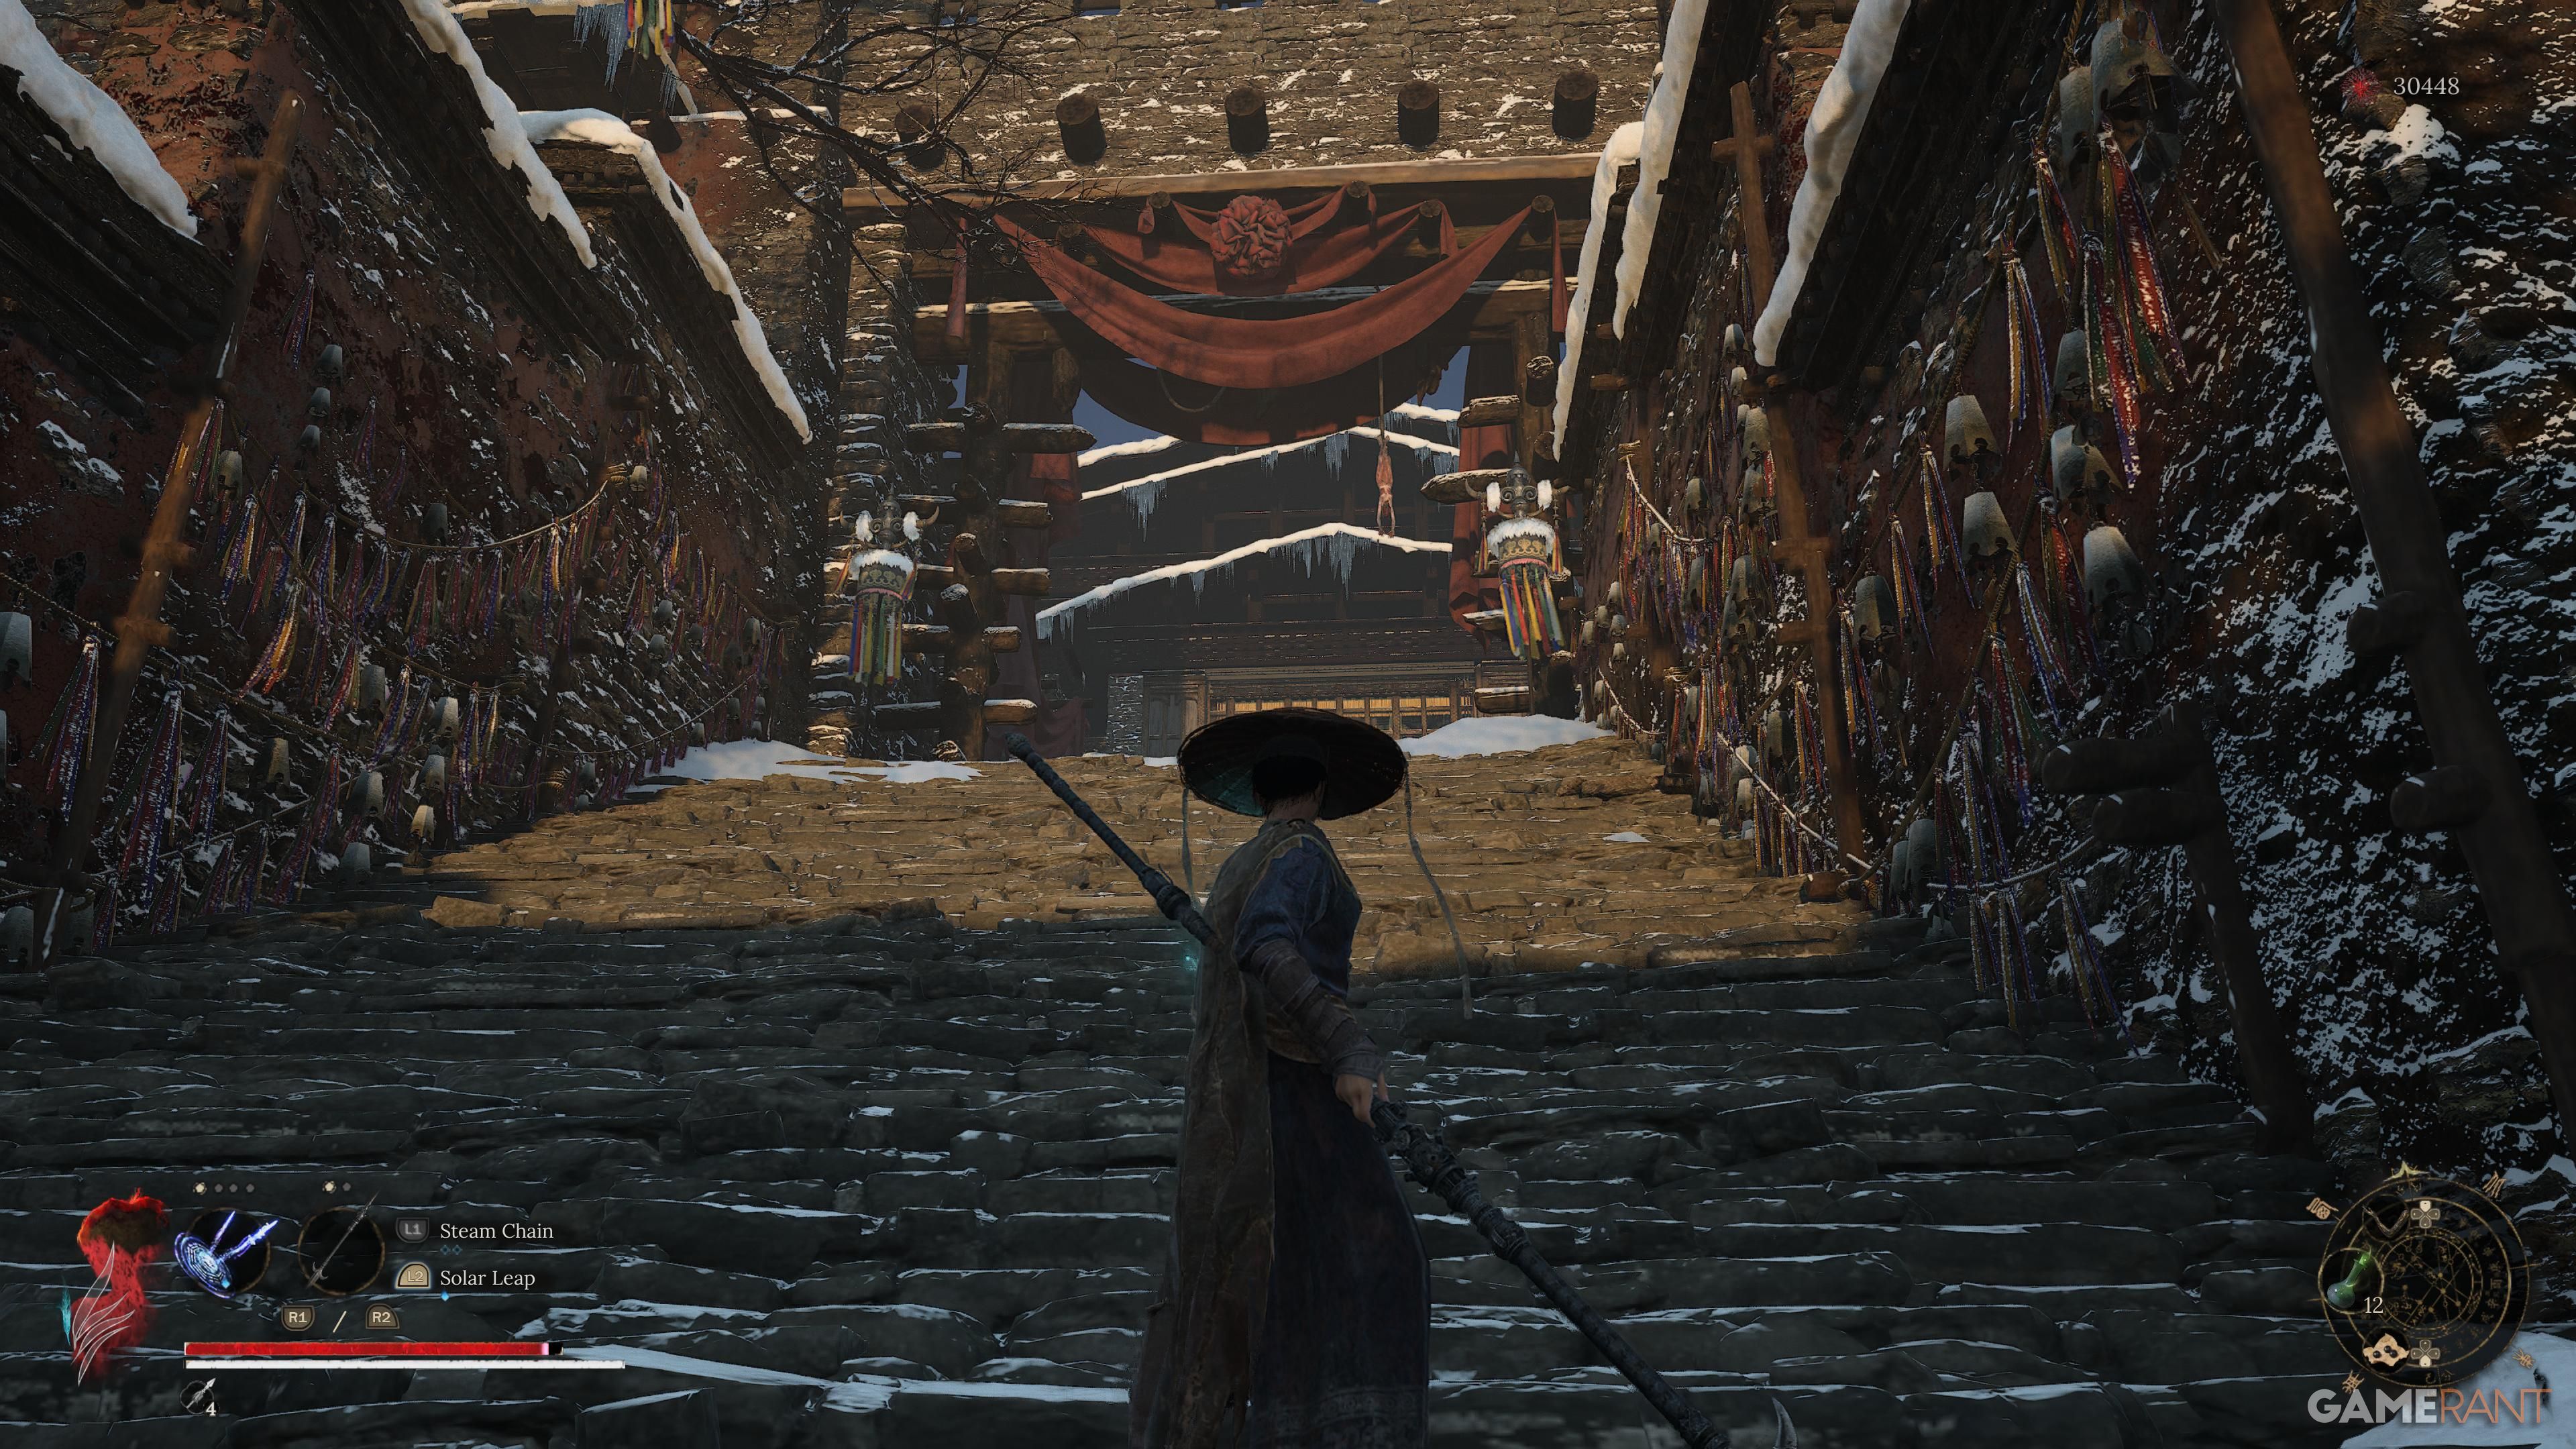
After unlocking the Snowpeak Pass sanctuary, proceed directly, and when you reach the central block with many adversaries around it, bypass them all and move towards the left side instead. There, you’ll find a door you can enter. Continue along the path to the right, entering a house that has stairs connecting to other buildings. Soon enough, you will arrive at Cloudspire City. After overcoming several formidable foes close to the entrance using your weapon, continue straight ahead to interact with another shrine.
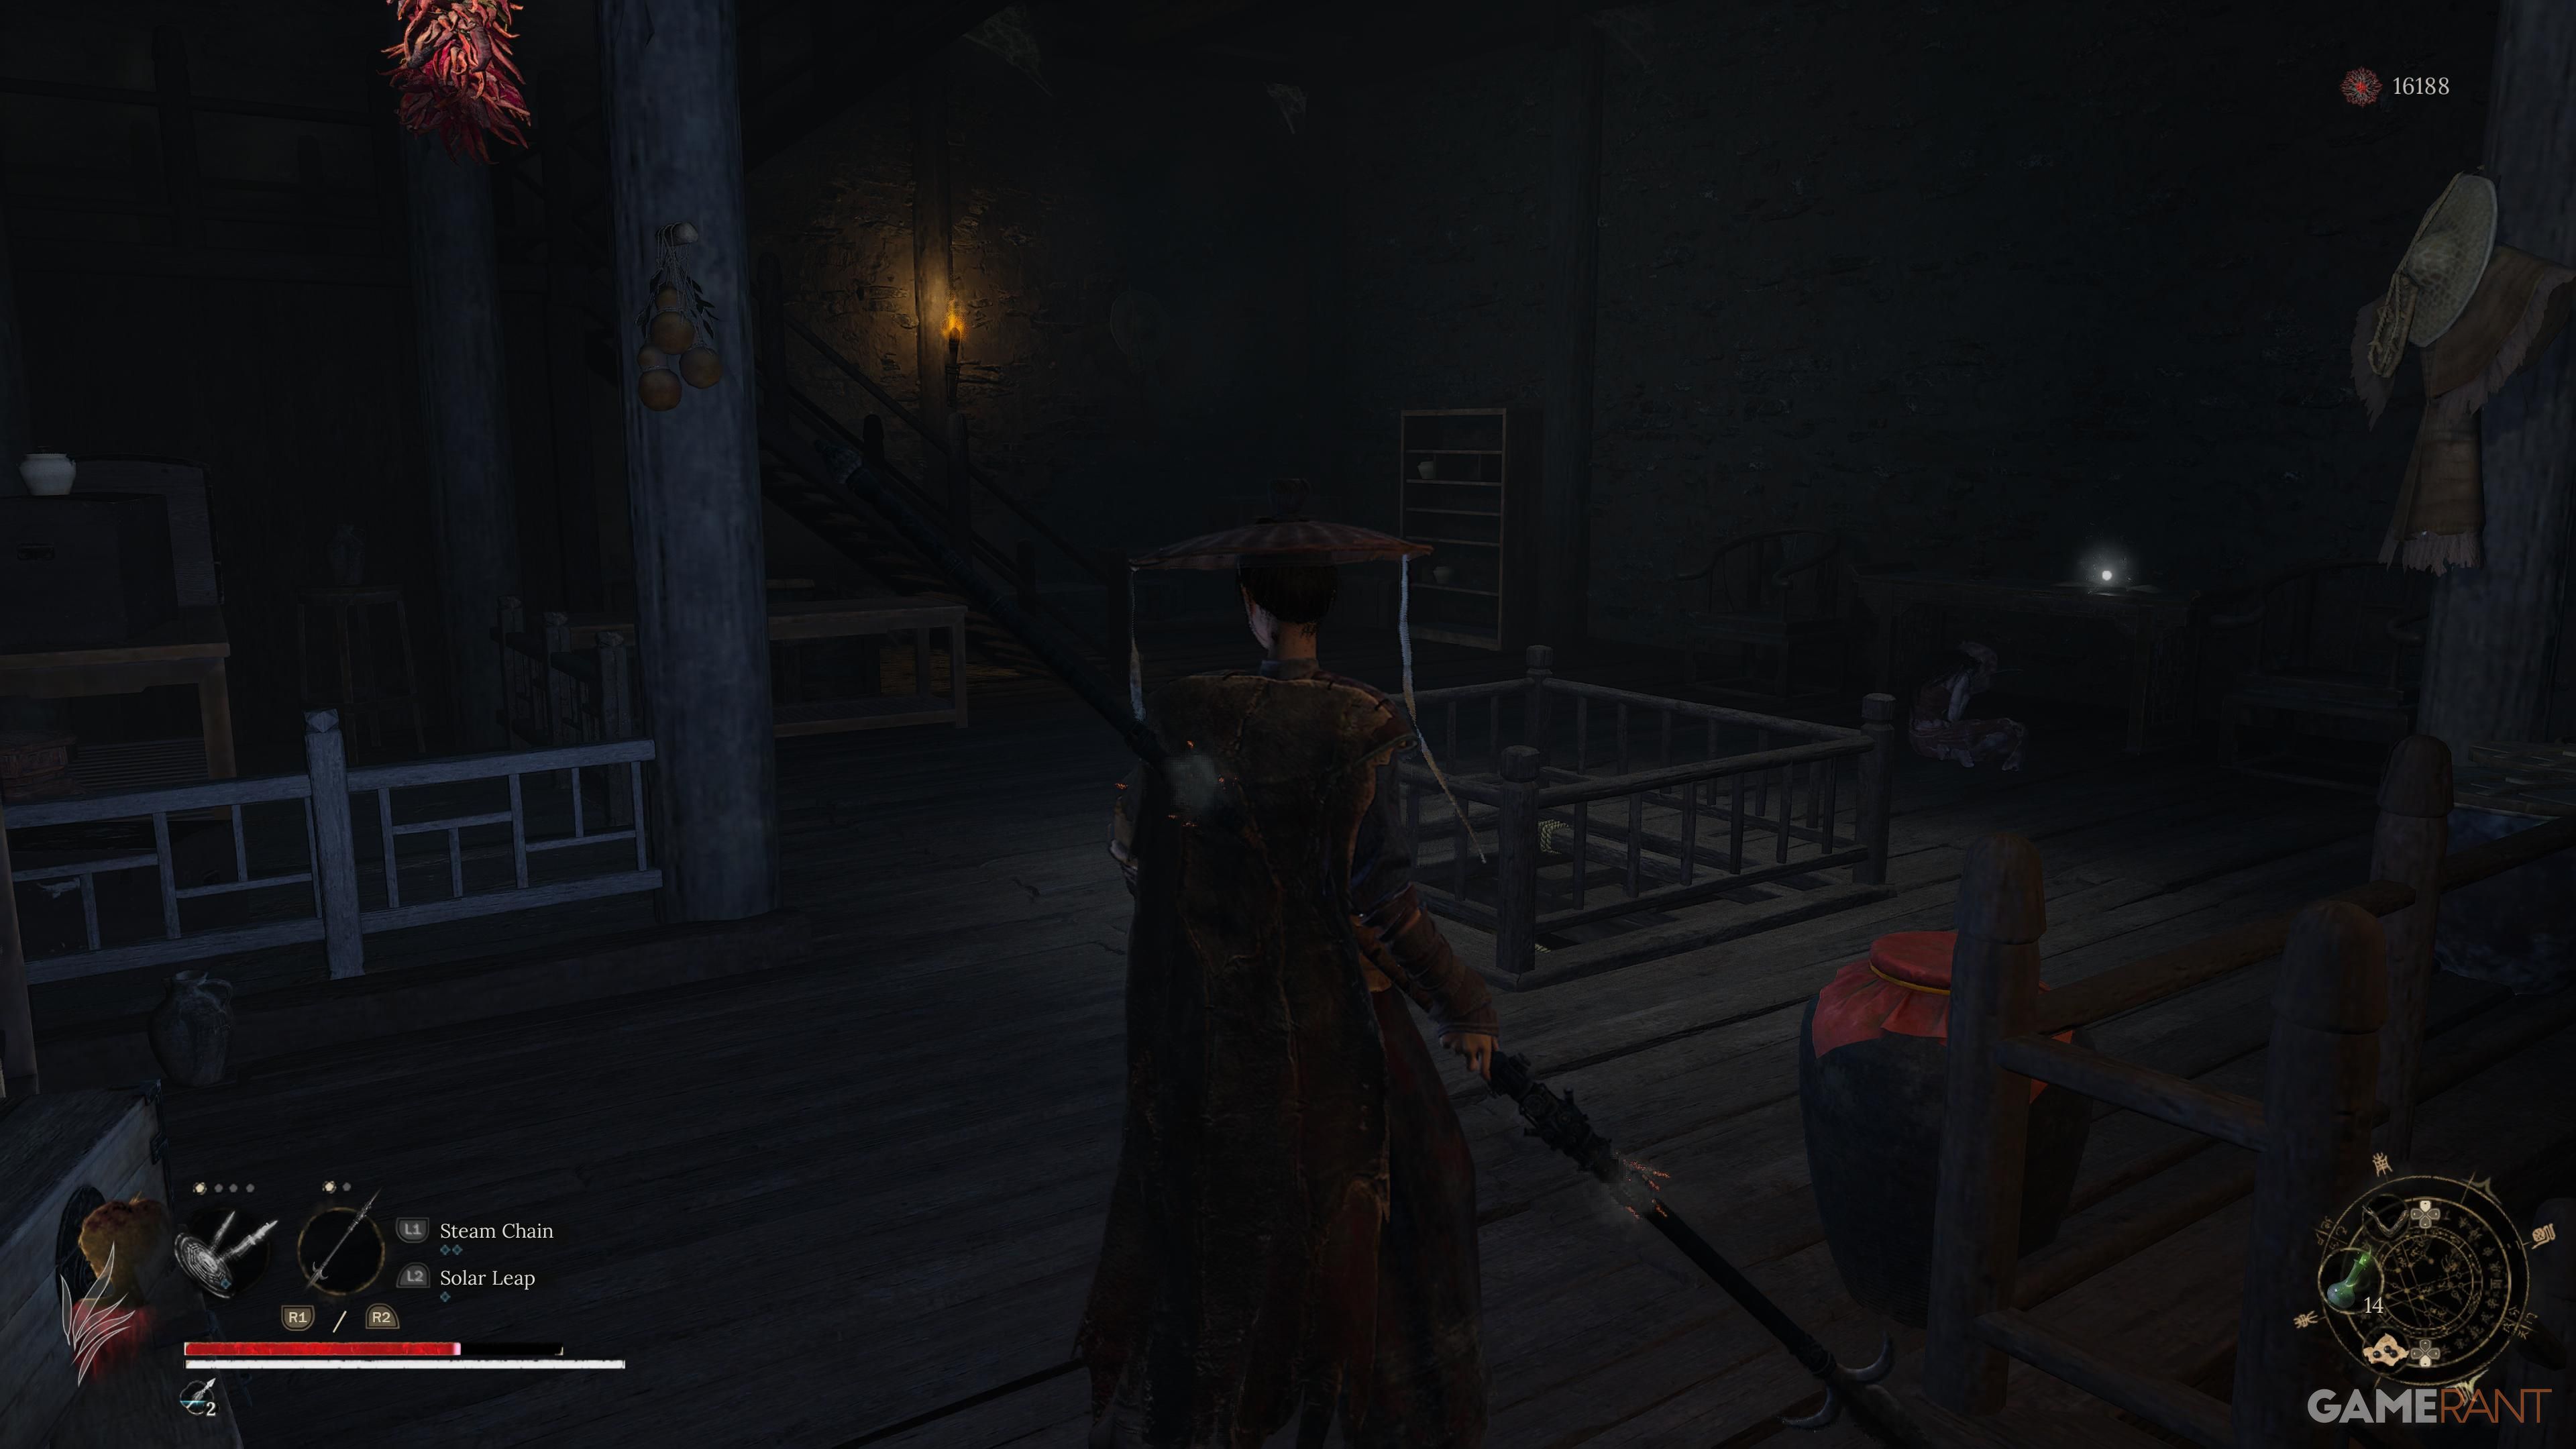
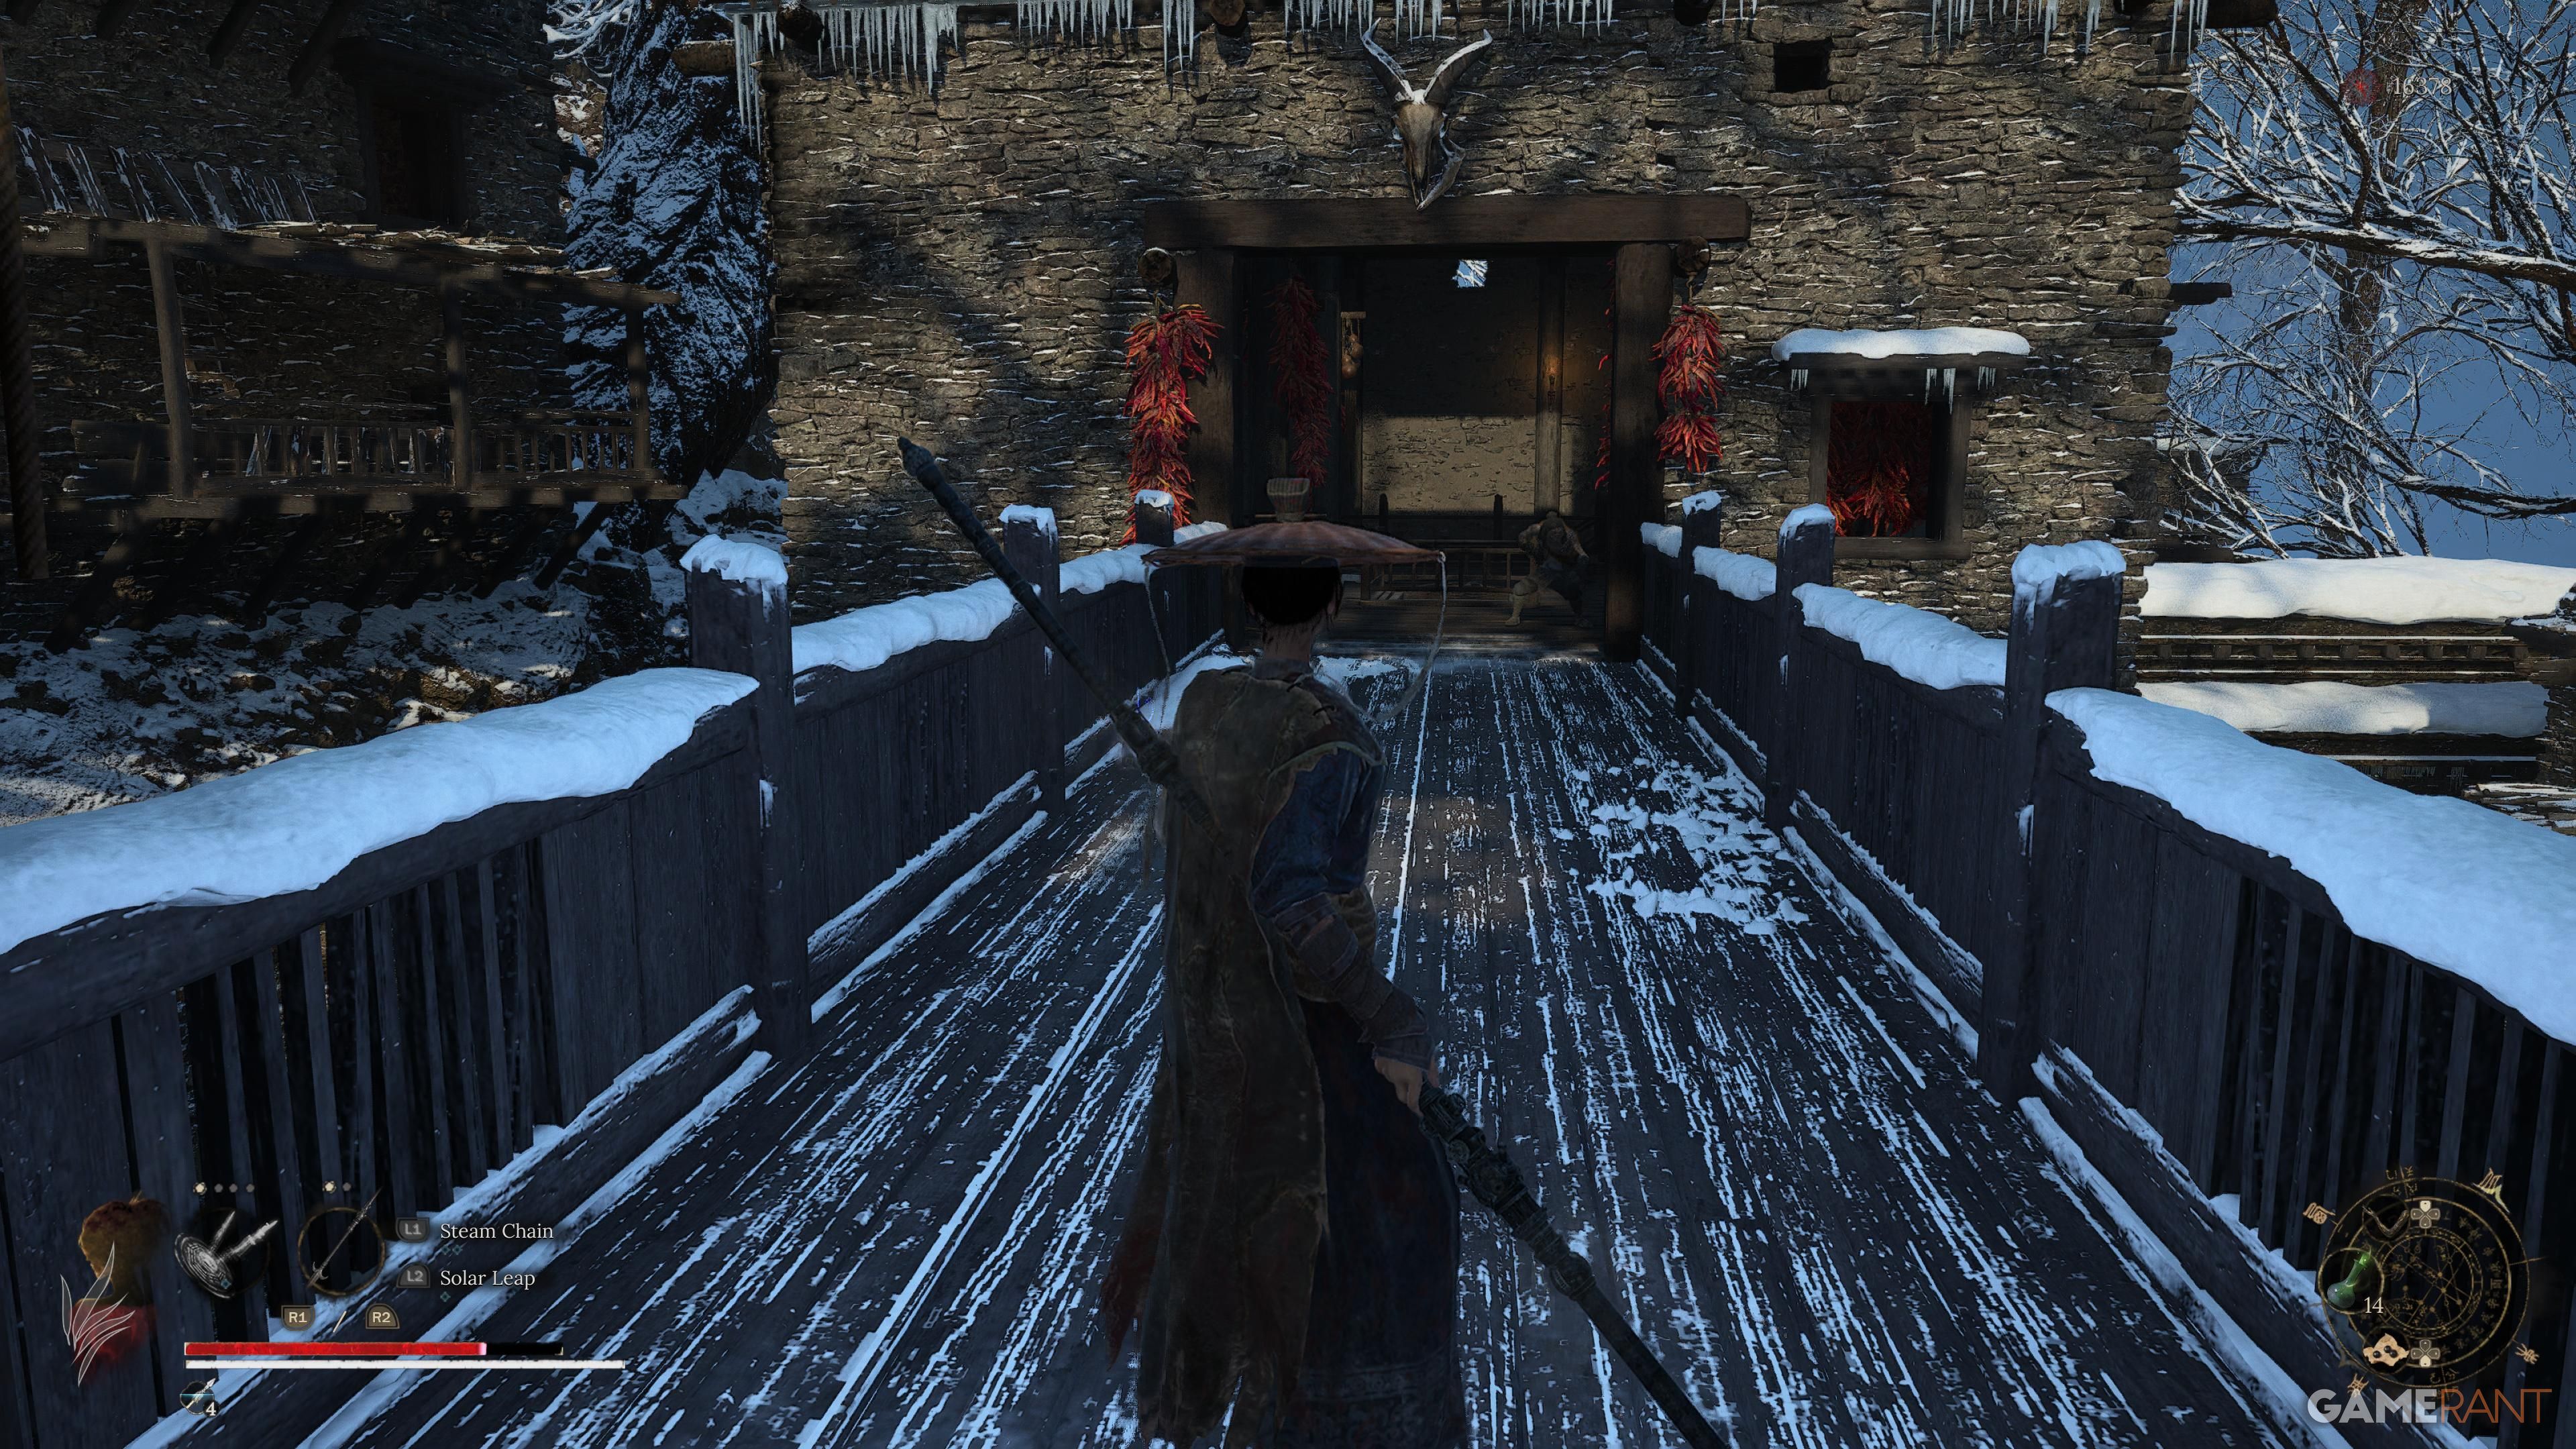
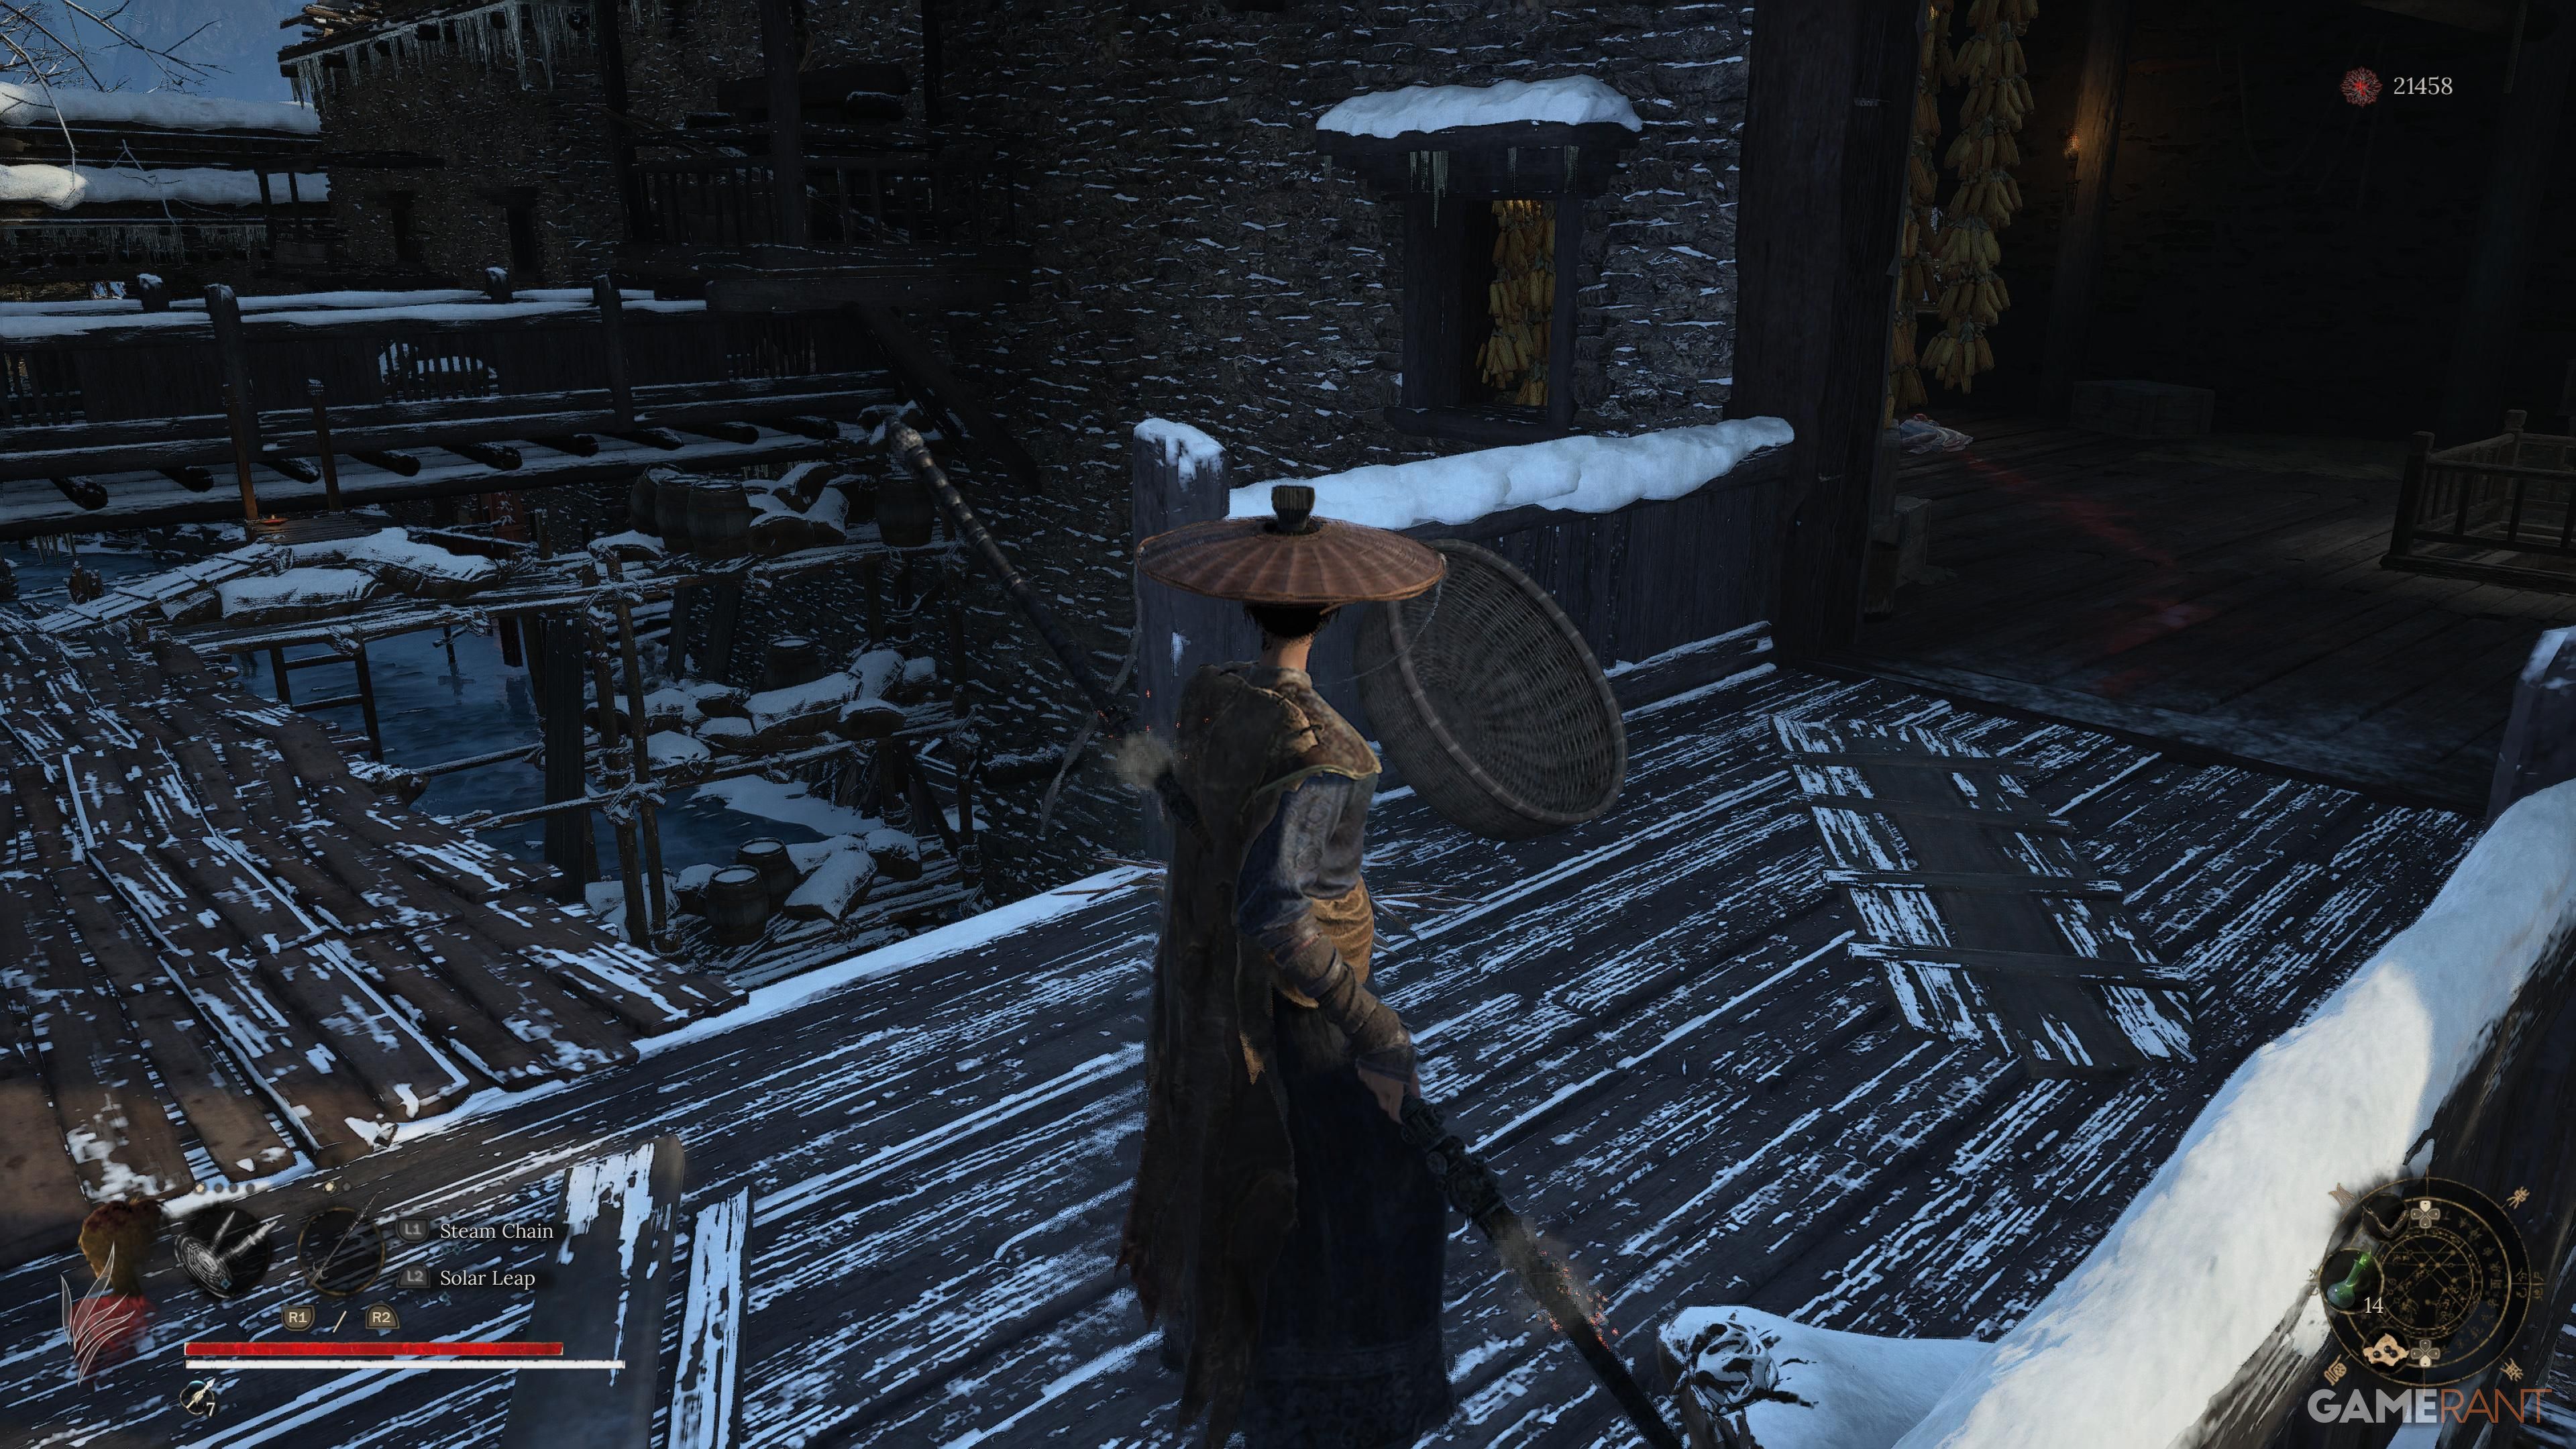
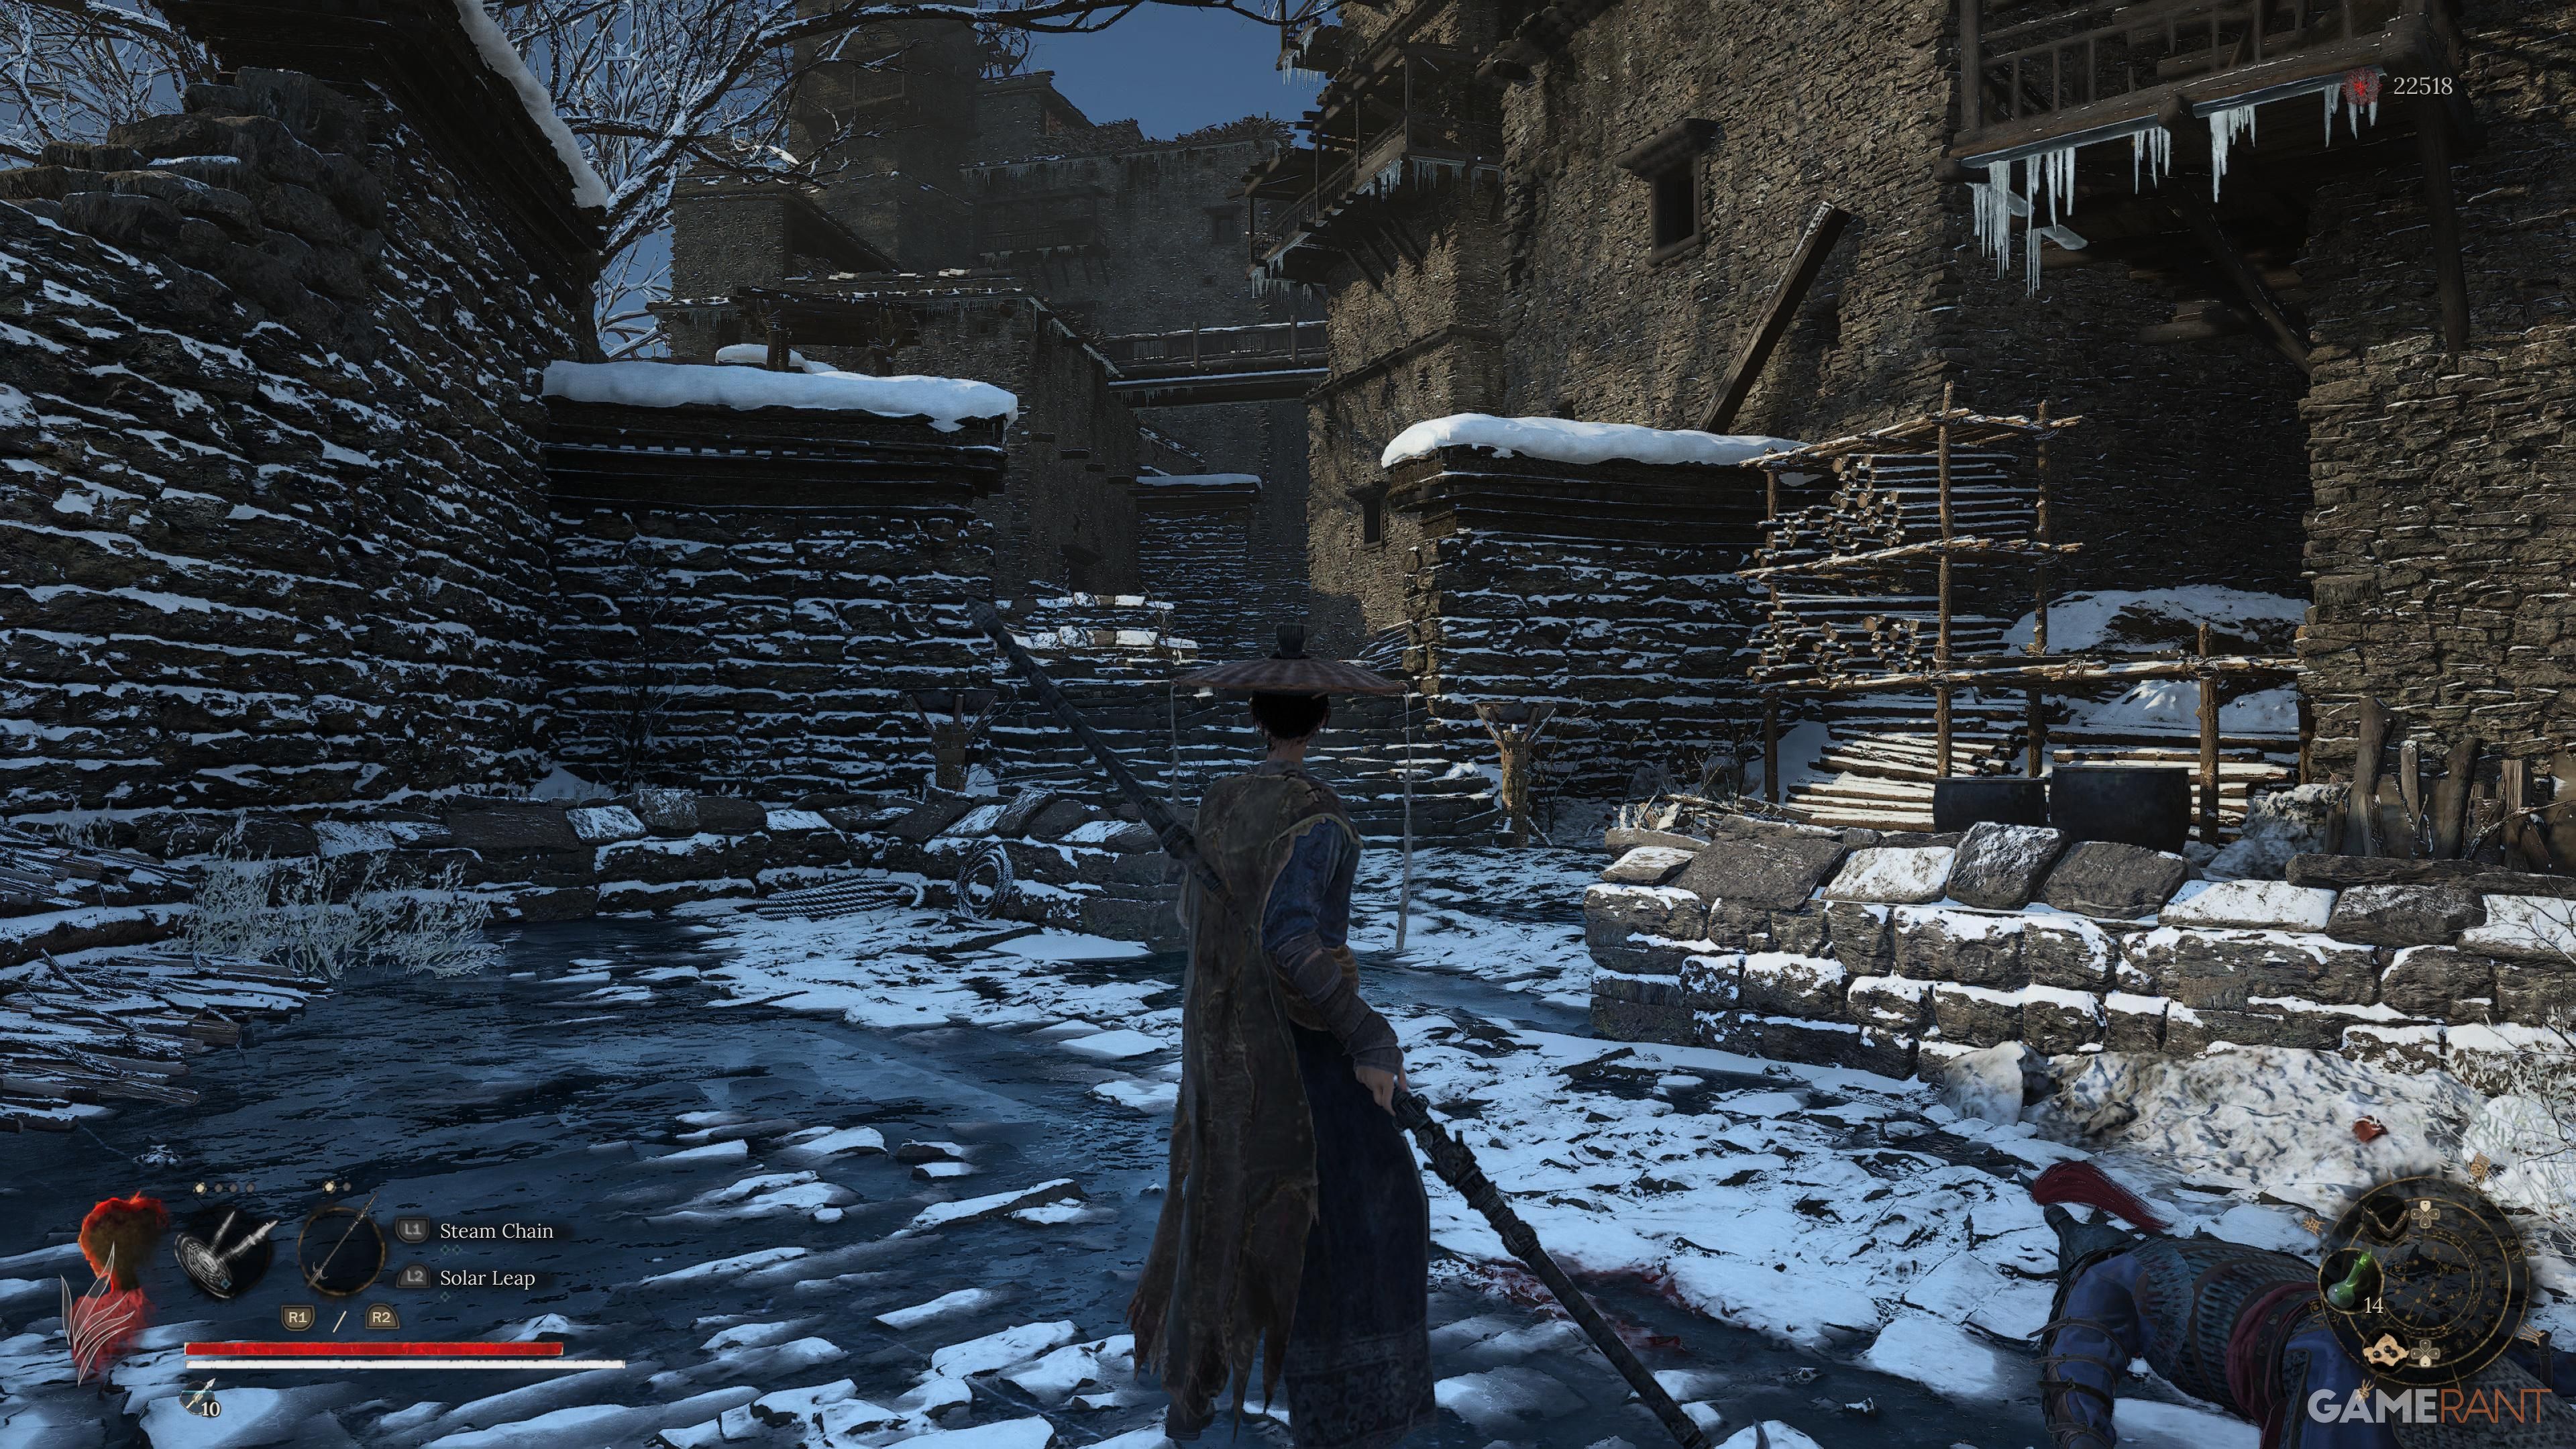
Approach the door near the shrine and ascend the stairs beyond it. Proceed inside the structure, then descend at some point; you’ll notice a trail to your left upon exiting, which takes you outside. Continue forward, and when you encounter a ladder, feel free to scale it upwards.
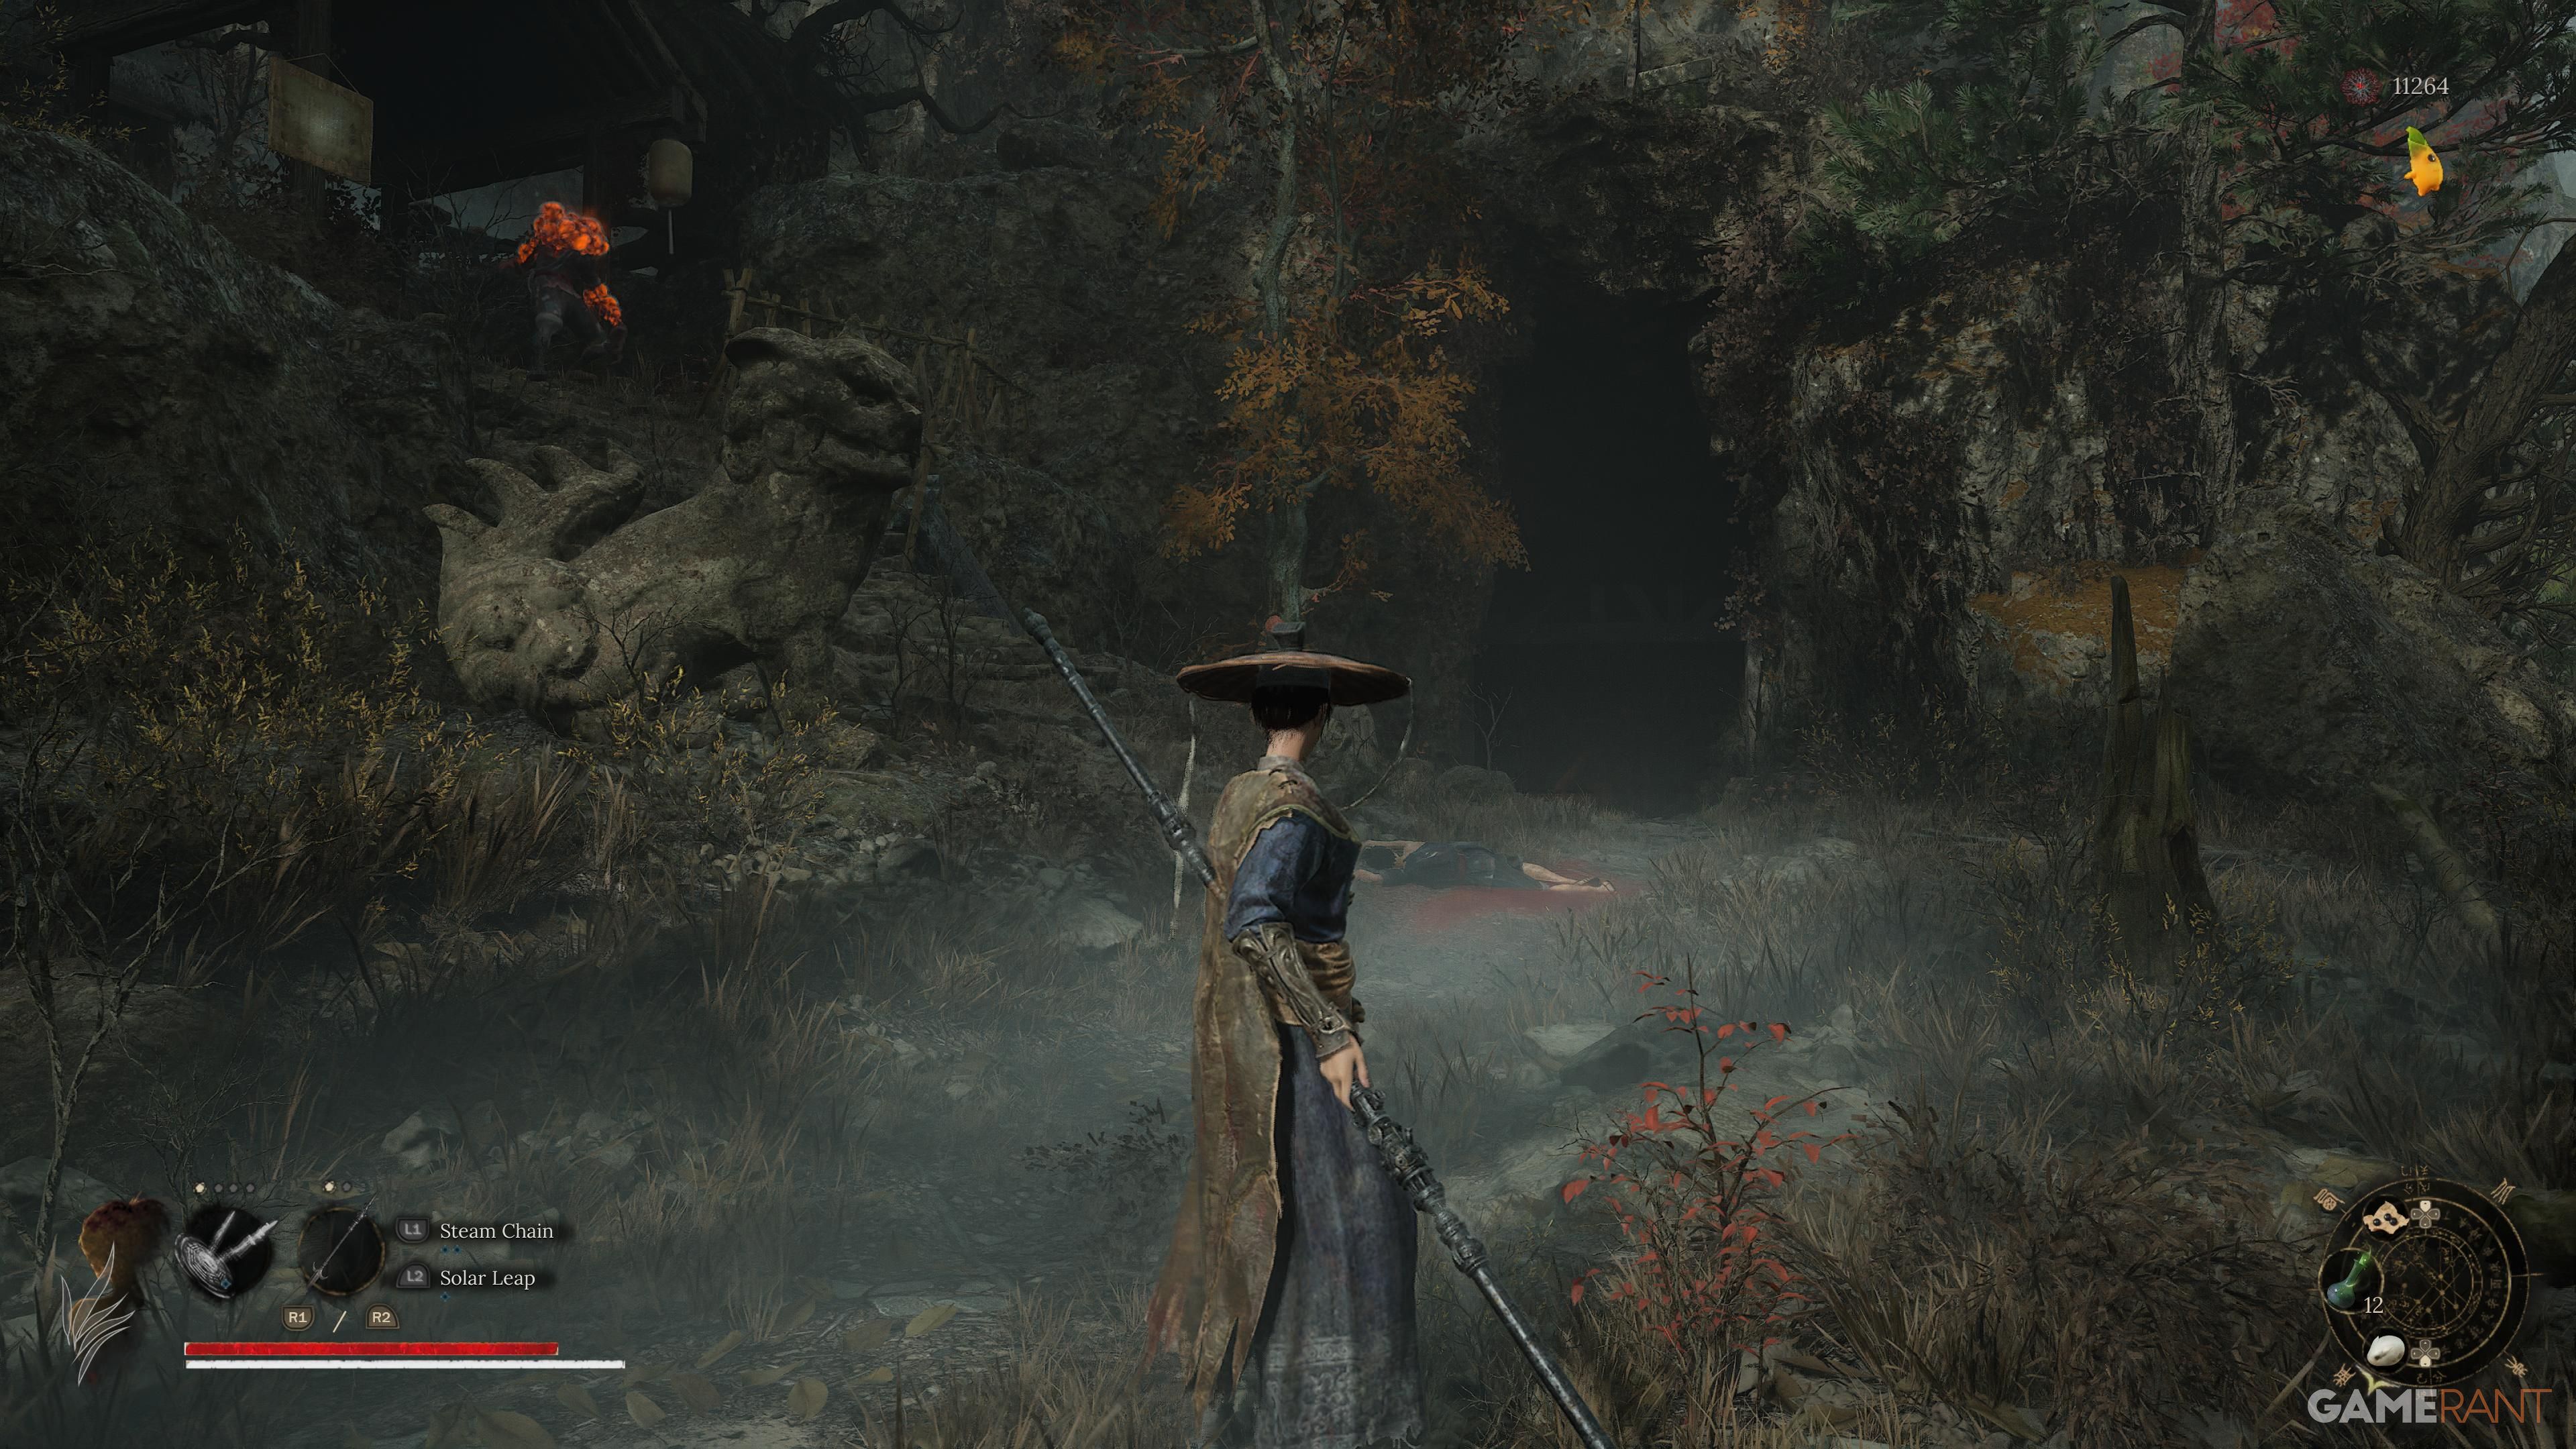
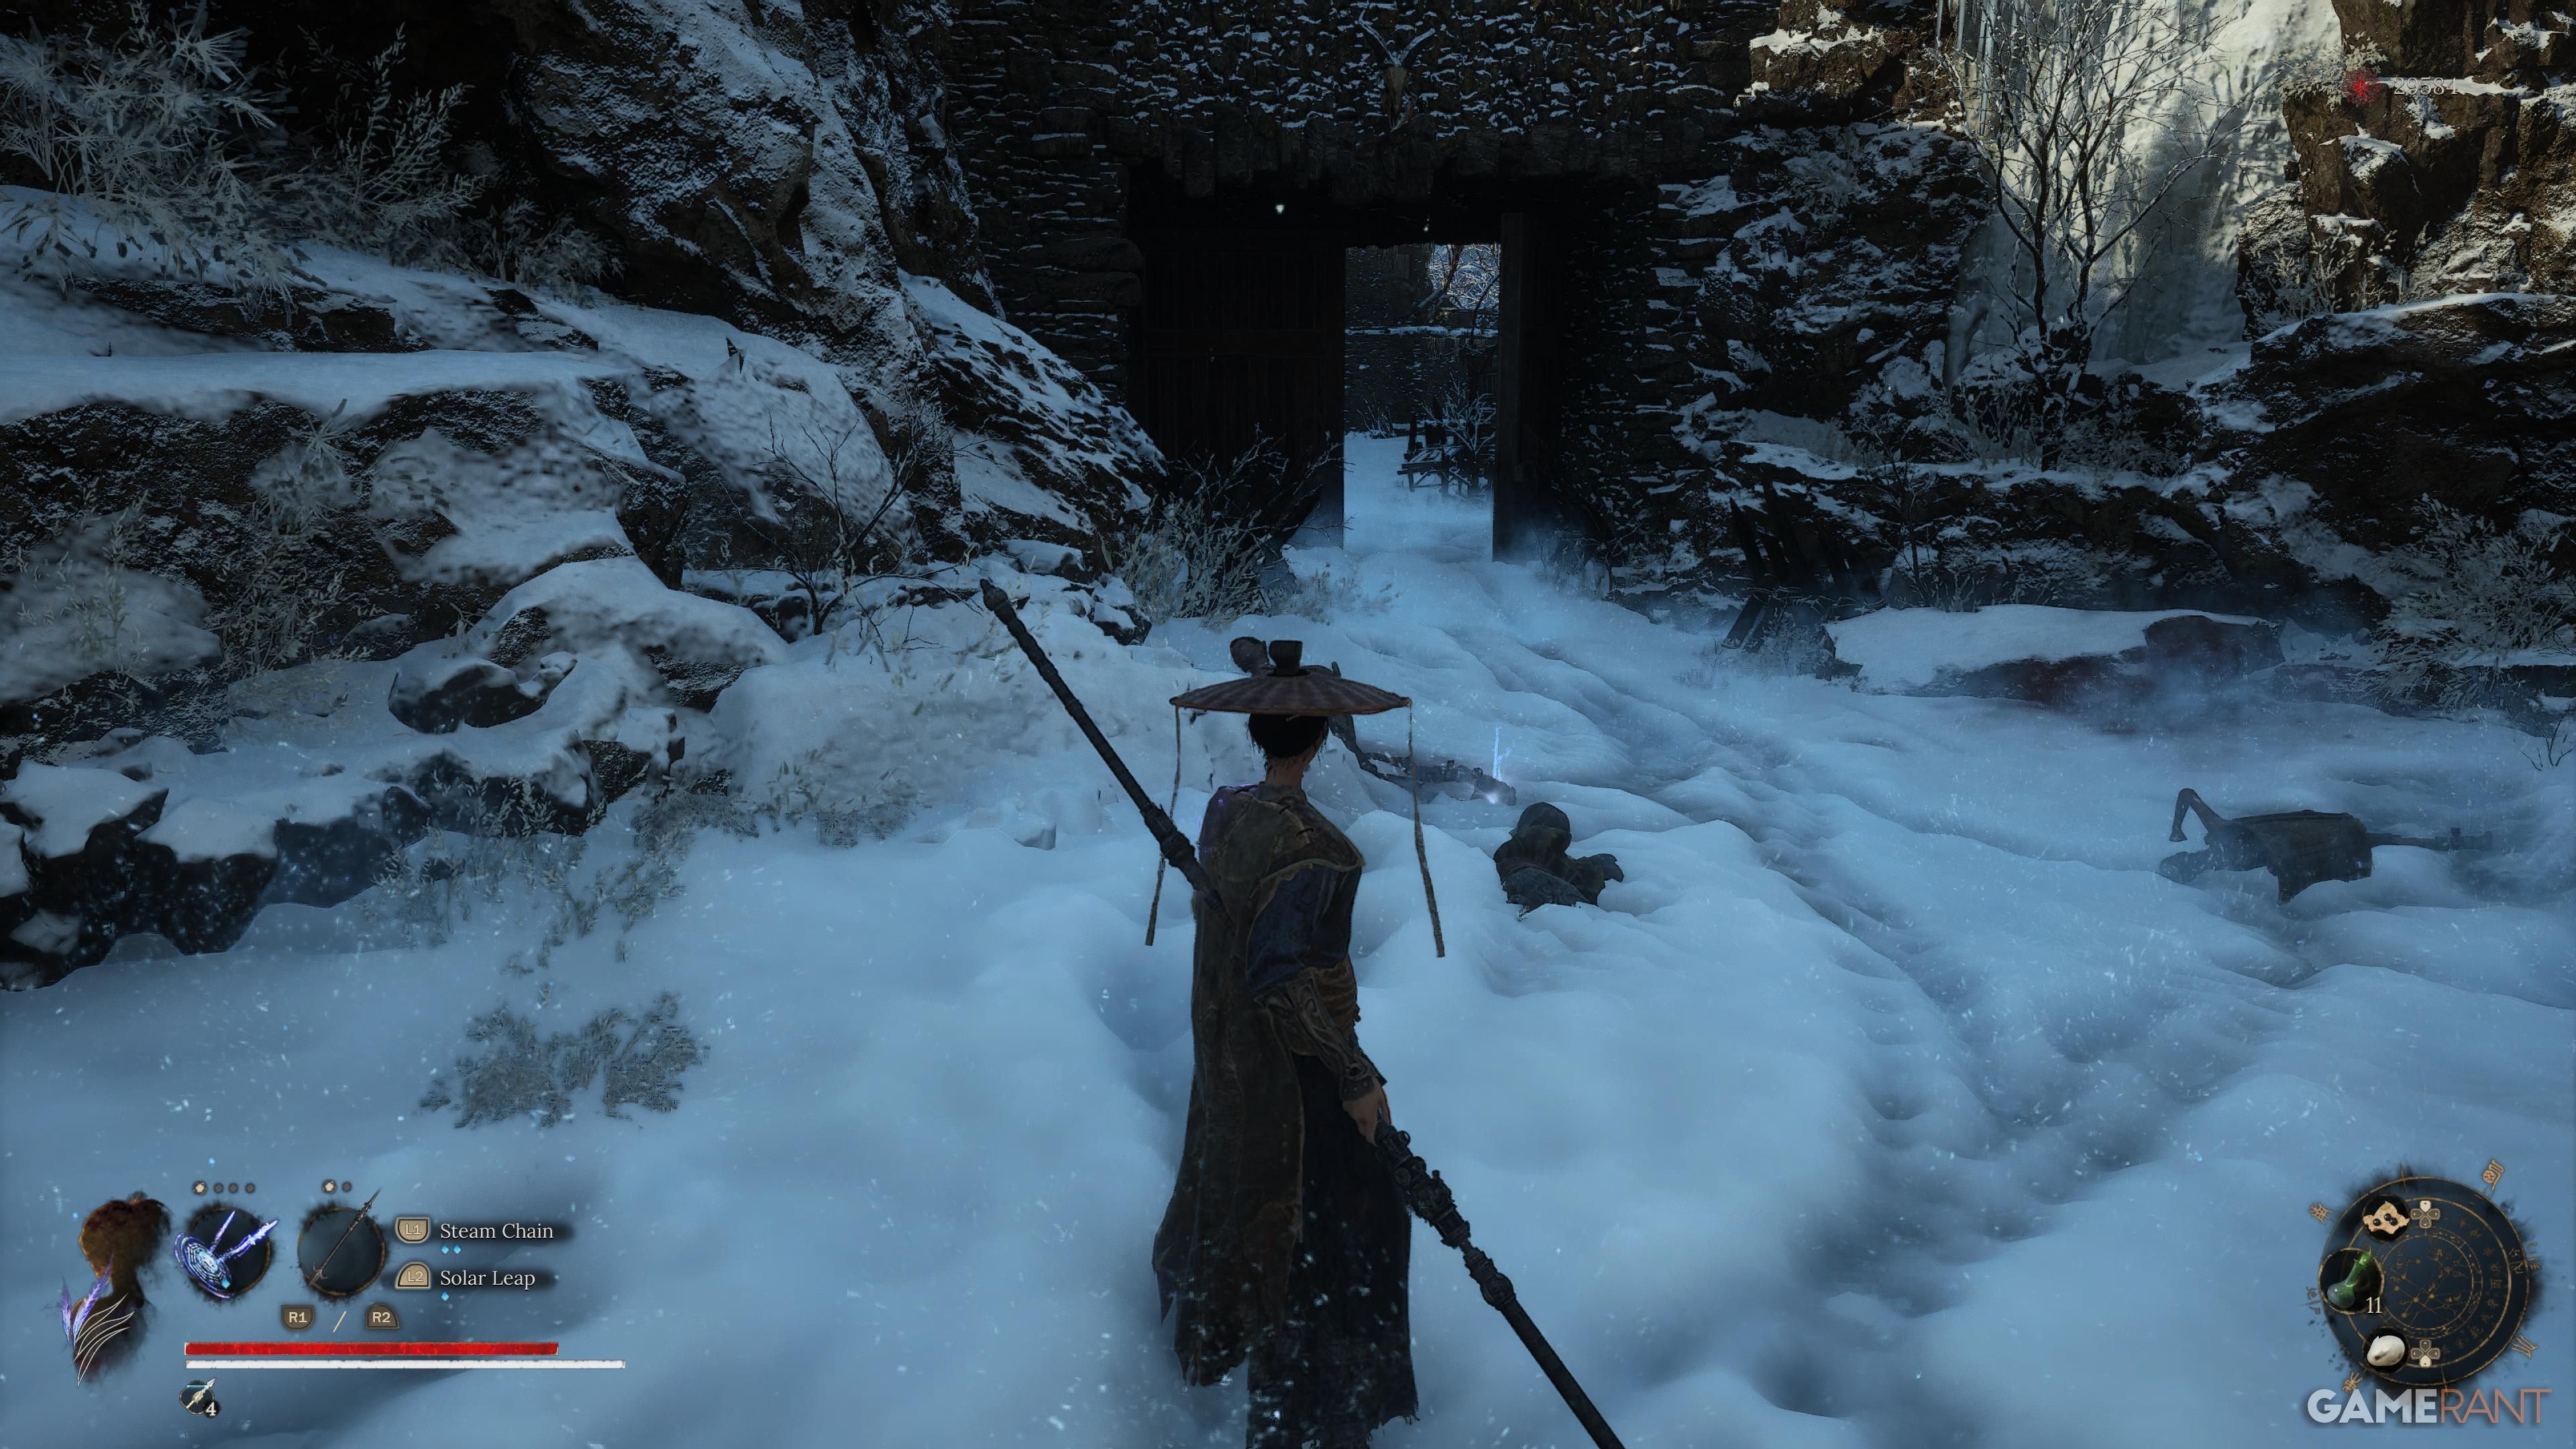
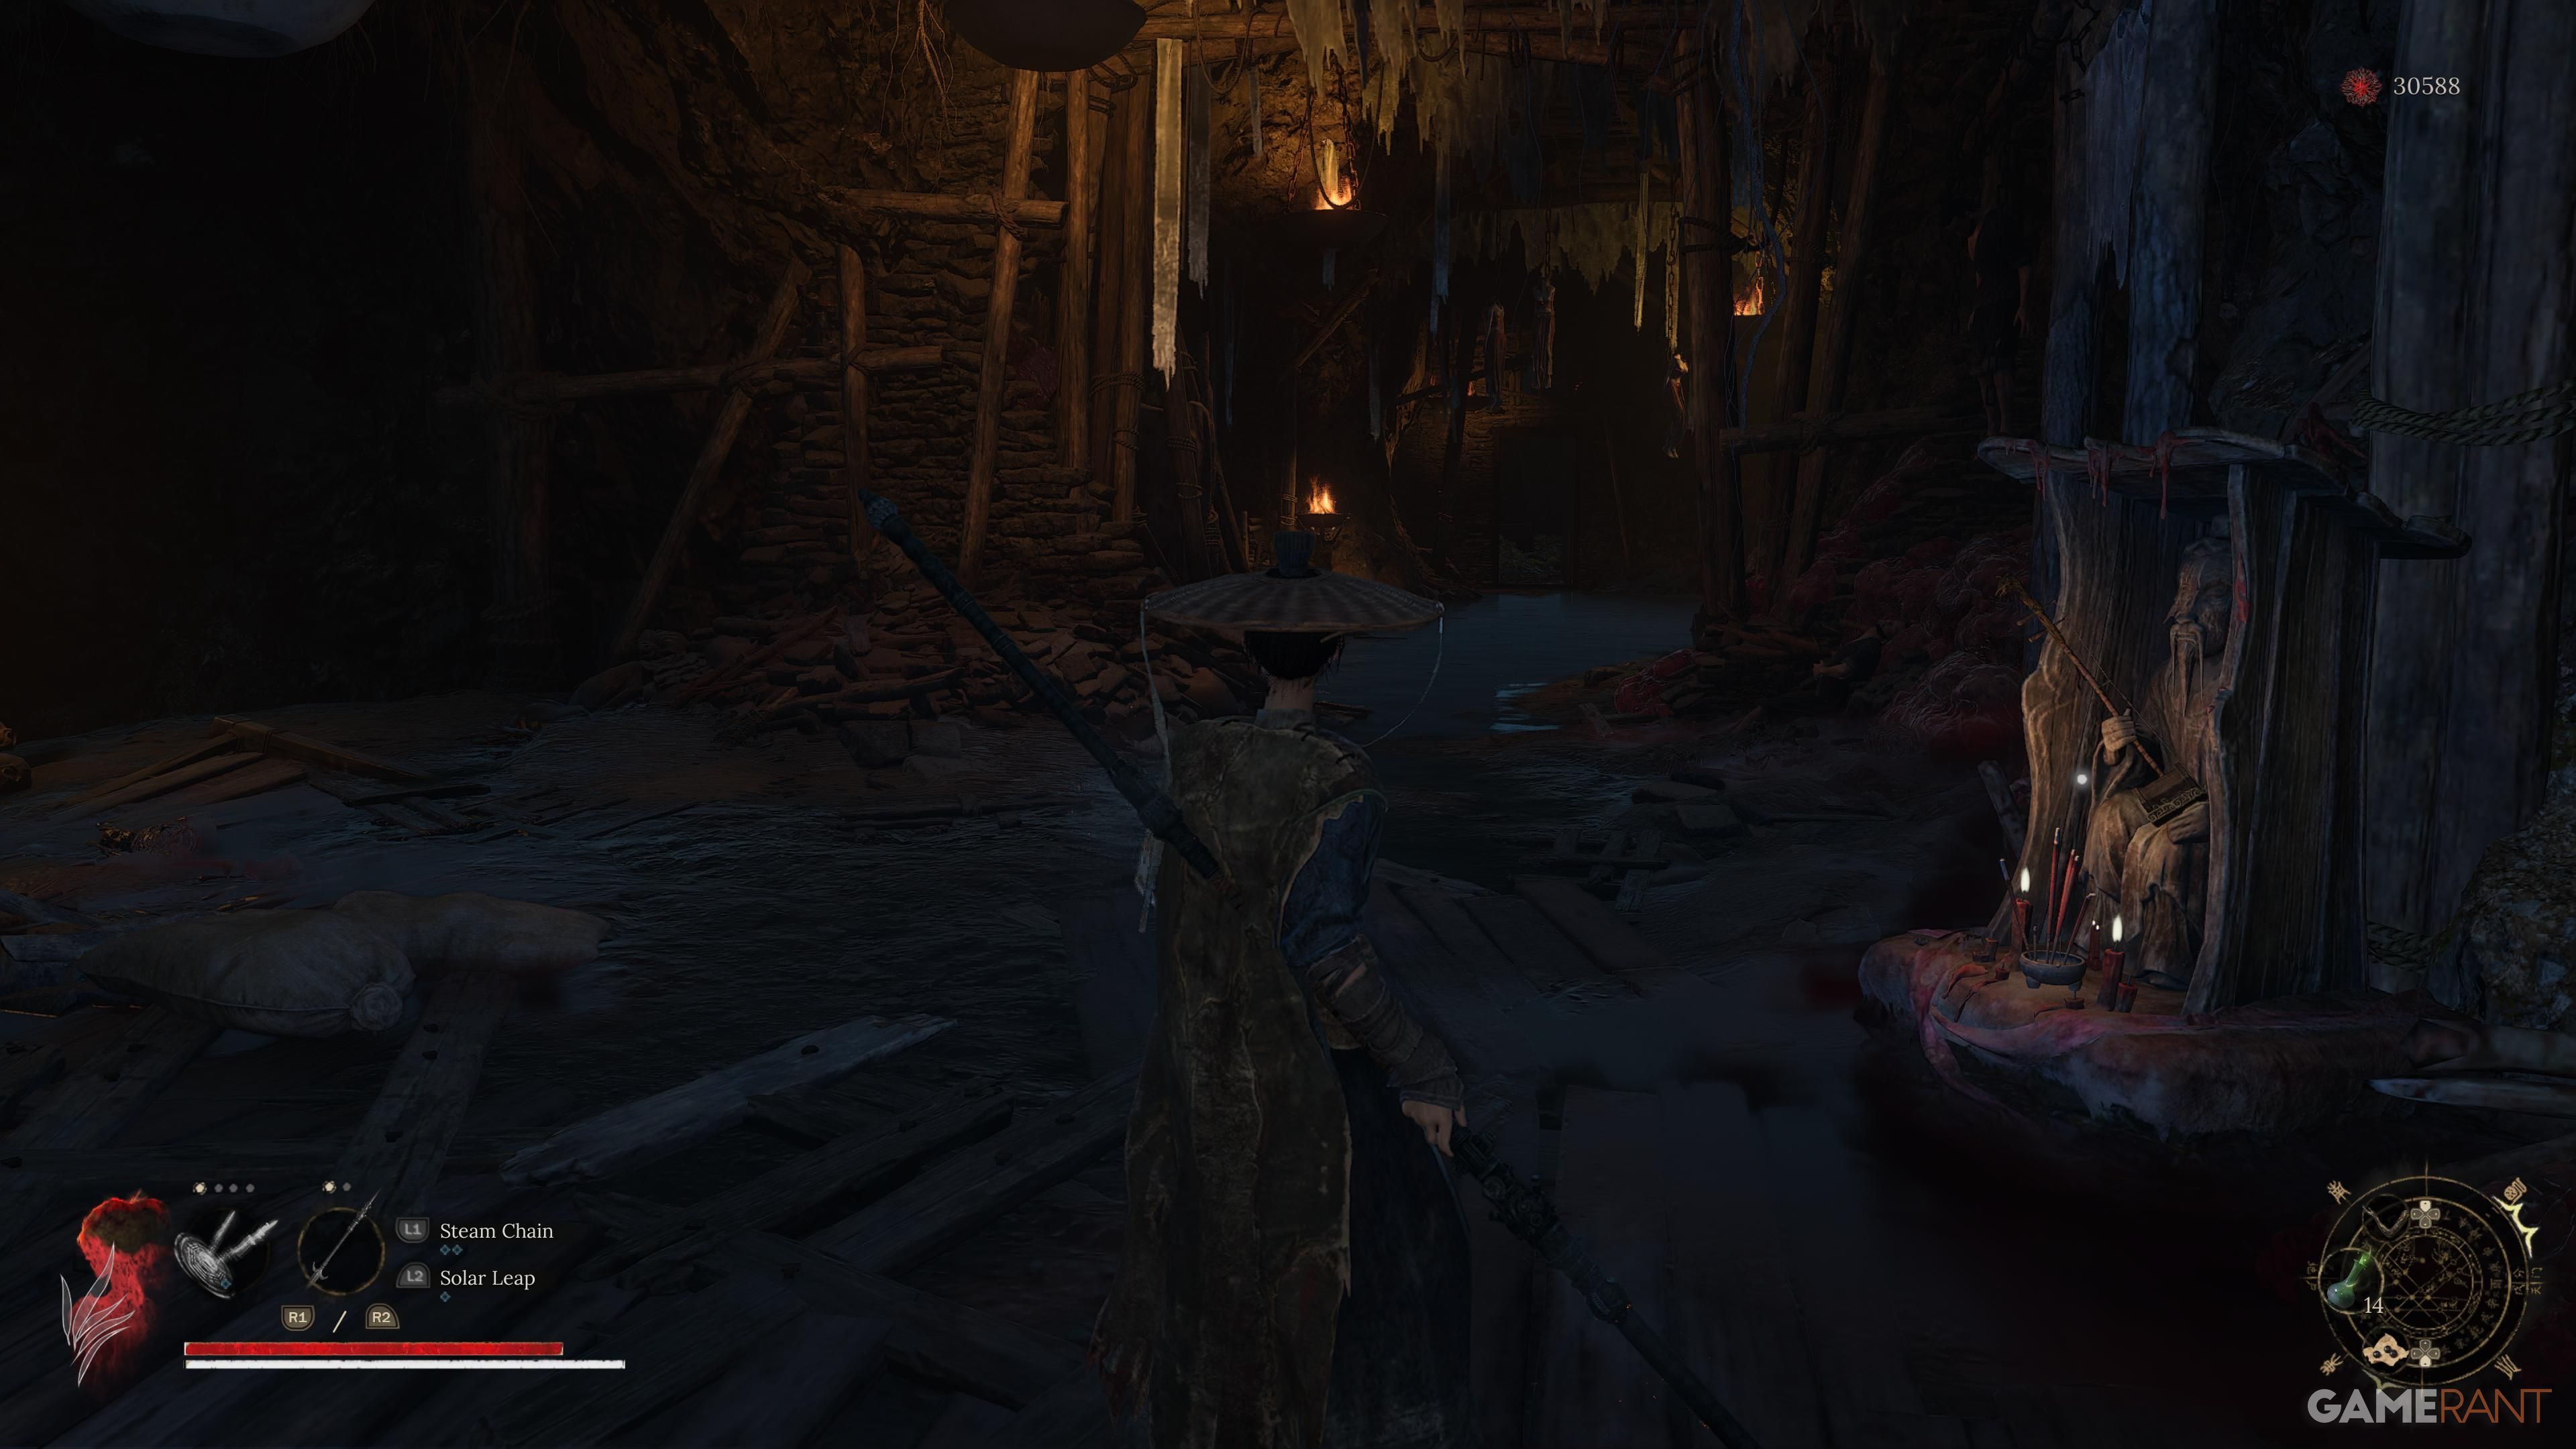
Do not climb the second ladder—instead, head straight and keep going into the cave.
To locate the ladder, proceed along the route that takes you to the left. Once you reach a point where you can climb, ascend the stairway leading outside. Now, lower the ladder from your position on the right side. Continue forward past the adversaries and into the house situated on the left, immediately following the enemy playing the flute.
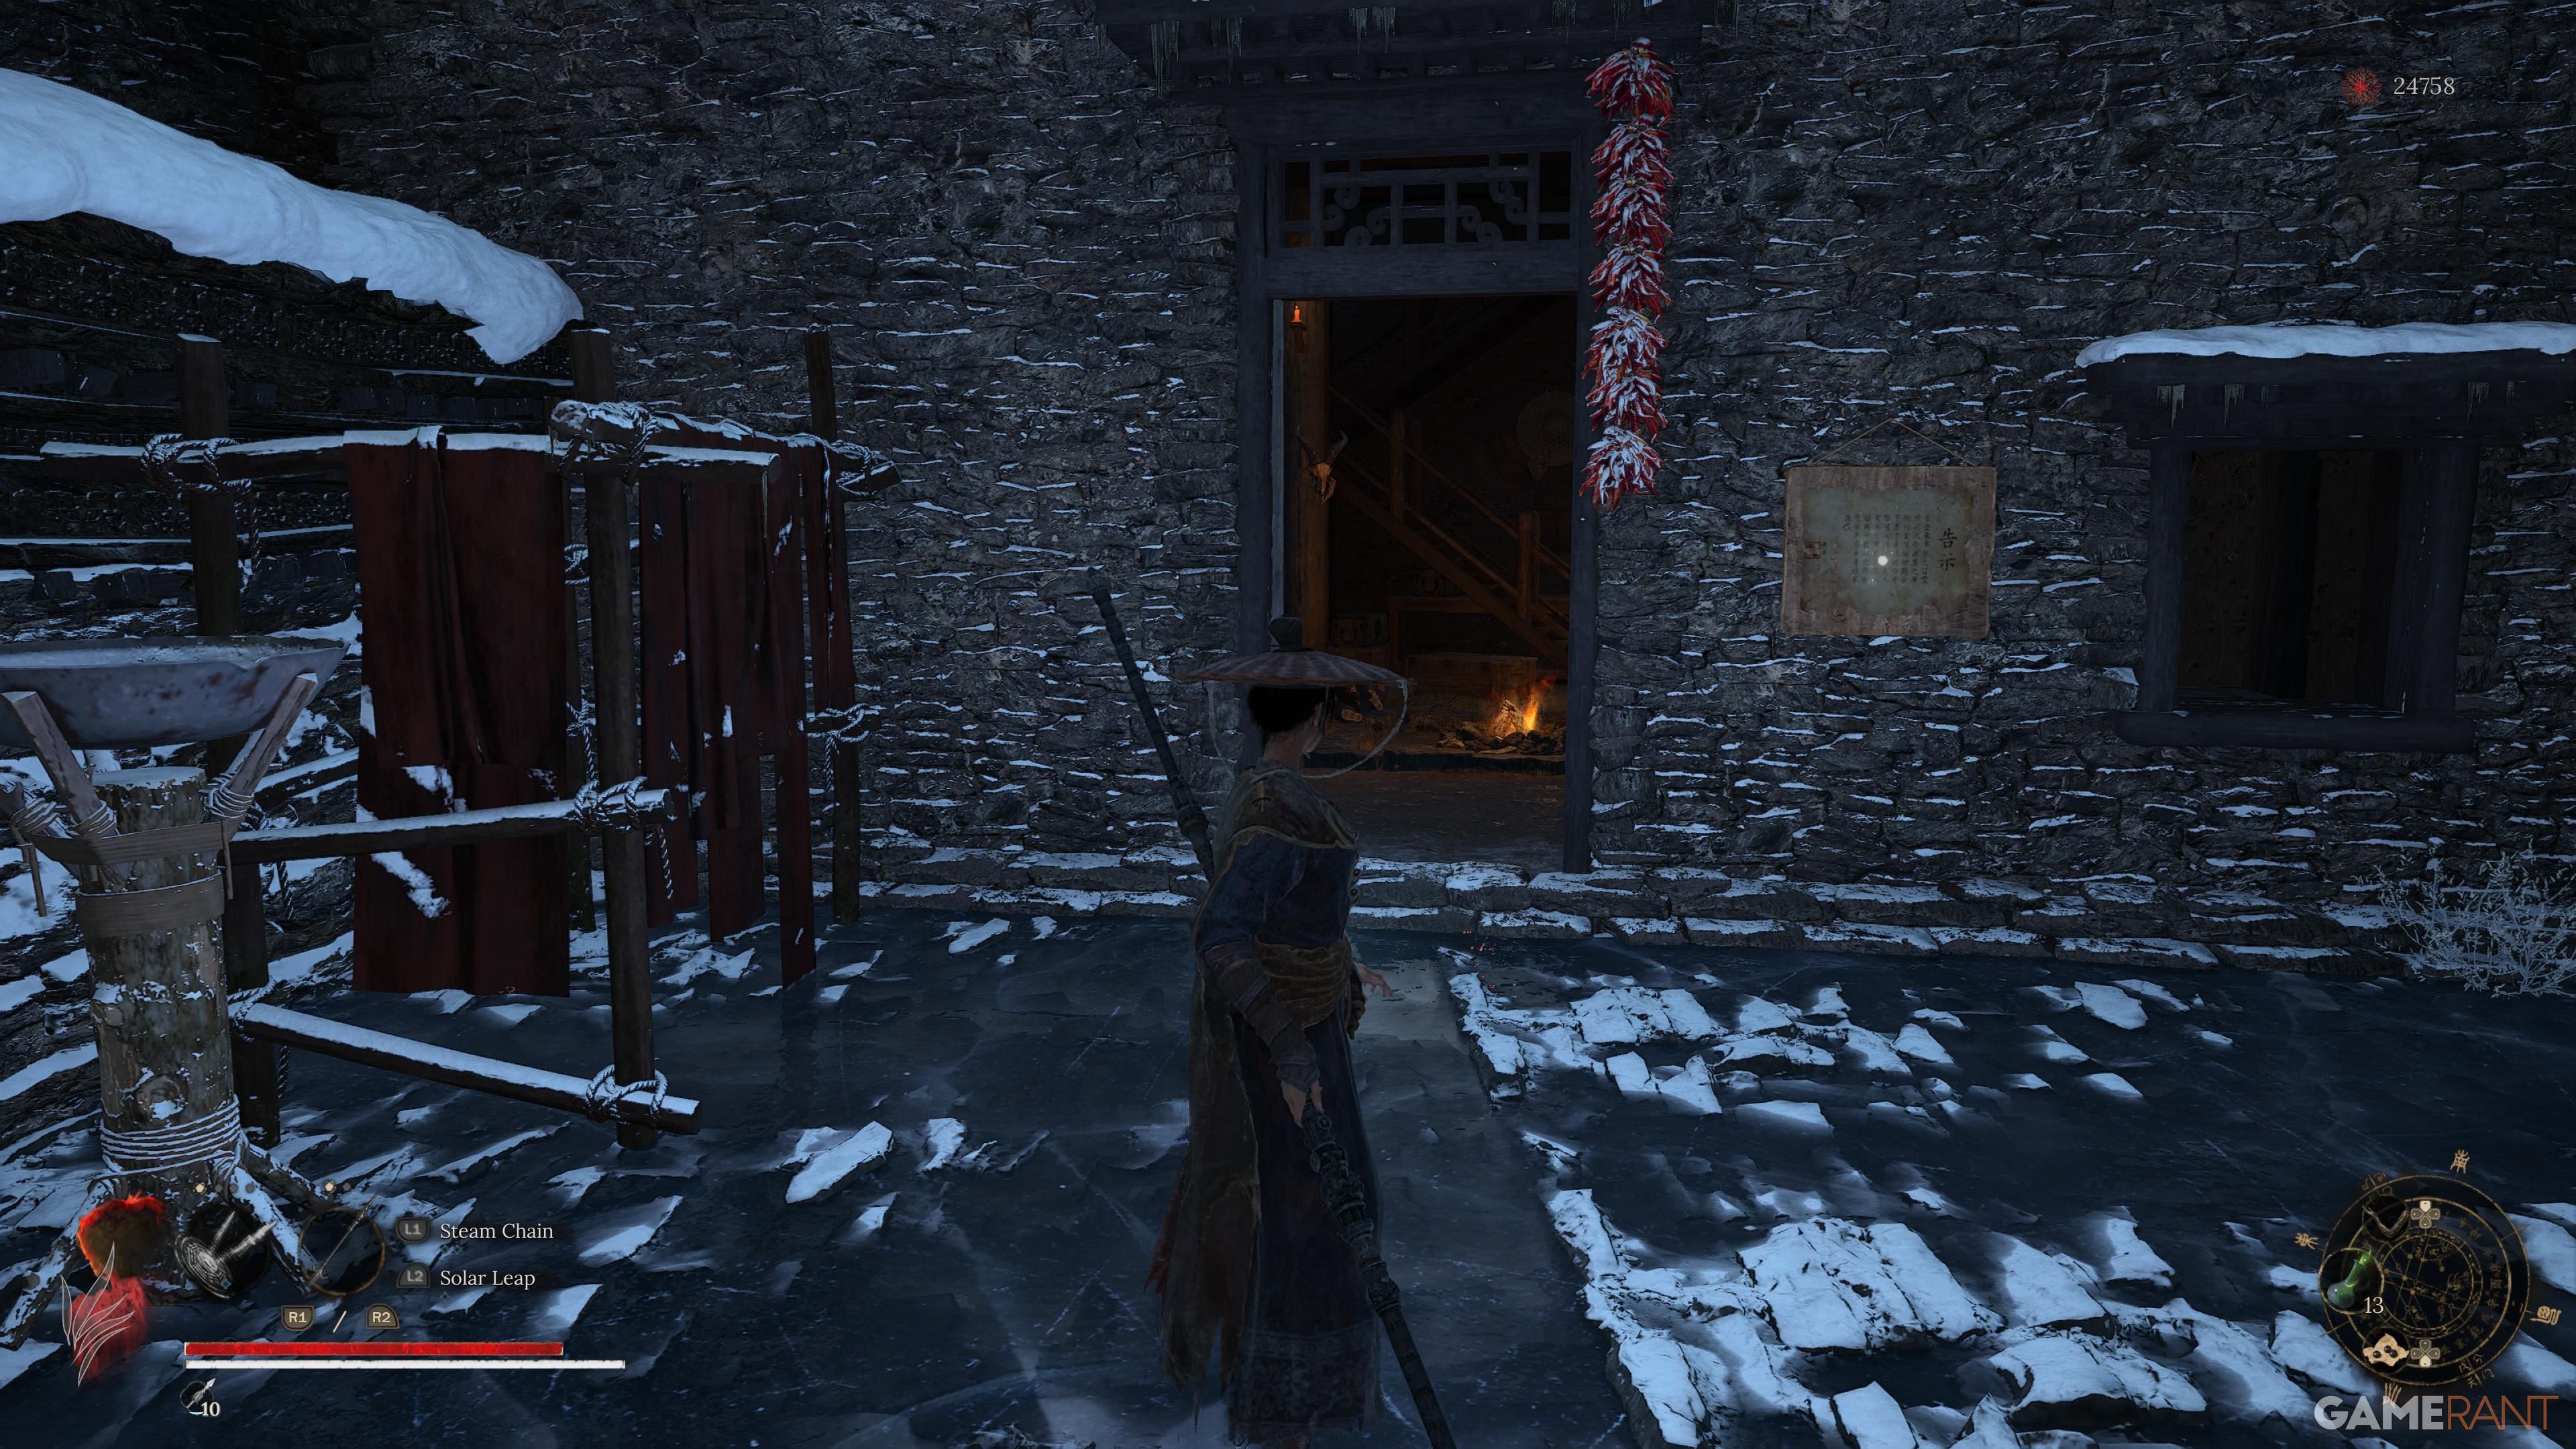
Advance upward using the left ladder and then jump or descend to the platform on the right to discover an entry point into the structure above.
Be careful, as an enemy will try to push you off as you try to enter the building.
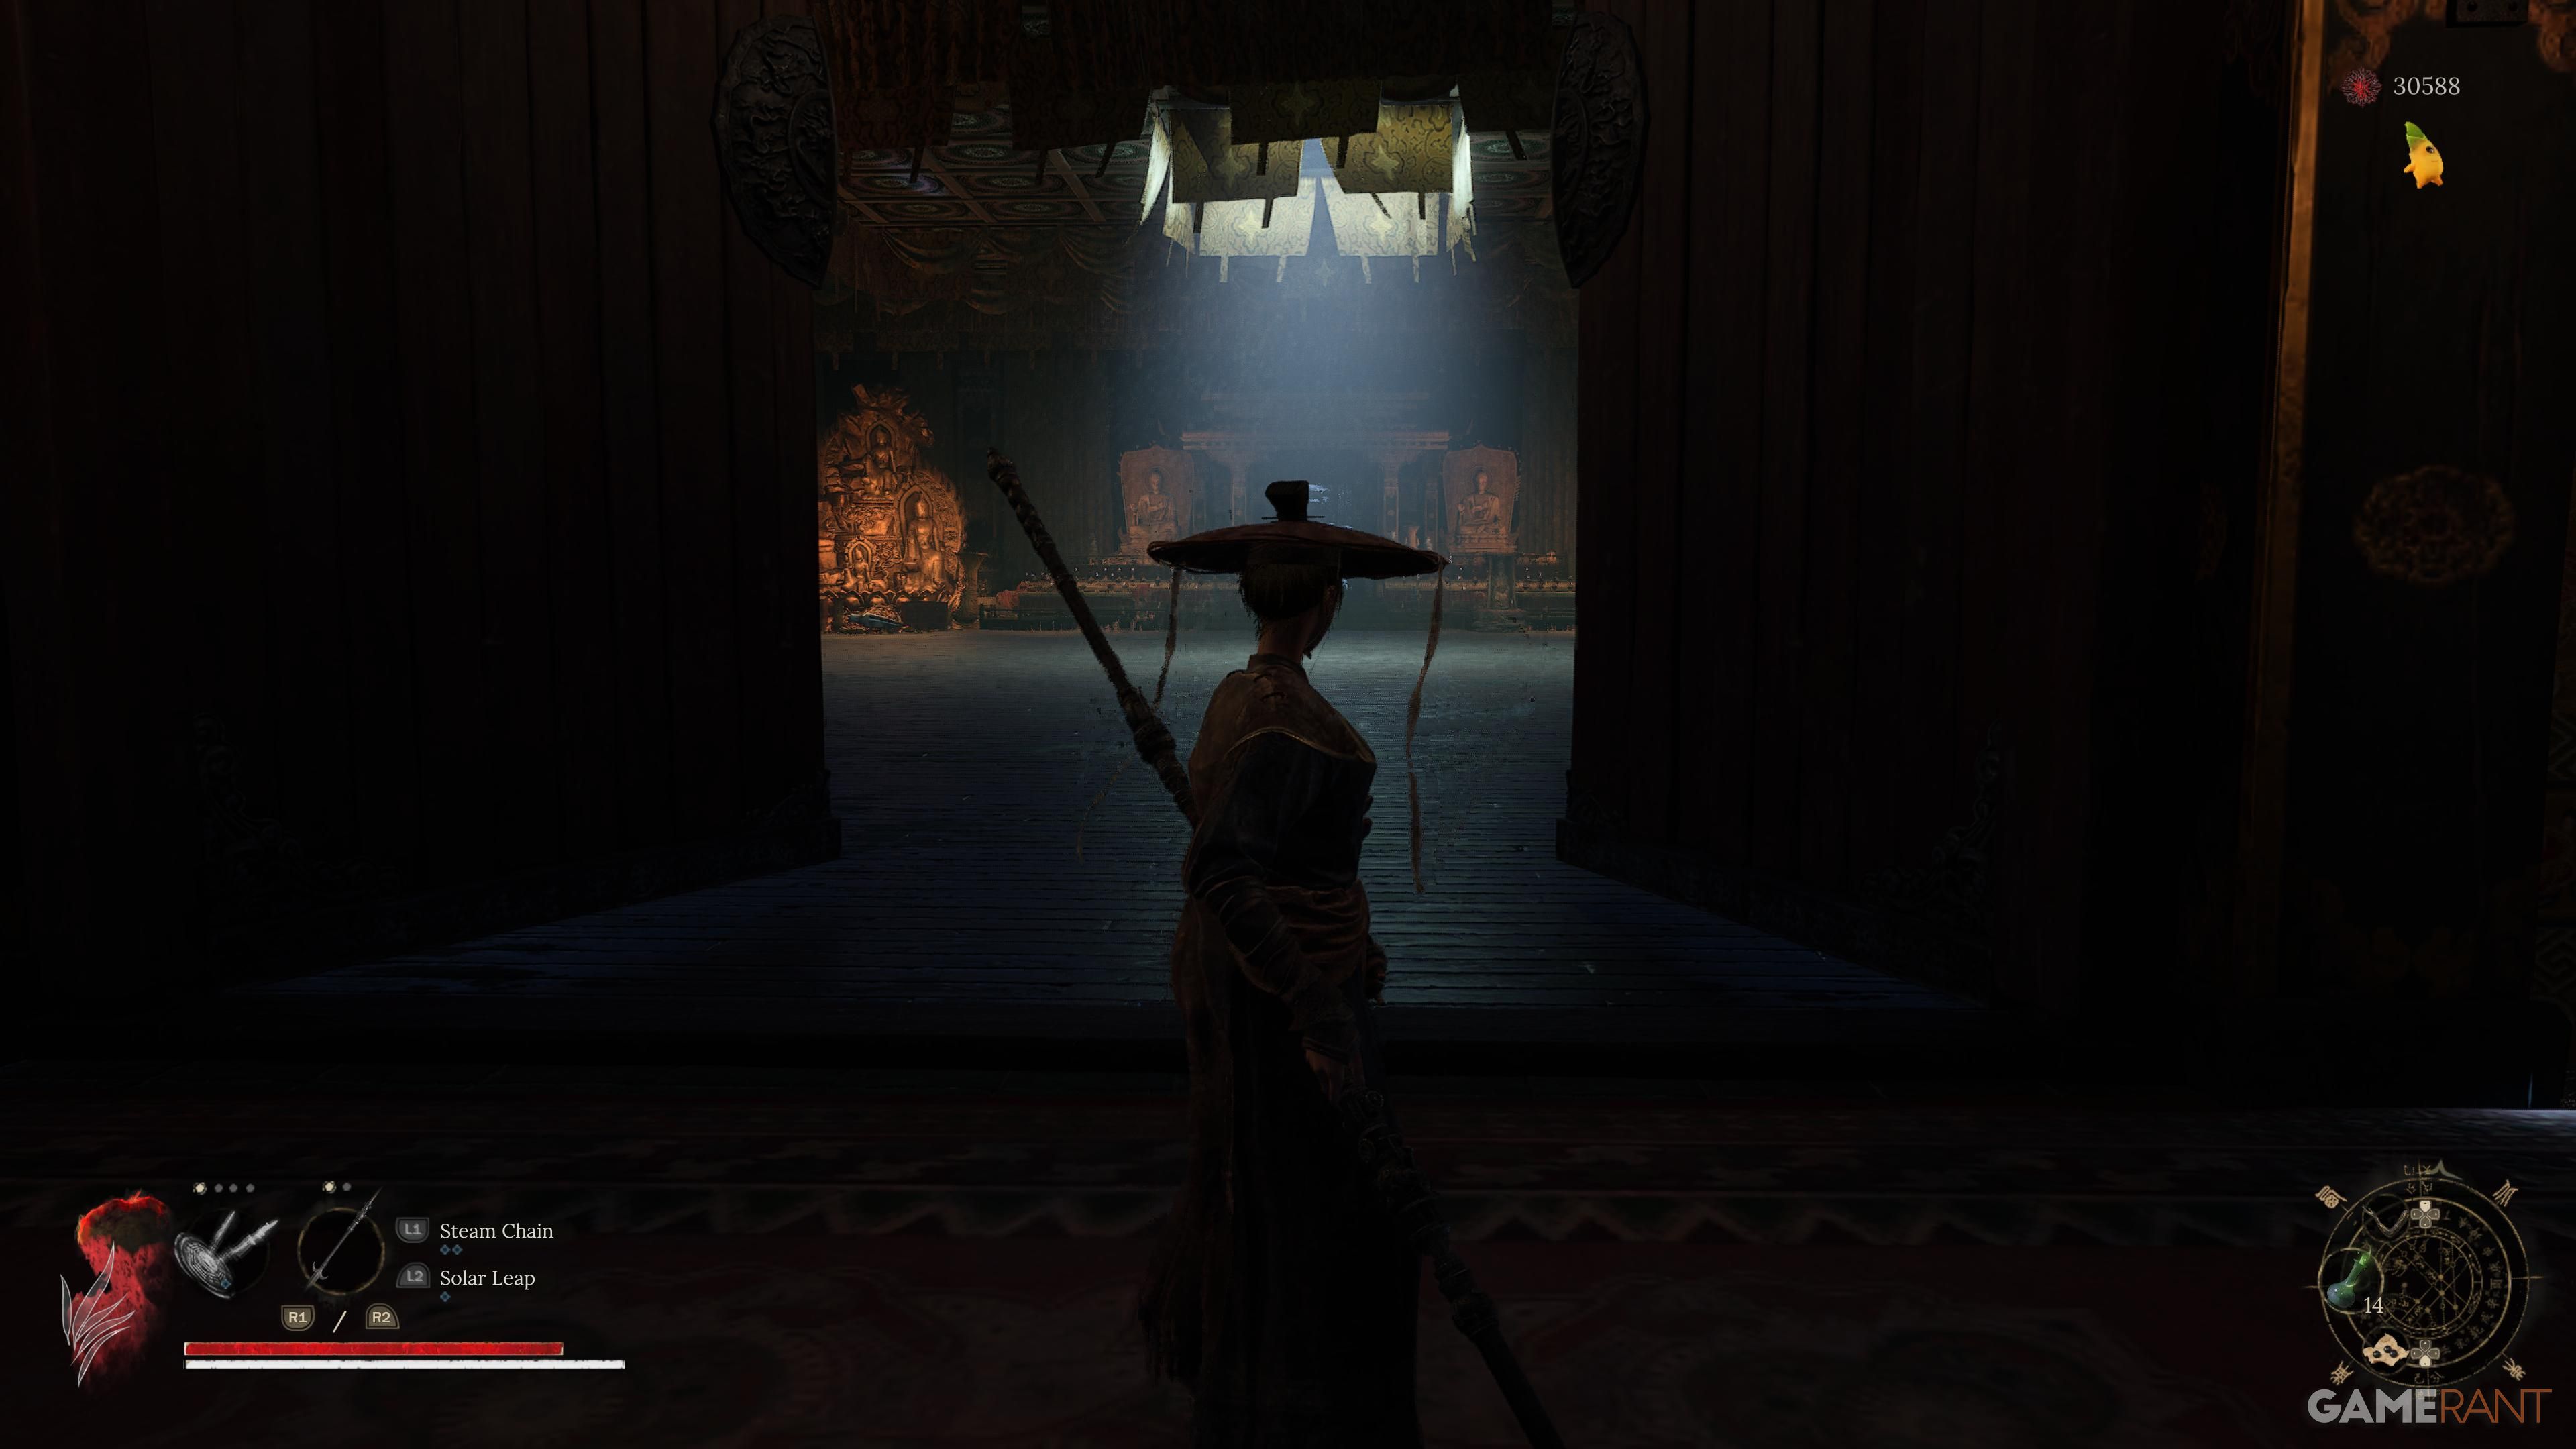
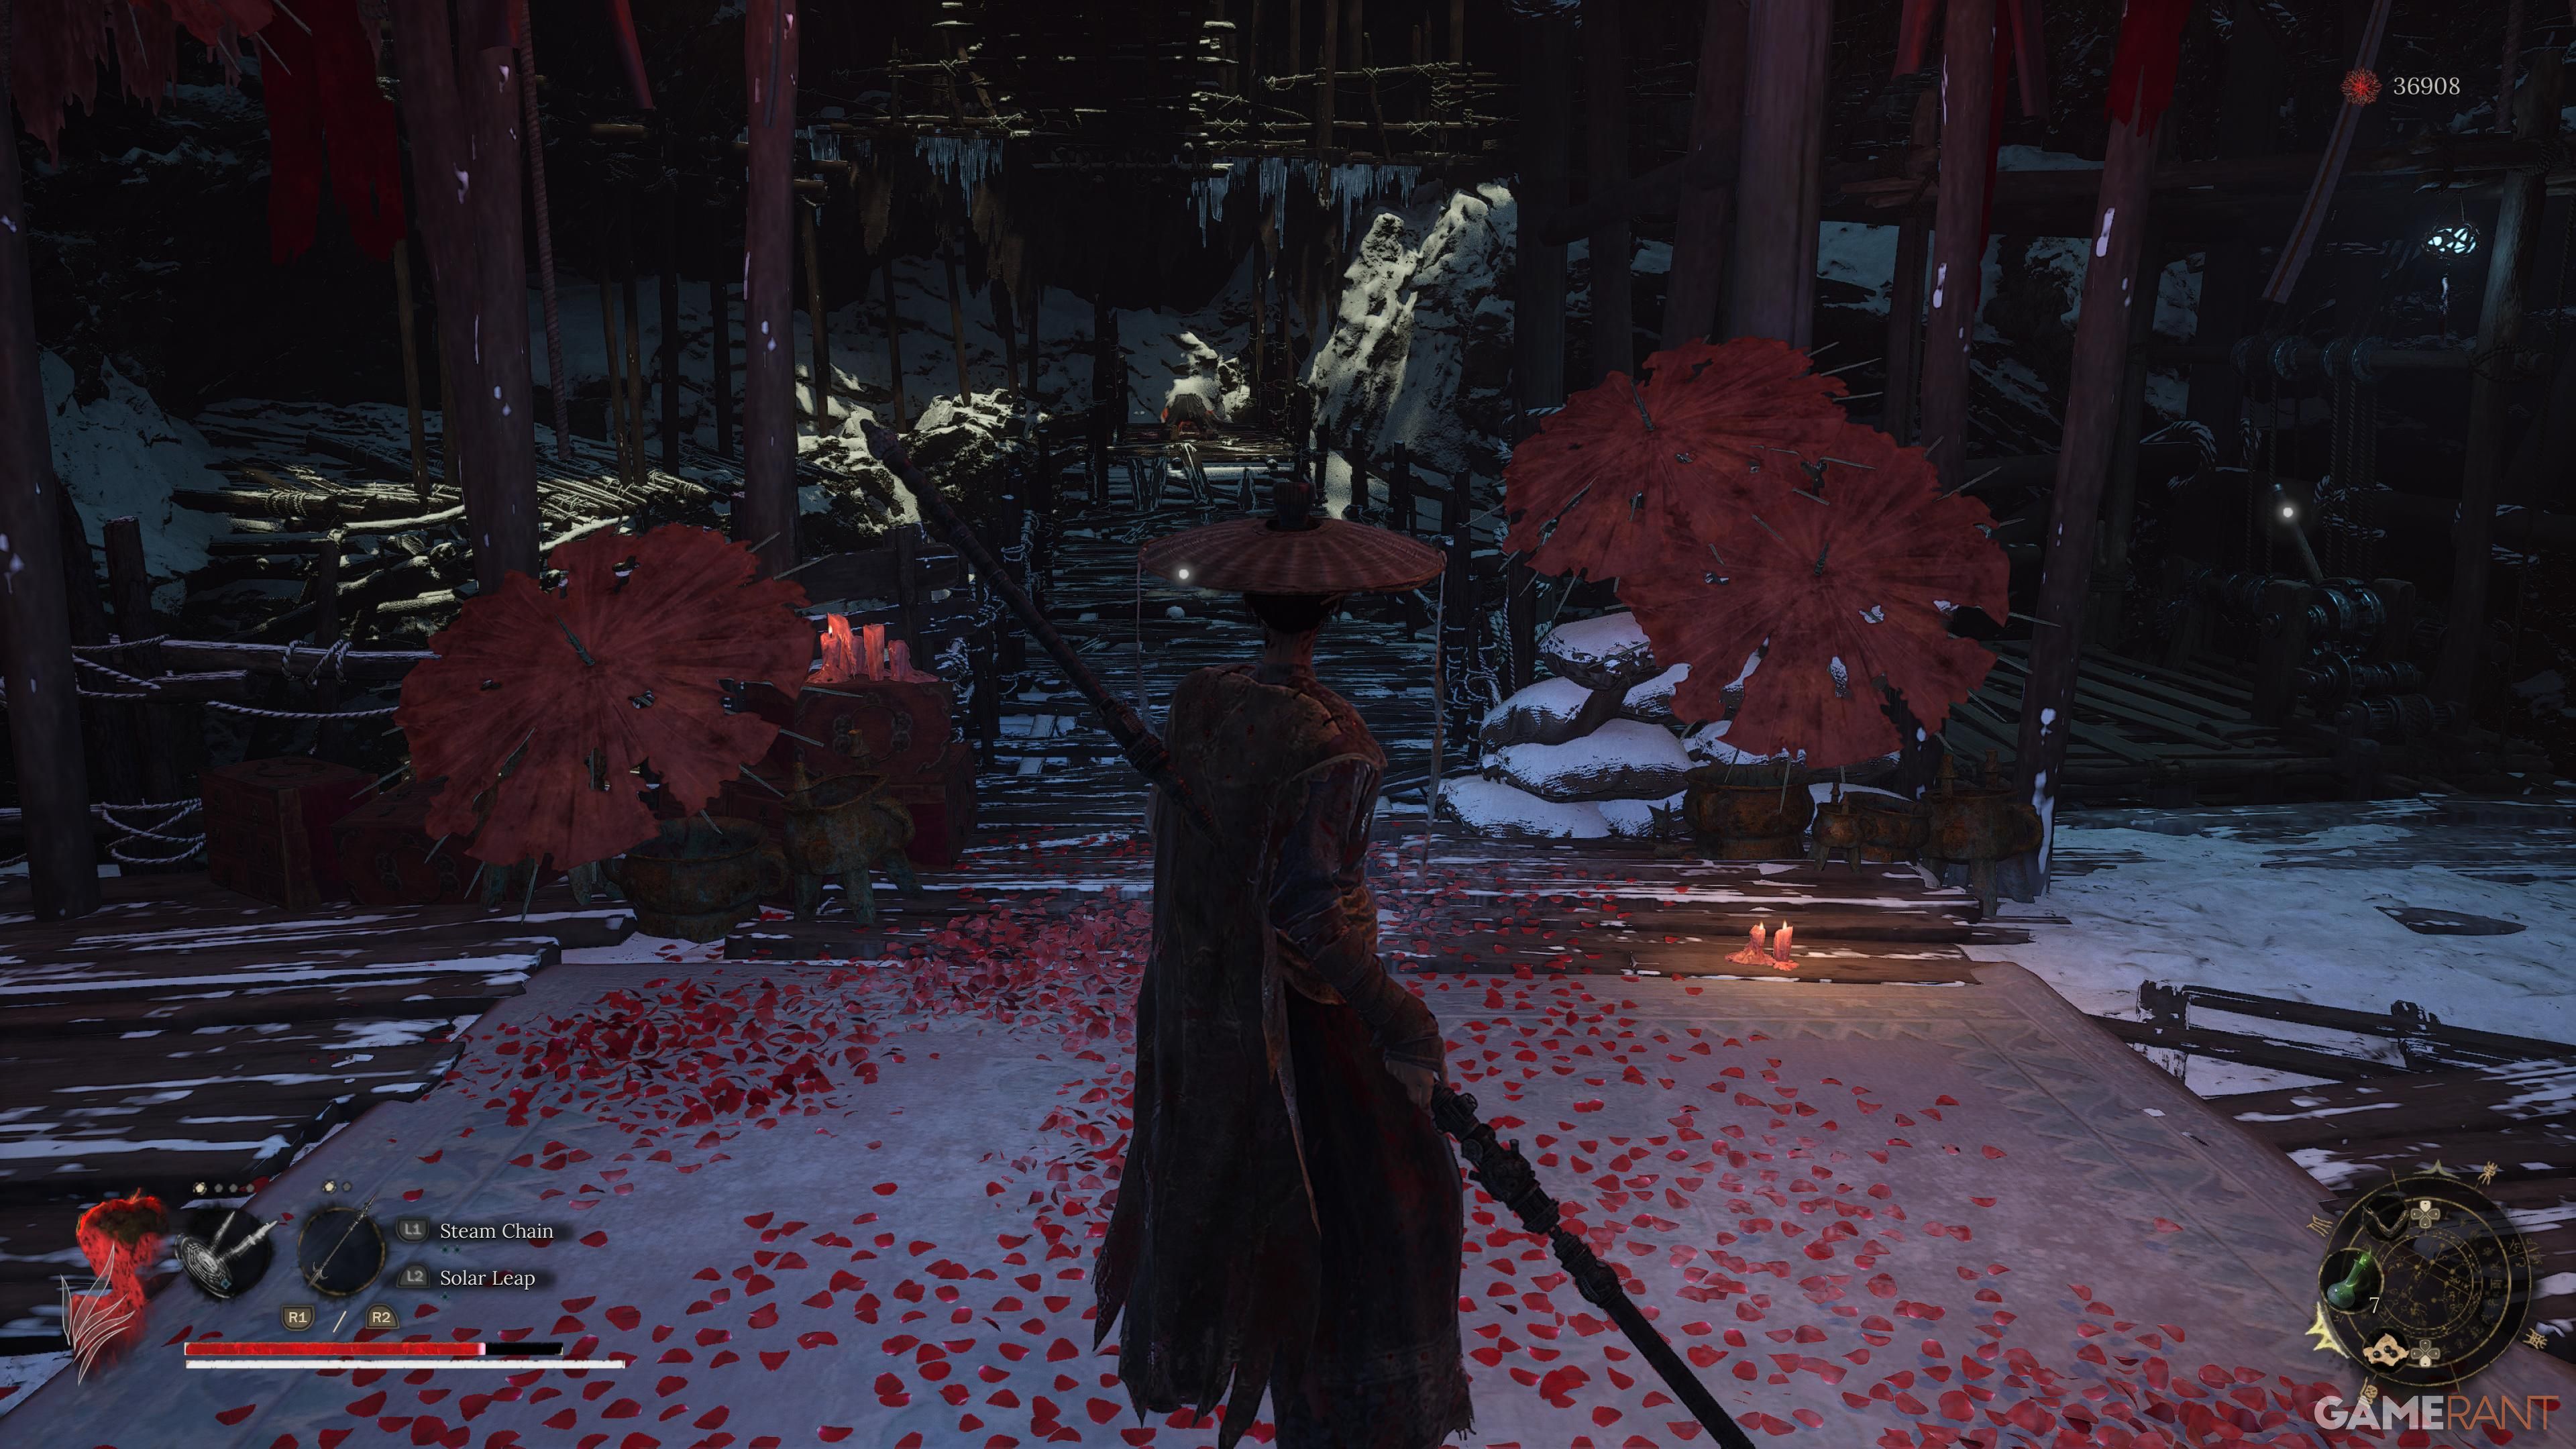
Stepping into the building, I moved forward, always keeping an eye out. When I spotted stairs to my right, I climbed up the path, knowing it would lead me to the Snowfall Palace shrine – the final one before facing the boss. With the boss looming, I made sure to don my armor and wield the Purple Camellia, as I’d be using plenty of them in the upcoming battle. Keeping right, I found an open door that led to an elevator, taking me down to the arena where I’d clash with Huang Yan, the Mistress of the Night.
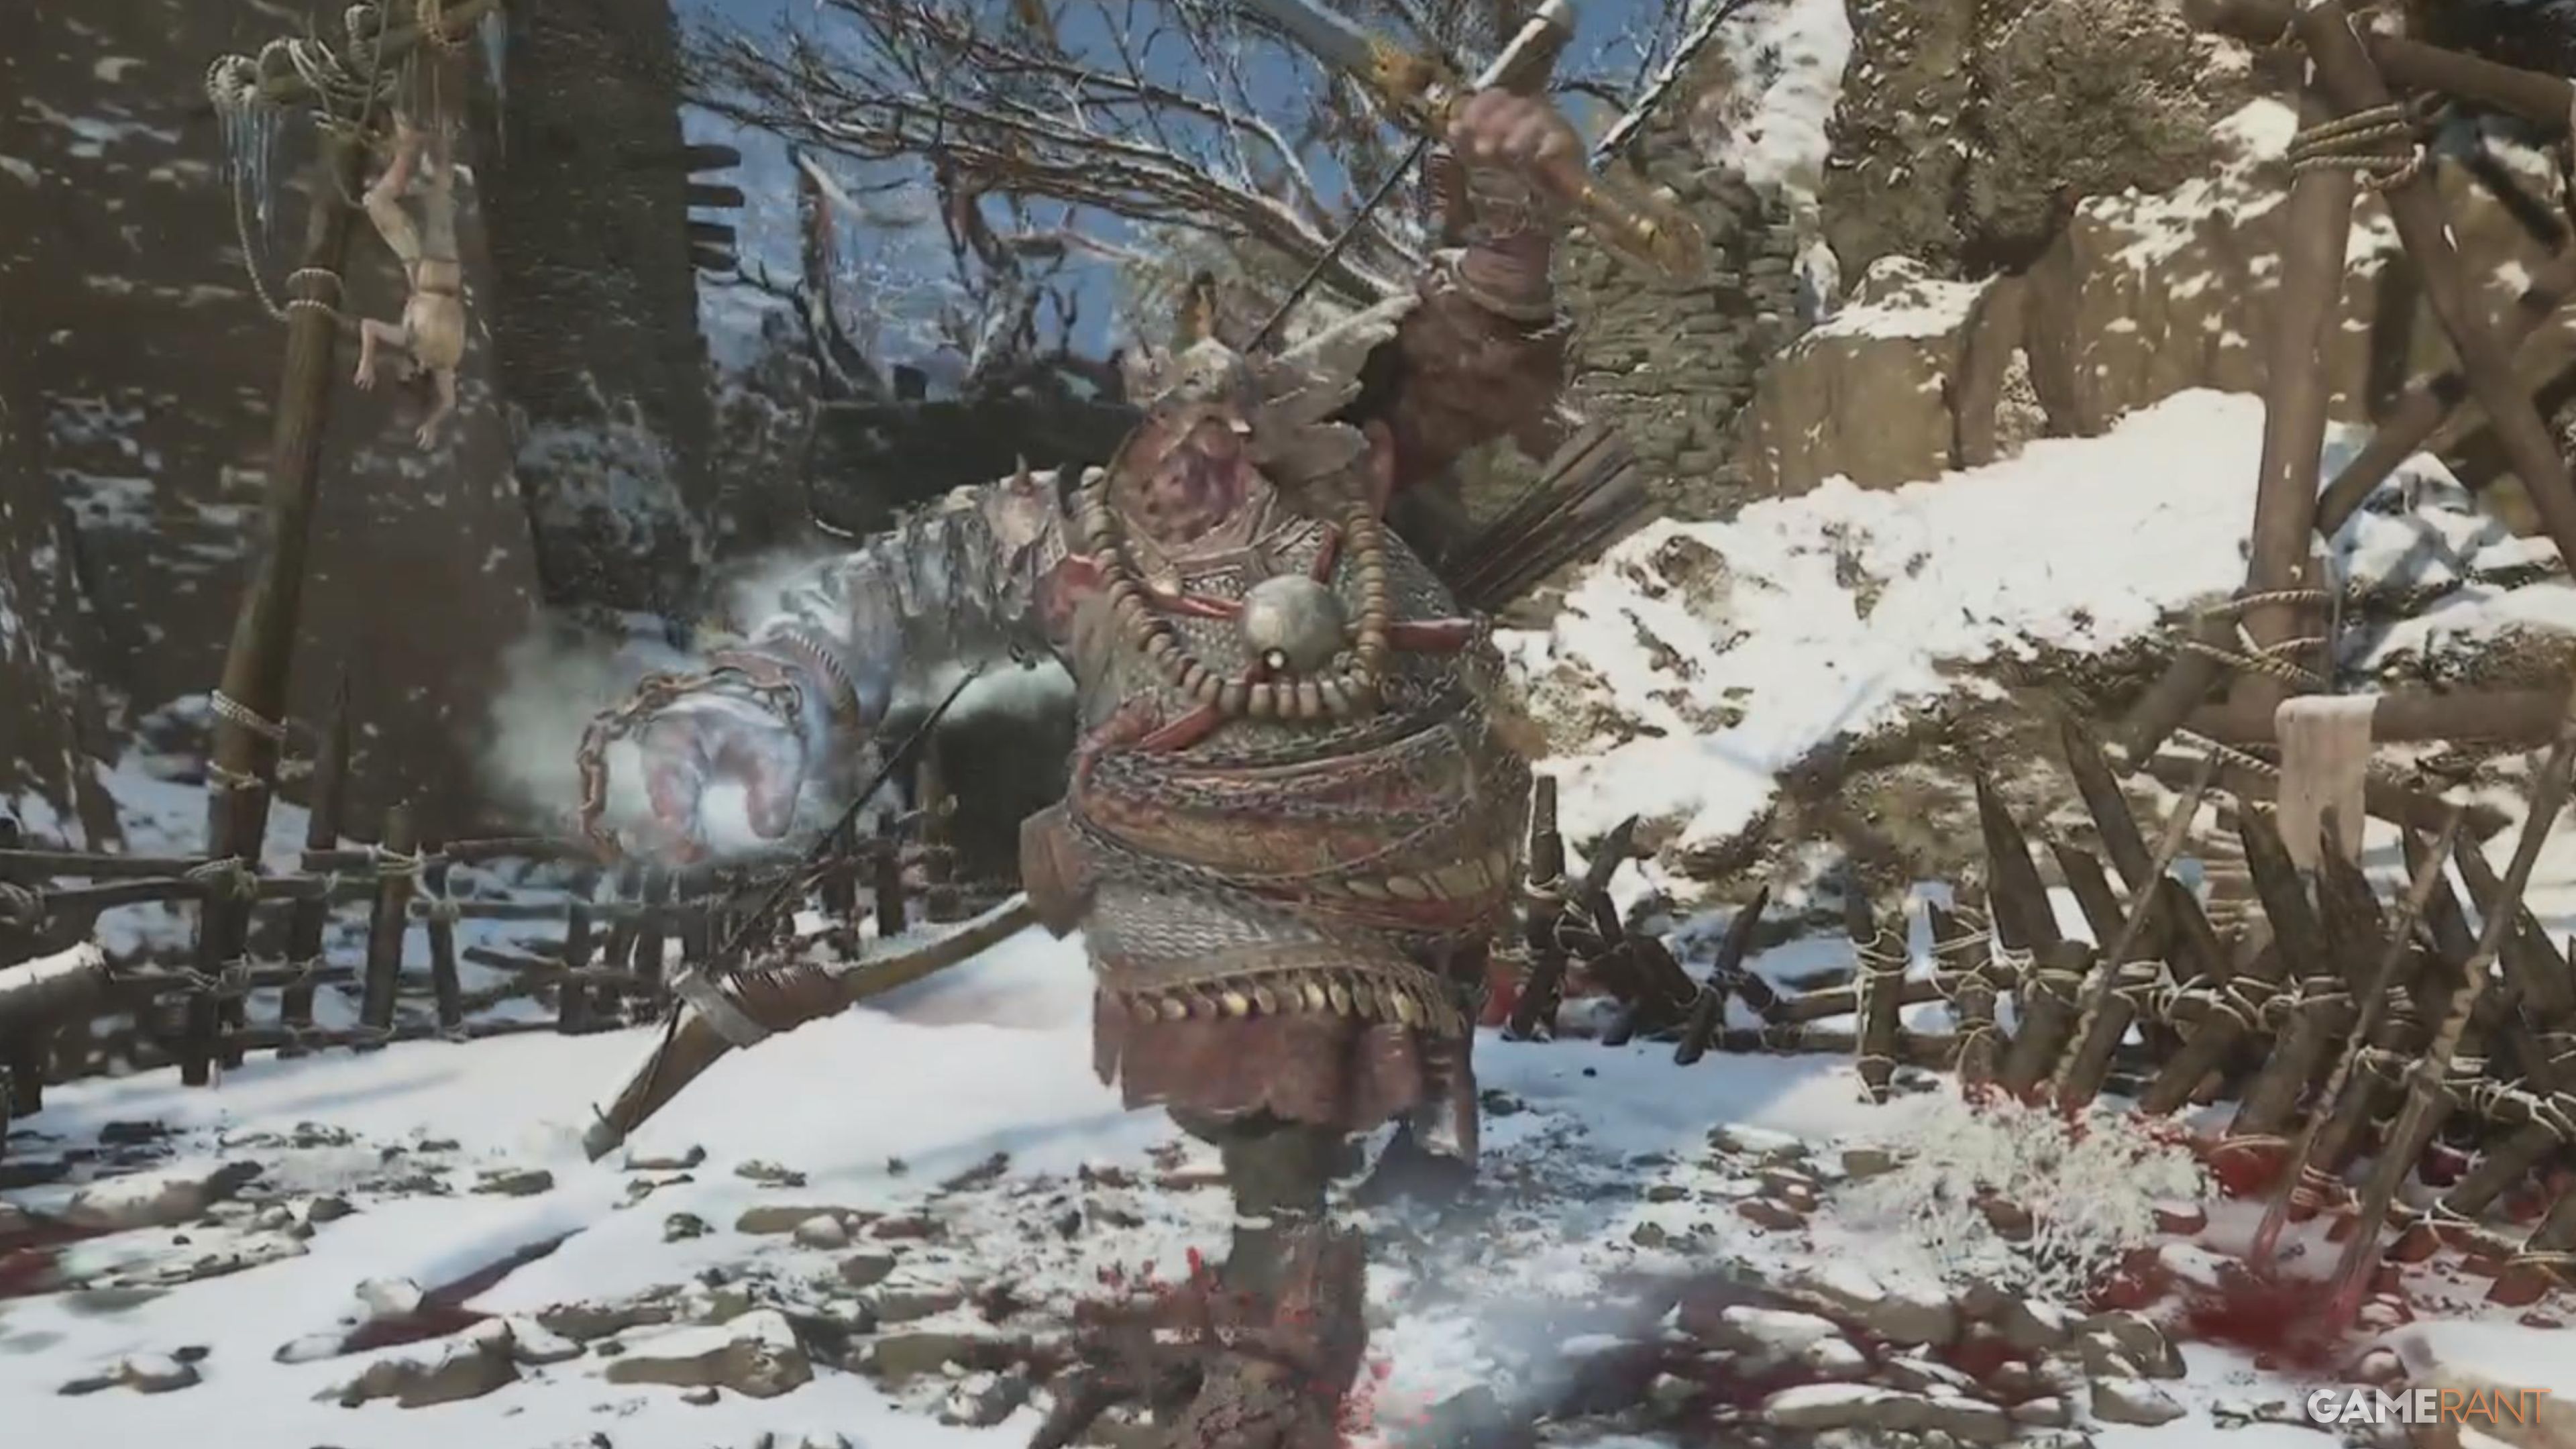
Chimera – Fang Ling
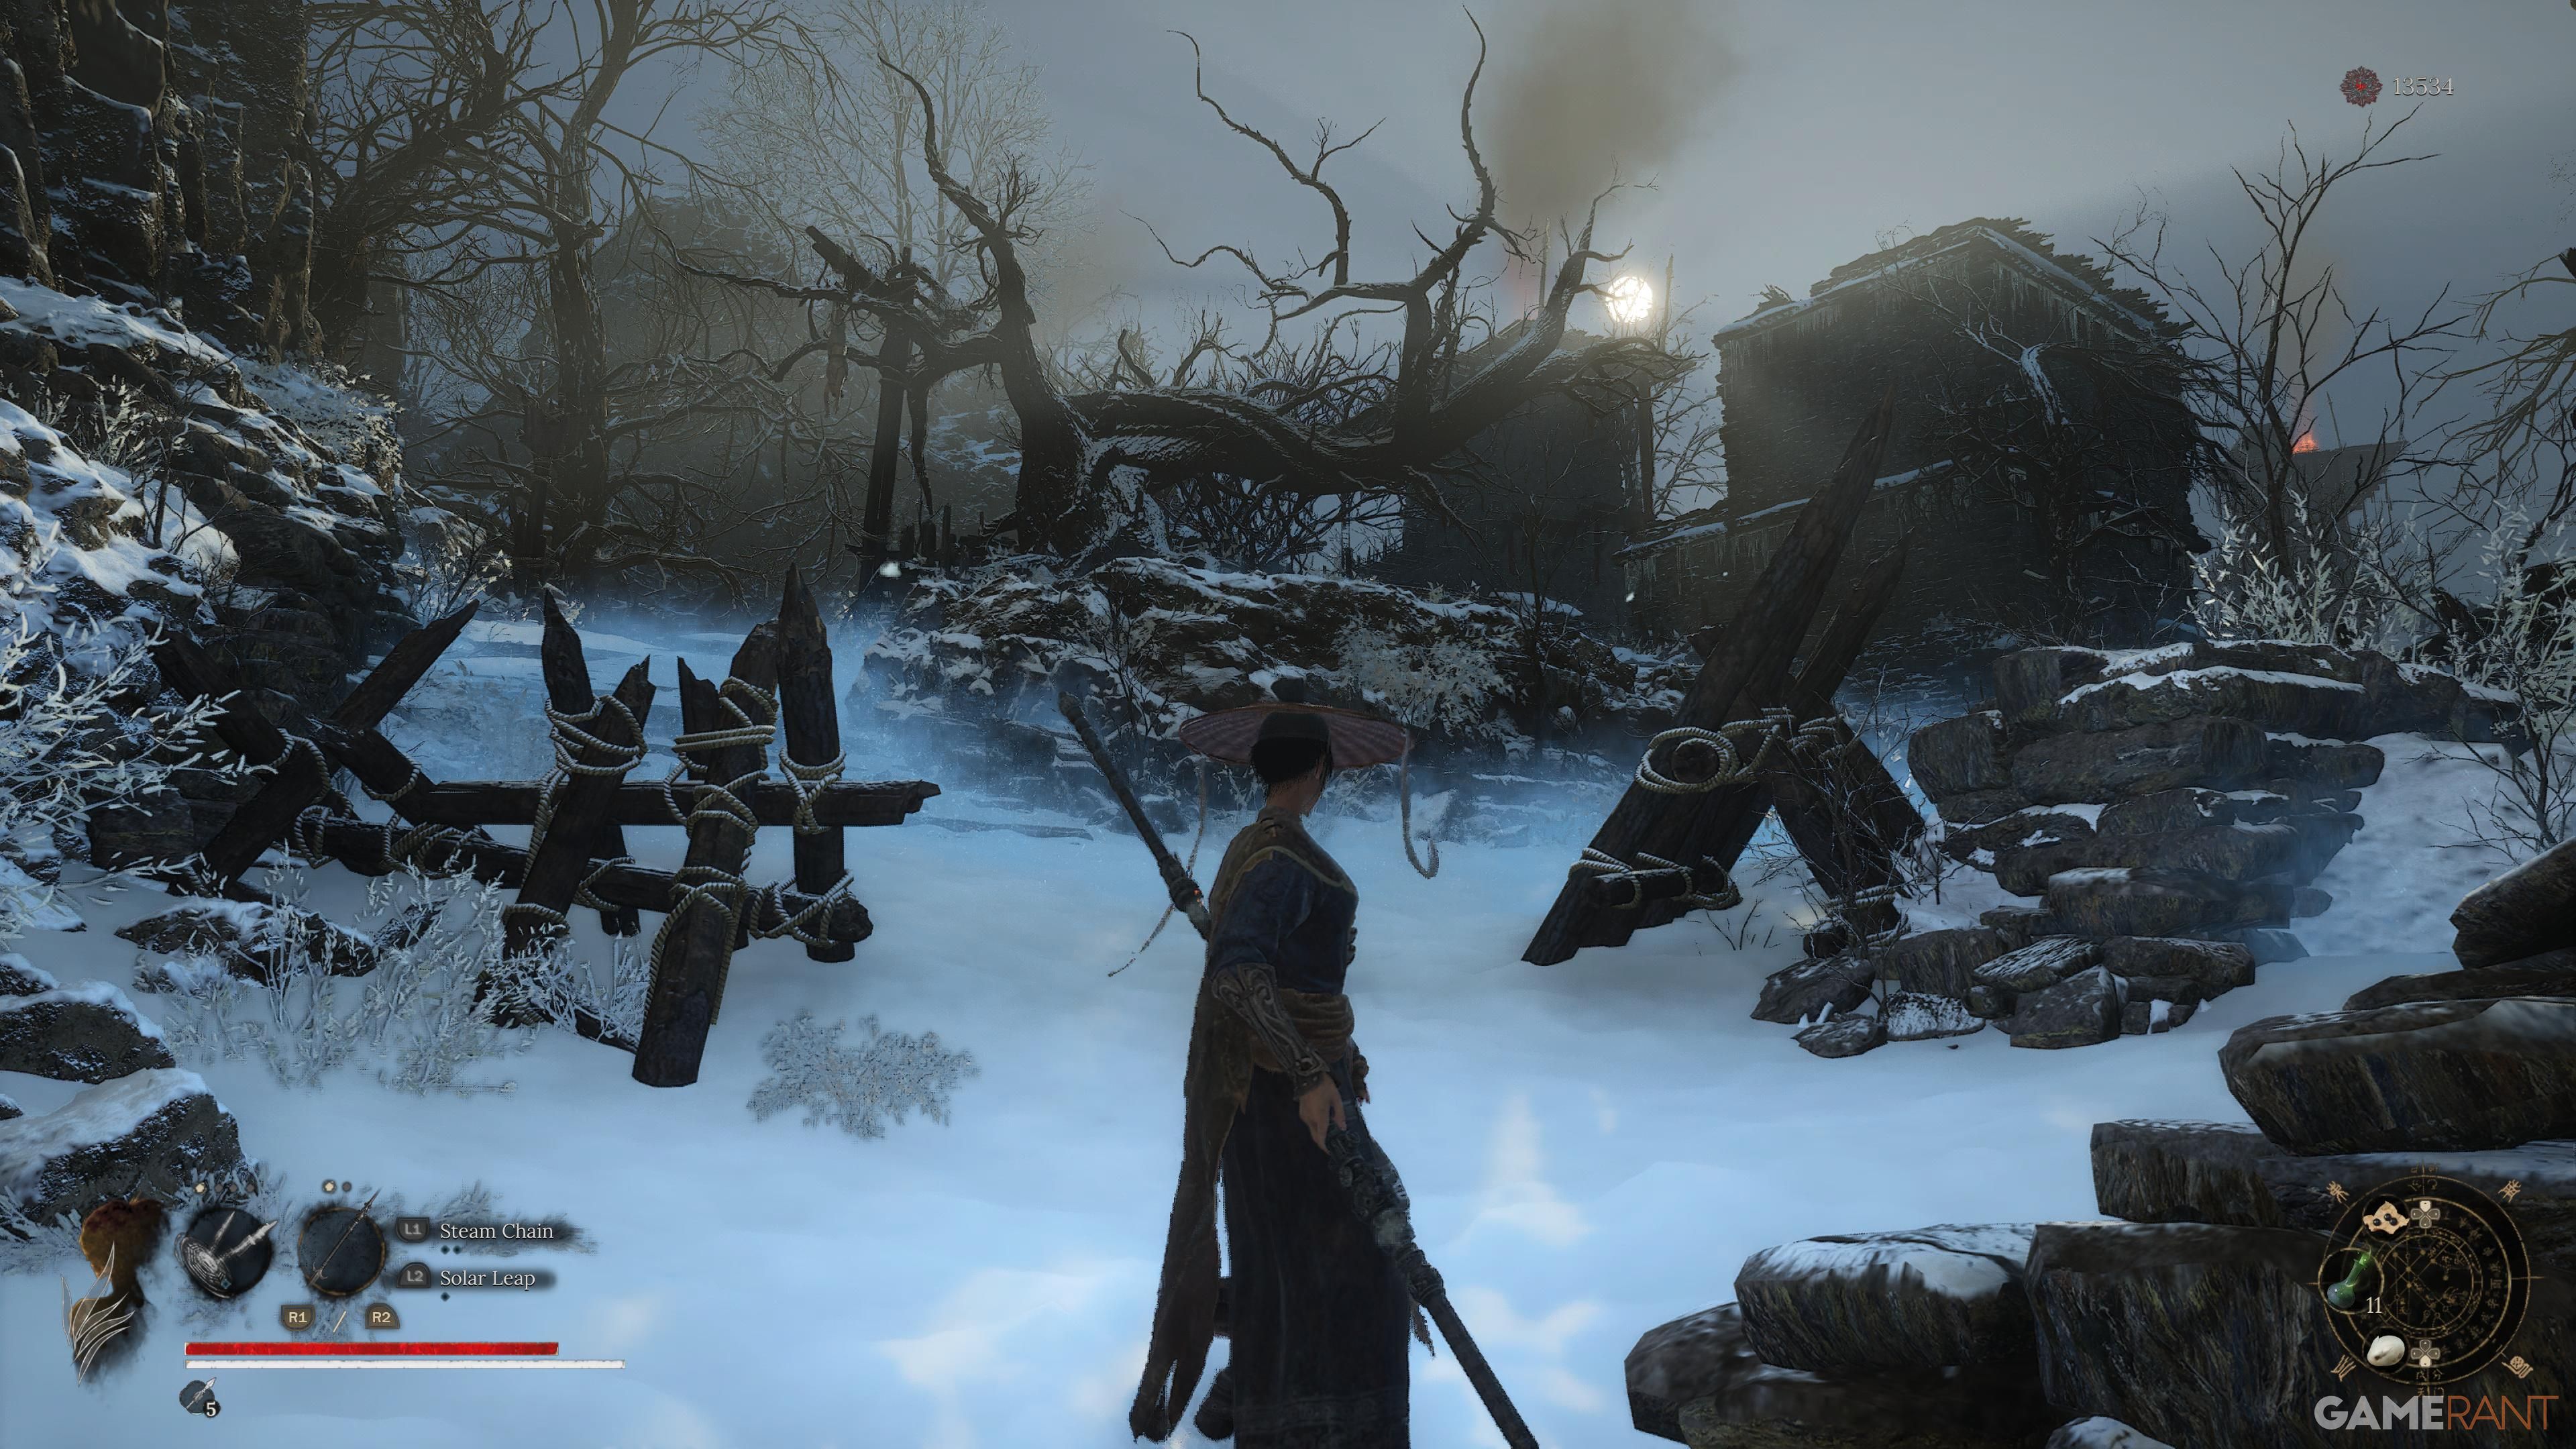
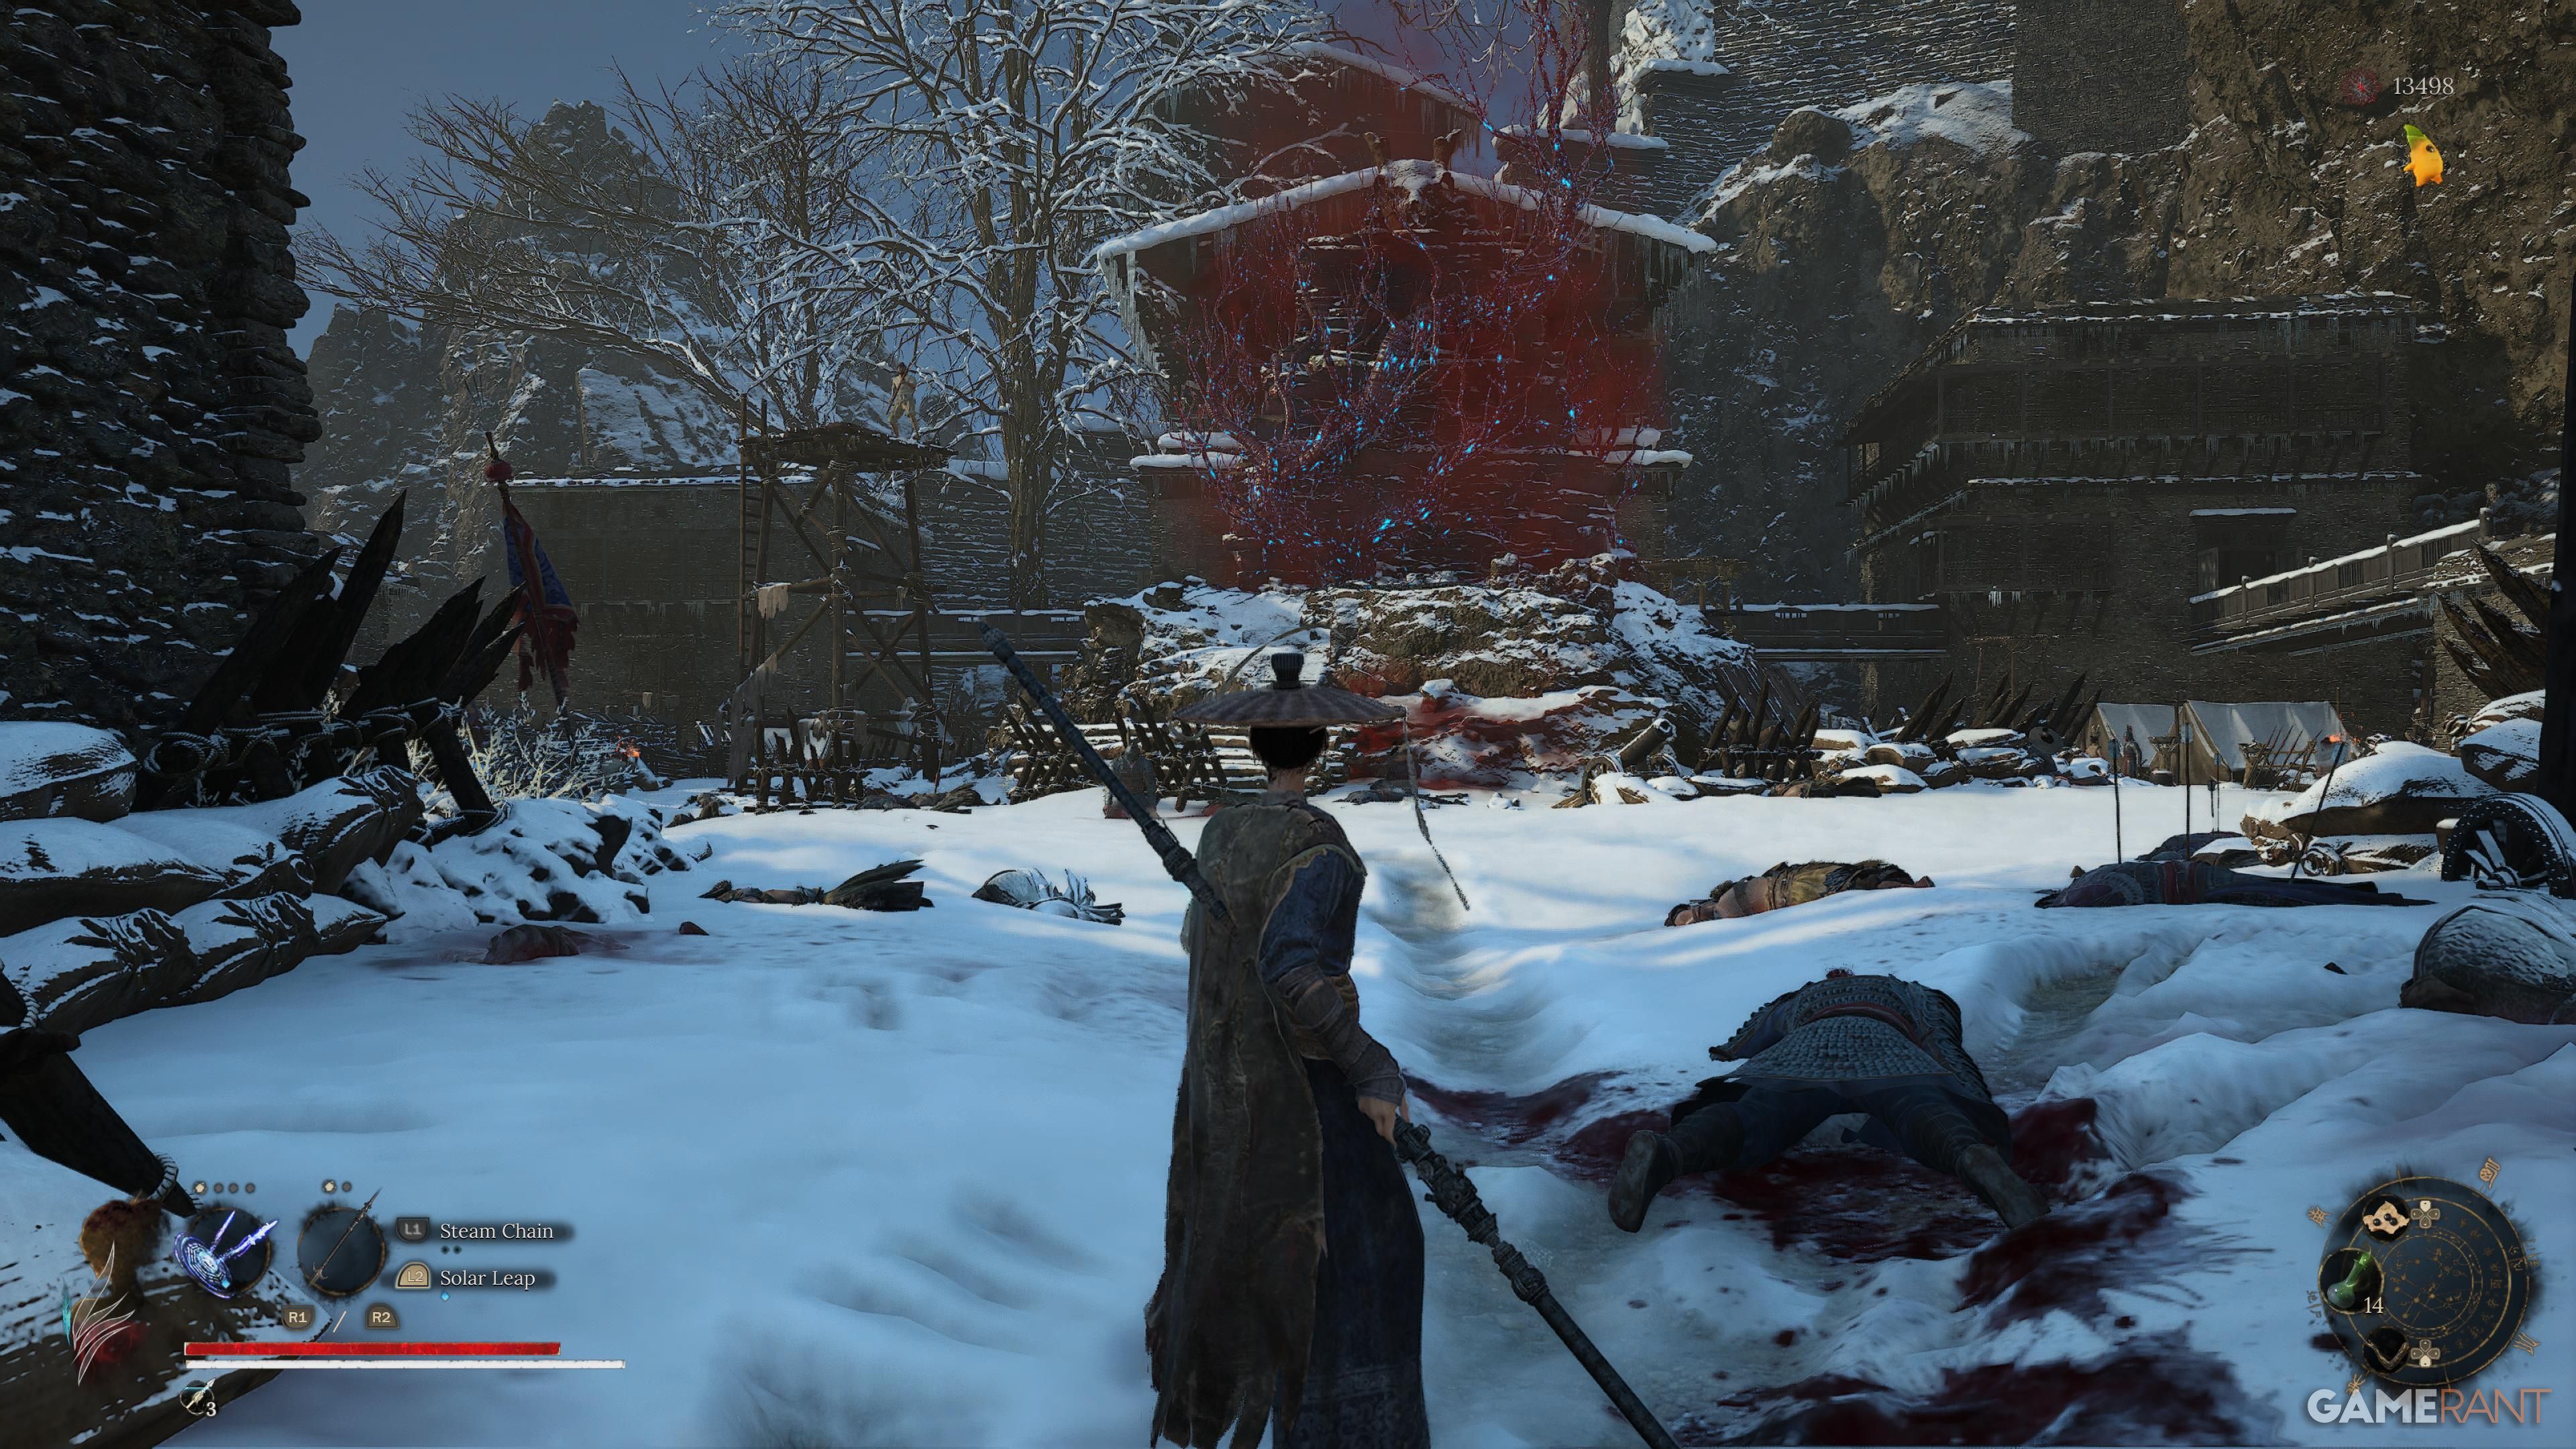
Following your victory against the previous boss, make a beeline for the elevator and descend it to uncover the next sanctuary hidden within the depths of the Lost Shaft. Once there, move forward and then turn left to come across Pendulum Hammers. A formidable jailor adversary lies just beyond them.
Deal with the enemy and continue down the path, but stop and wait as two boulders drop down.
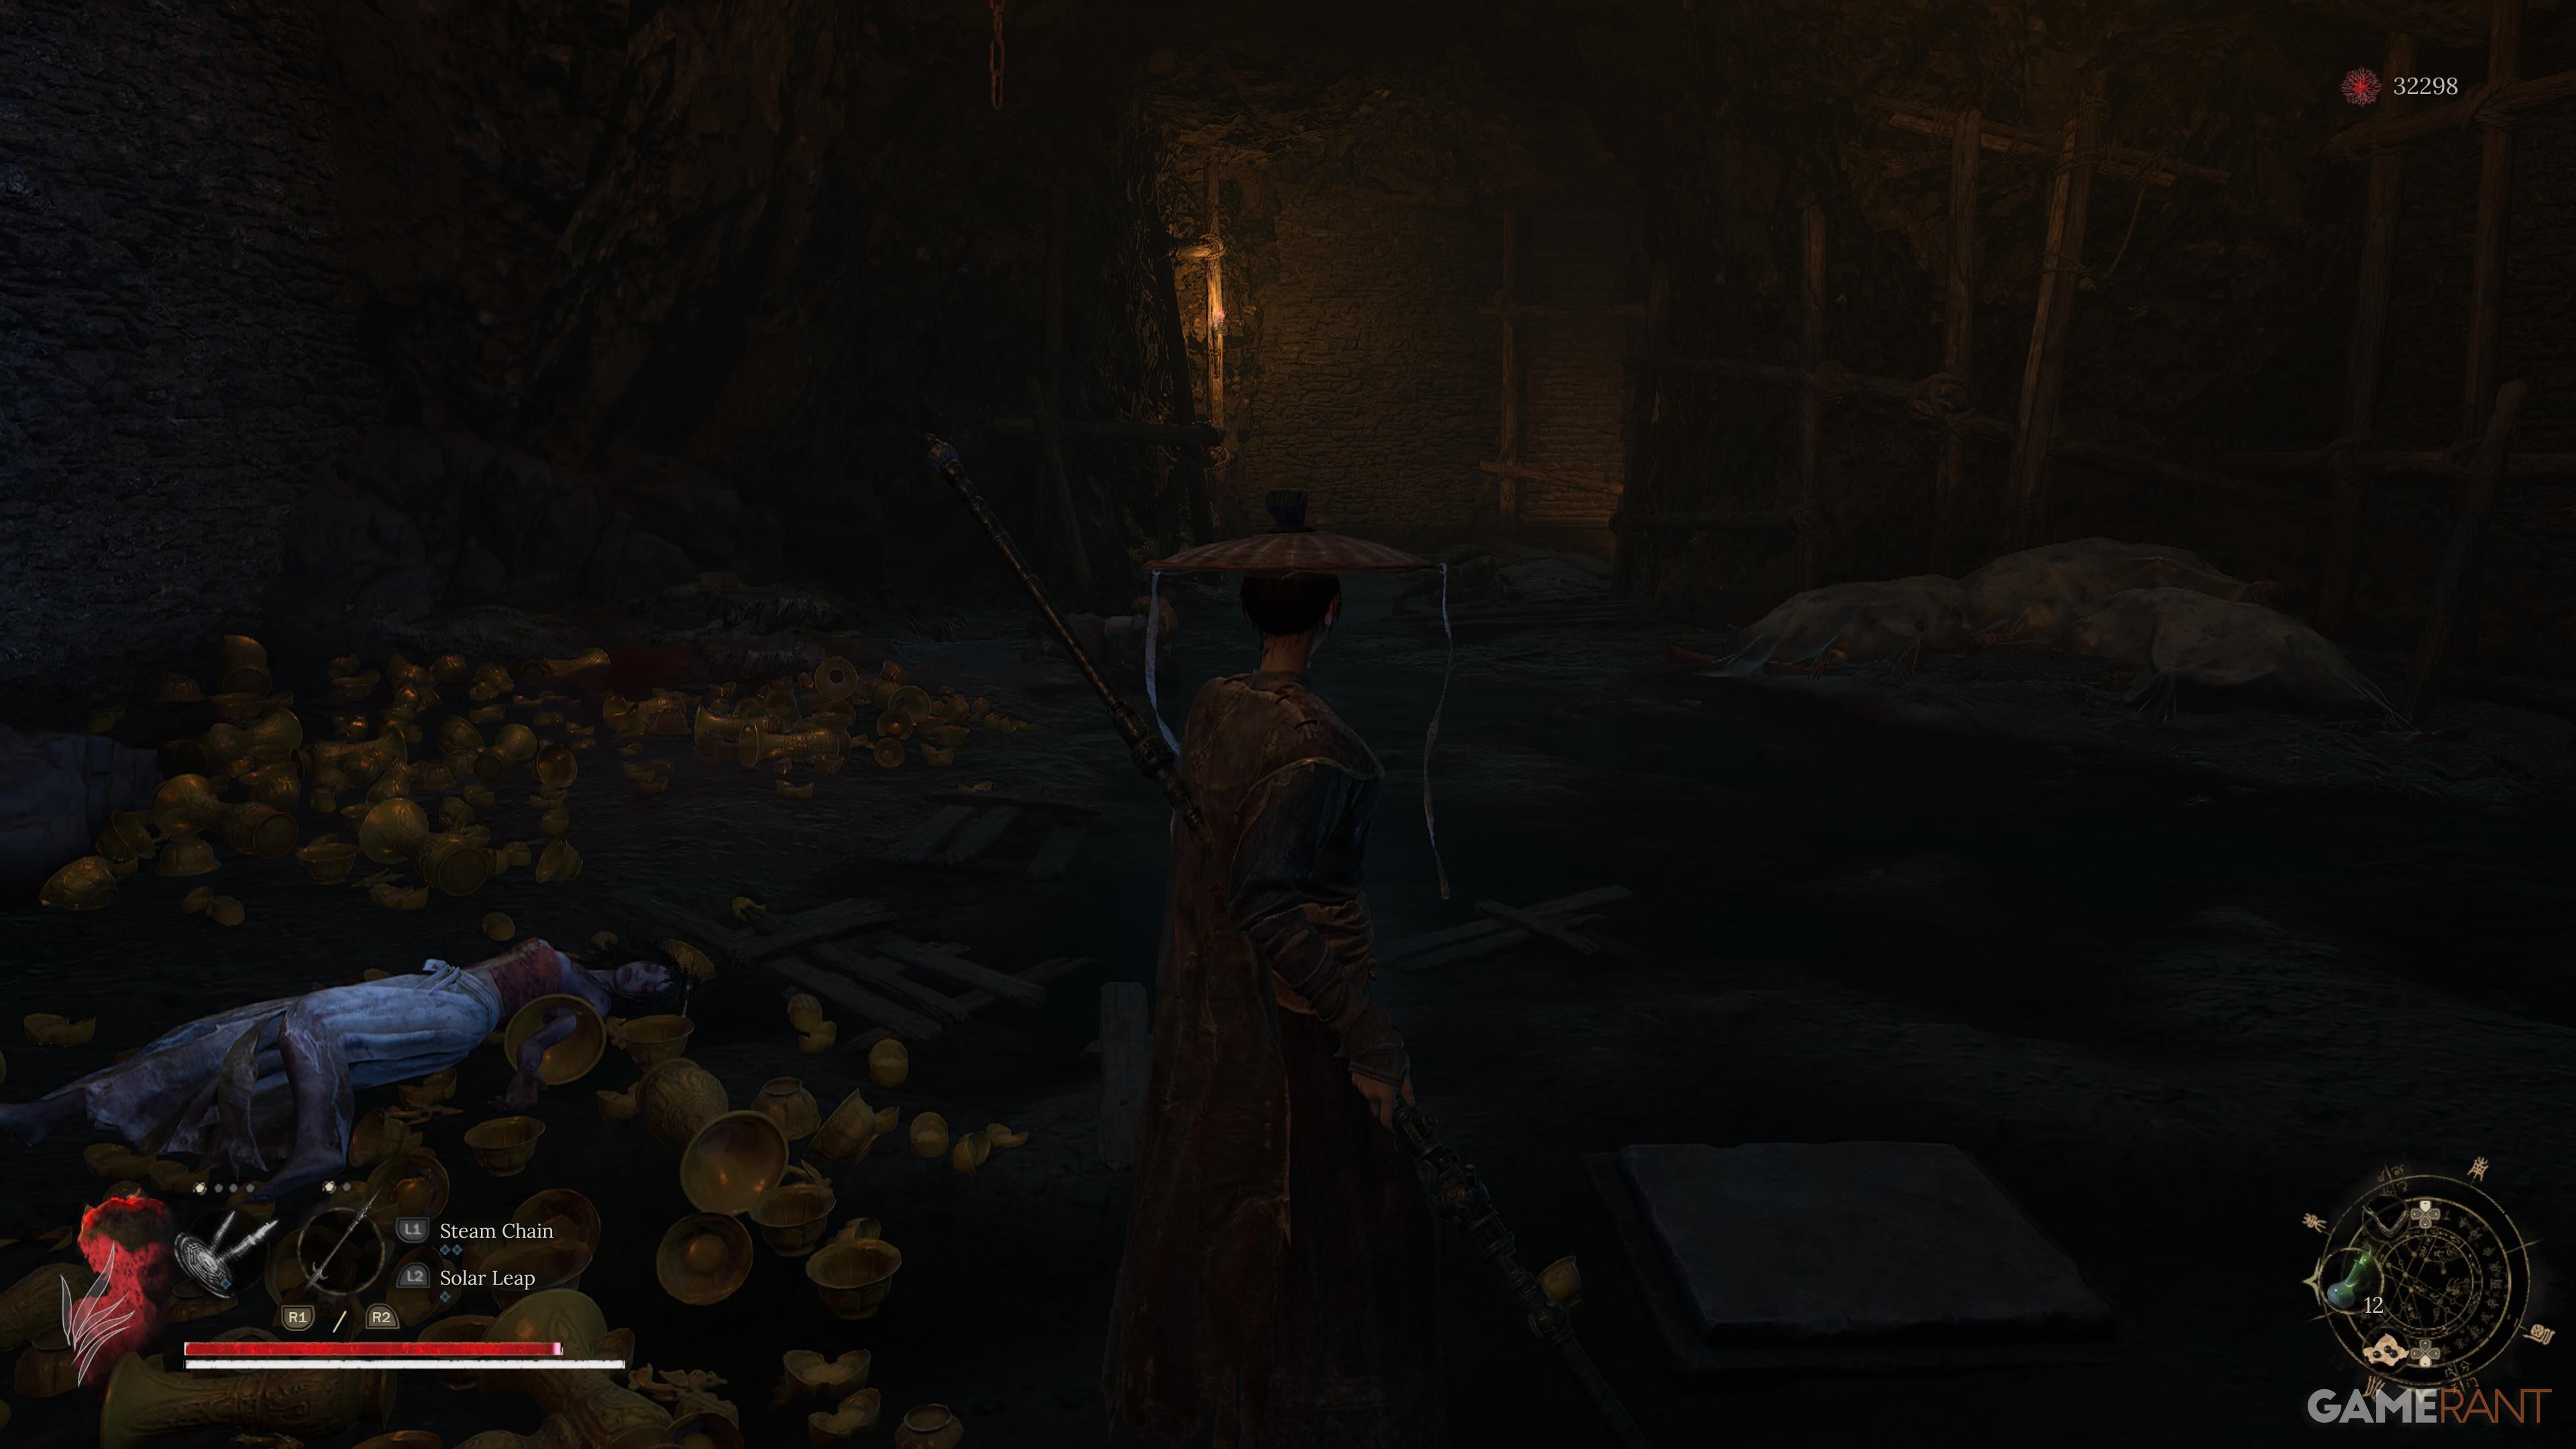
After the second boulder, keep moving forward on the path, then descend into the hollow to uncover a sizable treasure chest. Inside, you’ll find an enhancement for the Manna Vase and a door that can be opened. Exit through the doorway, and take care as you navigate past the traps to reach the second shrine in this region.
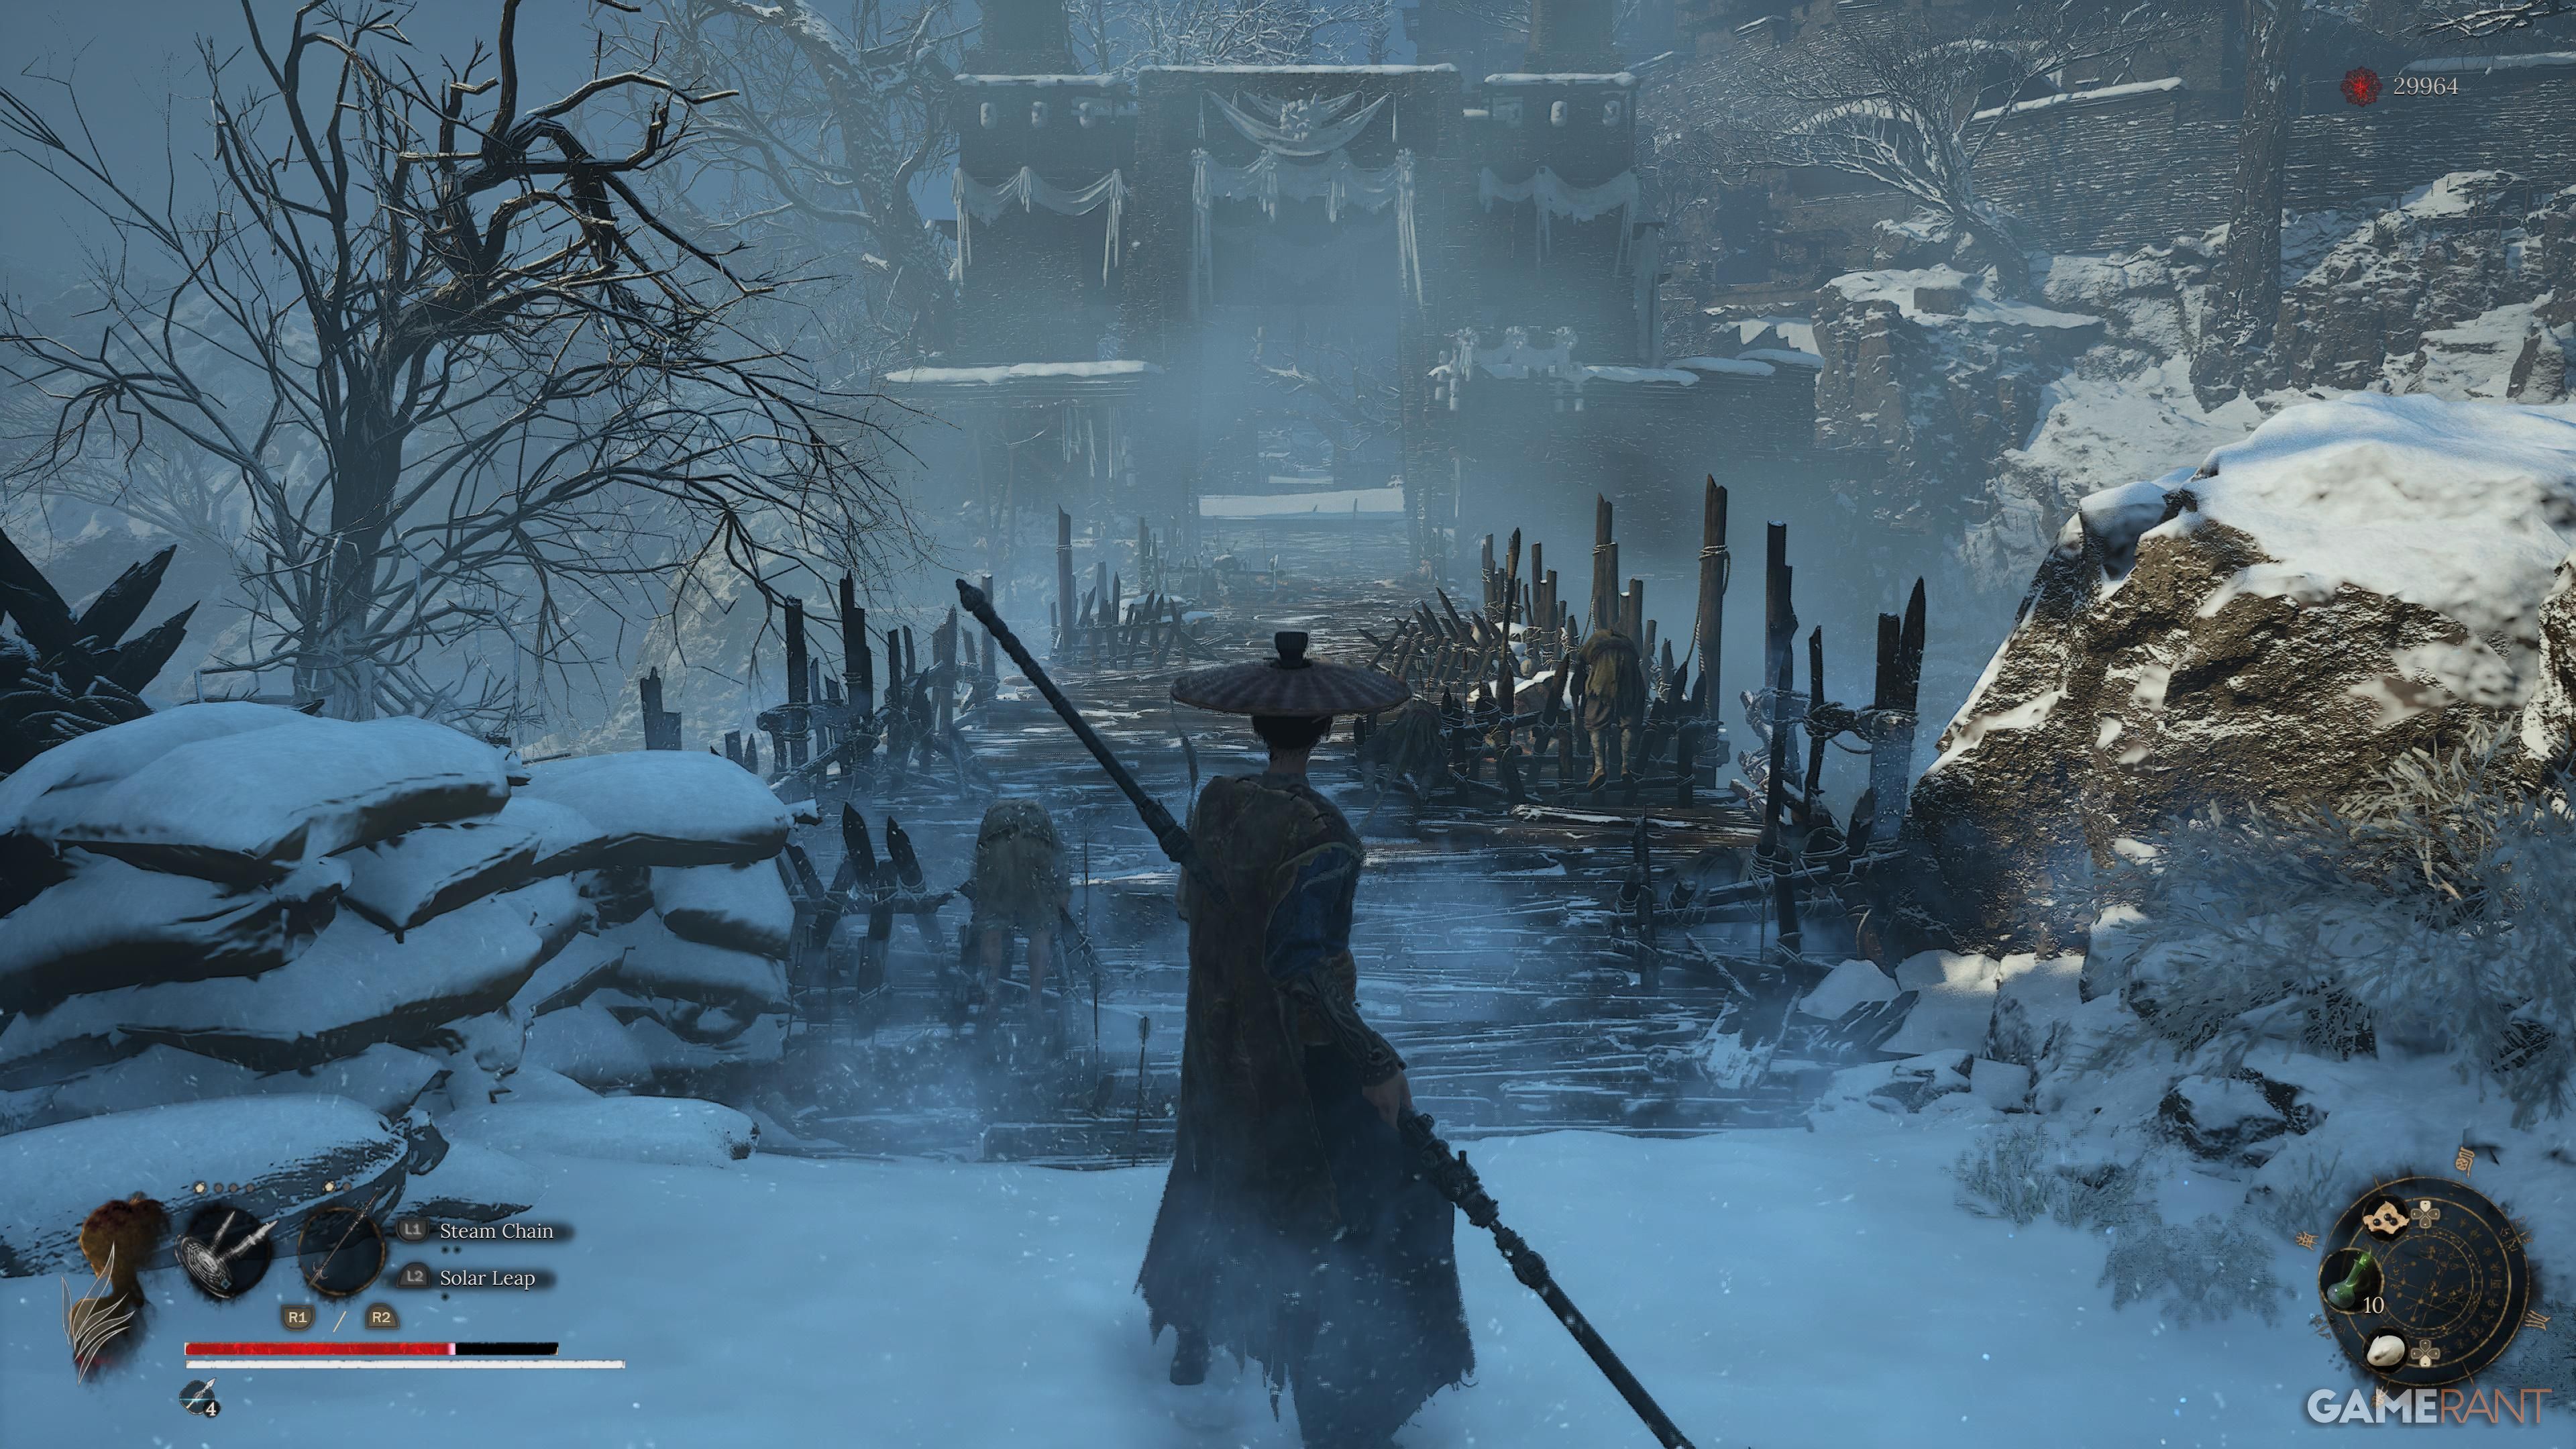
Head back to the door you previously went through and explore the route from which the jailor foe emerged. Follow this path as it descends and deal with the succession of enemies that pop up along the way until you reach a bridge. Don’t step onto the bridge right away; instead, look to your right and you’ll find an elevator leading back up to the Shaft Entrance shrine. Use it to create a quick return route if you happen to die during the upcoming boss fight. Once you’re ready, proceed across the bridge to engage in the battle.
Read More
- Shruti Haasan is off from Instagram for THIS reason; drops a comeback message on Twitter
- Shiba Inu Sees Bullish Reversal In On-Chain Metrics, Can SHIB Price Recover?
- Chiranjeevi joins Prime Minister Narendra Modi for Pongal celebrations in Delhi; see PICS
- Connections Help, Hints & Clues for Today, March 1
- The games you need to play to prepare for Elden Ring: Nightreign
- What Is Dunkin Donuts Halloween Munchkins Bucket?
- What Does Mickey 17’s Nightmare Mean? Dream Explained
- The Babadook Theatrical Rerelease Date Set in New Trailer
- Pepe Battles Price Decline, But Analysts Signal A Potential Rally Ahead
- Sitara Ghattamaneni: The 12-Year-Old Fashionista Taking the Spotlight by Storm!
2025-07-25 09:36