In every new Destiny 2 expansion, there’s always the introduction of new Exotic weapons, and The Edge of Fate is no exception – it introduces the astonishingly powerful Graviton Spike Exotic Hand Cannon to the game. To acquire this weapon, you’ll have to finish a quest that isn’t too lengthy or complex, called Graviton Through the Ages. Here’s a guide on how to do it.
How to get the Graviton Spike Exotic Hand Cannon in Destiny 2

To obtain the Graviton Spike, you should finish the story campaign “The Edge of Fate,” which might last about eight hours if played on Legendary mode. Once the closing scenes are over, make your way to the Altar of Relativity to collect the Exotic mission.
In this adventure titled “Graviton Through the Ages,” you’ll embark on a journey consisting of 15 distinct stages. Approximately half of these stages require interactions with specific Non-Player Characters (NPCs). The rest of your expedition will lead you through the expanses of Kepler, where you’ll gather pieces of an Exotic weapon and tackle some easy platforming challenges and puzzles involving Kepler mechanics as well.
Step 1: Speak to Lodi

To proceed with the initial task, depart to the left from the Altar of Relativity. You’ll encounter Lodi on an elevated stage equipped with a Matterspark pad. Initiate communication with him to advance your progress (even though he doesn’t have voice acting in this instance, that can be addressed separately).
Step 2: Speak with the Emritus
Head back to the central part of the Caldera and speak to the Emeritus to progress.
Step 3: Triangulate the weapon piece location in the Outer Steppes

Initially, make your way to The Stacks landing zone in the central Outer Steppes. From there, travel westward, utilizing Matterspark and Mattermorph as needed for advancement. Once you reach the Outer Wastes (and notice the text at the screen’s bottom left), climb up onto the cliffs on your left side.

You’ll find a Rosetta Sentry, which resembles a Minotaur and is yellow-barred, blocking the Rosetta terminal that you need to activate in order to locate the weapon component. To access the terminal, climb onto the platform situated above you. Once activated, proceed to the next stage.
Step 4: Find the Department of External Observation weapon piece in the Outer Steppes


To locate the required piece, you’ll journey towards the southwestern plains, beyond the Fortress of the Brig and Corsairs. Proceed via Matterspark, ascending the pipe, and move past the Heavy Shank, which is on your left after going through a door. Continue moving left along the corridor illuminated with red light.
Make your way towards the server room, and upon exiting into the open space, glance towards your right, down below. You’ll spot a console there that can be charged using Matterspark…sparks. After charging it, locate the mancannon positioned to its right, and use it when ready.

In the cozy nook where you’ve been placed, plug in your console for charging, then travel along the tunnel until you find a compact door that requires power too. After passing through this door, you’ll encounter the initial component of the weapon.
Step 5: Speak with the Emeritus
Apprise the Emeritus of your progress.
Step 6: Triangulate the weapon piece location in the Gorge

The specified weapon component is located deep within the Stellar Sink area of the Canyon. To reach it, use fast travel to Assimilated Easement as your starting point, then head southwest through the caves. When you enter a big room teeming with Goblins and a Hydra, take a left turn.
This version maintains the original’s clarity while using more natural, conversational language to guide the reader through the steps.

As you advance, you’ll find another Rosetta Sentry ahead. Eliminate it and uncover the next move by activating the console situated on the left side of the partially damaged, circular construction.
Step 7: Find the Department of External Observation weapon piece in the Gorge


As you venture further into the Canyon, you’re on the hunt for a spacious chamber. This is where the Conductor occasionally gathers several large, Cyclopses with yellow bars markings. You’ll recognize it by the colossal fungal spread across the assorted containers and buses that lie below.

Upon entering the room, veer left and proceed along the corridor until you spot the Matterspark tunnel. Approximately halfway down this tunnel, on your left side, is a tiny recess. The part needed for the weapon is concealed behind a small metal object that can be moved with Mattermorph. To find the Mattermorph node, retrace your steps back to the large chamber and search for a Matterspark portal hidden behind one of the big blue barrels.

Pass through the portal, then veer right until you reach the Mattermorph node. Use your power there and swiftly make your way back to the tiny tunnel with the weapon component. If you’re agile enough, you should have approximately 10 seconds remaining on the Mattermorph timer. This should be more than sufficient for you to revert to your original form and employ your ability on the metallic obstacle that’s hindering access to the weapon part.
Step 8: Speak to Lodi in the Caldera
Lodi has some things to say about the process.
Step 9: Triangulate the weapon piece location in Exile’s Accord

Your objective is to advance towards the opposite end of Augur’s Bethel within Exile’s Accord. Use fast travel to Curtilage Divide and then begin your journey eastward. At the initial crossroads, proceed downwards and veer left under the reddish, radiant heating pipe. Upon entering the region marked by Fallen structures infected with fungi, keep moving to your left side.

You’re searching for another Matterspark portal, located about halfway through a tunnel protected by a Heavy Shank. At the far end of this tunnel, there’s a control panel that can be powered up using Matterspark energy.

Pass through the gateway and descend. Watch out for the yellow barrier, Captain and Rosetta Sentry. Once taken care of, navigate towards the left where the Sentry stood, to uncover the Aionian control panel.
Step 10: Find the Department of External Observation weapon piece in Exile’s Accord


At the moment, you should revisit the Fallen room. You can do this by going through the portal or by quickly teleporting back to Curtiledge Divide and making your way there afterwards.

Regardless of your direction, make your way to the back-left corner of the room, head towards the Nine teleportation booth, pass through it, and you’ll discover the weapon component at the end of the short passageway.
Step 11: Speak to the Emeritus
More updates for the Emeritus.
Step 12: Collect data fragments from defeated Vex

To accomplish this task, you should vanquish Vex and gather 100 Vex data fragments (in this instance, they resemble Motes from Gambit). Enemies with a red health bar drop one fragment, those with an orange health bar drop three, and those with a yellow health bar drop five. To minimize loading times, follow Kepler and traverse the regions east of the Caldera. Vex of all types continuously spawn there, ensuring you can complete the task in no more than 15 minutes.
Step 13: Find the Department of External Observation weapon piece in the Central Academy


To find the most challenging piece of the equipment, make your way towards the Central Academy, situated in the Aionian Campus district. Use fast travel to reach the location and interact with the Rosetta console after eliminating the three Fallen obstacles (disruptors) that are strategically placed within the starting area.
Explore the room that’s behind the locked door, where you’ll encounter a group of Imps. The chamber containing the weapon component is within, but access is barred by laser beams. To proceed, you’ll require a Relocator device.

Make your way along the hallway that’s next to the laser door, then continue until you come across a vast industrial space with a massive crane standing out. There, you will spot the Relocator confined in a cage suspended from the crane arm. To free it, you need Mattermorph.
In Step 13, head towards the northwest corner of the room. You’ll find the Mattermorph positioned diagonally opposite the crane and cage.


Inside a concealed pipe, you’ll find your Mattermorph device. Once activated, unlock the container, pick up the Teleporter, then make your way back to the chamber with the laser-activated door. Utilize the Teleporter to bypass the lasers and retrieve the weapon component.
Step 14: Speak to Lodi
Lodi has an idea of how to assemble the weapon.
Step 15: Assemble the weapon using the Sieve

Before obtaining the Graviton Spike, you must first succeed in completing a single round of the Sieve challenge.
The action point is located right in the middle of the Kepler chart, yet it’s accessible for just 30 minutes at a time. If you happened to miss the most recent broadcast, you’ll need to patiently wait until the next one starts.

By finishing one cycle of the Sieve, and snagging the prize chest at its conclusion, you’ll receive the Graviton Spike instantly in your possession (either in your Inventory, or in your Mailbox should your Inventory be full).
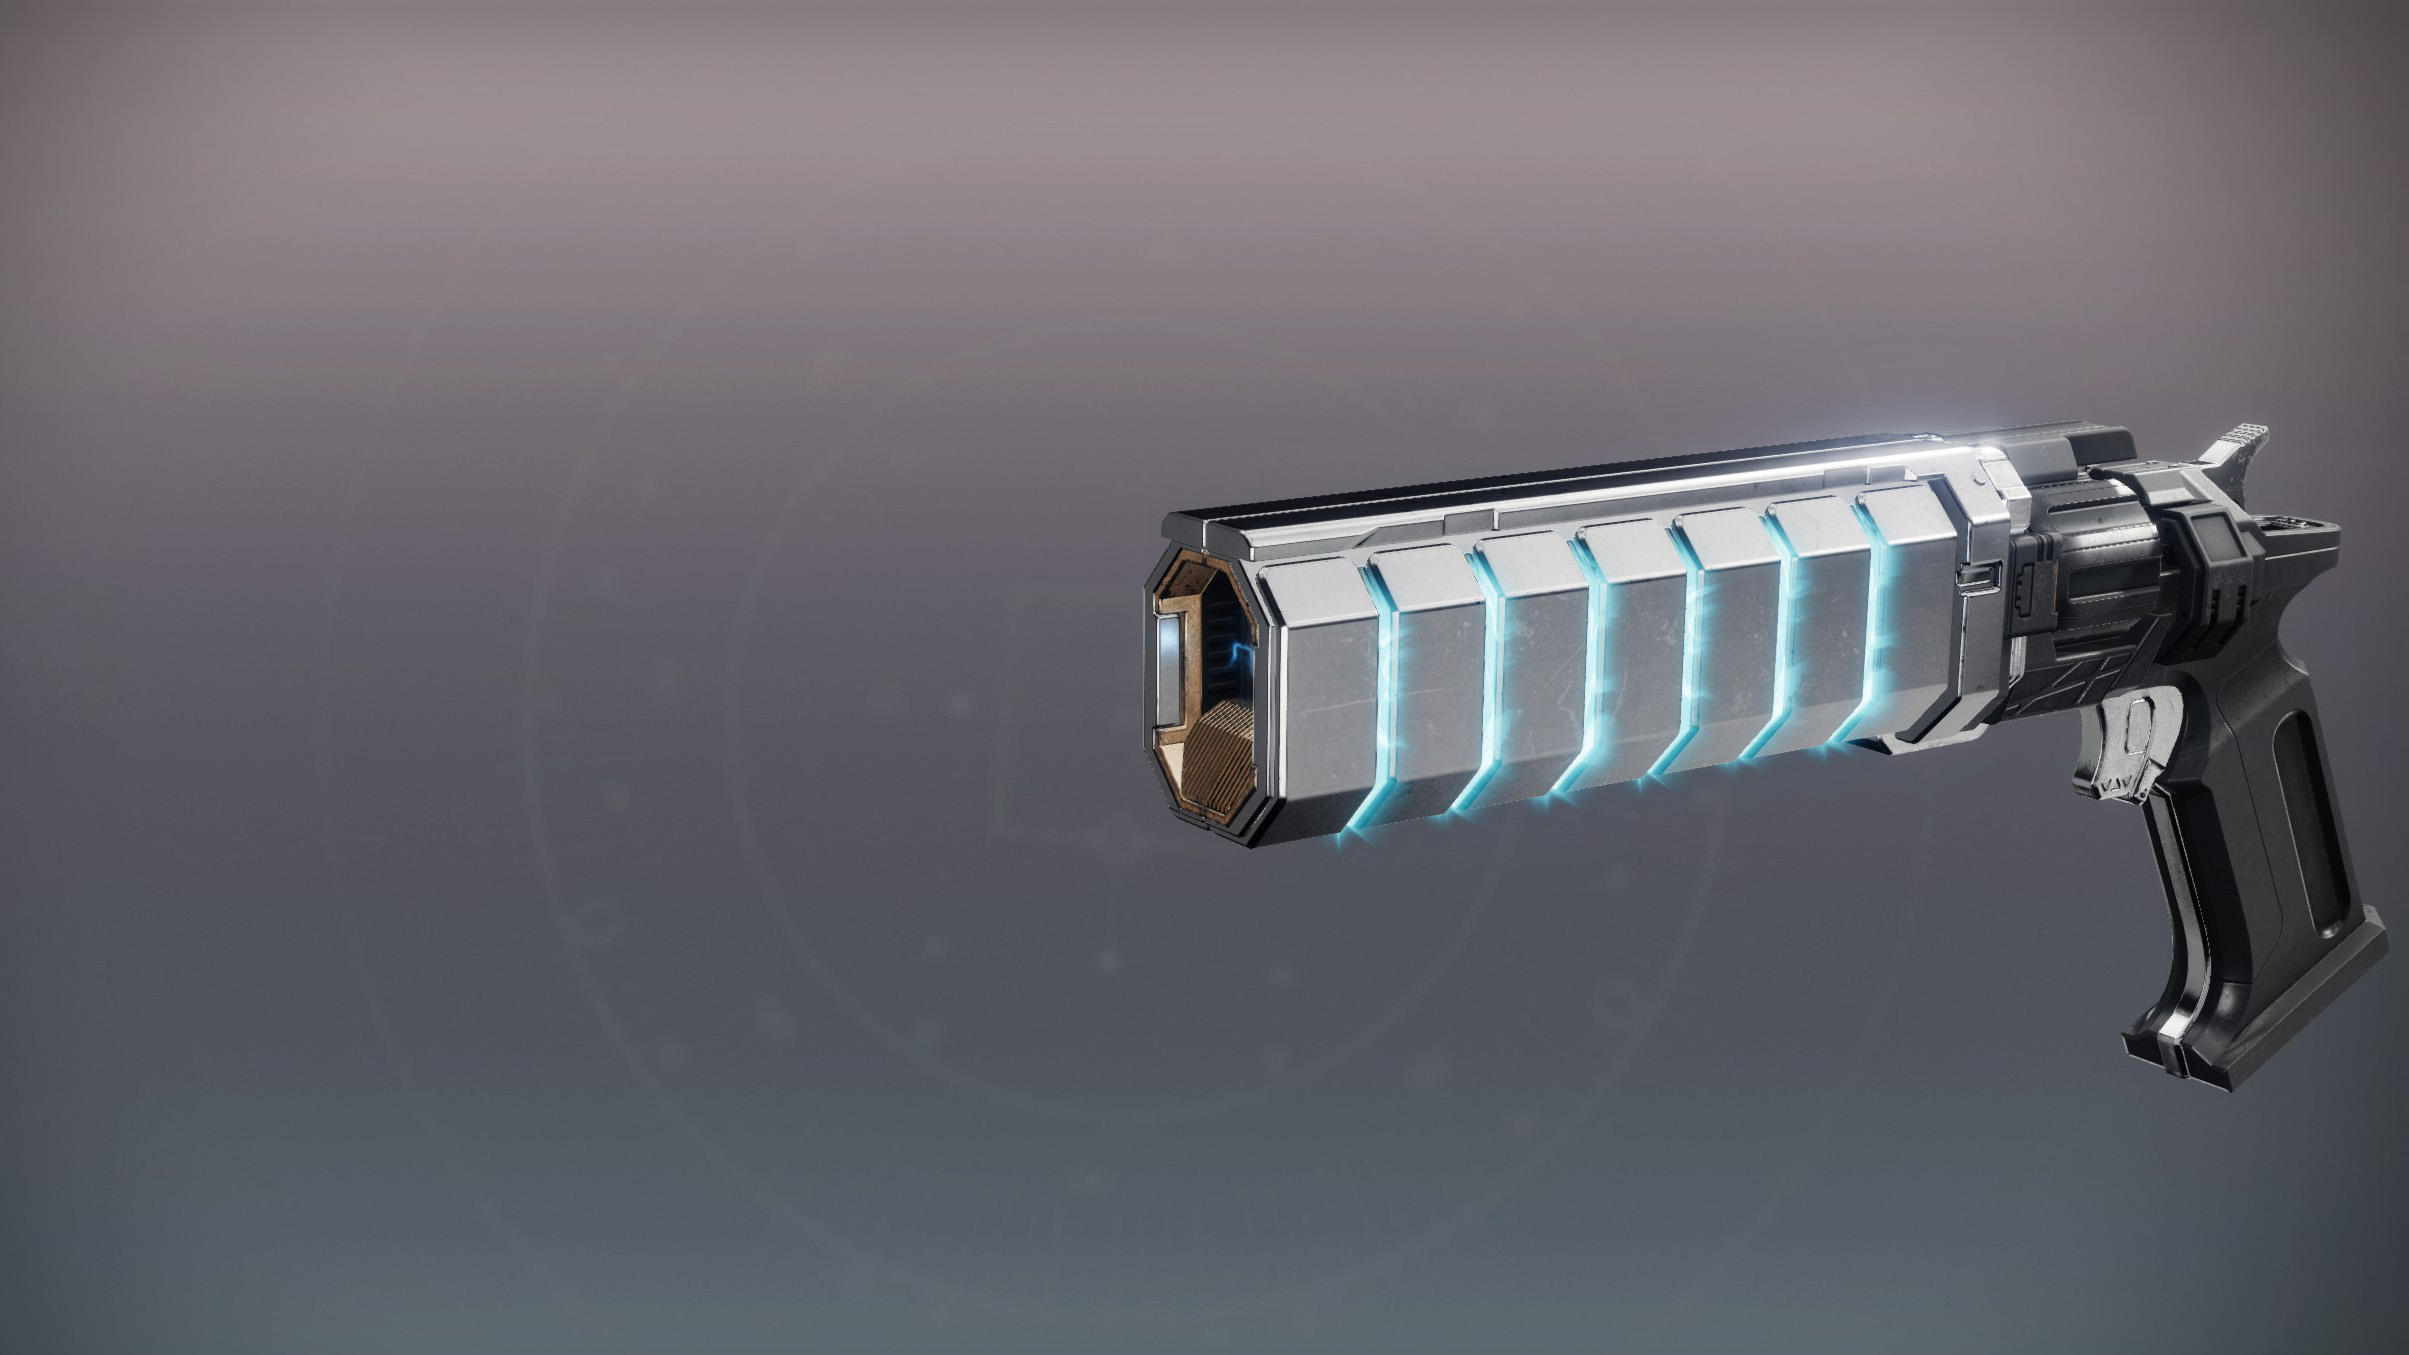
The Graviton Spike serves as a versatile weapon, inflicting harm through both electrical (Arc) and freezing (Stasis) elements. It’s undoubtedly useful for character builds based on either element, and also effective when used on Prismatic ones.
For much more on The Edge of Fate, check out our Destiny 2 page.
Read More
- Brody Jenner Denies Getting Money From Kardashian Family
- I Know What You Did Last Summer Trailer: Jennifer Love Hewitt Faces the Fisherman
- Justin Bieber ‘Anger Issues’ Confession Explained
- The Entire Cast Of Pretty Little Liars Hopes For A Reunion Movie
- New God Of War Spin-Off Game Still A Long Way Off, According To Insiders
- Bitcoin Price Climbs Back to $100K: Is This Just the Beginning?
- Move Over Sydney Sweeney: Ozzy Osbourne’s DNA Is in Limited-Edition Iced Tea Cans
- What Happened to Kyle Pitts? NFL Injury Update
- Superman’s James Gunn Confirms Batman’s Debut DCU Project
- All Elemental Progenitors in Warframe
2025-07-17 07:59