
In Tainted Grail: The Fall of Avalon, some decisions are straightforward, while others hold immense significance for your kingdom. As the Shadows of the Horns adventure progresses, you’ll be confronted with a choice that could dramatically alter Kamelot’s destiny. A treachery has already been exposed, and loyalties are in flux. When called upon to eliminate a Knight of the Round Table, nothing is ever as simple as it appears.
As a devoted follower, here’s my take on the dilemma: Should I strike down Galahaad and side with the traitors? Or should I eliminate One-Eye and opt for upholding order? This guide will lead you through each possible scenario, helping you determine which path aligns best with your principles.
This walkthrough may reveal crucial plot points from the mission “Shadows of the Horns” found within the game “Tainted Grail: The Fall of Avalon”. Proceed with caution, as reading further might disclose key details of the story.
Where to Find Galahad in Tainted Grail: The Fall of Avalon
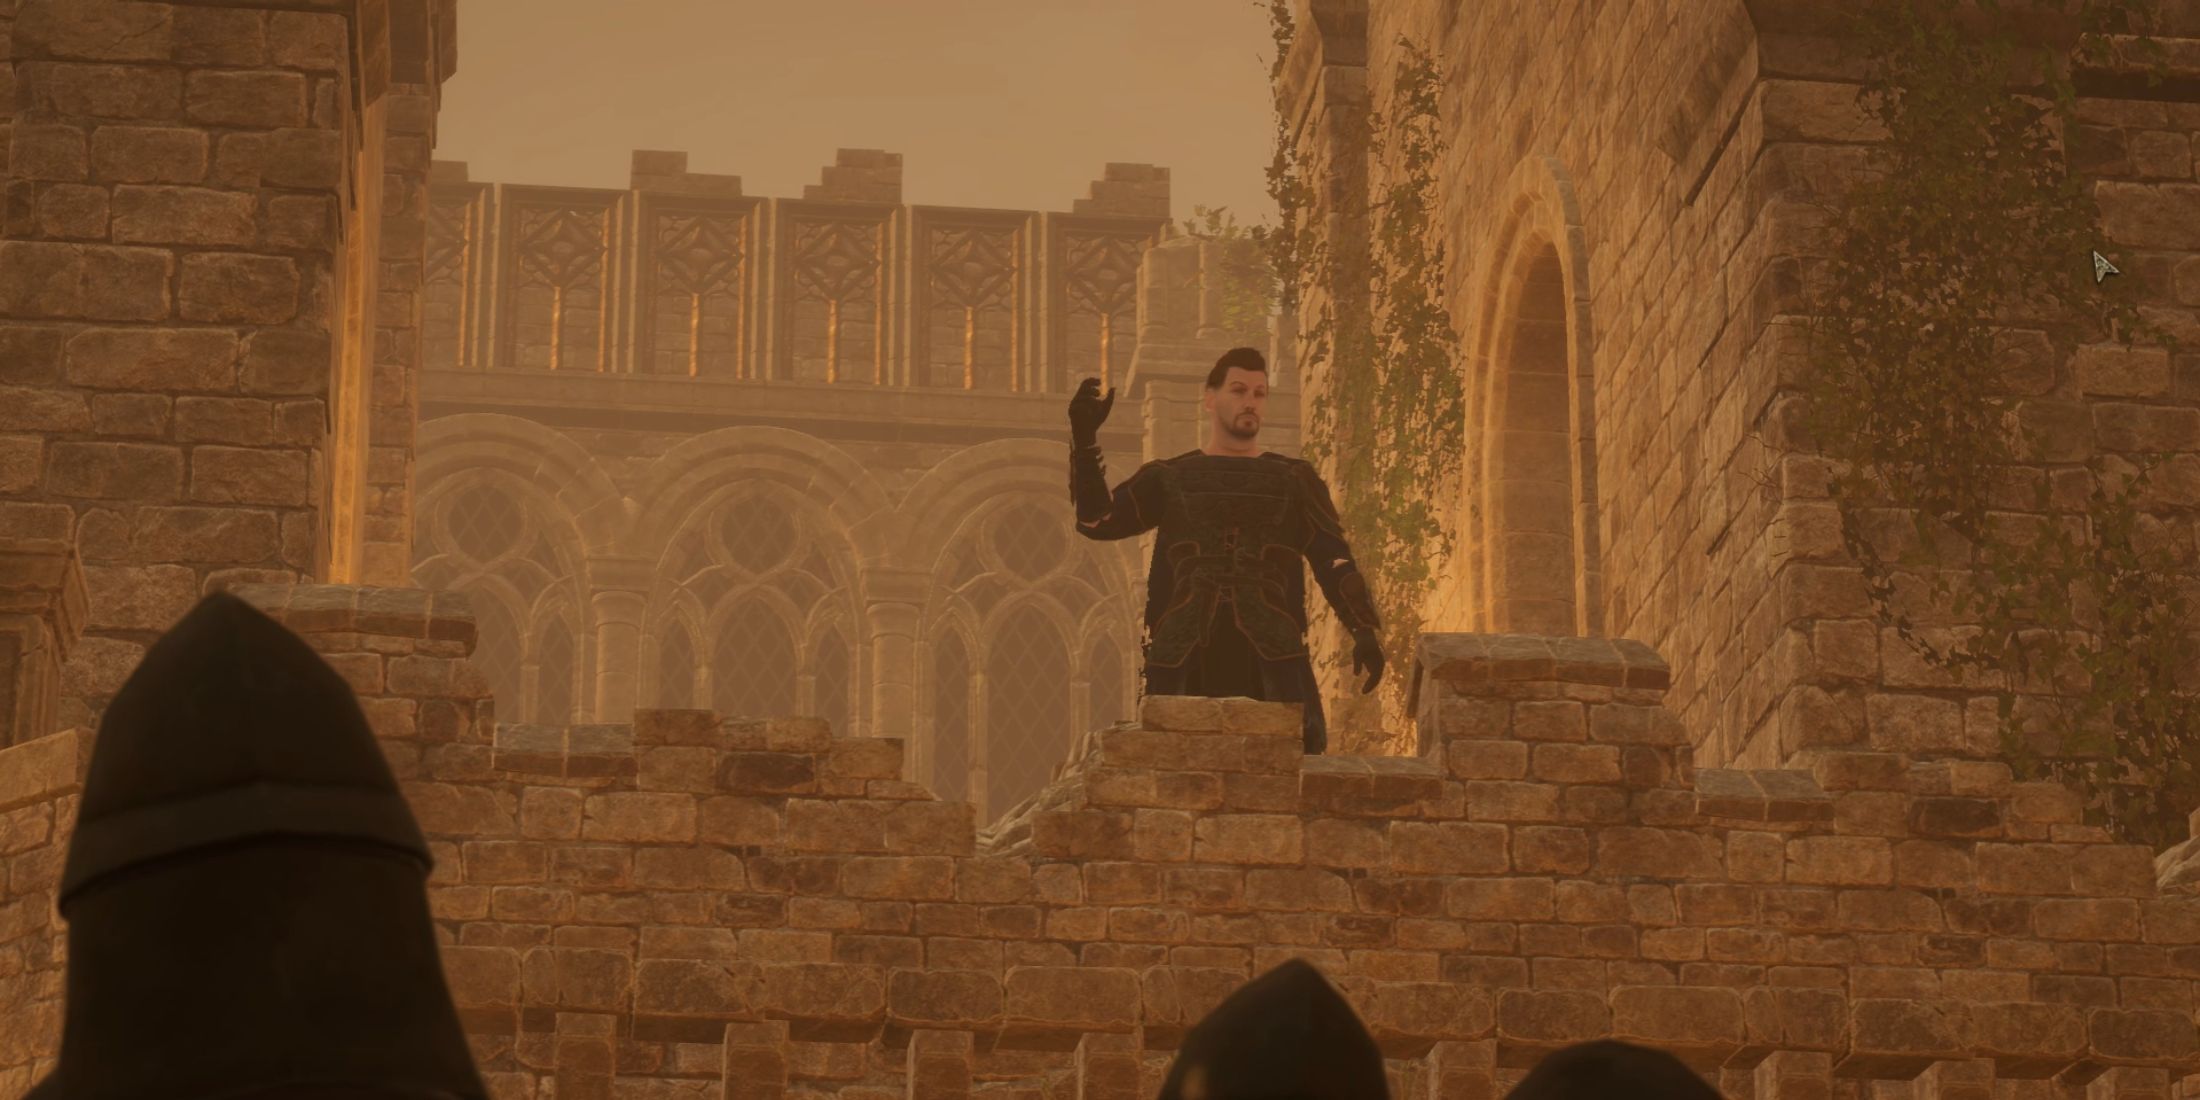
Following instructions from Breandan, your mission will involve traveling to the derelict fortress situated northwest of Archspire, known as the Abandoned Stronghold, for the Shadows of the Horns quest. When encountered by the guard, use the dialogue “Do you see this pin? I don’t have to explain anything to you. Escort me to Galahad” to bypass their hostility and continue on your way.
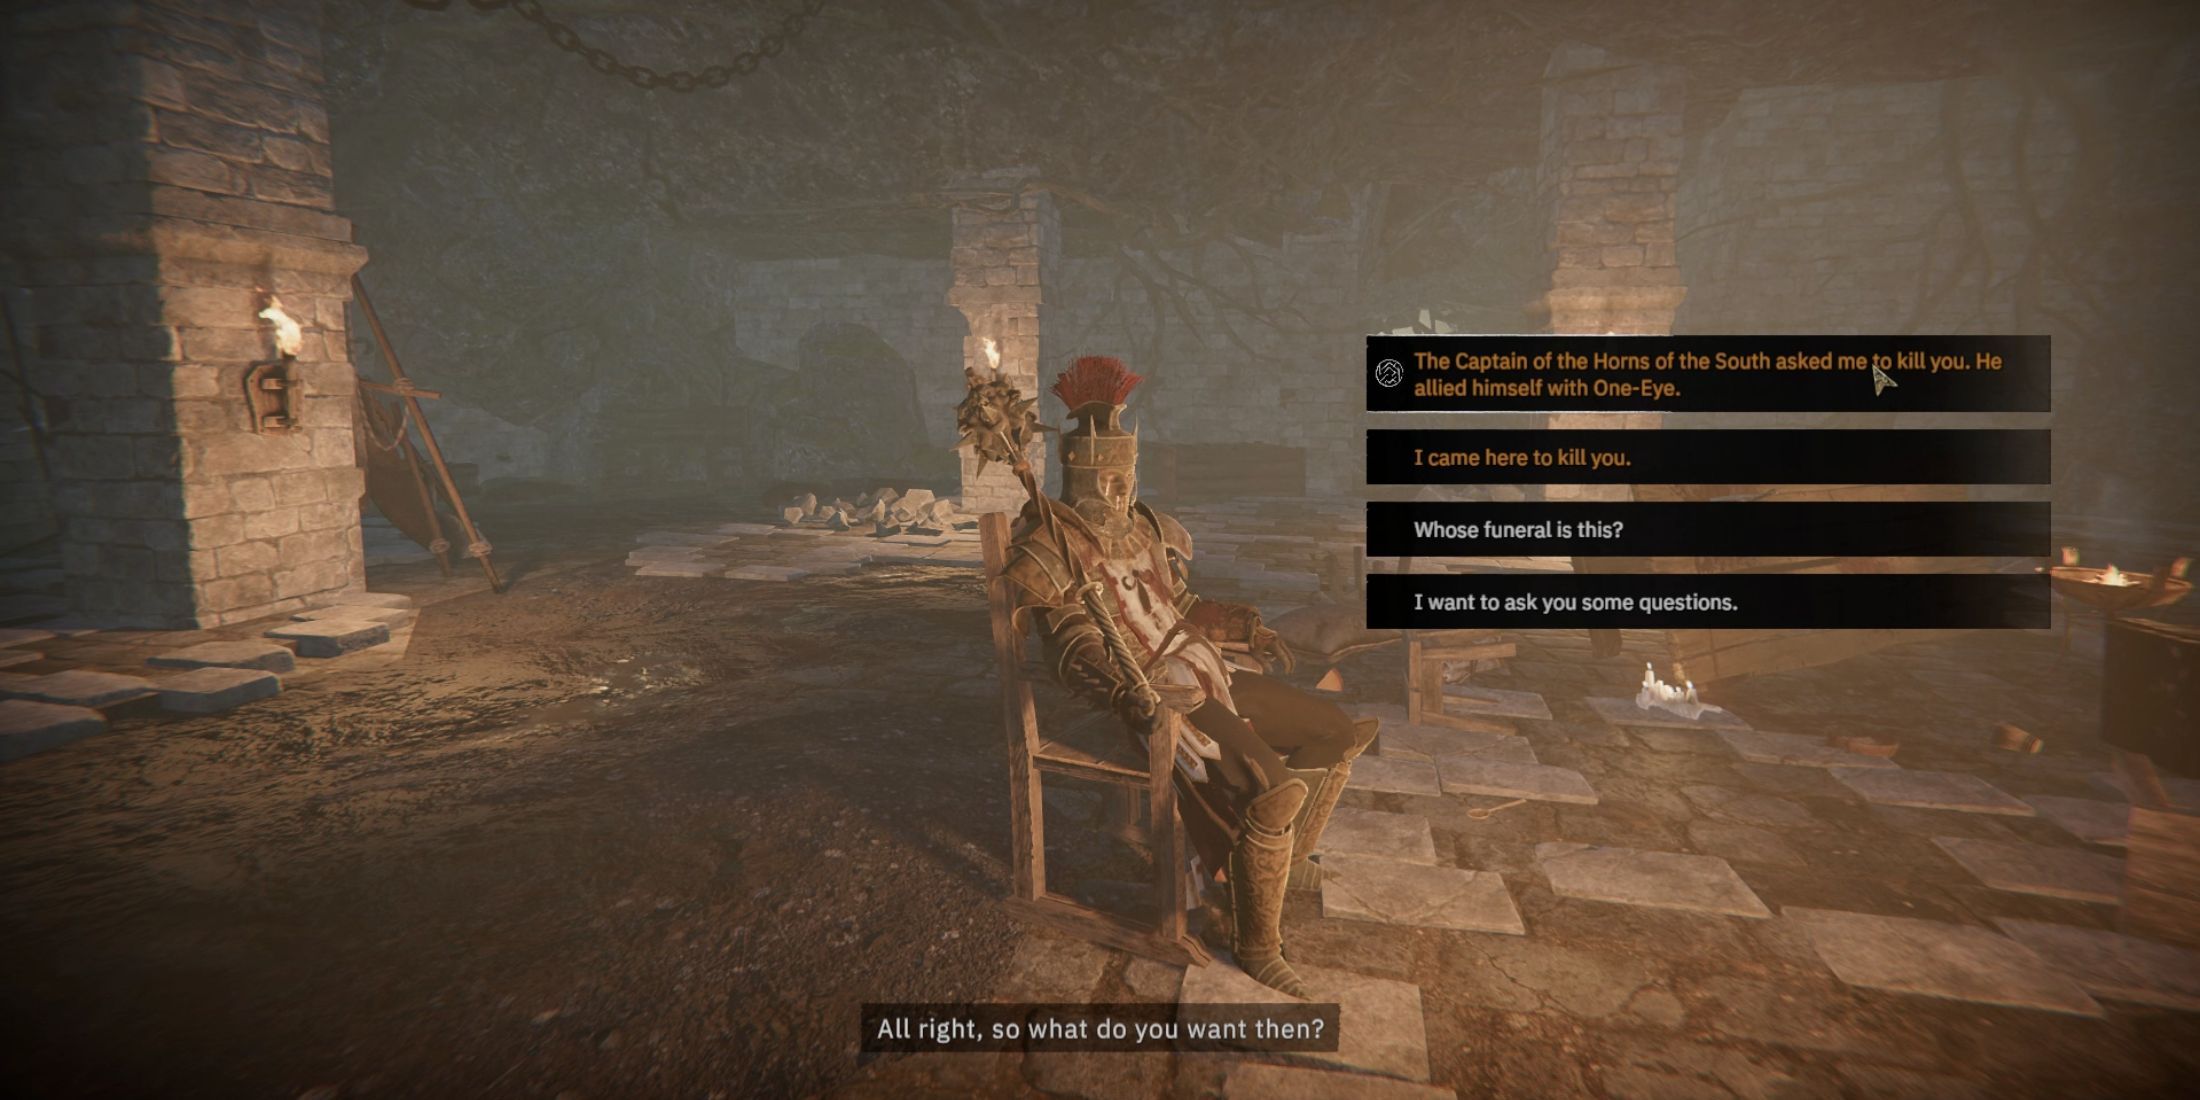
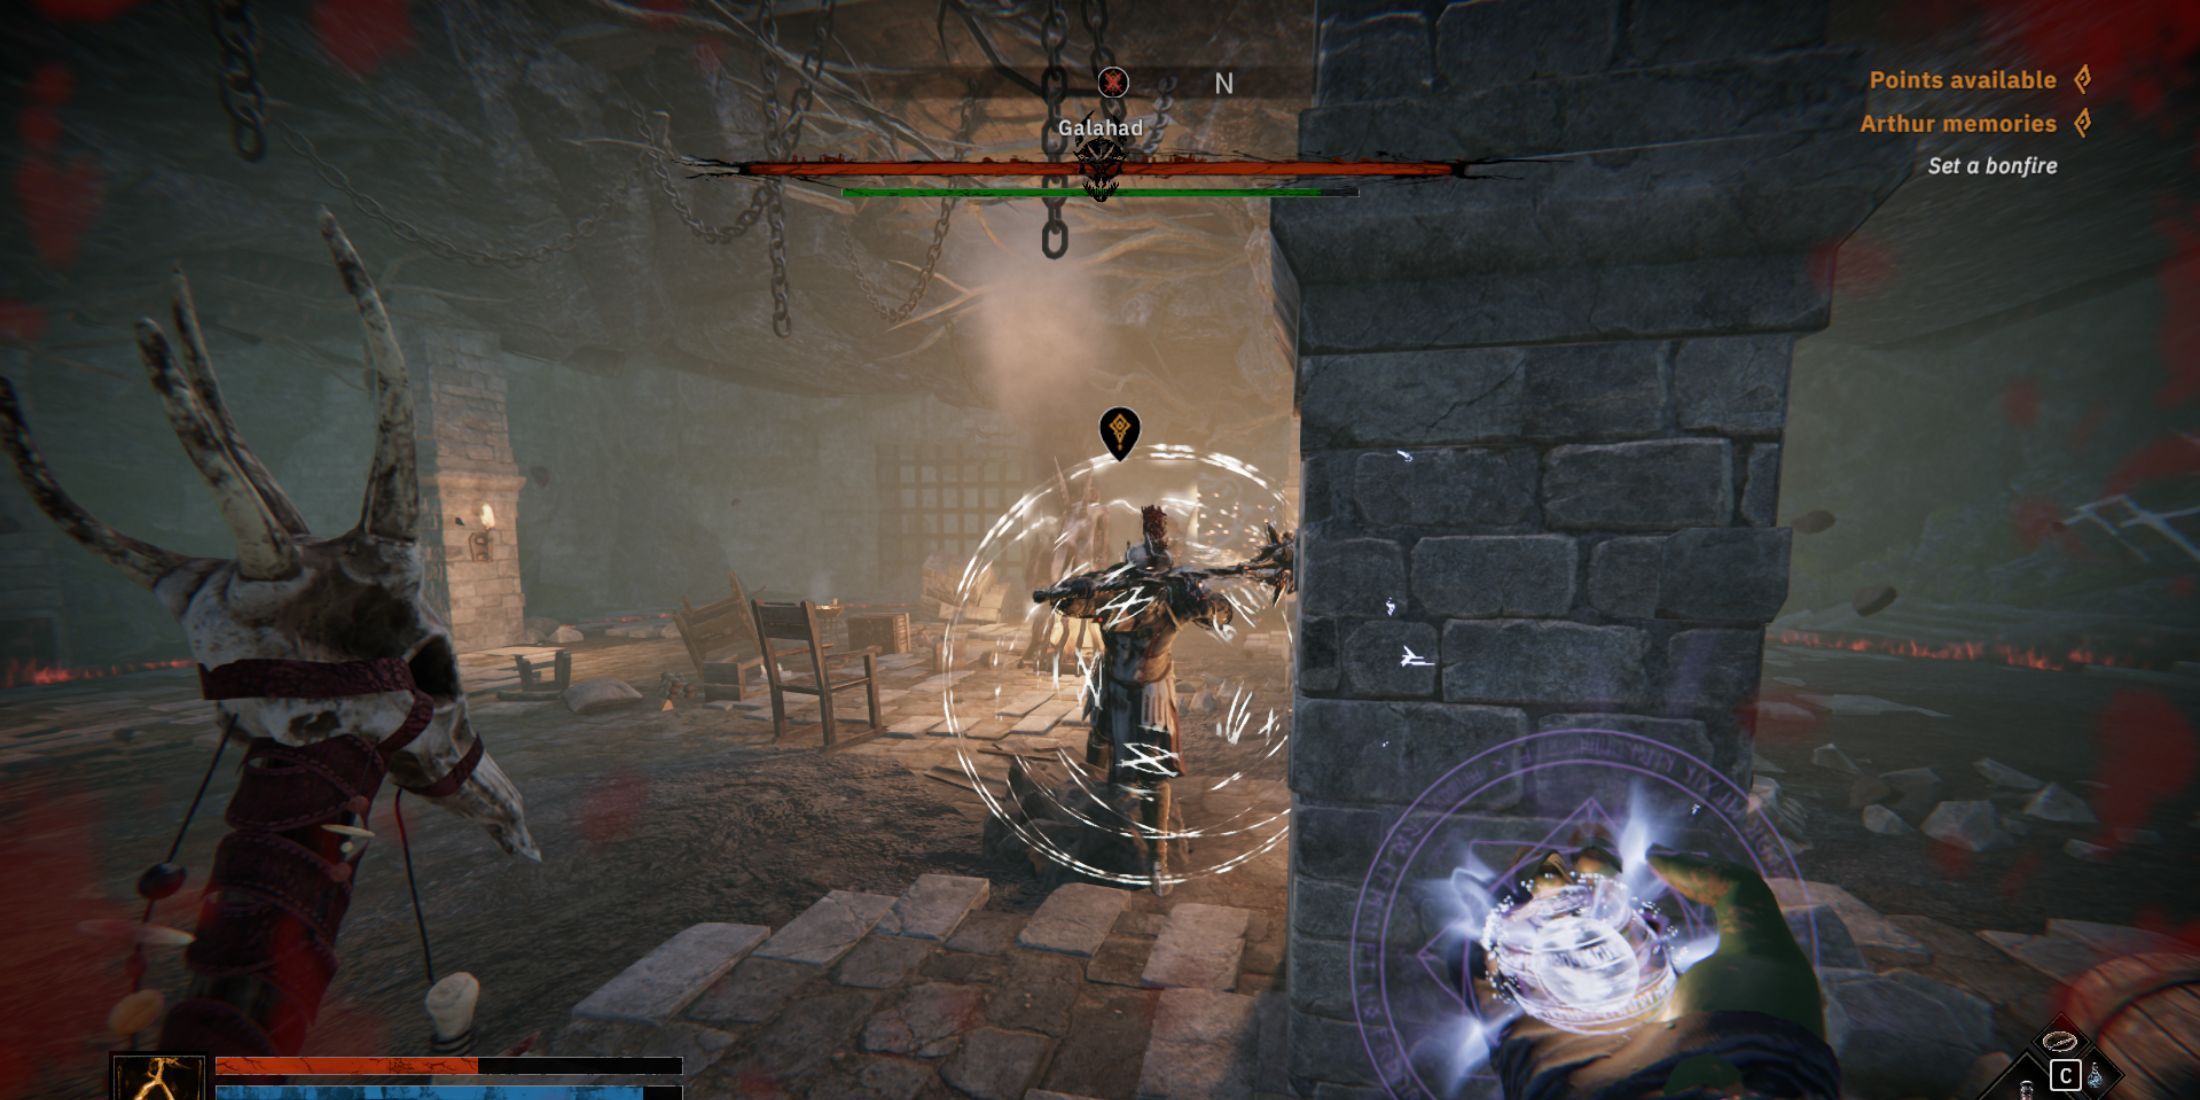
Navigate your path towards the fortress interior, where you come across Galahad seated on a chair within the chamber. He will inquire about the location of the pin, prompting you to respond with “You discovered it yourself.“. At this juncture, you’ll have several dialogue options, but the ones that hold significance are:
1. “I followed your instructions.”
2. “The pin was where you suggested.”
- The Captain of the Horns of the South asked me to kill you. He allied Himself with One-Eye.
- I came here to kill you.
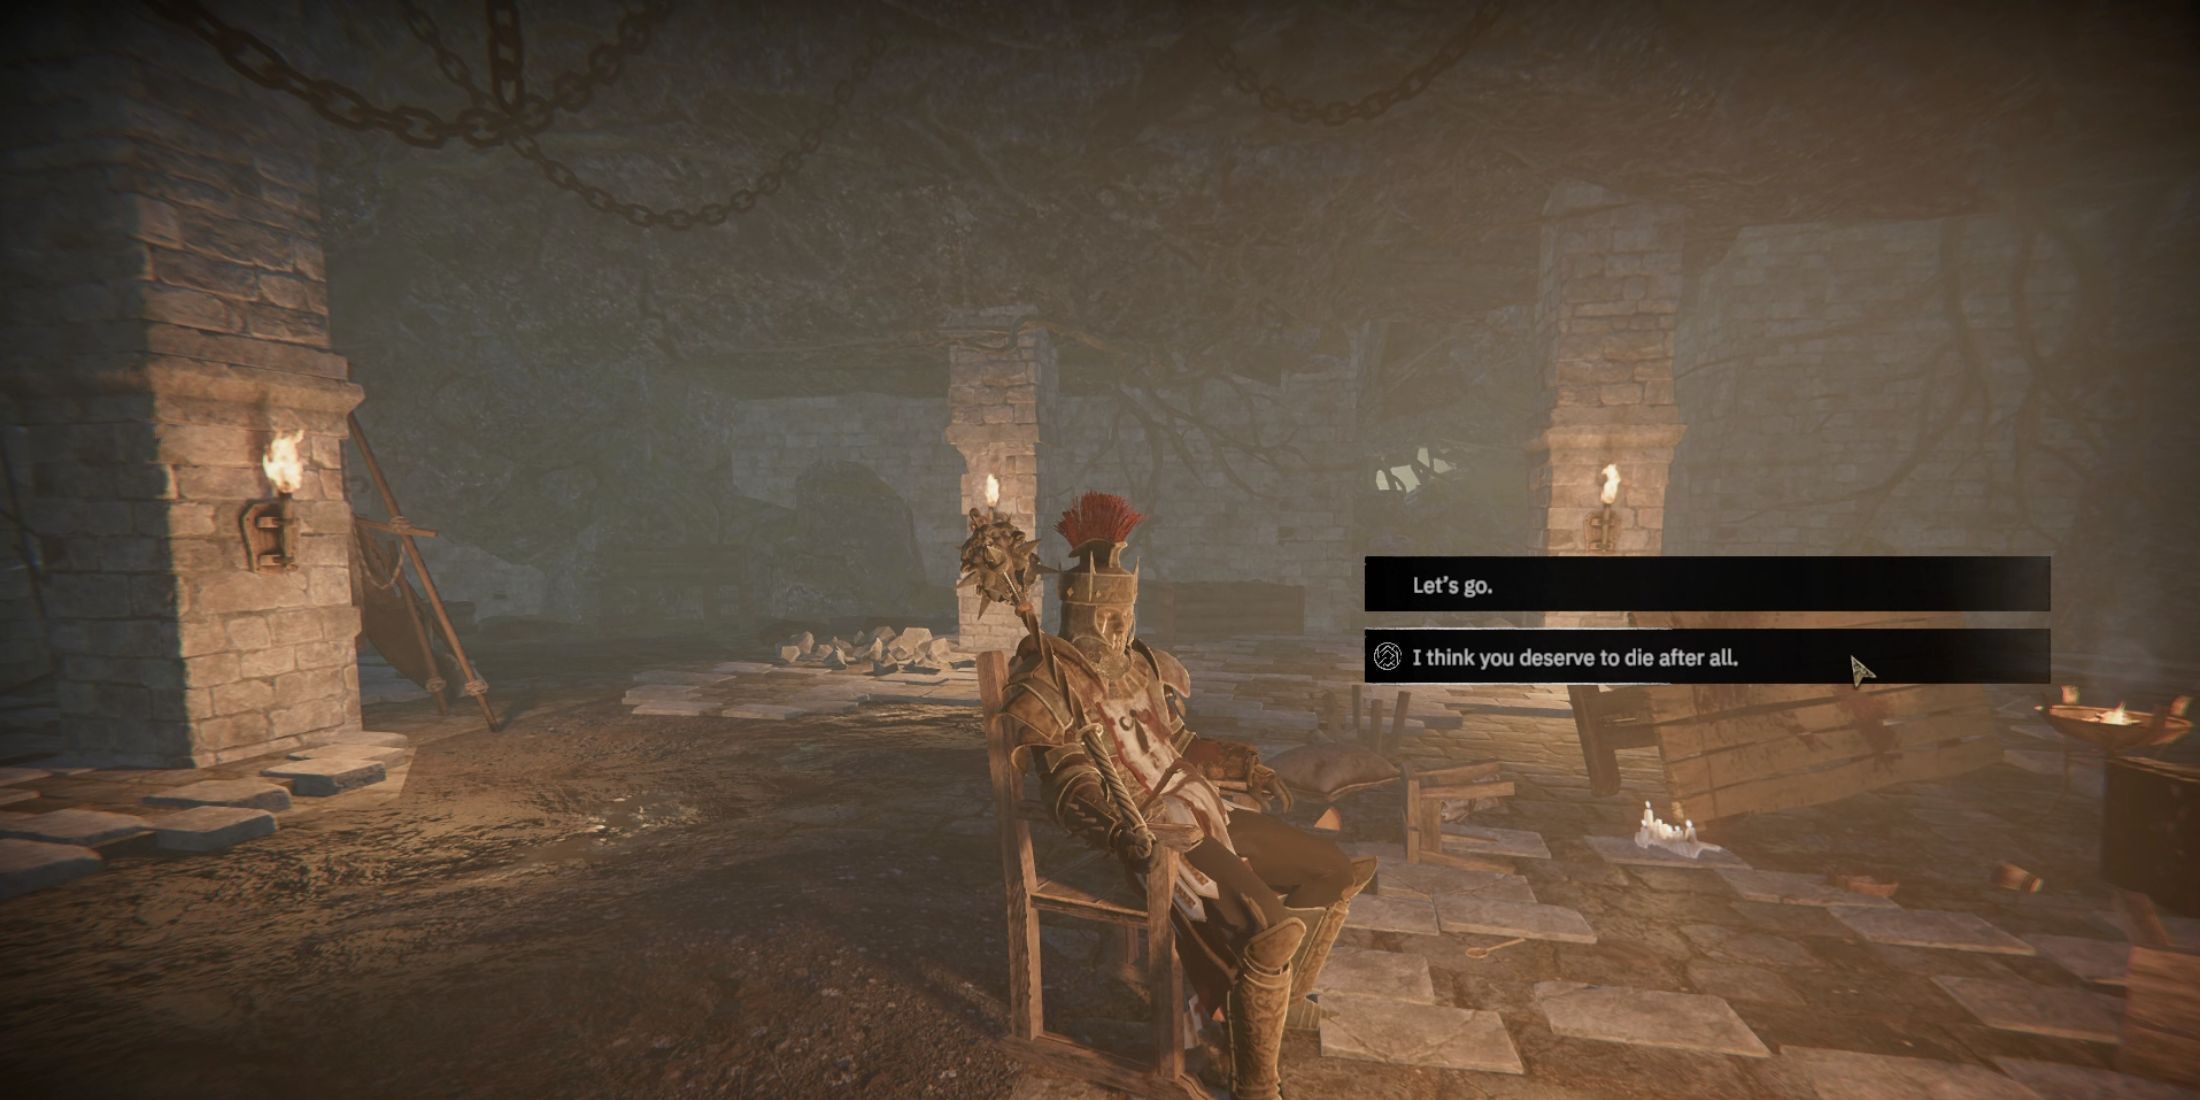
Opting for choice one, followed by a statement expressing your reluctance to harm him, will prompt Galahad to propose a joint battle against the Dal Riata. After his speech concludes, you’ll be presented with additional dialogue choices.
- Let’s go.
- I think you deserve to die after all.
If you opt for certain dialogue options during your conversation, like saying “I am here to kill you” or agreeing that you and Caradoc robbed his tomb, Galahad will immediately attack you. In such a scenario, you won’t have an opportunity to eliminate One-Eye in the ensuing confrontation.
Choosing Option #1 – Siding with Galahad
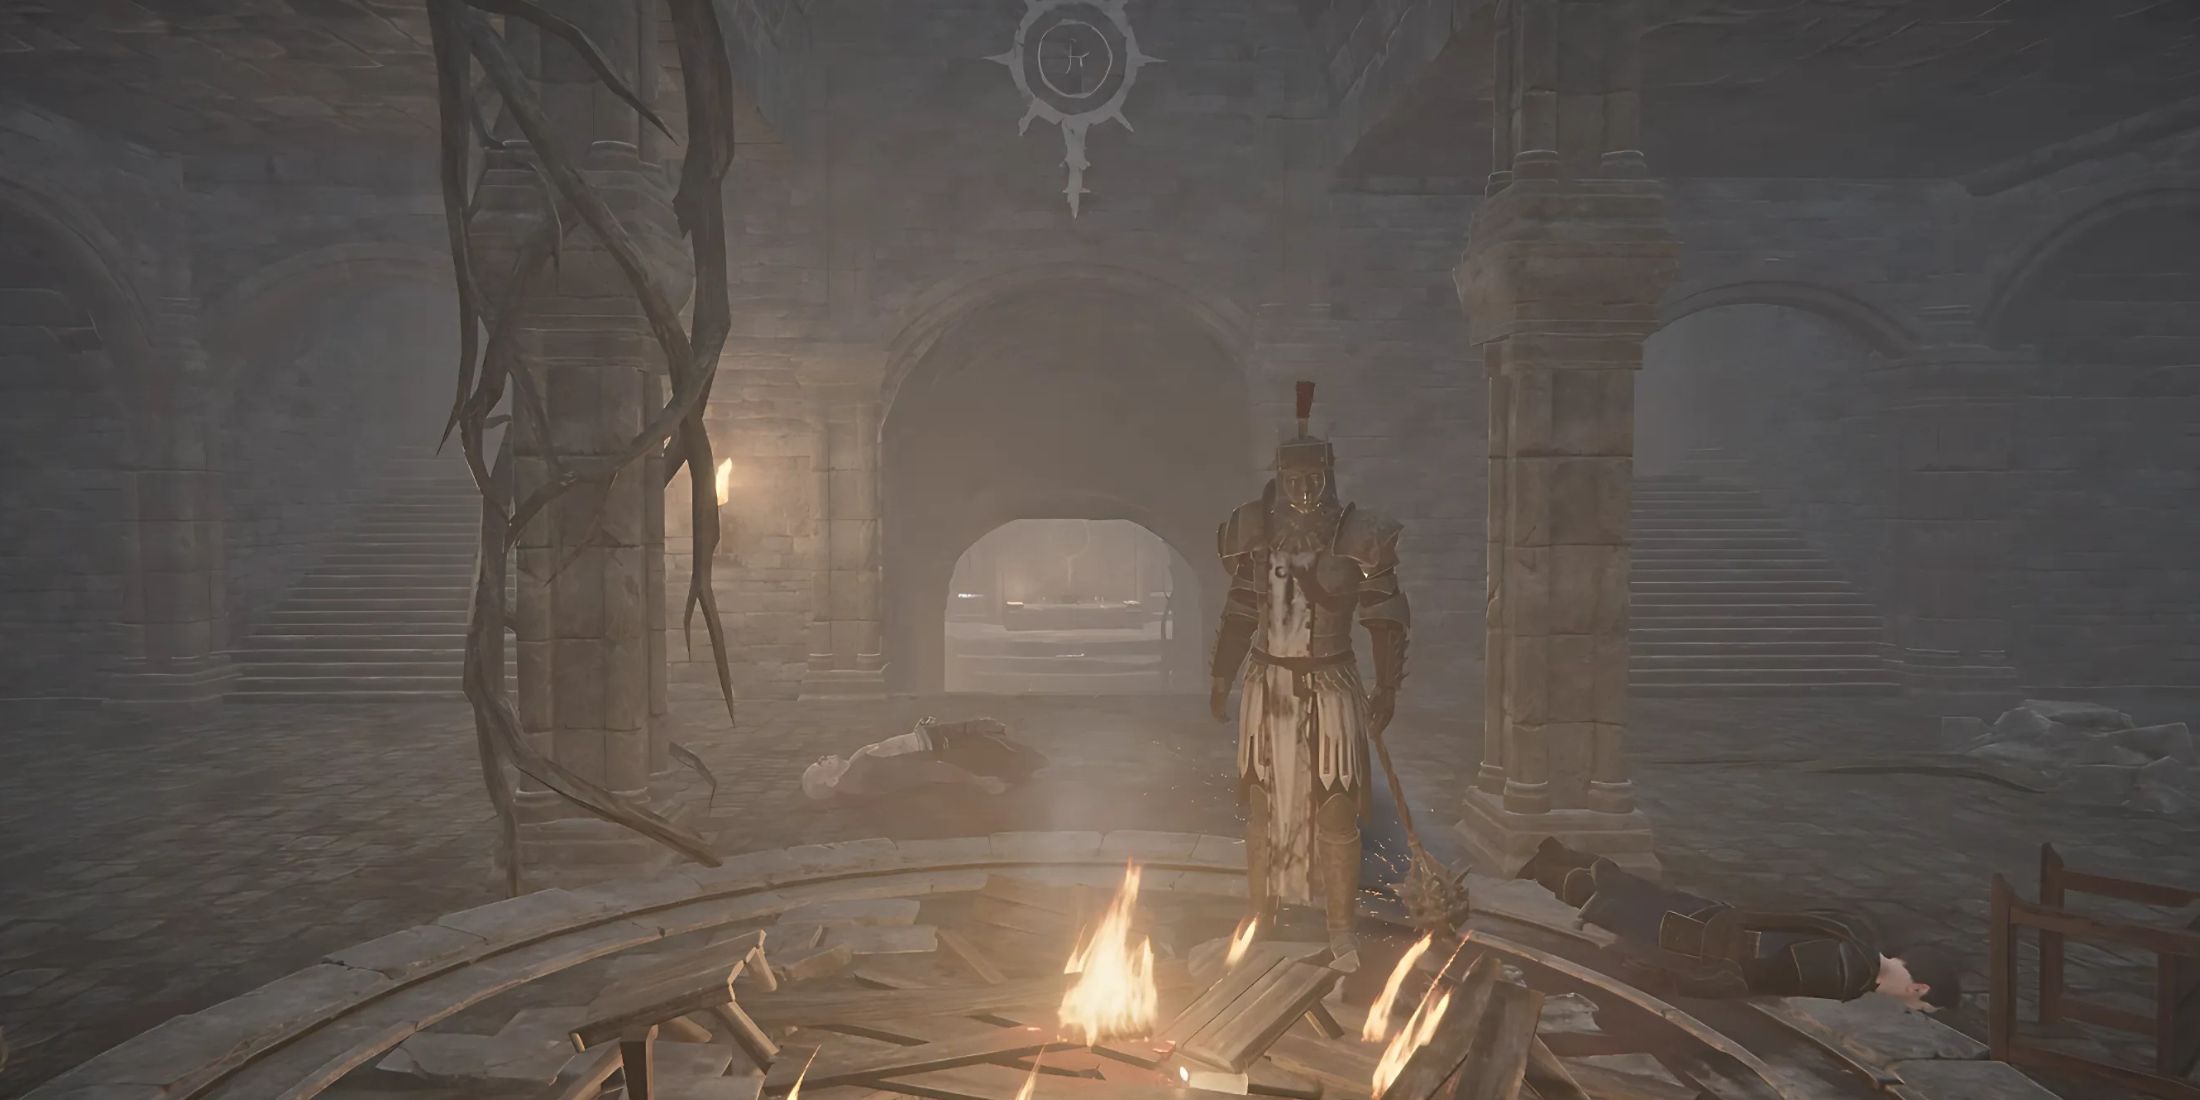
Opting for the initial choice implies you’ve aligned with Galahad. Return to the Temple of the All-Mother, where you’ll discover it’s under siege by Galahad and his troops. Navigate your way to the central temple, eliminate any Dal Riata Berserkers you encounter during your journey.
Upon entering, you’ll notice that Galahad had previously eliminated everyone within. Inquire about the rite of the Keepers from him, and he’ll disclose a trial that entails striking a gong in the submerged village.
This is part of the quest to find Excalibur later on.
As Galahad hands me a directive, I find myself tasked with making Faerghas the temporary captain of the Horns of the South. I quickly make my way back to the castle and engage in a chat with Faerghas. Following our discussion, a captivating cutscene unfolds before my eyes, granting me access to the next quest, “A World to Win.
You also have the option to label Breandan a traitor and eliminate him at All-Mother’s Shrine without initially encountering Galahad. If you decide on this path, you will then need to proceed to the Abandoned Stronghold and converse with Galahad regarding the ritual in order to advance through the narrative.
Choosing Option #2 – Killing Galahad
In Option 2, choosing this path will prompt a battle with Galahad. After overpowering the knight, prepare for the entire fortress to turn against you. You’ll encounter several of Galahad’s Squires and Desperate Archers. Eliminate them and proceed outside. Upon exiting, you’ll be met by a sizable enemy group. You have the option to engage in battle or flee.
Slaying Galahad not only results in the acquisition of his distinctive weapon, the Galahad’s Mace, but also the Royal Butcher’s Armor set. This act rewards you with 1800 XP.

Return to the Temple of the All-Mother now to share the news with Breandan and One-Eye. Upon entering, engage in a discussion with them. You’ll find yourself facing two primary options:
- I’m listening
- I’m just here for Excalibur. The rest is your problem.
Opt for choice number one, as choosing the other option might lead to the mission’s failure. Brendan will provide you with a key to access Sewal’s Tomb in the Submerged Village.
Make your way to Sunken Village (shown on the map). In this location, vanquish the adversaries. Located in the north, you’ll find a door that requires a key to unlock it and gain access to the crypt. Once inside, climb the stairs to reach the next room. Behind the large statue, there’s a pedestal you can interact with. Following a brief scene, the door will open for you.
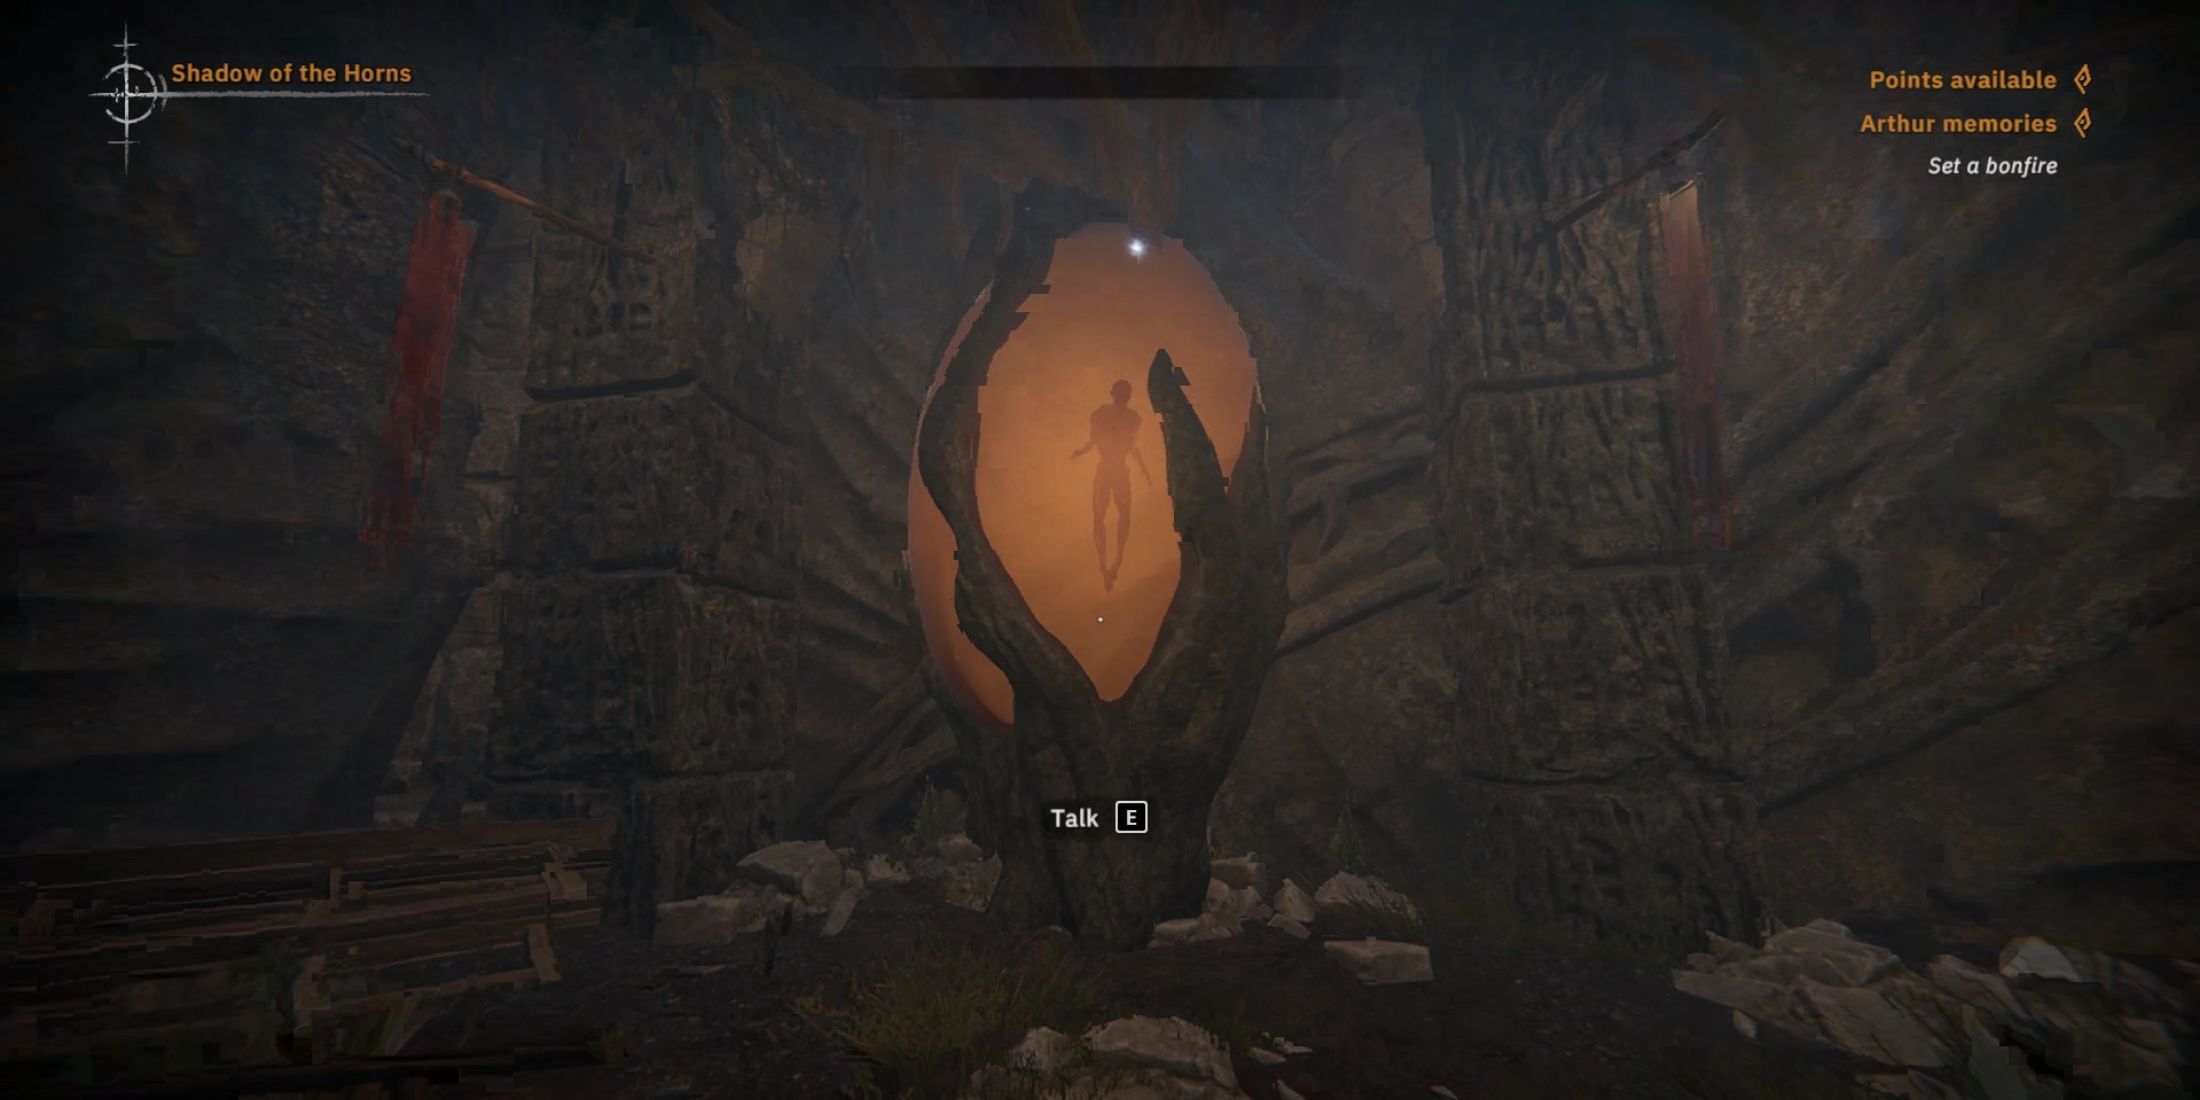
Continue on your journey, and eventually, you’ll stumble upon Sewal, ensnared in a vibrant yellow chrysalis. Engage with him to uncover the grim secrets behind King Arthur’s insatiable desire for wealth and Merlin’s fixation with power. Once your conversation concludes, retrace your steps to locate Breandan in the central hall. At this juncture, you will have two primary options: either persuade Faergas to explore the crypt or dismiss the entire situation as a fabricated plot.
At this juncture, it’s advisable to try persuading Faerghas instead, since not doing so might result in your mission being unsuccessful.
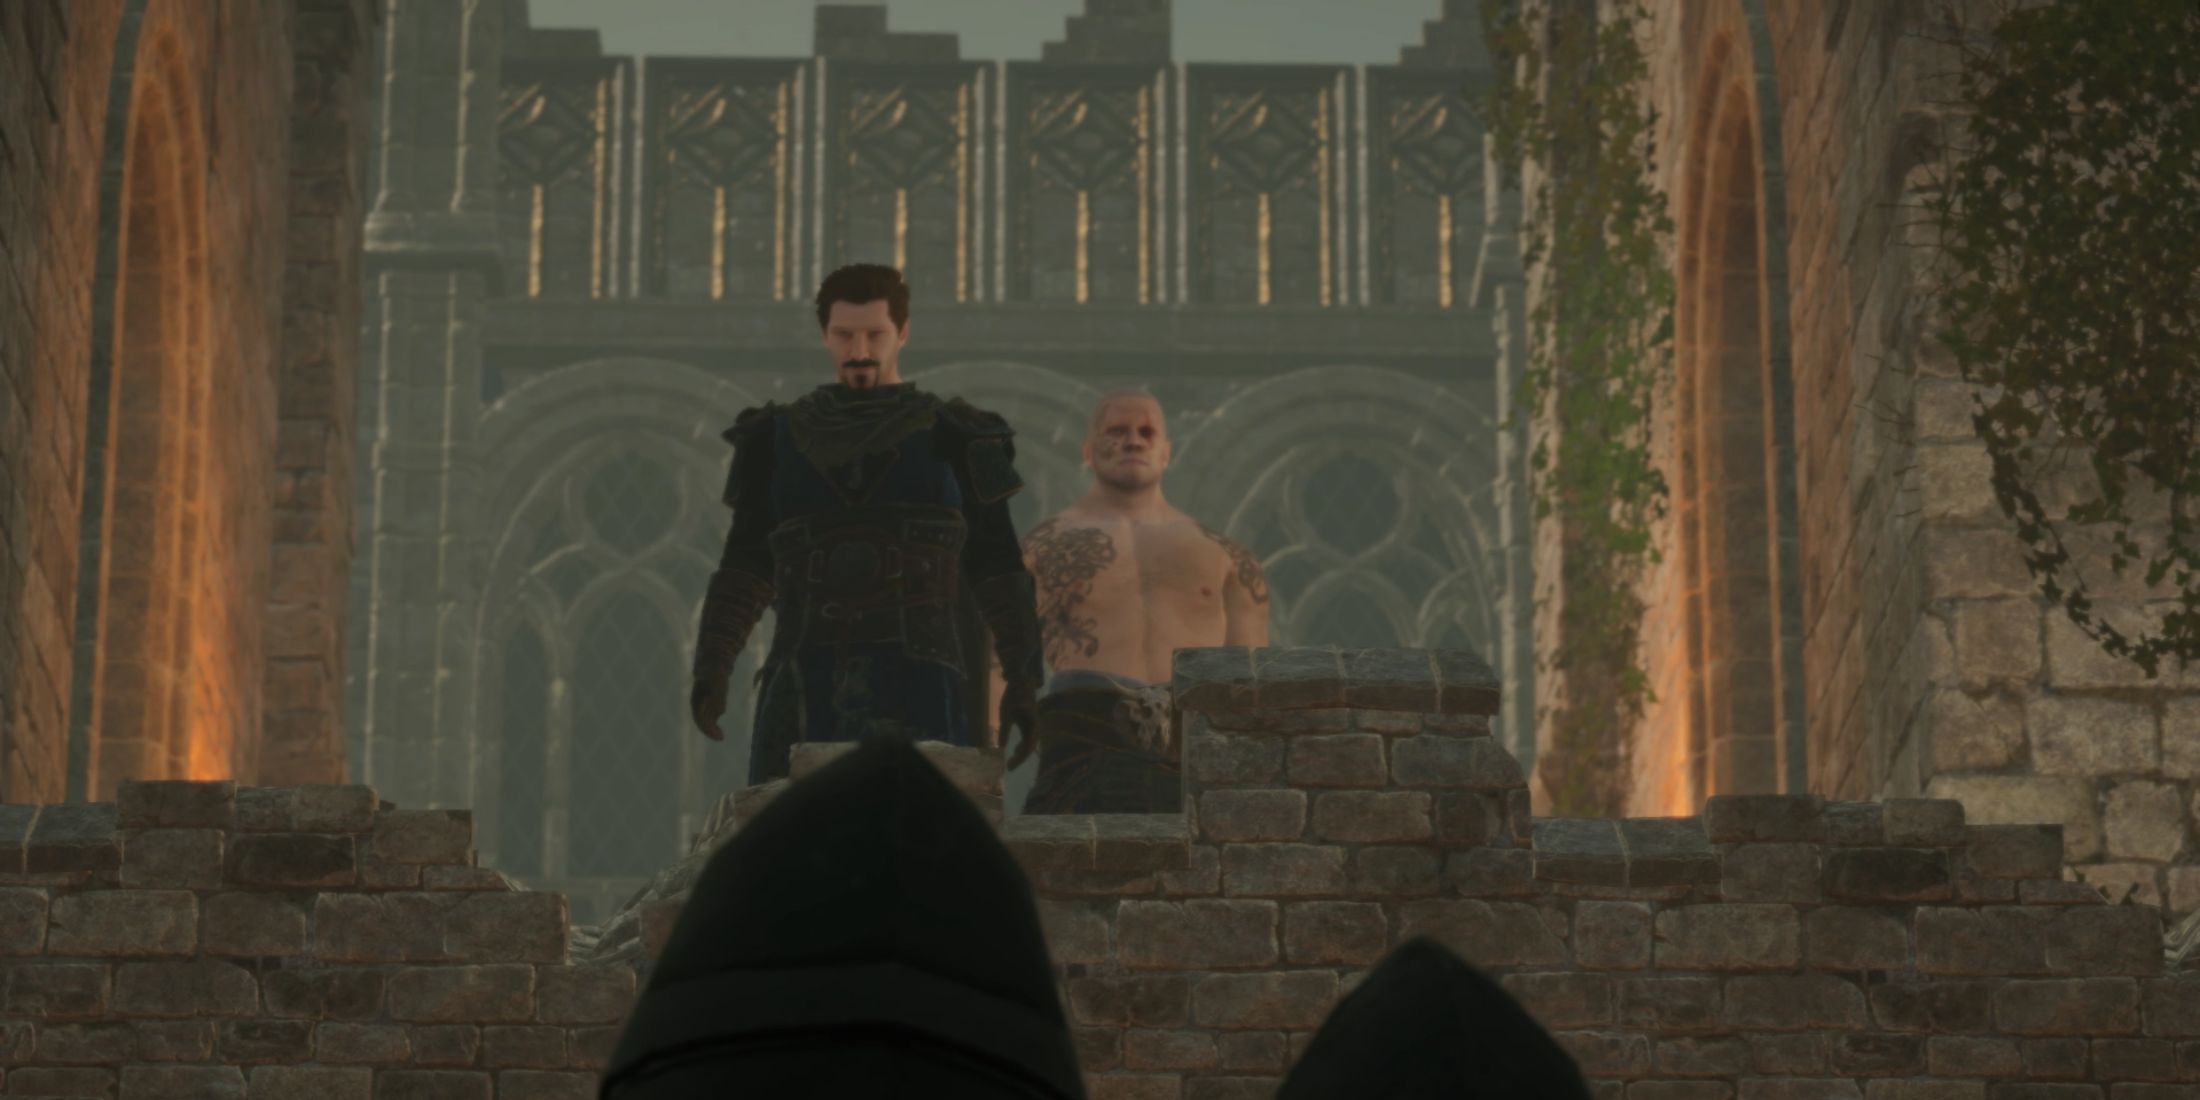
Starting from now, the mission becomes clear. Engage in a chat with Faerghas, who will be open to showing you the crypt. Post-discussion, make your way back to Breandan at All-Mother’s Temple. A unique scene will unfold featuring Breandan and One-Eye discussing Kamelot’s reconstruction and tribal reunification. Following this scene, feel free to converse with Breandan again to inquire about Excalibur, thereby wrapping up the quest.
Should You Kill Galahad or One-Eye?

Opting to eliminate One-Eye by aligning with Galahad effectively precludes any future reconciliation among the tribes. Moreover, you’ll miss out on discovering the secrets hidden in Sewal’s Crypt. Yet, this decision also positions you as an ally of Kamelot, potentially earning Galahad as a future companion.
Choosing to ally with One-Eye and Breandan offers its advantages, such as uncovering hidden truths about Arthur and the Knights of the Round Table. However, beware that Breandan often employs deceitful tactics to make you carry out his underhanded tasks. In the end, it was he who deceived the keepers and sent you on a mission to slay Galahad.
Regardless of the path you choose, you’ll be shouldering the burden of your decision throughout your journey in Tainted Grail: The Fall of Avalon, and you’ll witness the outcomes of your actions in its later stages.
Read More
- Shruti Haasan is off from Instagram for THIS reason; drops a comeback message on Twitter
- Connections Help, Hints & Clues for Today, March 1
- Shiba Inu Sees Bullish Reversal In On-Chain Metrics, Can SHIB Price Recover?
- What Is Dunkin Donuts Halloween Munchkins Bucket?
- The games you need to play to prepare for Elden Ring: Nightreign
- Chiranjeevi joins Prime Minister Narendra Modi for Pongal celebrations in Delhi; see PICS
- The Babadook Theatrical Rerelease Date Set in New Trailer
- When To Expect Blue Lock Chapter 287 Spoilers & Manga Leaks
- What Does Mickey 17’s Nightmare Mean? Dream Explained
- Pepe Battles Price Decline, But Analysts Signal A Potential Rally Ahead
2025-05-27 08:04