Learn essential details about the last enemy boss, Ozma, from The First Berserker Khazan. This includes understanding his vulnerabilities and strategies for defeating him.
This version maintains the original’s informative tone while using simpler language that is easier to understand.
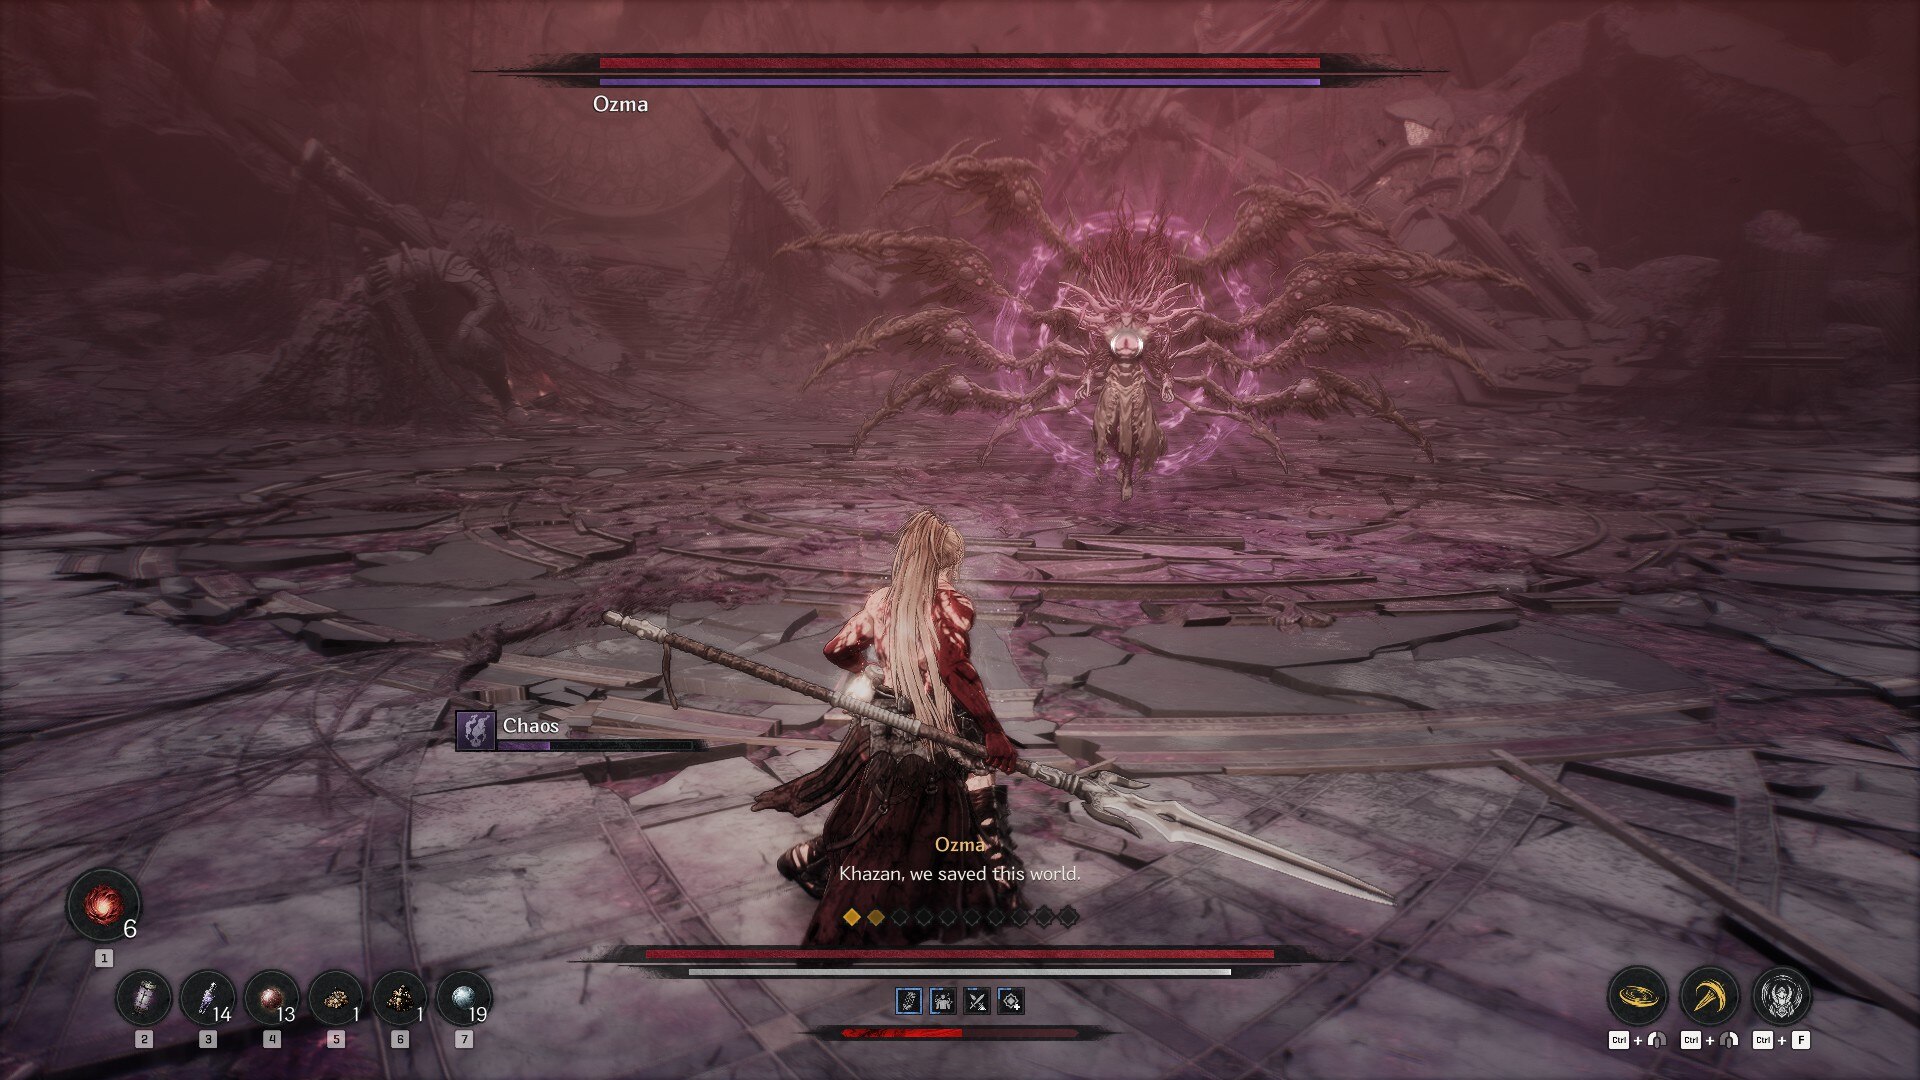
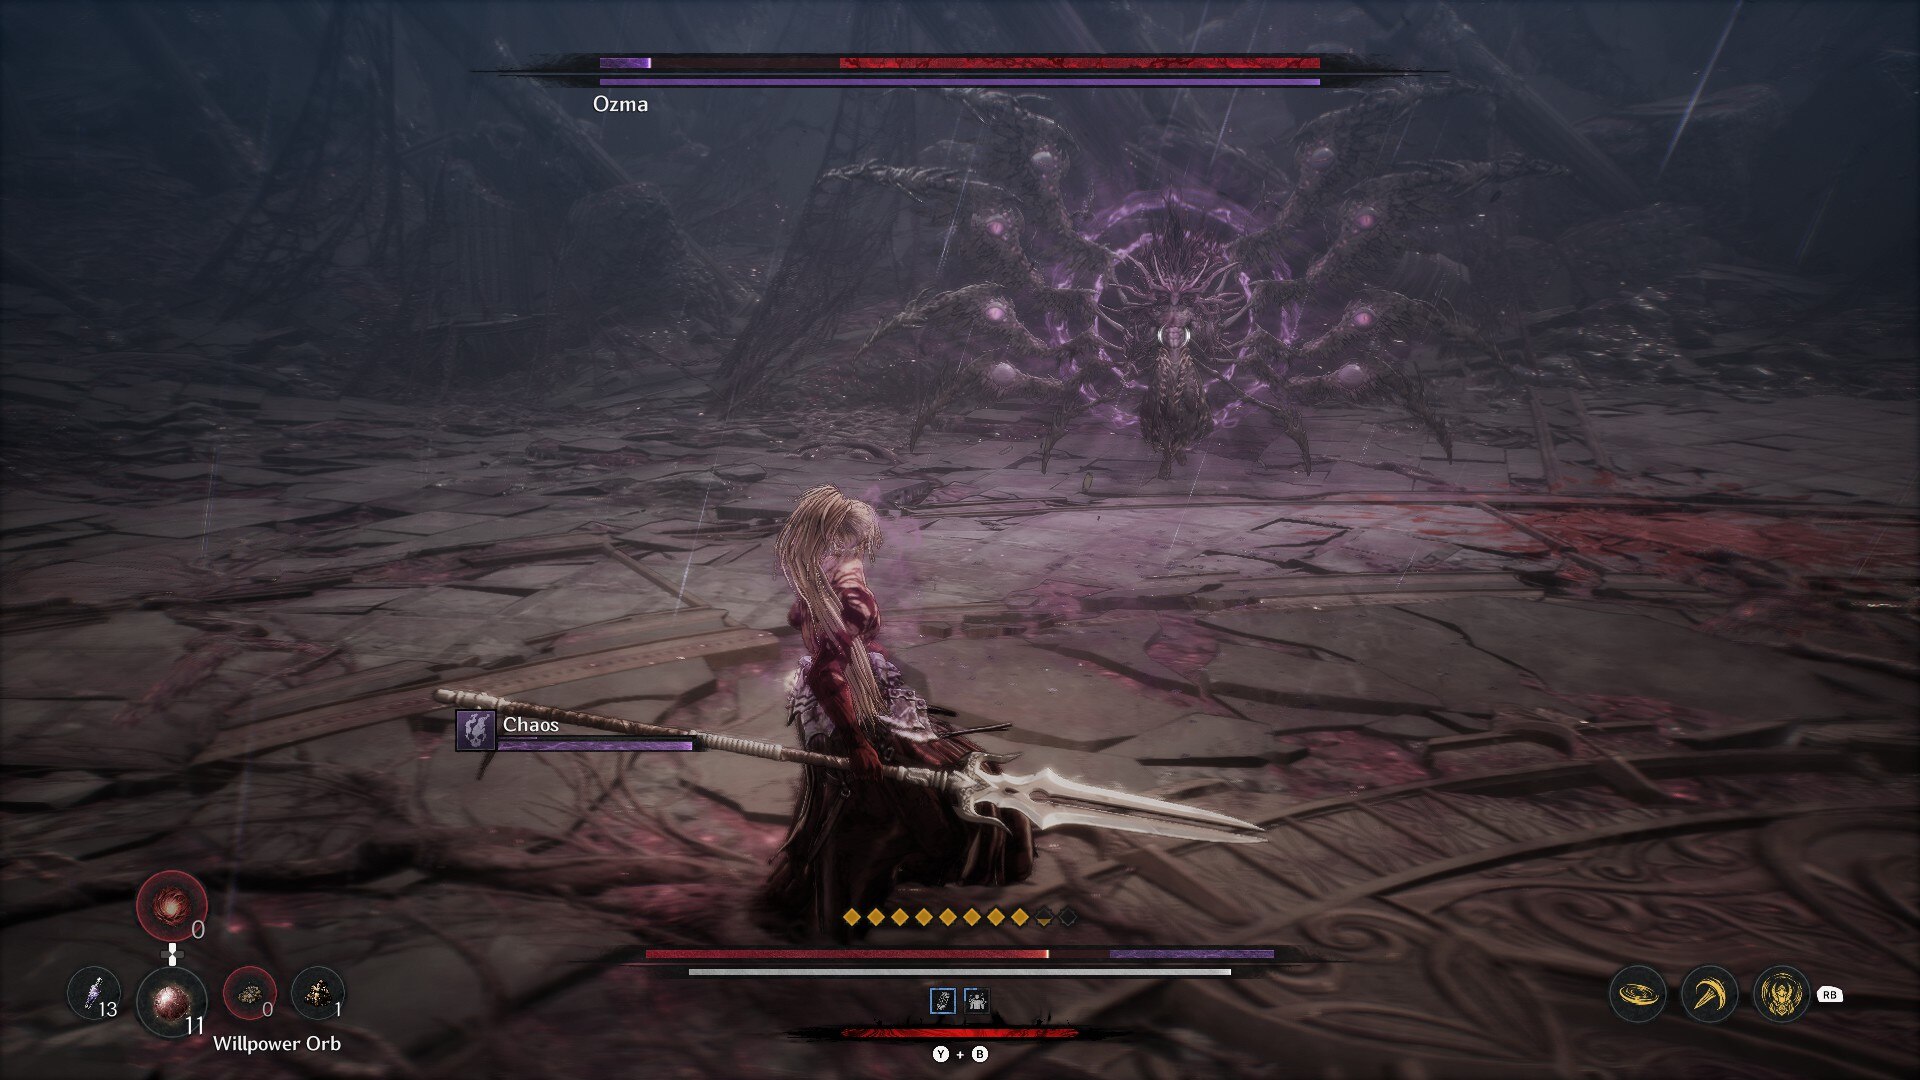
In The First Berserker Khazan, Ozma stands out as the toughest boss battle due to demanding requirements for the Chains or The First Berserker endings. Not only does this boss have multiple stages, but it’s also immune to most elemental statuses, making it extremely hard to lower its HP without counterattacks or Brutal Attacks. As a mage, Ozma has an impressive array of spells that can potentially kill you in one shot, regardless of your Defense. Prior to being absorbed by Chaos, Ozma fought alongside Khazan to repel and finally vanquish the Berserk Dragon, Hismar. However, to achieve this victory, the mage had to resort to Chaos Magic, which eventually claimed his soul.
It’s true that Ozma can be quite intimidating as a boss, thanks to his multiple stages and area-of-effect spells. But don’t let that scare you! There are strategies to make the fight seem effortless, provided you select the right weapons, skills, and armor sets. Here’s a detailed guide on how to conquer Ozma in The First Berserker Khazan with ease.
Ozma is a tough boss with multiple phases and AOE spells, but there are tricks to make it look easy if you pick the right weapons, abilities, and armor sets. Here’s a guide on defeating Ozma in The First Berserker Khazan without much hassle.
How To Unlock Ozma in The First Berserker Khazan?
In The First Berserker Khazan, I’ve discovered that Ozma is the ultimate showdown. You’ll face him at the culmination of the ‘Master of Chaos’ mission. Just like the other endgame bosses in this game, Ozma isn’t a one-and-done fight. He has several stages, but the number depends on your chosen ending. For a typical ending, you’re looking at two phases. However, if you successfully complete all bonus missions and aim for the ‘Chains’ or ‘The First Berserker’ (true) endings, prepare for three rounds in the boss fight. It’s important to note that once you reach the end of the ‘Master of Chaos’ mission, your ending selection is set for the entire playthrough.
In your effort to overthrow Ozma, multiple tries won’t lead to alternate outcomes – unless you embark on a new game or restart the adventure. However, despite the “3-phase boss fight” sounding challenging, it’s not overly difficult once you master timing for parries and counterattacks. Interestingly, Ozma, similar to Reese, is a boss that heavily relies on counters. By the end of the game, you’ll be proficient in both parrying and countering mechanics.
In our trials, it was discovered that the Greatsword and Spear were particularly powerful against Ozma. The technique of Dual Wielding also proved effective, especially when combined with the Bestslayer Set. However, other weapon types, particularly the Spear, demonstrated superior efficiency. For a smoother encounter with this boss, we suggest wielding the Spear together with the Golden Set.
Tips To Easily Defeat Ozma
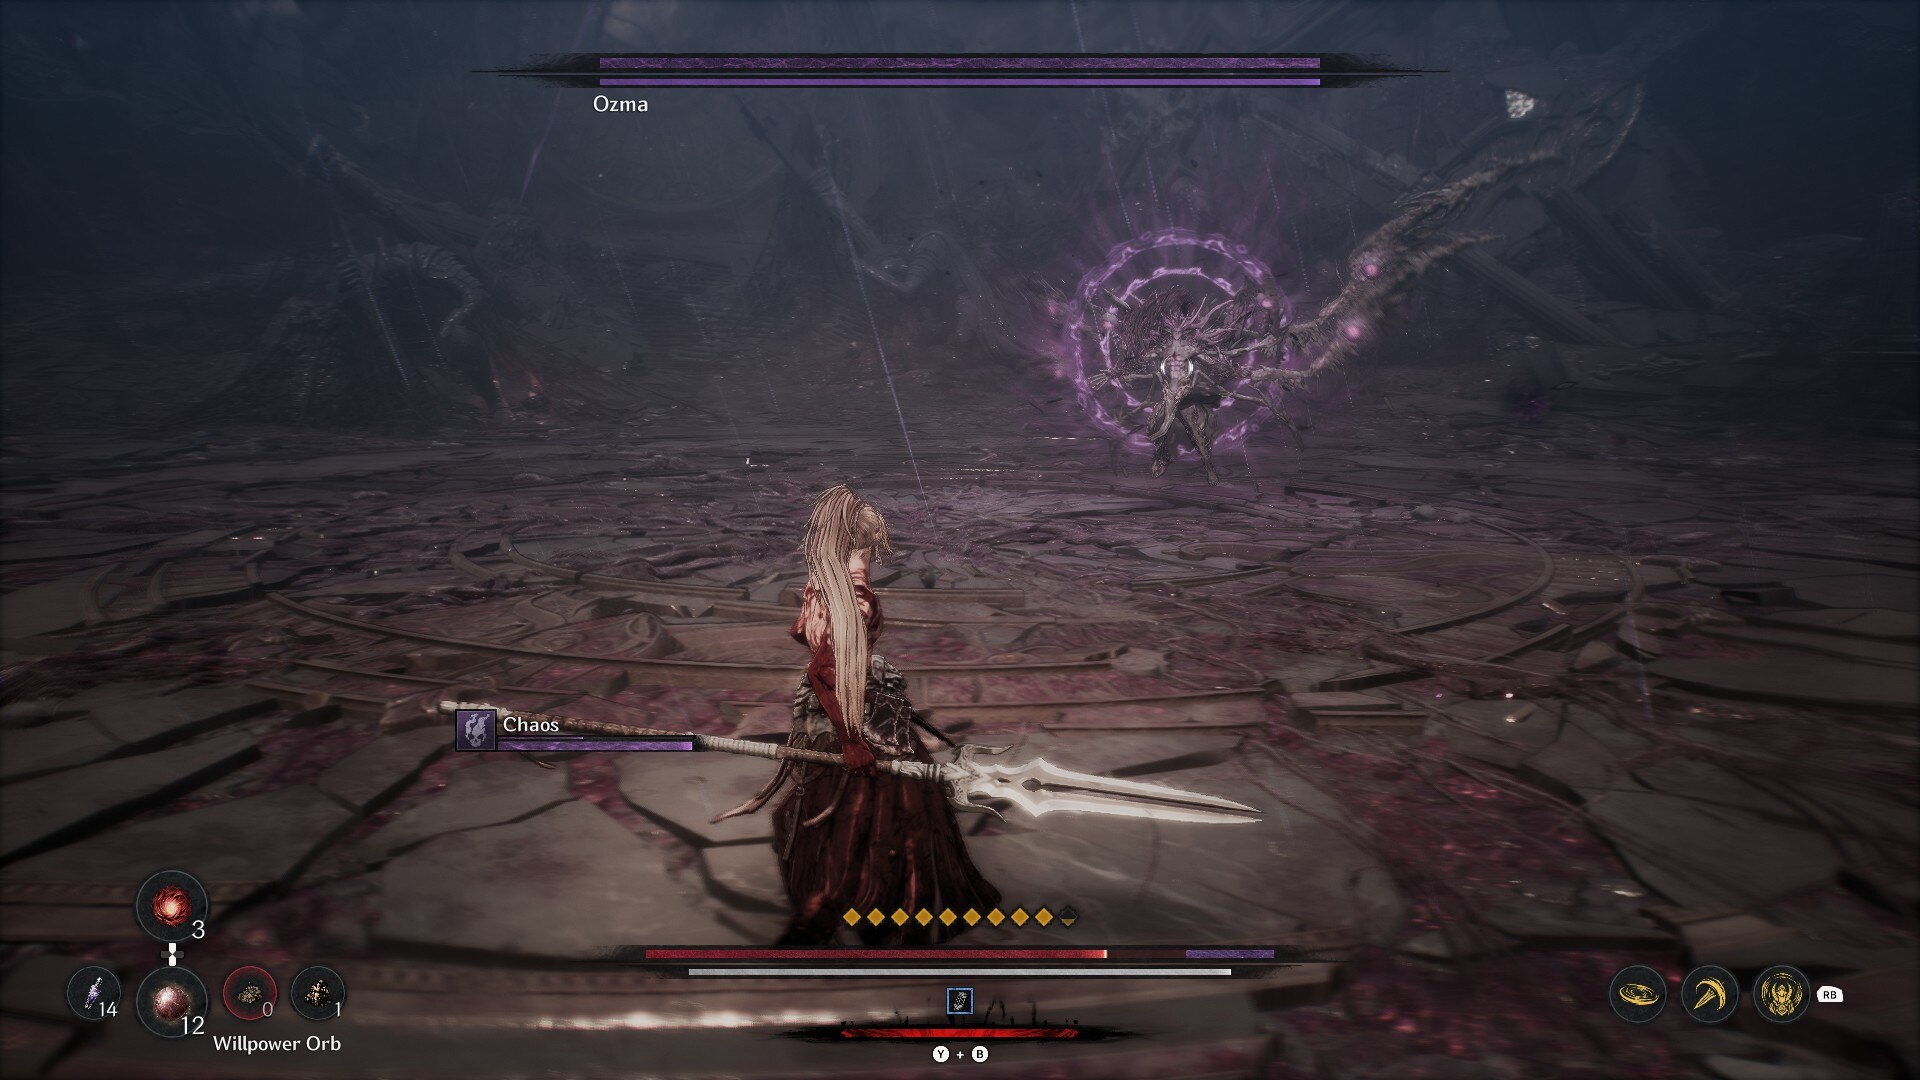
In contrast to other phases in The First Berserker Khazan, Ozma’s initial phase poses a greater challenge compared to its subsequent stages. While the second and third phases are challenging as well, they are significantly easier to handle than the first. The primary problem with the first phase lies in Ozma’s habit of retreating before you can fully execute your combo. Moreover, during this first phase, Ozma predominantly uses AOE (area-of-effect) attacks. Some of these attacks have a lengthy wind-up period, and during this time, Ozma is virtually impervious to most attacks from Khazan. The windows for landing successful attacks on the boss are quite narrow in this phase.
In your encounter with Ozma, most of your combos will likely be met with a swift counter. But don’t worry, the initial phase can be breezed through if you have the right tools. Specifically, you’ll need the Golden Set, Stunned Jar, and Trance to make this boss fight as simple as those against Volbaino or Bellerian. Here’s a suggested endgame Spear build for Ozma. Once equipped, it’s all about timing your attacks and counters effectively. With this setup, you should be able to defeat Ozma in under 5 minutes, with minimal use of healing items.
Constructing the Spear setup gradually erodes Ozma’s endurance, simultaneously inflicting massive harm. To effortlessly conquer Ozma utilizing the Spear configuration, consider the following suggestions:
1. Prioritize upgrading your spear for enhanced damage and stamina drain efficiency.
2. Master the timing of your attacks to ensure optimal use of Ozma’s stamina.
3. Use the environment to your advantage by positioning yourself for counterattacks when Ozma is near walls or obstacles.
4. Keep moving and maintain a safe distance from Ozma, making it harder for him to recover his stamina.
5. Be patient and strategic; avoid reckless attacks that may leave you vulnerable to counterattacks.
Phase 1
- In the first phase, Ozma always starts with a 3-hit slash attack followed by a charged Frost AOE slam. As such, it’s highly recommended you do not rush into the battle; instead, rely mostly on dodging and parrying in the opening few seconds. Furthermore, make sure you’re carrying Spirit Orbs to top up your Spirit gauge.
- Once Ozma performs the Frost AOE, he will either fly away and do a Chaos AOE or perform a gap-closer and follow that up with a multi-slash attack using his staff and wings. Occasionally, Ozma will also perform a counter-slash, which you can easily avoid with a counterattack.
- Once Ozma performs his AOEs, get close to him and start spamming Trance until either he runs away or his stamina depletes. Once Ozma’s stance is broken, don’t perform the Brutal Attack immediately. Instead, perform at least two more Trance attacks, followed by the Brutal finisher.
- Using Trance should help you go through the first phase relatively easily. The only attacks you need to look out for are the Chaos AOE and the multi-slash combo. The Chaos AOE can be parried or even blocked, as long as you have ample stamina to power through it.
- It’s also highly recommended to max out the Counterattack tree to make counters much easier to perform. Most of your damage against Ozma is going to come from counterattacks.
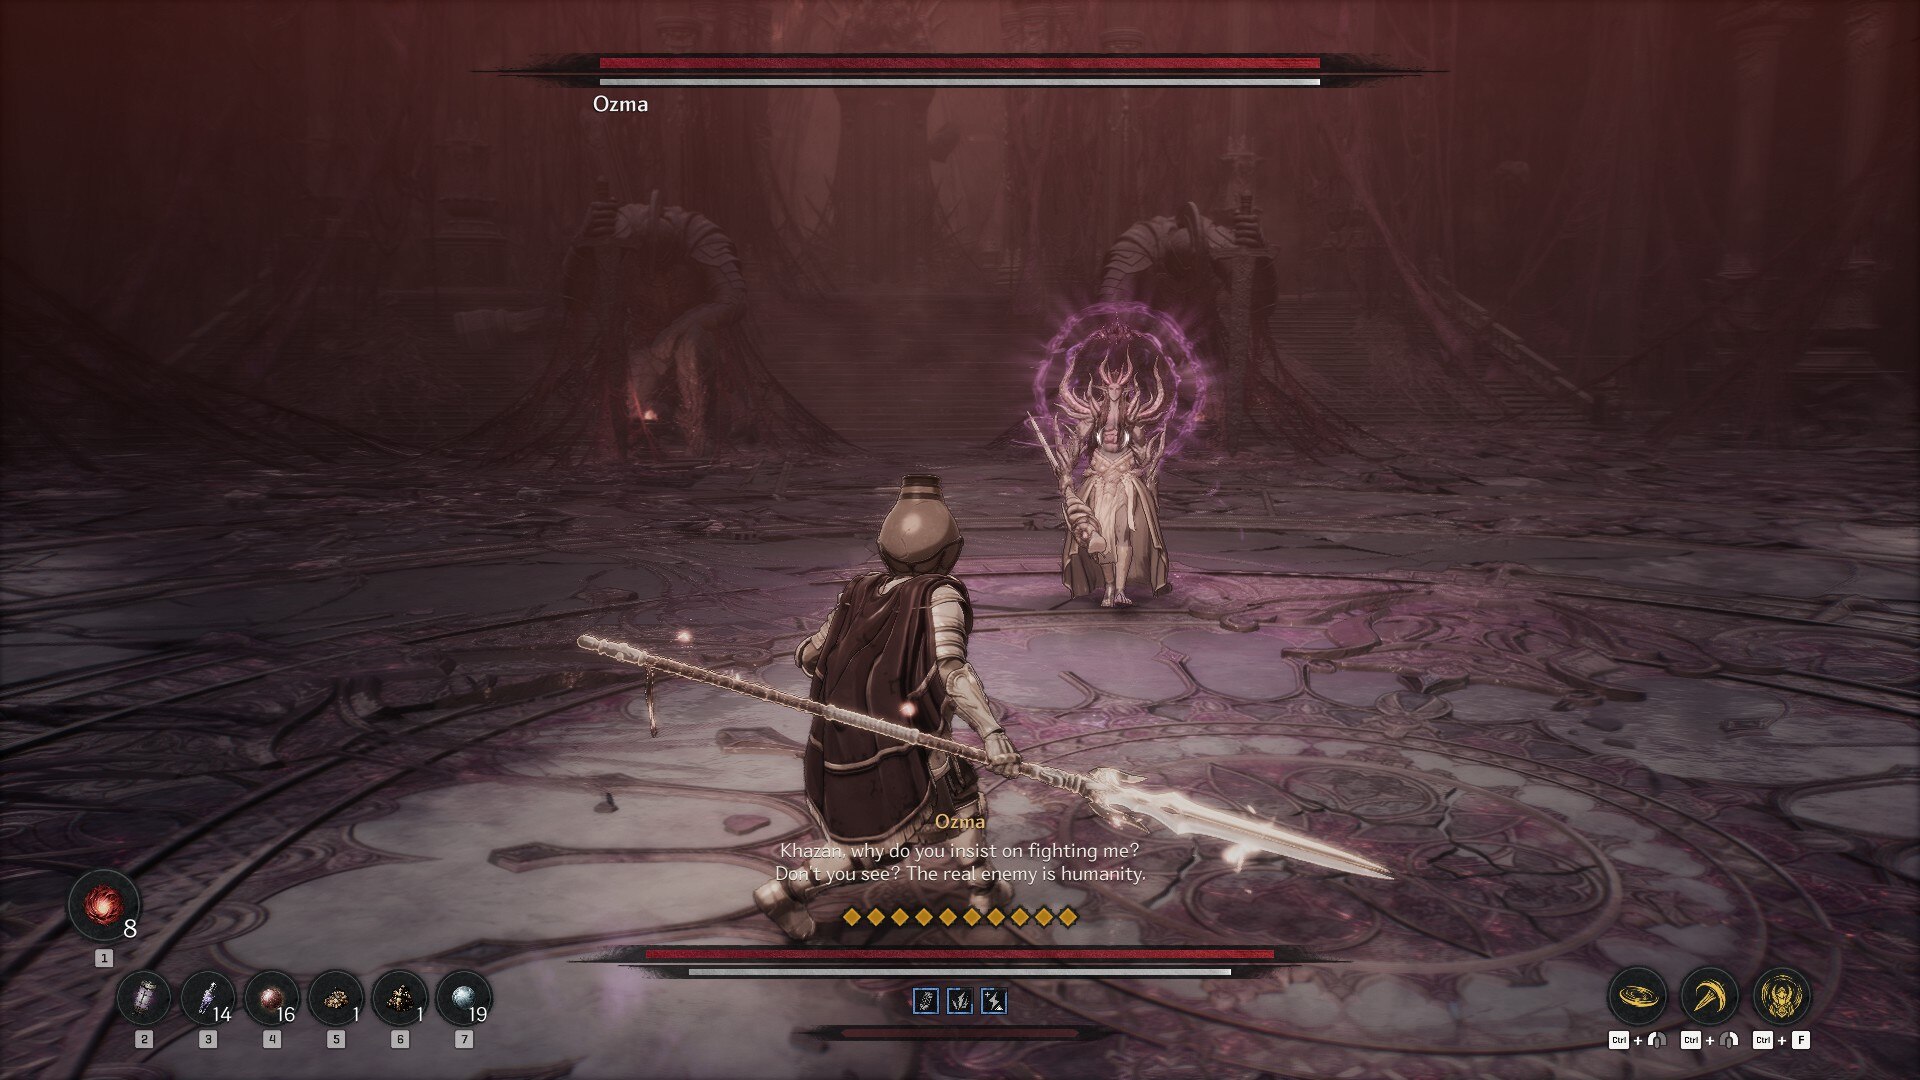
Phase 2
- The second phase follows the same principle as the first, albeit with the boss having significantly lower HP but higher attack power. Additionally, most of Ozma’s attacks in this phase inflict Chaos. However, with Trance backing you up, it shouldn’t be much of a hassle to get through this phase.
- The 5-hit slash combo might look quite intimidating, but it is quite easy to parry. When you see Ozma winding up for the attack, hold block and simply tap it 6 times to parry this combo. After parrying all the attacks, keep holding block since Ozma always follows this attack up with a counter-slash. As long as you have your Counterattack tree maxed out, countering Ozma’s combos won’t be too difficult.
- For the Chaos AOE, we recommend dodging it the same way you dodged Trokka’s stone projectiles. While you can parry the smaller projectiles, it’s not worth it since without 500+ Chaos Resistance, you will get inflicted by the status regardless of whether you parry them or not.
- Lastly, for the summon attack, there’s a very specific way to counter. Ozma performs this attack at the tail-end of this phase, or if you don’t deal enough damage to him. The boss essentially summons a Chaos Stone, which he charges to perform a massive AOE. Failing to interrupt this attack will result in an AOE that instantly inflicts Chaos and deals a ton of damage, often lethal.
- To counter this attack, simply lock onto the Stone and hit it with either charged or Spirit attacks. You can use either Trance or Spiral Thrust to break the Stone. Once the Chaos Stone is broken, it will stun Ozma for a very short moment, allowing you to perform a couple more Trance combos.
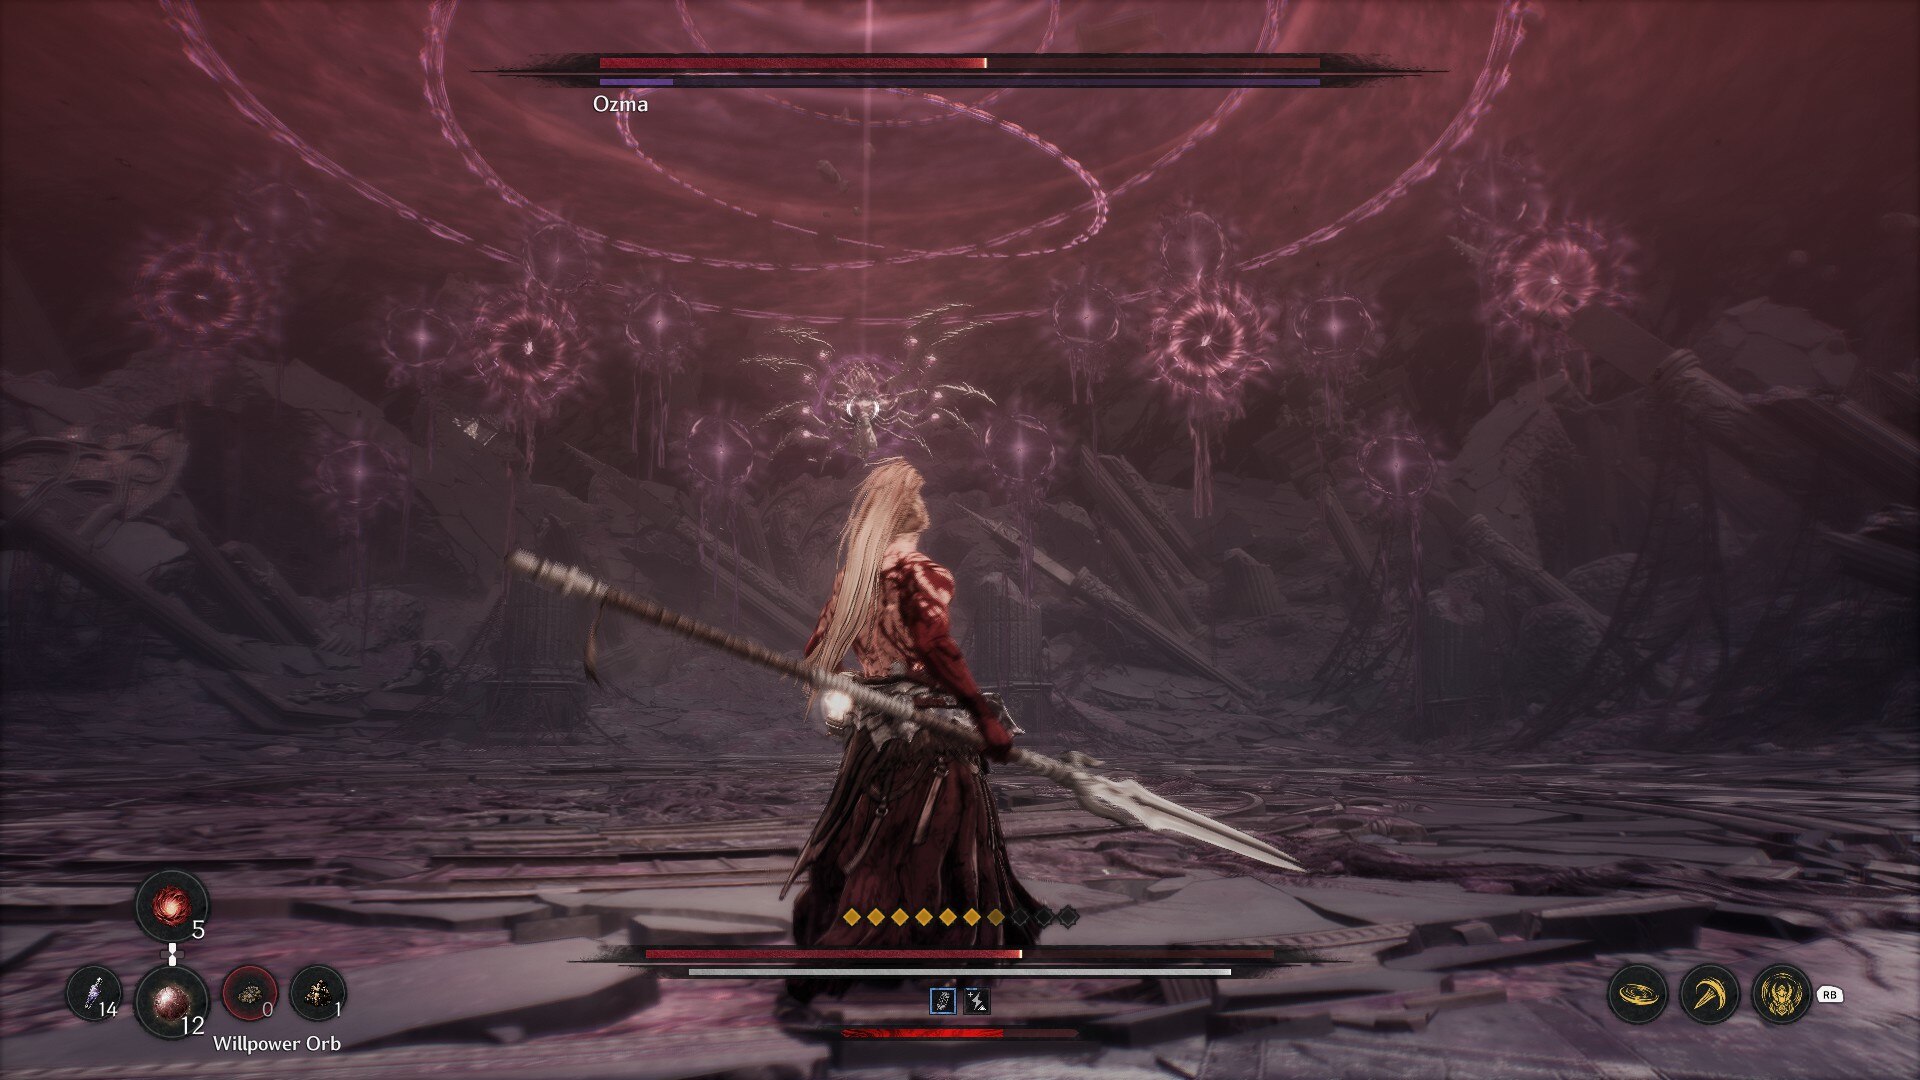
Final Phase (Chains and The First Berserker Endings)
- The third phase is essentially a skill-check of sorts. This phase grants you the ability to deal massive amounts of damage with Brutal Attacks. However, to do so, you first need to deplete Ozma’s Fortitude Gauge.
- Thankfully, this phase is essentially identical to the second phase in terms of movesets. Think of it like just the first half of the second phase of the boss fight. Furthermore, in the third phase, Ozma performs the counterattack as a follow-up to all his combos.
- To get through this phase, simply counter Ozma’s attacks, deal damage to him using Trance, and follow it up with a Brutal Attack.
- Ideally, it only takes 3 Brutal Attacks to defeat Ozma. However, if you don’t deal enough damage to the boss, it can take a couple more.
- Lastly, do note that failing a counterattack in this phase will end up healing the boss. As such, it’s paramount to have your Counterattack tree maxed out so that you have a better chance at timing your counters right.
- Make sure to carry Willpower Orbs to help you heal through this phase. However, with the right use of Trance, you won’t need to use additional heals as you can easily heal most of the damage through a frontal Brutal Attack.
Read More
- Here Are All of Taylor Swift’s Albums in Order of Release Date (2025 Update)
- Death Stranding 2 smashes first game’s Metacritic score as one of 2025’s best games
- List of iOS 26 iPhones: Which iPhones Are Supported?
- Best Heavy Tanks in World of Tanks Blitz (2025)
- Delta Force Redeem Codes (January 2025)
- CNY RUB PREDICTION
- Vitality Triumphs Over The MongolZ To Win The BLAST.tv Austin Major 2025
- Honkai Star Rail 3.4 codes and how to redeem in HSR June 2025
- Overwatch 2 Season 17 start date and time
- ‘No accidents took place’: Kantara Chapter 1 makers dismiss boat capsizing accident on sets of Rishab Shetty’s film
2025-04-22 18:13