
Summary
- Early game Longsword sets focus on survival and comfort, offering skills like Quick Sheathe and Evade Window.
- Mid-game sets prioritize Weakness Exploit and Crit builds for maximizing damage with bonus skills like Scorcher.
- End-game builds like Zoh Shia emphasize Agitator and Super Recovery for complex but powerful damage outputs.
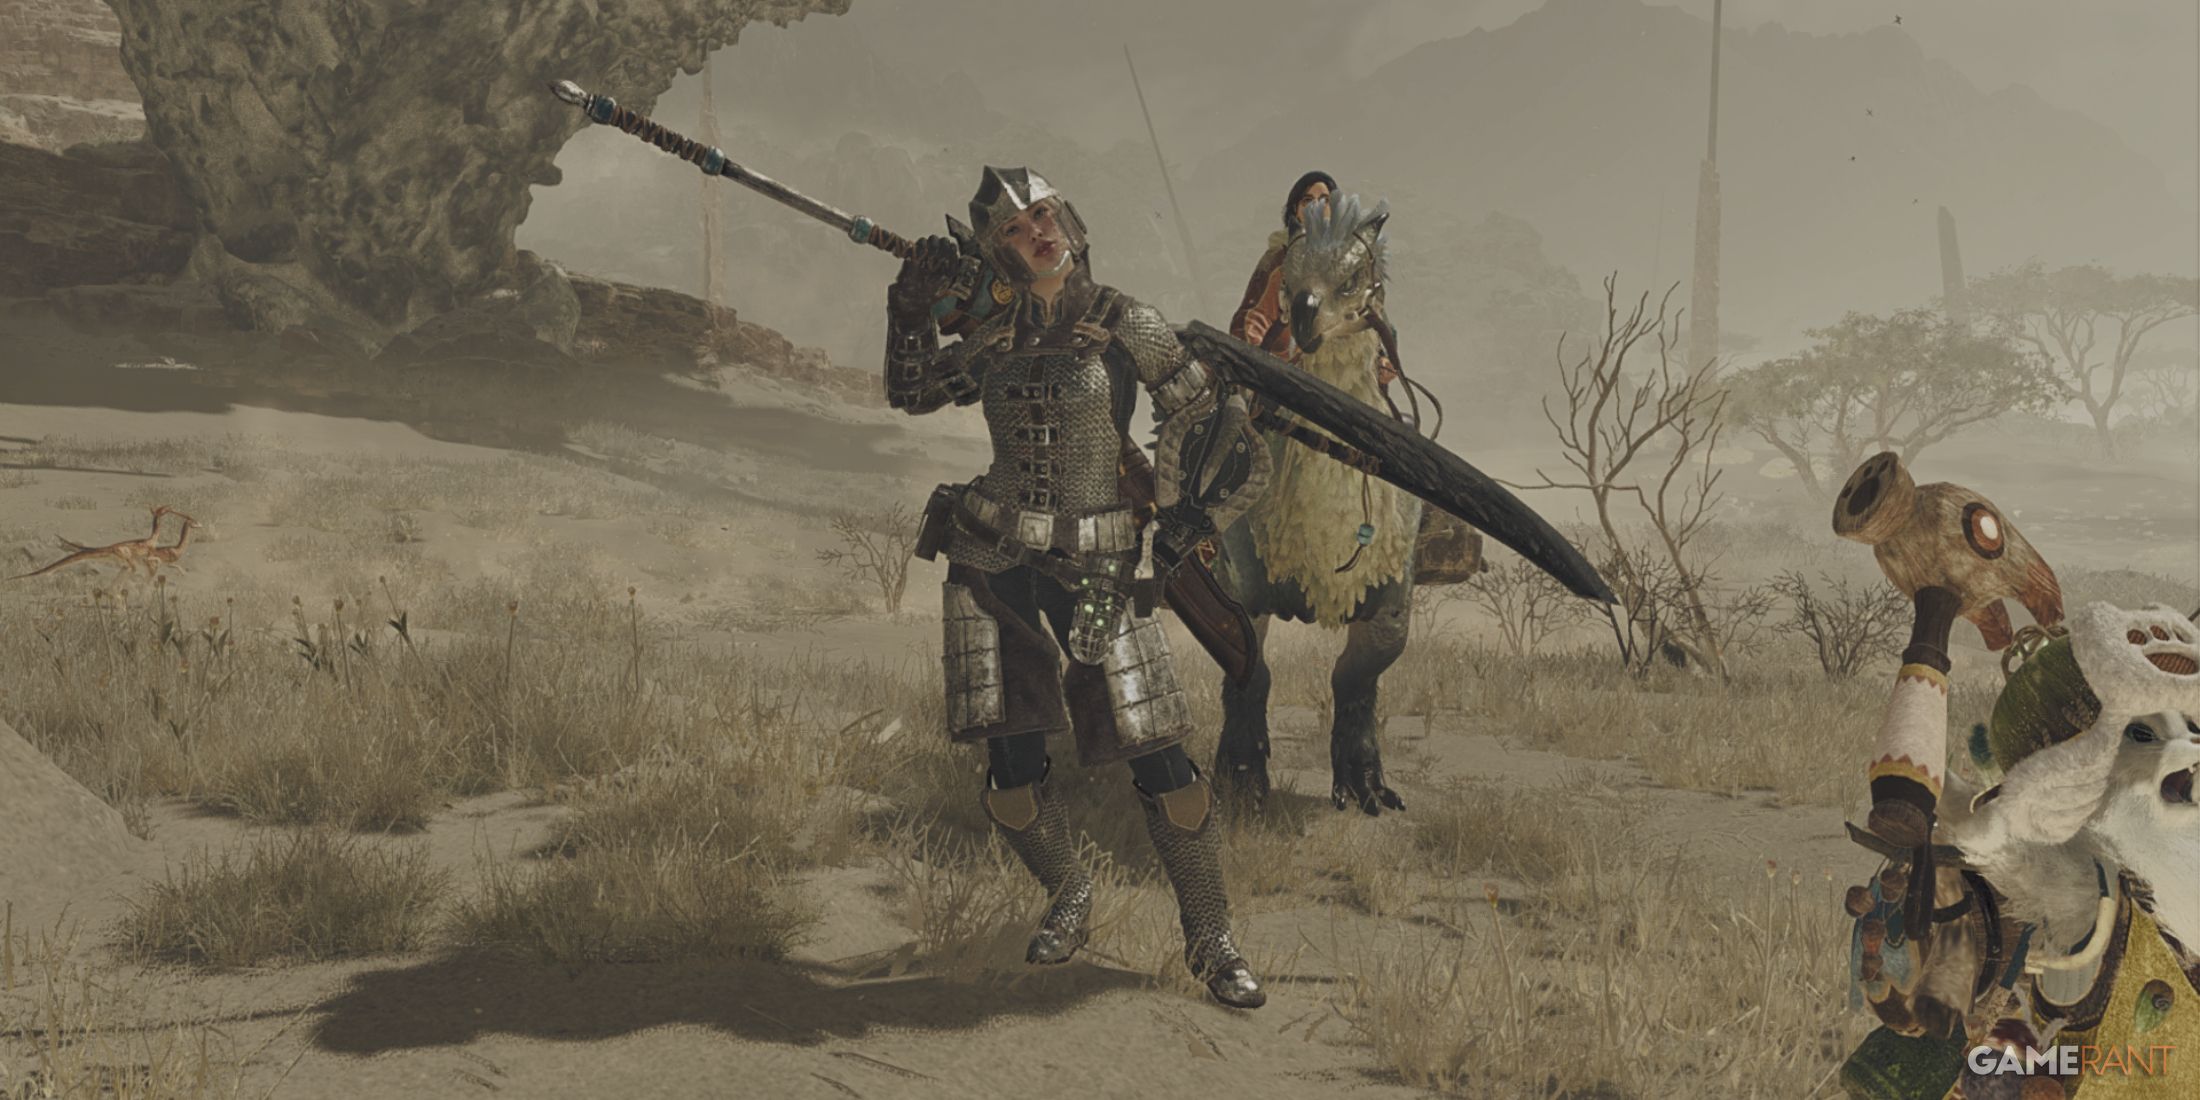
The game titled “Monster Hunter Wilds” has been well-received by both fans and critics, making it one of the most beloved installments in the franchise so far. It’s not only keeping existing enthusiasts engaged but also attracting a wave of new players. With the first update already rolled out, and more to follow, “Monster Hunter Wilds” is quickly becoming the preferred choice for newcomers eager to explore the world of “Monster Hunter“.
Experienced Monster Hunter enthusiasts will find themselves at home with the gear crafting system in Monster Hunter Wilds. Novices may require some time to adjust to the numerous options available, but rest assured, the diverse abilities offered by various weapons and armor pieces are worth exploring. It might take a while to figure out which combinations are most effective for each weapon category.
As a dedicated Longsword user, I always keep an eye out for armor sets that offer synergies tailored to my weapon type and playstyle. In my quest for optimal performance, I’m constantly on the hunt for skills that boost and sustain my spirit gauge, while also enhancing the damage of my attacks. Whether it’s during the campaign or in the endgame, these are the armor sets that have proven most beneficial for Longsword builds.
7. Barina Three-Piece
Early Game Balanced Build
Armor Pieces:
- Alloy Helm
- Balahara Mail
- Barina Vambraces
- Barina Coil
- Barina Greaves
Set Bonus Skills:
- Honey Hunter
At the beginning of the Monster Hunter Wilds game, there aren’t many sets that benefit Longsword users, so this early-game build emphasizes increasing survivability and comfort. The Honey Hunter skill from the Lala Barina set isn’t particularly useful for combat, but it can aid players in collecting honey for crafting mega potions, which aligns well with the set’s built-in Recovery Up ranks.
This ability boosts the amount of healing received, enabling players at the beginning of the game to maximize their healing potential. The remainder of the set provides two levels of Quick Sheathe, a handy skill for Longsword users early in the game, as it allows them to quickly sheath or unsheath the sword (also improving combo animations that involve sheathing the sword).
6. Hirabami Two-Piece Mix
Early Game Evasion Build
Armor Pieces:
- Alloy Helm
- Balahara Mail
- Hirabami Vambraces
- Hirabami Coil
- Alloy Greaves
Set Bonus Skills:
- None
In this initial game setup, there are no bonus sets associated, but the strategic blend of abilities benefits Longsword wielders in dealing damage and dodging attacks. The primary skills these items provide are Rapid Unsheathing and Extended Dodge Opportunity. This equipment setup performs optimally when players acquire the Quematrice Lima II weapon, as Retaliatory Draw complements well with Rapid Unsheathing.
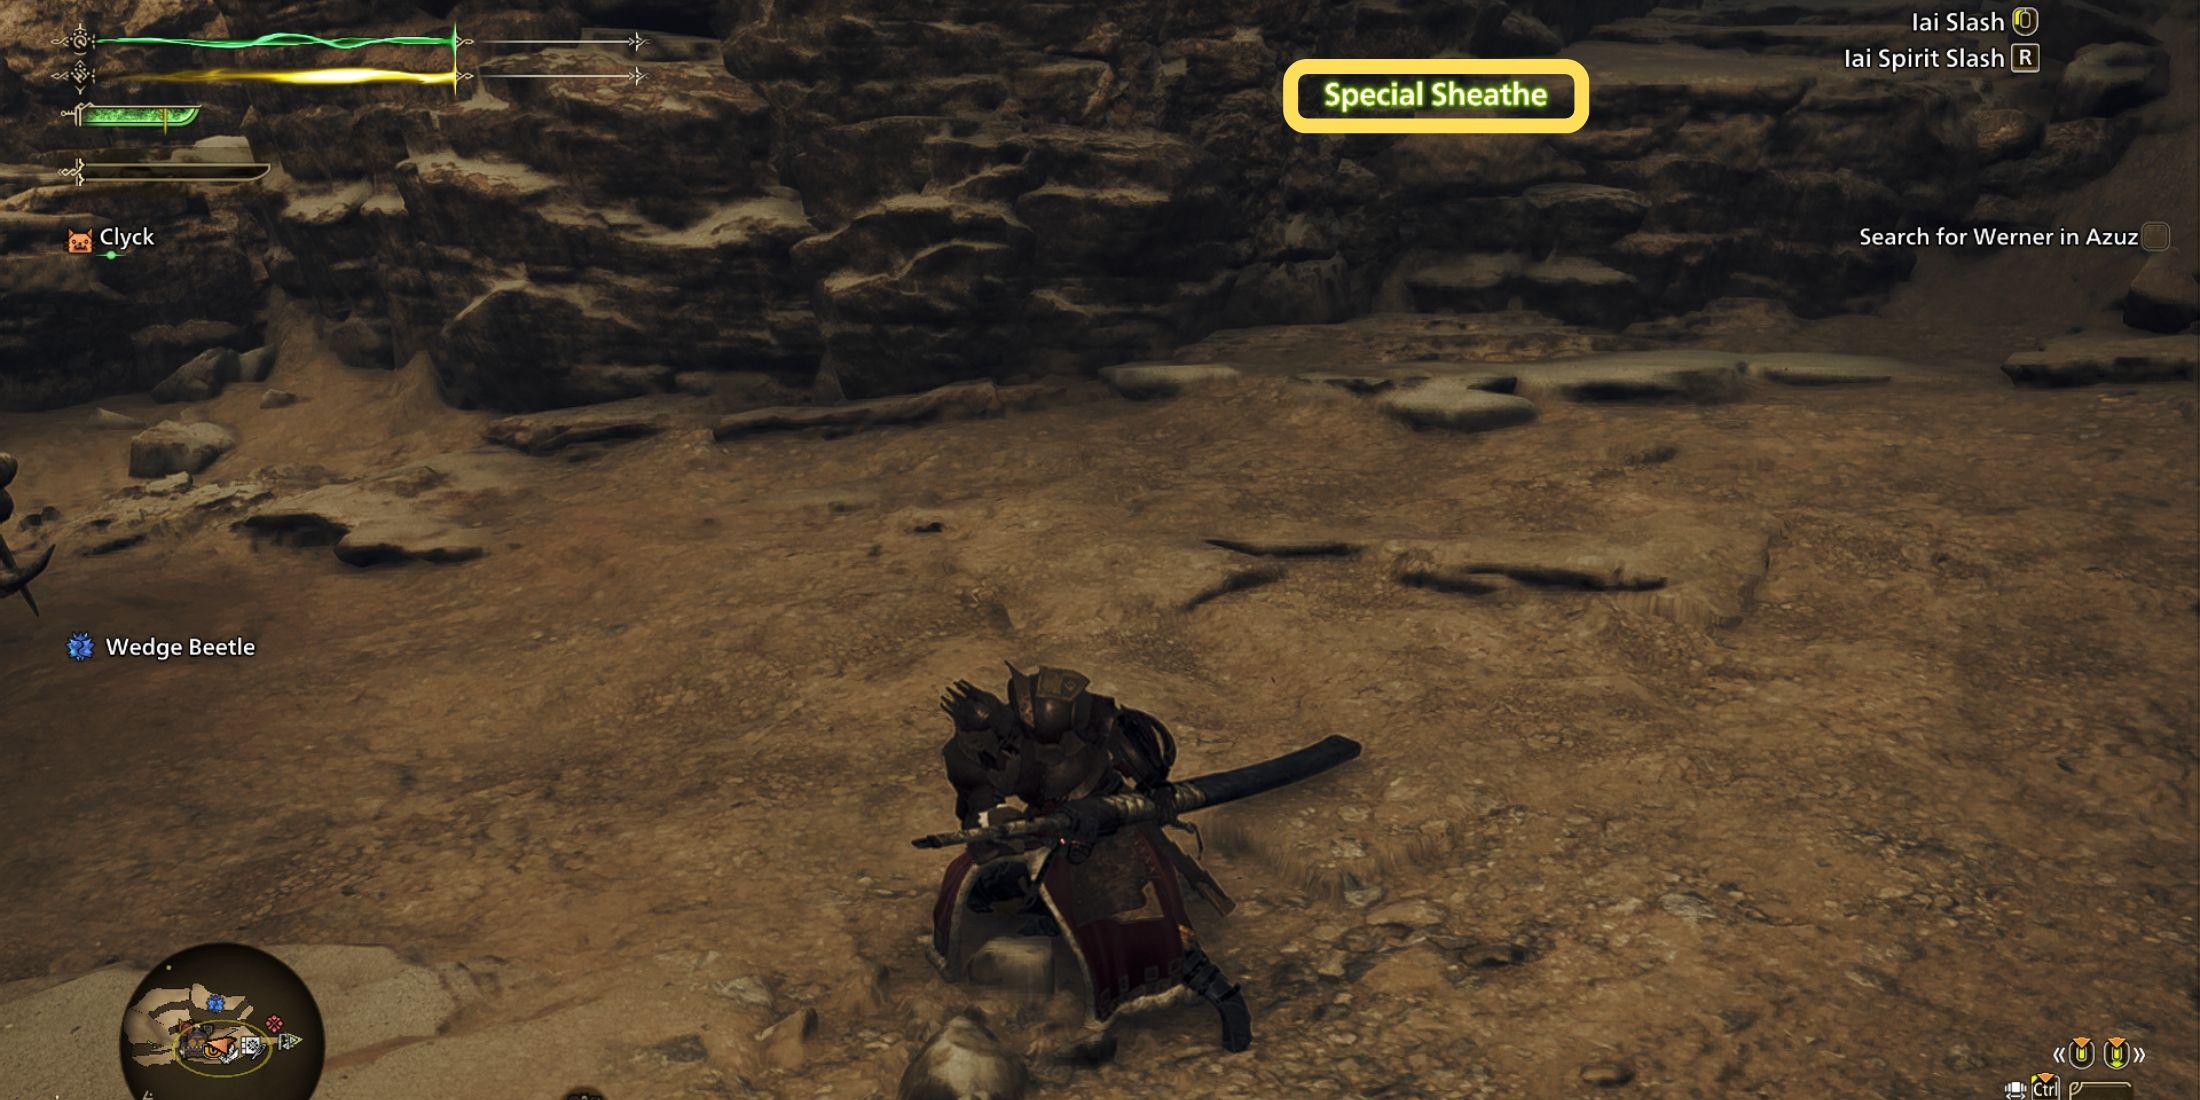
The Evade Window is an exceptional defensive technique for Longsword wielders. It enhances the number of invincibility frames that both the Iai Slash and Iai Spirit Slash attacks offer, and it also prolongs invulnerability during standard dodges. This setup offers a well-balanced early game experience.
5. G. Rathalos Three-Piece
Mid-Game Weakness Exploit Crit Build
Armor Pieces:
- G. Rathalos Helm
- G. Arkveld Mail
- G. Rathalos Vambraces
- Hirabami Coil
- G. Rathalos Greaves
Set Bonus Skills:
- Scorcher I
During the game, this mid-match armor collection primarily benefits from its Guardian Rathalos components to offer three levels of Weakness Exploit. The set’s skill, Scorcher (rank one), serves as an extra perk. To fully utilize this set, players should opt for a weapon that includes Critical Draw as a feature. At this stage, combining the weapon with suitable decorations should allow you to easily reach the three ranks of Weakness Exploit.
In this construction, we emphasize boosting damage to injuries and affinity, resulting in substantial critical strikes and numerous wound breaker instances to fill the Longsword’s spirit meter quickly. If players manage to incorporate one or two levels of Flayer, Quick Sheathe, or ideally both, into this setup, its effectiveness will be significantly enhanced.
4. Rathian/Alloy Two-Piece Mix
Early High Rank Status Build
Armor Pieces:
- Alloy Helm (alpha)
- Rathian Mail (beta)
- Hirabami Vambraces (beta)
- Rathian Coil (beta)
- Alloy Greaves (alpha)
Set Bonus Skills:
- None
In Monster Hunter Wilds, this armor combo lacks set bonuses, providing a balanced blend of attack power and comfort as you progress into the early High Rank. Since it supports multiple ranks in Foray, players should opt for a weapon that inflicts either poison or paralysis, with poison being more effective for higher damage output.
It might be beneficial to incorporate the Foray charm into your setup to boost this skill’s rank. Alternatively, players can opt for a third item from the Rathian armor set to gain an additional Foray rank and Adrenaline group skill, but its usefulness is limited. Instead, consider prioritizing extra ranks in Evade Window and Quick Sheathe for a more comfortable playstyle.
3. G. Rathalos/Blango Two-Piece Mix
Weakness Exploit Crit Build

Armor Pieces:
- G. Rathalos Helm (beta)
- Blango Mail (beta)
- G. Rathalos Vambraces (beta)
- Blango Coil (beta)
- G. Rathalos Greaves (beta)
Set Bonus Skills:
- Scorcher I
- War Cry I
- Ward of Wyveria
This collection is attainable during the early stages of advancing in rank, providing valuable assistance throughout your journey until you reach the peak levels. It boasts two beneficial set advantages, along with various levels of Agitator and Weakness Exploit, which are key skills for enhancing the build’s damage output. As players ascend to higher ranks, Agitator proves increasingly useful for amplifying damage and affinity due to monsters becoming enraged more frequently and staying enraged for longer periods.
This functions effectively with Weakness Exploit since the damage enhancements can accumulate when attacking an enemy’s vulnerabilities and weak spots. The set bonuses provide modest increases in damage output and durability, and they can be effortlessly enhanced using decorations to include beneficial skills such as Evade Window and Quick Sheathe.
2. Gore/Arkveld Two-Piece Mix
Raw Damage Crit Build

Armor Pieces:
- Gore Helm (beta)
- Arkvulcan Mail (beta)
- G. Arkveld Vambraces (beta)
- Arkvulcan Coil (beta)
- Gore Greaves (beta)
Set Bonus Skills:
- Black Eclipse I
- Hasten Recovery I
This endgame equipment setup delivers substantial base damage and critical strikes, thanks to the synergy between Black Eclipse and Antivirus from the Gore Magala dual set. Employing this combination fully maximizes the Weakness Exploit ranks solely through the armor components. Additionally, it provides an extra layer of survivability with the Hasten Recovery bonus from the Arkveld two-piece.
As a gamer, if I maximize my Agitator level using decorations and the Challenger charm, I can set up a configuration that ensures maximum affinity when inflicting wounds, essentially guaranteeing critical hits under specific circumstances. With an abundance of decoration slots, I still have flexibility to include Quick Sheathe, Evade Window, or any other abilities I prefer.
1. Zoh Shia Two-Piece
Agitator/Rush Endgame Build
Armor Pieces:
- Numinous Crown (beta)
- Numinous Shroud (beta)
- G. Arkveld Vambraces (beta)
- Numinous Overlay (beta)
- Xu Wu Greaves (beta)
Set Bonus Skills:
- Super Recovery I
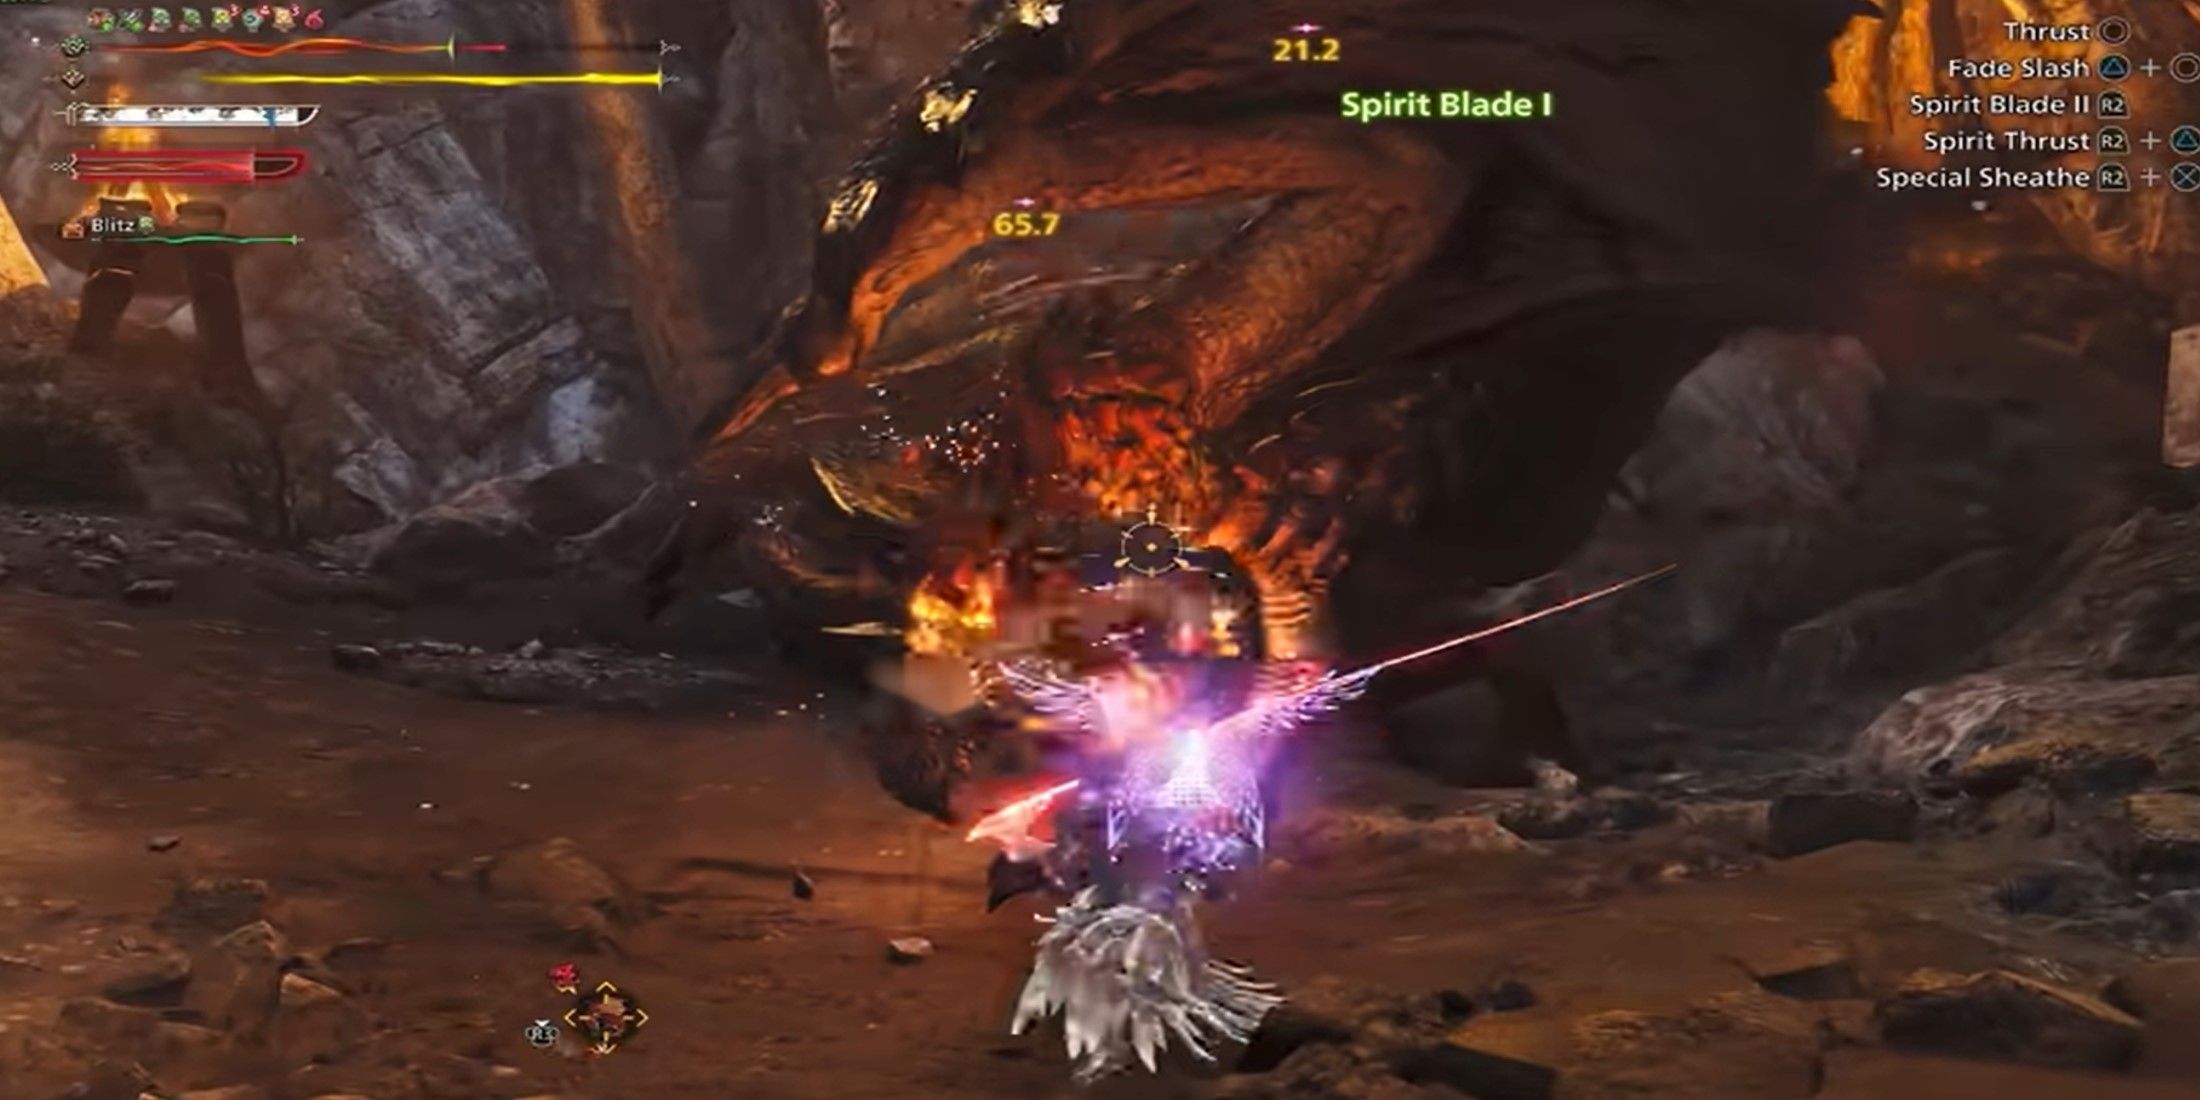
This final build strategy leverages the Zoh Shia armor set for its high Agitator ranks and Super Recovery set bonus. The armor additionally provides two levels of Weakness Exploit and Adrenaline Rush. Skilled players can benefit from Adrenaline Rush, a damage-enhancing skill that synergizes well with the Iai Slash moves using the Longsword. Properly timed dodges during these attacks also trigger the bonus damage effect.
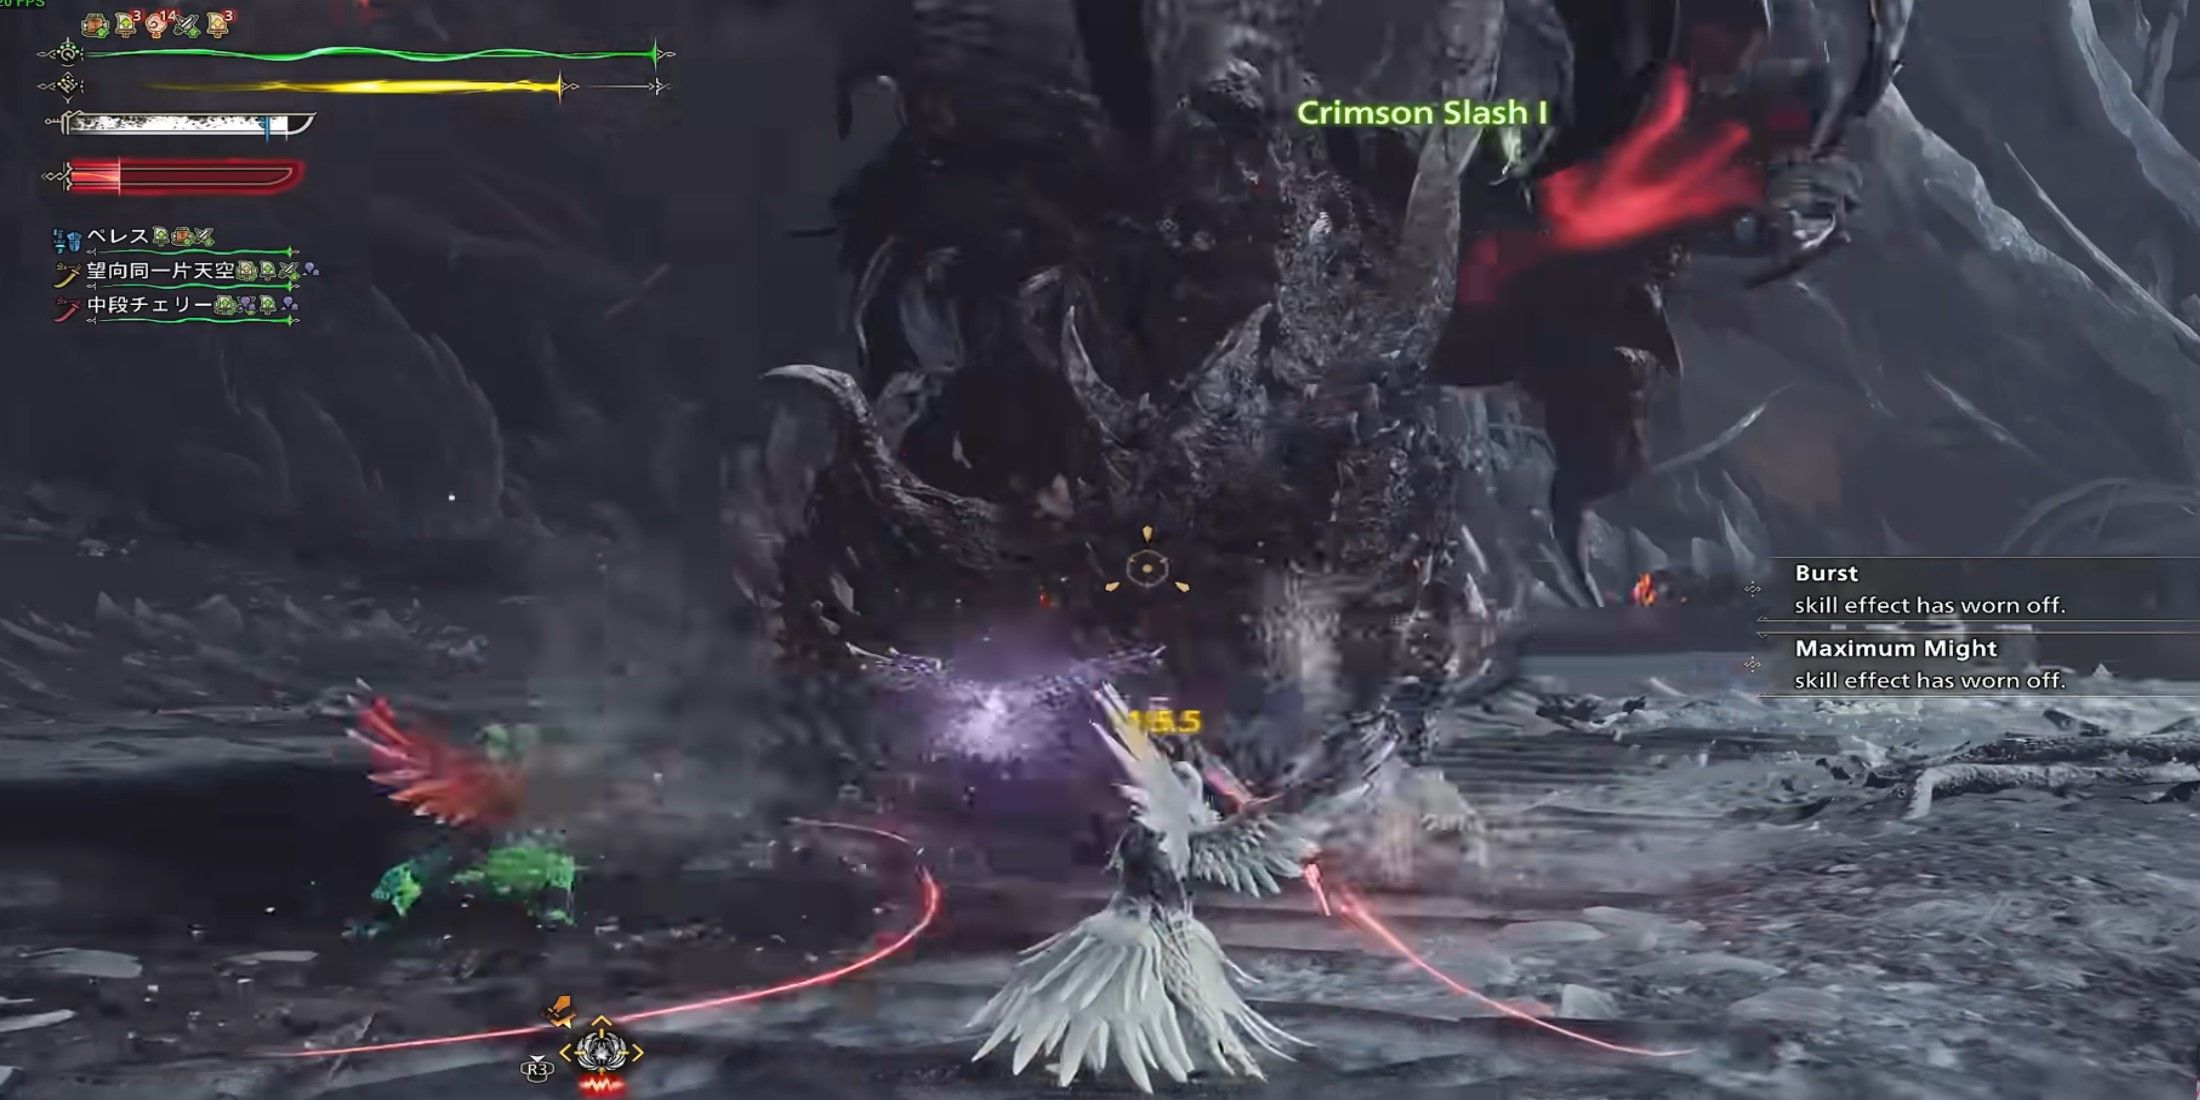
A different approach to enhancing the damage in this build is by acquiring ranks of Burst using decorations and the Chain charm, a technique that Longsword users can execute with a Crimson Slash combo. This playstyle can be intricate as players must skillfully employ Crimson Slash and Iai Slash to activate multiple damage bonuses; however, it offers ample opportunity for versatility as well.
Read More
- Gold Rate Forecast
- Green County secret bunker location – DayZ
- ‘iOS 18.5 New Emojis’ Trends as iPhone Users Find New Emotes
- How to unlock Shifting Earth events – Elden Ring Nightreign
- [Mastery Moves] ST: Blockade Battlefront (March 2025)
- Green County map – DayZ
- Love Island USA Season 7 Episode 2 Release Date, Time, Where to Watch
- Etheria Restart Codes (May 2025)
- Mario Kart World – Every Playable Character & Unlockable Costume
- How To Beat Gnoster, Wisdom Of Night In Elden Ring Nightreign
2025-04-20 23:05