In this walkthrough, we’ll cover the “Kingdom Come Deliverance 2” quest titled “Lion’s Den,” where the objective is to purloin “The Finger of God.” Let’s proceed!
In the “Lion’s Den” mission, players aim to join Sigismund’s group and swipe a potent cannon known as the “Finger of God.” This is one of the thirty-two primary quests in Kingdom Come: Deliverance 2. The goal is to acquire this cannon to overpower Lord Von Bergow and demolish Mahelsove. But, let me warn you, gaining access to Sigisumund’s camp and obtaining the cannon won’t be a walk in the park.
In this mission for Kingdom Come Deliverance 2, known as ‘Lion’s Den’, there are numerous goals to accomplish, including enlisting in a camp and investigating murders. This article will provide you with all the essential details about the ‘Lion’s Den’ mission.
How To Complete The Lion’s Den Quest In Kingdom Come Deliverance 2
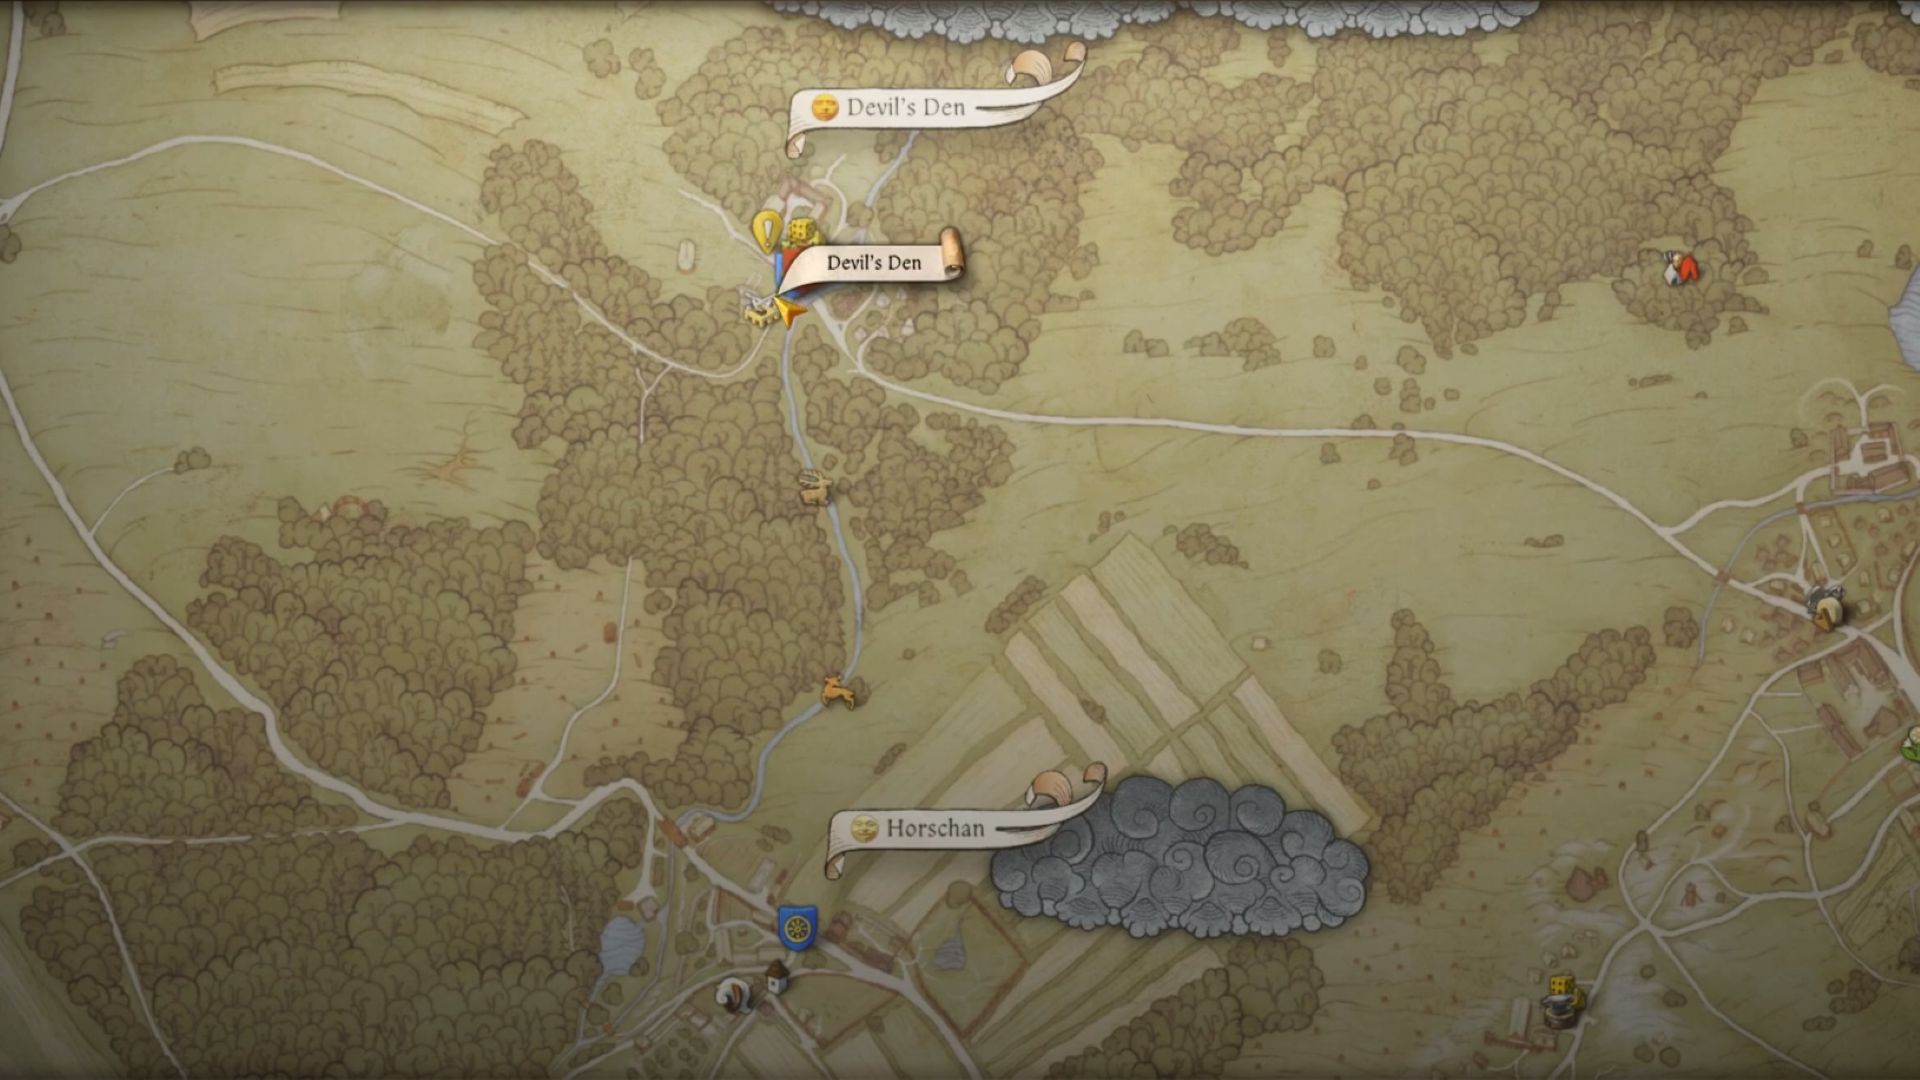
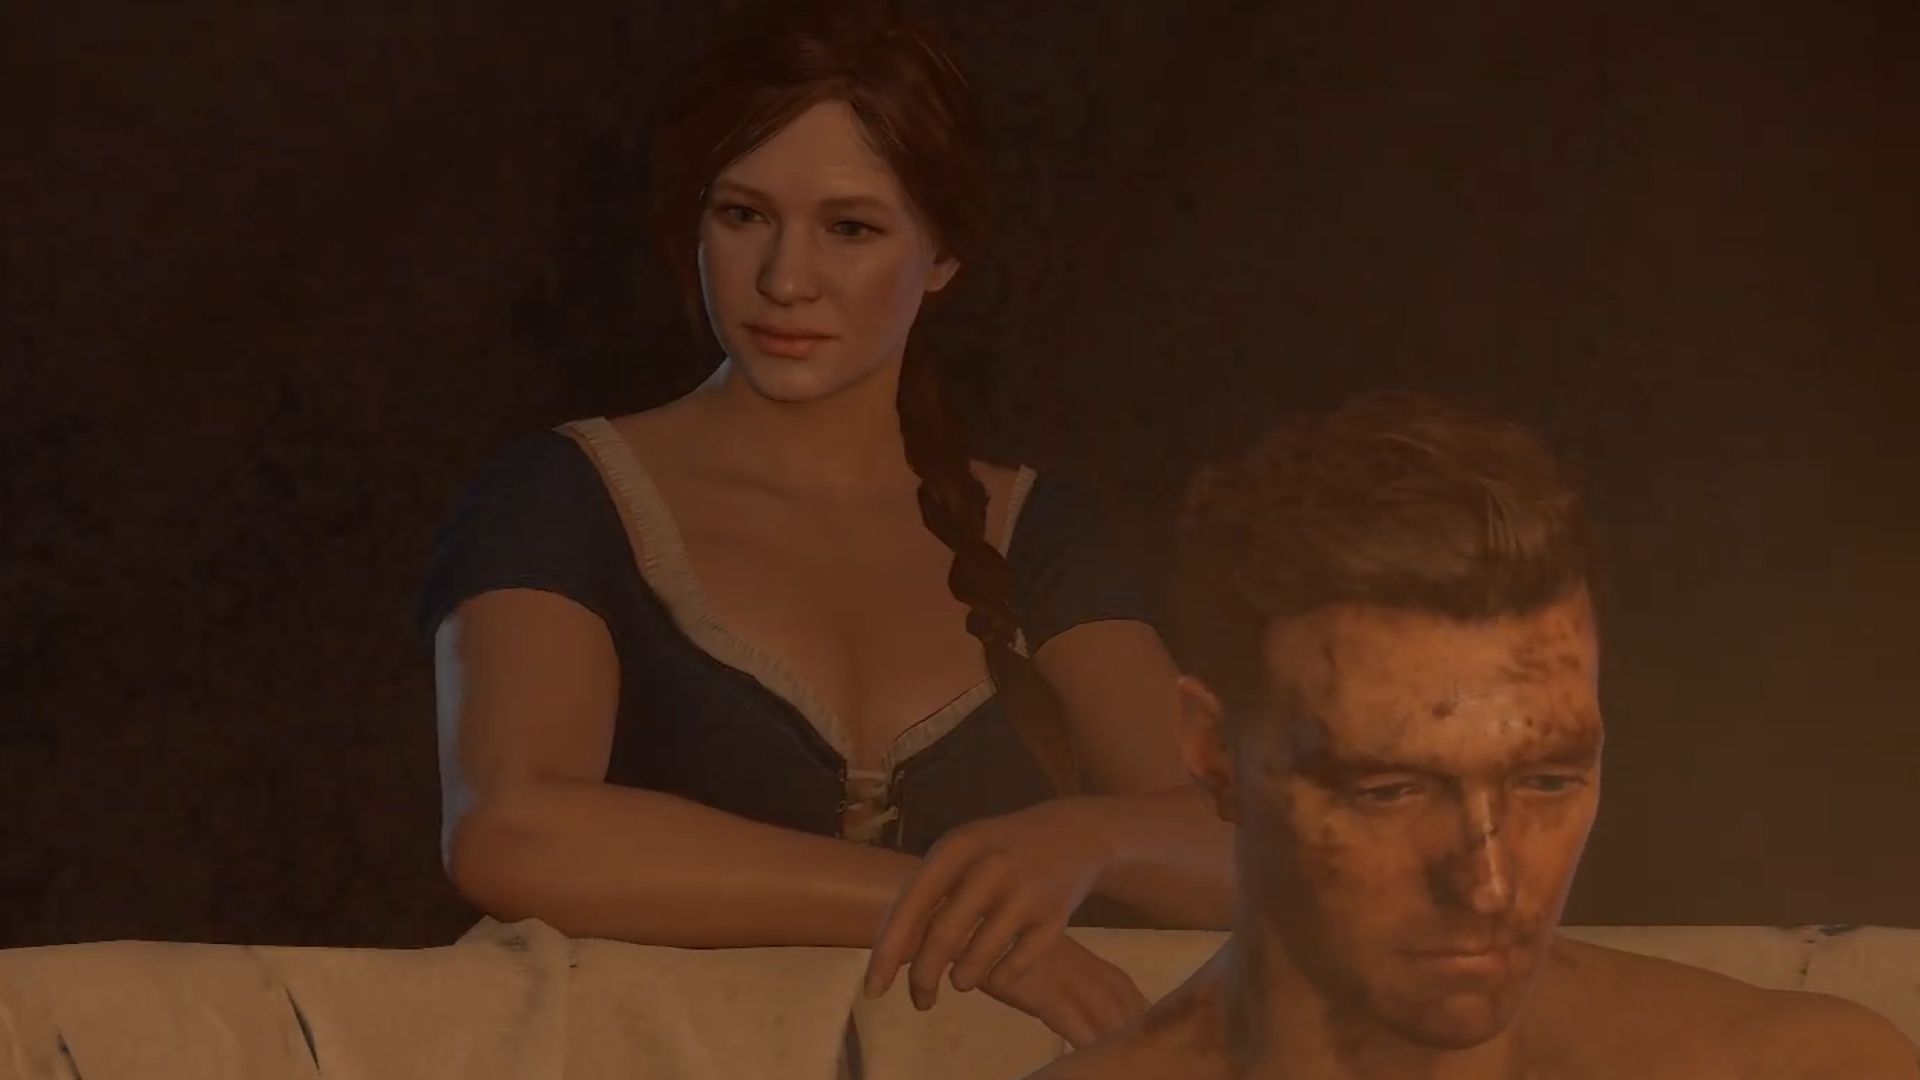
Initially, let’s track down Zizka in the Devil’s Den for a chat about the last mission’s ambush and our next course of action. Once you get to the spot indicated above, have a conversation with Zizka, and all your comrades will assemble nearby. The strategy will be straightforward: We need to make off with a cannon named Finger of God from Sigismund’s camp, as we had previously decided. This stolen cannon will allow us to attack Maleshov later on.
Zizka indicates that the cannon is being relocated from the camp, opening up a potential moment for an ambush. However, there’s a catch—he’s unsure of when exactly the Finger of God will be moved. Given this uncertainty, Henry’s allies propose that he should join Sigismund’s army in Prague to gather more intel about the cannon’s location and movement.
Talk To Katherine
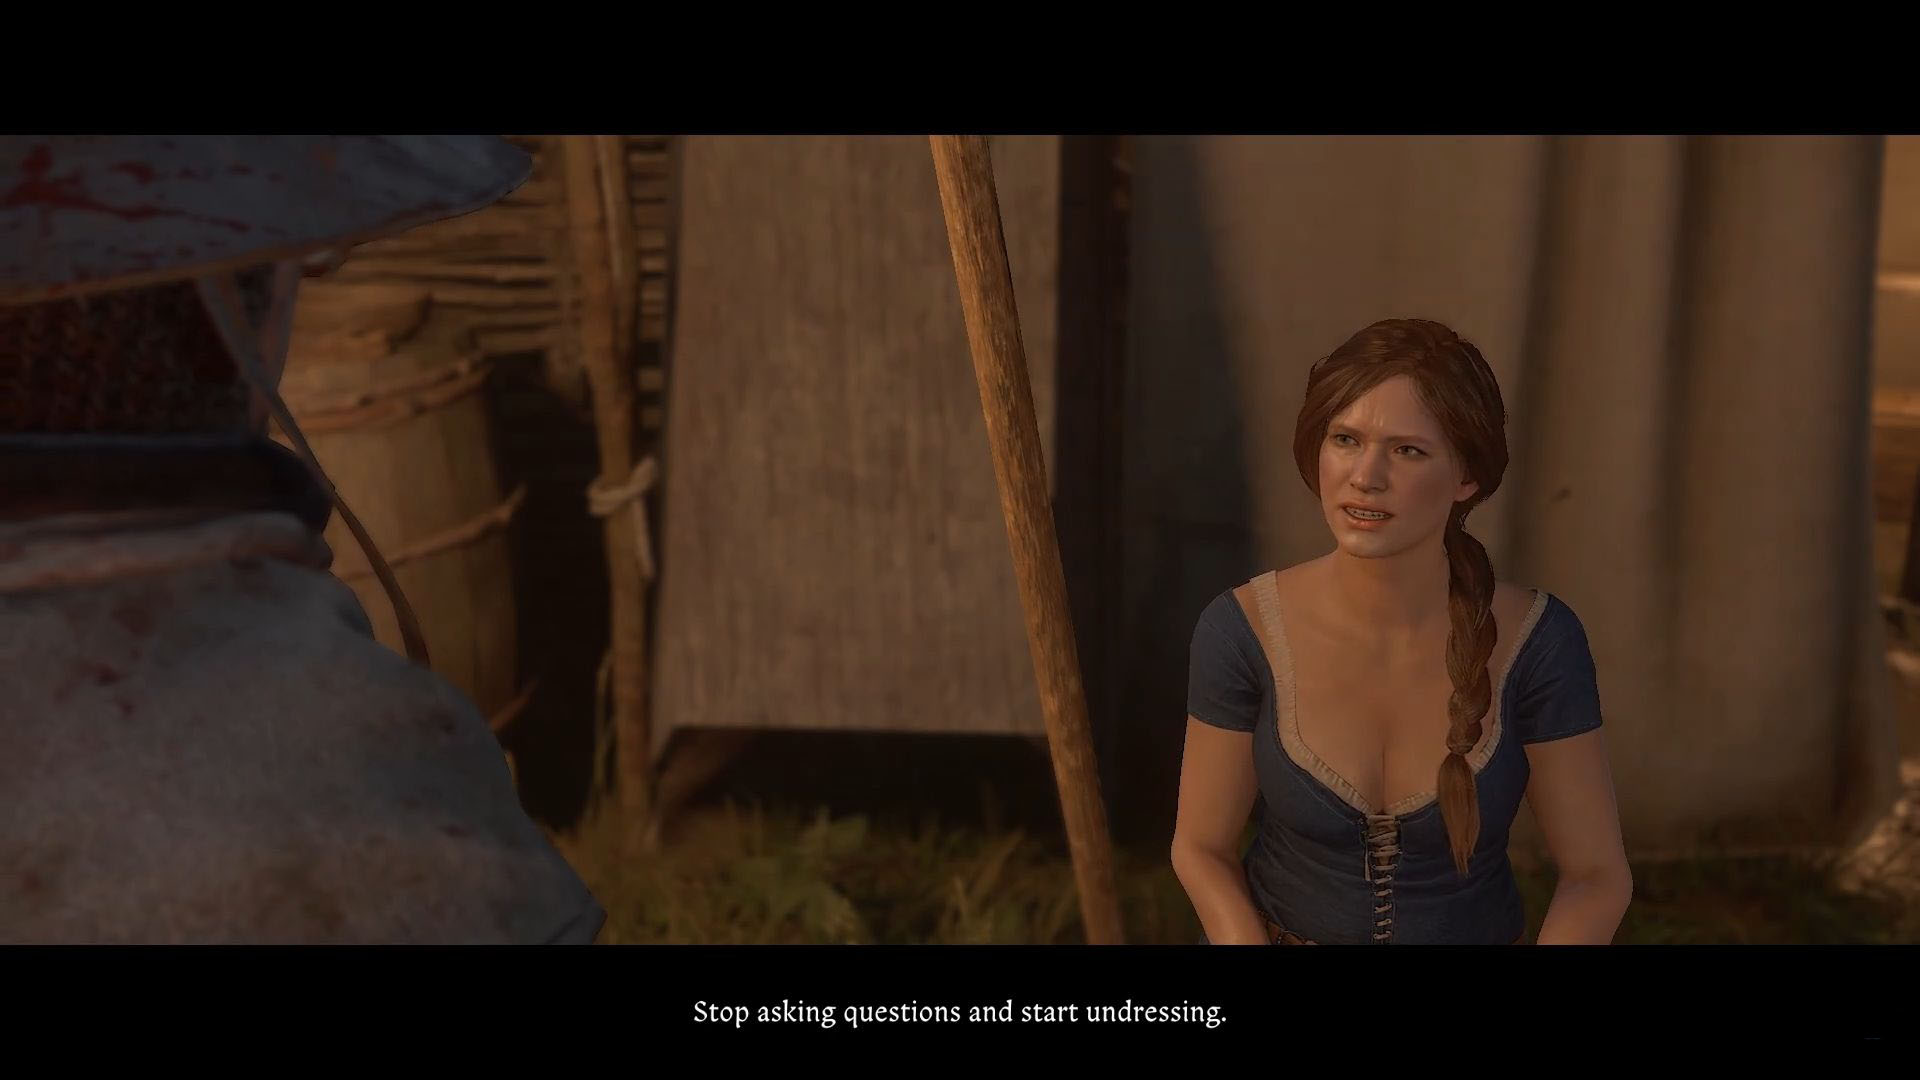
Head over to Sigismund’s camouflaged location now. There, you’ll find Katherin who is employed at the bathhouses. Discuss your strategy with her, as she’ll advise you to contact a soldier named Stephan Crow, a member of the regiment. Keep in mind that you can’t just seek him out whenever you please. Instead, wait until noon and go to the shooting range to enlist. If you try to meet him before then, he’ll be busy on duty and unreachable.
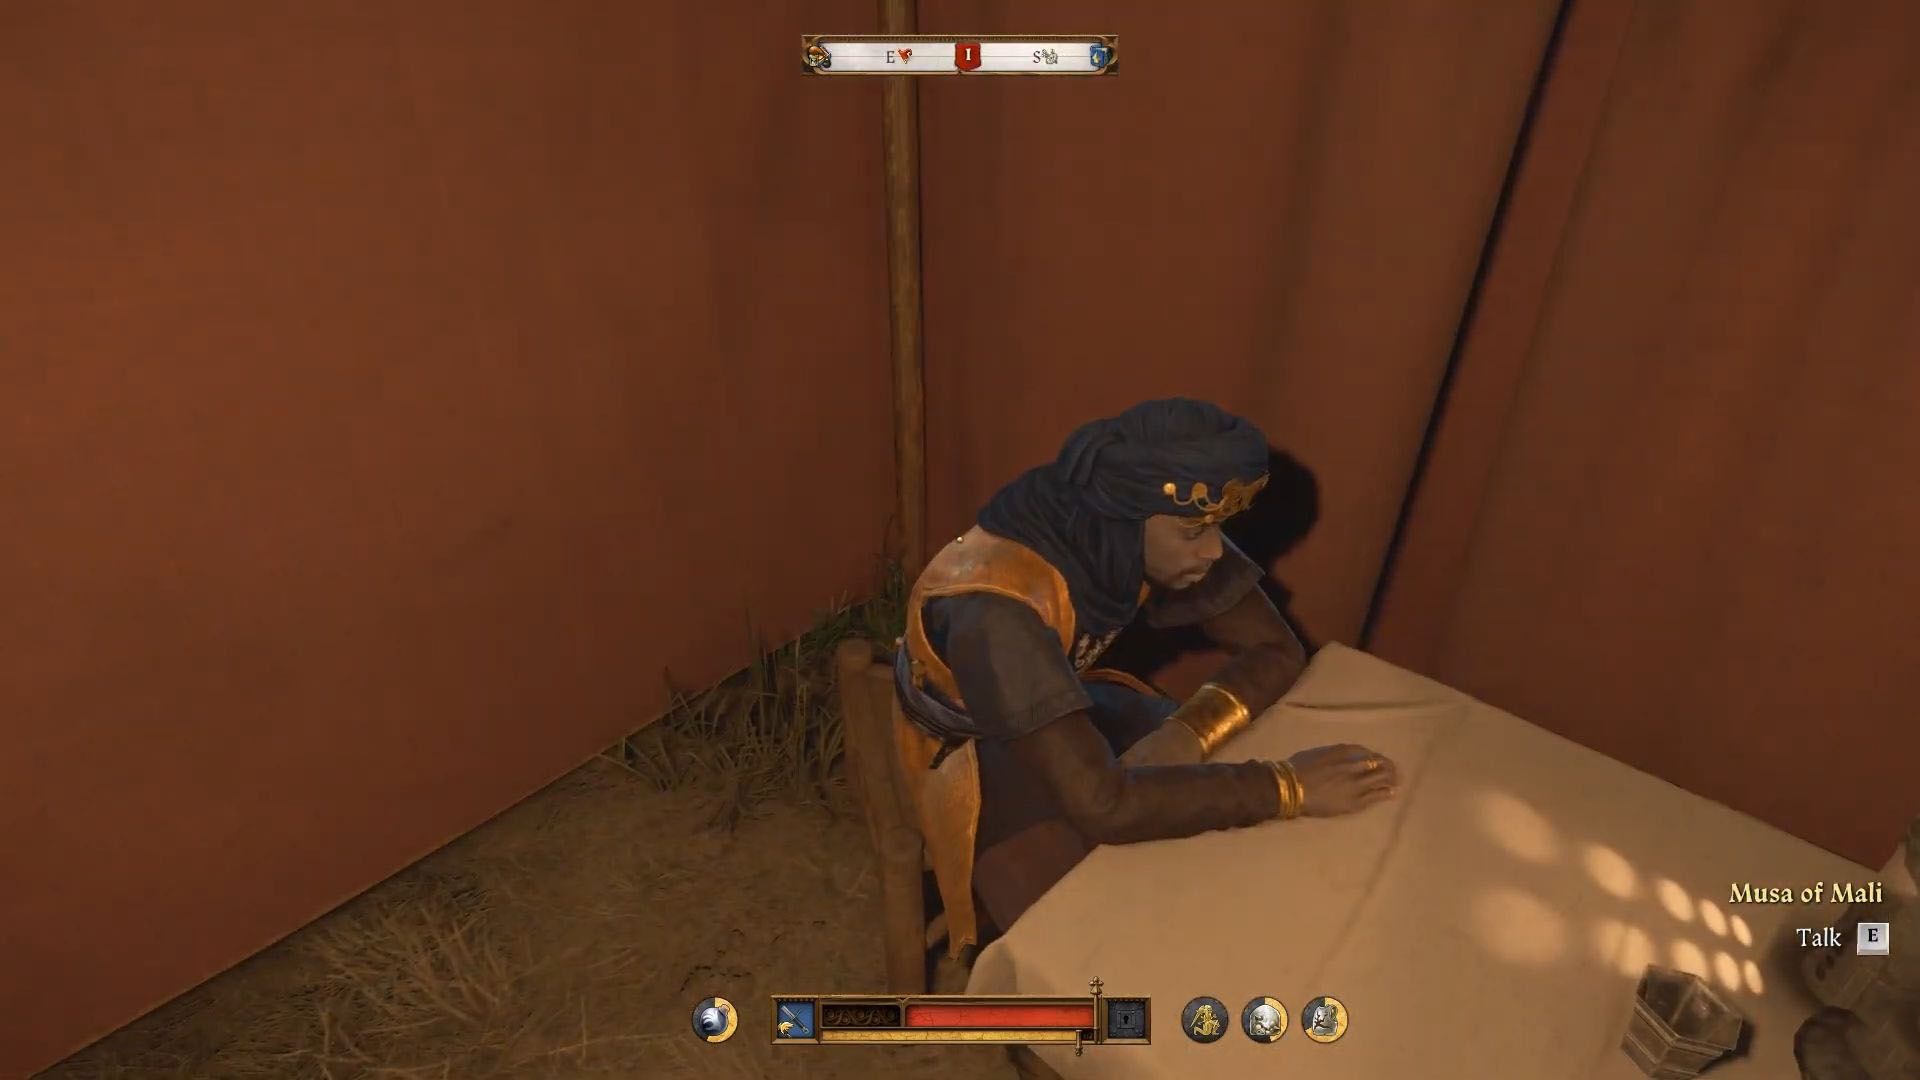
To gain Crow’s consent for joining him, choose dialogue options with the highest effectiveness. If you manage to persuade him, he’ll ask you to converse with the commander next. The commander will assign a task: locate a group of soldiers who have gone missing and retrieve a crucial document from them. To earn his favor, you must find these soldiers and secure the document. Initially, approach Myshek in the infirmary for a clue, but he’s unresponsive. In that case, speak to Musa instead.
Find The Special Document
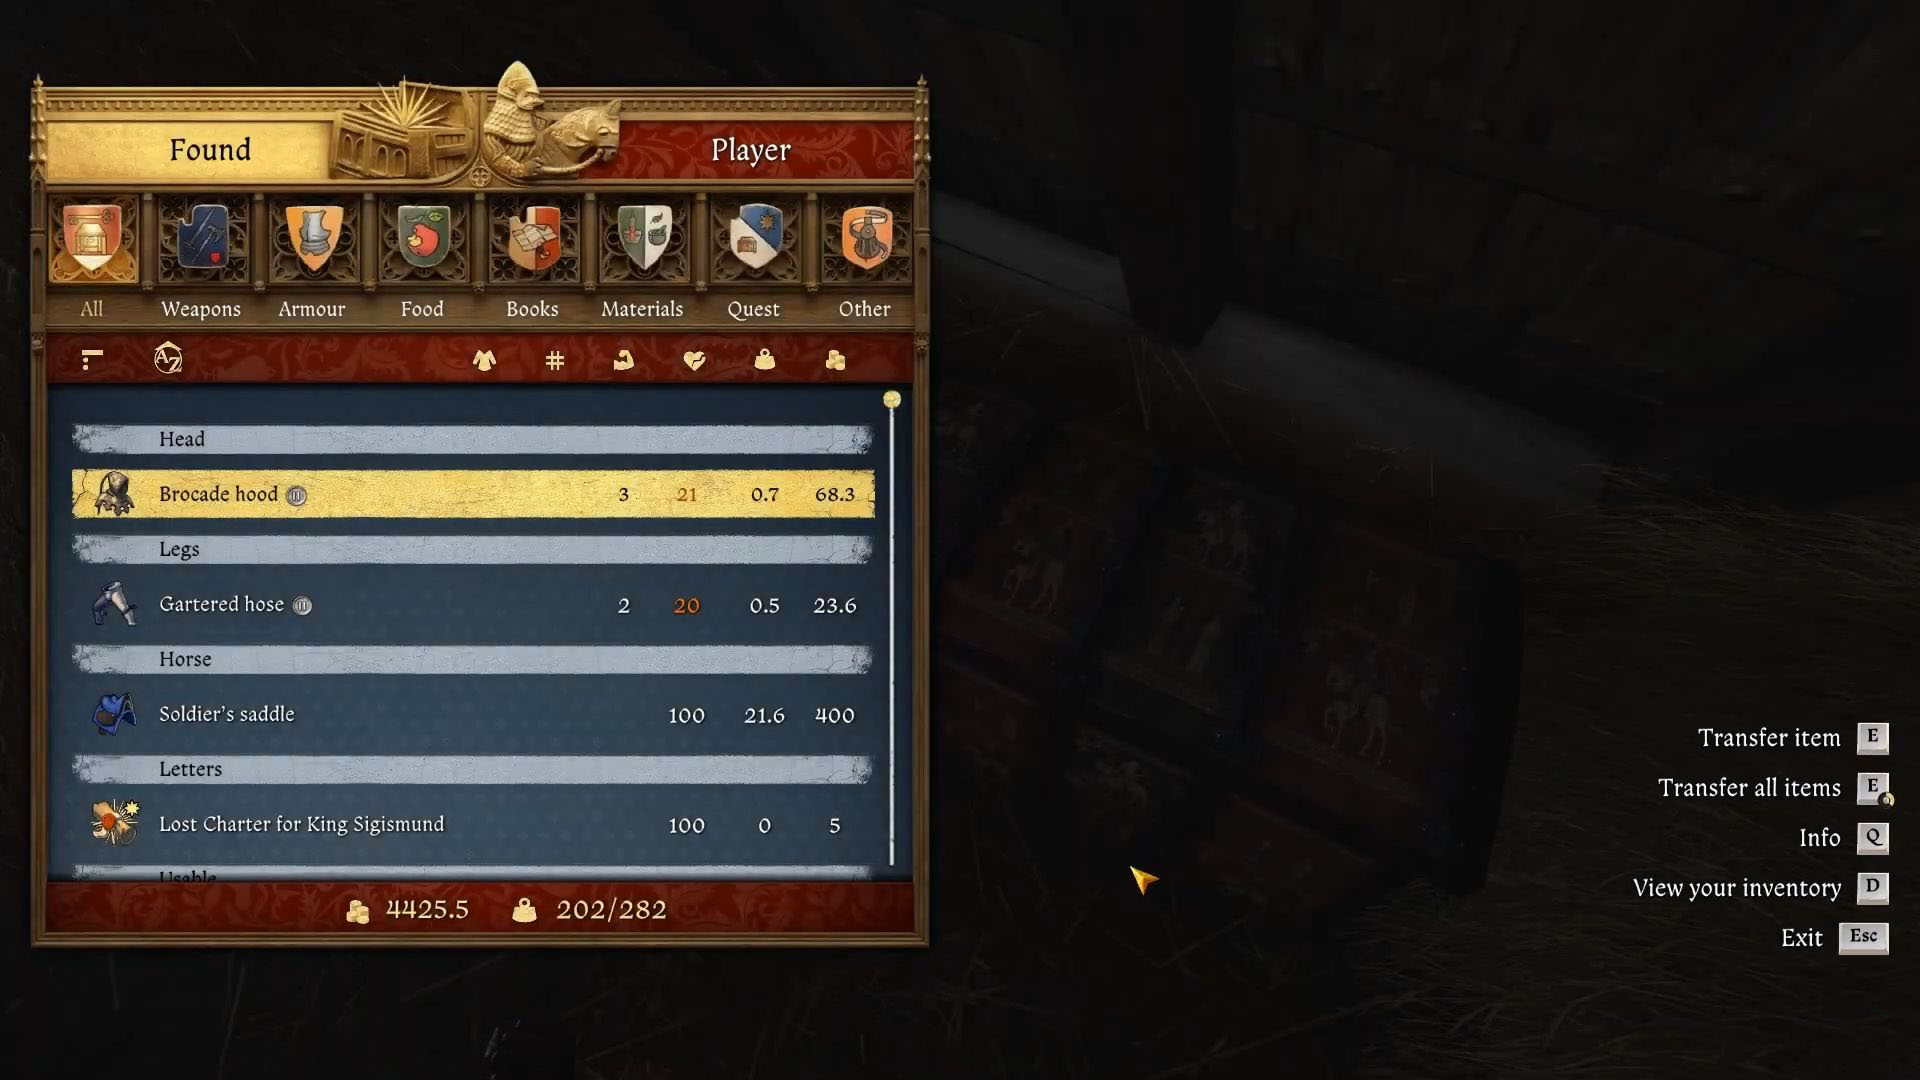
Musa has shared that Myshek had spoken about “Old Lhota” before losing consciousness. Our next destination is Old Lhota, where we hope to locate the missing soldiers. It’s located in the south of Kuttenberg. Upon arrival, you’ll discover seven soldiers within a sawmill. You have two options: either take them out quietly one by one or confront them directly. Don’t forget to obtain the key to the painted chest from the soldier wearing a white shirt.
Subsequently, proceed up the stairs to the edifice adjoining the sawmill. Inside, you’ll discover a chest embellished with paint. Within it lies The Lost Charter for King Sigismund. Utilize the keys you previously acquired and retrieve the charter from the chest. Following this, make your way back to the camp and deliver it to Commander Katz. In the next scene, you’ll witness Henry, Musa, and Katz enjoying drinks and celebrating. However, a soldier will interrupt, informing you that someone has attempted an assassination on Commander Chertan.
Investigate the Crime Scene
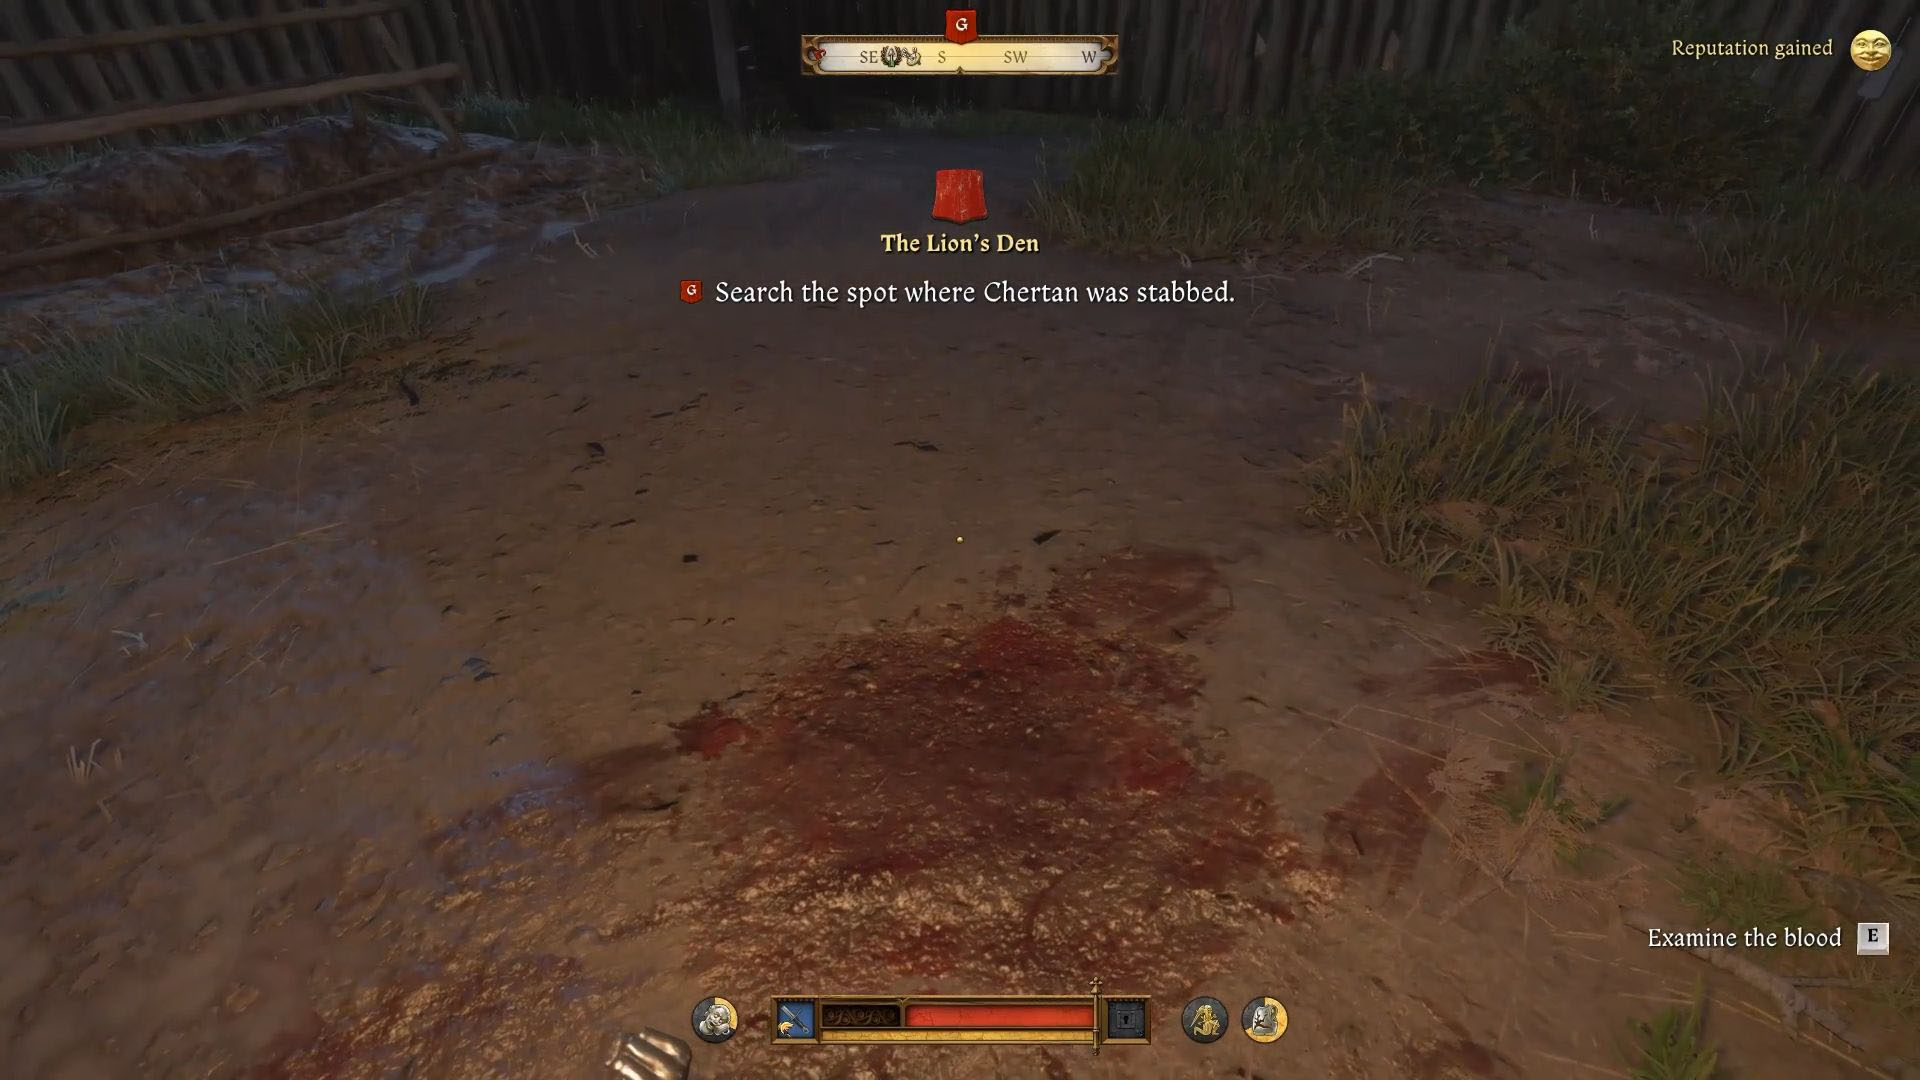
After that, the trio of you should proceed to the crime scene where Commander Chertan of the Cumans is lying on the ground with numerous stab wounds. Other soldiers will transport Chertan elsewhere, leaving you behind for an investigation. Begin by examining the bloodstains on the ground initially, then move towards the north and inspect those areas. Once finished, relay your findings to Katz. Subsequently, Katz will visit the infirmary to check on Commander Chertan, who unfortunately won’t survive.
After the incident, it’ll come to light that Chertan didn’t expire from his stab wounds as initially thought. Instead, a lethal dose of poison was slipped into the wine I (Henry) provided him. Poor Chertan succumbed to this toxic substance. Naturally, suspicion will fall on me, but my comrades Katz will stand by me. However, their support wouldn’t be enough, and it would seem like I’m the one who’s about to meet his end. Now, to clear Musa’s name and save him from execution, it falls on me to unmask the real killer.
Sneak Your Way To Musa
Speak with Musa as he’s the one who last saw Chertan before the attempt. But beware, Musa is being kept under guard, so you’ll need to approach him discreetly. You could try tossing a stone to draw the guard’s attention, or seek assistance from Katherine. Upon reaching Musa, he will reveal that you must examine the “Book of Poisons” and scrutinize the body to uncover the true culprit.
Search for the Poison Book in the locked box within the infirmary. The lock is easy to open, so don’t worry about that. Once found, carefully leaf through it to the last page. You’ll notice Chertan’s corpse near the Poison Book—begin examining it thoroughly. Be sure to inspect every part of his body, such as the head, limbs, and torso. Keep investigating until you find signs of convulsions before his death.
Search The Tents

After identifying the symptoms, it’s time to correlate them with a particular entry in the book. Look for the page titled “Kiss of Death.” At the midpoint, you’ll uncover that this particular toxin triggers muscle spasms. Next, you should discuss your findings with Musa. Inform him about what you’ve discovered, and he’ll task you with inspecting four tents to see if they contain any components of the poison. The individuals under suspicion are Stephen Crow, Grozav, Musa Adalbert, and Radovan.
In this stage of your adventure, you’ll need to scrutinize various items within each of the four tents. Here are the guidelines to help you decide what to investigate in each tent:
For this phase of your journey, you’ll be required to check out assorted objects within all four tents. Use these instructions as a guide to determine what to scrutinize in each tent:
Or even more informally:
In the current leg of your quest, you gotta take a closer look at various things inside the four tents. Here’s how you know what to check out in each one:
The goal is to make the instructions easier to understand and follow for someone who might not be familiar with technical terms like “inspect” or “scrutinize”.
- Stephen Crow’s Tent: Rose water, Wood, and Nails.
- Musa’s Tent: Vessel and Potions.
- Grozav’s Tent: Herbs.
- Adalbert and Radovan’s Tent: Bed, and Broom.
Following the inquiry, it will become clear that Stephen Crow was responsible for the poisoning. Consequently, it stands to reason that he is the one who committed the murder.
Go To The Trial
First, make your way to the courtroom for the trial, with the aim of saving Musa. Keep in mind that certain dialogues are crucial to your success in this part. If you select incorrect responses three times, the mission will fail. Here are some dialogue options for your consideration:
1. “Your honor, I request the court to grant us more time to prepare our defense.”
2. “Officer, can you confirm that Musa’s alibi checks out?”
3. “Musa, can you explain what happened during the incident in question?”
4. “Prosecutor, your evidence against Musa is weak and unsubstantiated.”
5. “Judge, I object to the introduction of this piece of evidence as it was obtained illegally.”
- “Musa is Innocent”
- “He was with us at the time of the stabbing”
- “Corporal Stephen Crow”
- “Crow poisoned the wine when Musa wasn’t looking”
- “You brewed a poison called Kiss of Death”
Should you opt for these choices, the council will activate Crow. Shortly after, Stephen Crow is likely to become enraged and attempt to break free from the trial. However, overpowering him should prove simple for you.
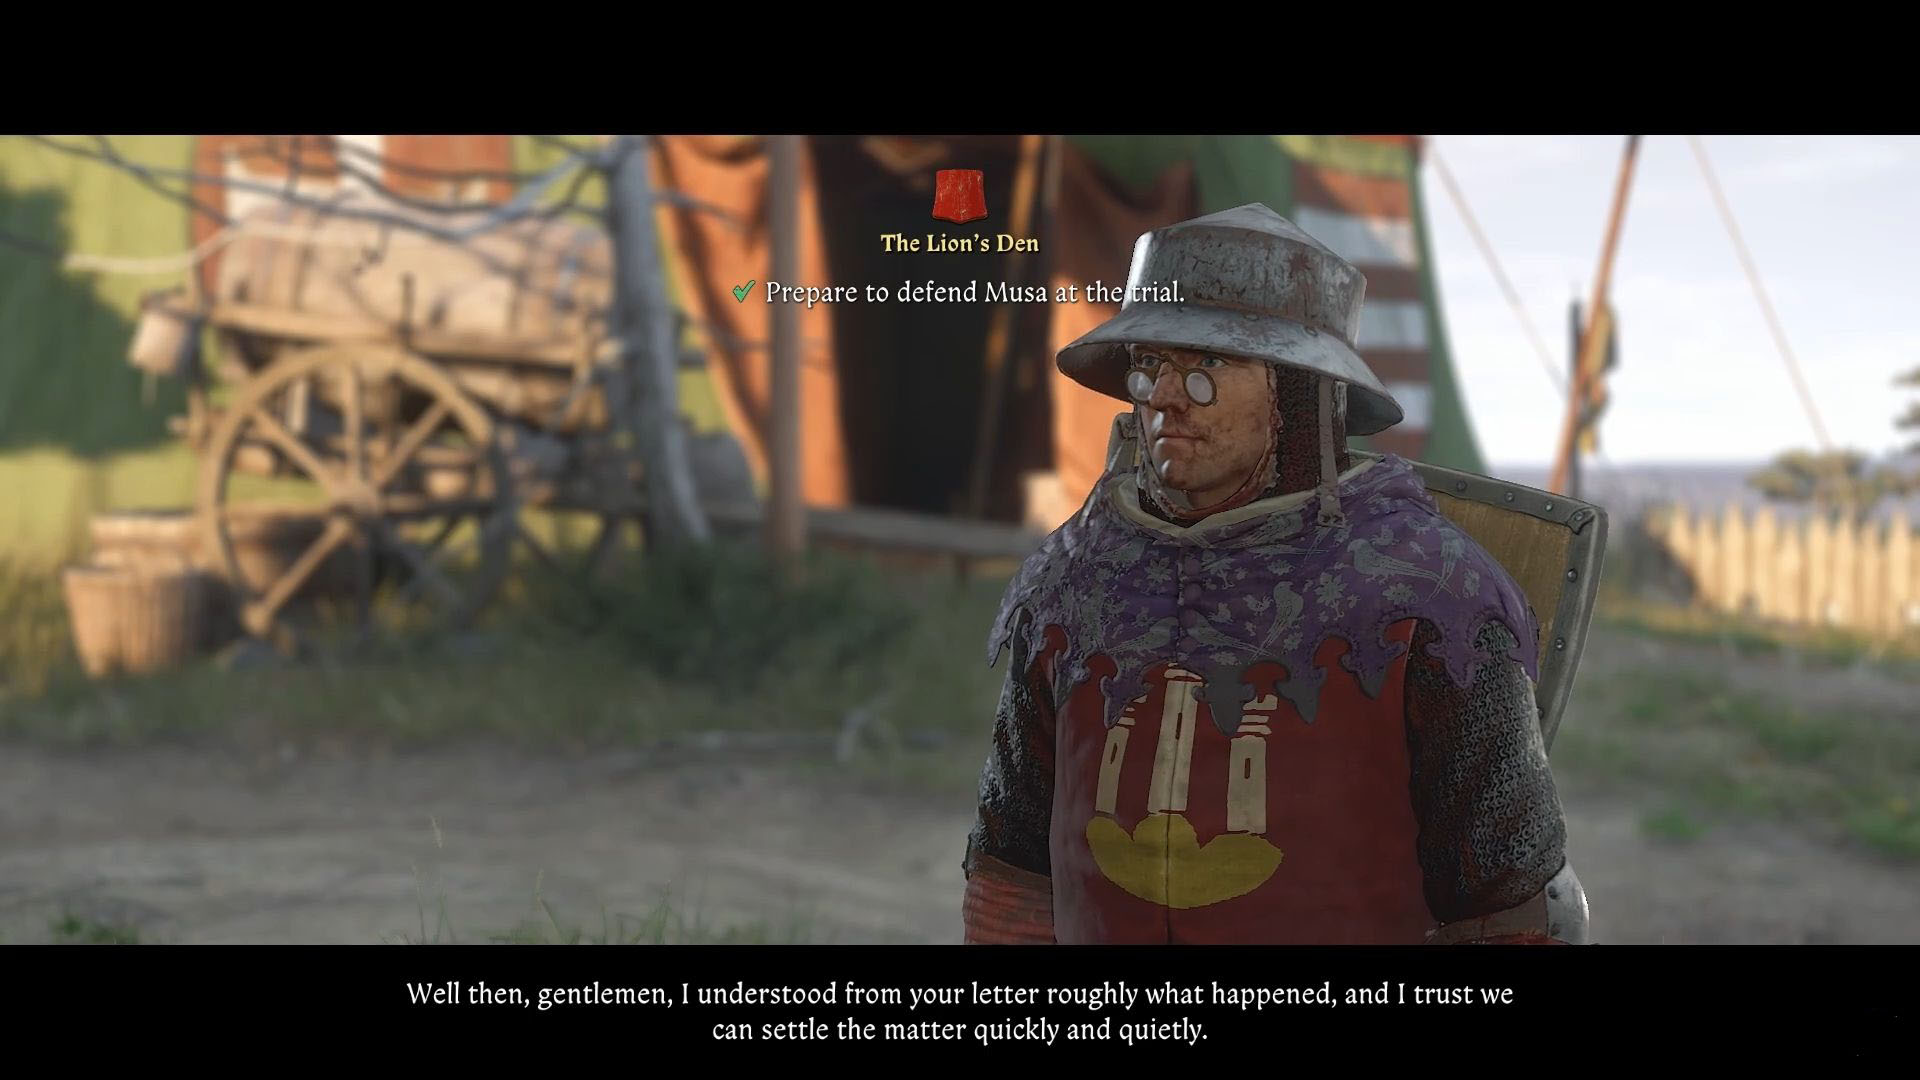
Ambush and Seize The Finger Of God
With the real culprit having met his end, Katz will guide you to Sigismund’s encampment, signifying it’s time to enact Finger of God. The immediate task at hand is to reconnect with Katherine and inform her that we’ll be moving the canon shortly. She, in turn, will alert Zizka that the moment for the ambush is upon us. Now, make your way back to Katz and let him know you are prepared to head towards Sadletz.
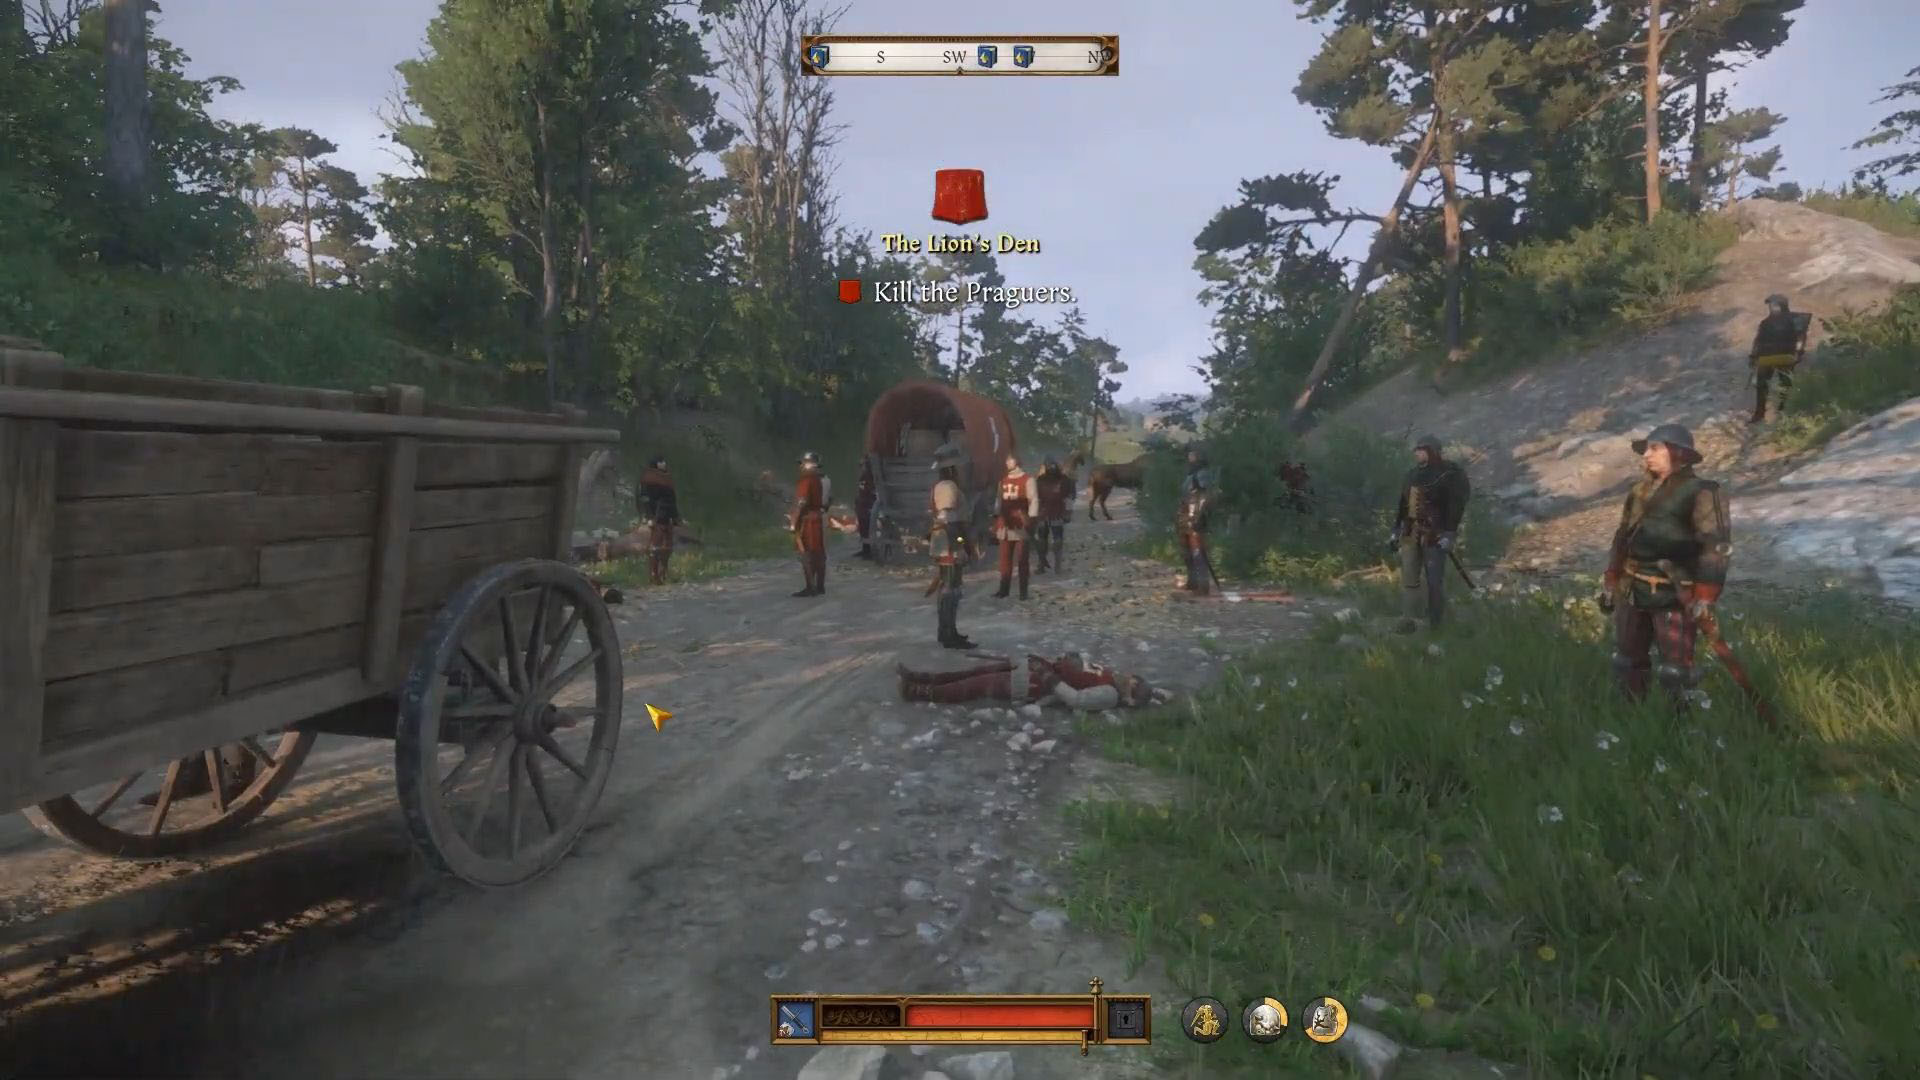
Eventually, alongside my comrades, I’ll charge against the cannon en route to Sadletz, aiming to capture it in the Kingdom Come: Deliverance 2 – Lion’s Den quest. After vanquishing all adversaries, engaging with Zizka will seal our victory and conclude this thrilling adventure.
Read More
- Sabrina Carpenter’s Response to Critics of Her NSFW Songs Explained
- Dakota Johnson Labels Hollywood a ‘Mess’ & Says Remakes Are Overdone
- Gold Rate Forecast
- Eleven OTT Verdict: How are netizens reacting to Naveen Chandra’s crime thriller?
- What Alter should you create first – The Alters
- ‘Taylor Swift NHL Game’ Trends During Stanley Cup Date With Travis Kelce
- How to get all Archon Shards – Warframe
- All the movies getting released by Dulquer Salmaan’s production house Wayfarer Films in Kerala, full list
- What’s the Latest on Drew Leaving General Hospital? Exit Rumors Explained
- Nagarjuna Akkineni on his first meeting with Lokesh Kanagaraj for Coolie: ‘I made him come back 6-7 times’
2025-02-15 19:02